
A-122: DIY - 105k Service: Timing Belt, Water Pump, Spark Plugs, Thermostat *PICS*
 11-20-2015, 01:18 AM
#1761
Race Director

The following users liked this post:
rockstar143 (11-20-2015)
11-20-2015, 01:33 AM
#1762
Chapter Leader (Southern Region)
Thread Starter

The following users liked this post:
rockstar143 (11-20-2015)
11-20-2015, 09:10 AM
#1764
Chapter Leader (Southern Region)
Thread Starter
Maybe a gently used '04 NBP 6SP
I heard a well taken care of one will be on the market soon
Owner tryna buy a vagon..
btw.. you see Kam's post in General Car Thread.. He's actively looking for one.
I heard a well taken care of one will be on the market soon
Owner tryna buy a vagon..
btw.. you see Kam's post in General Car Thread.. He's actively looking for one.
The following users liked this post:
rockstar143 (11-20-2015)
11-20-2015, 09:33 AM
#1766
Chapter Leader (Southern Region)
Thread Starter
I don't think Kam owns a TL though.. 
11-20-2015, 09:33 AM
#1767
Burning Brakes

If you are replacing the cam seals, you should use a cam gear holder to keep the gear from spinning while loosening the nut. This is completely possible using the Lisle cam gear holder. Or you can go redneck and use an old timing belt nailed to a piece of wood, while keeping the wood lodged on something stationary to do the same thing. This is a trick I've seen on youtube.
The following users liked this post:
Vlad_Type_S (11-20-2015)
11-22-2015, 05:56 PM
#1768
Race Director
I'll just leave this here.... 
The following users liked this post:
rockstar143 (11-22-2015)
 11-22-2015, 10:25 PM
#1770
Race Director
Uh oh....
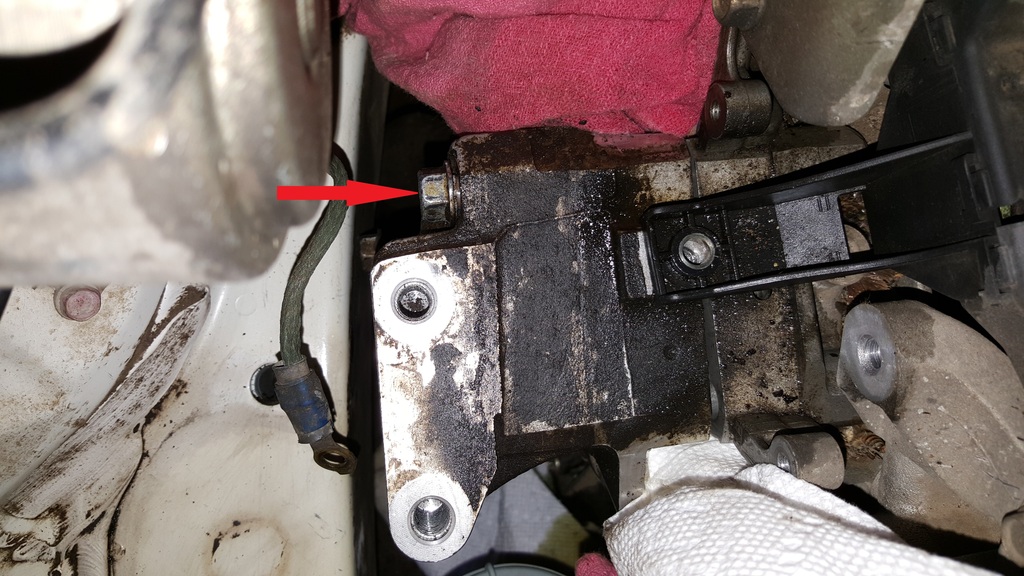
The rear bolt on the engine mount bracket doesn't want to come out. (The other 2 come out fine). It popped loose and backed out about 1/4" before becoming so tight that I was afraid to turn it any more. I am able turn it back in and then back out the same distance, but that's it.
I soaked it with PB, but the threads are 3" away from the bolt head. I even used a straw to try and better direct the PB down the shaft toward the threads, but I have no confidence that the PB capillary action will move it that far.
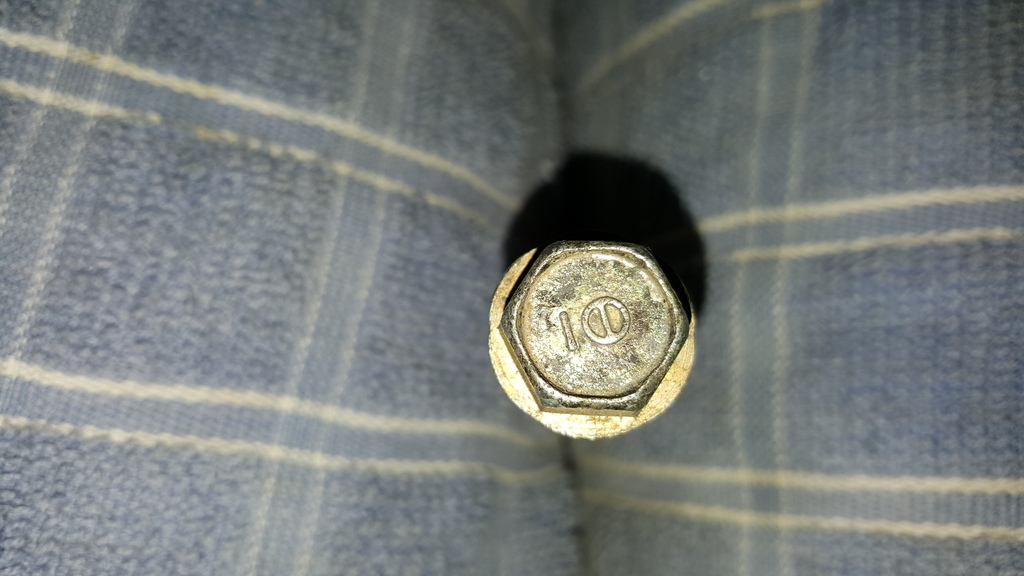
The torque spec on the bolts is only 33 ft-lbs. I don't know what the real strength of these bolts is. I can't find any bolt markings that match what's on the end of these bolts. For now, I guess I'm just going to let the PB soak over night and see what the morning brings. I sure as hell don't want to snap that bastard off....
Any other ideas?
Here's a pic of the top front bolt head. Anyone know what those markings mean?
The rear bolt on the engine mount bracket doesn't want to come out. (The other 2 come out fine). It popped loose and backed out about 1/4" before becoming so tight that I was afraid to turn it any more. I am able turn it back in and then back out the same distance, but that's it.
I soaked it with PB, but the threads are 3" away from the bolt head. I even used a straw to try and better direct the PB down the shaft toward the threads, but I have no confidence that the PB capillary action will move it that far.
The torque spec on the bolts is only 33 ft-lbs. I don't know what the real strength of these bolts is. I can't find any bolt markings that match what's on the end of these bolts. For now, I guess I'm just going to let the PB soak over night and see what the morning brings. I sure as hell don't want to snap that bastard off....
Any other ideas?
Here's a pic of the top front bolt head. Anyone know what those markings mean?
11-23-2015, 08:15 AM
#1771
it would be pretty awesome if that was a 1 and a 0 with a score through it...grade 10 and you could go to town...
fuck, dude...that's annoying...try backing out slowly, then going back in...kinda rethreading...or just back it out a revolution every few minutes...as you know, it's the heat that ends up weakening as you force it.
fuck, dude...that's annoying...try backing out slowly, then going back in...kinda rethreading...or just back it out a revolution every few minutes...as you know, it's the heat that ends up weakening as you force it.
11-23-2015, 10:15 AM
#1772
Race Director
UPDATE:
Well, now I can't move the bolt either direction. It's stuck at about 1/4" out. This morning, I pulled the PS pump and then slid the bracket away from the block enough to get PB on the bolt where it goes into the block. The issue is that the bolt goes into the block about 1/2"-3/4" before the threads start. Hopefully the PB will travel that distance to reach the threads.
In the meantime, I'm contemplating cutting off the head of the bolt off. I THINK there is enough room for the bracket to slide off once the head is off. The issue may be the bottom of the bracket hitting the side of the fender, but I THINK the bracket will swing up enough to miss the fender.
Once the bracket is off, hopefully I can get a set of vice grips on the bolt right next to the block and get the bolt out that way. Thoughts?
I still can't determine the strength of these bolts, but I can see it twisting when I try to turn it, and that's not good. That, plus the fact that the bolt is only $3 tells me it's not a tempered bolt. Who would think you'd need a high strength bolt going into an aluminum block? Not I. FYI, the bolt part # is 95801-10105-08. It's a 10 x 105mm bolt.
Last edited by nfnsquared; 11-23-2015 at 10:18 AM.
11-23-2015, 11:35 AM
#1773
Chapter Leader (Southern Region)
Thread Starter
The stamps are usually a mfg mark or related to the application. I have a feeling the thread on the bolt somehow mushroomed (maybe), picked up some grit (possibly), or slightly bent (likely). If it were a more convenient location and a shittier bolt, we could core it out and save the threads, buy new bolt. But I think your only option is to force it past. Even if you could move the bracket enough to cut it at that point, I still don't think you have enough room to drill. You could think about using some heat to make it more compliant. If you are able to remove it without completely thrashing the threads in the block, I'd get a new bolt regardless and put a little dab of anti-sieze grease on them going back in.
11-23-2015, 11:37 AM
#1774
Chapter Leader (Southern Region)
Thread Starter
I guess I had this thread open a long time.. didn't see update.
Did you try slowly applying a long breaker bar to it yet?
Did you try slowly applying a long breaker bar to it yet?
11-23-2015, 11:55 AM
#1775
Registered Bike Offender
iTrader: (3)
+1 on not cutting the head. The other point to be made is that if you plan on applying a rotational force with vice grips (or equivalent, pipe wrench?), you'll have a much harder time than if you were to apply the same rotational force with the bolt head.
Here's an anecdote that might be relevant. I was changing my brake rotors (6MT, Brembo Calipers). When I was removing the caliper bolts, one of them had a similar symptom as what you're describing. I broke it free, and it felt like it hit a wall as I was backing it out. So I tightened and loosened a few times and eventually it got stuck, and I was like :wat:
Anyway, I powered through it and it came out. What I found was very interesting. The threads of the bolt were filled with aluminum.
It appeared that some of the threads of the hole seized to the bolt and sheared off during removal, getting in the way of the threads that didn't shear off making it extremely resistant to further rotation. Attached image to help depict what I mean. Green stuff is the location of where the aluminum remains were found in the thread of the bolt, and red box depicts the section of the threaded hole that was sheared off.
Just another possible theory as to what is going on. The good news is that since it's resisting rotation, not all threads sheared off and you can probs use a tap to chase the hole's threads when reinstalling and don't have to drill anything new. That is of course, if this turns out to be the issue.
11-23-2015, 12:27 PM
#1776
Chapter Leader (Southern Region)
Thread Starter
I agree, probably the best option.
11-23-2015, 01:25 PM
#1777
Race Director
I purchased some Deep Creep and going to let that soak in. I don't think it will do any good because I agree with you both that there is some kind of debris in the threads.
I'm really hesitant to put too much force on the bolt because I can see how much it's twisting with the force I'm using (probably about 80 ft-lbs or so).
If worse comes to worse, there should be room to drill: I have a right angle drill as well as a right angle drilling attachment. New bolt will be here tomorrow hopefully, worst case, Wednesday. And yeah, I have a tap and die set to chase the threads which will be a must after I get this thing out.
11-23-2015, 01:44 PM
#1778
Chapter Leader (Southern Region)
Thread Starter
If you can get a drill in there.. that would definitely be the best option (assuming surgical hands.. lol). I'm going to grab my popcorn!
11-23-2015, 05:32 PM
#1780
Race Director
Screw PB, Deep Creep is da bomb!! One hour after spraying with DC, the bolt came right out....The gearhead at Mac's swore by it and he was right!!!
The 2nd to last turn of thread from the end looks like part of the block "melted" into the valley. Not really sure what that's all about. Gonna clean it up, will post pics later.
The 2nd to last turn of thread from the end looks like part of the block "melted" into the valley. Not really sure what that's all about. Gonna clean it up, will post pics later.
Last edited by nfnsquared; 11-23-2015 at 05:35 PM.
 Looking forward to pics.
 11-23-2015, 10:46 PM
#1783
Chapter Leader (Southern Region)
Thread Starter
I'm sure the PB loosened it for DC..
11-23-2015, 10:46 PM
#1784
Chapter Leader (Southern Region)
Thread Starter
Glad you got it out without too much drama! 
11-24-2015, 04:02 PM
#1786
AZ Community Team
My guess is dissimilar metal corrosion, typical for steel bolt and aluminum threaded heads and block. Although most Honda bolts have some sort of electro-coating that can only protect so much.
 11-25-2015, 02:38 AM
#1787
Race Director
Might have, dunno....
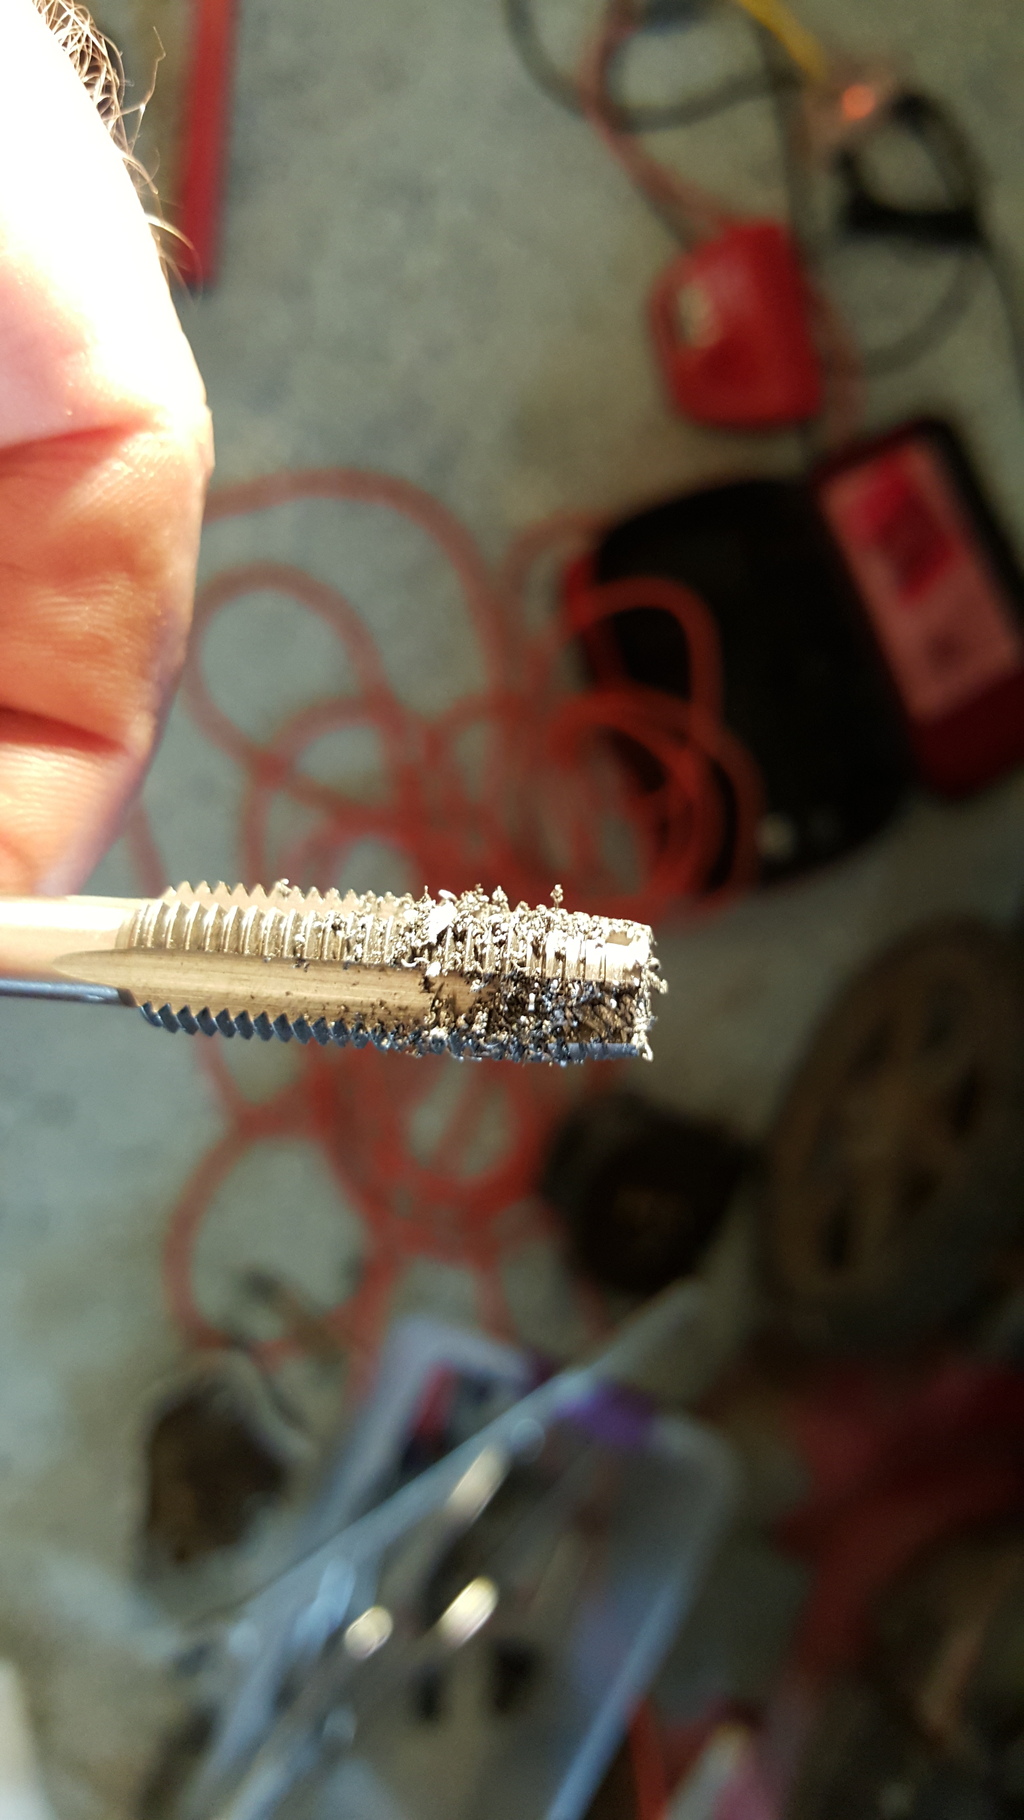
I was wondering the same thing. I chased the threads in the block for each of the 3 bracket bolts. The one I had trouble with came out like this, go figure....:
The other two chases were fairly clean.
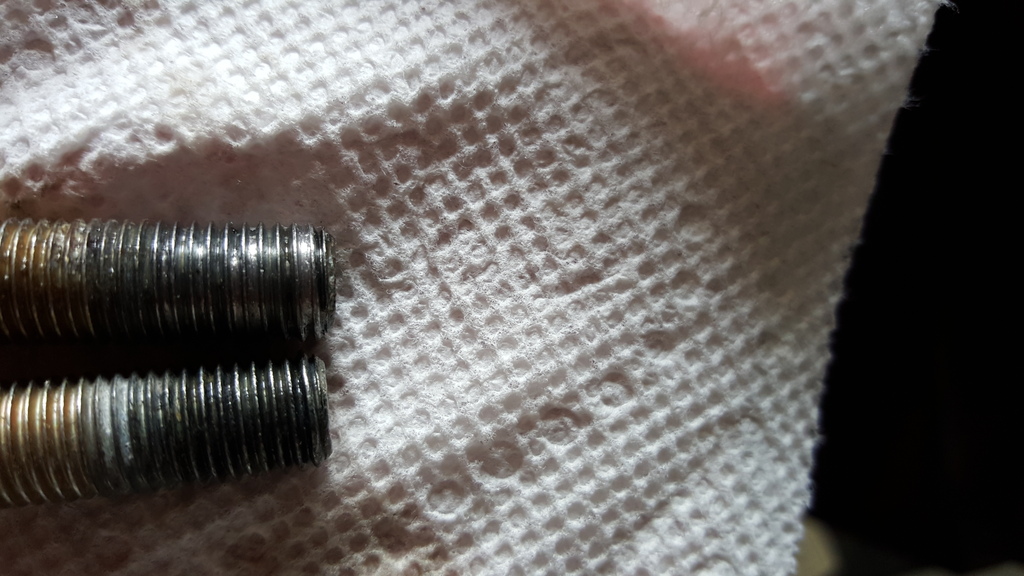
Here's a comparison of the bad bolt (top) and a good bolt.
And finally, the bolts after running them through a die:
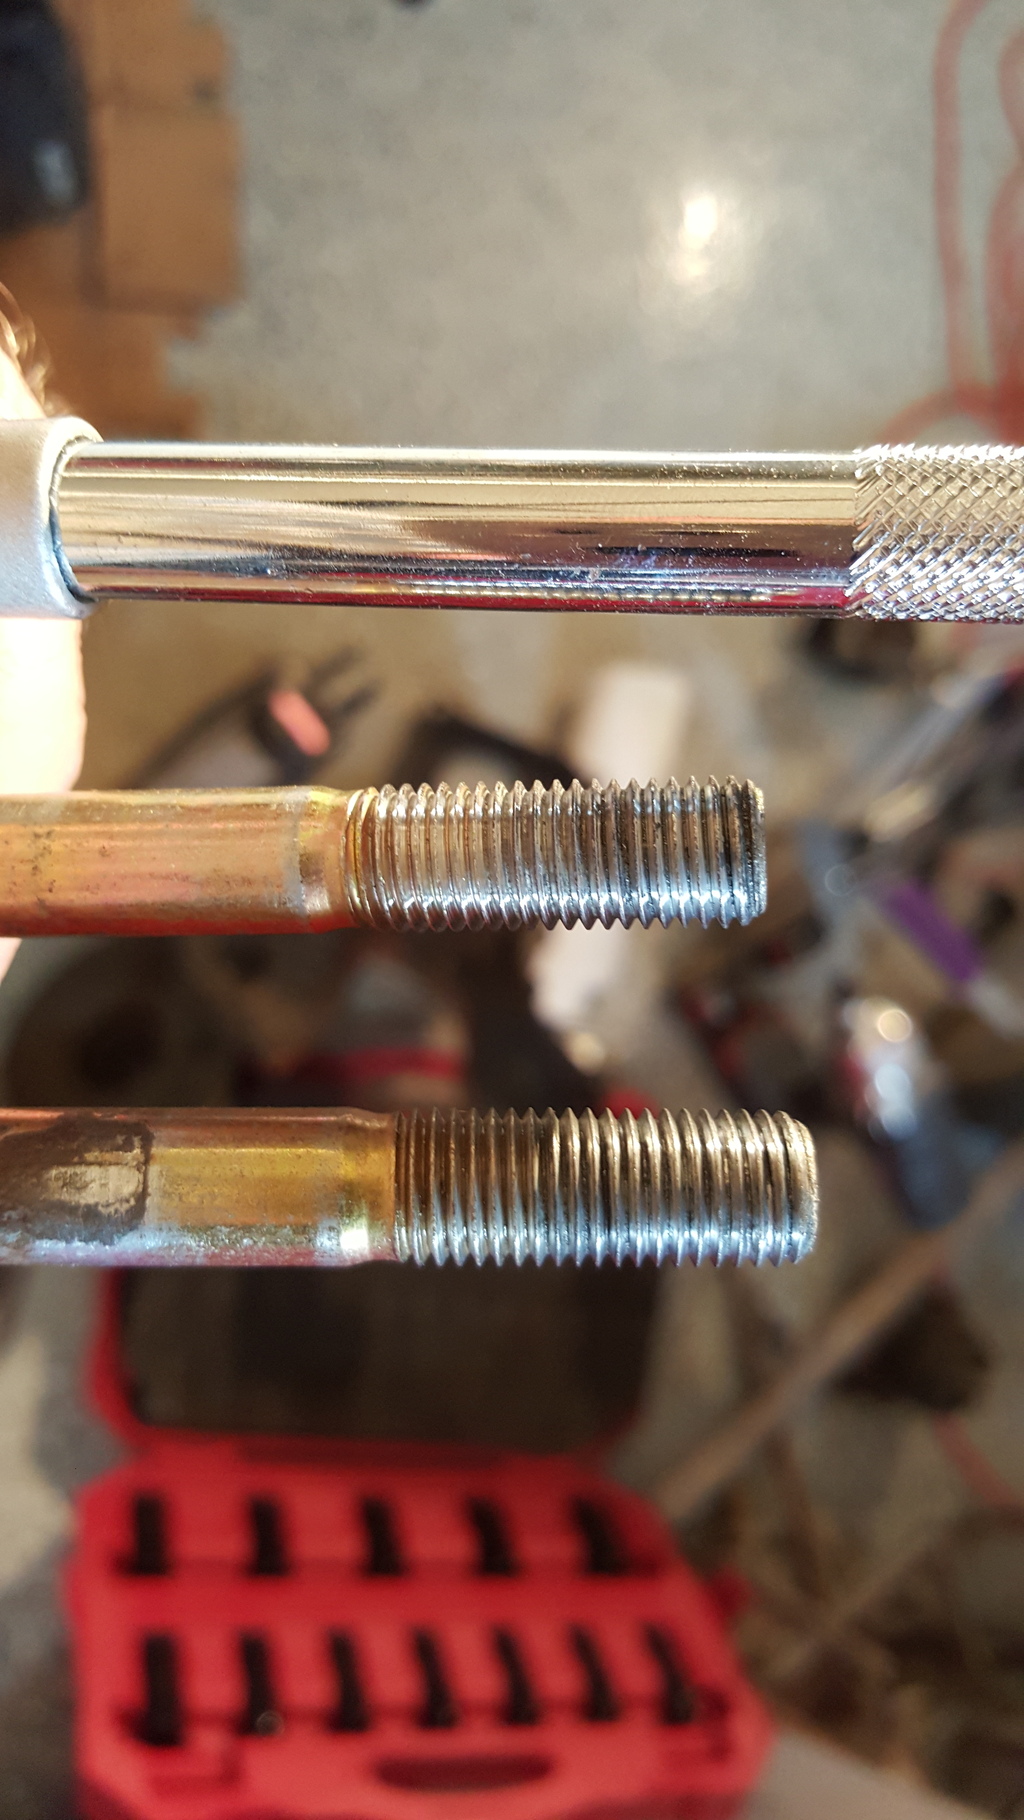
And all 3 bolts went back in smooth as butter
The other two chases were fairly clean.
Here's a comparison of the bad bolt (top) and a good bolt.
And finally, the bolts after running them through a die:
And all 3 bolts went back in smooth as butter
Last edited by nfnsquared; 11-25-2015 at 02:41 AM.
The following users liked this post:
Vlad_Type_S (11-25-2015)
11-25-2015, 07:56 AM
#1789
Race Director
No, didn't use A/S because it alters the torque spec. If I have troubles next time (if there is a 3rd time), I may consider it. Figuring out the altered spec is not difficult.
Additional notes from the 2nd time TB change:
If there is a 3rd time for me, I'll definitely pull the PS pump. It makes it SO MUCH easier to reach the rear timing belt cover bolts. And pulling the pump is easy: just 2 bolts and pop the front (intake) hose (clamp it first with vice grips, etc.). Then just swing the pump out of the way.
This time the rear cam sprocket didn't give me fits. It didn't budge at all!!
Another thing I never noticed before: After everything was put back together, I suddenly had a frightful moment because I just could not remember if I tightened the TB idler pulley after fitting the belt. I thought I was going to have to pull everything to get to that bolt.
Well, the lower cover has a covered port on it and that port is right over the idler pulley bolt. I had never notice that before. It save my ass!! (and yes, as it turns out, I had indeed tightened the bolt). This is what happens when you start and stop a project many times over, sometimes it's hard to remember where you left off
Last edited by nfnsquared; 11-25-2015 at 07:59 AM.
The following 2 users liked this post by nfnsquared:
rockstar143 (11-26-2015),
Vlad_Type_S (11-25-2015)
 11-26-2015, 10:06 AM
#1791
AZ Community Team
Might have, dunno....
I was wondering the same thing. I chased the threads in the block for each of the 3 bracket bolts. The one I had trouble with came out like this, go figure....:
The other two chases were fairly clean.
Here's a comparison of the bad bolt (top) and a good bolt.
And finally, the bolts after running them through a die:
And all 3 bolts went back in smooth as butter
 wow that tap was full of AL debris glad it worked out OK.
 I'm about to do the water pump/timing belt for my TL.
It's at 104k miles. Hope the crank bolt comes loose with just a breaker bar and my crankshaft pulley holder.

Last edited by Legend2TL; 11-26-2015 at 10:08 AM.
11-26-2015, 02:43 PM
#1792
Race Director
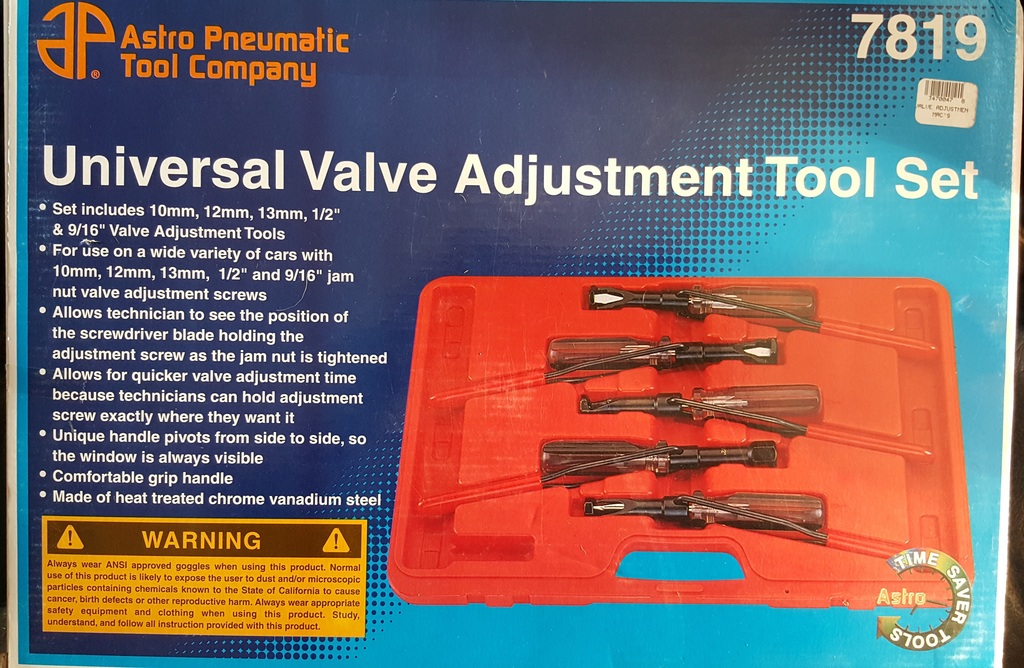
Somewhat related to the discussion at hand:
Craftsman-75-piece-combination-tap-die-carbon-steel for $80 (normally $220)
Craftsman-75-piece-combination-tap-die-carbon-steel for $80 (normally $220)
The following 2 users liked this post by nfnsquared:
rockstar143 (11-26-2015),
Vlad_Type_S (12-01-2015)
11-29-2015, 04:00 PM
#1794
Race Director
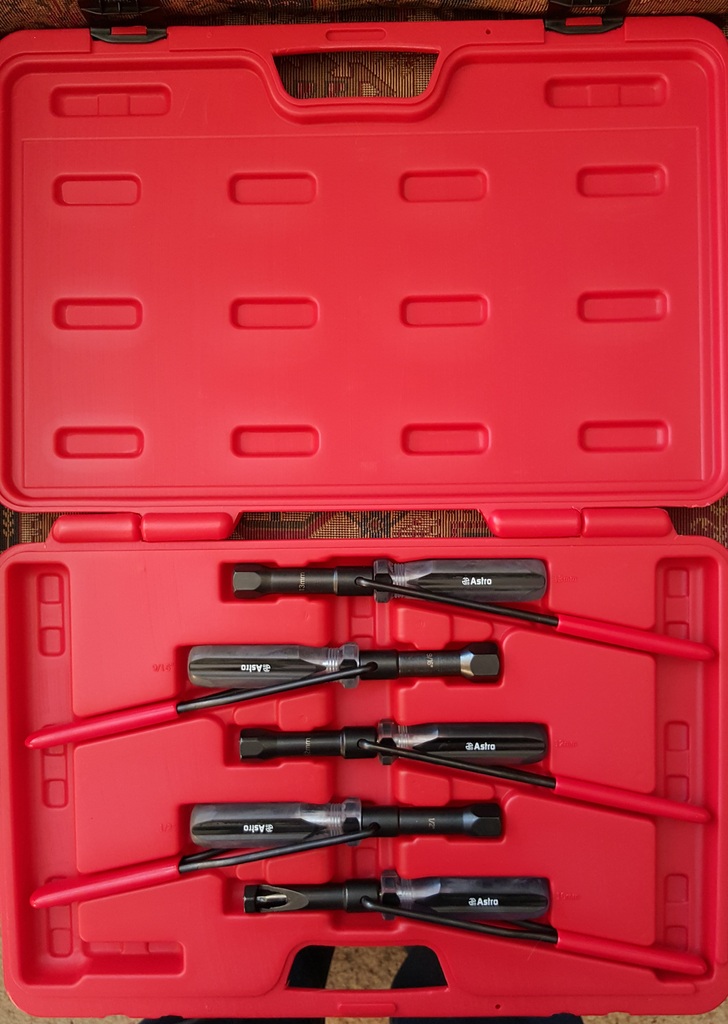
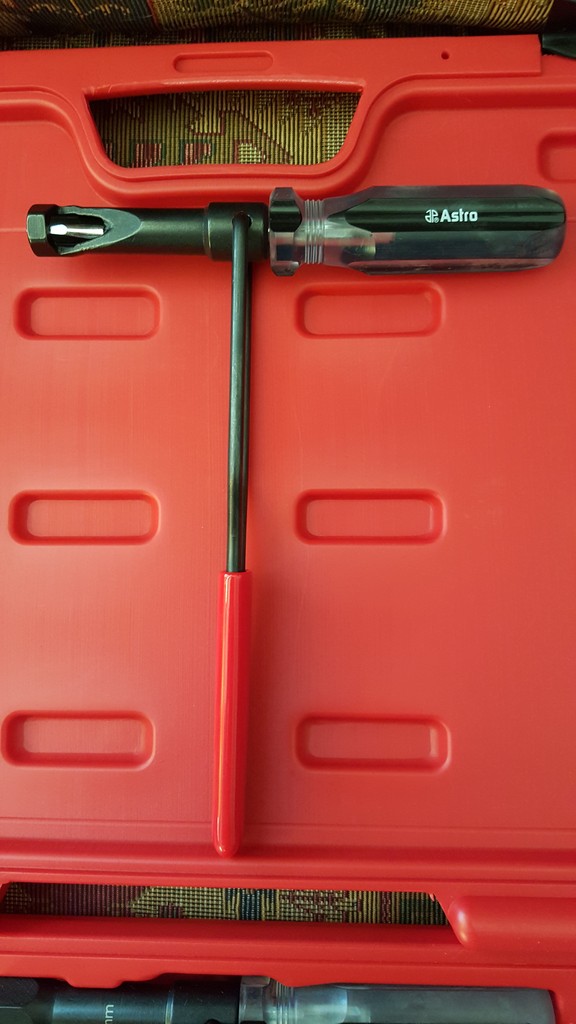
Look what I just found at Mac's Hardware for only $9.59

 12-24-2015, 10:38 AM
#1797

Wow long thread.
I am planning on doing my timing belt but have a question. I have read some posts about it but want to make sure i am understand correctly. From what i have read people say the rear cam moves once the TB is off. my question is if the cam moves clockwise you just move it back counter clockwise? if the cam moves counter clockwise you move the came clockwise? I have read that people rock it back and forth until it align correctly. Which is best to move it slowly the opposite way it moved or rock it back an forth? is there a video some where that show how to do this?
I am planning on doing my timing belt but have a question. I have read some posts about it but want to make sure i am understand correctly. From what i have read people say the rear cam moves once the TB is off. my question is if the cam moves clockwise you just move it back counter clockwise? if the cam moves counter clockwise you move the came clockwise? I have read that people rock it back and forth until it align correctly. Which is best to move it slowly the opposite way it moved or rock it back an forth? is there a video some where that show how to do this?
12-24-2015, 11:08 AM
#1799
If you moved the cam a little forward to put the belt on, then move it back to TDC wouldn't the front cam and crank move out of TDC? Hopefully mine doesn't move, but i am just predicting that it might and i want to make sure it do it right. Thanks for the reply.
12-26-2015, 12:14 AM
#1800
No sir, the front didn't budge, I literally used the ratchet on the rear cam to just barely move it forward enough to get the VERY tight belt lined up...then rotated it back and it sat perfectly and put the slack in the right areas. Once tensioner pin pulled I manually rotated the engine a few times to ensure all the marks lined up and my sharpee belt marks lined up!