rockstar143's '04 NBP progress thread (part deux continues after 6 year hiatus)
The following 3 users liked this post by rockstar143:
The following 2 users liked this post by CLtotheTL32:
civicdrivr (04-28-2012),
Undying Dreams (04-28-2012)
#2814
Thread Starter
Moderator
Chapter Leader (South Florida Region)
Chapter Leader (South Florida Region)
iTrader: (6)
Joined: Sep 2008
Posts: 78,019
Likes: 20,036
LOL...that seems to be the case lately, but honestly, it lays dormant for days at a time sometimes.
Some things I got done yesterday after happy hour! (do my best modding on a mild buzz).
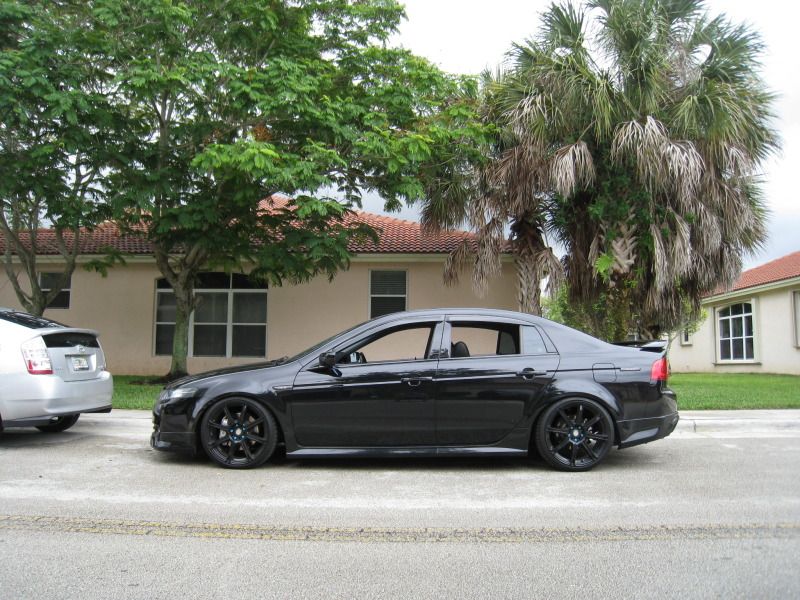
Raised car back up to 1 line below 1/2" front and 1 line more than 1/2" rear...I loved how it looked maxed out, but there was ZERO rebound room, I think I was bottoming out on the bumpstop on VERY mild bumps in the road. Not worth the extra 1/4 inch lower I was for the car to drive like ass.
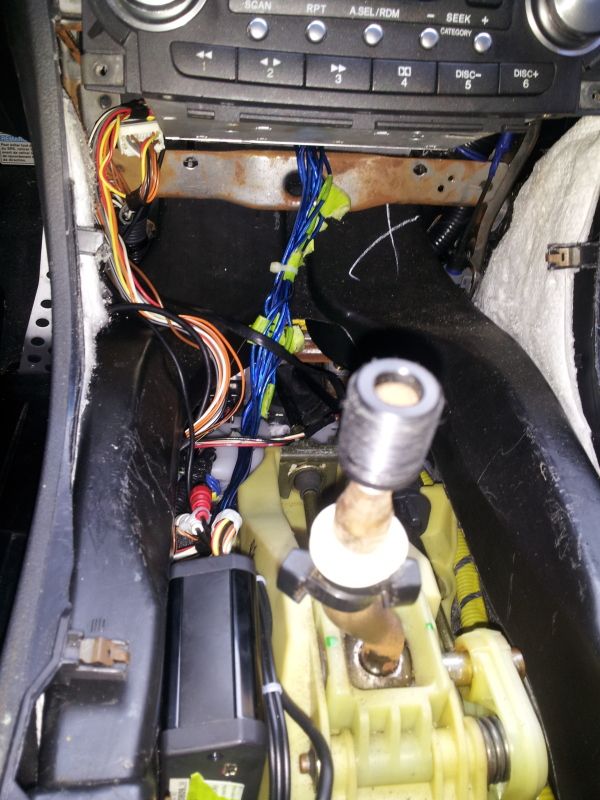
Reinstalled my isimple with the new firmware I put on it. So far, so good...controls all seem to function...I ran the wiring so if I needed to pull it again to keep my xm working properly, I could just disconnect it from outside the center console. Fk that noise...didn't think about it, but adding the dash topper, bass control knob, new shift knob who's center plastic section gets screwed on and doesn't come off that's too fat for the shifter boot hole...made it much more annoying to get the center out. I ran the 3.5MM jack up to the clock area, where I have my phone mount for pandora...on this aux 2, volume is low...xm seems to be normal volume and ipod seems to be normal volume. AWESOME...I actually missed having this option. I have a lot of of times where I think of a song and wish I could pop it on. I now have too many media options...radio, xm, cd, tape, pandora, and ipod.
Yay.
Some things I got done yesterday after happy hour! (do my best modding on a mild buzz).
Raised car back up to 1 line below 1/2" front and 1 line more than 1/2" rear...I loved how it looked maxed out, but there was ZERO rebound room, I think I was bottoming out on the bumpstop on VERY mild bumps in the road. Not worth the extra 1/4 inch lower I was for the car to drive like ass.
Reinstalled my isimple with the new firmware I put on it. So far, so good...controls all seem to function...I ran the wiring so if I needed to pull it again to keep my xm working properly, I could just disconnect it from outside the center console. Fk that noise...didn't think about it, but adding the dash topper, bass control knob, new shift knob who's center plastic section gets screwed on and doesn't come off that's too fat for the shifter boot hole...made it much more annoying to get the center out. I ran the 3.5MM jack up to the clock area, where I have my phone mount for pandora...on this aux 2, volume is low...xm seems to be normal volume and ipod seems to be normal volume. AWESOME...I actually missed having this option. I have a lot of of times where I think of a song and wish I could pop it on. I now have too many media options...radio, xm, cd, tape, pandora, and ipod.

Yay.
The following users liked this post:
rockstar143 (04-28-2012)
#2817
Glad it worked out for you!
My headphone jack volume has always been somewhat lower than the others, but it's still clear - no quality loss. Just have to switch the volume up lol
The device volume also has to be on max too.
The connector to the radio usually doesn't come loose, because it clicks in I believe.
The iSimple is so simple, might as well open up the center console and recheck every connection.
I know my inputs for the ipod and aux kept coming out of the unit if I pulled on the wire just a LITTLE bit, so I taped the input connectors onto the unit.
Also, make sure you update to latest firmware.
My headphone jack volume has always been somewhat lower than the others, but it's still clear - no quality loss. Just have to switch the volume up lol
The device volume also has to be on max too.
The iSimple is so simple, might as well open up the center console and recheck every connection.
I know my inputs for the ipod and aux kept coming out of the unit if I pulled on the wire just a LITTLE bit, so I taped the input connectors onto the unit.
Also, make sure you update to latest firmware.
#2818
Thread Starter
Moderator
Chapter Leader (South Florida Region)
Chapter Leader (South Florida Region)
iTrader: (6)
Joined: Sep 2008
Posts: 78,019
Likes: 20,036
I ain't takin your damn dash apart! Check the connection!
I bet you you have a loose connection AT the isimple...where the little cord plugs into it...

If you really need help, I will...since you're mostly stock, it won't be hard to take apart.
I bet you you have a loose connection AT the isimple...where the little cord plugs into it...

If you really need help, I will...since you're mostly stock, it won't be hard to take apart.
#2820
Thread Starter
Moderator
Chapter Leader (South Florida Region)
Chapter Leader (South Florida Region)
iTrader: (6)
Joined: Sep 2008
Posts: 78,019
Likes: 20,036
did it come with the car? it pigtails to your xm port on the bottom left of the radio (if you're looking facing it).
J.
here she was slammed down...
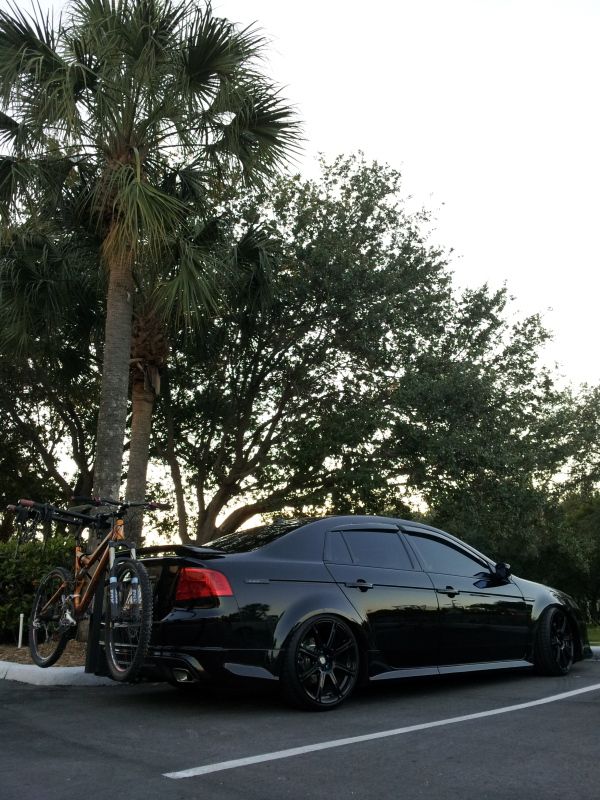
Back to comfortable ride height...whew!
It's so funny to me, it's a quarter inch, but the SICKNESS that is MOAR LOW makes you feel like you just raised it back up to 4 x 4 status! Just wan't driveable...and went to lunch in the car with a 180 pound coworker yesterday and that bish was harsh, imagine with 4 coworkers. I have always said, looking pretty is awesome...but it has to be functional.
J.
here she was slammed down...

Back to comfortable ride height...whew!
It's so funny to me, it's a quarter inch, but the SICKNESS that is MOAR LOW makes you feel like you just raised it back up to 4 x 4 status! Just wan't driveable...and went to lunch in the car with a 180 pound coworker yesterday and that bish was harsh, imagine with 4 coworkers. I have always said, looking pretty is awesome...but it has to be functional.

#2821
Look for the harness (no need to take the navi/radio out) and follow the magic kingdom to find the unit..
The following users liked this post:
Undying Dreams (04-28-2012)
#2823
takin care of Business in
iTrader: (5)
Joined: Jan 2008
Posts: 30,994
Likes: 4,732
From: Kansas City, MO
a little teaser for u J....
here is the original thread:
https://acurazine.com/forums/showthr...=843961&page=4
and you can use the following coupon codes for discount
" swoosh " for 5% off, $0 ~ $199.99
" swoosh200 " for 7% off, $200 ~ 499.99
" swoosh500 " for 10% off, $500+
here is the original thread:
https://acurazine.com/forums/showthr...=843961&page=4
and you can use the following coupon codes for discount

" swoosh " for 5% off, $0 ~ $199.99
" swoosh200 " for 7% off, $200 ~ 499.99
" swoosh500 " for 10% off, $500+
The following users liked this post:
civicdrivr (04-28-2012)
#2826
Thread Starter
Moderator
Chapter Leader (South Florida Region)
Chapter Leader (South Florida Region)
iTrader: (6)
Joined: Sep 2008
Posts: 78,019
Likes: 20,036

GP, what's the deal with the shock sensor install. Also, can you link me with where you are buying it please (on ebay!?)
a little teaser for u J....
http://www.youtube.com/watch?v=fx_n-NMycxg
here is the original thread:
https://acurazine.com/forums/showthr...=843961&page=4
and you can use the following coupon codes for discount
" swoosh " for 5% off, $0 ~ $199.99
" swoosh200 " for 7% off, $200 ~ 499.99
" swoosh500 " for 10% off, $500+
http://www.youtube.com/watch?v=fx_n-NMycxg
here is the original thread:
https://acurazine.com/forums/showthr...=843961&page=4
and you can use the following coupon codes for discount

" swoosh " for 5% off, $0 ~ $199.99
" swoosh200 " for 7% off, $200 ~ 499.99
" swoosh500 " for 10% off, $500+
Tyler, despite what you think, I don't do it on purpose. I told you, I let this mofo go where it needs to go. Can't help that it always finds its way home!

Last edited by rockstar143; 04-28-2012 at 12:49 PM.
#2827
The following users liked this post:
rockstar143 (04-28-2012)
#2830
Thread Starter
Moderator
Chapter Leader (South Florida Region)
Chapter Leader (South Florida Region)
iTrader: (6)
Joined: Sep 2008
Posts: 78,019
Likes: 20,036
Like my wiring job above?!? Those blue wires are Speaker wires soldered to the oem out of the radio wires...that connect to female RCA's. It's been a work in progress but I'm super happy with the outcome now.
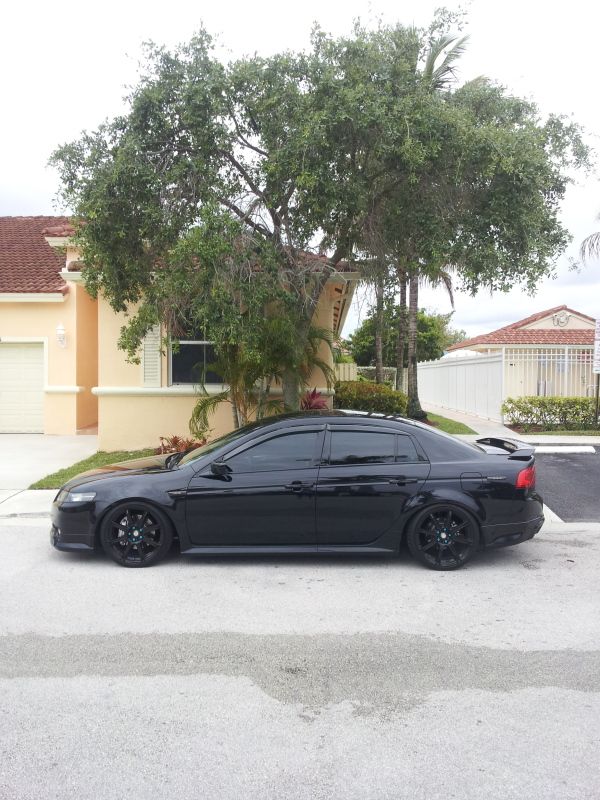
Ok, so didn't like how high the rear was...so went with even all around...one line before a 1/2 inch on the tape measure from bottom of shock body to bottom perch. Perfect...front and rear same.
Also, since I was in the console, I tightened up my ebrake a bit. Now, it takes about 8 clicks to be hard enough to hold the car...this is it, car is held strong and I can't pull it up much more. It's weird, you tighten one turn and the following turn the bolt kinda doesn't tighten, I'm guessing there's a system that does that to keep the tension there...like a groove or something, so it's one tightens click, one nothing click. Did about 10 of these, pretty extreme but it always seemed really sporty to me to have a short pull up to tighten the ebrake.
J.
here is max height I need to pull to hold the car in place...along with my black chrome mishimoto weighted shift knob.

Ok, so didn't like how high the rear was...so went with even all around...one line before a 1/2 inch on the tape measure from bottom of shock body to bottom perch. Perfect...front and rear same.

Also, since I was in the console, I tightened up my ebrake a bit. Now, it takes about 8 clicks to be hard enough to hold the car...this is it, car is held strong and I can't pull it up much more. It's weird, you tighten one turn and the following turn the bolt kinda doesn't tighten, I'm guessing there's a system that does that to keep the tension there...like a groove or something, so it's one tightens click, one nothing click. Did about 10 of these, pretty extreme but it always seemed really sporty to me to have a short pull up to tighten the ebrake.
J.
here is max height I need to pull to hold the car in place...along with my black chrome mishimoto weighted shift knob.

#2837
Thread Starter
Moderator
Chapter Leader (South Florida Region)
Chapter Leader (South Florida Region)
iTrader: (6)
Joined: Sep 2008
Posts: 78,019
Likes: 20,036
Yeah, I think it's the picture, I'll take more pics from a flat surface...I also realized today that when I lower the perches to that level, the spring comes down from the tophat on the back too and needs to be aligned as you take the car off the jack. I'm wondering how many times the damn spring was resting on the upper rubber and not in it! 
I love how easy it is to adjust the coils.
J
Morgan is right, there is an access panel, but for the 3G it's actually a panel to access the 2 screws that allow you to unscrew the rear part of the center console. SO, sidesill garnishes, then 2 screws, then other 2 screws, then unclip the light/12v acc thingy and pull it back and up. Then you'll see 2 cables connected to the back end of the ebrake...there is a 12MM nut in the center...tighten till you're happy!

The following 2 users liked this post by rockstar143:
civicdrivr (04-28-2012),
Dsrtne1 (04-28-2012)
#2840
Morgan is right, there is an access panel, but for the 3G it's actually a panel to access the 2 screws that allow you to unscrew the rear part of the center console. SO, sidesill garnishes, then 2 screws, then other 2 screws, then unclip the light/12v acc thingy and pull it back and up. Then you'll see 2 cables connected to the back end of the ebrake...there is a 12MM nut in the center...tighten till you're happy! 


You may to adjust the e-brake at the wheels themselves. If you have the wheel off, there should be a little rubber grommet on the top hat of the rotor. Pop that off, and spin it to the 6 o'clock position. Then take a flat head screwdriver and spin the star adjuster until there is a slight bit of drag when you spin the rotor. Then you can adjust the handbrake from inside the car.


 I'm hoping it's just loose in the back of the radio.
