
Functional Insert Vents

Thread Starter

Joined: Aug 2006
Posts: 10,870
Likes: 2,298
From: Music City
Functional Insert Vents
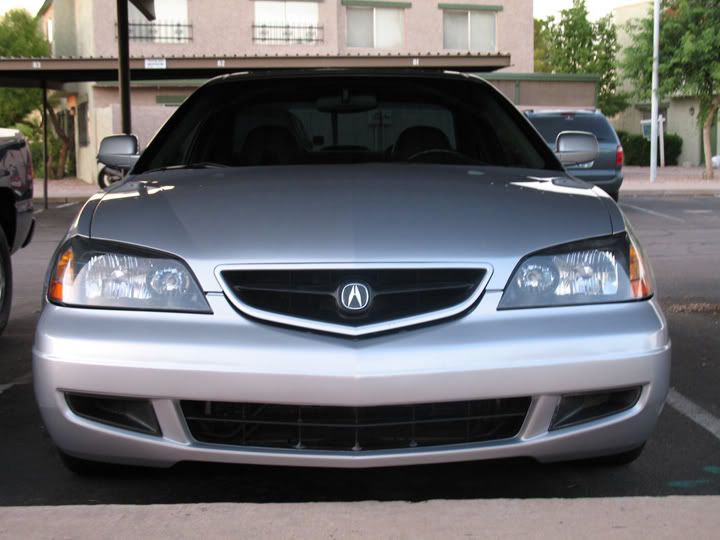
Just a teaser picture but more to come on Tuesday. Crappy cell phone picture but you get the idea. I cut out the fake vents and replaced them with actual vents. I also painted the inserts and lower grill satin black to match my grill. I think the vents coupled with my AEM CAI gave me like 20 HP!

Trending Topics

says "hello to my TLX".


Joined: Feb 2005
Posts: 5,789
Likes: 17
From: San Diego, Ca
it looks good. it certainly is functional for the Icebox/CAI's since the scoop is directly behind the bumper garnish. i haven't brought myself to do that yet. but it would paint the mesh black. this would work for you too. 
Thread Starter
Joined: Aug 2006
Posts: 10,870
Likes: 2,298
From: Music City
Originally Posted by Sun Diego CL-S
it looks good. it certainly is functional for the Icebox/CAI's since the scoop is directly behind the bumper garnish. i haven't brought myself to do that yet. but it would paint the mesh black. this would work for you too.
Well for you it'd look better black because you're NBP and blacked out, but for me I love the way it looks with my SSM. You'll see in the picts on Tuesday. It looks badass. But you're right, it should actually give me a sort of ram air effect with my CAI, but I'm sure it's very minimal.
Thread Starter
Joined: Aug 2006
Posts: 10,870
Likes: 2,298
From: Music City
Okay, I have nothing to do, so I installed software for my digital camera on my home laptop, so here's the DIY.
Here's all the parts and tools needed. I took the bumper cover off because it's easier to paint the lower grill with it off, but if you're just doing the inserts you can just take them off with a screw driver without taking the cover off, but obviously it's easier with access to the back.

Here's the plastic gutter guard material I bought from Home Depot. It was $1.80.

First step is cut out the fake vents on the back of the inserts. It's crutial you go slow and try to make the cut as straight as possible, but if it doesn't come out straight you can sand, file or use an x-acto knife to level the back off. After everything is straight sand the inserts and spray with your color of choice. I choose Rustolium Satin Black to match my grill.

Figure out which way you want the diamond pattern facing. I went with the same direction as the fake vents on the inserts.

After cutting out a panel big enough to wrap around the back of the insert, bend the ends over the back. Not only will this make it nice and snug but it'll give more surface area for the glue to hold it on.

Next paint the plastic gutter guard material what ever color you chose. I choose a silver metallic to match my SSM.

Next I masked off the bumper cover to spray the lower grill satin black to match the inserts and my grill that I painted satin black a while ago. It always bothered me that the inserts and lower grill were a little more gray than the satin black of the grill. Problem solved!

After the paint and the glue (used a plastic bonding glue from Wal-Mart, but I'm sure any permanent glue like Gorilla glue will work) are dry reassemble everything and enjoy the finished product.


Here's all the parts and tools needed. I took the bumper cover off because it's easier to paint the lower grill with it off, but if you're just doing the inserts you can just take them off with a screw driver without taking the cover off, but obviously it's easier with access to the back.
Here's the plastic gutter guard material I bought from Home Depot. It was $1.80.
First step is cut out the fake vents on the back of the inserts. It's crutial you go slow and try to make the cut as straight as possible, but if it doesn't come out straight you can sand, file or use an x-acto knife to level the back off. After everything is straight sand the inserts and spray with your color of choice. I choose Rustolium Satin Black to match my grill.
Figure out which way you want the diamond pattern facing. I went with the same direction as the fake vents on the inserts.
After cutting out a panel big enough to wrap around the back of the insert, bend the ends over the back. Not only will this make it nice and snug but it'll give more surface area for the glue to hold it on.
Next paint the plastic gutter guard material what ever color you chose. I choose a silver metallic to match my SSM.
Next I masked off the bumper cover to spray the lower grill satin black to match the inserts and my grill that I painted satin black a while ago. It always bothered me that the inserts and lower grill were a little more gray than the satin black of the grill. Problem solved!
After the paint and the glue (used a plastic bonding glue from Wal-Mart, but I'm sure any permanent glue like Gorilla glue will work) are dry reassemble everything and enjoy the finished product.

Originally Posted by CleanCL
why dont you just take out the whole plastic insert and put mesh behind the opening?
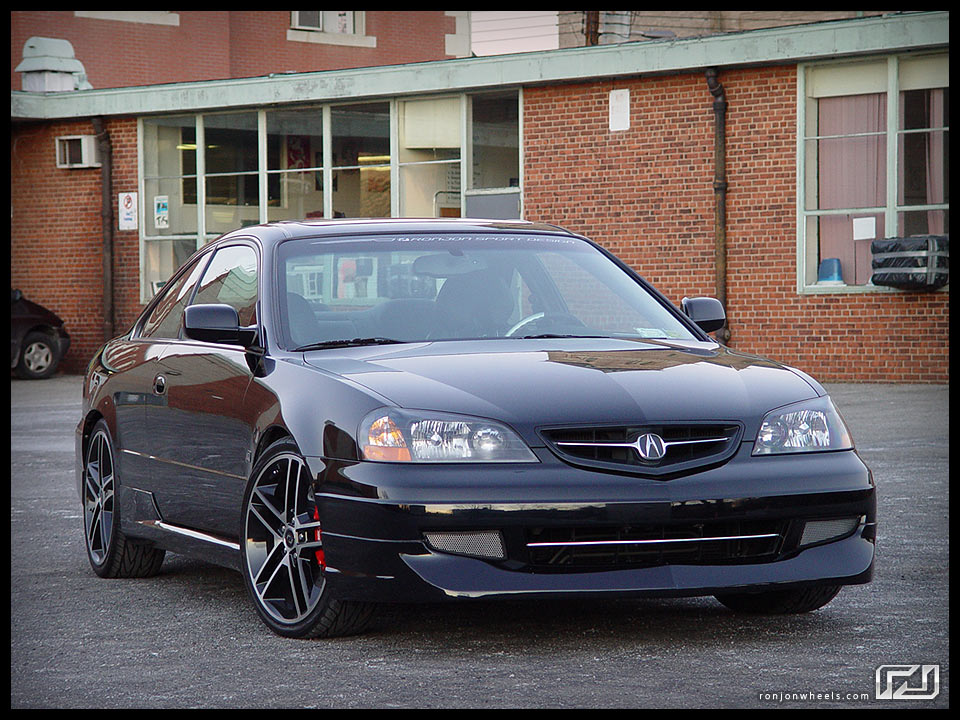


finally, this is how I ended up doing, just for a little contrast:

Thread Starter
Joined: Aug 2006
Posts: 10,870
Likes: 2,298
From: Music City
Thanks for the suggestions. It's a total up-to-you kind of mod, so obviously we all have different likes and dislikes.
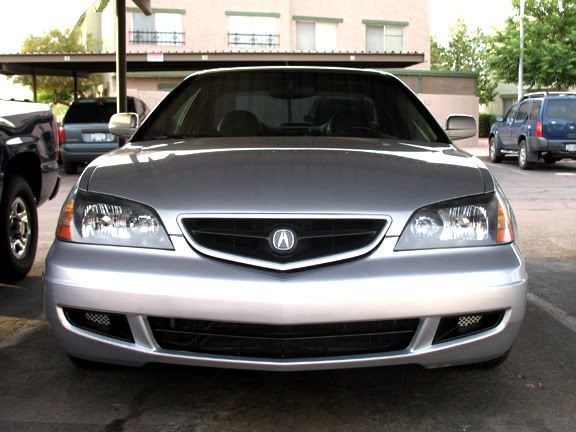
Well there's guides that are molded into the bumper cover (you can see them in the first pict) so it'd look kind of cheesy with those visible if you just attached material behind the opening, but I guess you could technically cut mesh to fit inside the opening flush with the bumper cover and some how attach it, but that would definitely take some skill to get them the perfect size and shape. Another reason I didn't do that was because the plastic mesh I bought wouldn't be big enough to fill the entire hole left from removing the insert. I'd have to go find another material. I also figured I'd just modify the inserts so if it didn't work either I could leave them without the mesh or just replace them. Plus call me crazy but I just kinda like the style of the inserts.
Not a hijack all all, Ron. I remember seeing your vents from a while back. I'm definitely not trying to say this is my original idea, I just figured I'd do a little DIY. I like how you painted yours to contrast the NBP. I'm happy with the way they are, I wasn't really too concerned about the actual functionability of them, ie taking in as much air as possible. I could go back and make the holes bigger but it's not like an inch or so will give that much more air flow. Plus it's just easier to make sure the holes are realatively the same size by just cutting the fake vent section out of the back because it's straight and not at an angle. Plus just like with CleanCLs suggestion the mesh sections aren't big enough to cover much more of a hole.
Originally Posted by CleanCL
why dont you just take out the whole plastic insert and put mesh behind the opening?
Originally Posted by rondog
Don't mean to hijack, but there are a few people doing it a little different than you. I think you should go back in and cit the hole a little bigger, to let even more air in, I liek the idea tho.
Originally Posted by SuperTrooper169
Thanks for the suggestions. It's a total up-to-you kind of mod, so obviously we all have different likes and dislikes.
Well there's guides that are molded into the bumper cover (you can see them in the first pict) so it'd look kind of cheesy with those visible if you just attached material behind the opening, but I guess you could technically cut mesh to fit inside the opening flush with the bumper cover and some how attach it, but that would definitely take some skill to get them the perfect size and shape. Another reason I didn't do that was because the plastic mesh I bought wouldn't be big enough to fill the entire hole left from removing the insert. I'd have to go find another material. I also figured I'd just modify the inserts so if it didn't work either I could leave them without the mesh or just replace them. Plus call me crazy but I just kinda like the style of the inserts.
Not a hijack all all, Ron. I remember seeing your vents from a while back. I'm definitely not trying to say this is my original idea, I just figured I'd do a little DIY. I like how you painted yours to contrast the NBP. I'm happy with the way they are, I wasn't really too concerned about the actual functionability of them, ie taking in as much air as possible. I could go back and make the holes bigger but it's not like an inch or so will give that much more air flow. Plus it's just easier to make sure the holes are realatively the same size by just cutting the fake vent section out of the back because it's straight and not at an angle. Plus just like with CleanCLs suggestion the mesh sections aren't big enough to cover much more of a hole.
i removed all the plastic in there and put mesh behind it.
again not to hijack your thread, but i did have a thread going around, something like "ronjon grill eat your heart out", lol. but i plan to go back in and shave those runners you are talking about to make the entire thing even and putting in some powdercoated mesh. i just haven't been motivated to do another project right now.
Thread Starter
Joined: Aug 2006
Posts: 10,870
Likes: 2,298
From: Music City
Originally Posted by kyle77777
Looks great, you really should paint the new vents black though. DO IT!
Also, you should have cleared your diffuser since you had the bumper off already IMO
Also, you should have cleared your diffuser since you had the bumper off already IMO

Thread Starter
Joined: Aug 2006
Posts: 10,870
Likes: 2,298
From: Music City
Originally Posted by CleanCL
there sure is mesh big enough, you just didn't look hard enough. ;]
i removed all the plastic in there and put mesh behind it.
again not to hijack your thread, but i did have a thread going around, something like "ronjon grill eat your heart out", lol. but i plan to go back in and shave those runners you are talking about to make the entire thing even and putting in some powdercoated mesh. i just haven't been motivated to do another project right now.

Gonna cost to catch up
Joined: Jul 2006
Posts: 1,859
Likes: 1
From: Olympia, WA
Originally Posted by lnarreola
hi where all you guys get those fog light covers from i really needthem?
Originally Posted by rondog
Don't mean to hijack, but there are a few people doing it a little different than you. I think you should go back in and cit the hole a little bigger, to let even more air in, I liek the idea tho.
finally, this is how I ended up doing, just for a little contrast:
finally, this is how I ended up doing, just for a little contrast:
Not a doctor

Joined: Jul 2006
Posts: 1,465
Likes: 1
From: Ramsey, NJ / Ithaca, NY
looks good maaan; nifty idea
i never realized they '03 vents didn't let air through. that seems a little silly
if i ever decide to swtich my road lamps for the 03 inserts, i'll definitely give this a shot
i never realized they '03 vents didn't let air through. that seems a little silly
if i ever decide to swtich my road lamps for the 03 inserts, i'll definitely give this a shot

Thread
Thread Starter
Forum
Replies
Last Post
4drviper
3G TL Audio, Bluetooth, Electronics & Navigation
1
Apr 23, 2025 07:13 PM
soupi
2G TSX Audio, Bluetooth, Electronics & Navigation
14
Nov 15, 2015 11:15 AM