
Current PROJECT you're working on


Intermediate
Joined: Mar 2009
Posts: 31
Likes: 0
 I just realized how I messed up with this line....
  Sorry buddy! hahaha
a2ndragoon89: yeah Honda Accord Hatchback, this is when I bought it.

and this is how it looks now

i like acura
Joined: Jan 2006
Posts: 2,431
Likes: 15
From: Bothell,WA


 Wish someone would have cought it...
Seriously though, it's a good thing that this happend so I am forced to open the lights again. Besides the dirty car and crooked bumper, they looked GREAT. I wasn't 100% happy with them. Just little slight differences and things I noticed was:
The headlight amber corners didn't match the bumper amber corners, The paint for the shroud came out a little too dark, and if you look hard enough, the shroud looks a little overcut on the inside. I'll get it right this time. 100% cause I'm not settleing for anything less. And this time I won't be rushed..
BTW Carson, you could post the meet pics if you want. I won't have enough time to realign the bumper or wash for a "finished retrofit" thread before I go to NY Monday. Their not finished anyway.

Haha, BTW... Today it was about 8pm and just got dark so ppl were flashing their lights at me because I didn't have my lights on so I could turn them on. 5 minutes later, I have people flashing their lights at me because I had my lights on and was blinding everyone!
Just disconnected the HIDs and am running the highbeam --> lowbeam mod now.
Just disconnected the HIDs and am running the highbeam --> lowbeam mod now.
Three Wheelin'
Joined: Feb 2009
Posts: 1,942
Likes: 11
From: Mooresville NC
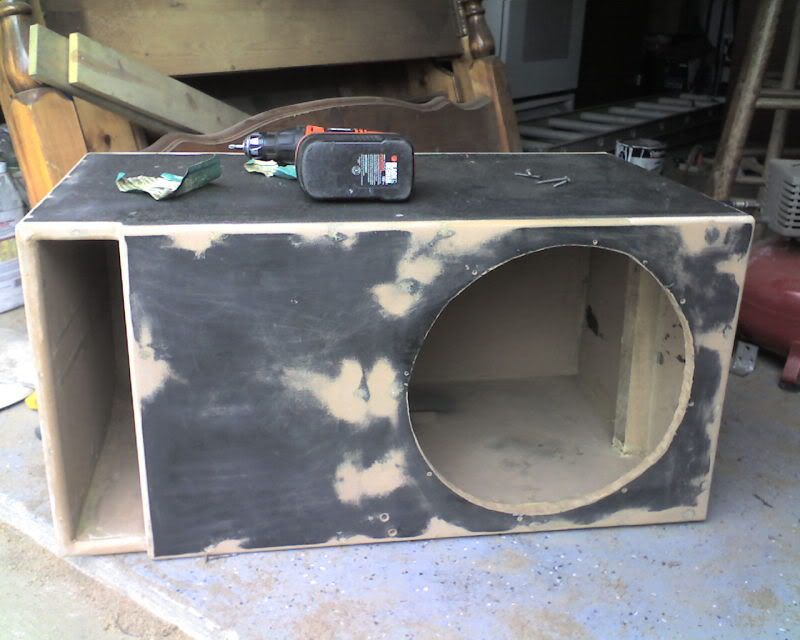
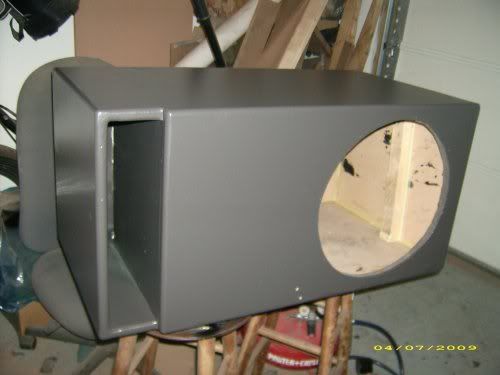
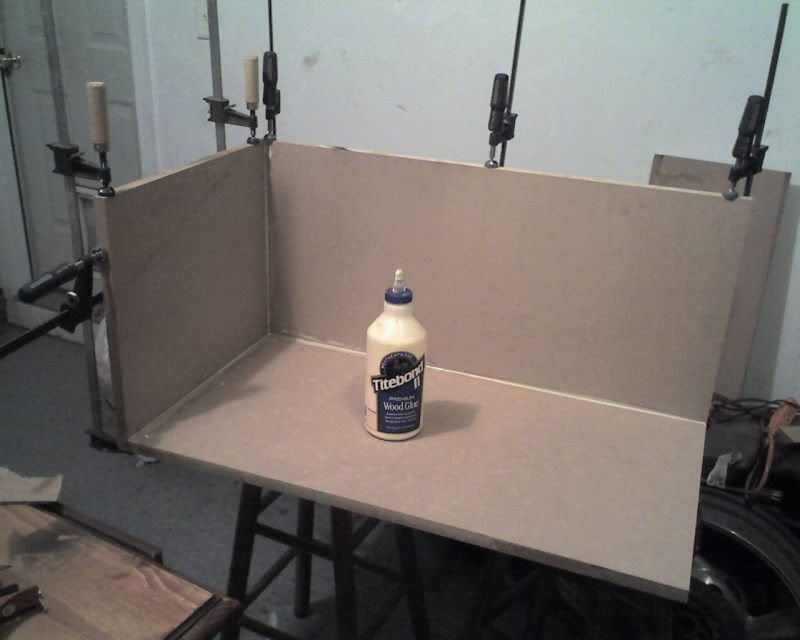
i think the accord looked better stock but hey that's just me. As for me im redoing my sub box. Rounding the edges counter sinking the screws and filling them in. I have a few days to get stuff done as the cl is broken down waiting on the new alternator. I'm either gonna paint the box white to match the ext or gray to match the int.
Three Wheelin'
Joined: Feb 2009
Posts: 1,942
Likes: 11
From: Mooresville NC
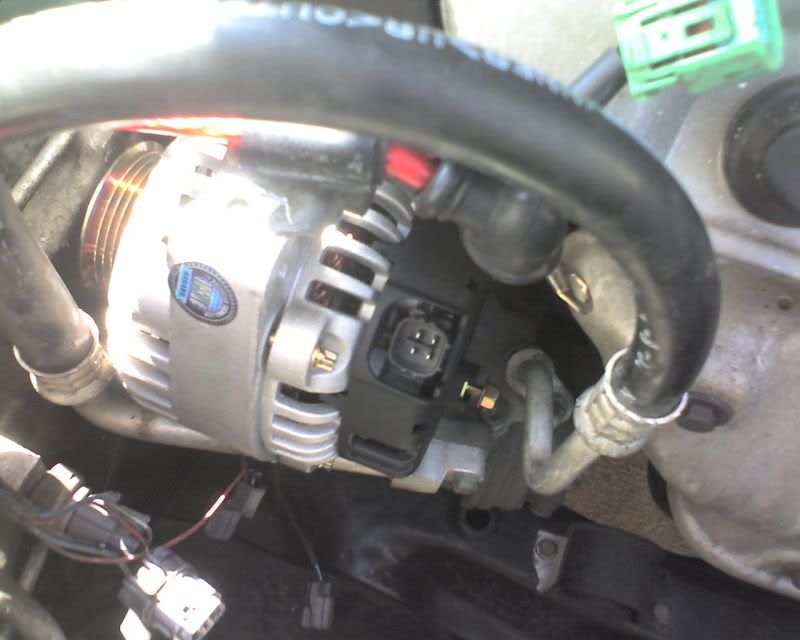
Now im elbow deep in the alternator replacement. I've got the old one out and new one bolted up just waiting on my friend to come help with the tension belt and all should be done. Also all is to thanks to fliplyricist1 for his write up on the 3.0 alt change. First pic is of old alt second is of new one 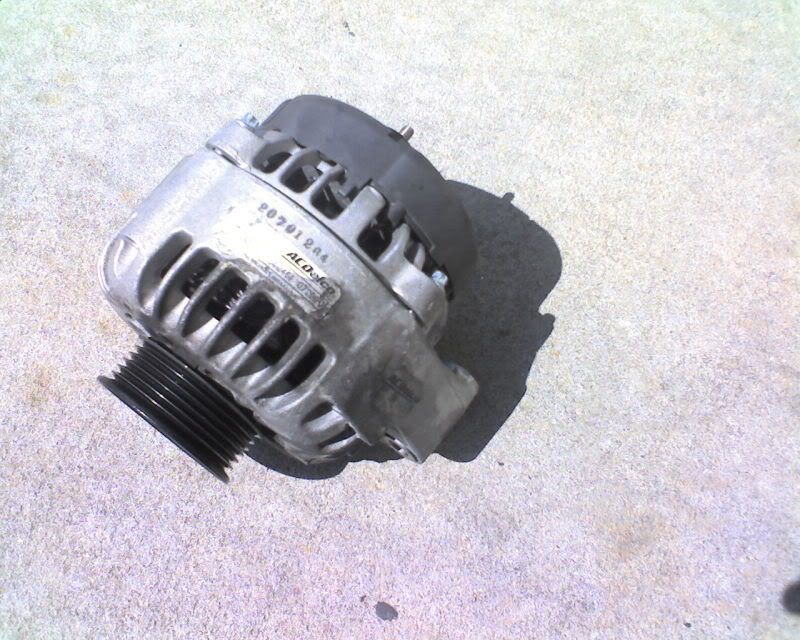
Three Wheelin'
Joined: Feb 2009
Posts: 1,942
Likes: 11
From: Mooresville NC
Well put a check on this project the hardest part was getting the rear bolt out of the alt and the tension bolt. Good to be back on the road, and now im staying above 12.4 which before was dropping to 11.4. Good times
Three Wheelin'
Joined: Feb 2009
Posts: 1,942
Likes: 11
From: Mooresville NC
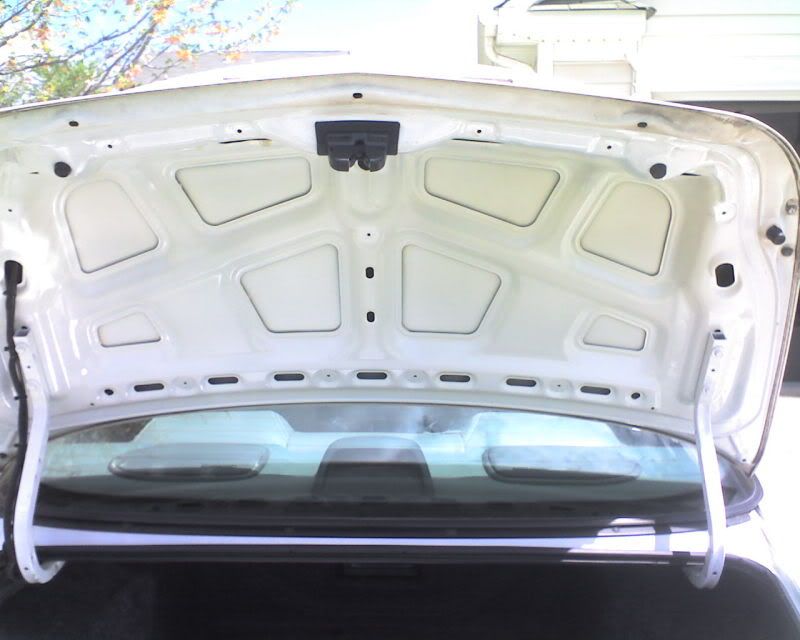
Ok on to the next project for me I just picked up 5 sheets 13x30 of cascade vmax sound damper for $50 shipped it's about 13.5 sq feet worth. Should be plenty to do my trunk lid on maybe a few other panels.


 So sexy
Thread Starter
Joined: Jan 2005
Posts: 92,767
Likes: 4,684
From: ShitsBurgh
Had to buy new airbag screws and the 3 outer trim covers for the steering wheel, so I installed those so I can officially check the steering wheel conversion off my list.

Also my buddy put my alternator and battery wires backwards, so I fixed that, didn't test if yet thank god

Since my big 3 pos wire upgrade is done, I installed my v 6 p grounding kit, pretty straight forward, I got a little confused where you have to make your own grounding point, but I figured it out, I also ran the long ground wire in the front instead of the back because it was easier.
Use of stock grounding point for battery

Instead of removing hoses for grounding point, I used the stock alternator ground point

New grounding point you have to create

Cleaned up my amp wires while I was at it

Also my buddy put my alternator and battery wires backwards, so I fixed that, didn't test if yet thank god
Since my big 3 pos wire upgrade is done, I installed my v 6 p grounding kit, pretty straight forward, I got a little confused where you have to make your own grounding point, but I figured it out, I also ran the long ground wire in the front instead of the back because it was easier.
Use of stock grounding point for battery
Instead of removing hoses for grounding point, I used the stock alternator ground point
New grounding point you have to create
Cleaned up my amp wires while I was at it
Thread Starter
Joined: Jan 2005
Posts: 92,767
Likes: 4,684
From: ShitsBurgh
Yeah, it all looks factory minus the amp wires, those will be dealt with soon enough, it'll all be black like 
Look how stealth I made zero's install

My original install had black tubing, just been lazy with these since I've rerun my wires like 8 times
I just got a roll of black silicone hose to redo all my vaccuum hoses too, the black continues greatest smilie evarrrr
Look how stealth I made zero's install
My original install had black tubing, just been lazy with these since I've rerun my wires like 8 times
I just got a roll of black silicone hose to redo all my vaccuum hoses too, the black continues
greatest smilie evarrrr
Senior Moderator
Joined: May 2003
Posts: 7,980
Likes: 79
From: Central FL...PSU Nittany Lion
Thread Starter
Joined: Jan 2005
Posts: 92,767
Likes: 4,684
From: ShitsBurgh
Cleaned up my wiring on the passenger side of the bay last night, mounted my ballast on that side also finally. I have to rewire the driver side ballast wiring due to a cold solder 
Ground wires are done, but can't put battery back in yet because I need to get a bracket fabricated for my rad overflow bottle first, it never ends
Remember, if it ain't custom, it aint the black ack
Ground wires are done, but can't put battery back in yet because I need to get a bracket fabricated for my rad overflow bottle first, it never ends
Remember, if it ain't custom, it aint the black ack
Three Wheelin'
Joined: Feb 2009
Posts: 1,942
Likes: 11
From: Mooresville NC
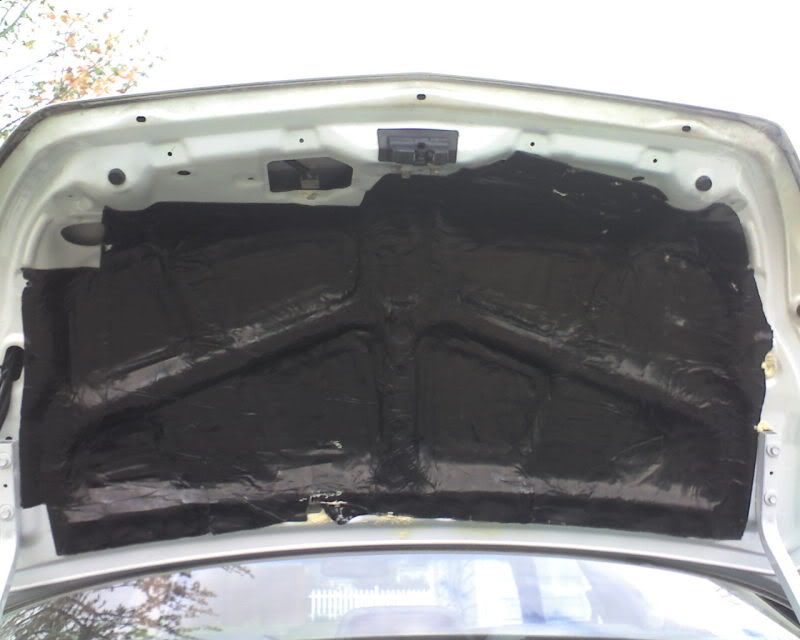
Well am in the process of deadening my trunk. So far the lid is done. Has 2.5 sheets of cascade v-max and 3 cans of expanding foam. Helps I could tell a noticeable diff in sound output. And not as bad rattling. Had to take the lid off the car to do it. Not 100% finished with the lid yet
Advanced
Joined: Apr 2009
Posts: 83
Likes: 0
My project is getting the 2.2cl road worthy..
- Oil change
- Trans. fluid change
- Cooling system flush
- Distributor
- Plug wires
- Plugs
- Fuel filter
- Air filter, but thinking of V2 as first mod?
- Alignment, possibly with rims (might want to sell)
Any advice would be nice, DIY for the fuel filter would be too.
- Oil change
- Trans. fluid change
- Cooling system flush
- Distributor
- Plug wires
- Plugs
- Fuel filter
- Air filter, but thinking of V2 as first mod?
- Alignment, possibly with rims (might want to sell)
Any advice would be nice, DIY for the fuel filter would be too.
Drifting
Joined: Mar 2009
Posts: 2,367
Likes: 1
From: Franklin, Indiana
My project is getting the 2.2cl road worthy..
- Oil change
- Trans. fluid change
- Cooling system flush
- Distributor
- Plug wires
- Plugs
- Fuel filter
- Air filter, but thinking of V2 as first mod?
- Alignment, possibly with rims (might want to sell)
Any advice would be nice, DIY for the fuel filter would be too.
- Oil change
- Trans. fluid change
- Cooling system flush
- Distributor
- Plug wires
- Plugs
- Fuel filter
- Air filter, but thinking of V2 as first mod?
- Alignment, possibly with rims (might want to sell)
Any advice would be nice, DIY for the fuel filter would be too.
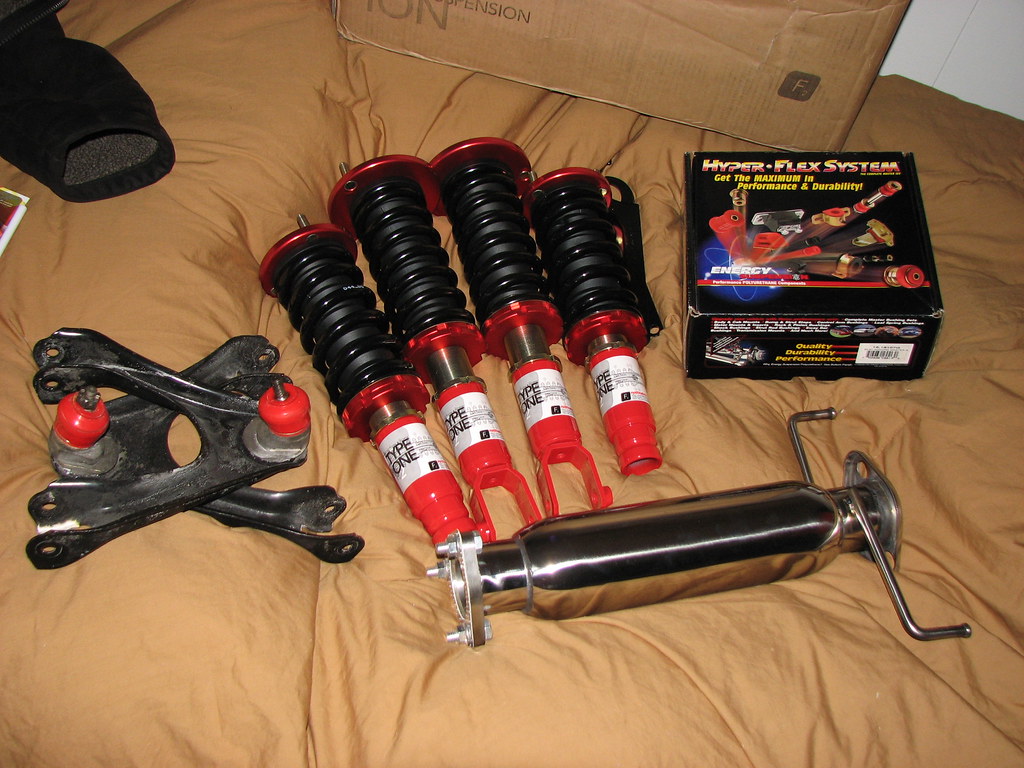
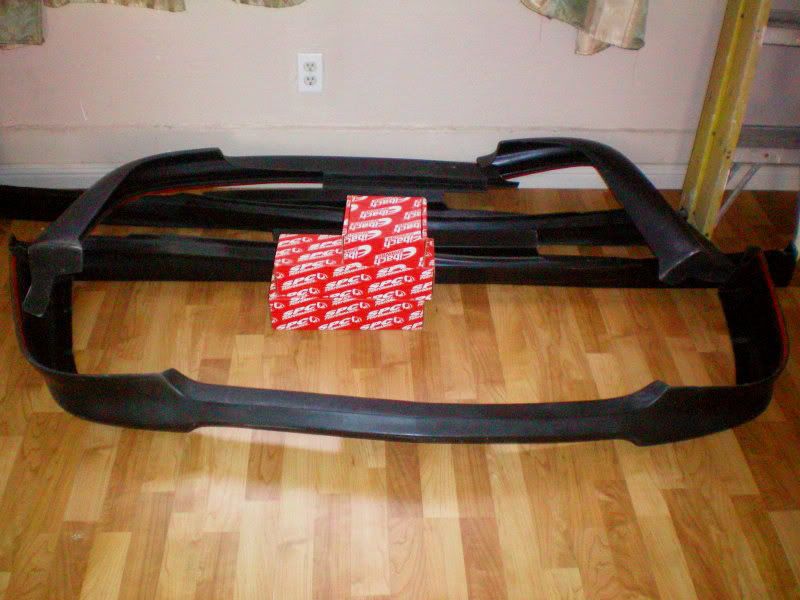
So I just picked this up, now I have to hitup my friend that has a bodyshop see how much and when
It was a steal I got it with camber kit for $225, he already cut the rear and we measured it fits perfect
lip kit(wings west)
It was a steal I got it with camber kit for $225, he already cut the rear and we measured it fits perfect
lip kit(wings west)
Drifting
Joined: Jan 2008
Posts: 2,130
Likes: 10
From: Lebanon, Ohio
I got my car on a meter today, and did a 137.8db at 43Hz. I took 2nd in my class and got beat by a dude who had 3kw (I only have ~1200). Unfortunately, I was the quietest guy at the show, but I was also in the lowest class (Street A for those that are interested), so whatever... I'll post a build log in the newly formed Audio section here on the 1st gen CL subforum... Stay posted if you're interested, and I'm working on a new box design/build to try and get up near 140db with only 1200w... Should be a fun challenge, especially with (currently) no deadener and the back seats have to be up since they don't fold down by design...

Thread Starter
Joined: Jan 2005
Posts: 92,767
Likes: 4,684
From: ShitsBurgh
https://acurazine.com/forums/showthread.php?p=10802436

 the body roll has significantly decreased!! It's definitely way stiffer.