


Keezer Build


Thread Starter
Moderator
Regional Coordinator (Southeast)
Regional Coordinator (Southeast)


Joined: Dec 2003
Posts: 44,126
Likes: 4,434
From: Mooresville, NC
Keezer Build
So I have wanted to build a keezer for a few years now. For those that don't know a keezer is a chest freezer turned into a kegorator. I have been gathering some parts here and there over the last couple months and ordered the last of them last week so they should be here this week. I am going to be building this out of a small 5.0cuft freezer I picked up on a clearance sale this spring at Best Buy. Most people use larger ones but I have an exact place I want it to fit and I don't brew on my own so two commercial 1/6th barrels is plenty of beer at the house.
It took me a good while to figure out what all parts I would order for it. I knew I wanted everything to be stainless steel as I don't want to ever have to replace anything and I have read that the chrome plated parts can have issues after a while. Do it once.
Beer syste parts: (I will cover the parts I end up using for the outside enclosure as I figure those parts out)
Isignia 5.0cuft Chest Freezer
MicroMatic Premium Primary Regulator
MicroMatic Premium Secondary Regulator
MicroMatic Stainless Steel Sanke Coupler Stainless x2
10lb co2 tank
Perlick 650 Stainless Steel Faucet x2
Perlick Growler Filler
6 1/4 Stainless Steel Shank x2
3/16 ID Stainless Steel tail piece x4
Beer nut Stainless Steel x4
PVC Free Antimicrobial beer line 20ft
PVC Free gas line 20ft
3/4" hose clamp stainless steel x7
1/2" hose clamp stainless steel x5
Inkbird Temp Controller
Faucet Shank Wrench
For about as long as I have wanted to build one of these I have been trying to figure out what kind of design I want to build. Do I really want to build it basic with just a collar around the top for the faucets or do I want to go all out and fully enclose and hide the freezer. As of right now it is going in my garage but I still want it to look good so it will be getting inclosed. After that you still have to decide do I want the faucets coming off the side of the freezer or a beer tower. Turns out my freezer choice kind of made the decision for me. since I am using only a 5.0cuft freezer I need at least a 11in collar around the top to allow it to hold two 1/6 barrel kegs. That plus adding wheels to the freezer will make the top about 50-52in which would just put the tower up higher than I wanted. So I have found a design I am going to copy structure wise and a second design I will copy finish wise.
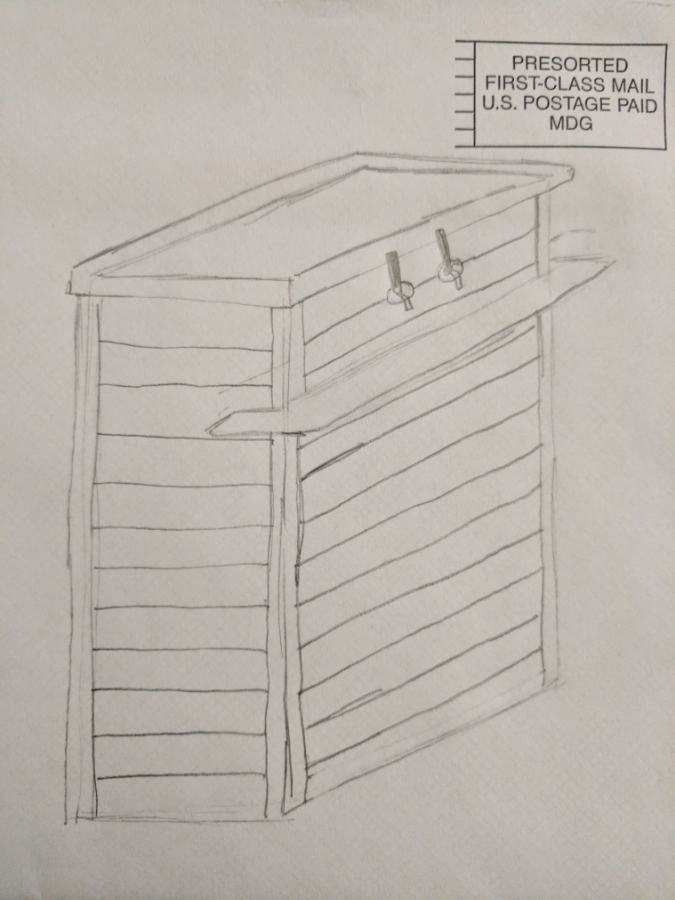
Design wise I will be going similar to this. (Haier 7.1 Keezer - Home Brew Forums) I want a more rustic look though so I will be finishing the outside like this instead. (DIY Beer Bar - Album on Imgur)
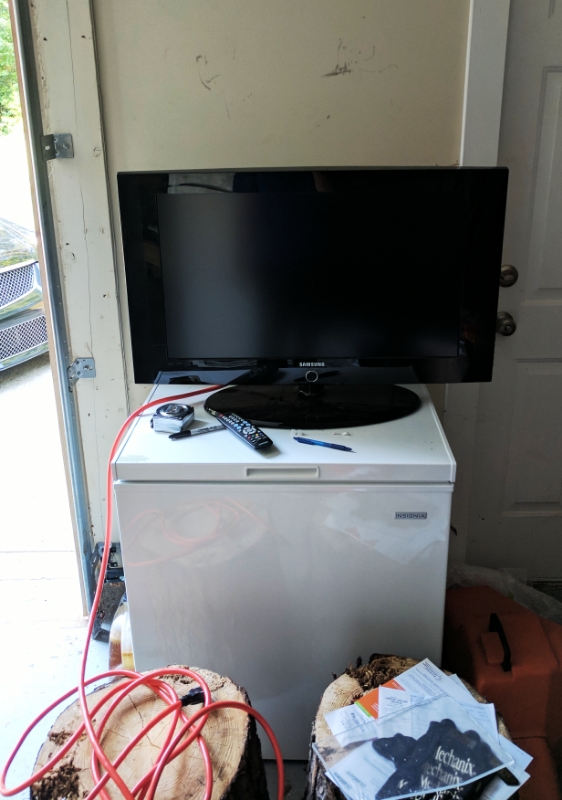
My small chest freezer which fits in my garage in the wasted space between my garage door and my person door to the garage.
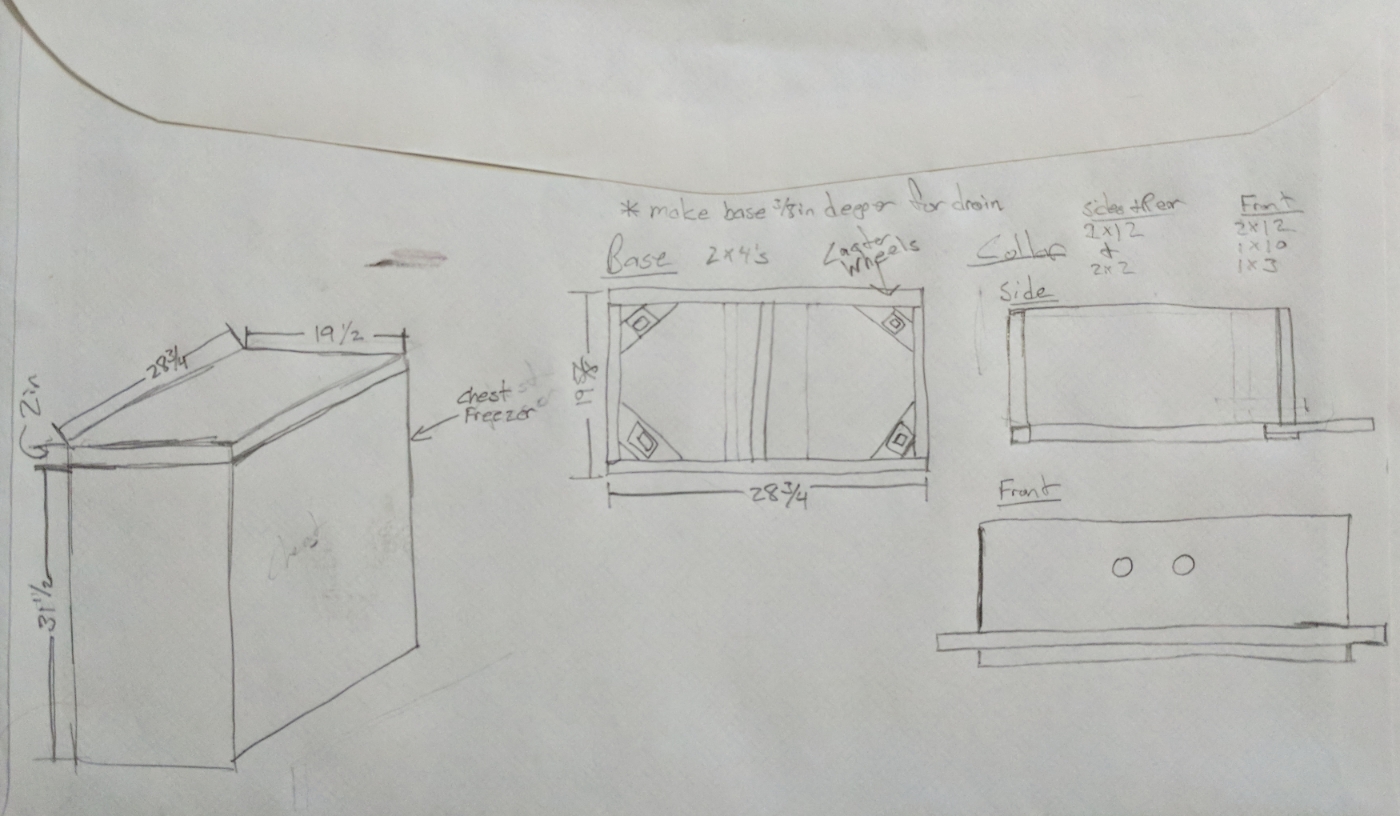
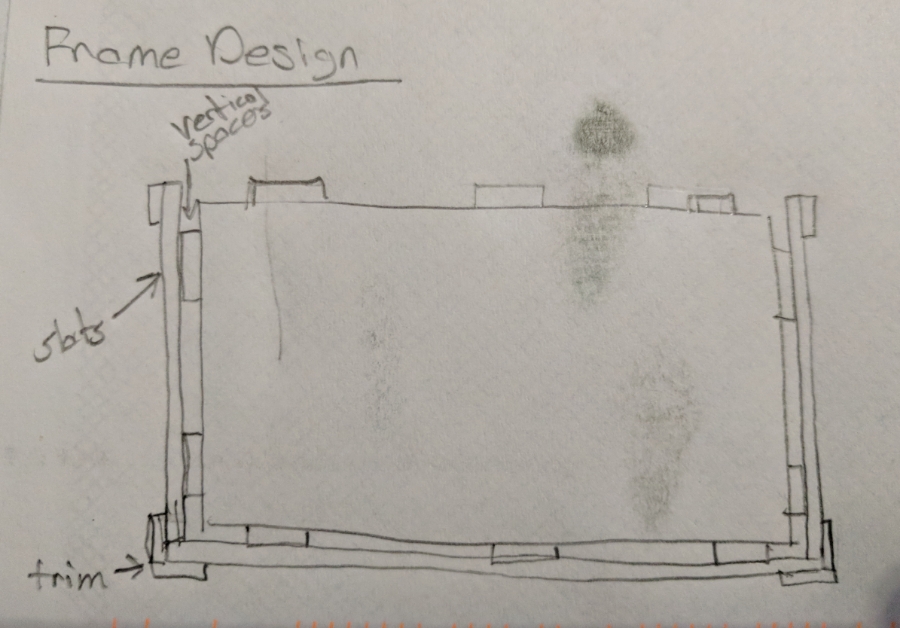
Here are some sketches I have been working on last night for my compiled design.
It took me a good while to figure out what all parts I would order for it. I knew I wanted everything to be stainless steel as I don't want to ever have to replace anything and I have read that the chrome plated parts can have issues after a while. Do it once.
Beer syste parts: (I will cover the parts I end up using for the outside enclosure as I figure those parts out)
Isignia 5.0cuft Chest Freezer
MicroMatic Premium Primary Regulator
MicroMatic Premium Secondary Regulator
MicroMatic Stainless Steel Sanke Coupler Stainless x2
10lb co2 tank
Perlick 650 Stainless Steel Faucet x2
Perlick Growler Filler
6 1/4 Stainless Steel Shank x2
3/16 ID Stainless Steel tail piece x4
Beer nut Stainless Steel x4
PVC Free Antimicrobial beer line 20ft
PVC Free gas line 20ft
3/4" hose clamp stainless steel x7
1/2" hose clamp stainless steel x5
Inkbird Temp Controller
Faucet Shank Wrench
For about as long as I have wanted to build one of these I have been trying to figure out what kind of design I want to build. Do I really want to build it basic with just a collar around the top for the faucets or do I want to go all out and fully enclose and hide the freezer. As of right now it is going in my garage but I still want it to look good so it will be getting inclosed. After that you still have to decide do I want the faucets coming off the side of the freezer or a beer tower. Turns out my freezer choice kind of made the decision for me. since I am using only a 5.0cuft freezer I need at least a 11in collar around the top to allow it to hold two 1/6 barrel kegs. That plus adding wheels to the freezer will make the top about 50-52in which would just put the tower up higher than I wanted. So I have found a design I am going to copy structure wise and a second design I will copy finish wise.
Design wise I will be going similar to this. (Haier 7.1 Keezer - Home Brew Forums) I want a more rustic look though so I will be finishing the outside like this instead. (DIY Beer Bar - Album on Imgur)
My small chest freezer which fits in my garage in the wasted space between my garage door and my person door to the garage.
Here are some sketches I have been working on last night for my compiled design.

Joined: Jan 2005
Posts: 92,775
Likes: 4,687
From: ShitsBurgh
Very cool project, I had to check and make sure I was on AZine and not my home brewer forum when I saw the thread title, then said "wonder if' it's Colts"  Been wanting to build something like this but haven't wanted to get into kegging my homebrew yet. Interested to see how this project turns out
Been wanting to build something like this but haven't wanted to get into kegging my homebrew yet. Interested to see how this project turns out

Safety Car
Joined: Oct 2002
Posts: 3,963
Likes: 811
From: NJ
not sure what the benefit is except for the cool factor. Beer comes in a glass, and when you're done you toss it into the recycling can. No clean up. Gotta love it.
I mean, some of the neighbors might think we're alcoholics when the recycling guy hits our house after the weekend and they hear the large crashing noise as he's dumping our can into the back of his truck, but I don't care.
I mean, some of the neighbors might think we're alcoholics when the recycling guy hits our house after the weekend and they hear the large crashing noise as he's dumping our can into the back of his truck, but I don't care.
Thread Starter
Moderator
Regional Coordinator (Southeast)
Regional Coordinator (Southeast)
Joined: Dec 2003
Posts: 44,126
Likes: 4,434
From: Mooresville, NC
Very cool project, I had to check and make sure I was on AZine and not my home brewer forum when I saw the thread title, then said "wonder if' it's Colts" Been wanting to build something like this but haven't wanted to get into kegging my homebrew yet. Interested to see how this project turns out
Been wanting to build something like this but haven't wanted to get into kegging my homebrew yet. Interested to see how this project turns out I have been researching for months on those but still haven't joined any of them. I definitely will keep it updated. My brother quickly switched to kegging not long after he started and he said it made him want to brew more since you don't have to clean and fill all those bottles to enjoy your brew. He built a 5 tap keezer and normally keeps 1 commercial keg on and then 4 of his own on in soda kegs.
Trending Topics
Thread Starter
Moderator
Regional Coordinator (Southeast)
Regional Coordinator (Southeast)
Joined: Dec 2003
Posts: 44,126
Likes: 4,434
From: Mooresville, NC
not sure what the benefit is except for the cool factor. Beer comes in a glass, and when you're done you toss it into the recycling can. No clean up. Gotta love it.
I mean, some of the neighbors might think we're alcoholics when the recycling guy hits our house after the weekend and they hear the large crashing noise as he's dumping our can into the back of his truck, but I don't care.
I mean, some of the neighbors might think we're alcoholics when the recycling guy hits our house after the weekend and they hear the large crashing noise as he's dumping our can into the back of his truck, but I don't care.
Thankfully our recycling company gives us full size trash cans on wheels with lids so my neighbors can't see how much I go through.
Joined: Jan 2005
Posts: 92,775
Likes: 4,687
From: ShitsBurgh
Safety Car
Joined: Oct 2002
Posts: 3,963
Likes: 811
From: NJ
Cruisin'
Joined: Jan 2017
Posts: 16
Likes: 3
From: Greensboro NC
[QUOTE=CCColtsicehockey;16092268]I have not started home brewing yet actually. Too many hobbies and not enough time yet to add another one. Have always wanted a kegorator to keep beer on tap at the house but what finally pushed me over the edge is access to a keg of something I wouldn't be able to get otherwise. A local bottle shop with 16 tap system only carries independent breweries. Where a brewery was sold that they had a limited release keg of they asked me if I wanted it for cost. I said sure if they can hold it for a month or two so I can get my design together and finally finish ordering parts. I am coming up on my two months here soon and with college and pro football starting and hockey starting up not much after what better time to have fresh beer on tap.
That's a solid idea man. Are you gonna mount the Co2 on the back/side or will it fit in the keezer itself?
That's a solid idea man. Are you gonna mount the Co2 on the back/side or will it fit in the keezer itself?
Thread Starter
Moderator
Regional Coordinator (Southeast)
Regional Coordinator (Southeast)
Joined: Dec 2003
Posts: 44,126
Likes: 4,434
From: Mooresville, NC
Based on a diagram on homebrewtalk it appears I should be able to just fit two 1/6 barrels and the 10lb inside the keezer. Never measured for it so hopefully it will.



does no one in the States offer money back for empties? We get 10cents a bottle here, so we keep ours to return. When I was in Myrtle Beach a few weeks ago, it was hard to throw them out!

California does, sort of. I mean, we have to pay a CRV tax when we buy bottles, but then we can take them to the recycling planet and get it back.
 This I might be down for once I get this built.
Joined: Jan 2005
Posts: 92,775
Likes: 4,687
From: ShitsBurgh
Thread Starter
Moderator
Regional Coordinator (Southeast)
Regional Coordinator (Southeast)
Joined: Dec 2003
Posts: 44,126
Likes: 4,434
From: Mooresville, NC
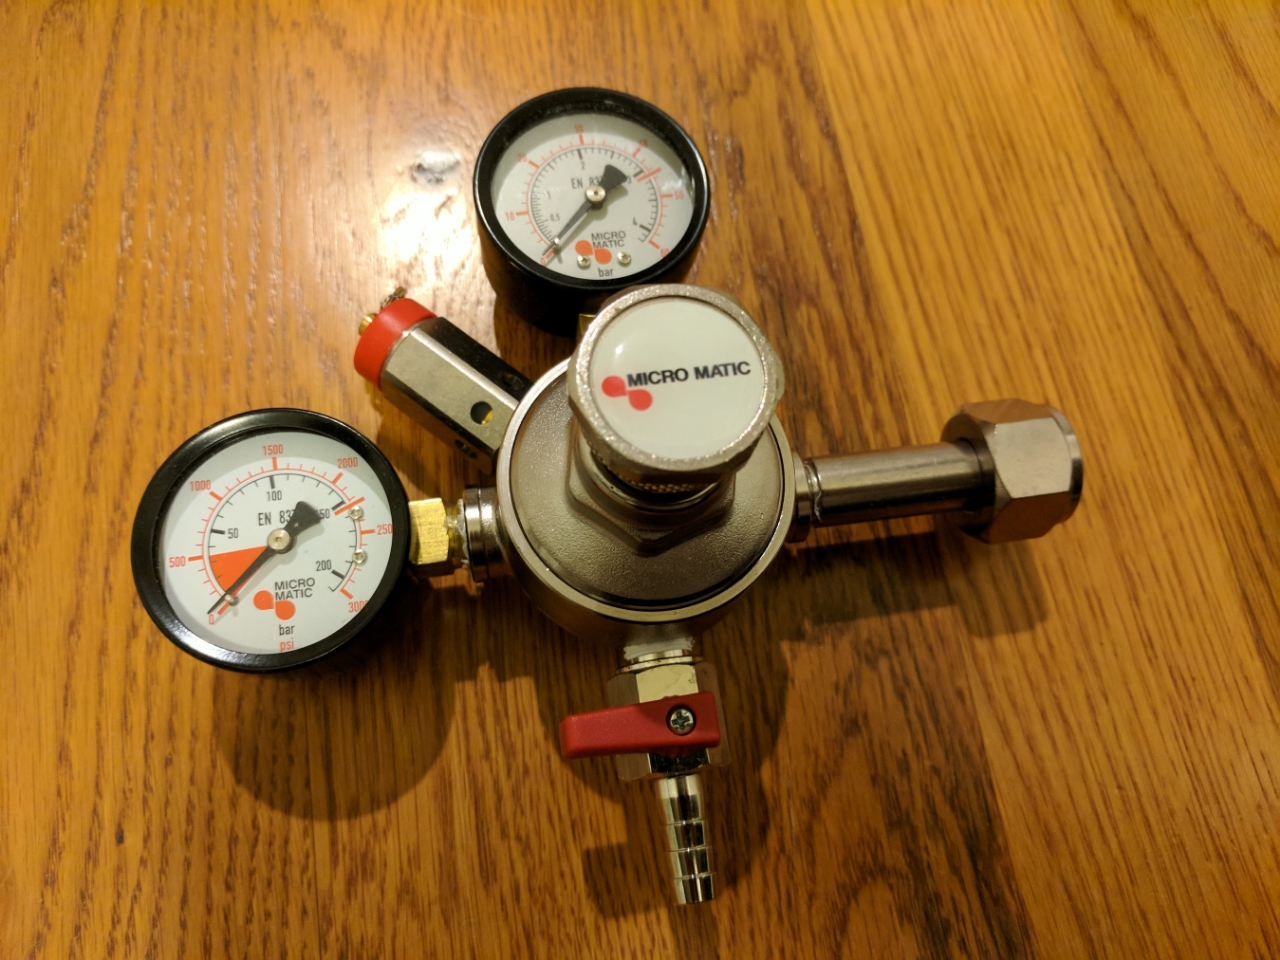
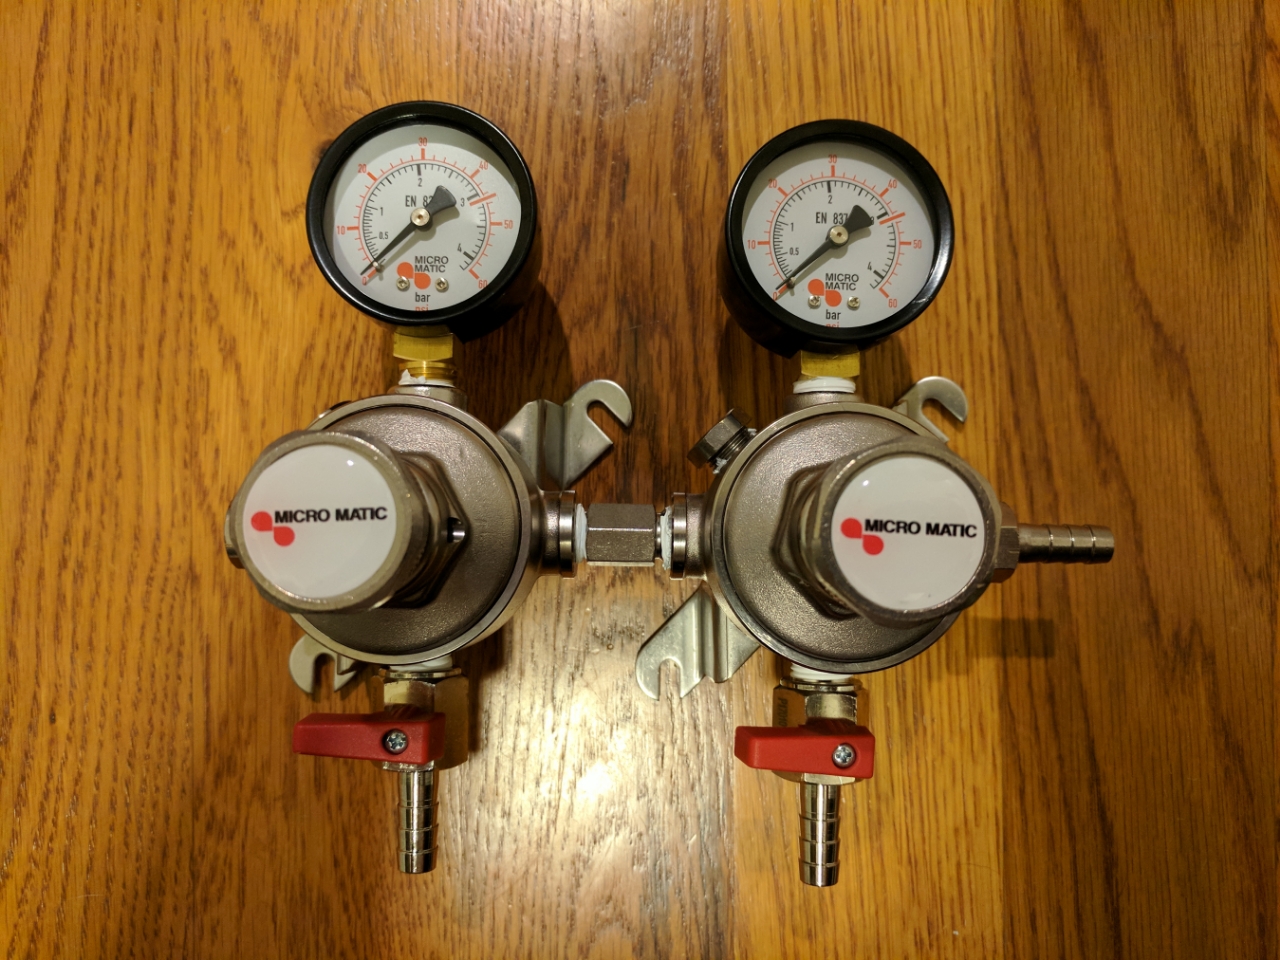
The last of the beer parts have arrived this week. The regulators were the last thing I made a decision on.
Primary Regulator
Secondary Regulator
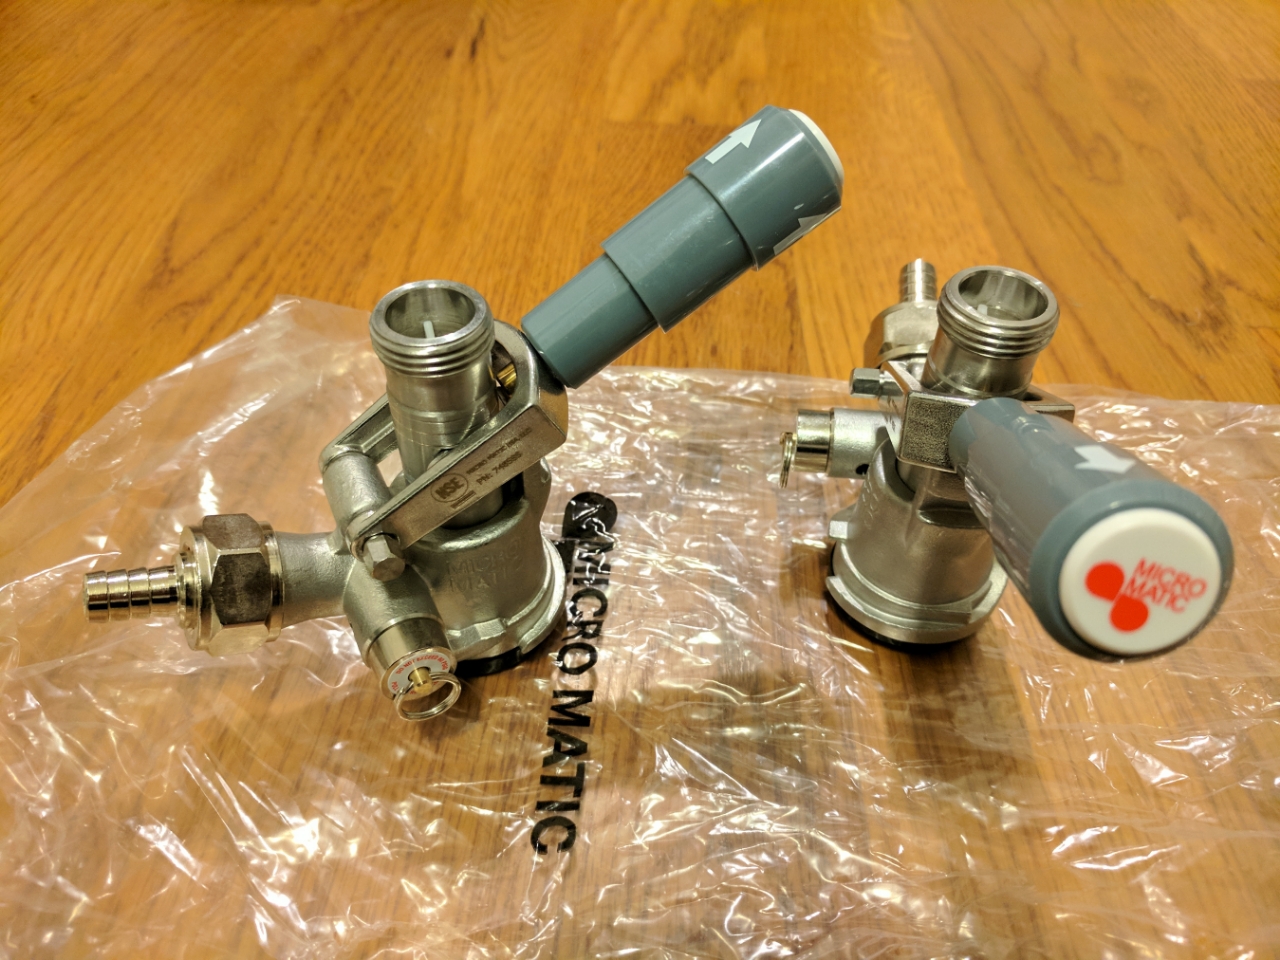
Sanke Couplers
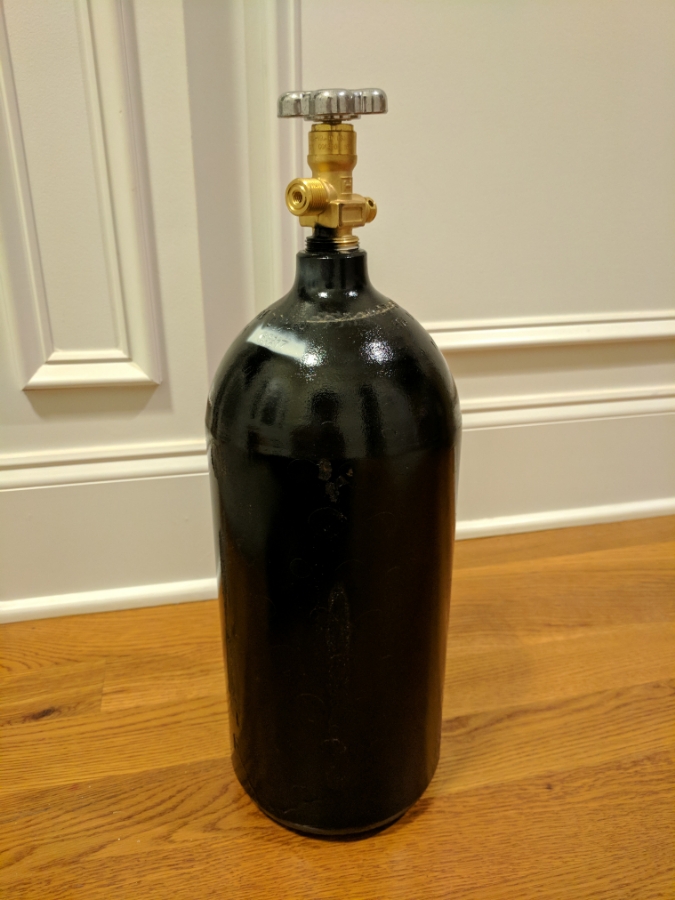
10lb co2 tank. Bought a reconditioned one as they are half the price of a new one
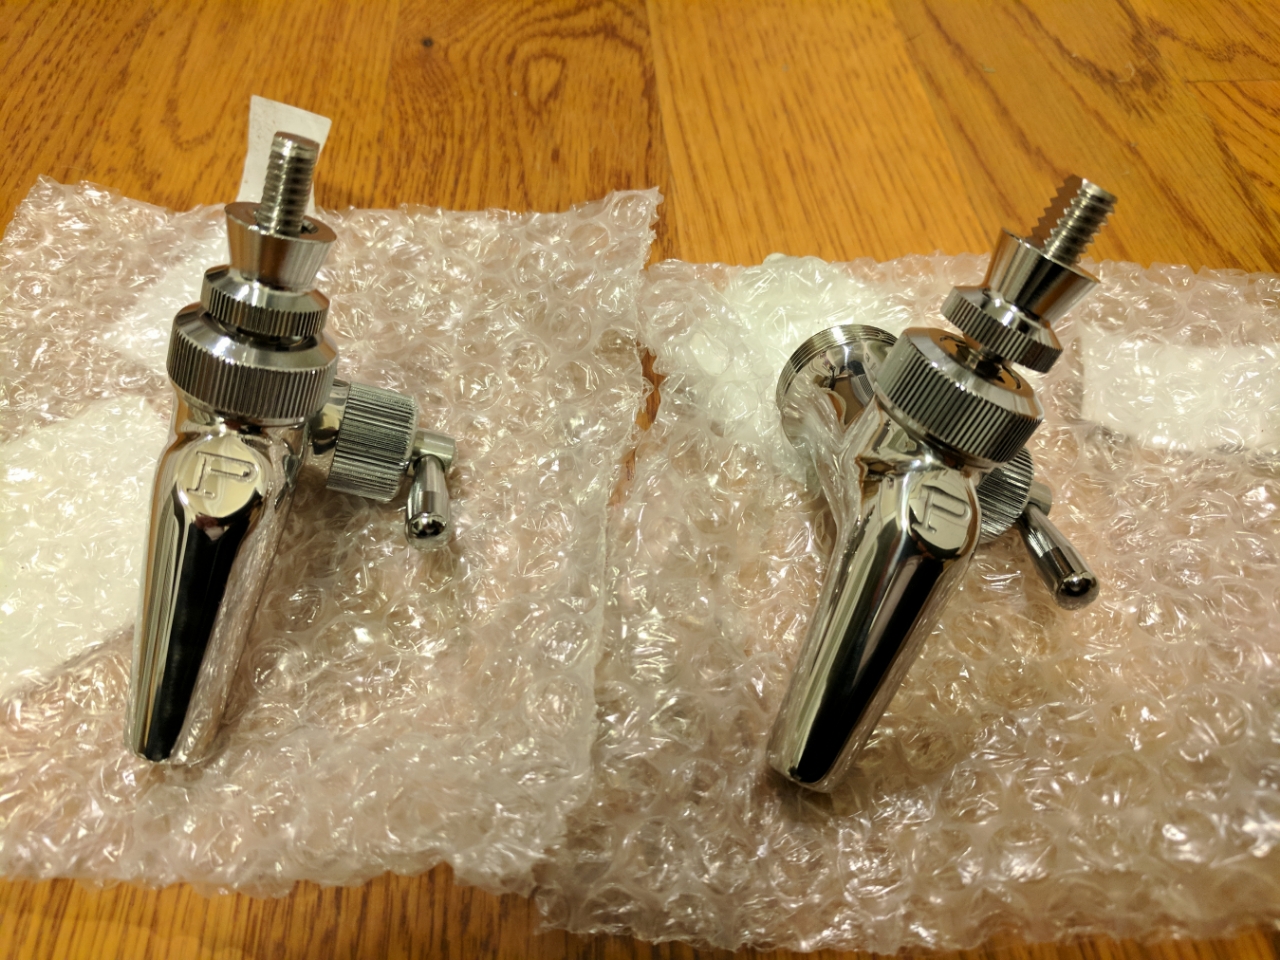
Perlick 650SS
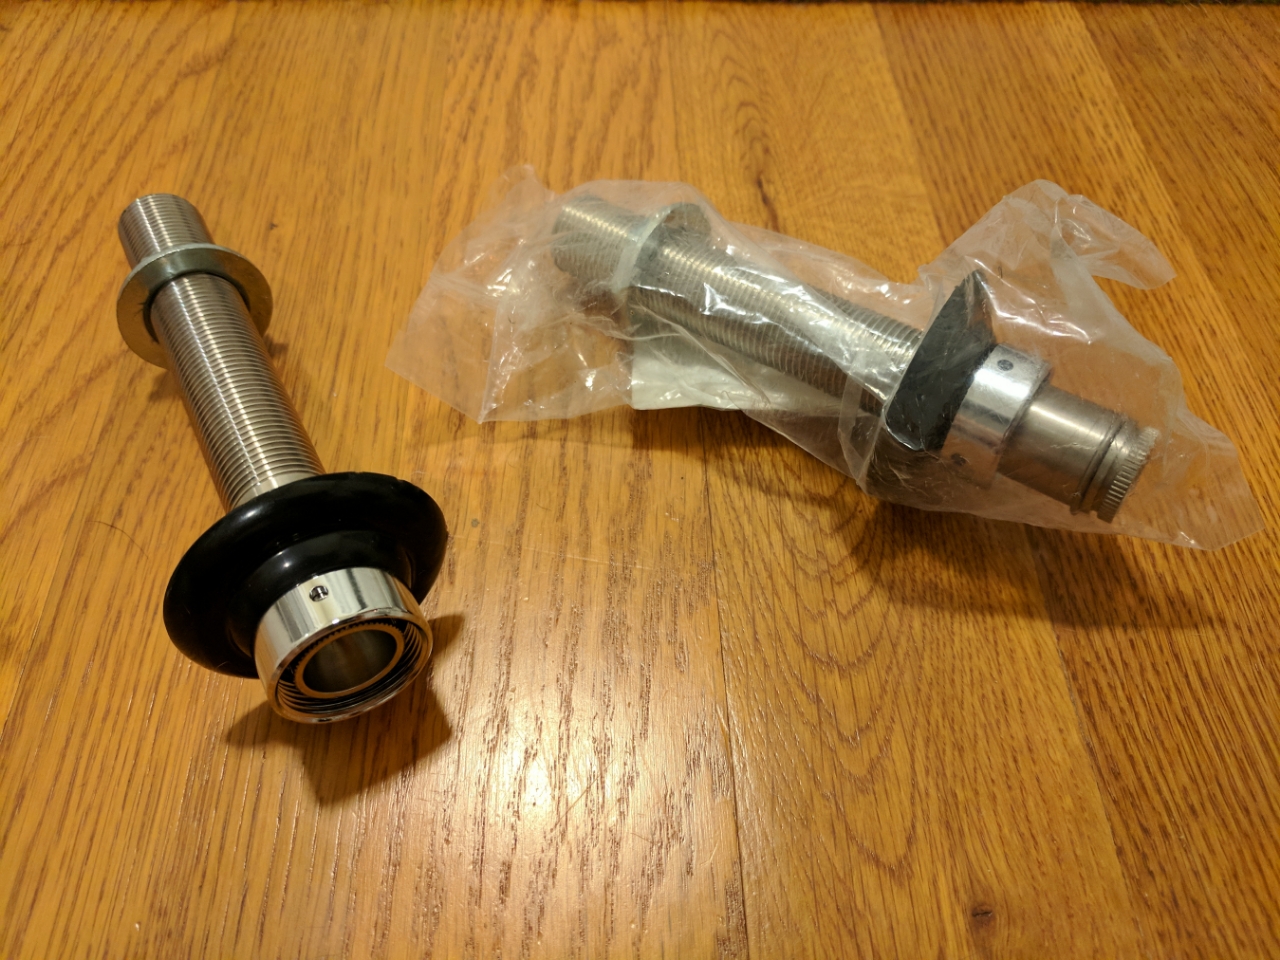
Stainless Steel 6 1/4in shank to allow for any size wall thickness I decided on.
Stainless steel tail pieces for beer line connection. Also ordered some 90 degree tail pieces in case it can help clean up the line runs. (most tail I have had in years)
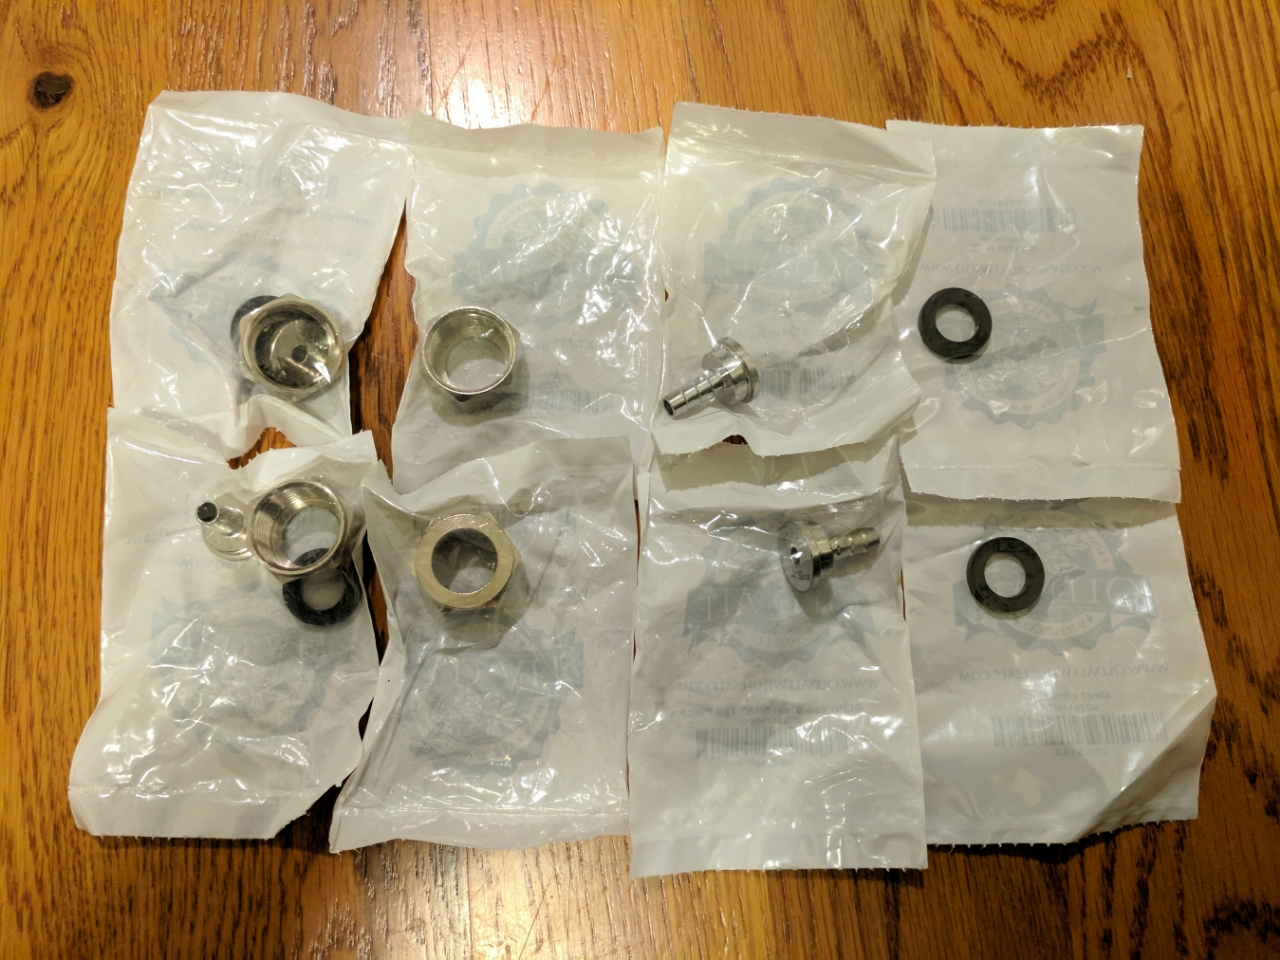
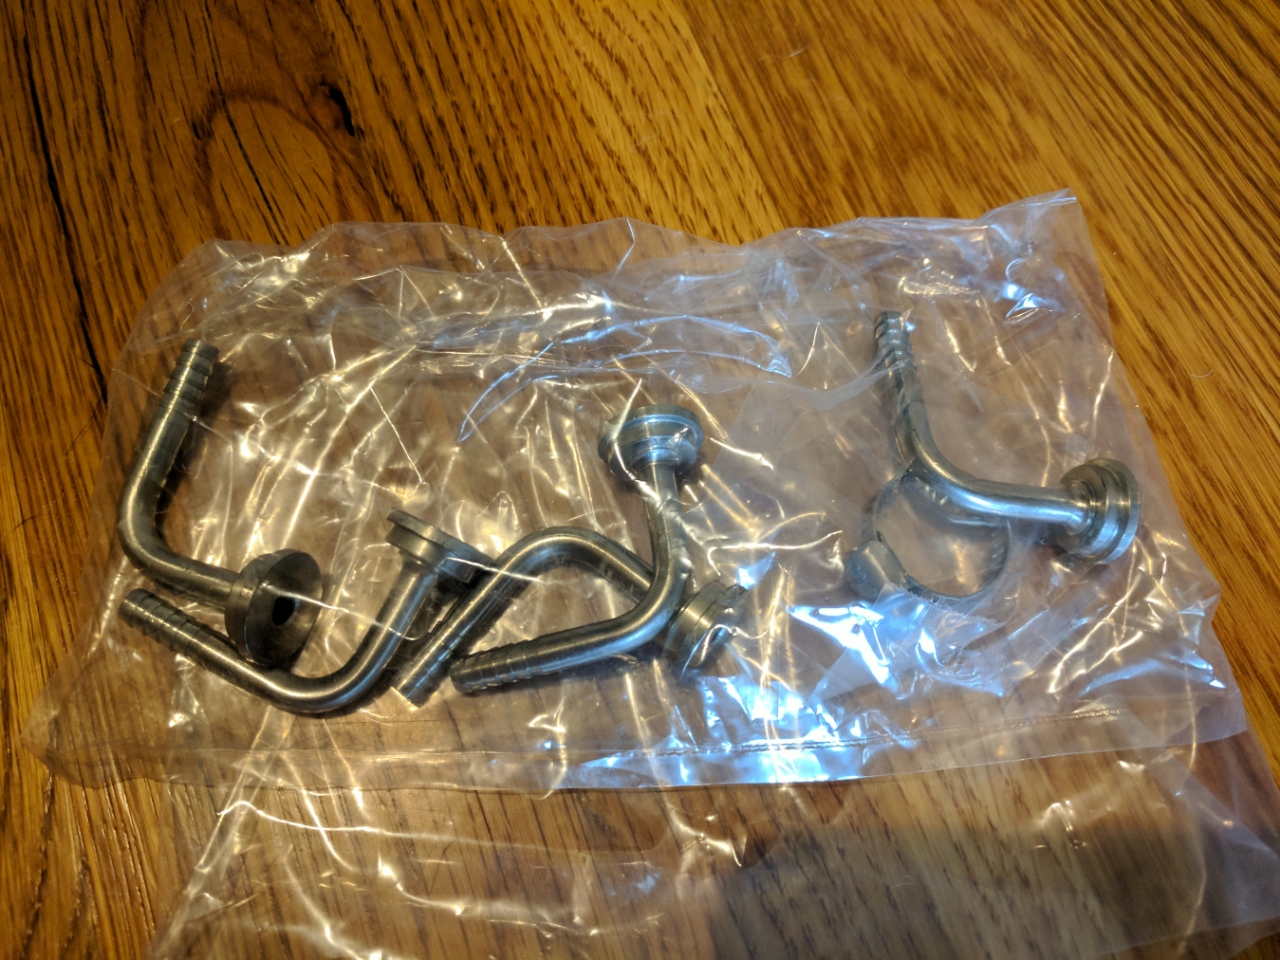
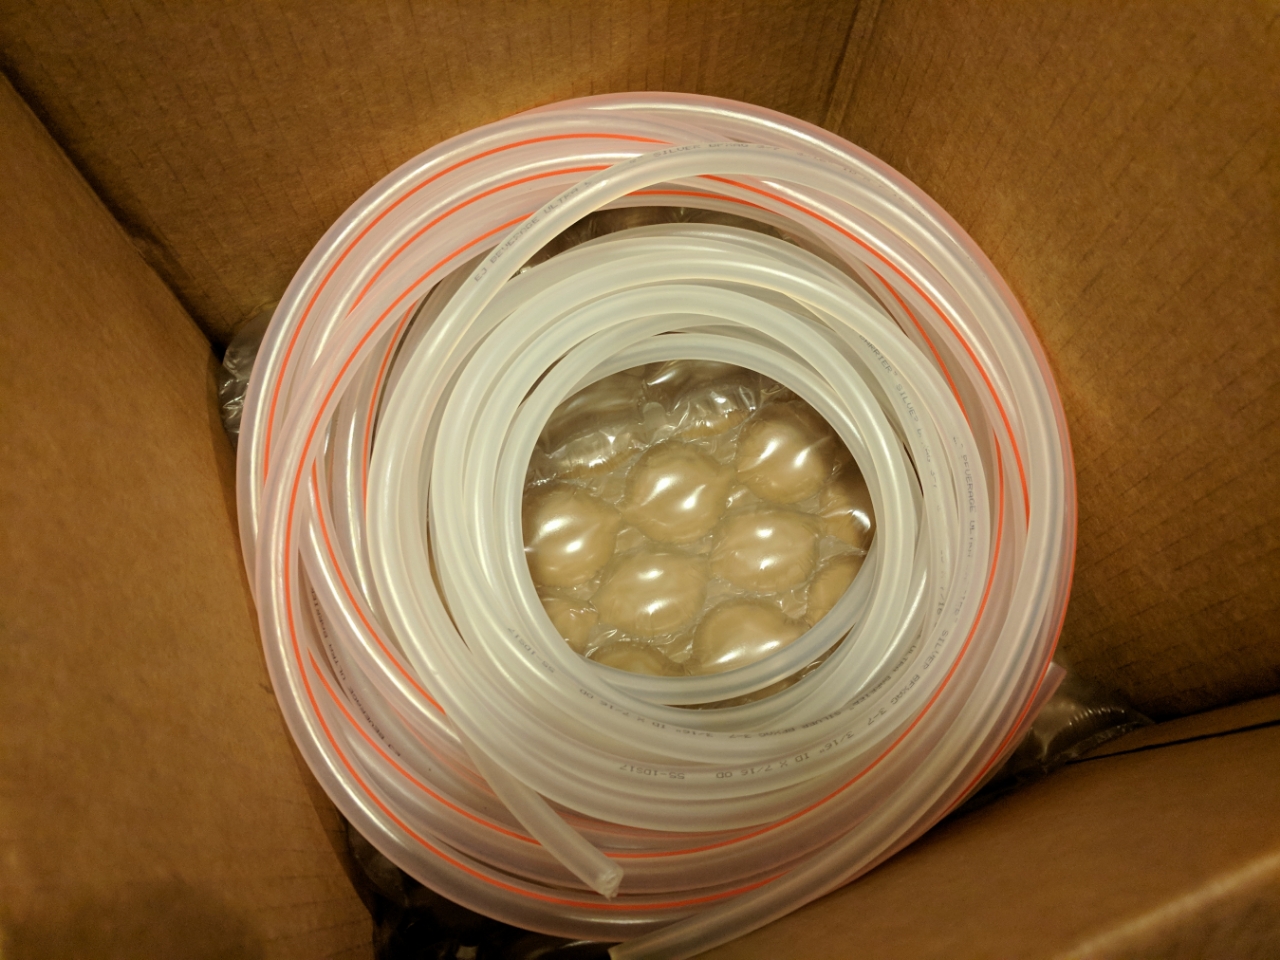
PVC Free Beer and Gas Lines
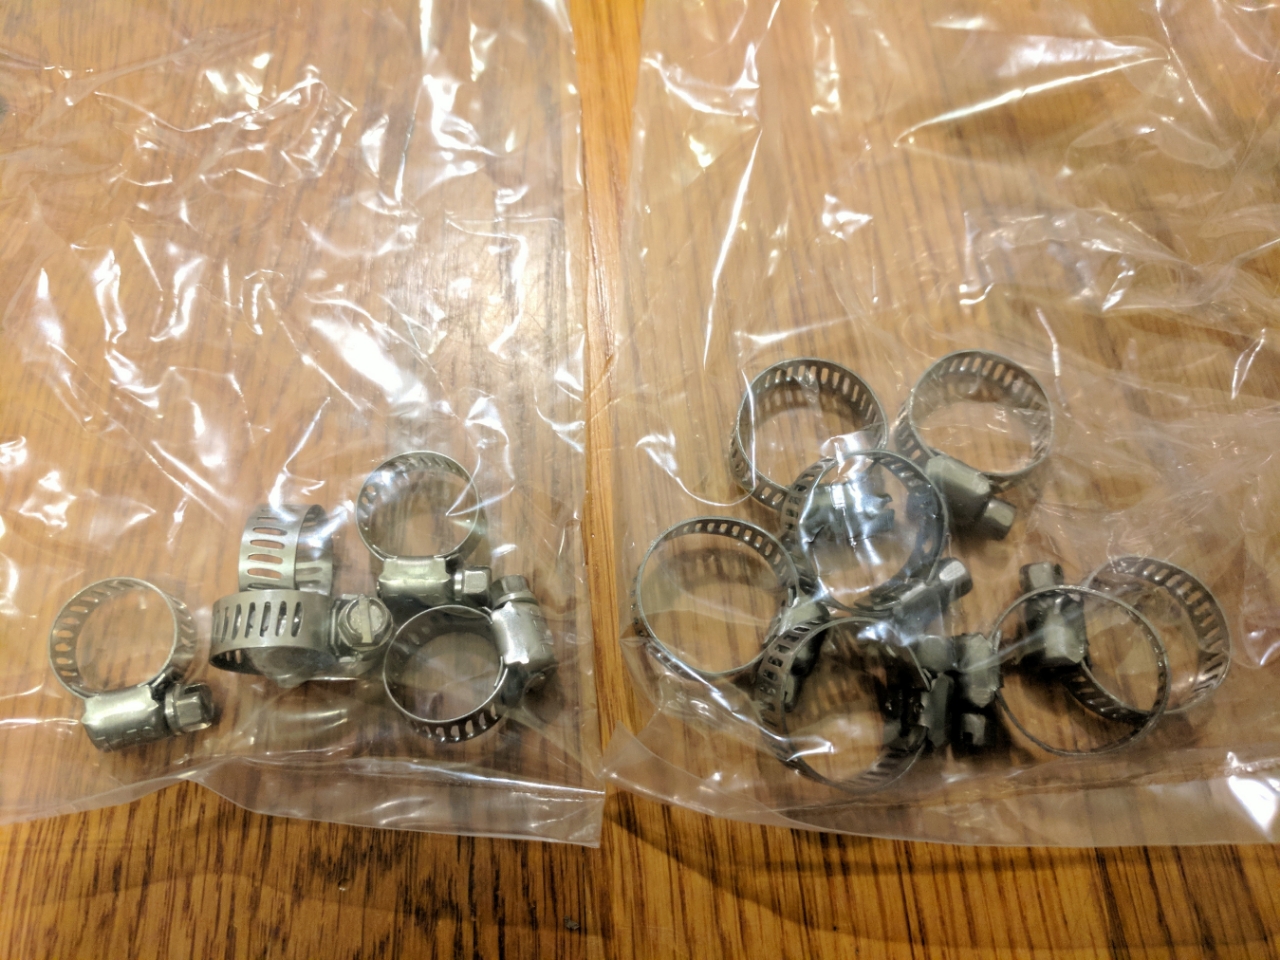
Stainless steel hose clamps for beer and gas lines
Growler fill adapter and shank/beer nut wrench
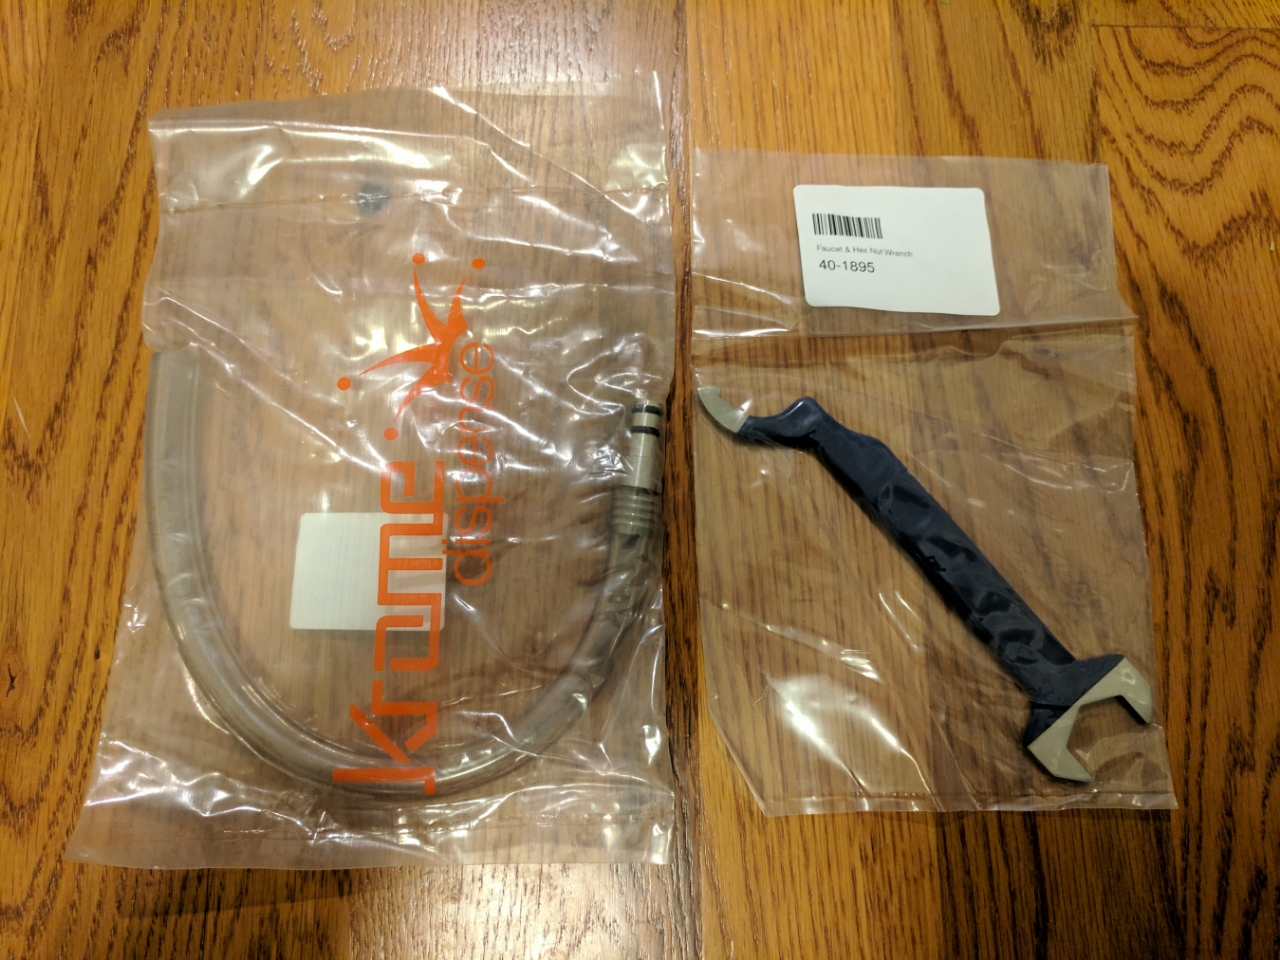
Primary Regulator
Secondary Regulator
Sanke Couplers
10lb co2 tank. Bought a reconditioned one as they are half the price of a new one
Perlick 650SS
Stainless Steel 6 1/4in shank to allow for any size wall thickness I decided on.
Stainless steel tail pieces for beer line connection. Also ordered some 90 degree tail pieces in case it can help clean up the line runs. (most tail I have had in years)
PVC Free Beer and Gas Lines
Stainless steel hose clamps for beer and gas lines
Growler fill adapter and shank/beer nut wrench

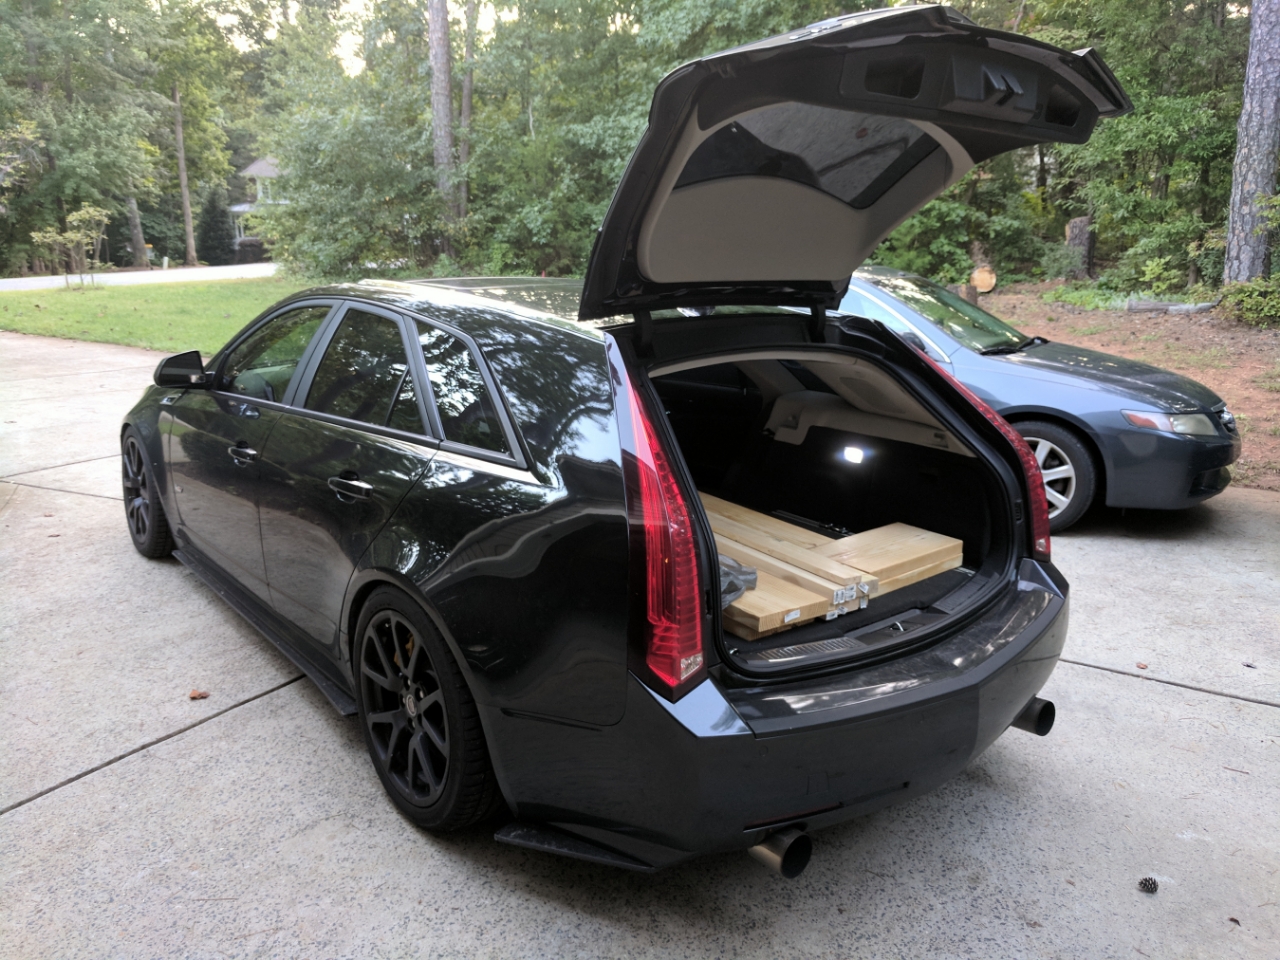
Thread Starter
Moderator
Regional Coordinator (Southeast)
Regional Coordinator (Southeast)
Joined: Dec 2003
Posts: 44,126
Likes: 4,434
From: Mooresville, NC
I plan to stain it. I haven't figured out what color though. Depends if I plan to leave it in the garage or put it inside the house what color I will do. Also trying to decide it I will will cover the back or not. Both locations it will be against a wall. Only time I can imagine it not being against a wall is for a party or something.
Thread Starter
Moderator
Regional Coordinator (Southeast)
Regional Coordinator (Southeast)
Joined: Dec 2003
Posts: 44,126
Likes: 4,434
From: Mooresville, NC
So was able to get a couple hours in today. Got the base built and the main part of the collar. Still have to get the shelf on the collar built but that might take some extra time now as I am considering adding a recessed drip tray instead of just sitting one on the shelf like I was gong to do. I will have to wait for parts if I am going to do that.
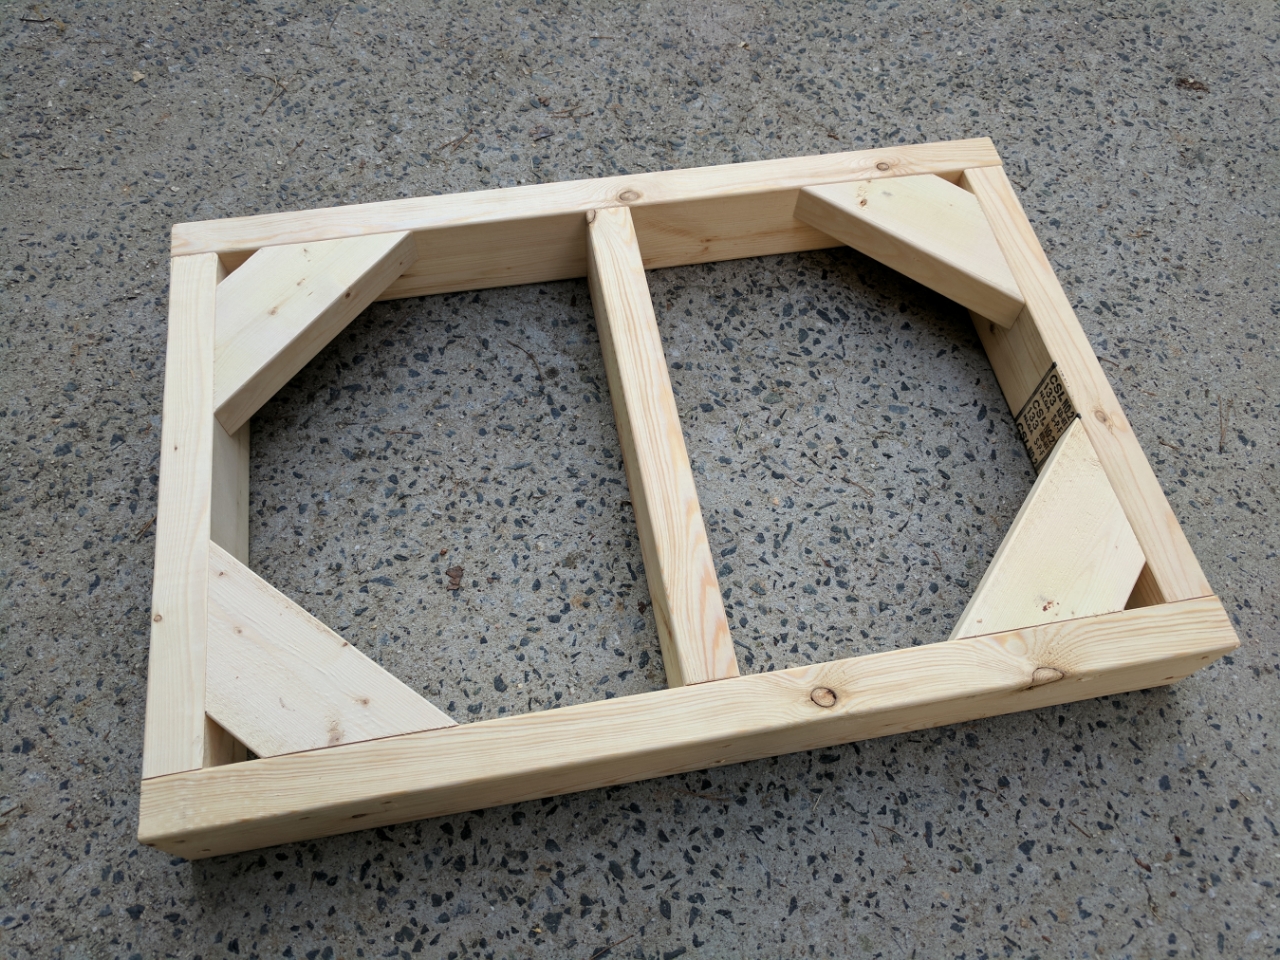
Start of roller base for keezer
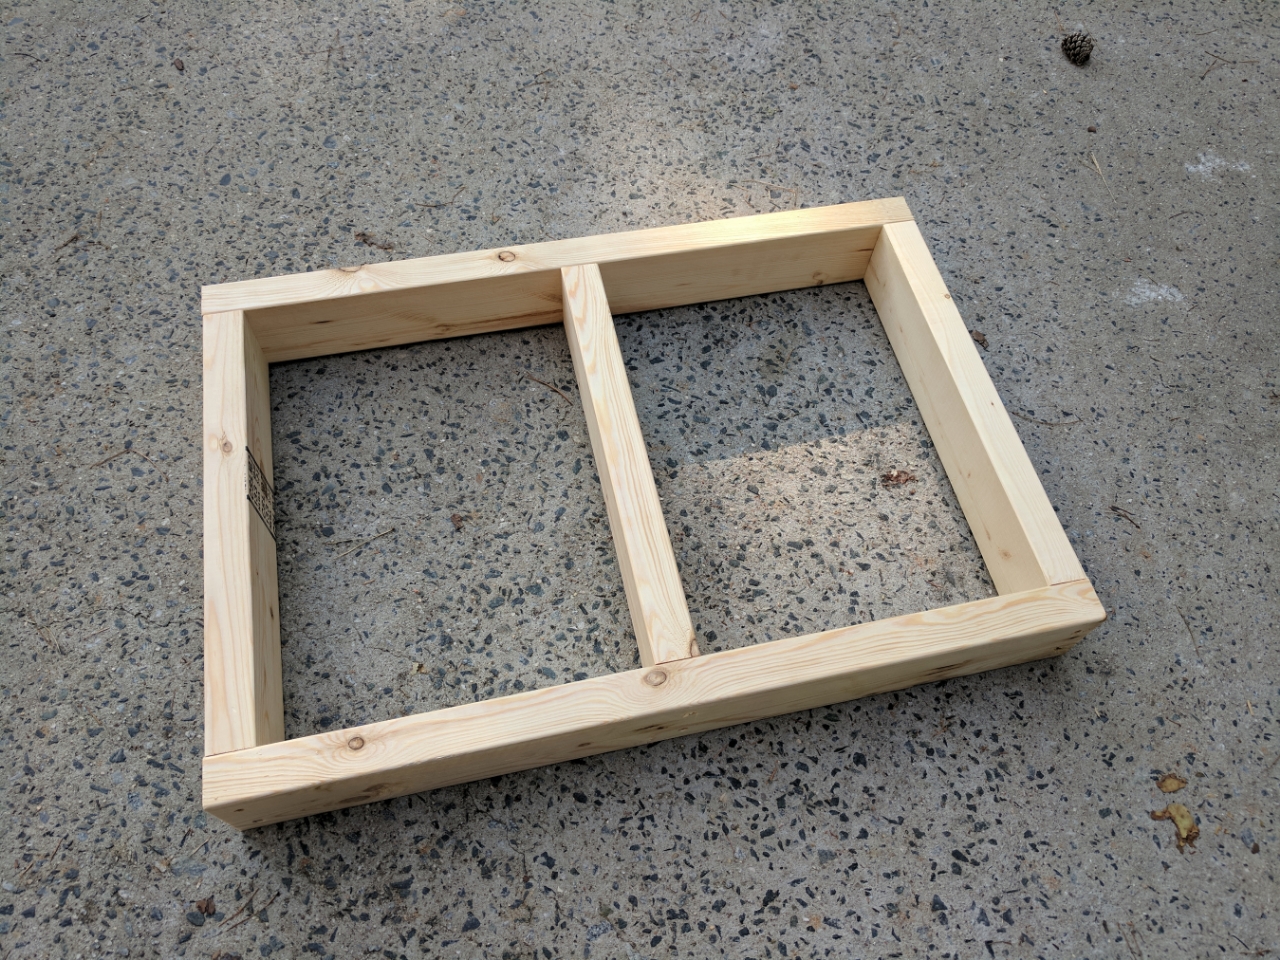
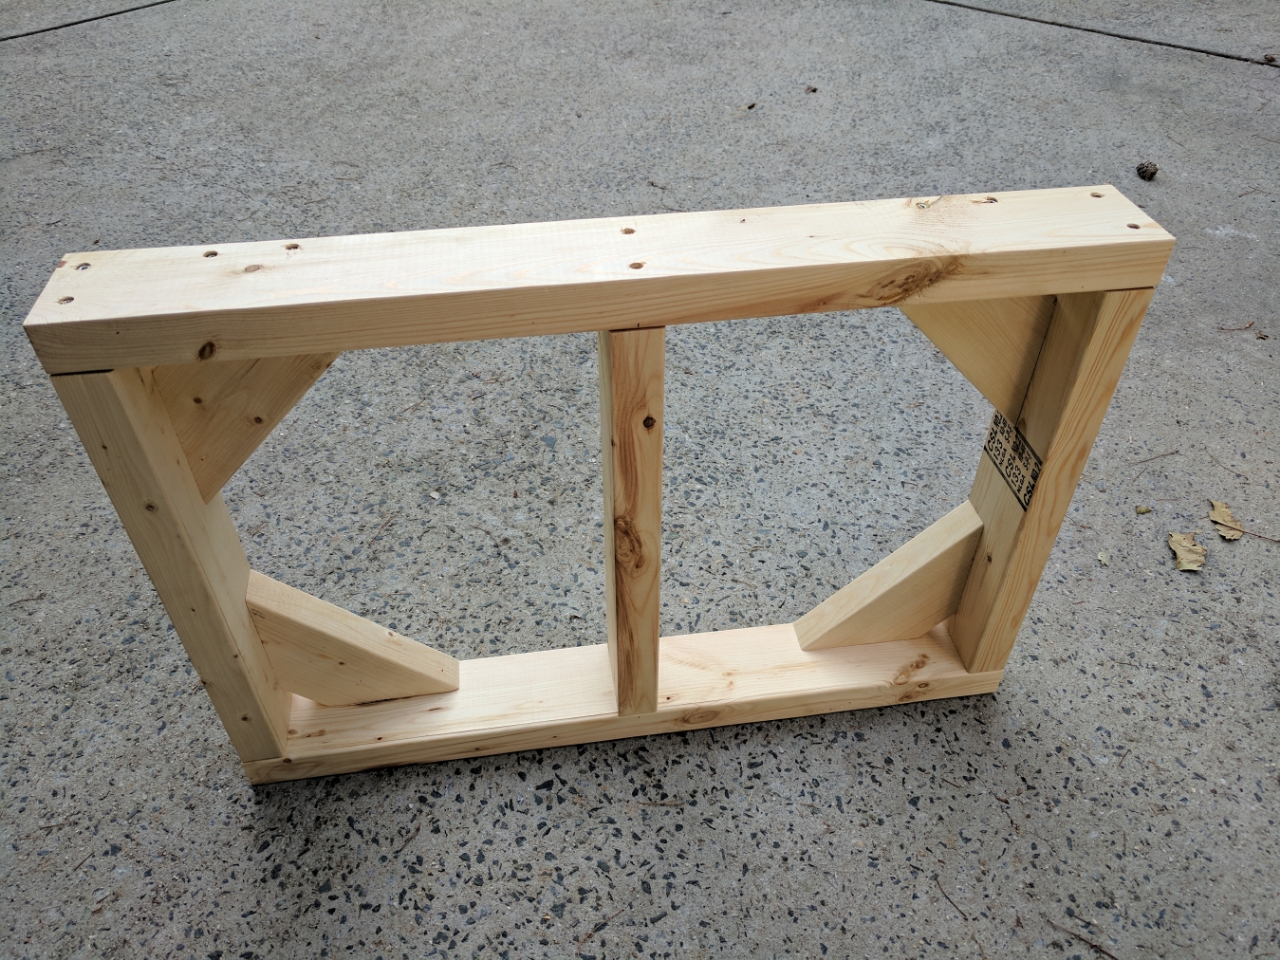
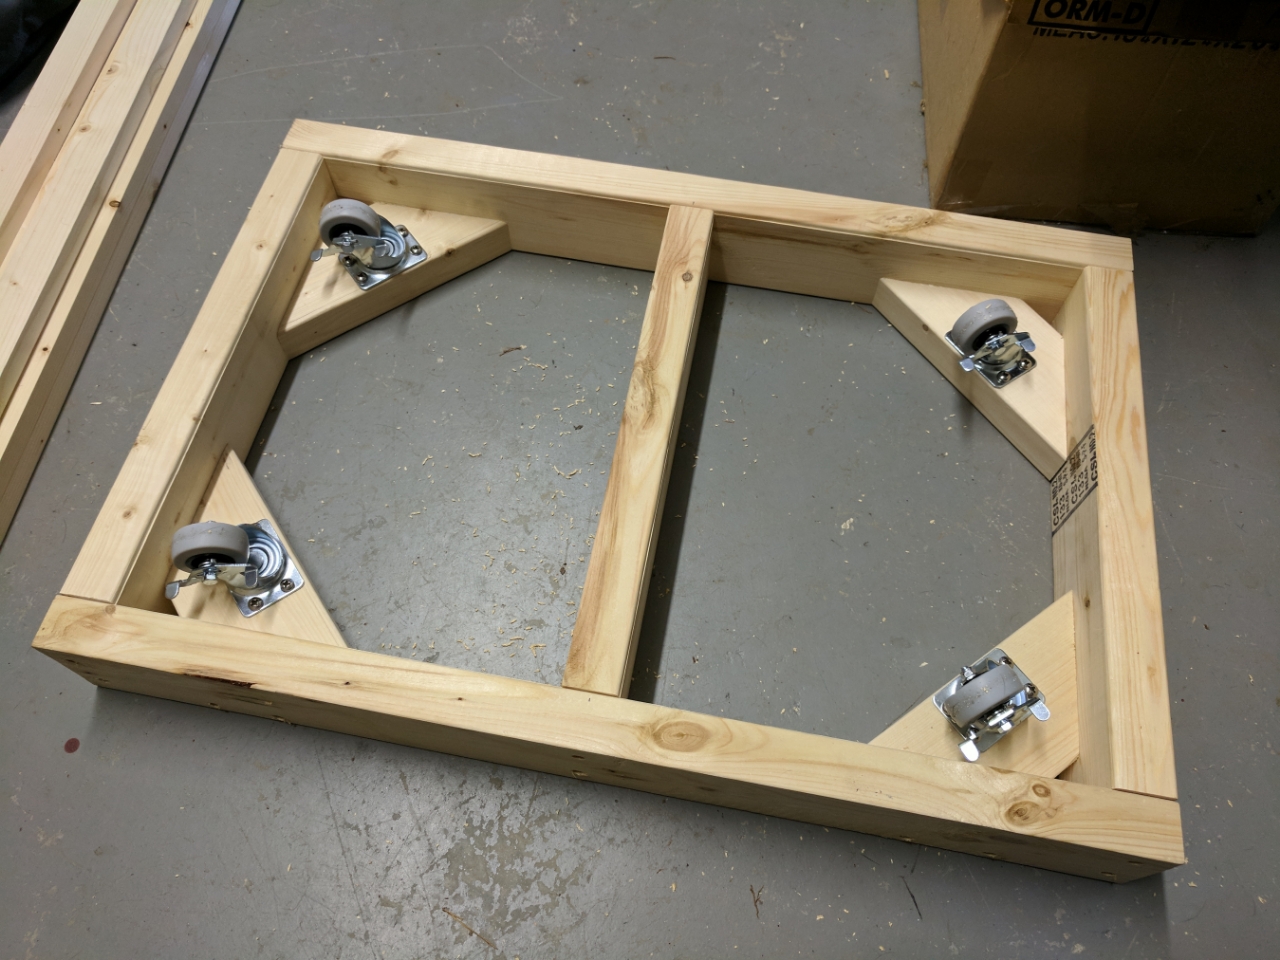
Originally the corner braces were going to be mounted lower but making them flush with the top added support to the freezer itself. Also gave me a perfect 3/8in clearance from the ground for the base with the wheels.
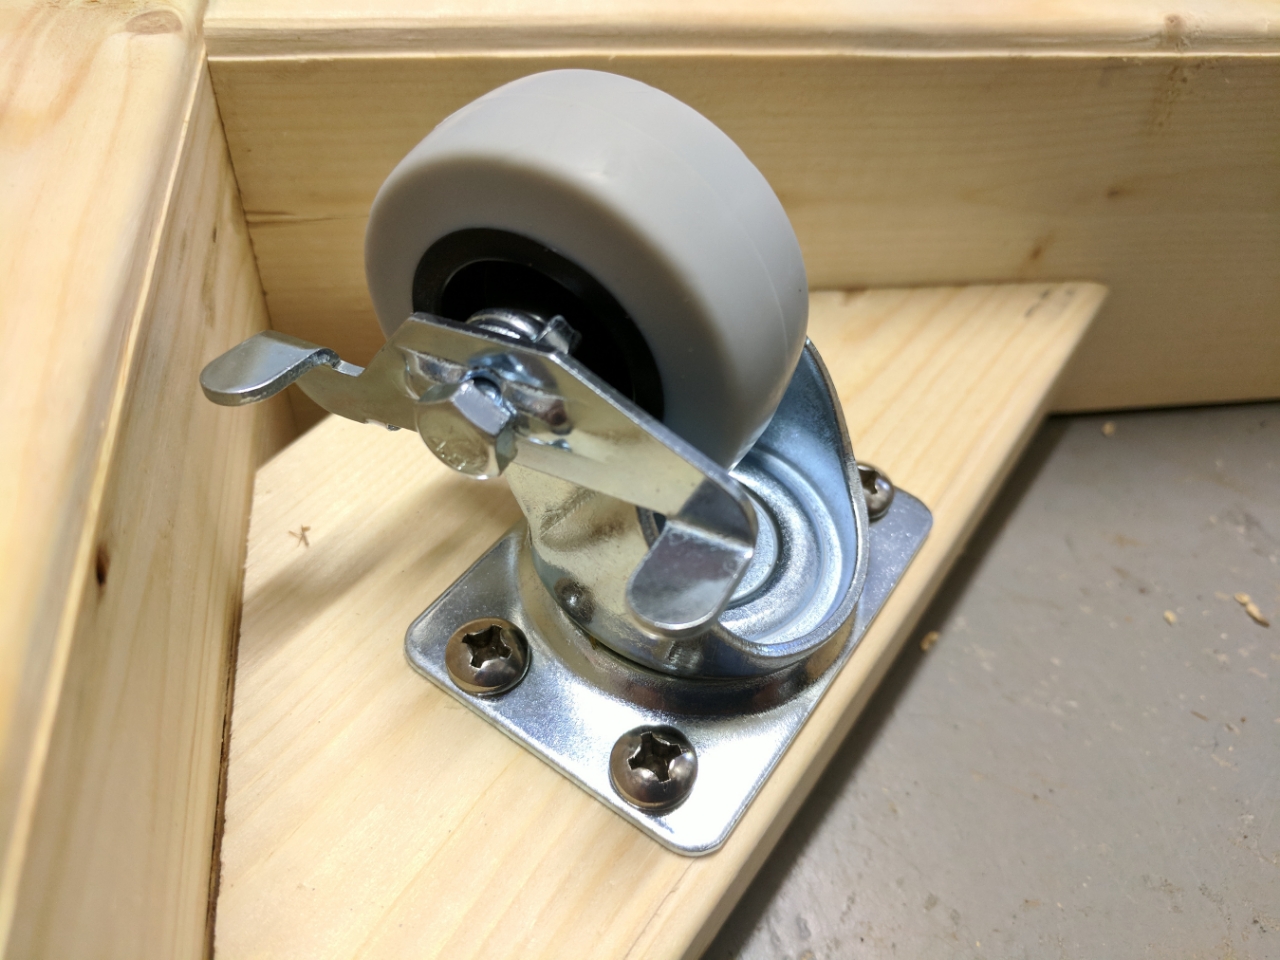
Used four 90lb caster wheels with locks. Should be plenty of weight support for only two kegs.
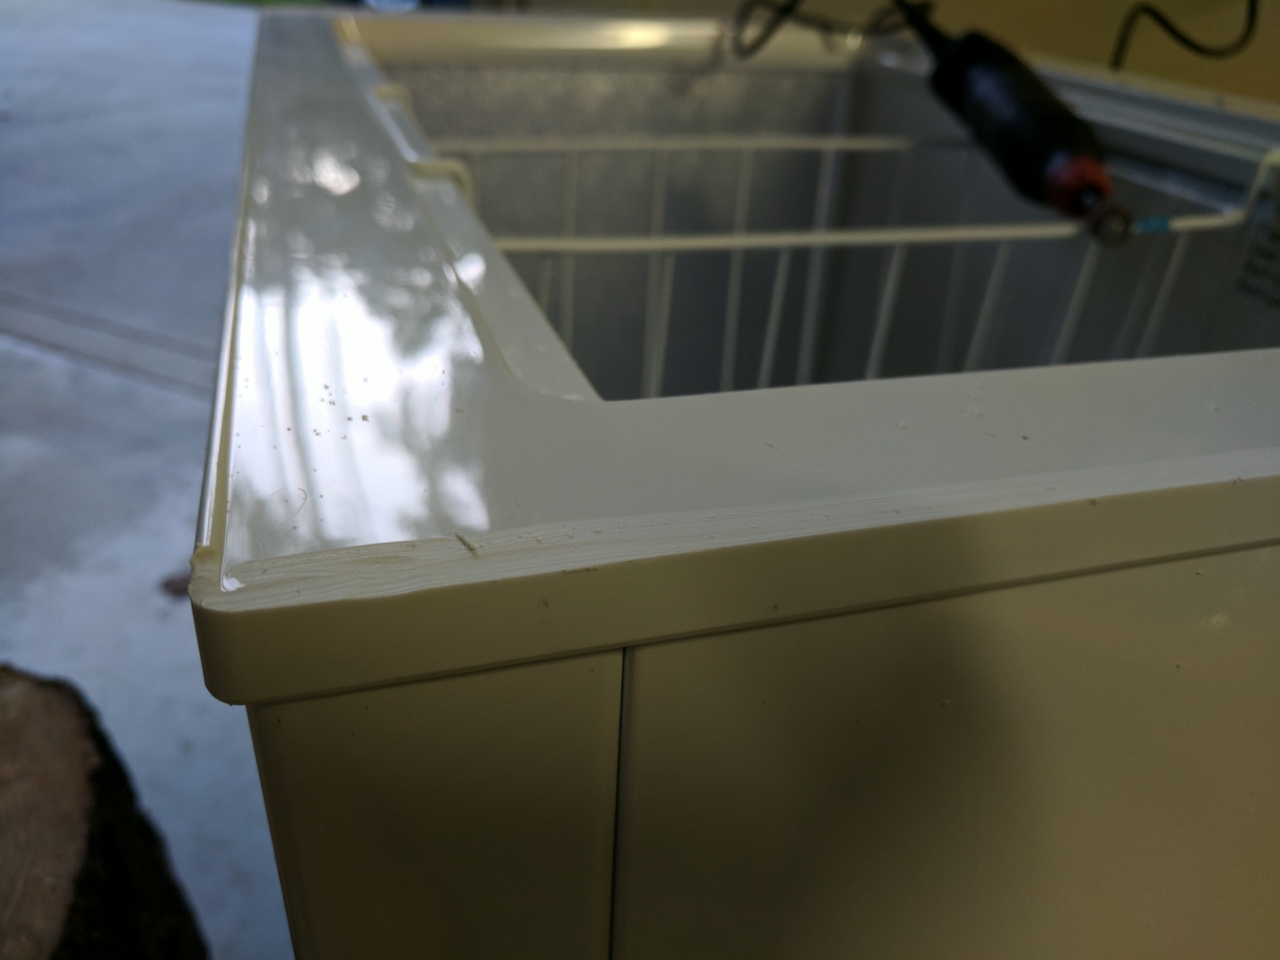
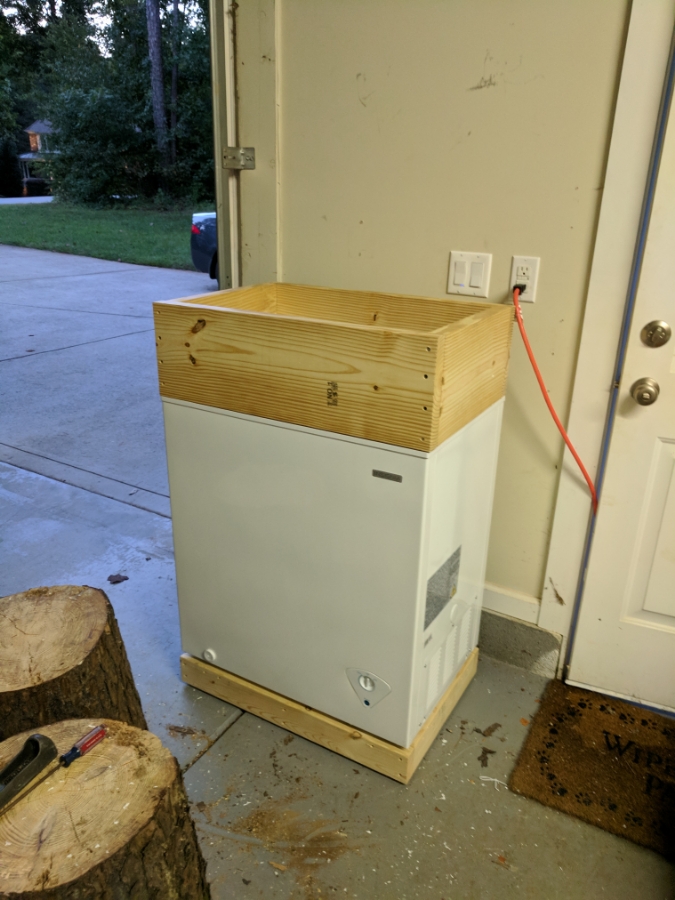
The freezer had a small lip to the main edge that I needed to dremel off to make the collar fit perfectly.
Test fit of main collar
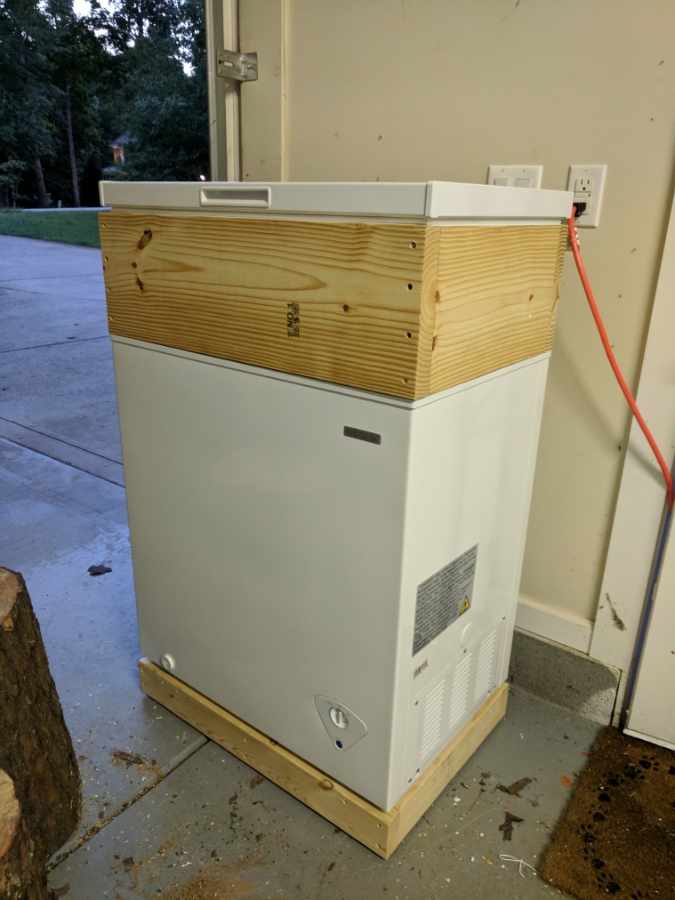
Test fit of lid on top of collar
Start of roller base for keezer
Originally the corner braces were going to be mounted lower but making them flush with the top added support to the freezer itself. Also gave me a perfect 3/8in clearance from the ground for the base with the wheels.
Used four 90lb caster wheels with locks. Should be plenty of weight support for only two kegs.
The freezer had a small lip to the main edge that I needed to dremel off to make the collar fit perfectly.
Test fit of main collar
Test fit of lid on top of collar

Thread Starter
Moderator
Regional Coordinator (Southeast)
Regional Coordinator (Southeast)
Joined: Dec 2003
Posts: 44,126
Likes: 4,434
From: Mooresville, NC
I assume you meant fridge. The collar itself is just meant to give more heigh so I can fit a second keg on top of the compressor hump in the freezer. What will make it a fridge is this temperature controller from Inkbird.
It will control when the freezer runs and for how long so as to keep it the set temperature. You pick a temperature on it for when it should turn on and then one for it to shut off at.

I assume you meant fridge. The collar itself is just meant to give more heigh so I can fit a second keg on top of the compressor hump in the freezer. What will make it a fridge is this temperature controller from Inkbird. https://www.amazon.com/Inkbird-Itc-3...ywords=inkbird It will control when the freezer runs and for how long so as to keep it the set temperature. You pick a temperature on it for when it should turn on and then one for it to shut off at.
That's pretty cool. What size kegs are going to fit?
Thread Starter
Moderator
Regional Coordinator (Southeast)
Regional Coordinator (Southeast)
Joined: Dec 2003
Posts: 44,126
Likes: 4,434
From: Mooresville, NC
I assume you meant fridge. The collar itself is just meant to give more heigh so I can fit a second keg on top of the compressor hump in the freezer. What will make it a fridge is this temperature controller from Inkbird.
It will control when the freezer runs and for how long so as to keep it the set temperature. You pick a temperature on it for when it should turn on and then one for it to shut off at.
I also ordered two drip trays this weekend cause I am not sure which kind I want to install. Until they arrive the build is kind of on hold because building the last 1.5in of the collar is what is left and I can't do that till I decide how I am mounting the drip tray and how I will need to cut a hole for it into my self.
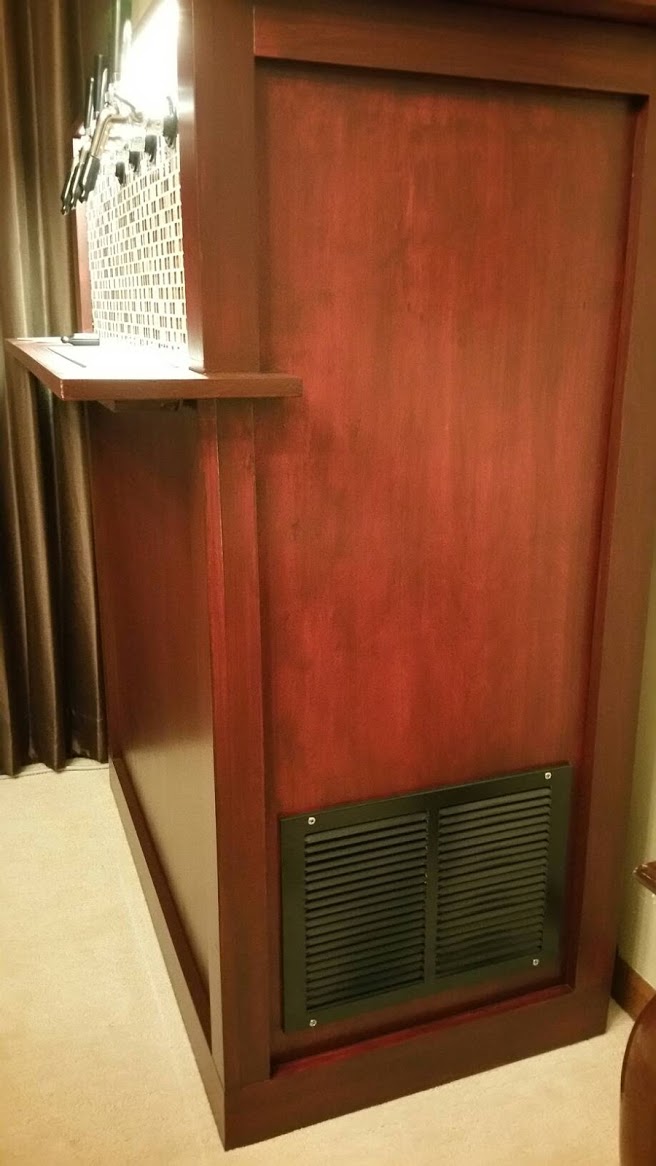
This is what I am looking to do. I am just not sure how it was mounted and the thread is over two years old so not sure I would get any responses.


So I ordered one similar to the one used. I also ordered a second one that has a lip to it to hold it. I am worried though using the one with the lip will look weird cause it will make the band of wood around the drip tray really small as it will cover up almost the entire thing. Thinking I could mount the other one with a small plate of metal below it screwed into the wood with a couple small screws since the board is only 3/4in thick.


I also ordered two drip trays this weekend cause I am not sure which kind I want to install. Until they arrive the build is kind of on hold because building the last 1.5in of the collar is what is left and I can't do that till I decide how I am mounting the drip tray and how I will need to cut a hole for it into my self.
This is what I am looking to do. I am just not sure how it was mounted and the thread is over two years old so not sure I would get any responses.
So I ordered one similar to the one used. I also ordered a second one that has a lip to it to hold it. I am worried though using the one with the lip will look weird cause it will make the band of wood around the drip tray really small as it will cover up almost the entire thing. Thinking I could mount the other one with a small plate of metal below it screwed into the wood with a couple small screws since the board is only 3/4in thick.




Thread Starter
Moderator
Regional Coordinator (Southeast)
Regional Coordinator (Southeast)
Joined: Dec 2003
Posts: 44,126
Likes: 4,434
From: Mooresville, NC
After examining the build pictures more I found my answer. Not as nice of a solution as I was hoping. Just a simple board under the drip tray. Still going to try and find a 14x6in stainless plate instead. Might be more hassle than it is worth though.
Thread Starter
Moderator
Regional Coordinator (Southeast)
Regional Coordinator (Southeast)
Joined: Dec 2003
Posts: 44,126
Likes: 4,434
From: Mooresville, NC
So got to spend a few more hours on this project last night. Got the second layer of the collar built and the shelf size cut.
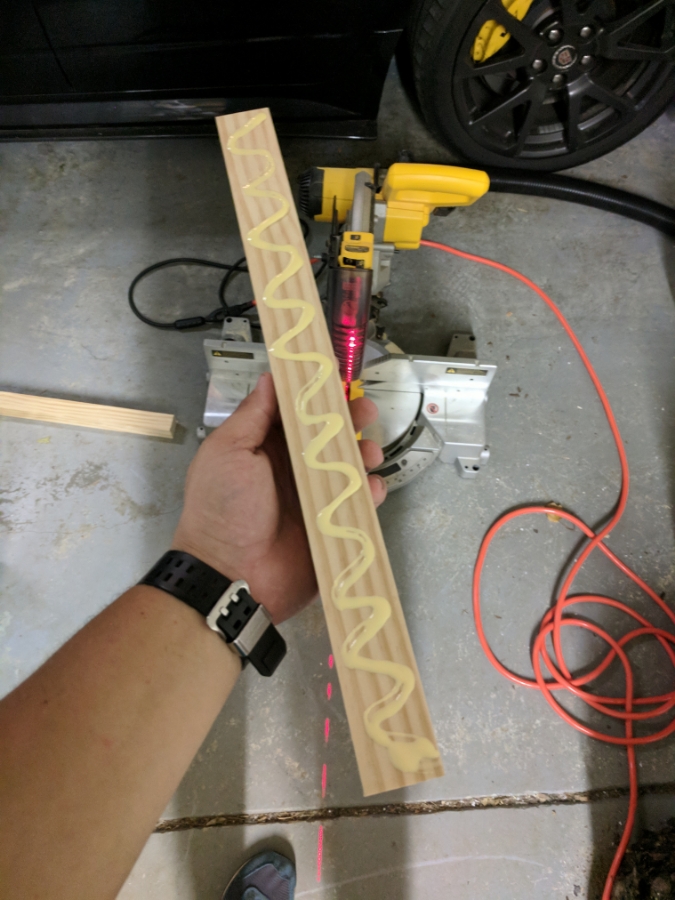
I made sure to not only screw but also glue the second layer of the collar to the first. I originally started this early last night and my first 2x2 was what appeared to be a 2x4 cut in half long ways. Well I messed up and cut my side pieces to short by a entire 1/4in When I got time later last night to stop at a different Lowes to get another piece I couldn't find them and just grabbed a finish finish of pine instead. I think it might make a better connection to the top of the freezer so even better.
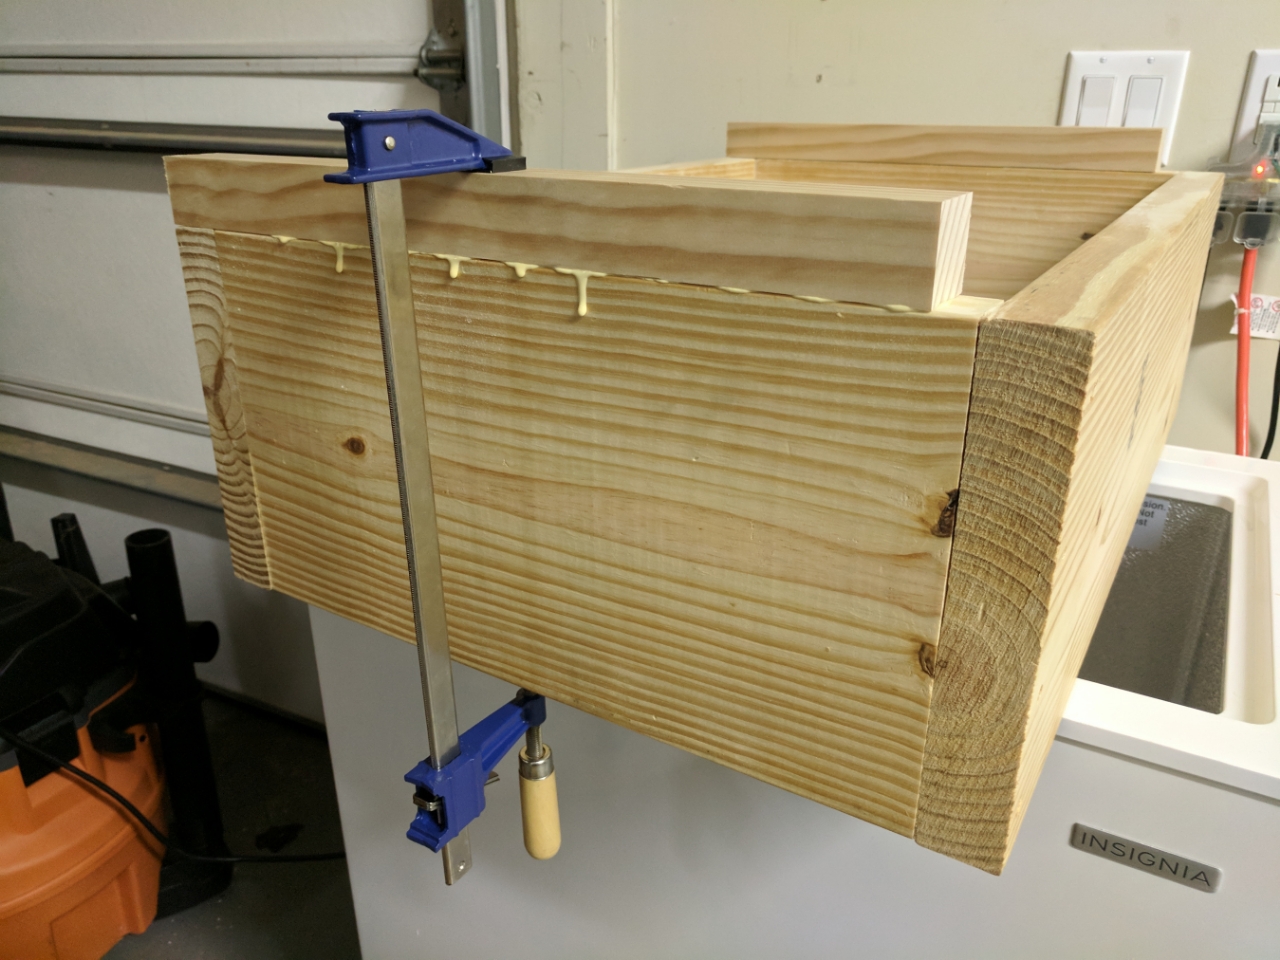
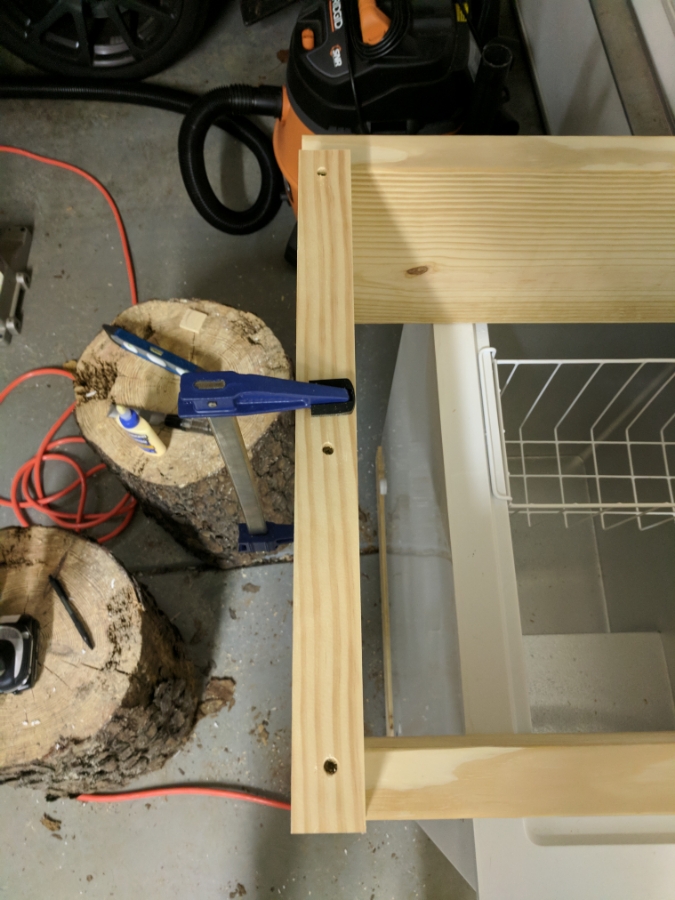
Back side of second collar layer complete. The opening in the front is left to hold the shelf and the bottom support bellow the shelf..
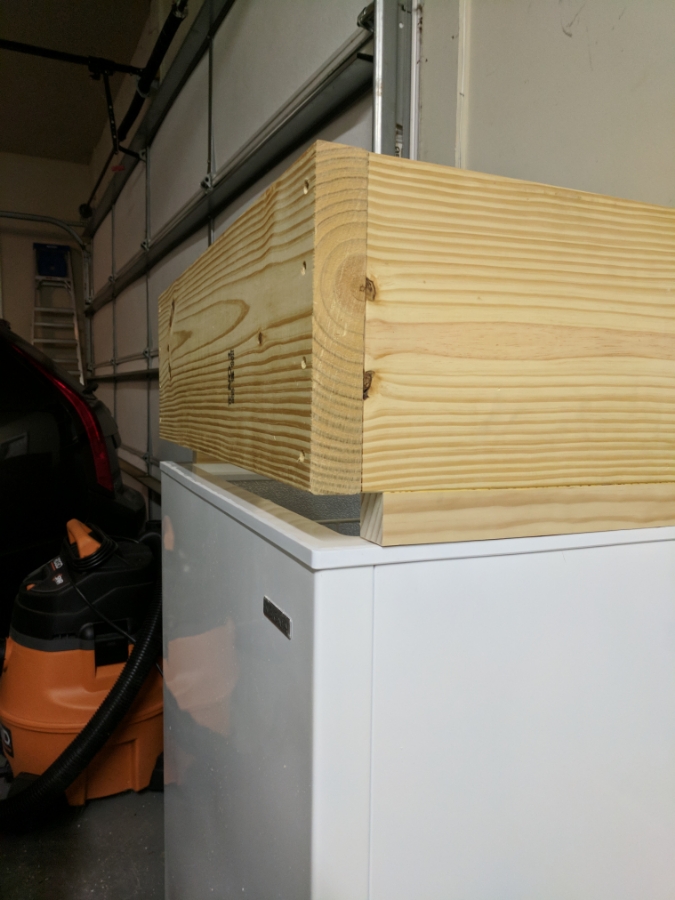
Bottom support cut and fit. It overhangs 1/4in so I will have to notch it for the vertical beems the finish wood will attach to but it was the only way to get the amount of shelf I want to stick out without needing a table saw.
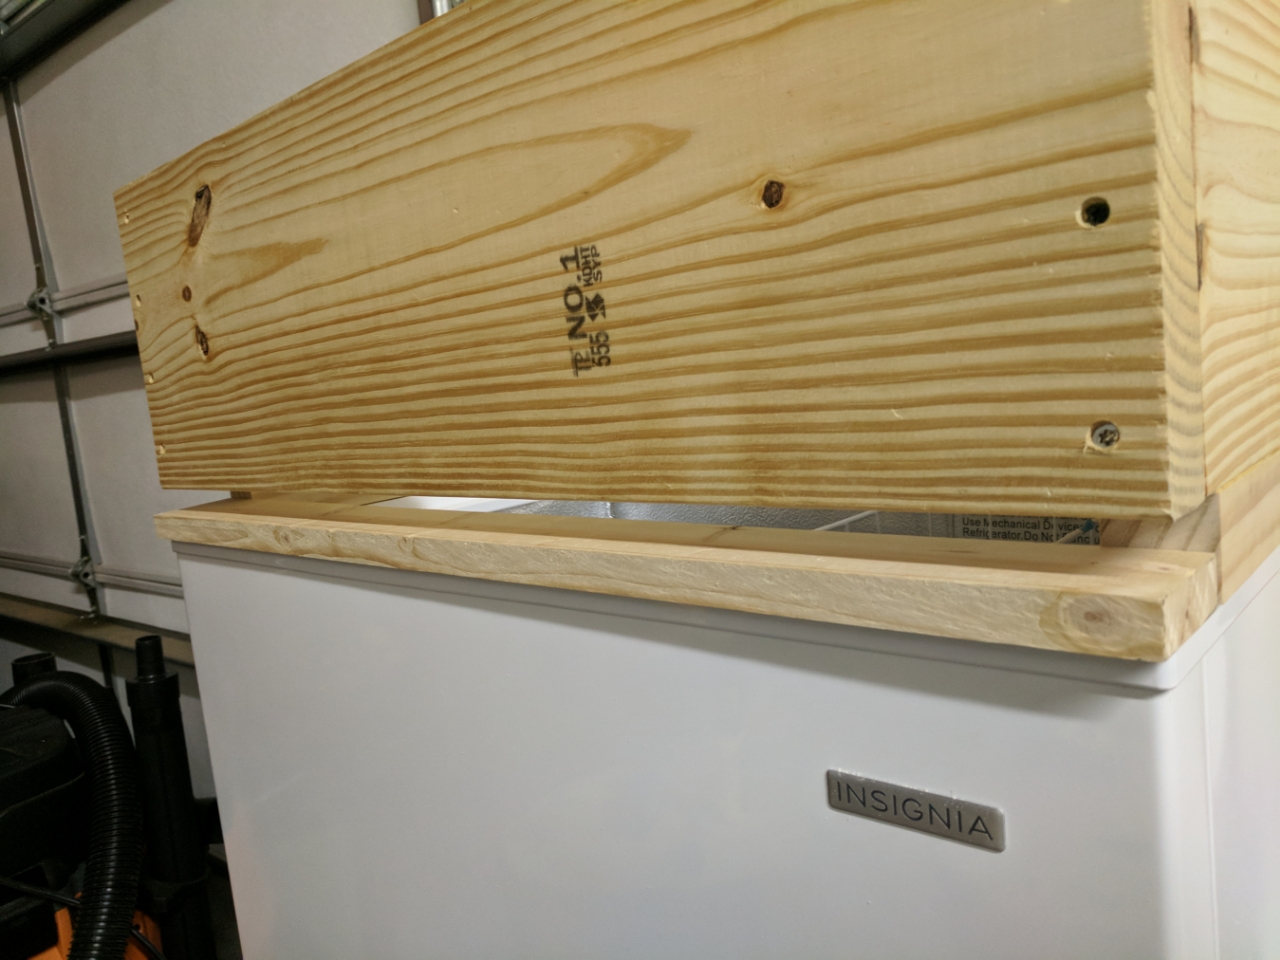
Test fit of shelf 1x10 to try and find the section I want to use. Some people may not want the knots but I decided to empbrace them and I should have 3 evenly spaced knots on the shelf.
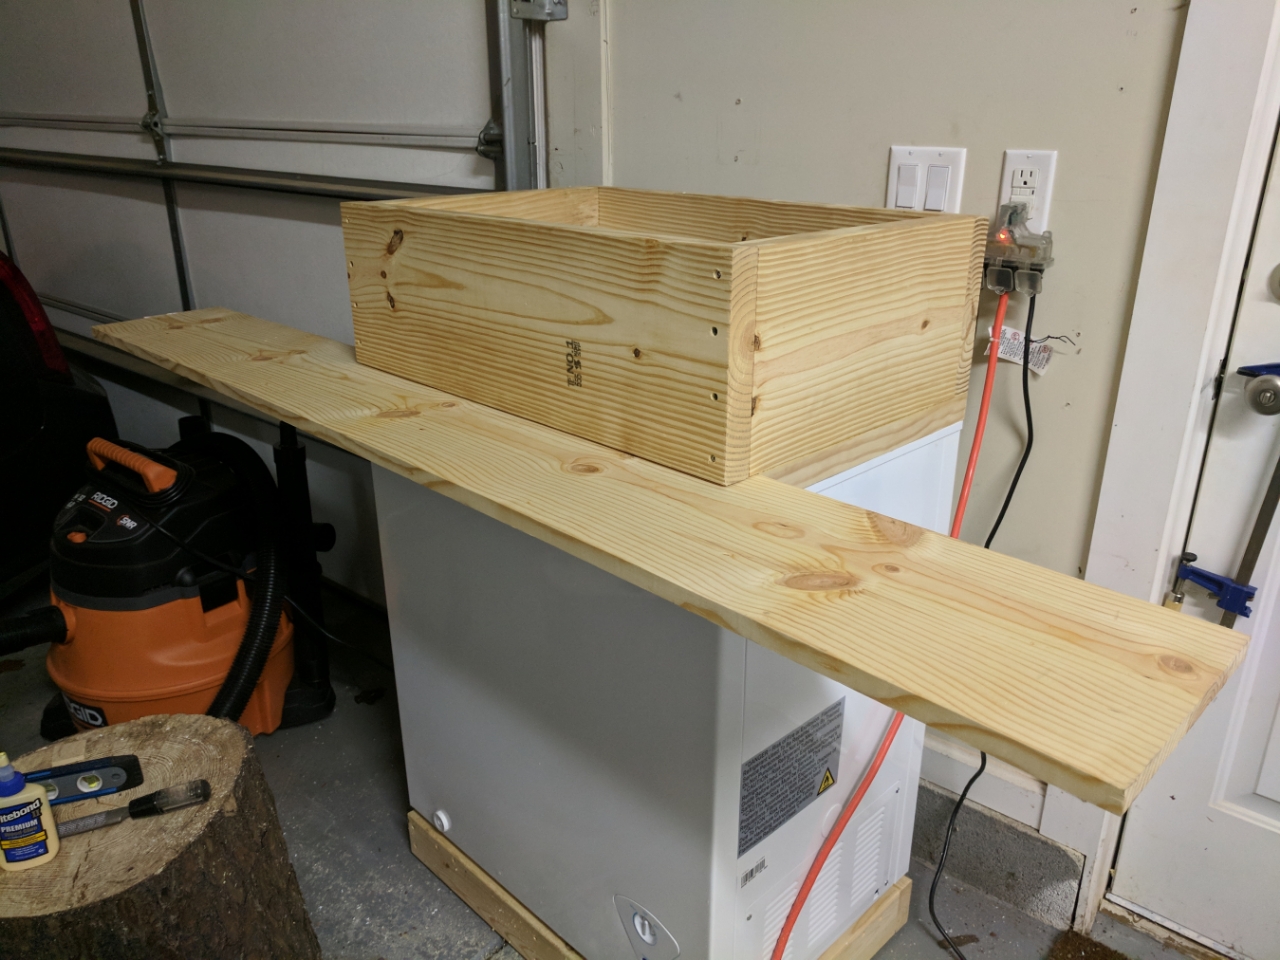
Shelf cut down to 37in wide. It will stick out 4in on either side of the freezer overall but once the modeling is put on it will really only stick out about 2in.
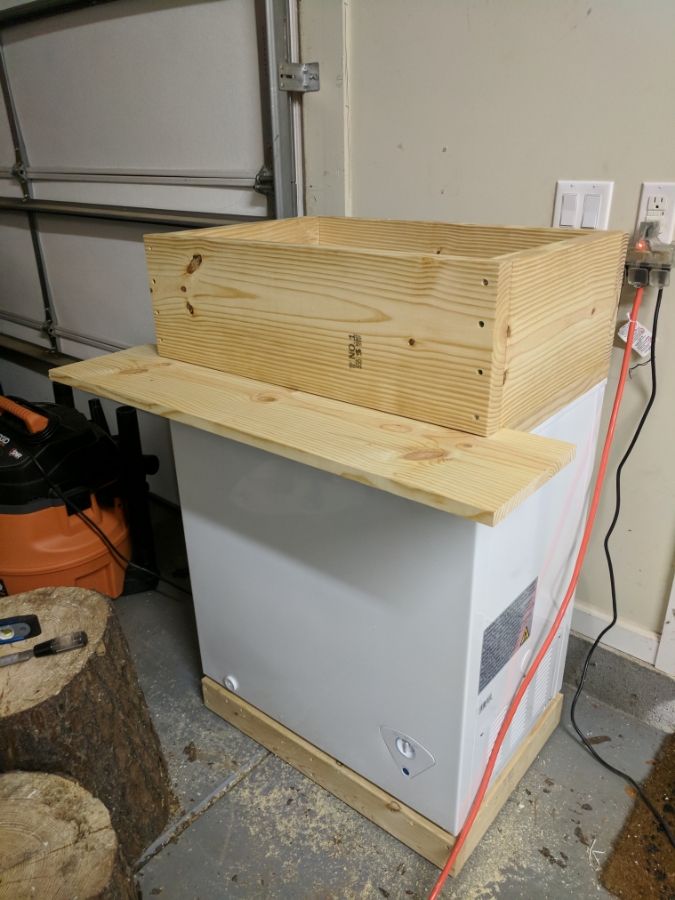
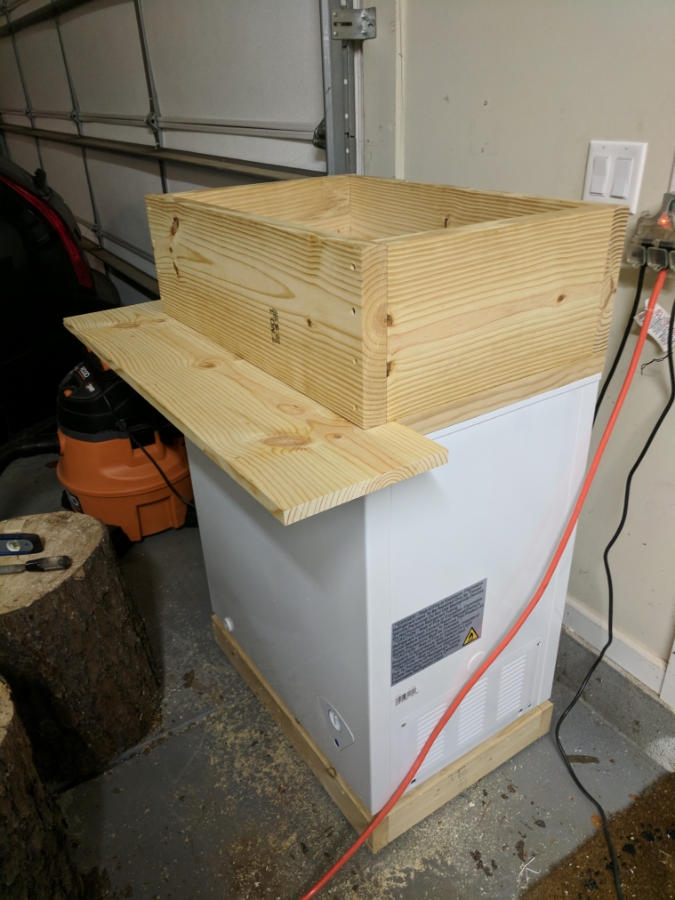
I made sure to not only screw but also glue the second layer of the collar to the first. I originally started this early last night and my first 2x2 was what appeared to be a 2x4 cut in half long ways. Well I messed up and cut my side pieces to short by a entire 1/4in
When I got time later last night to stop at a different Lowes to get another piece I couldn't find them and just grabbed a finish finish of pine instead. I think it might make a better connection to the top of the freezer so even better.Back side of second collar layer complete. The opening in the front is left to hold the shelf and the bottom support bellow the shelf..
Bottom support cut and fit. It overhangs 1/4in so I will have to notch it for the vertical beems the finish wood will attach to but it was the only way to get the amount of shelf I want to stick out without needing a table saw.
Test fit of shelf 1x10 to try and find the section I want to use. Some people may not want the knots but I decided to empbrace them and I should have 3 evenly spaced knots on the shelf.
Shelf cut down to 37in wide. It will stick out 4in on either side of the freezer overall but once the modeling is put on it will really only stick out about 2in.
Thread Starter
Moderator
Regional Coordinator (Southeast)
Regional Coordinator (Southeast)
Joined: Dec 2003
Posts: 44,126
Likes: 4,434
From: Mooresville, NC
Opinions needed
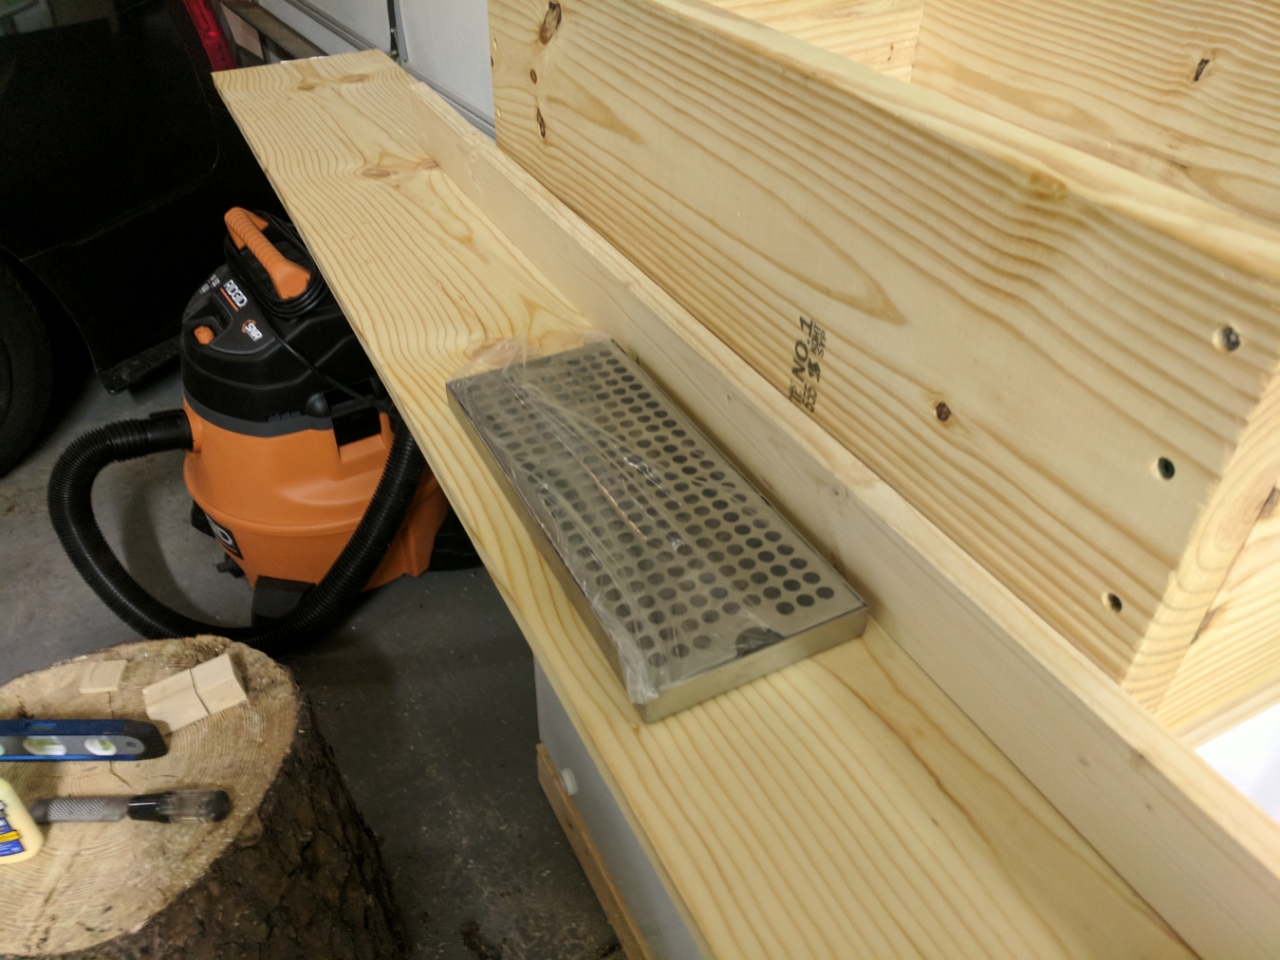
So the next decision I have to make is the mounting location for the drip tray. I have to decide centered or offset and then flush or floating.
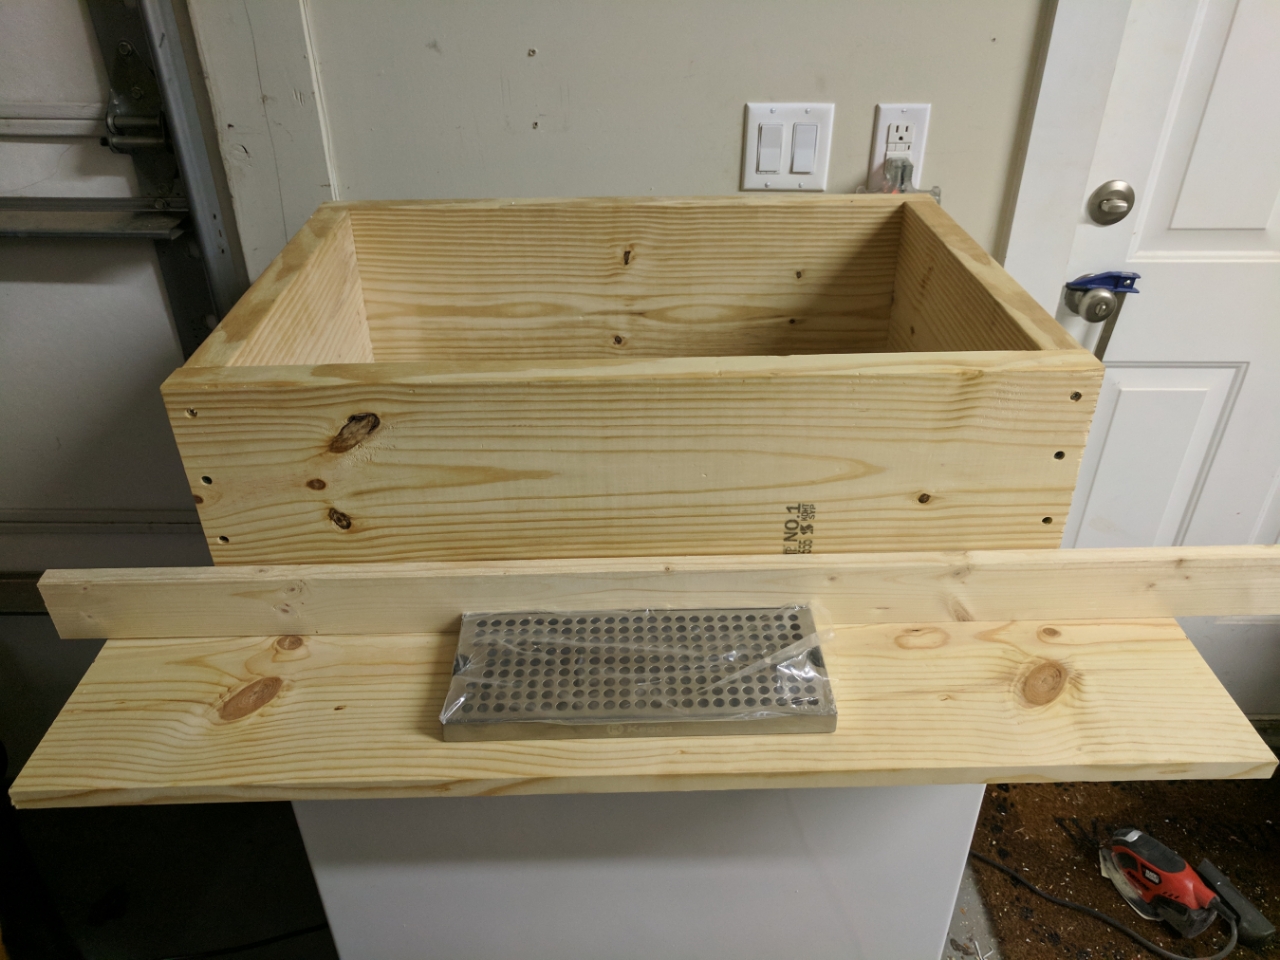
Centered or offset after doing some reading I am thinking offset is best cause it keeps the shanks off to one side so they are mostly out of the way. Included a picture of it centered just for comparison. The one bummer is that it won't fit between the set of knots in the wood evenly so I will lose the center one either way and it does look a little weird with the tray being closer to one side then.
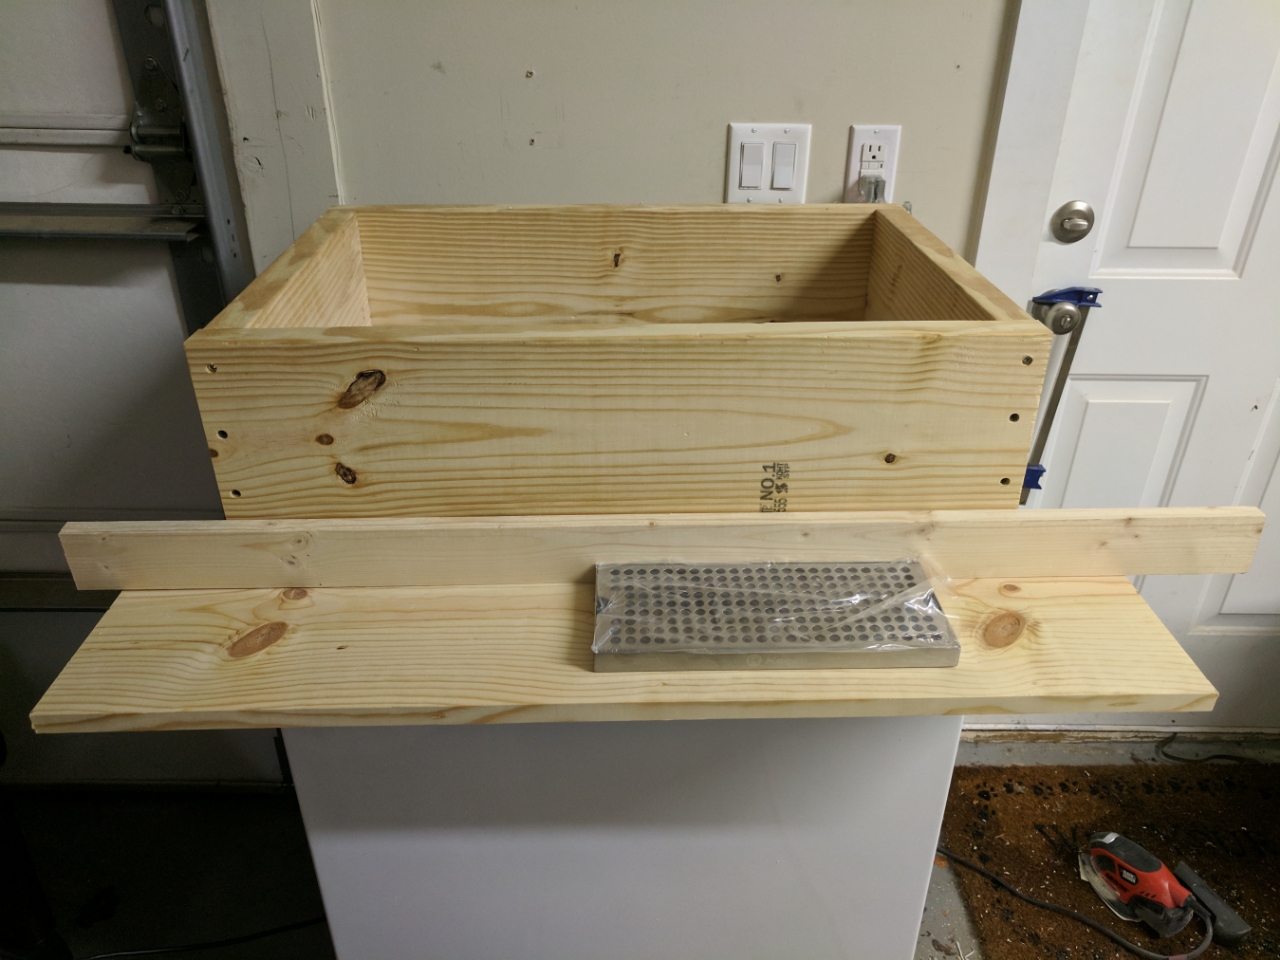
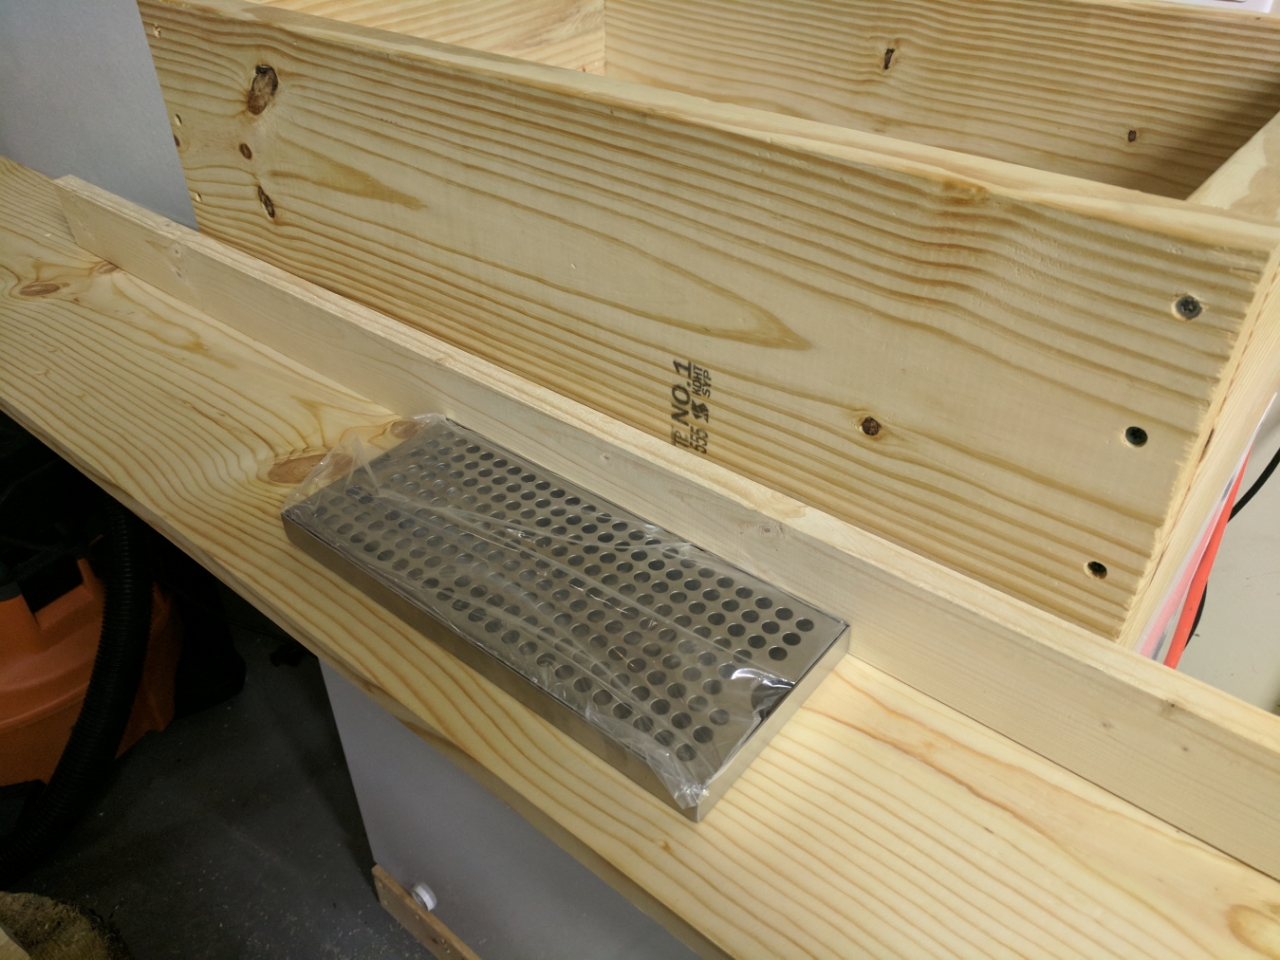
The next decision that has to be made is to I mount the drip tray flush to the finish of the keezer or do I try and move it out a little bit towards the front and leave 1/4in of wood showing behind it.
All the way in. This leaves 1-1/4in of wood in front of the tray which hopefully will be enough to be sturdy and not have it break once I cut the whole for it to be recessed in.
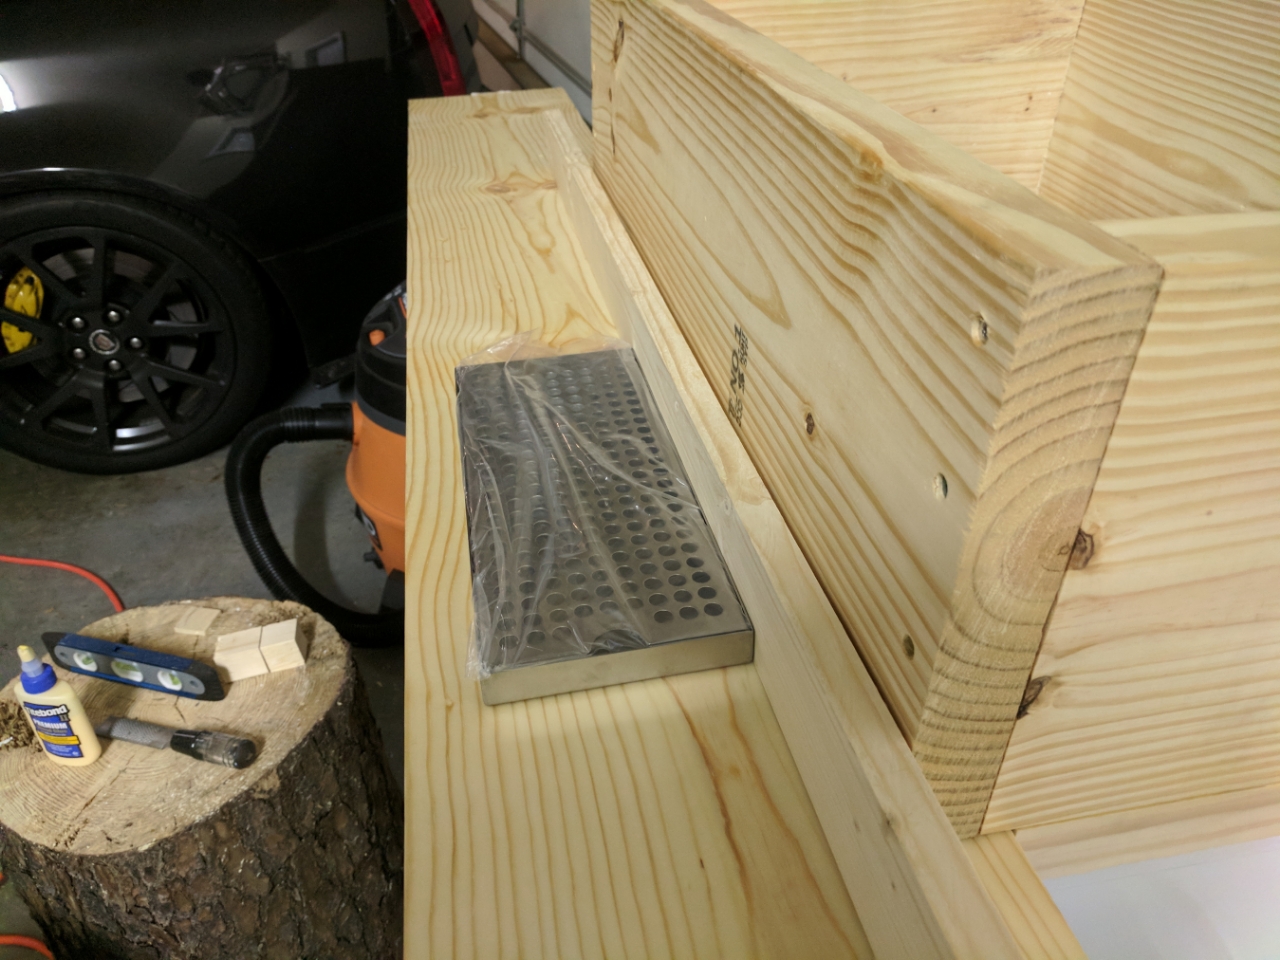
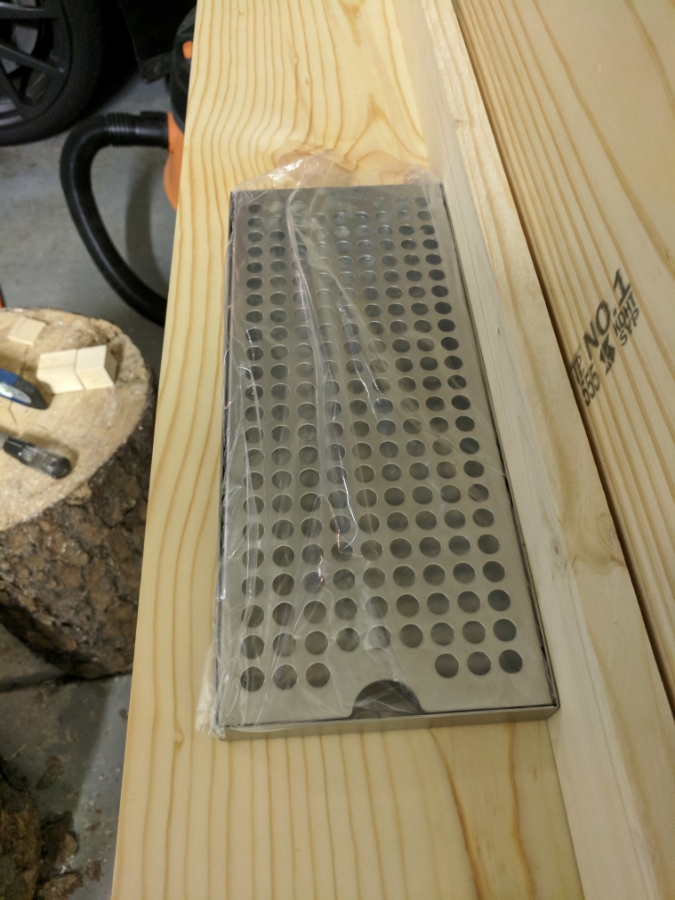
Out 1/4in. This leaves only 1in of wood in front of the tray cutout and makes me worry a little more if it will be strong enough or not. The shelf is not really inteded to ever hold more than 2-3 full pint glasses while I am filling beers maybe. Possibly a growler but I haven't figured out if the taps will be high enough to sit a growler on it while filling.
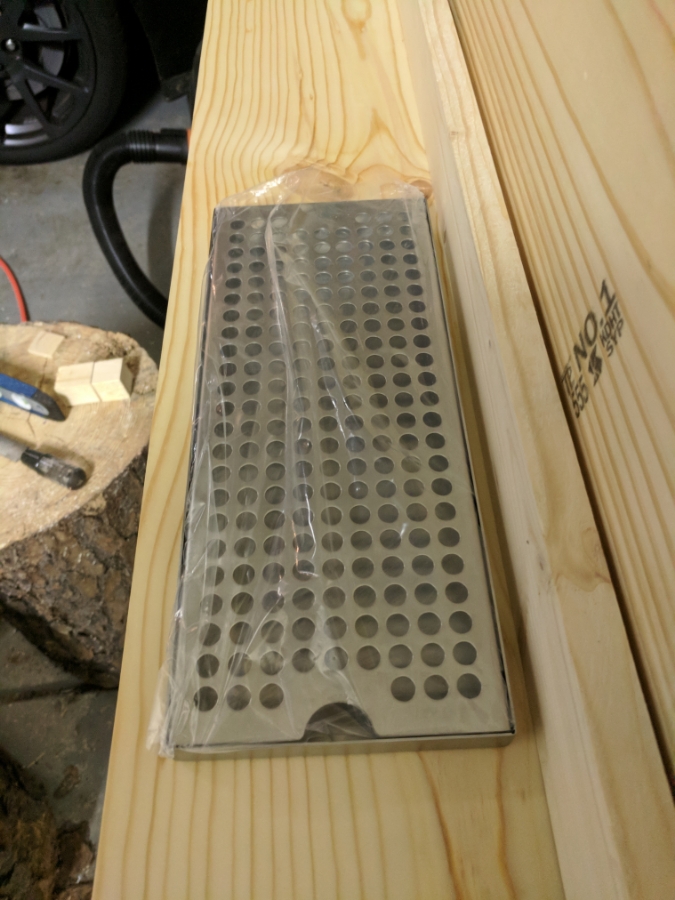
Centered or offset after doing some reading I am thinking offset is best cause it keeps the shanks off to one side so they are mostly out of the way. Included a picture of it centered just for comparison. The one bummer is that it won't fit between the set of knots in the wood evenly so I will lose the center one either way and it does look a little weird with the tray being closer to one side then.
The next decision that has to be made is to I mount the drip tray flush to the finish of the keezer or do I try and move it out a little bit towards the front and leave 1/4in of wood showing behind it.
All the way in. This leaves 1-1/4in of wood in front of the tray which hopefully will be enough to be sturdy and not have it break once I cut the whole for it to be recessed in.
Out 1/4in. This leaves only 1in of wood in front of the tray cutout and makes me worry a little more if it will be strong enough or not. The shelf is not really inteded to ever hold more than 2-3 full pint glasses while I am filling beers maybe. Possibly a growler but I haven't figured out if the taps will be high enough to sit a growler on it while filling.
looking good! I was going to say about the knots that you don't want to have one partially showing as the whole knot could pop out if you try and cut through it. For the tray, how far out will the spouts be? I think it looks better leaving a bit of wood showing behind the tray like the example you showed above. How thick is the shelf wood? I'm not sure how you could reinforce that thin area in front of the tray.
Thread Starter
Moderator
Regional Coordinator (Southeast)
Regional Coordinator (Southeast)
Joined: Dec 2003
Posts: 44,126
Likes: 4,434
From: Mooresville, NC
looking good! I was going to say about the knots that you don't want to have one partially showing as the whole knot could pop out if you try and cut through it. For the tray, how far out will the spouts be? I think it looks better leaving a bit of wood showing behind the tray like the example you showed above. How thick is the shelf wood? I'm not sure how you could reinforce that thin area in front of the tray.
Yes that would be one way to add a little more support. If I made them small enough you probably wouldn't even see them. I do like the idea of a floating shelf though. Another option is if I could find maybe two - four nice stainless steel brackets to use as the faucets will be all stainless and I ordered two stainless tap handles as well.
Thread Starter
Moderator
Regional Coordinator (Southeast)
Regional Coordinator (Southeast)
Joined: Dec 2003
Posts: 44,126
Likes: 4,434
From: Mooresville, NC
I actually really like that look so that is a good idea. I wonder if they would be to heavy though as the outer finish wood will I will me mounting using finishing nails to nail it to the inner frame which will just be 3 vertical bars. I figure each 1x4 will have 2 nails per beam. I might be over thinking it though.
This might be a little lighter but also are a little more modern looking than I think I want.
I think the shelf will be fairly sturdy without brackets once glued and bolted in place. The main part I am worrying about is the little strip in front of the drip tray that will only be 3/4in x 1in wide.
This might be a little lighter but also are a little more modern looking than I think I want.
I think the shelf will be fairly sturdy without brackets once glued and bolted in place. The main part I am worrying about is the little strip in front of the drip tray that will only be 3/4in x 1in wide.
I would lean towards the pipe but that's just me. What are you worried about with the strip in front of the tray? There should be very little pressure on it. How is the drip tray going to be mounted?