When you click on links to various merchants on this site and make a purchase, this can result in this site earning a commission. Affiliate programs and affiliations include, but are not limited to, the eBay Partner Network.
I would lean towards the pipe but that's just me. What are you worried about with the strip in front of the tray? There should be very little pressure on it. How is the drip tray going to be mounted?
That has yet to be determined fully. The build I am basing this off of has a worth strip screwed under it to the rest of the shelf. If I do this and also put the tray off to the right side it will most likely limit my ability to use pipe for brackets since it will be such a wide mounting point on the under side of the shelf.
You can kind of see it here
Another option is to maybe find some steel strips and bolt like 4 of them under the tray. That might put added stress though on that small strip on at the front. Whatever mounting solution I use I really want the base of the drip tray to still be removeable but also be able to have it hold some weight if something is sitting on it.
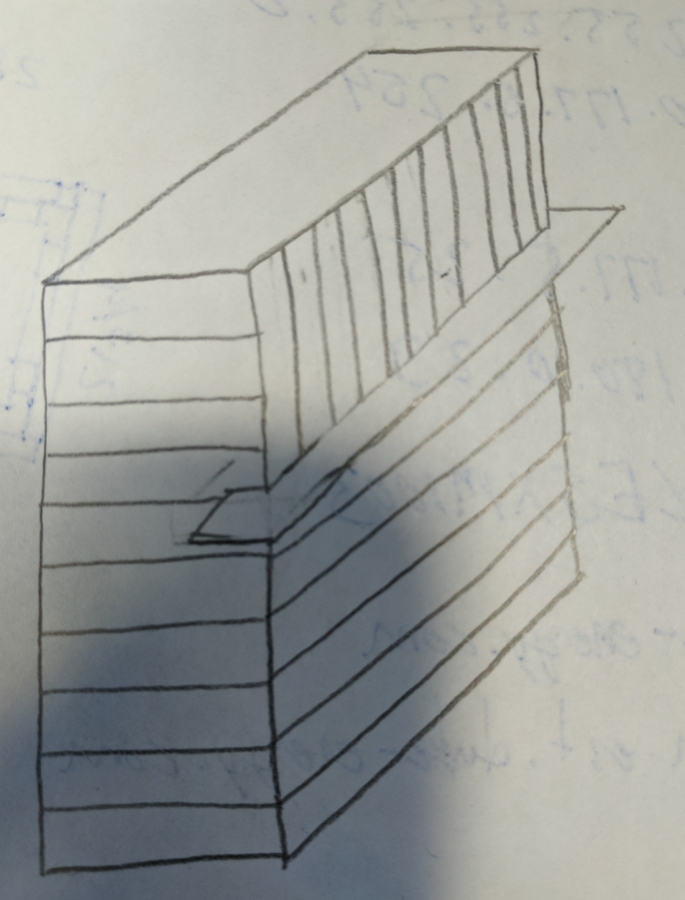
Something like this maybe except I would only screw in one half and hope the metal is stiff enough to support the tray.
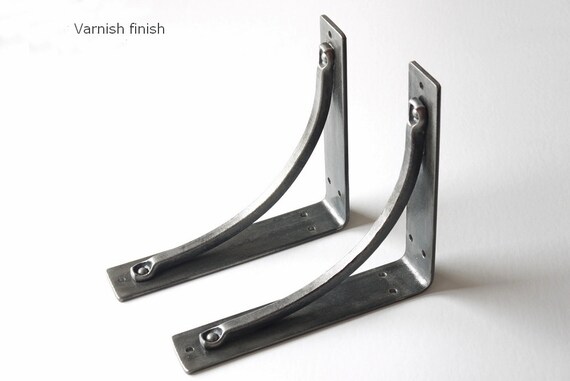
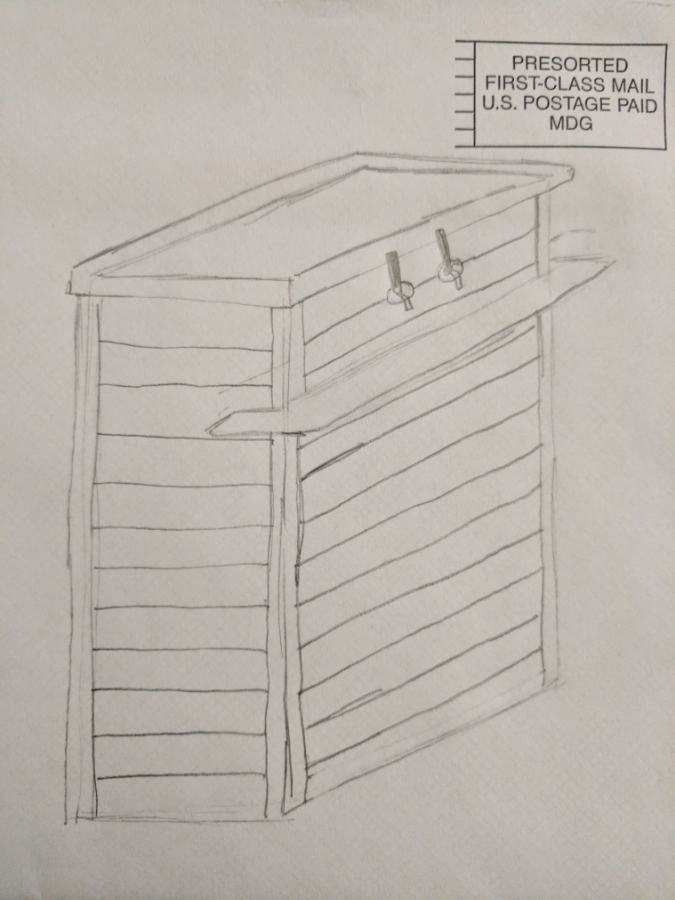
How do you plan on cutting the opening for the tray? As for support of the tray you could easily support it at the 4 corners using 2 90� brackets. Make sure to pre-drill and use small wood screws to secure. See my poor drawing skills for reference.
Also, depending on how far over you put the tray you should have plenty room to mount the supports.
That is a really good solution. I think that should work great. I bolted the shelf on last night and even with 5 screws it is not near as stable as I would like so apparently my tolerances are off a little bit. I will definitely be using some type of under support for sure if I can't make it stronger.
Your tolerances may not be off. That is a lot of weight cantilevered off the lip. I am not surprised you need supports. Only way I could see you not needing them is to have it tight enough to have to pound the piece in with a mallet or have a deeper cut / narrower piece of wood.
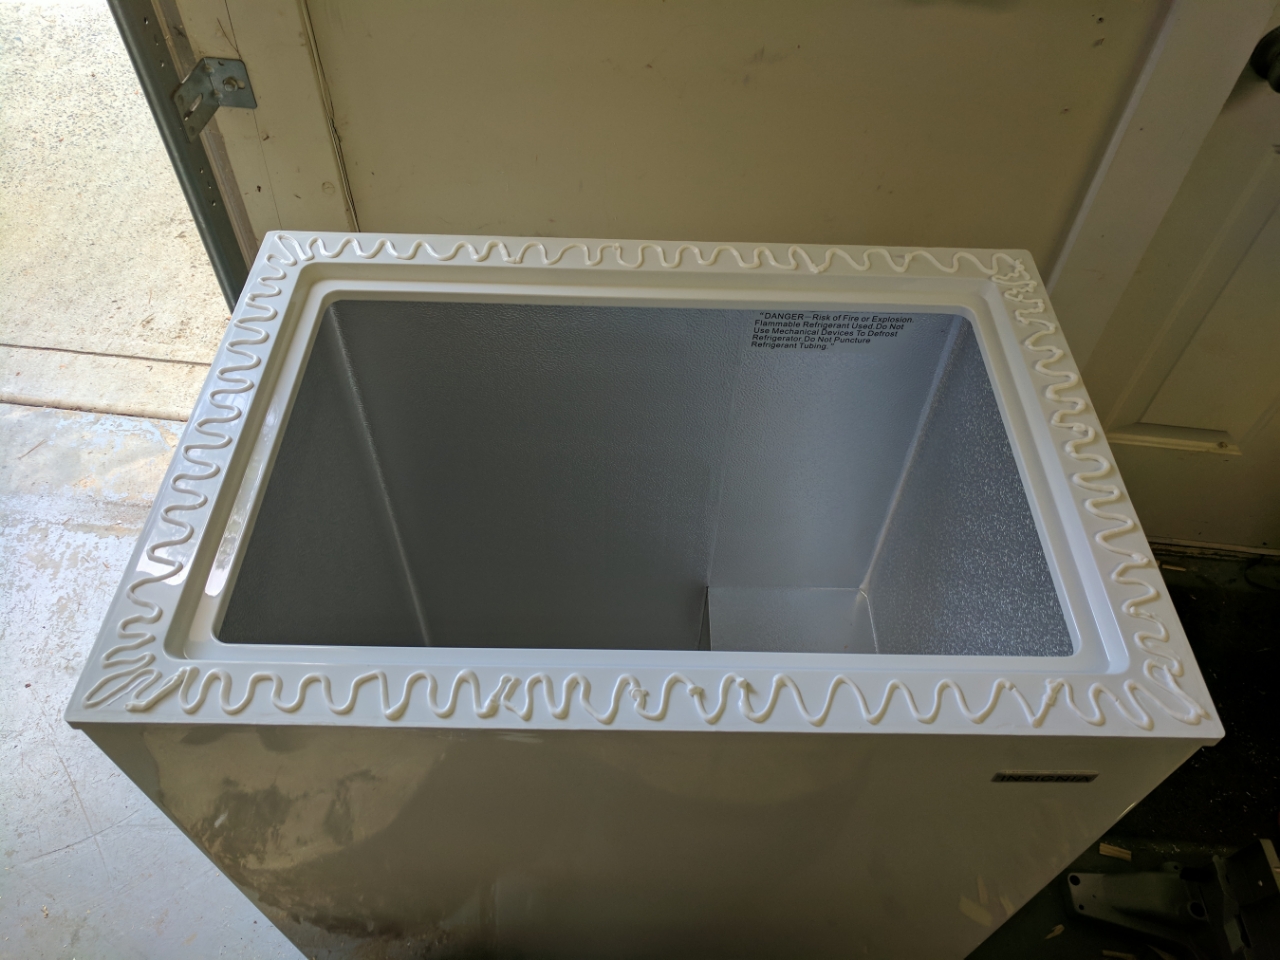
So Thursday last week I got time to finish up the shelf.
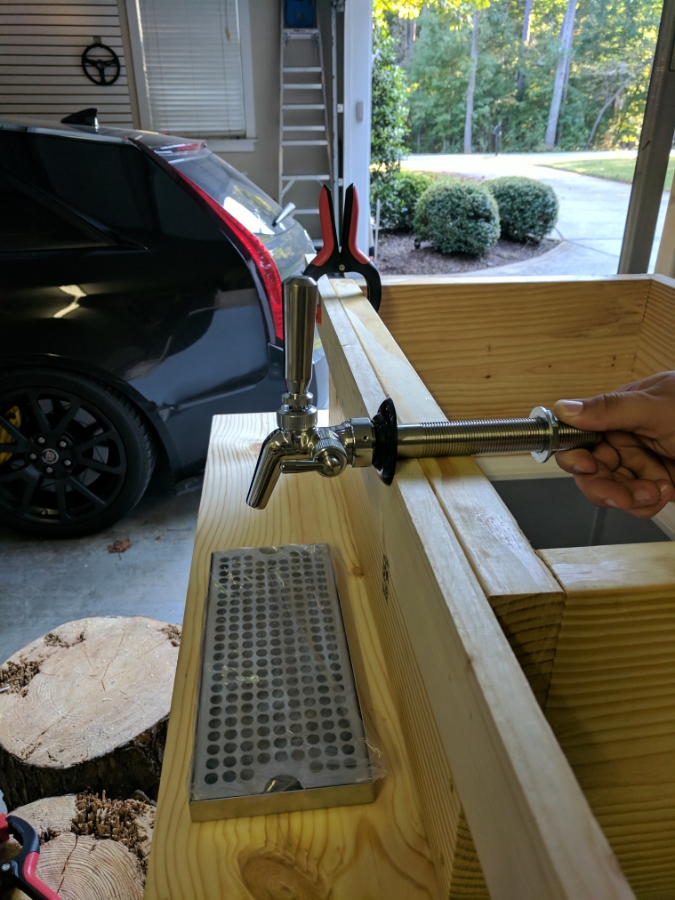
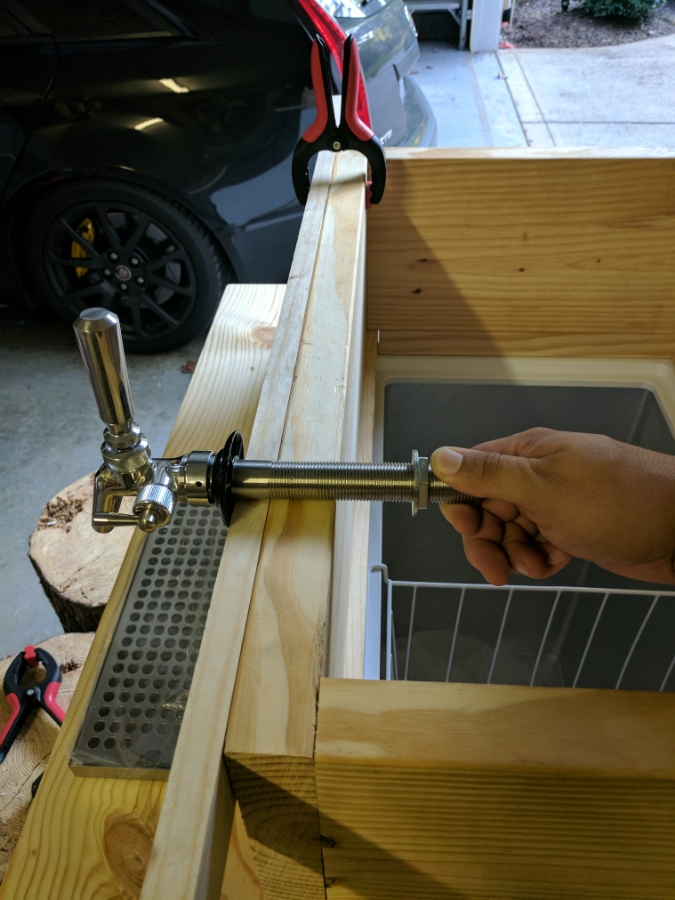
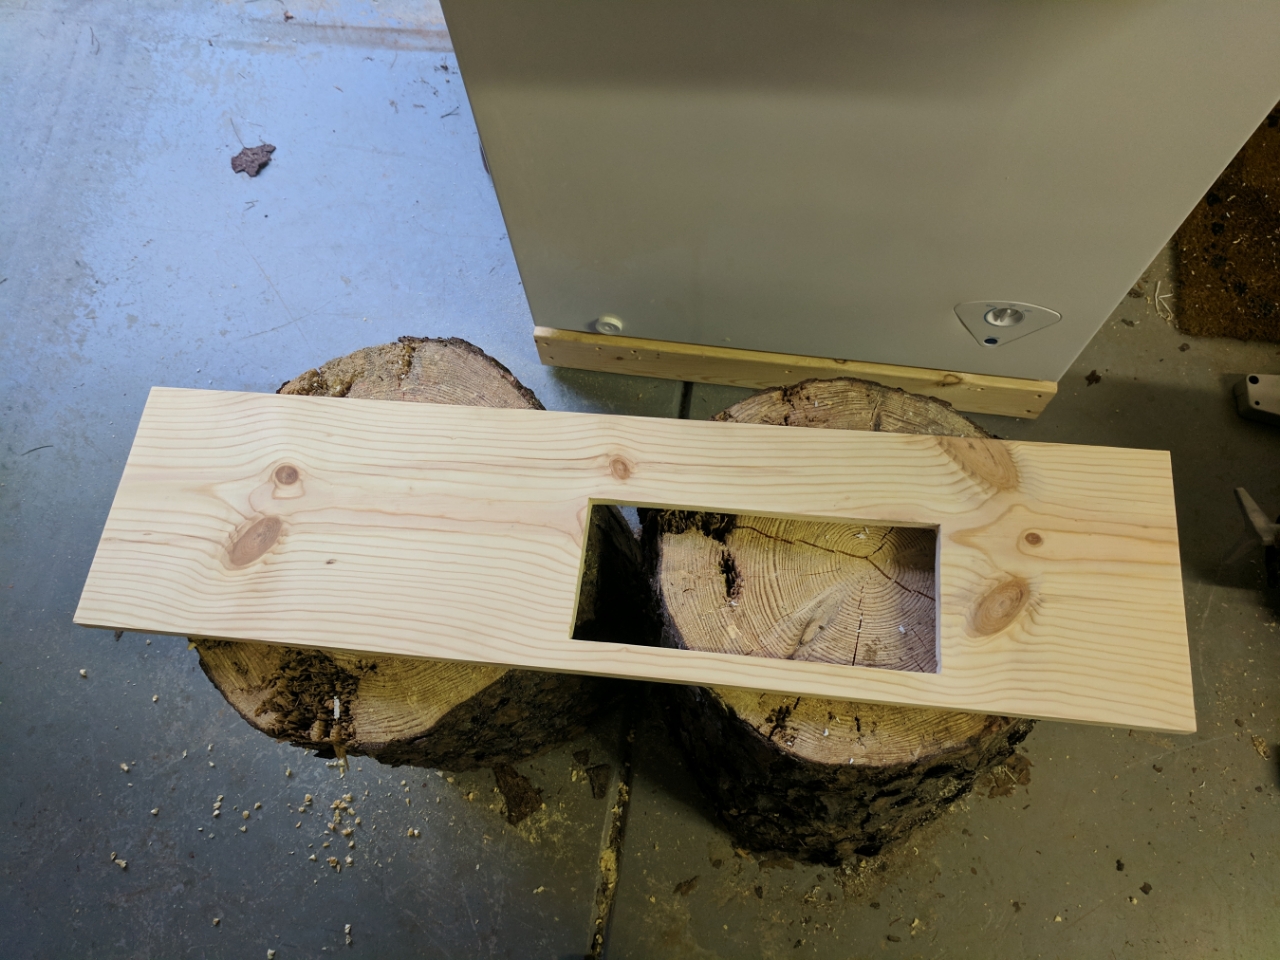
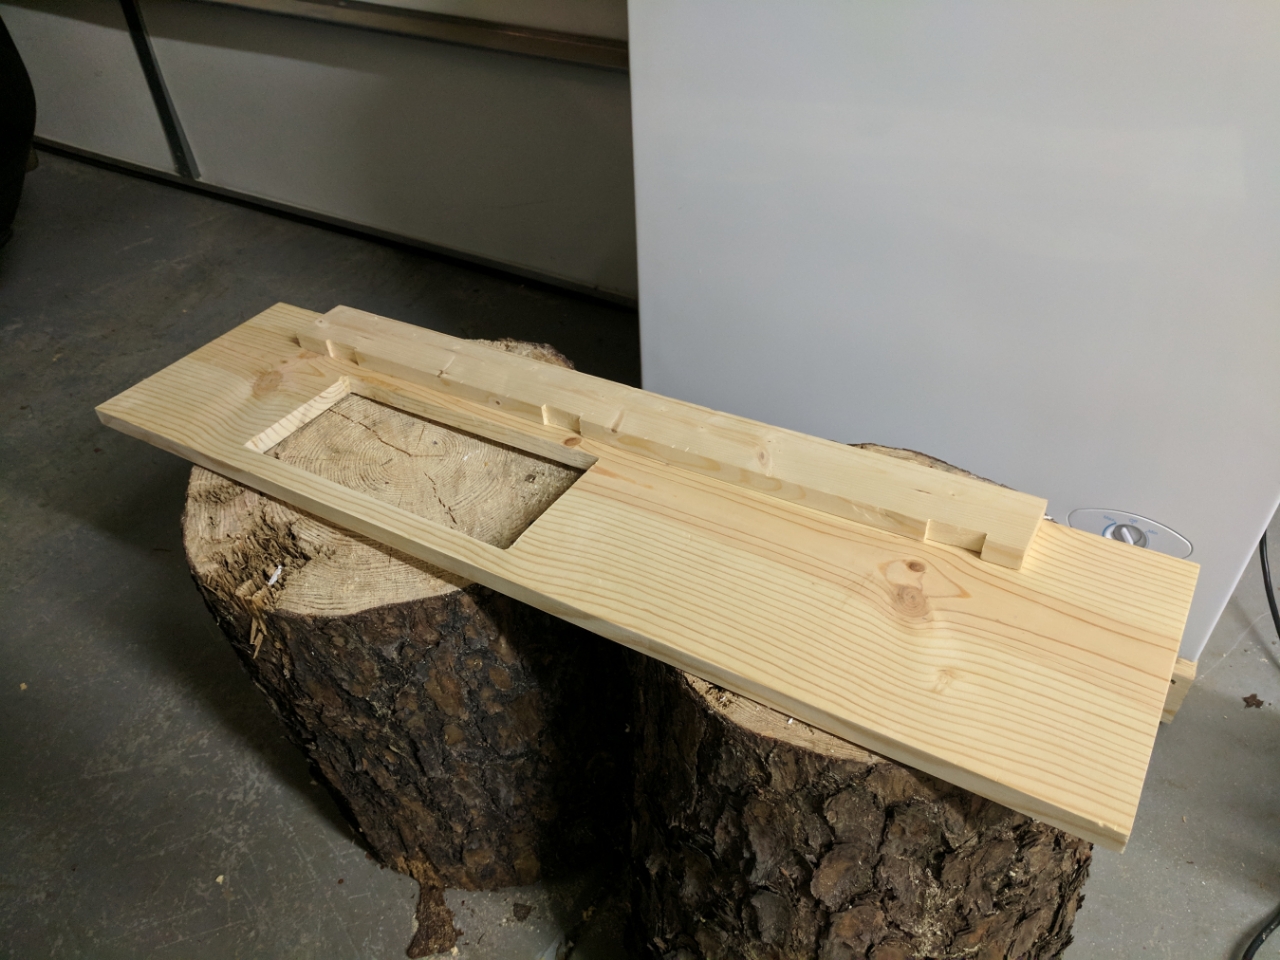
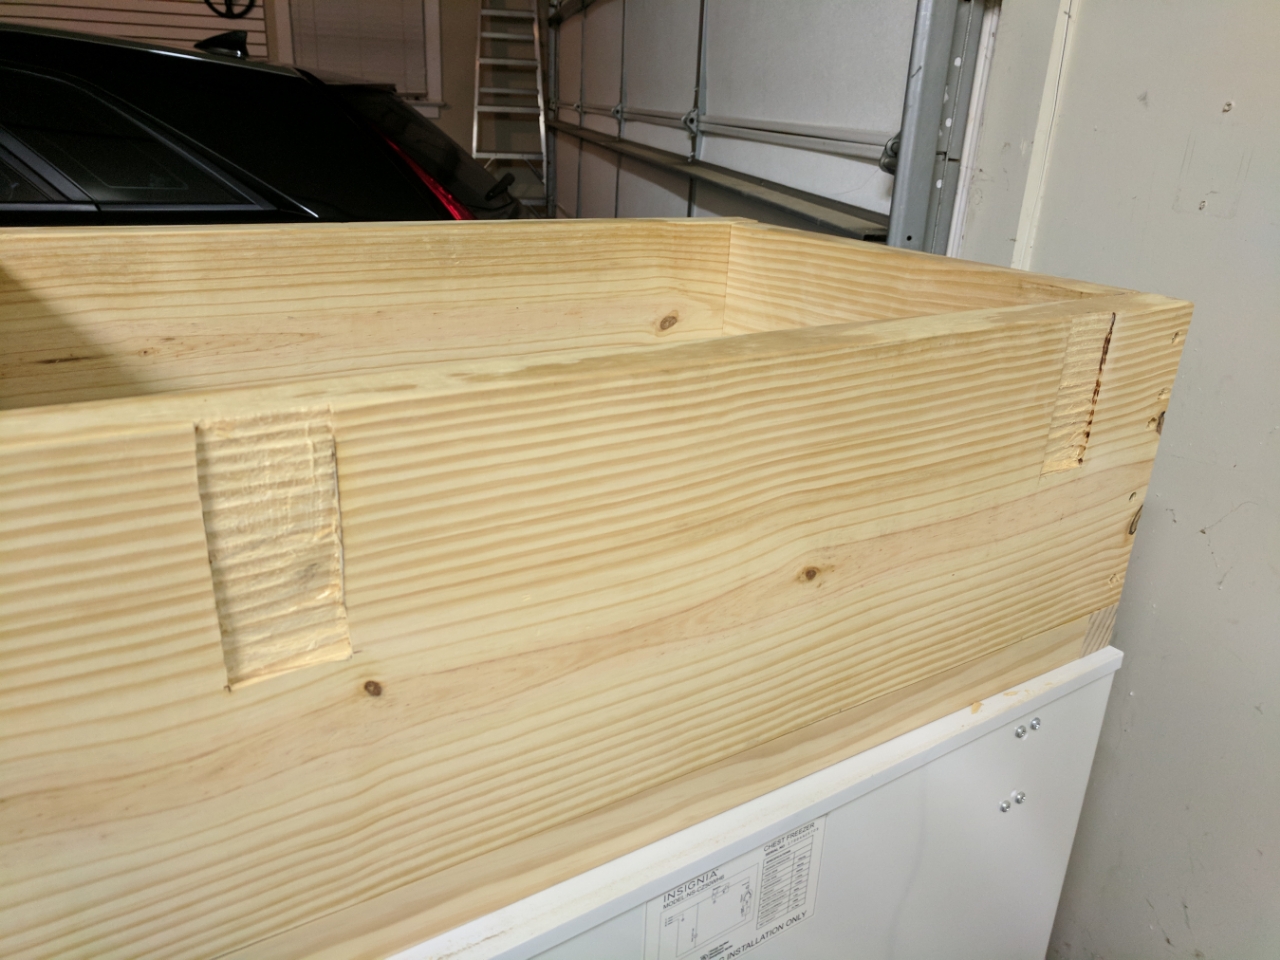
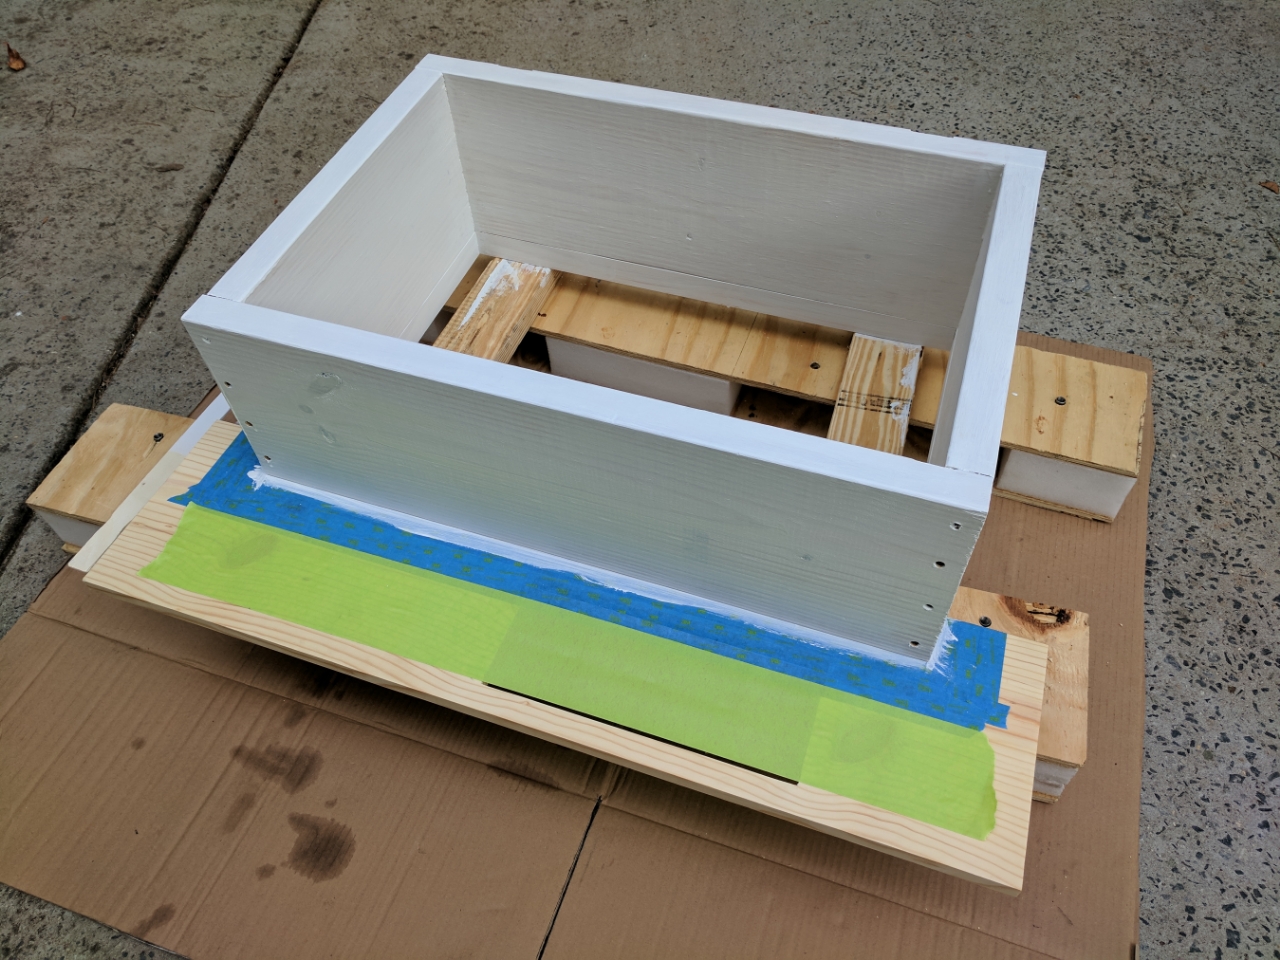
I put together one of the taps so I could test the spacing for the drip tray. Decided to go with the 1/4in of wood showing all around the tray and then 1in at the edge of the shelf.
I also think I might have ordered too large of shanks could have went with 5in instead of 6-1/4in. Only thing left to go on the inside of the wood is 1-2in of foam board insulation.
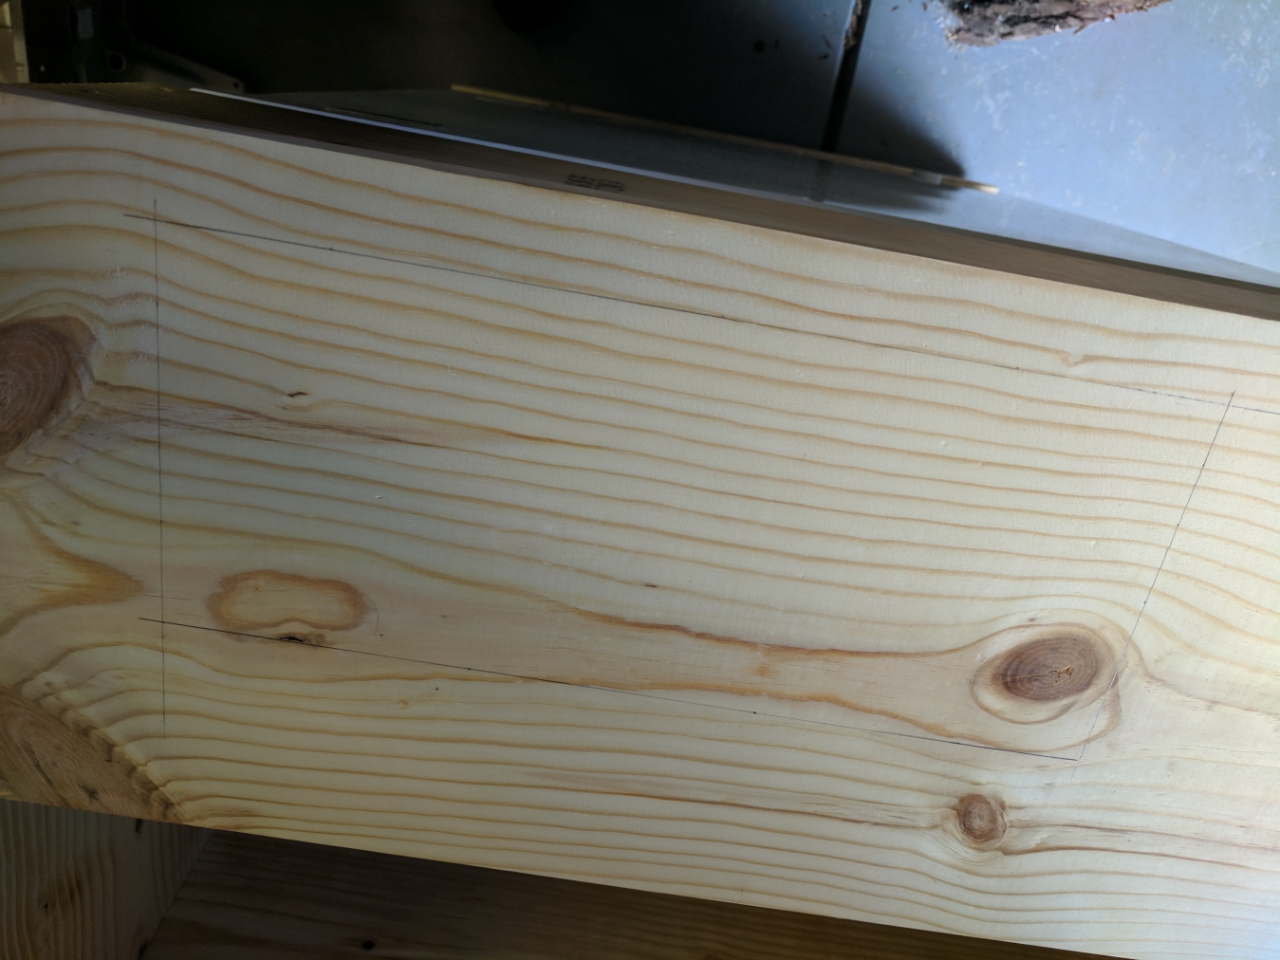
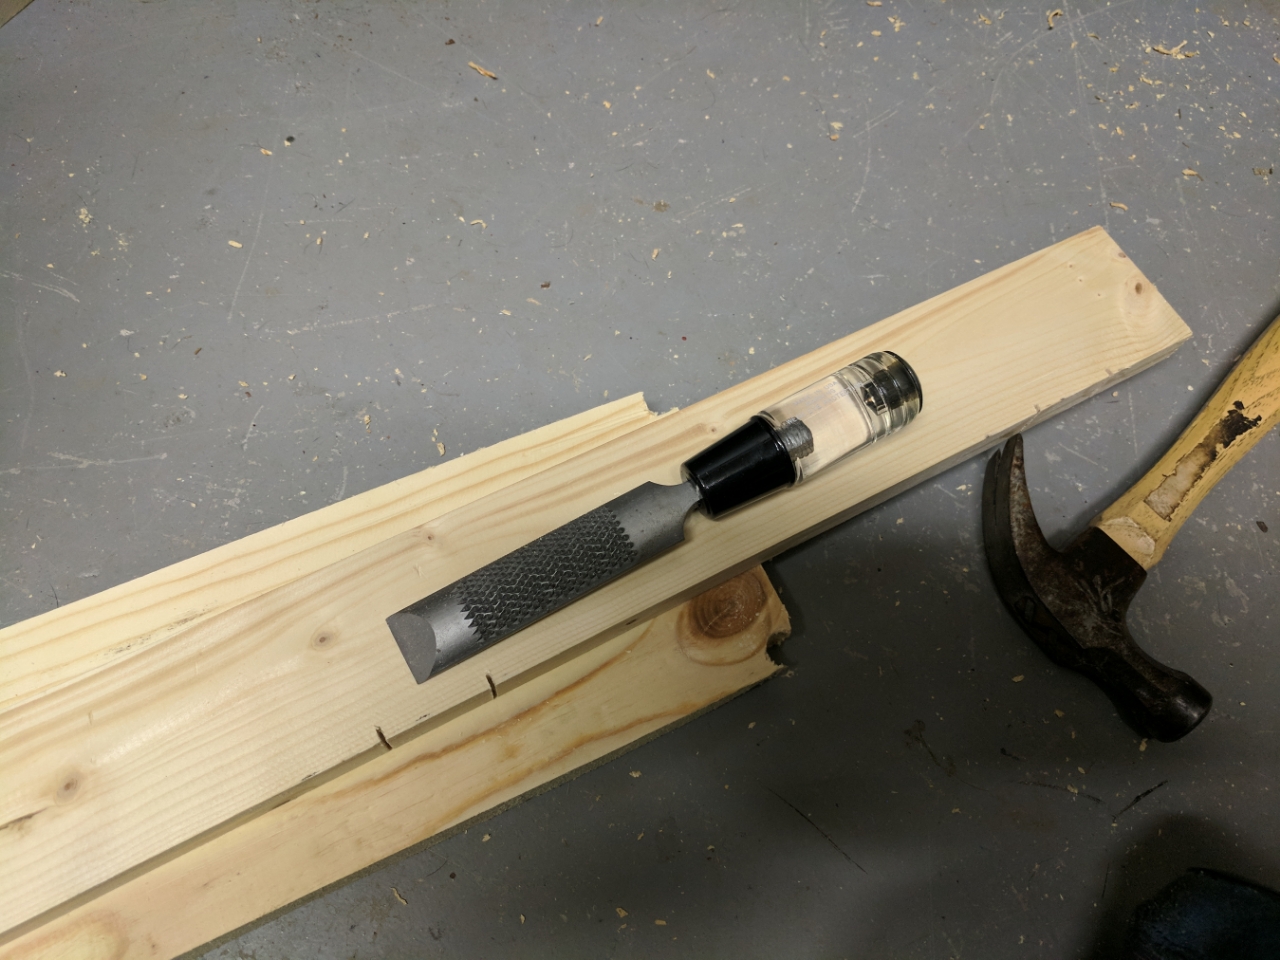
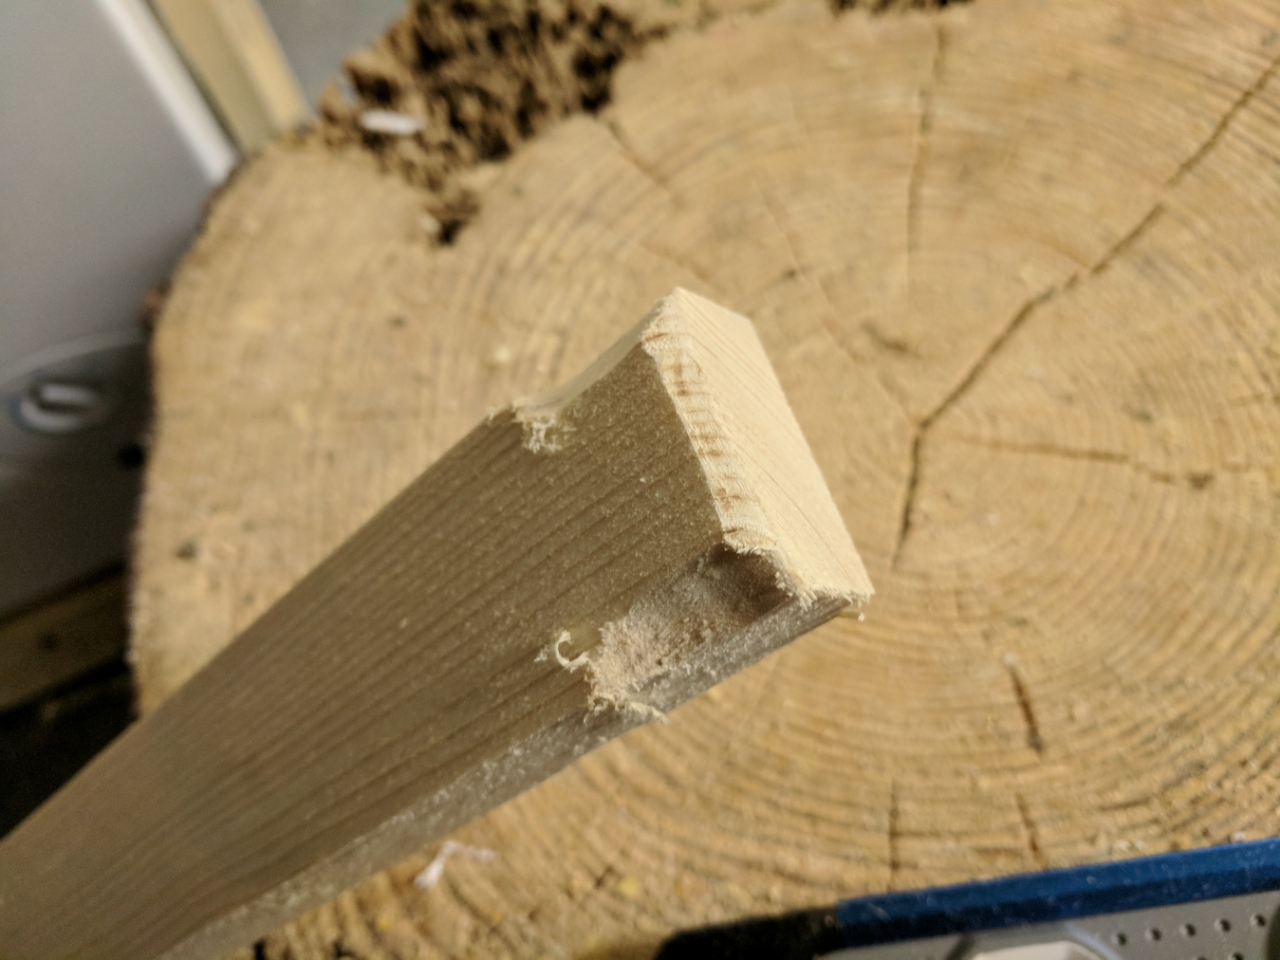
So after that I measured 3 times marked once for my outline for the drip tray.
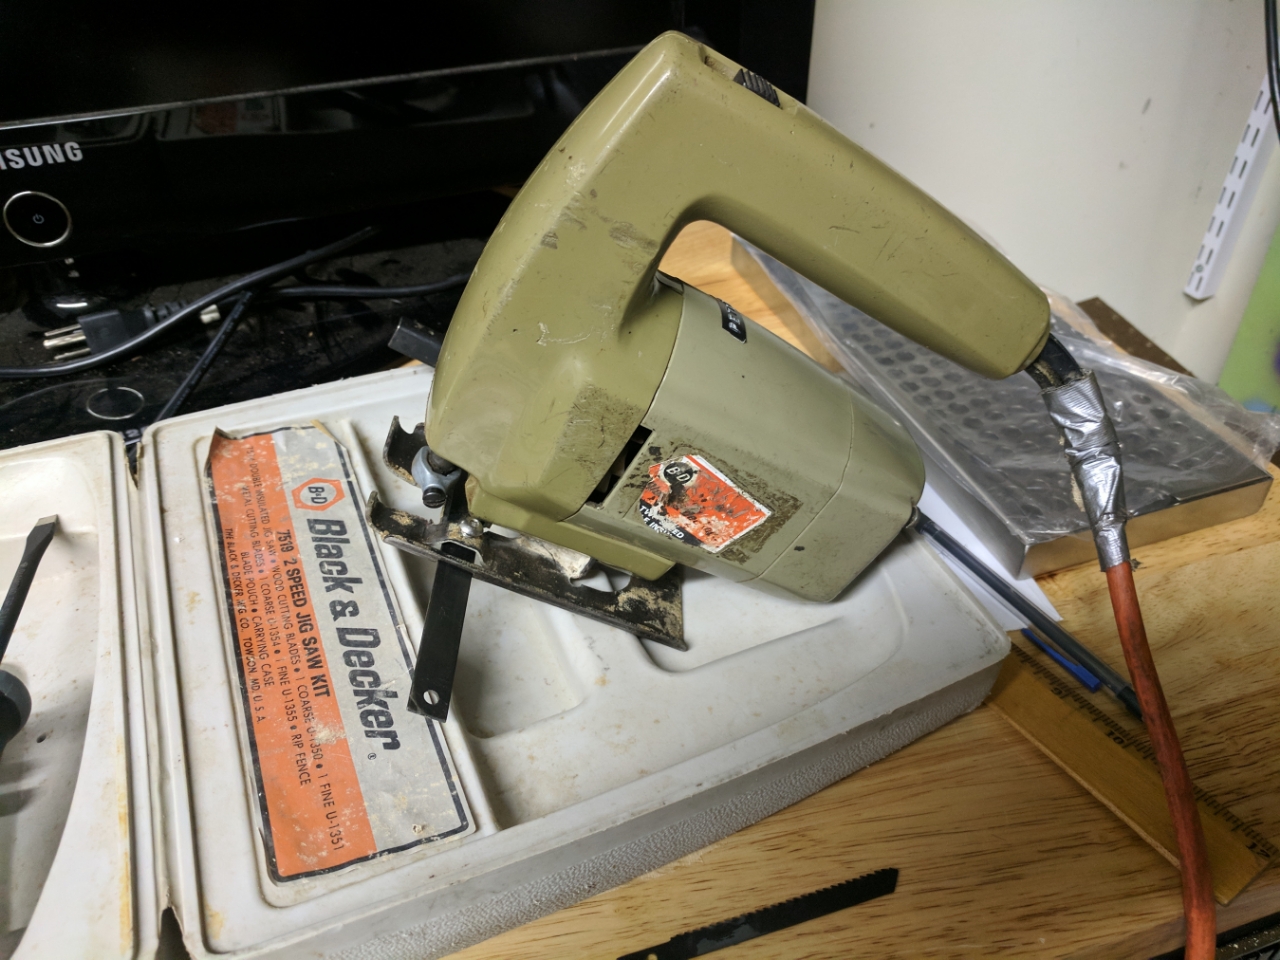
The jigsaw I used to make the cutout was my Grandpa's. A little research and I found it was for sale in 1974. Not sure how many years the same model was available but that means it is around 40+ years old.
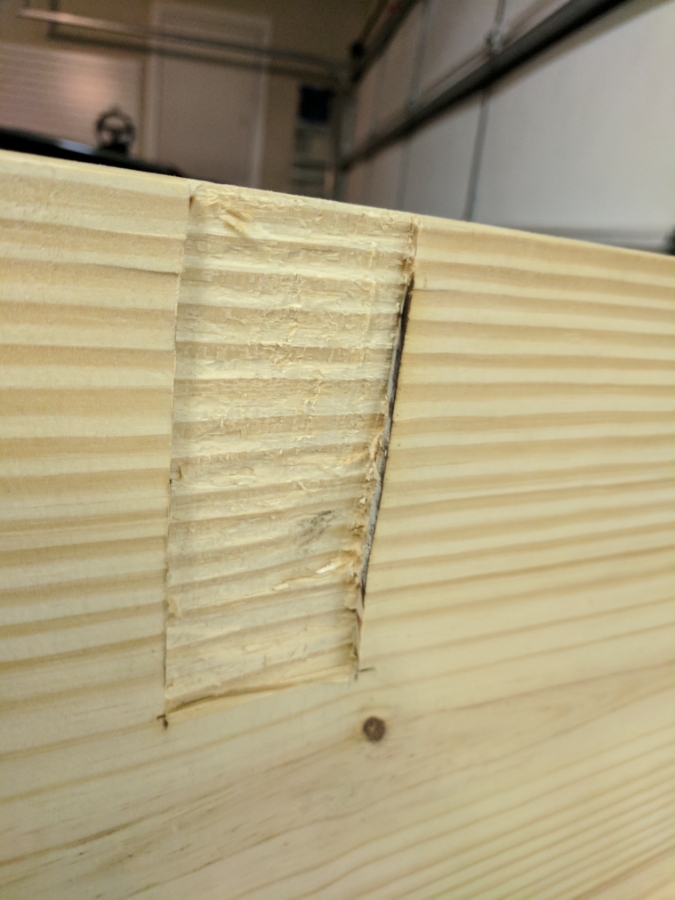
My cut out wasn't perfectly tight to the tray but was impressed with as well as it did come out for my first time doing something like this. I have cut holes for subs with a jigsaw plenty of time but nothing recessed. The main mistake I actually made was drilling my hole for the blade a little too close to my line at one corner. The long cuts I was able to use the saws guide for straight cuts but the short ends the guide was not long enough so I had to freehand them.
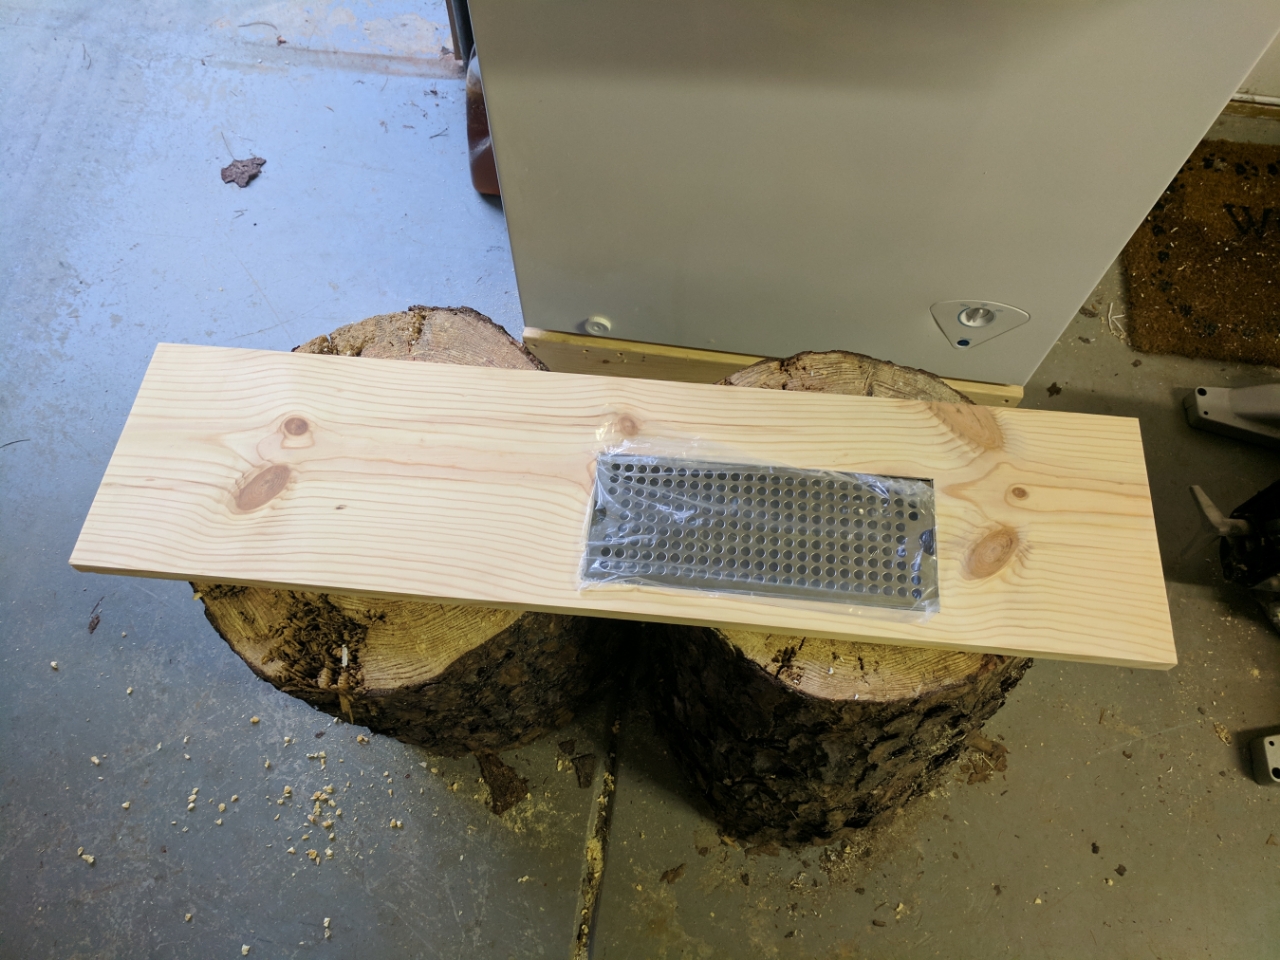
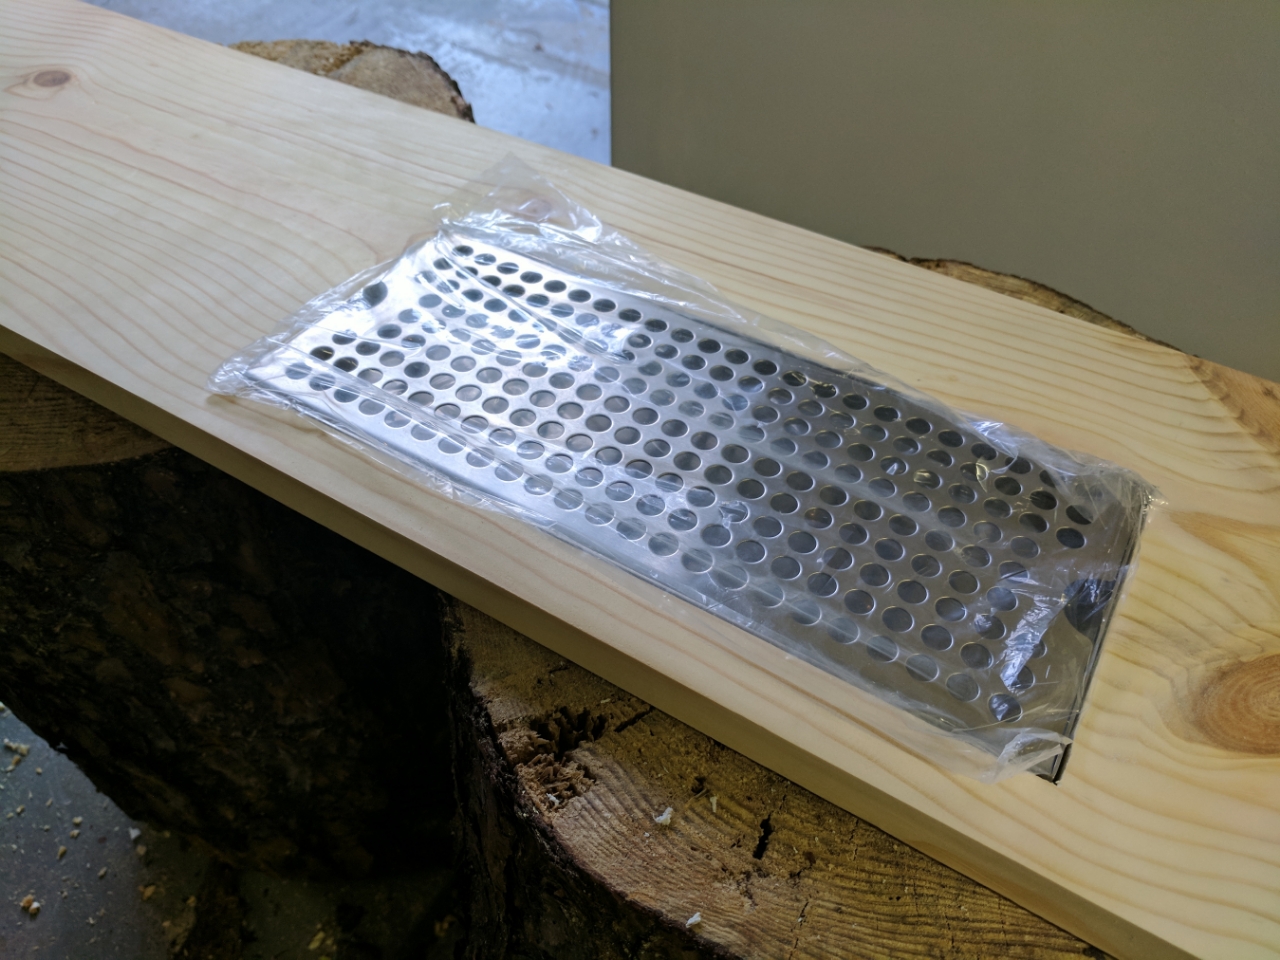
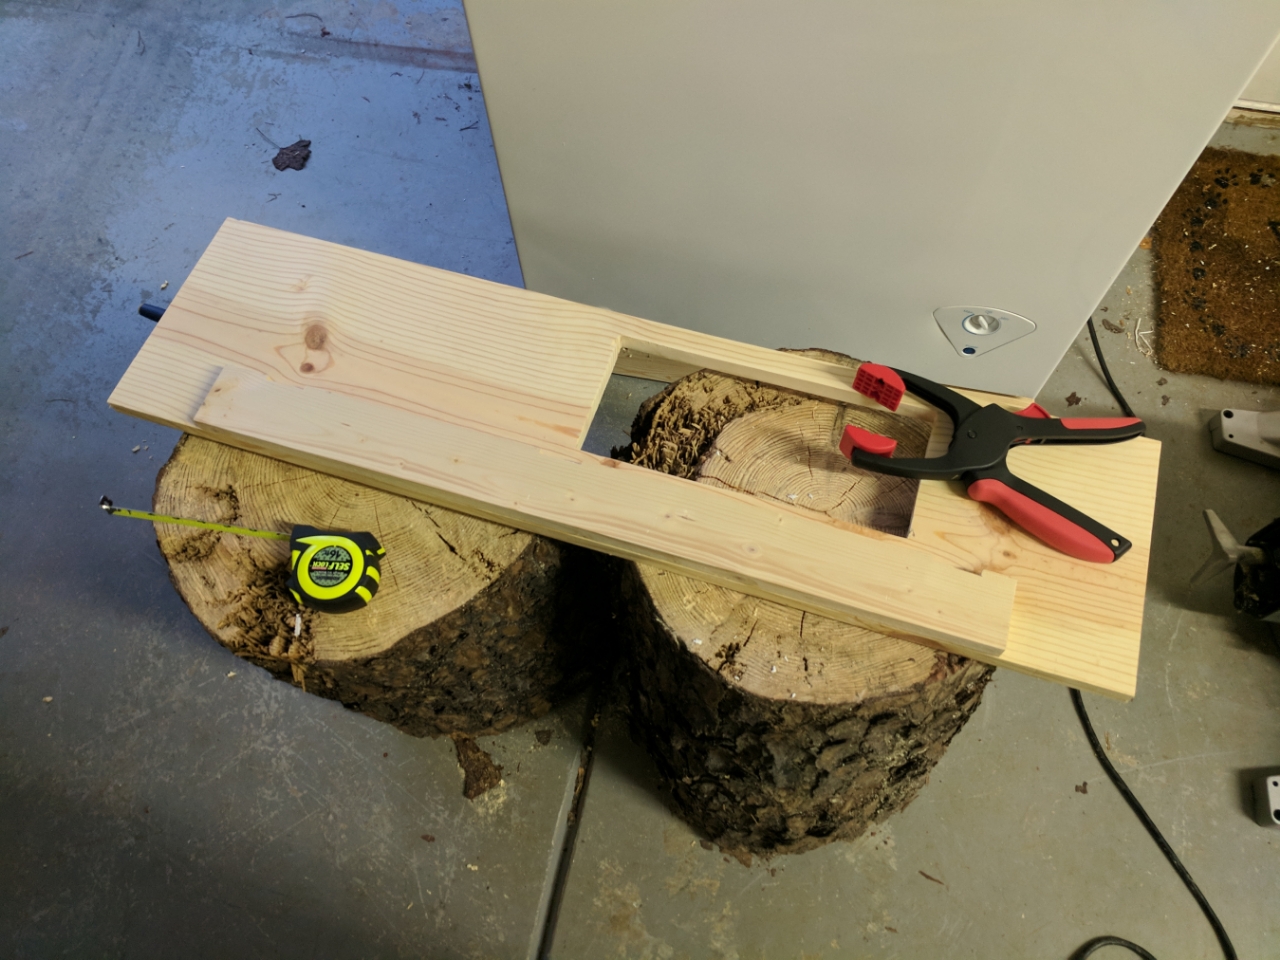
Test fit after a little bit a sanding to widen the area at one spot to make the tray fit.
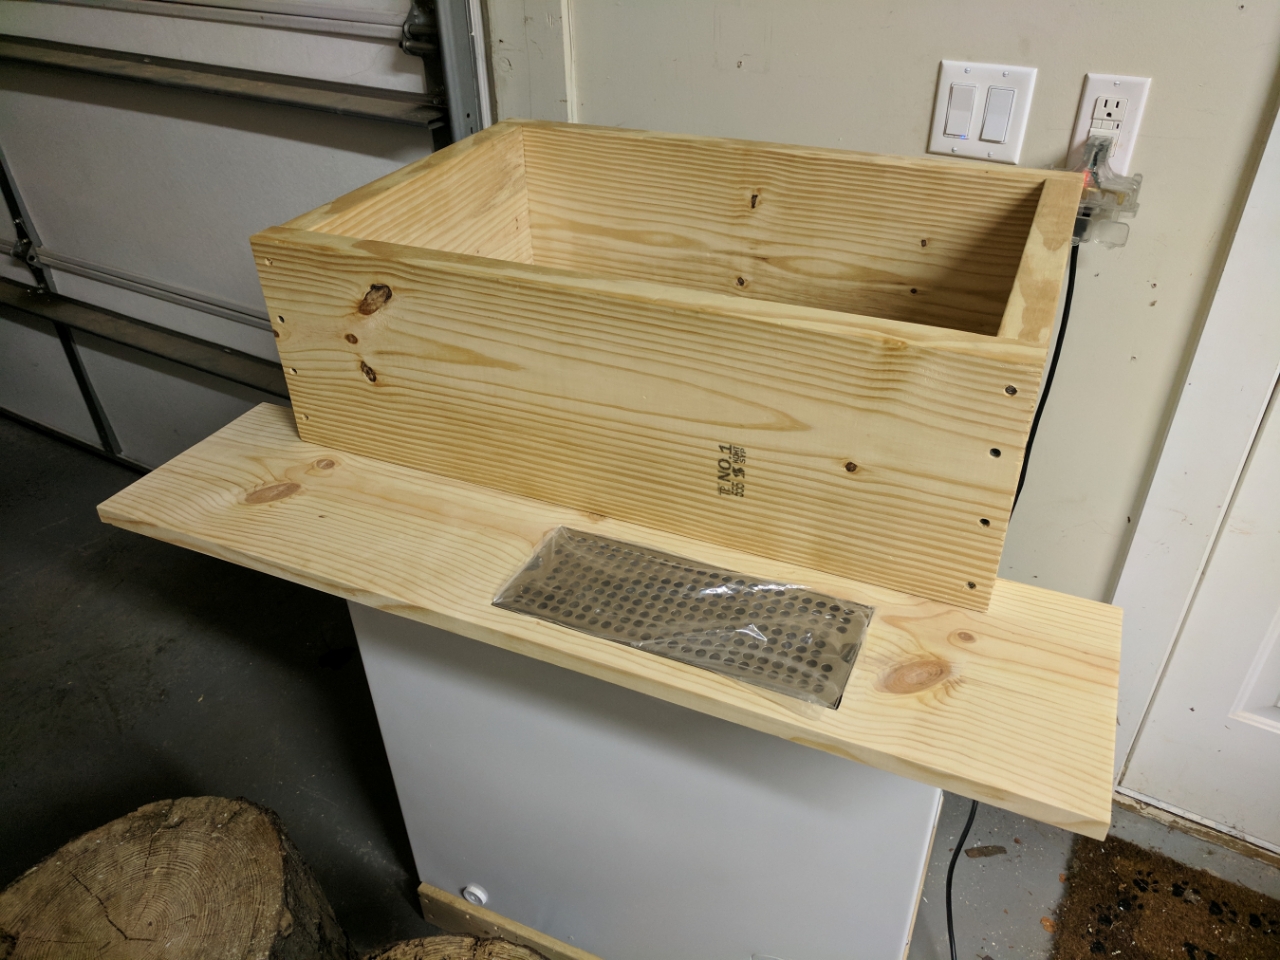
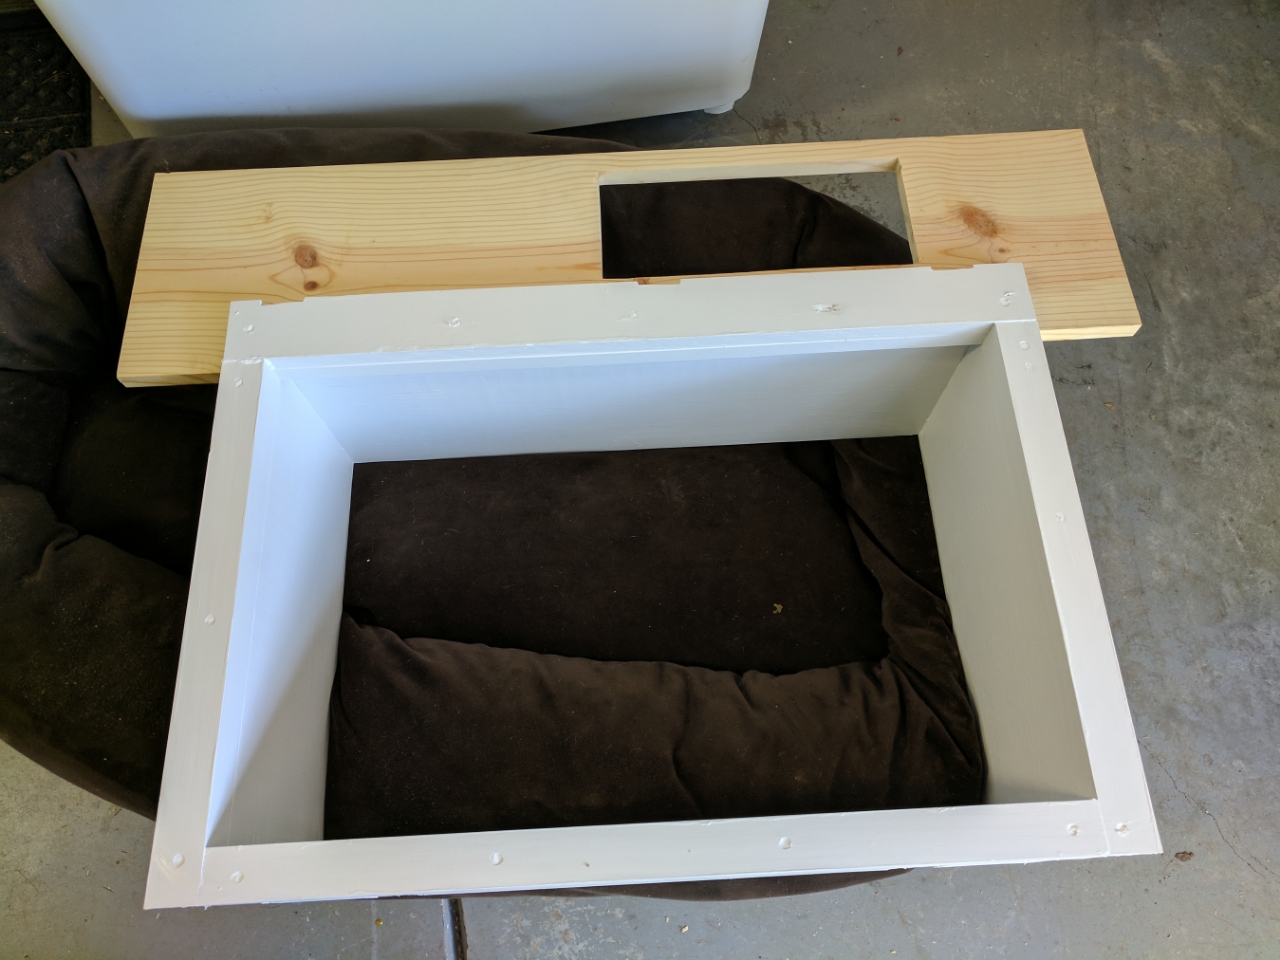
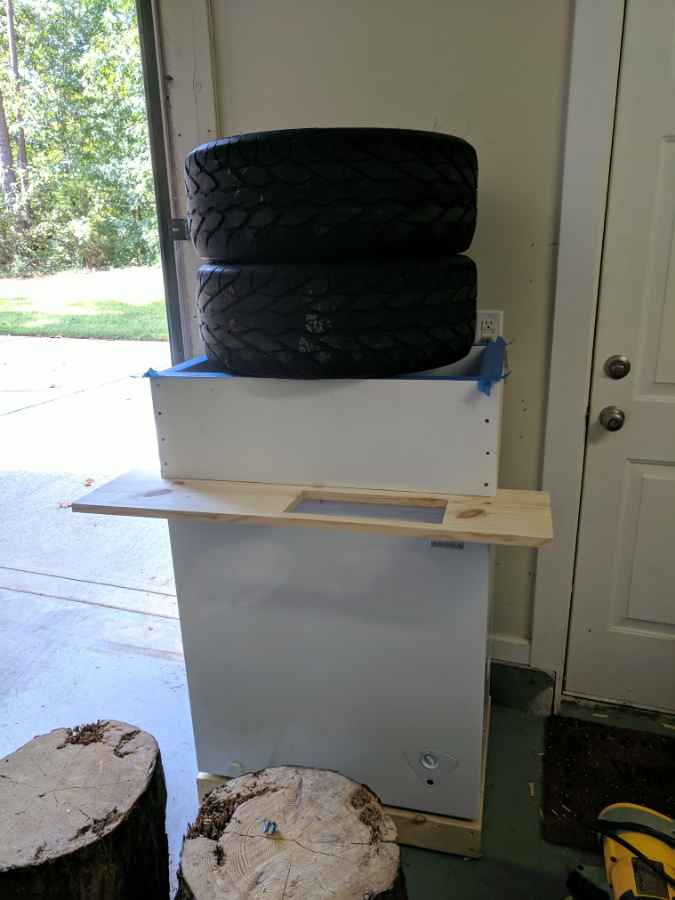
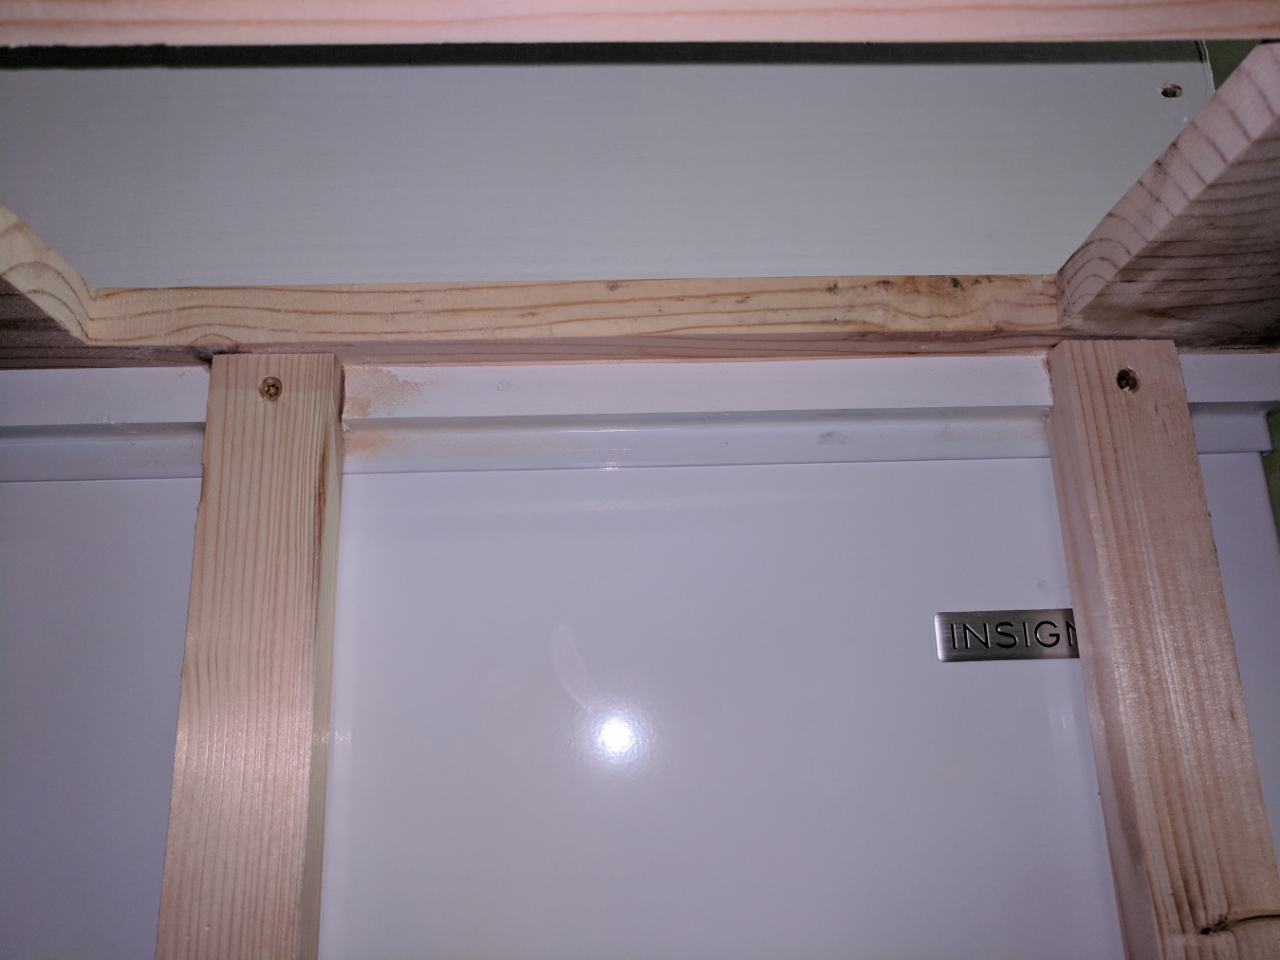
Next was the bottom support below the shelf that is the other half of the 1.5in area of the second layer of the collar. To make the shelf the size I wanted I had to make this stick out over the edge of the freezer a little. To account for this I had to notch it back so my vertical finish support boards will fit tight against the freezer. Cuts were made with the jigsaw to the right depths and then the material was chiseled out.
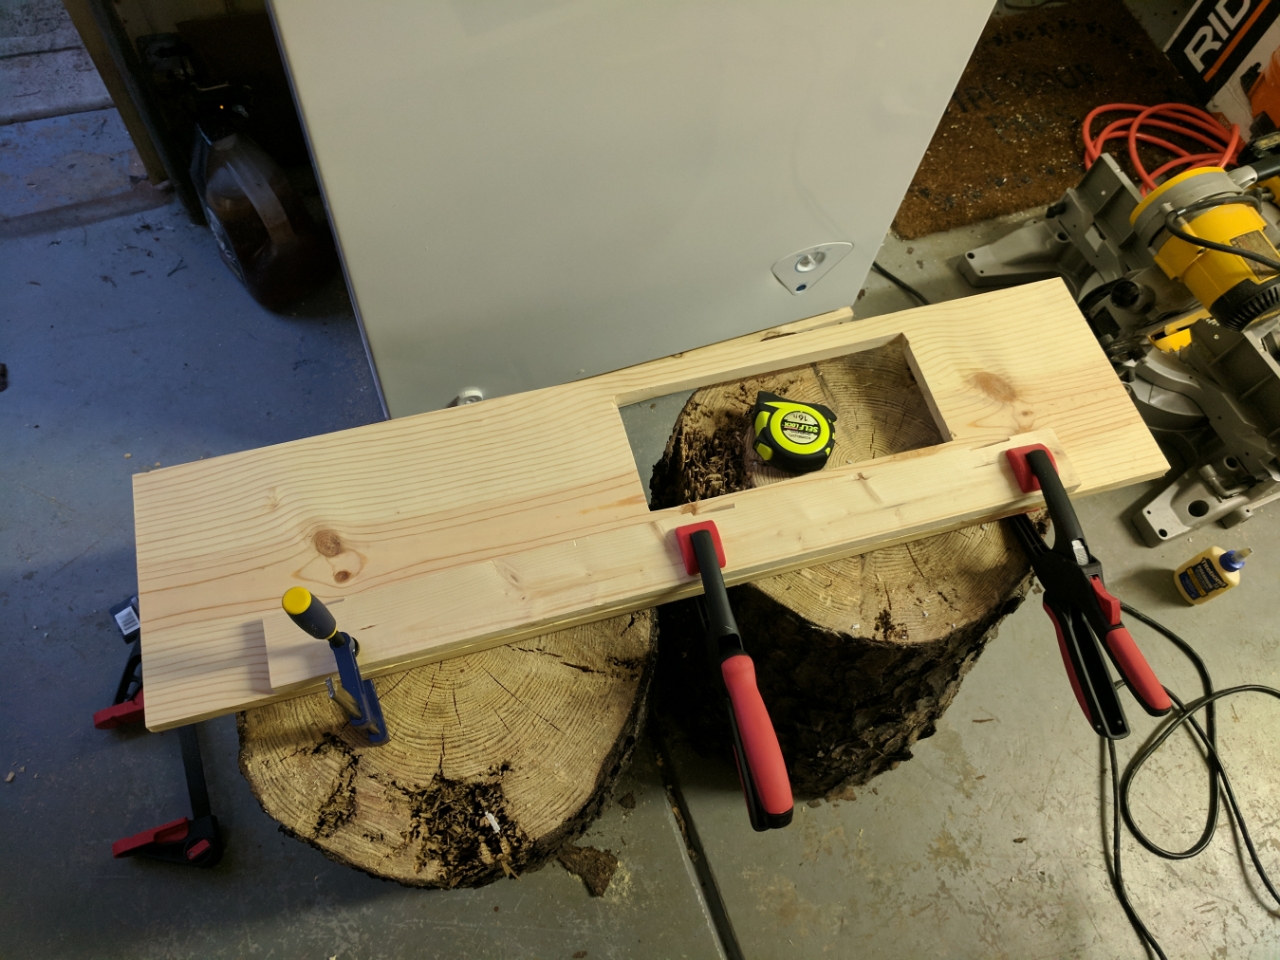
Lining up with the back edge of the shelf for attachment.
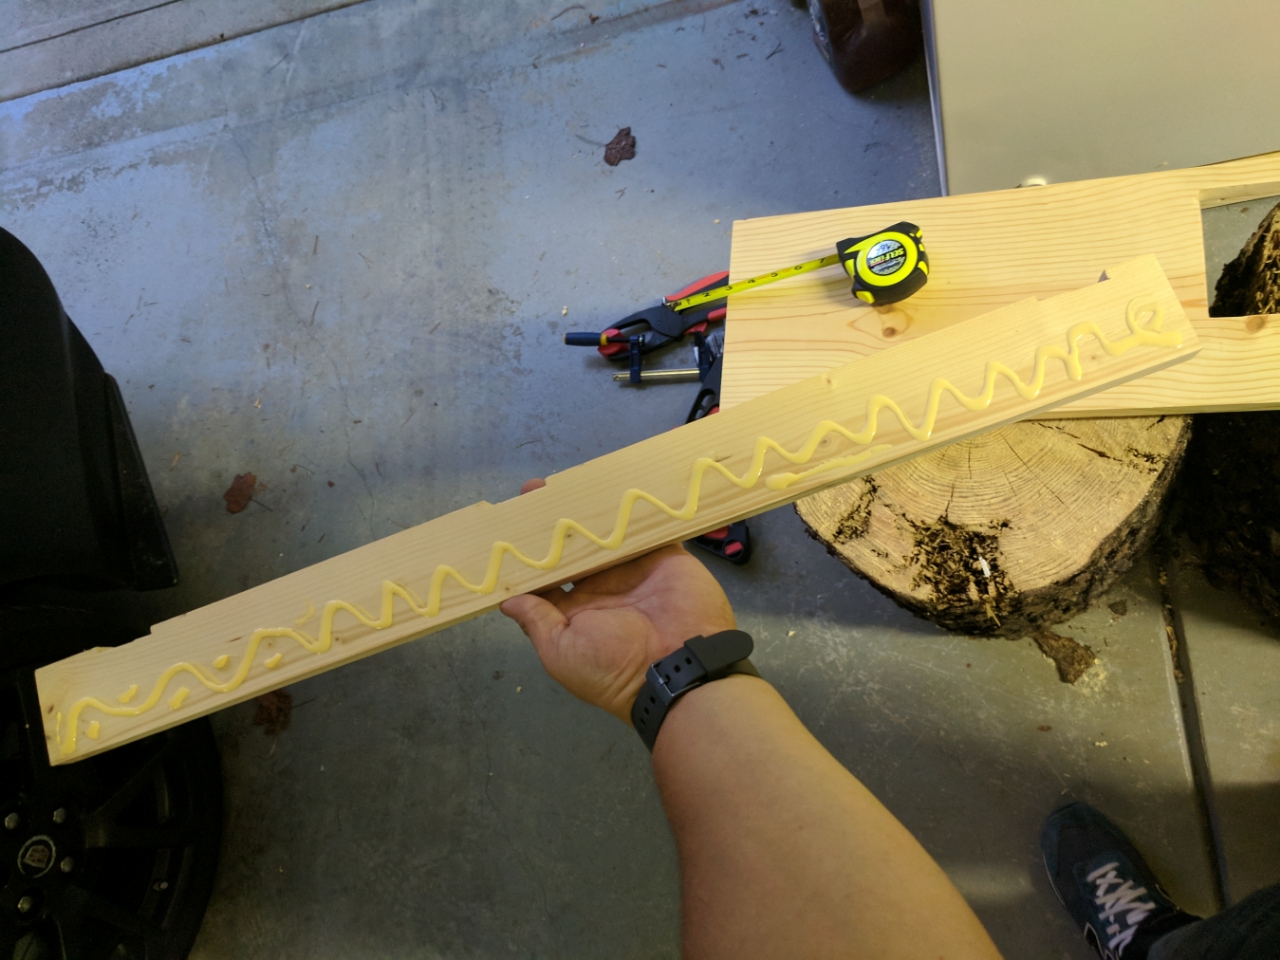
Some good wood glue.
Clamped tight
After an hour I attached the shelf to the collar
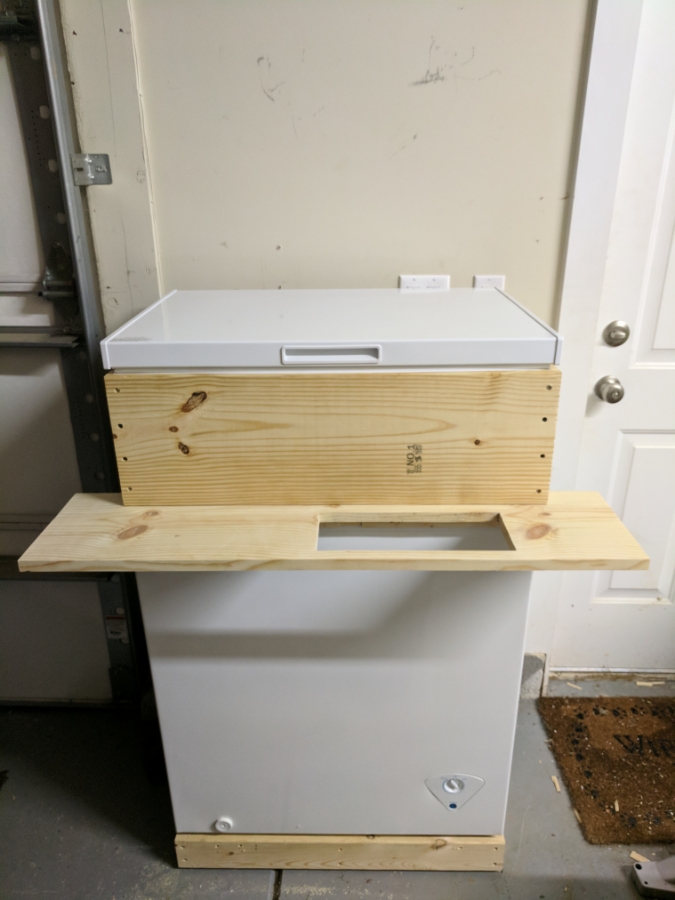
Test fit of the drip tray with the collar sitting on the freezer
Putting a collar on the freezer this tall is going to make loading kegs a pain but I did it to make it look good in the house should it end up inside. I needed it to be that high to put a keg on the compressor hump. I may have a buddy that can weld make me a stainless steel platform to raise the floor even with the compressor hump.
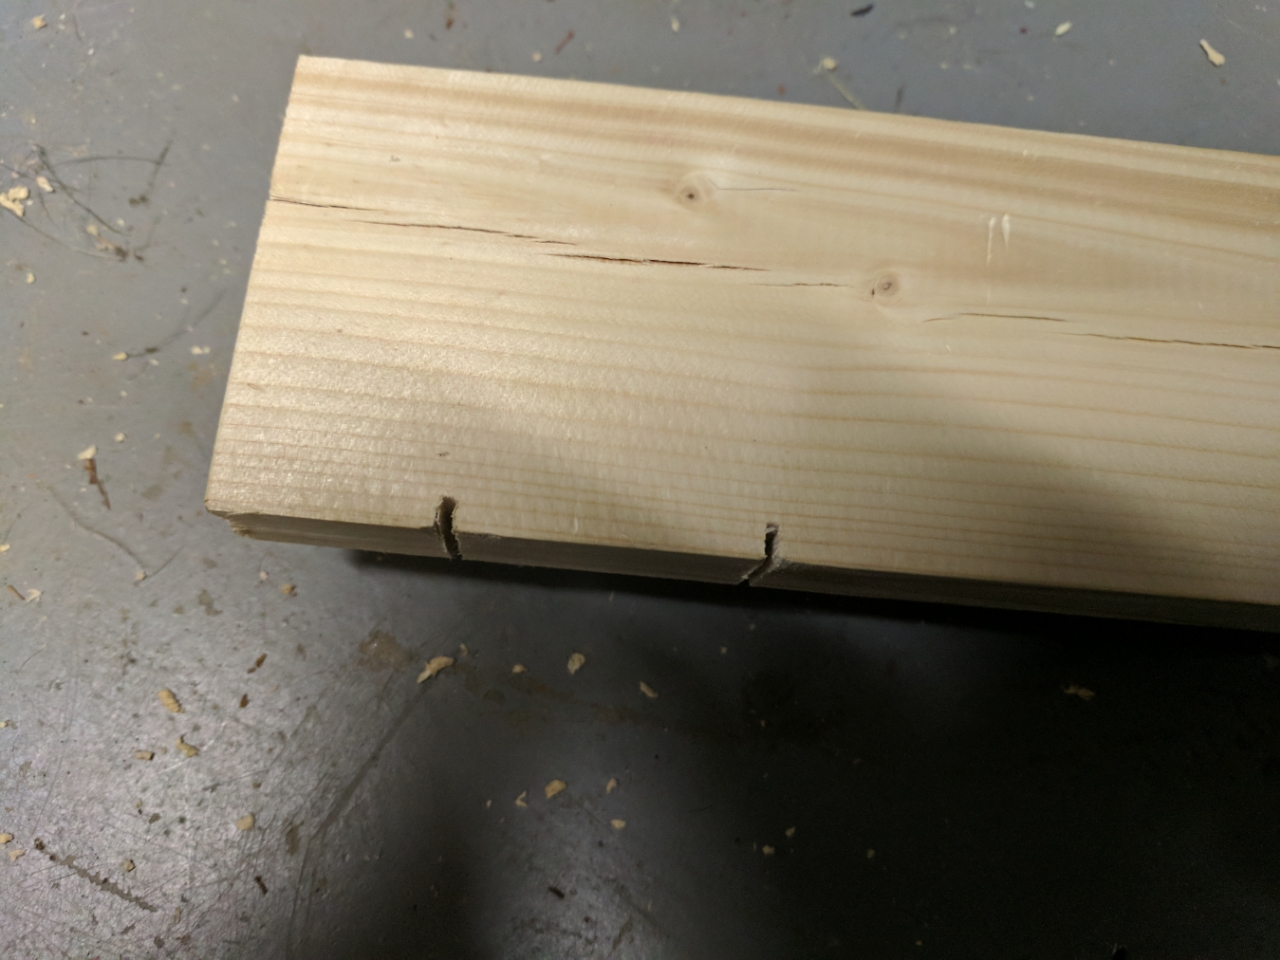
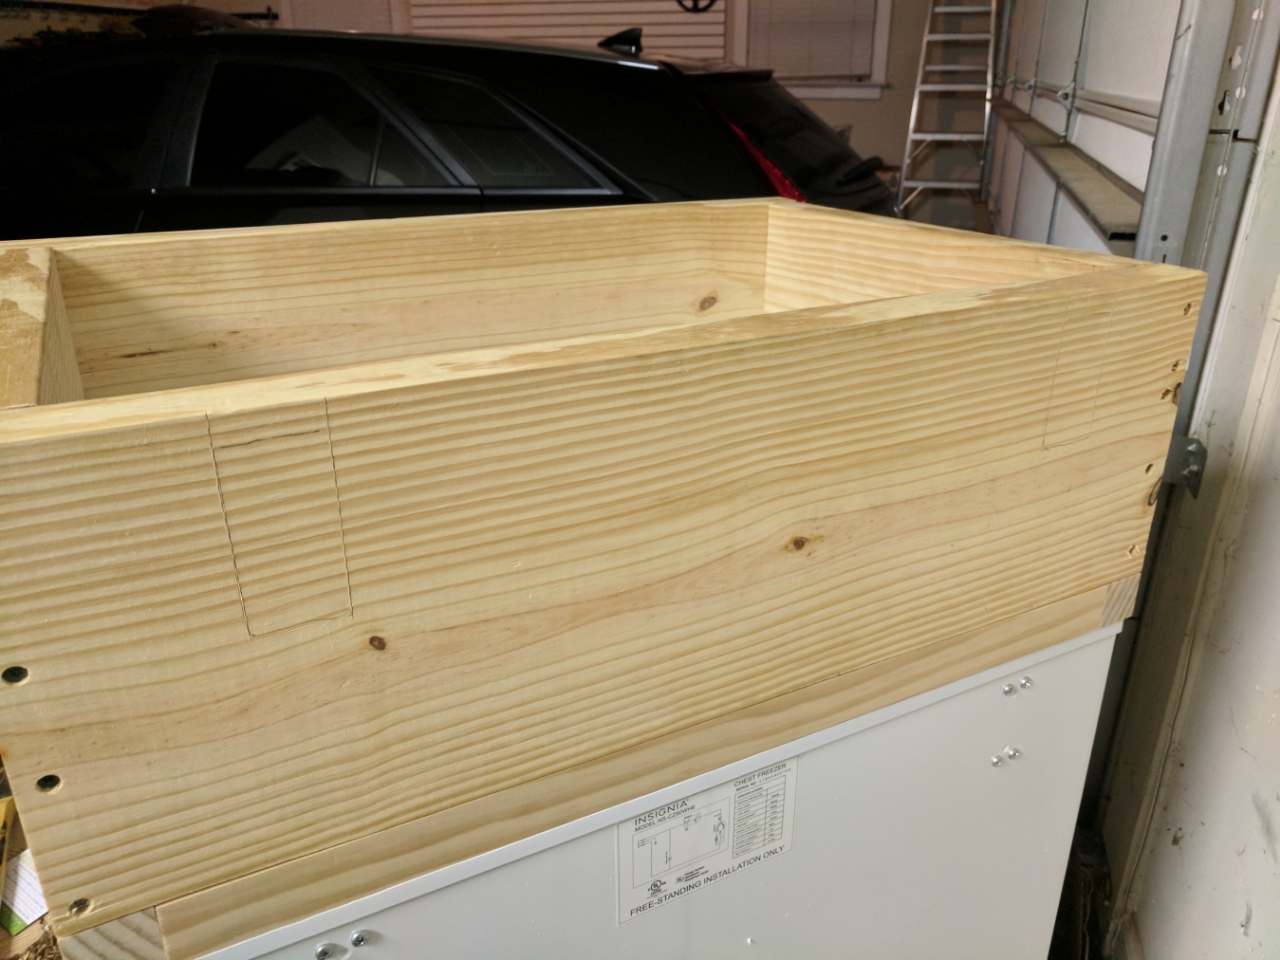
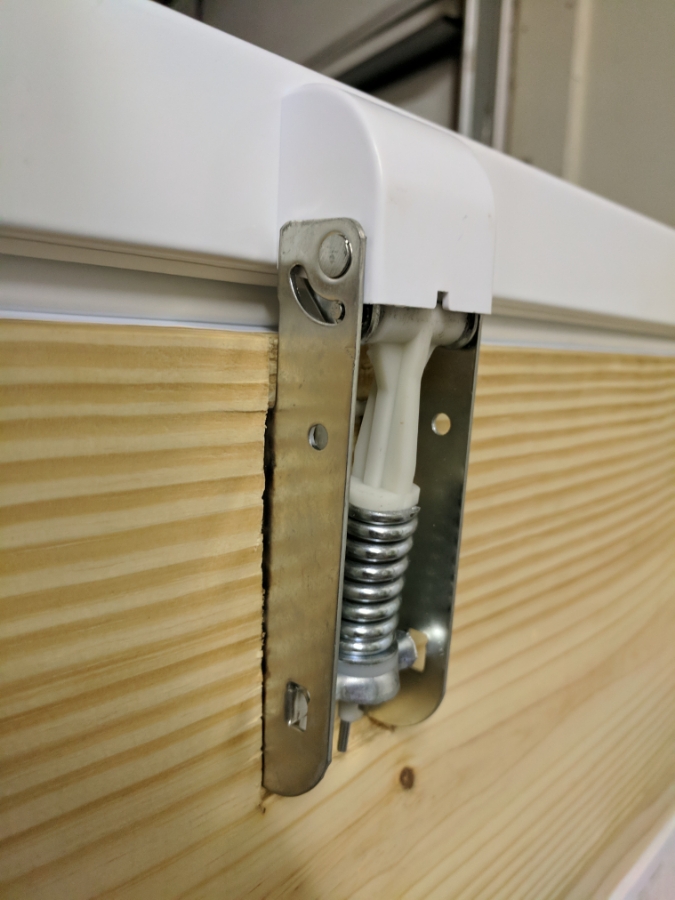
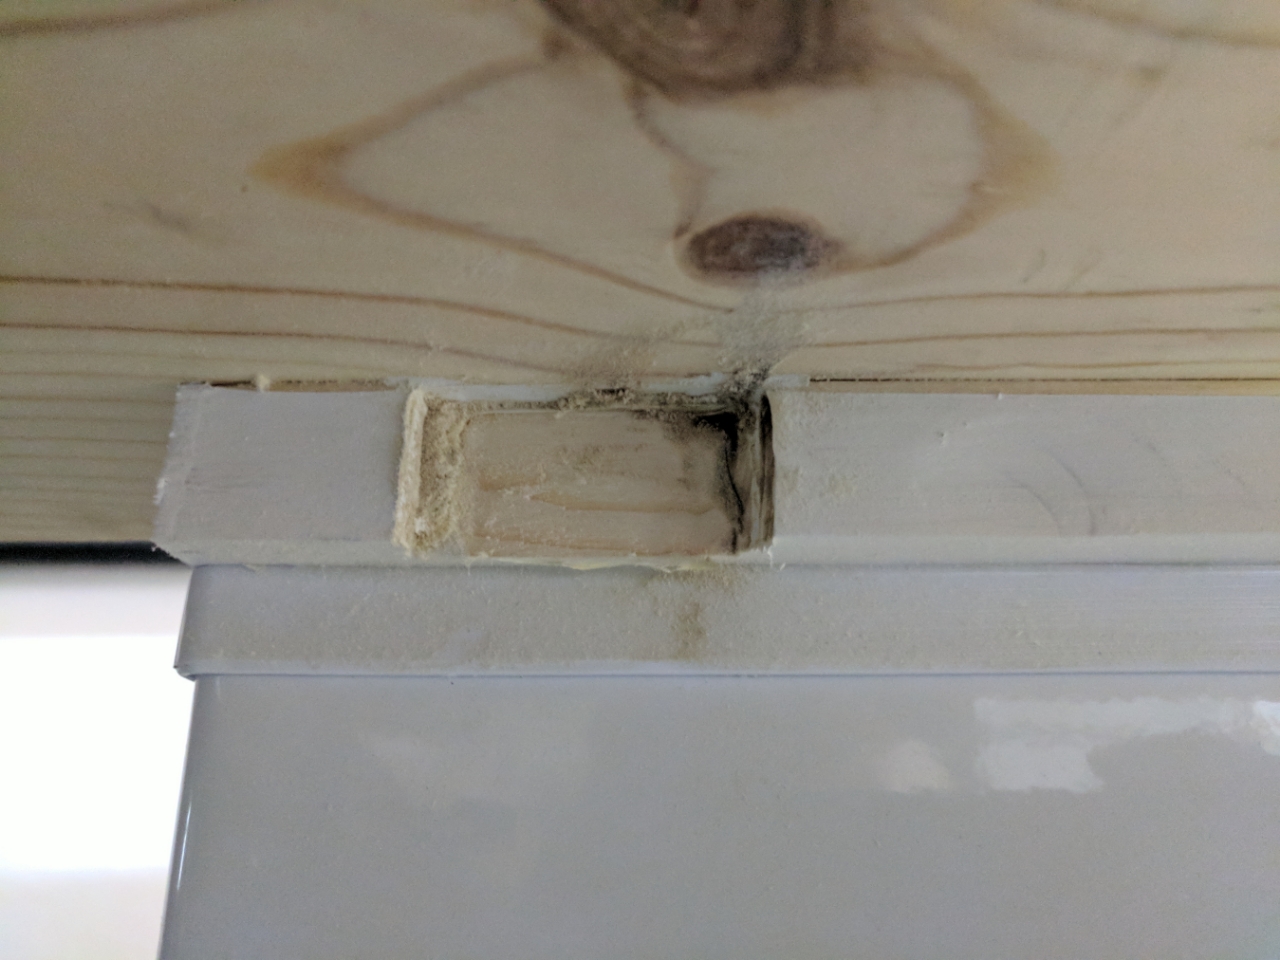
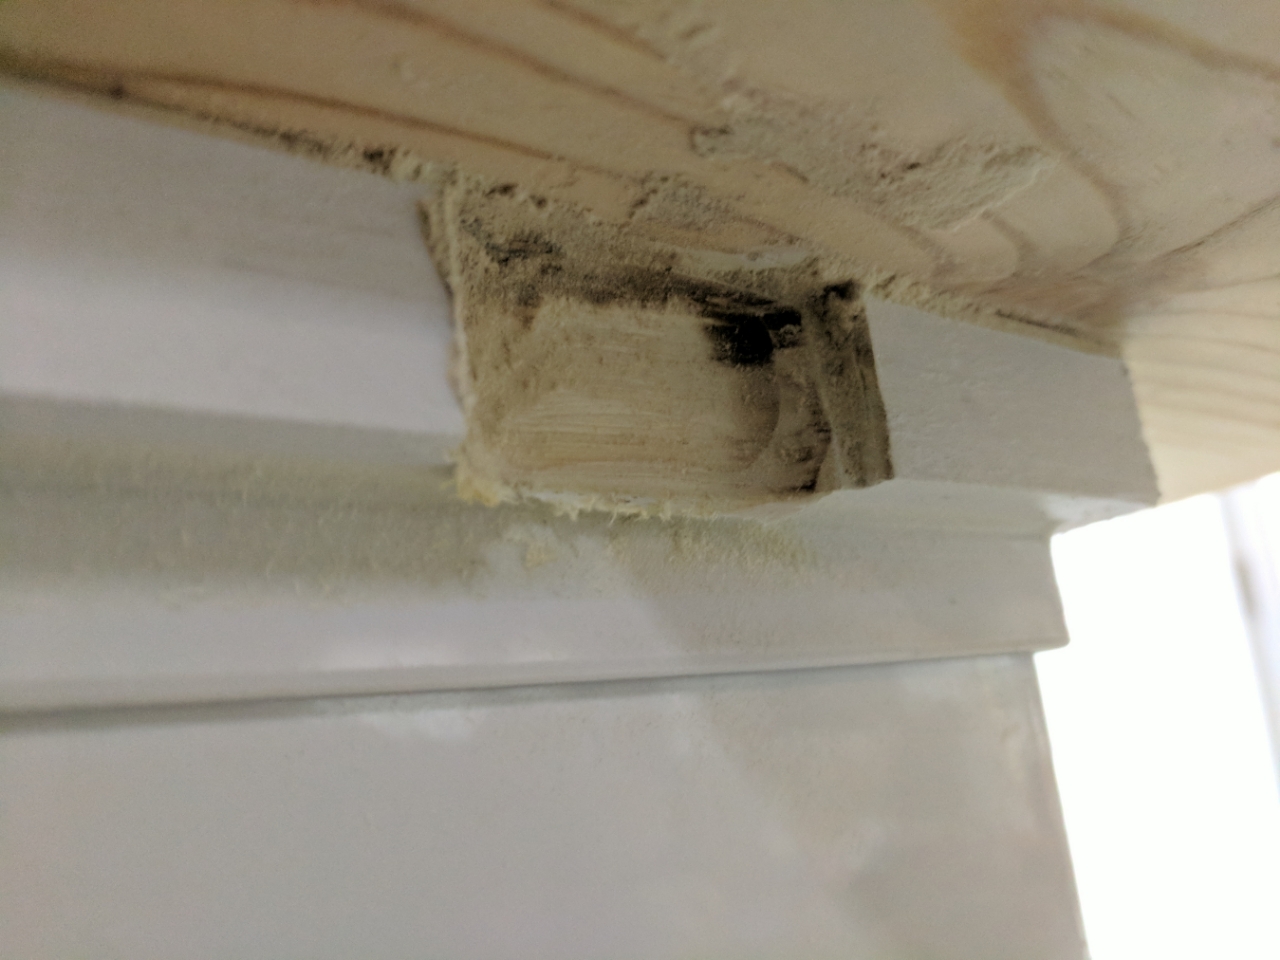
Next up was getting the freezer lid to fit and lineup centered on the collar itself. To do this I needed to notch out 3/16-1/4in of wood to make the hinges sit in as my collar is a little wider than the top of the freezer itself.
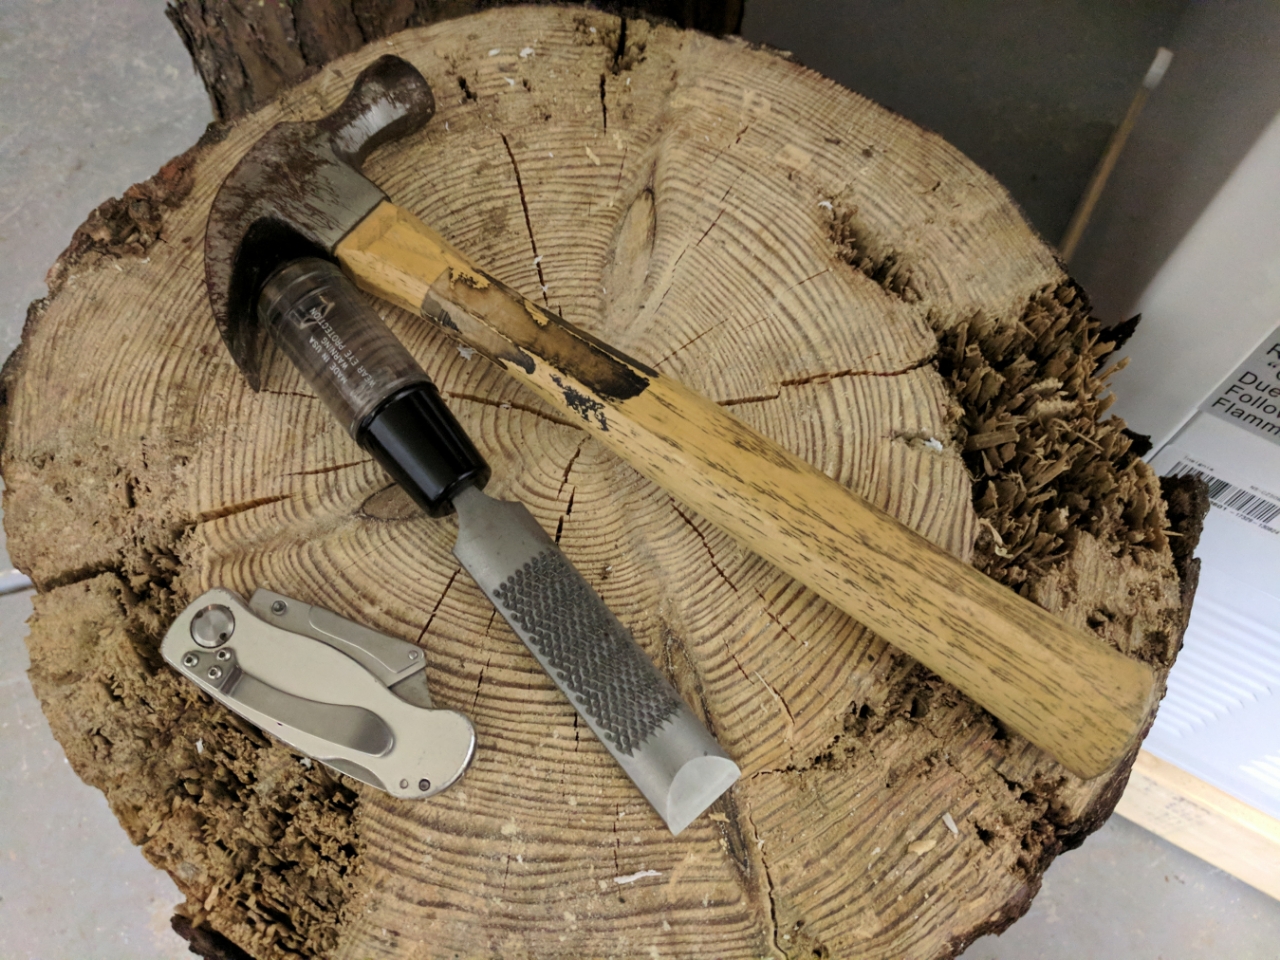
So first I marked the area
Then used a sharp knife blade to make cuts in the wood.
Then it was time for the chisel again
Hinges fit
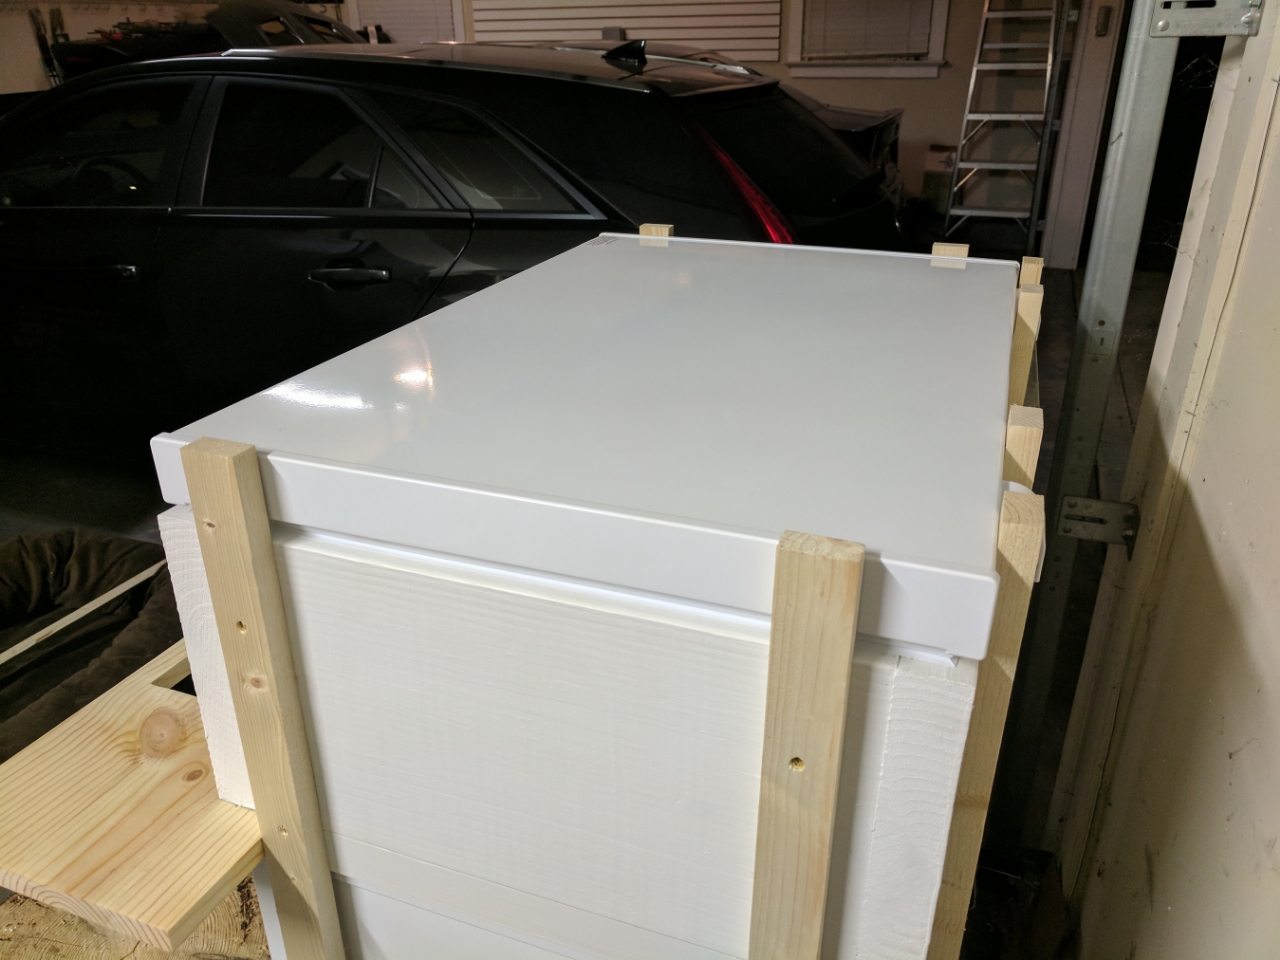
Lid fits
Next step is I have some exterior waterproof wood primer/sealer that the collar will get coated in on the inside and outside except for the outside part of the shelf. The collar will then get attached to the freezer and I can start building the outside frame for the finishing wood. Hoping to get that all done over the next two nights.
Your tolerances may not be off. That is a lot of weight cantilevered off the lip. I am not surprised you need supports. Only way I could see you not needing them is to have it tight enough to have to pound the piece in with a mallet or have a deeper cut / narrower piece of wood.
Looking for some shelf brackets I have found a few I like. I can't imagine I would need more than two brackets as the shelf is not that long. I am looking for something mustic looks or maybe a simple plain stainless steel brackets. I will also be getting added support under the shelf from the three vertial frame boards that will go up the front and then the bottom cross member
So last night I got two coats of the exterior weather proof primer/sealer on the collar. I think that should be plenty for it. At least I hope so as it is all I am doing.
This was just after the first coat. It was dark out by the time the second coat was dry so I didn't grab a picture.
Tonight I plan to finally get the collar attached and sealed to the freezer. Then I can start the under frame which will also be what holds the collar to the freezer and the rolling base.
damn man, you working hard on this project. Its looking great!
My goal is to have it complete by the first full weekend in October but that might be a little ambitious will all the internal setup I still need to do on the beer system.
They are about the same price. I think I like the ones from Russia a bit more but not sure it is worth the added headache of possibly having customs issues.
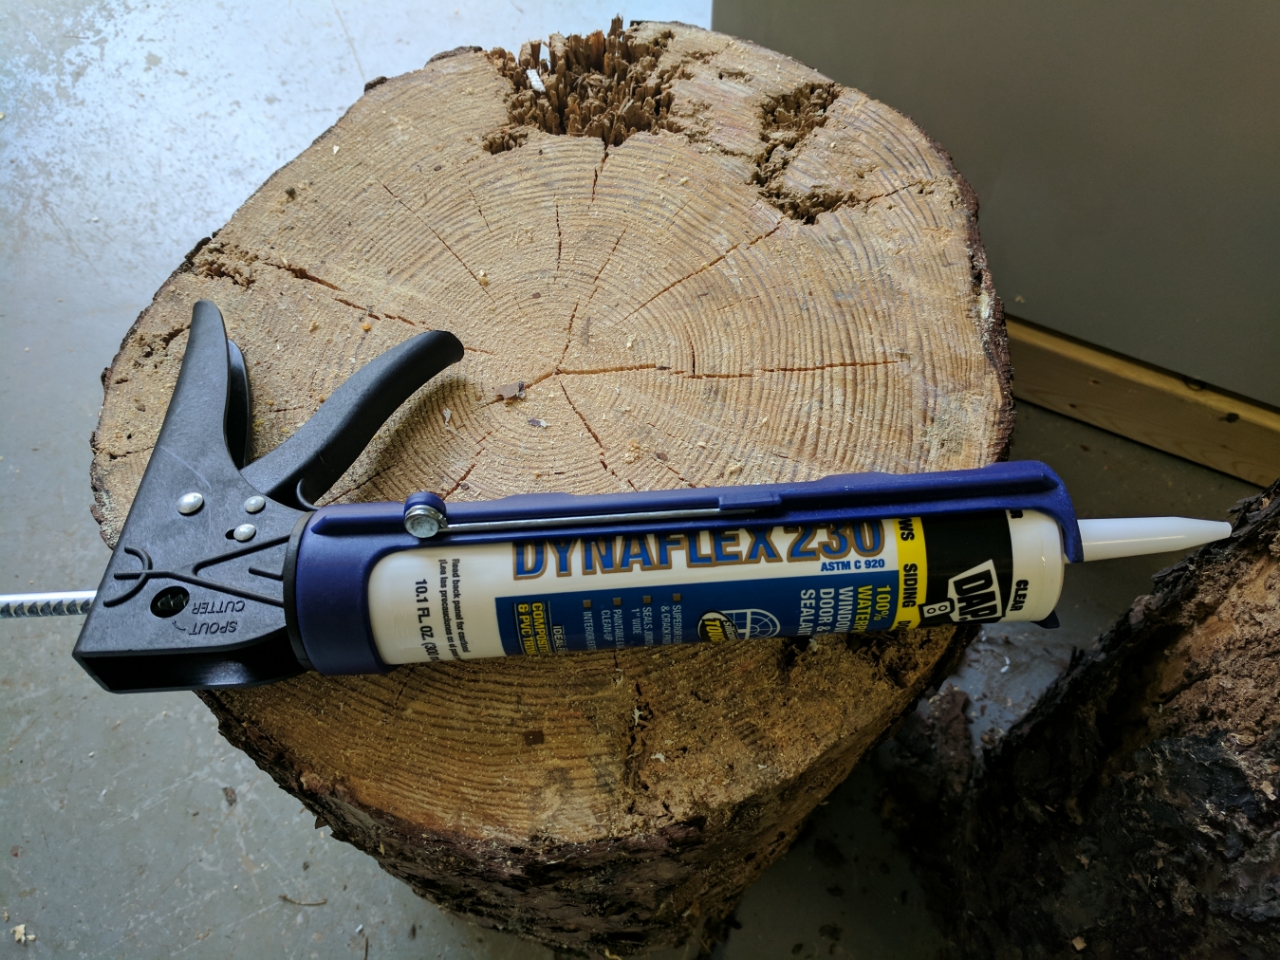
So over my lunch I got the collar put on with silicone. I hope I used enough of it as at a few places I had a 1/16th gap between the collar and the freezer. I will be caulking it again from the outside and the inside in addition to what was on the surface. Need an airtight seal though.
Filled all the screw holes first
Hopefully that is enough
Fancy TE37 weights to hold it down while it dries.
Russian brackets ordered. Paid for rush shipping as it was only $15 more. It already says 2-3 weeks to make them and then regular shipping was 3-6 weeks on top of that. Rush shipping is 6-10 days.
So I had only attached the shelf to the collar the other day with screws. Before I applied the sealer I took the shelf back off and put some wood glue on the joint and then screwed it back on. It is now super solid and doesn't move an inch. Turns out the brackets might end up being purely decorative but I still think that will add a nice accent to the finished piece.
So last night I got the framing done for the base. Had to make a few minor tweeks but everything went together for the most part just like I figured it would.
The sides went on super easy with no issues.
The front the notches I had made some ended up not being deep enough so I had to dremel them out a bit. Doing this with a dremel sanding bit they ended up not exactly square anymore so I just rounded the corners of the framing boards a bit.
Front and sides installed
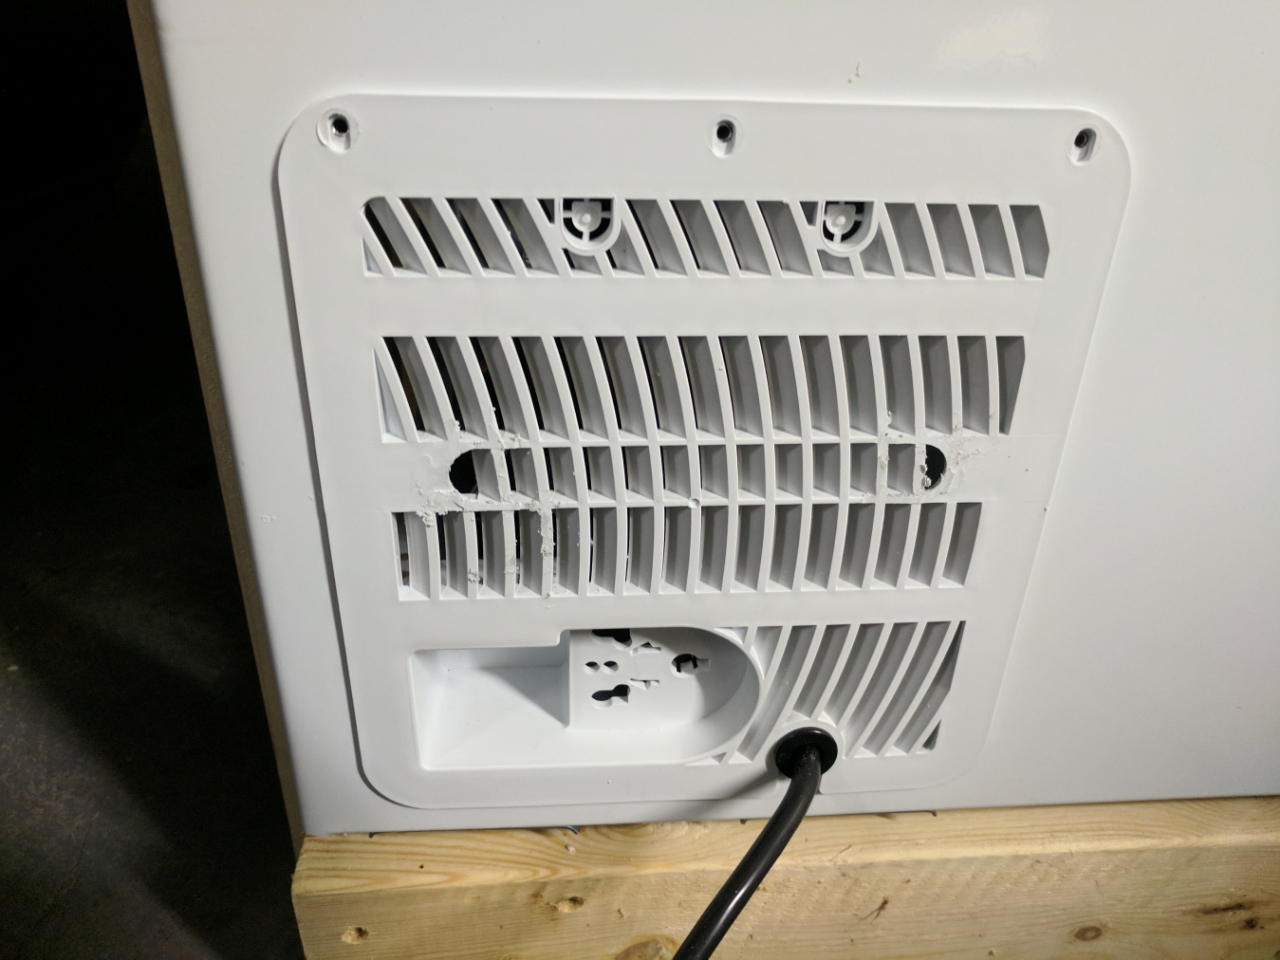
Before I could do the rear I needed to modify the rear air vent. It had mounts to wrap the cable on that I needed to remove.
I did 4 pieces on the back to allow me to leave breaks at the top for the hinges for the lid while still allowing me to cover as much of the back side as possible of the freezer. (This turns out to be an issue)
On the side of the compressor I removed the factory air vent. I will be building the outside of the to include a nickel finished air vent instead so if I do need to access anything in there I can.
Test fit of lid with frame installed. There is no frame for the top of the front as it will be attached directly to the collar. I am trying to decide if I want to stay with the horizontal pattern up here or if I want to switch to vertical for contrast.
So back to my dilema with the lid. As you can see those vertical frame pieces are right behind the lid. Well the lid has to have some clearance in the rear to tip back as you open it.
Stupid me didn't think about this in all my planning. Afterall I am not an engineer. Option 1 is to cut them shorter and not cover the strip or two of the back of the freezer and just leave it exposed. Had I thought of this before I would have painted the freezer something other than white in that area. Option 2 is to remove the hinges all together and completely finish up the back. The hinges should really help the freezer seal any better so just laying the lid on top should be enough really and would allow me to completely enclose everything.
All the frame boards are attached with screws. I ordered 1 1/4in 18 gauge brad nails and 16 gauge finish nails to attach the actual slat boards to finish the project. I would imagine the 16 gauge will be better as the 18 guage brad nails looks really small. I have nail gun for each. Just need to make sure I get the air pressure set right so my nails don't come out the other side of the two pieces of wood that are 1 1/2in thick total cause then they would penetrate the freezer casing and maybe a line.
Also trying to decide on horizontal or vertical boards on the area above the shelf.
I like the horizontal boards. Since they're horizontal on the back, could you cut the rear framing down so the lid will open. Then glue a piece of the framing along the rear of the lid (horizontally). Then attach your finishing framing to that, but have it cut so the lid will open? If there's still a gap, or you need a gap to open it, you could staple on some black cloth to hide any of the white lid.
Another vote for staying horizontal.
On the backside framing, similar to above, cut them down, attach short piece to the lid & notch/angle cut them so the lid still opens properly?
Horizontal it is. I kept looking at the vertical drawing all day and started thinking it looks kind of cheezy and not as nice as horizontal.
I will be making a seperate lid for the top regardless of what option I go with for the hinges so thinking I might be able to build the supports into that instead to hold the last few boards that are needed on the backside.
My thoughts, don't use hinges and just make a cover for the lid that lifts off with it. You can dress it up nice to look integral to the whole thing but have it be removable.
Looks like awesome work though!
I'm making a tap handle for a buddy here soon, I'll post pics when it's done. He's a cop so he wants one done in that theme, should be interesting...
You think the freezer lid will still seal just as tight without the hinges?
I think it will, especially if you have the added wait of the wood framing and cladding on it. You could integrate some magnets on the inside that will help hold it down too.
Magnets are not a bad idea. I am not 100% sure if my lid will sit full on top of it or not. Will depend on how I end up designing it. Having a hard time figuring it out till I have the rest of it finished.
Also need to lay the thing on its side it seems and crawl inside it cause I read a post on a homebrew forum that suggests caulking shut the drain plug in the bottom in case anything leaks while you are away it doesn't leak out the bottom. Since I am considering having it inside on hardwood floors that seemed like a good recommendation.
I think what I would do to finish it is keep the framing as you have it and clad it all the way to the top, all around. Then attach some framing to the top of the freezer lid and attach your finished wood top to that. Then all you have to do it lift the finished top off and the freezer lid will come off with it. Then there are no seams.
I think it will, especially if you have the added wait of the wood framing and cladding on it. You could integrate some magnets on the inside that will help hold it down too.
Originally Posted by CCColtsicehockey
Magnets are not a bad idea. I am not 100% sure if my lid will sit full on top of it or not. Will depend on how I end up designing it. Having a hard time figuring it out till I have the rest of it finished.
Also need to lay the thing .
Typical freezer/fridge doors have magnets in them already, Make sure you have the polarity right or it definitely will have issues closing
So getting ready to plan the start of the sides but trying to figure out what boards I should start with.
Front = Blue
Sides = Red
Back = Yellow
I haven't fully decided if I will trim the corners so I want them to match up pretty perfect on each section and I am not sure my build is 100% truely square. With that said I need to figure that out.
Also working to figure out the placement of my temperature controller, temperature probe, and power line for eventual air ciruclation fan inside. I need to get all the wiring figured out before I can cover everything up.
Unfortunately I have company coming this weekend so probably won't get much time to work on it though. Maybe some Sunday if I am lucky. Still hoping to have it finished by the end of next weekend though.
^ If you just trim out the corners you don't need to be that damn precise with your cuts. Unless you have a really awesome table saw, you aren't going to get cuts that are dead nuts on 13/16's anyway, I sure as hell wouldn't be confident doing it with my table saw at least. I'd just trim it up and call it good. It'll look way better and more finished if you do.
If you don't like the bulky look of full pieces of wood trimming the edges, you can get wood corner moulding from HD and glue/nail it on there for a low(er) profile look.