
nspec's 01 CL-S thread

Thread Starter
Regional Coordinator (Texas)
iTrader: (38)
Joined: Aug 2008
Posts: 4,041
Likes: 607
From: Houston
first time driving the car around with finished body work and
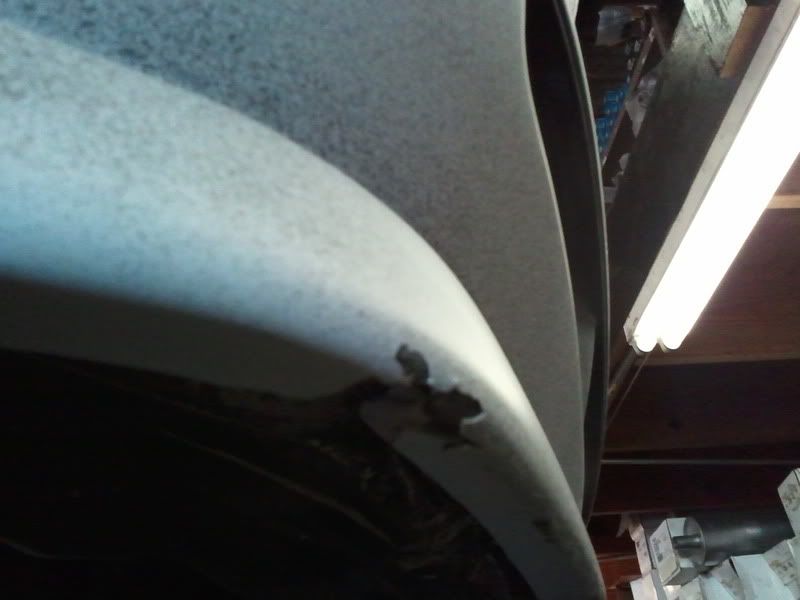

I was getting the car on the drive on lift and went too fast, hit the metal place in two spots and it took off a quarter size piece from one end and chipped off plastic a few inches away from that spot.
I took it to another shop to have the mufflers put on. next week is paint. by the way, i'm using two different shops, one for body work and the other for paint. Thats why its taking for ever.

 You swapped in a 6-Speed speed, swapped in seats, even an engine.... and you take it to a shop to get the mufflers put on lol
Those nicks are no biggie, just have them bondo them up before the paint goes on.
Last edited by Jacobpockros; Feb 5, 2011 at 12:40 AM.


Thread Starter
Regional Coordinator (Texas)
iTrader: (38)
Joined: Aug 2008
Posts: 4,041
Likes: 607
From: Houston
On the lip kit. I glued the entire thing together just like i wanted because I couldnt trust any body to do the same kind of work. Then gave it to a body man to sand it down and smooth it out and get ready for paint.
Then its going to another guy at a different shop for paint. Since i've had it, i've tried over 6-7 different people to paint parts of the car that were scratched or what ever before I settled for one.
For the mufflers, i took it to the muffler shop so they can line it up perfect and weld it right.
For the motors/tranny swap. it went to a different shop. I swapped all the electrical and other parts.
i guess thats why my projects take for ever. it always has to go the person who's good at what the problem is.
Some more stuff to do on the car very soon:
- install pulleys
- adjust valves
- new headers
- change the piping to 2.5" all the way. too tired of the raspyness
- new front tires
Edit: I actually took the car there to swap over to 2.5" but it was too late so i just had them throw the mufflers on call it a day.
Last edited by nspec_ya4; Feb 5, 2011 at 11:03 AM.
Thread Starter
Regional Coordinator (Texas)
iTrader: (38)
Joined: Aug 2008
Posts: 4,041
Likes: 607
From: Houston
it was exactly like this. We had to put two long pieces of wood there, but it still happened

User Awaiting Email Confirmation
iTrader: (5)
Joined: Nov 2007
Posts: 7,786
Likes: 1
From: San Francisco
Damn man...that sucks!
I'm hesitant about the kit also because we notoriously have bad roads in San Francisco.
Some of the worst according to AAA and it's already difficult enough driving without a kit.
I'm hesitant about the kit also because we notoriously have bad roads in San Francisco.
Some of the worst according to AAA and it's already difficult enough driving without a kit.

Thread Starter
Regional Coordinator (Texas)
iTrader: (38)
Joined: Aug 2008
Posts: 4,041
Likes: 607
From: Houston
Thanks. a lot of people have already done a 6 speed swap on their TLs. have u checked up on those?
You always get the best results Nauman!.. back in the day when I was into sixtys American iron... I had to do same thing... except you would be in s cow pasture with a crow bar and hammer trying to get parts off a car that hadn't moved in twenty years ... 
 when weather gets warm...
Thread Starter
Regional Coordinator (Texas)
iTrader: (38)
Joined: Aug 2008
Posts: 4,041
Likes: 607
From: Houston
a good advise would be to make sure u strip paint off of the kit before u start working with it. Also use screws at first to mount the kit on. And for the sides, cut them in the middle. I made the mistake of cutting them on th edges and had to fun rebuilding the edges.
that must suck ass. One of the things i hate the most about working on cars. Rusted/frozen bolts and nuts
a good advise would be to make sure u strip paint off of the kit before u start working with it. Also use screws at first to mount the kit on. And for the sides, cut them in the middle. I made the mistake of cutting them on th edges and had to fun rebuilding the edges.
a good advise would be to make sure u strip paint off of the kit before u start working with it. Also use screws at first to mount the kit on. And for the sides, cut them in the middle. I made the mistake of cutting them on th edges and had to fun rebuilding the edges.
a good advise would be to make sure u strip paint off of the kit before u start working with it. Also use screws at first to mount the kit on. And for the sides, cut them in the middle. I made the mistake of cutting them on th edges and had to fun rebuilding the edges.
Thread Starter
Regional Coordinator (Texas)
iTrader: (38)
Joined: Aug 2008
Posts: 4,041
Likes: 607
From: Houston
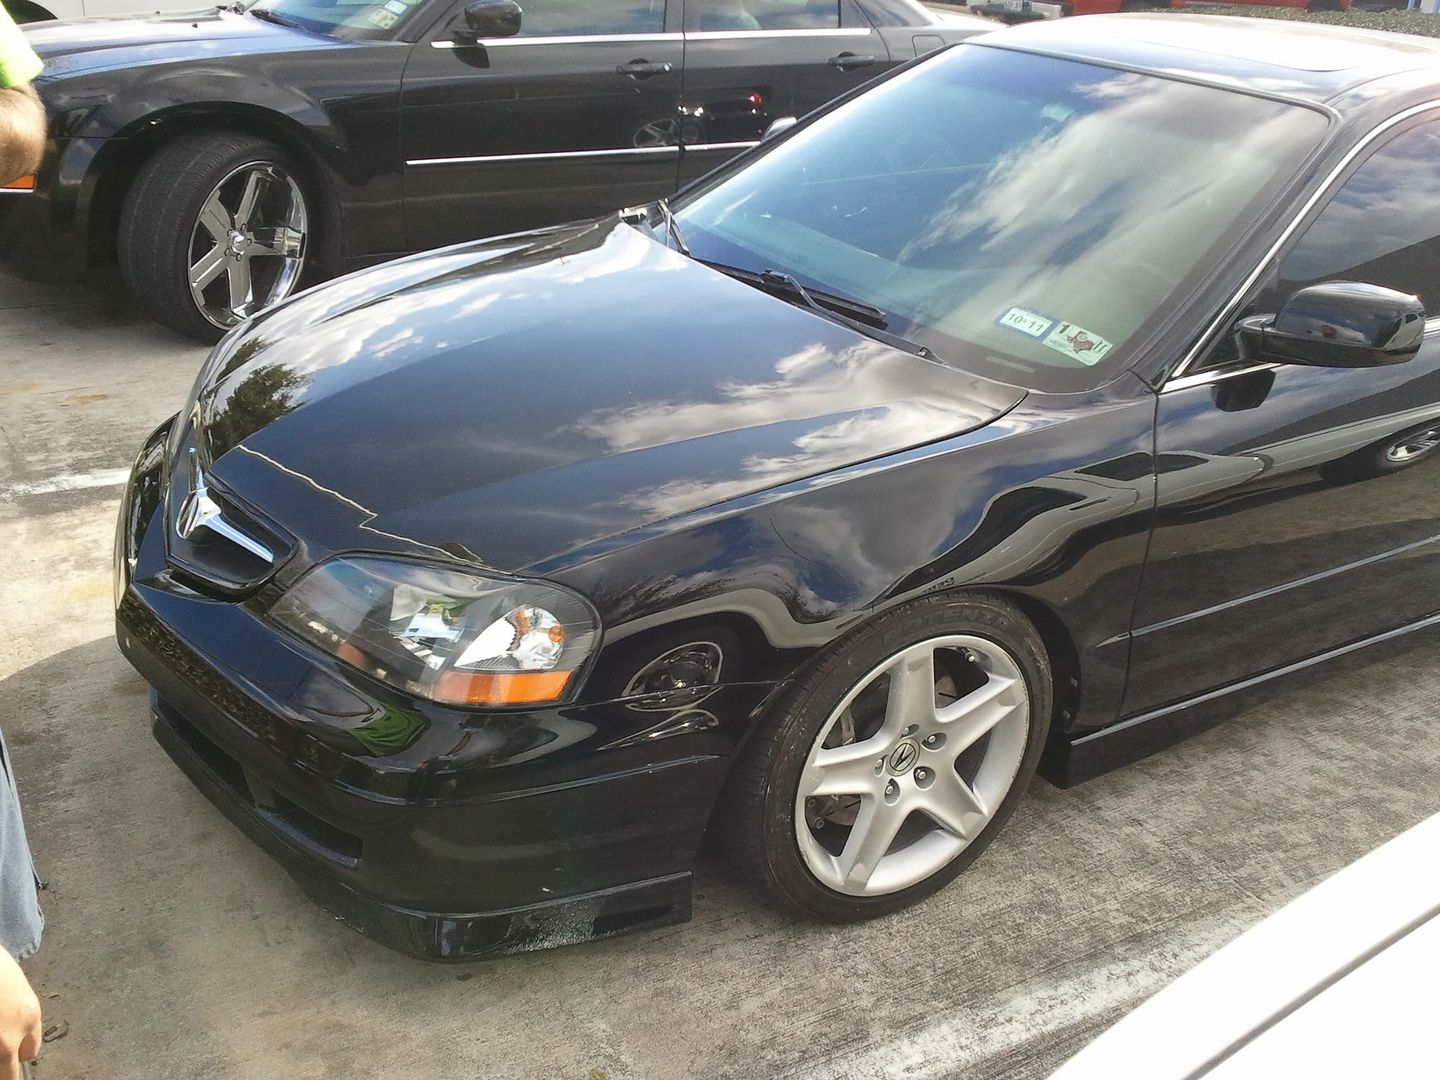
The painter picked up the car finally. Hopefully will be ready by Tuesday.
Spraying the kit, reclearing the cf hood with a little bit of nbp and spraying the doo handles
This lipkit hasalready costed me a shit load, not to mention all the labor I put in it.
Spraying the kit, reclearing the cf hood with a little bit of nbp and spraying the doo handles
This lipkit hasalready costed me a shit load, not to mention all the labor I put in it.
Last edited by nspec_ya4; Feb 11, 2011 at 02:56 PM.
but it will be so worth it.
Thread Starter
Regional Coordinator (Texas)
iTrader: (38)
Joined: Aug 2008
Posts: 4,041
Likes: 607
From: Houston
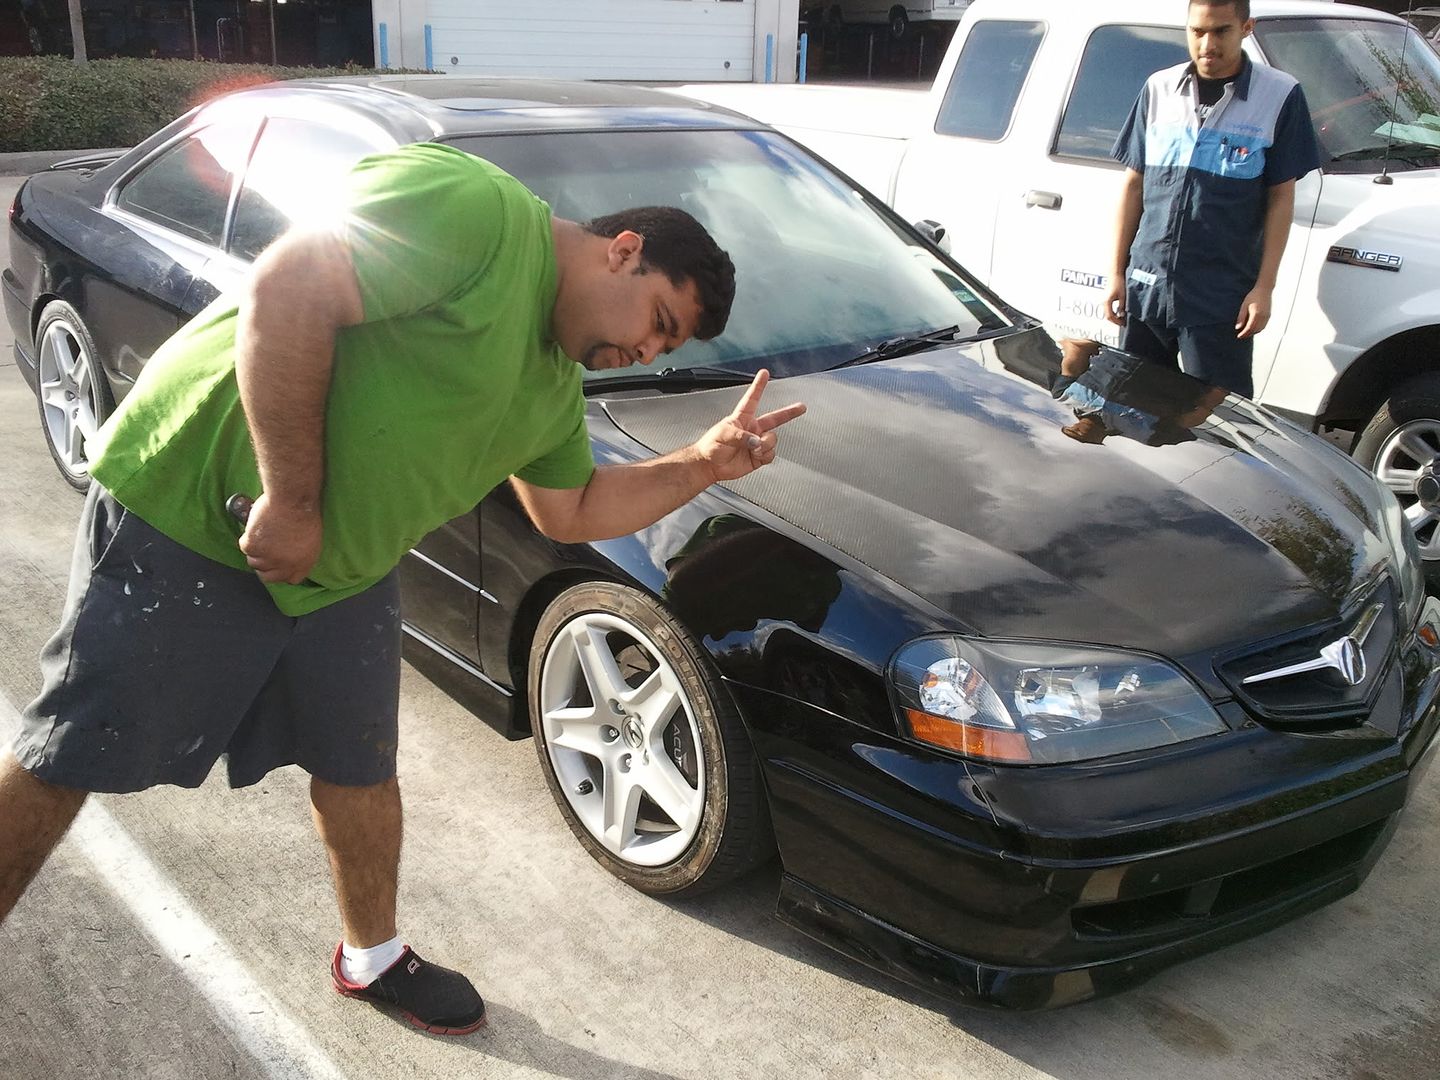
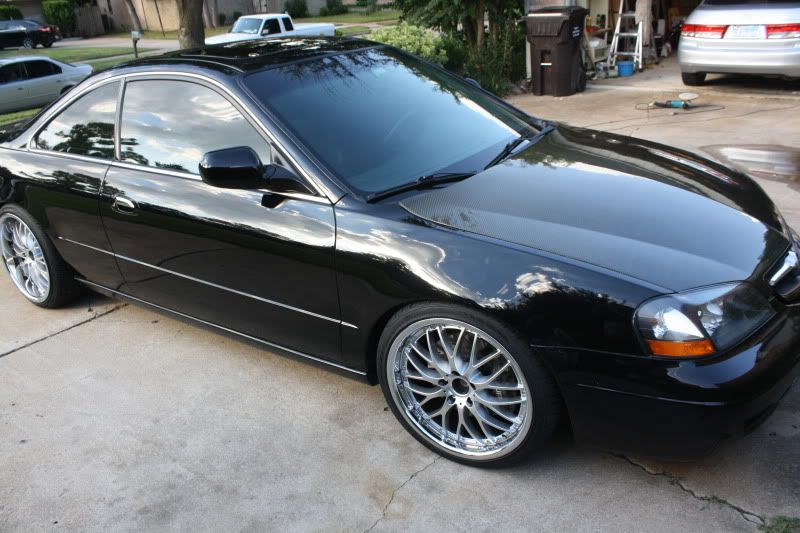
Thanks diddy. Yeah i love how it looks now. just needs a nice clean up and a detail job. and i'm really happy with how the hood came out. from side, it looks NBP when u start coming closer then you can see the cf pattern.
Thread Starter
Regional Coordinator (Texas)
iTrader: (38)
Joined: Aug 2008
Posts: 4,041
Likes: 607
From: Houston
i'm one of those rare CL owners that doesnt really like the 03 tail lights. I've been thinking about doing something custom with my taillights, like i did wiht my old accord, completely black out the housing.
Thread Starter
Regional Coordinator (Texas)
iTrader: (38)
Joined: Aug 2008
Posts: 4,041
Likes: 607
From: Houston
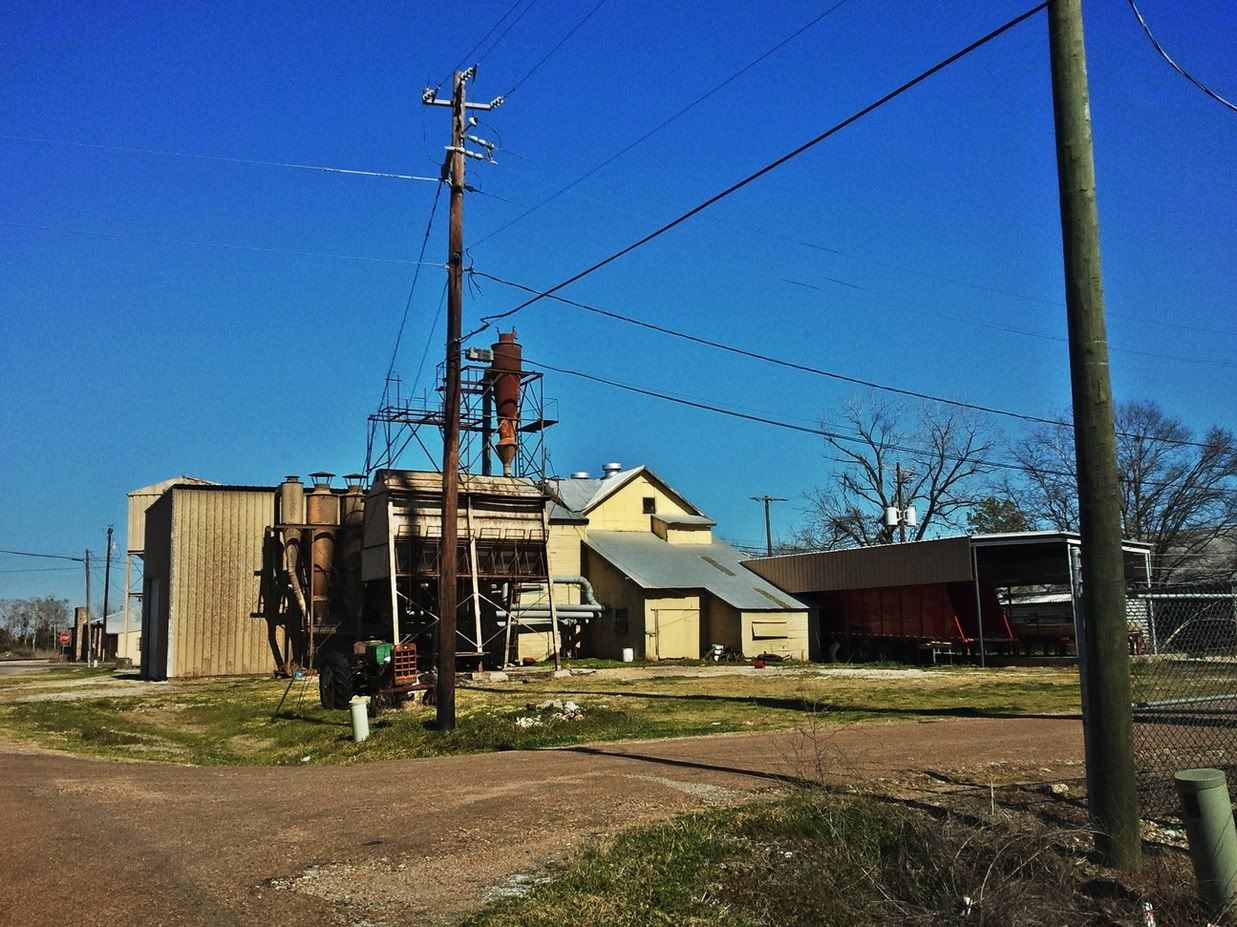
here's another view of the hood, in this u can see the weave.
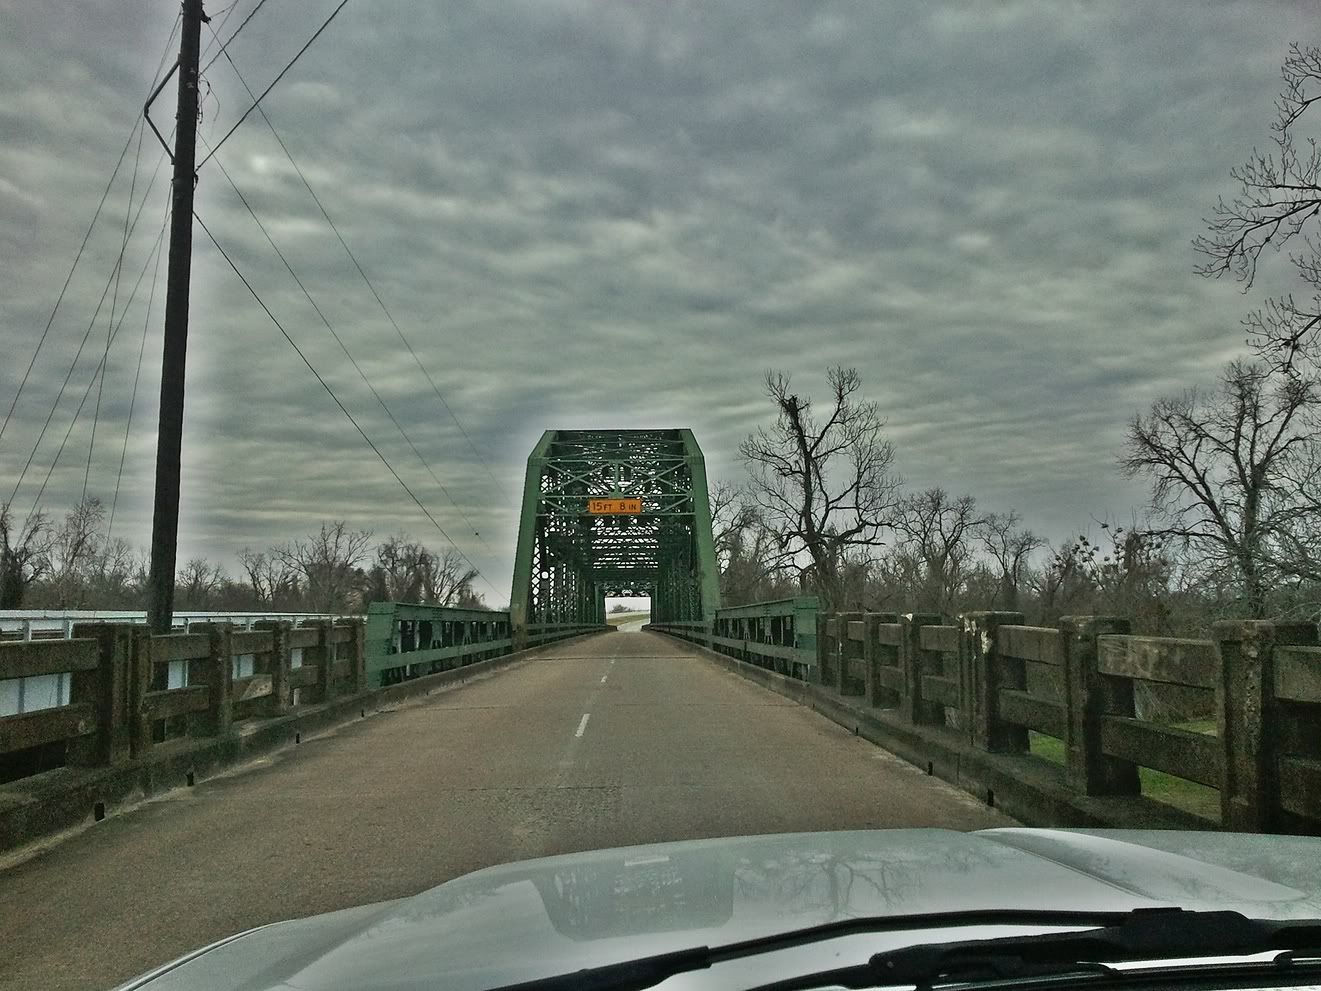
picked out a great spot for a shoot too.
just a quick glimpse of that town

User Awaiting Email Confirmation
iTrader: (5)
Joined: Nov 2007
Posts: 7,786
Likes: 1
From: San Francisco
I had to cut them apart with a dremel when I made LED tail lights.

Thread Starter
Regional Coordinator (Texas)
iTrader: (38)
Joined: Aug 2008
Posts: 4,041
Likes: 607
From: Houston
it was sanded down, then resprayed with clear coat mixed with NBP.
Thread Starter
Regional Coordinator (Texas)
iTrader: (38)
Joined: Aug 2008
Posts: 4,041
Likes: 607
From: Houston
in these old pictures, you can see the yellow in the hood from different angles and now you cant. you can only see the weave when looking at it from top. Basically, the hood was darkened.
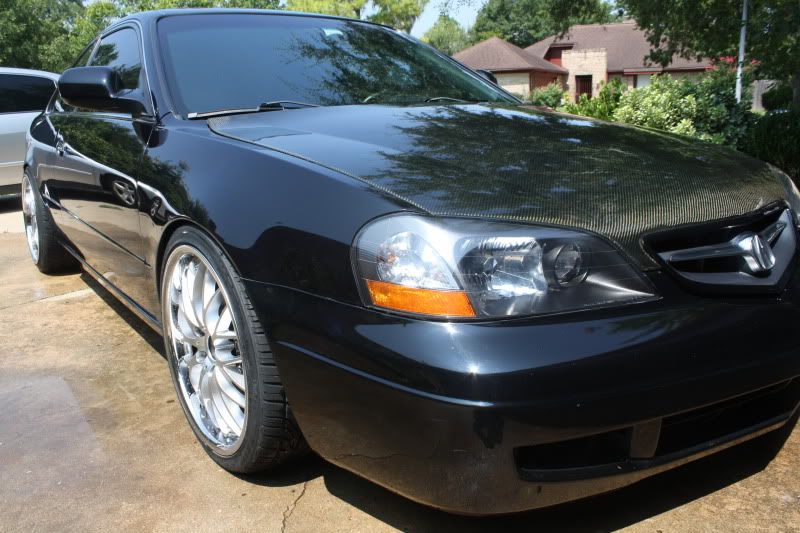
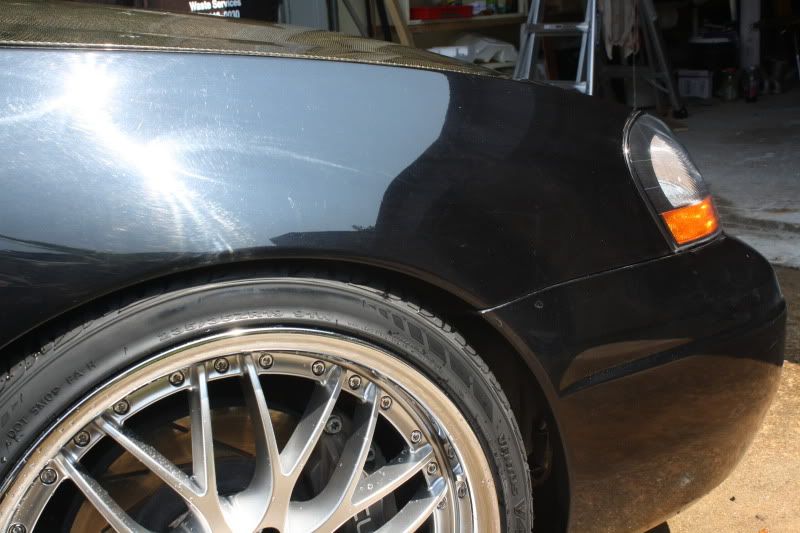

In this picture, you can see how it looks much lighter, than it does in the picture i posted in post 630 (which was taken at a little bit higher angle)
In this picture, you can see how it looks much lighter, than it does in the picture i posted in post 630 (which was taken at a little bit higher angle)
