
DIY: Hood Pin Install

Thread Starter
wham bam thank you ma'am
iTrader: (8)
Joined: Dec 2006
Posts: 10,316
Likes: 41
From: Illinois
DIY: Hood Pin Install
as far as i know, no diy for this. so im making one.
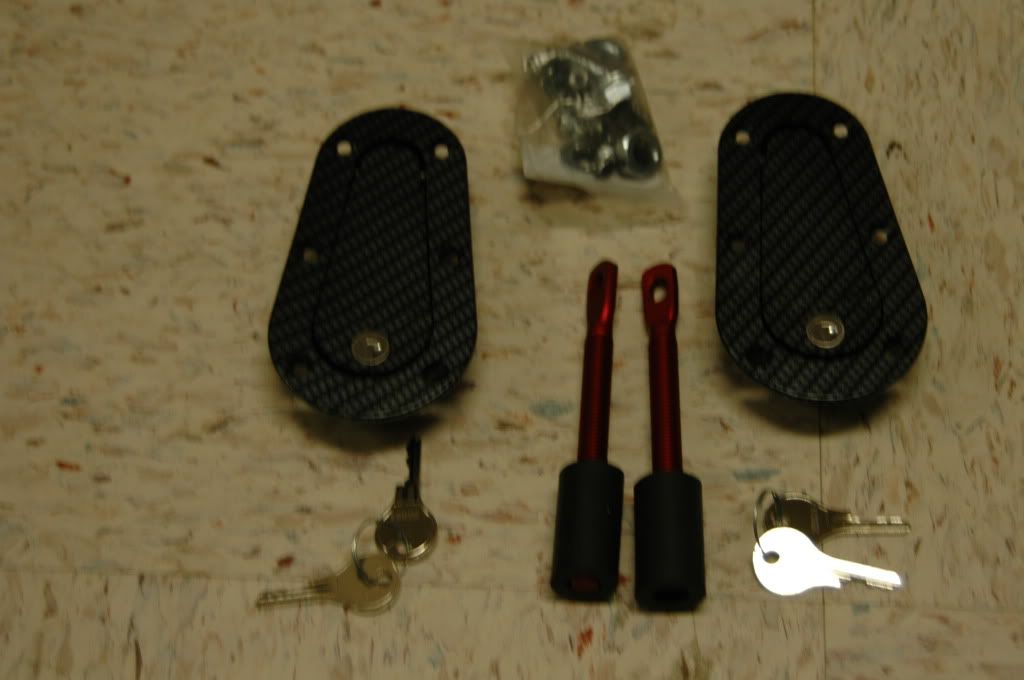
hood pins are made by and from aerocatch. they are the carbon fiber look, locking plus flush hood pins.
now for this u will need:
-drill bits from 1/8" all the way up to about 5/8". (and or a uni bit (do not use uni bit on cf hood, it will start the rip the hood instead of cutting it))
-dermal
-safety glasses or face shield (optional but highly recommended)
-some sort of mask (optional but recommended)
-some sort of die, i used red lock tight.
-tape measure
-painters tape (optional but highly recommended)
-sand paper (80-120 grit (one of those or something in between) paper)
-allen keys
-screw drivers
-marker or pencil
will update with more tools as the project moves along
get started with the pics and steps
the kit
1.put the painters tape on the hood to reduce scratching
2.measure and mark the hole on the bulk head to where u want the hood pin to sit.
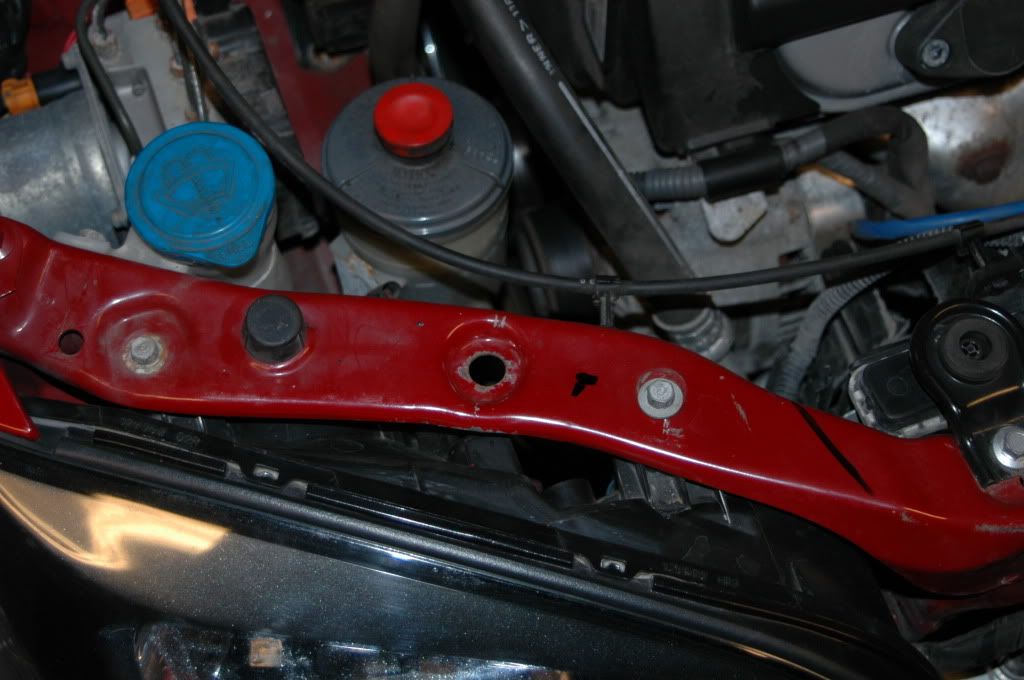
3.start drilling with a small bit (1/8") aka making a pilot hole.
then start moving up with the bits or use a uni bit. made mine 7/16" (some free play)
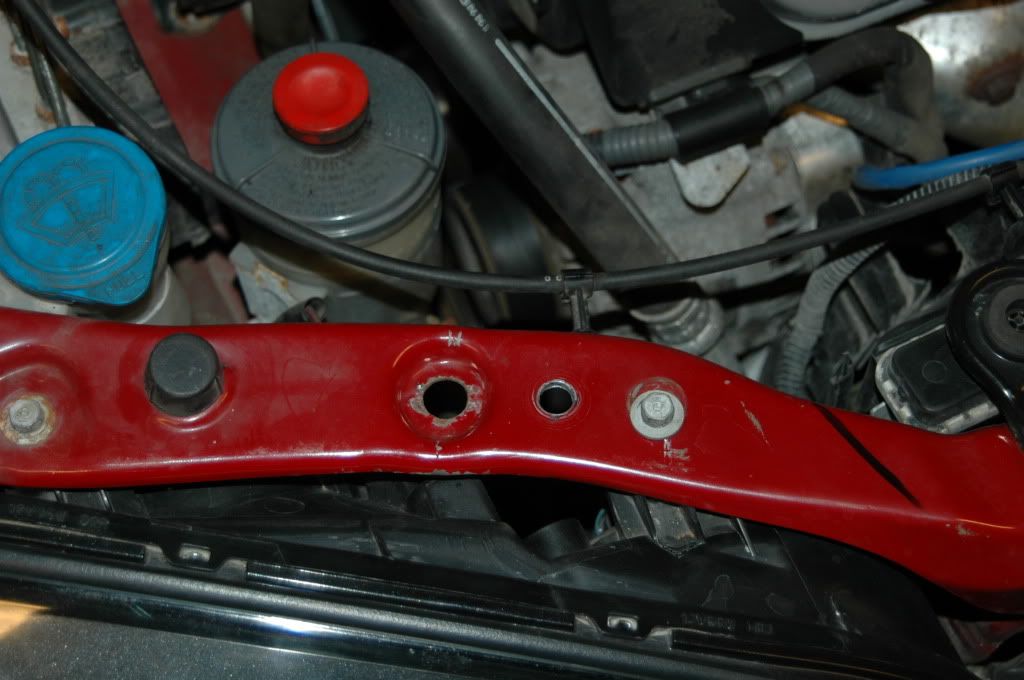
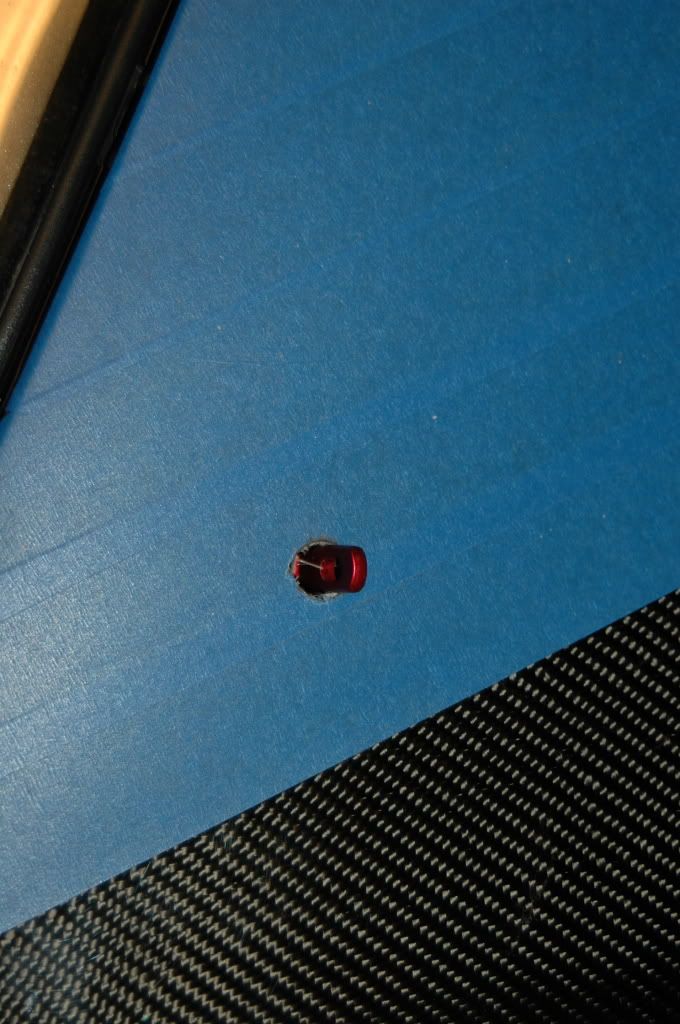
4.test fit rod.
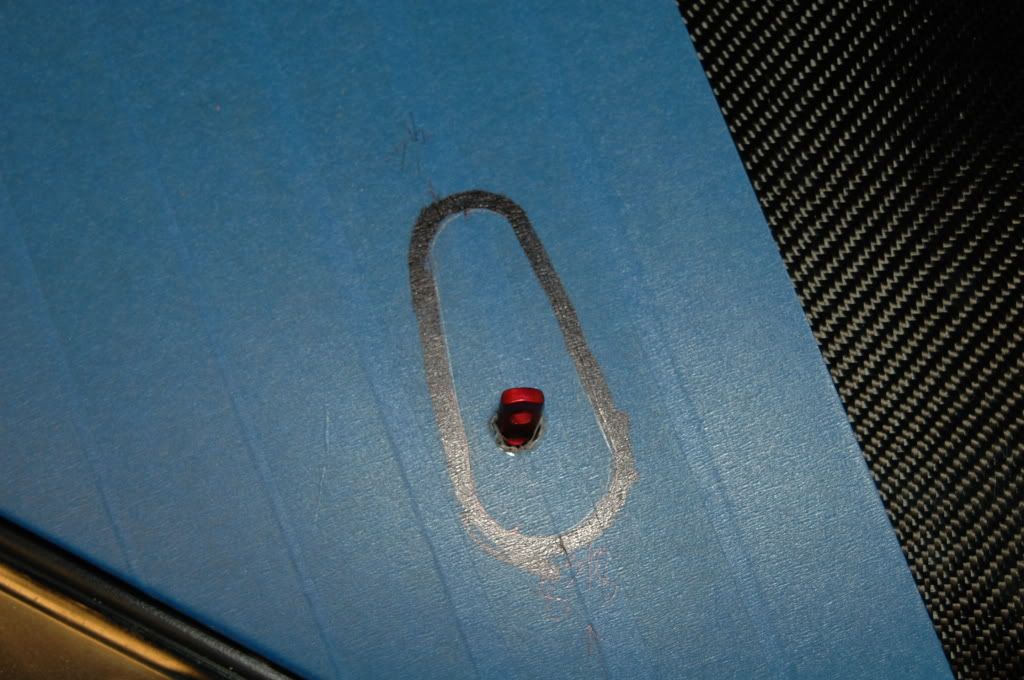
5.now, mark the top of the rod. i used red thread sealant and it worked out great.
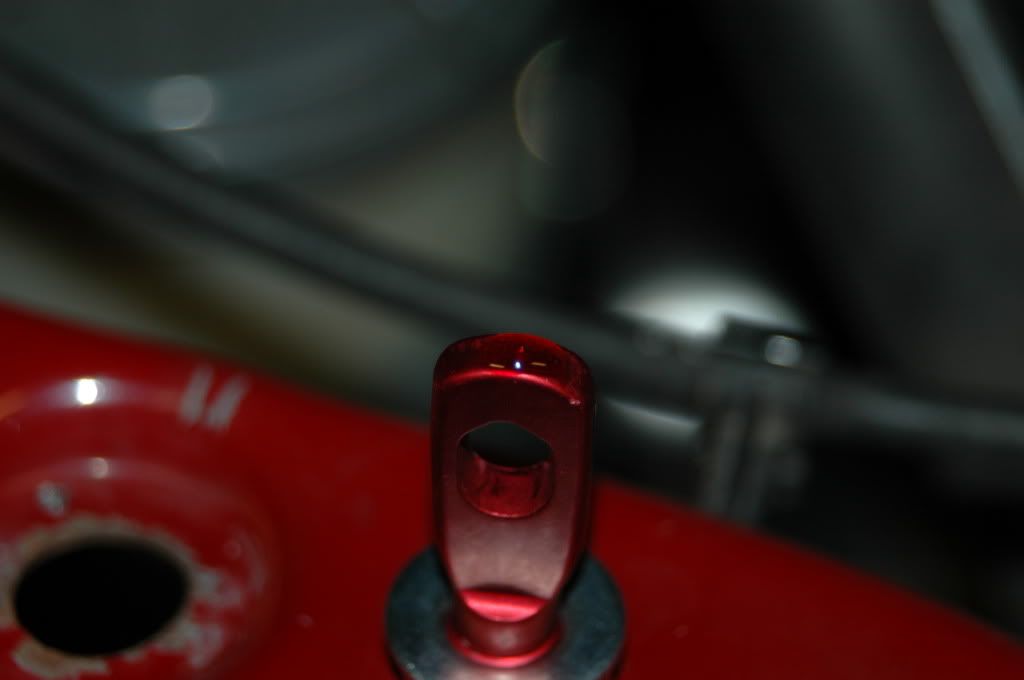
6.find the mark on the hood

7.drill a small pilot hole on the hood (this was hard for me to do, bc i love the hood so much)
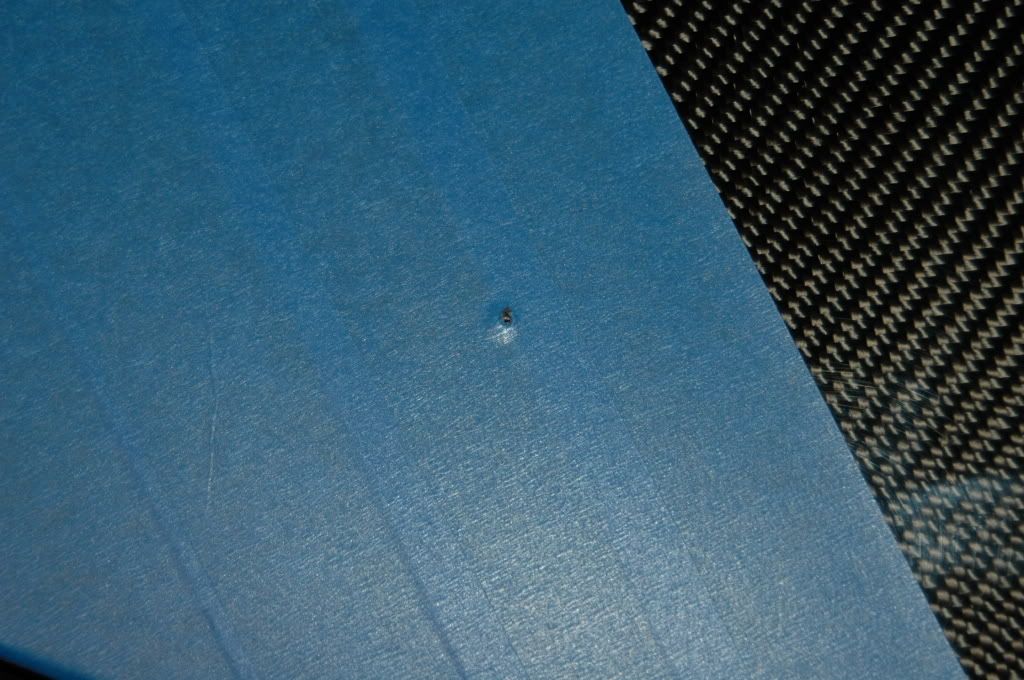
8.i went up the drill bits by a (1/8" each bit). if u go up to fast the bit will catch and could crack the cf hood. do this slowly and with the weight of the drill.
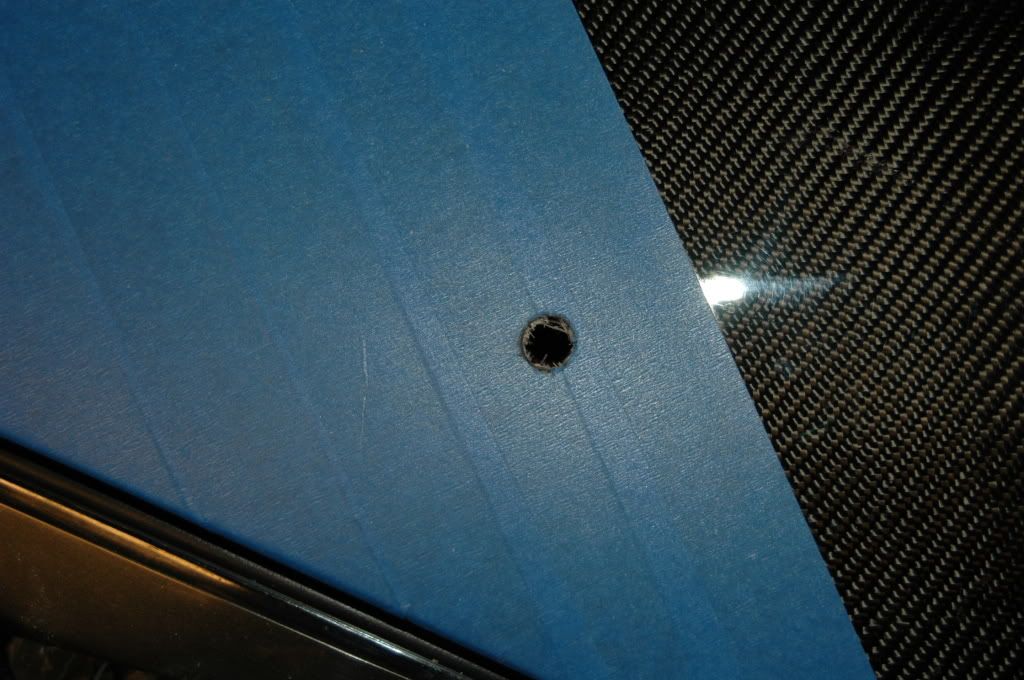
9. insert rod and close hood slowly
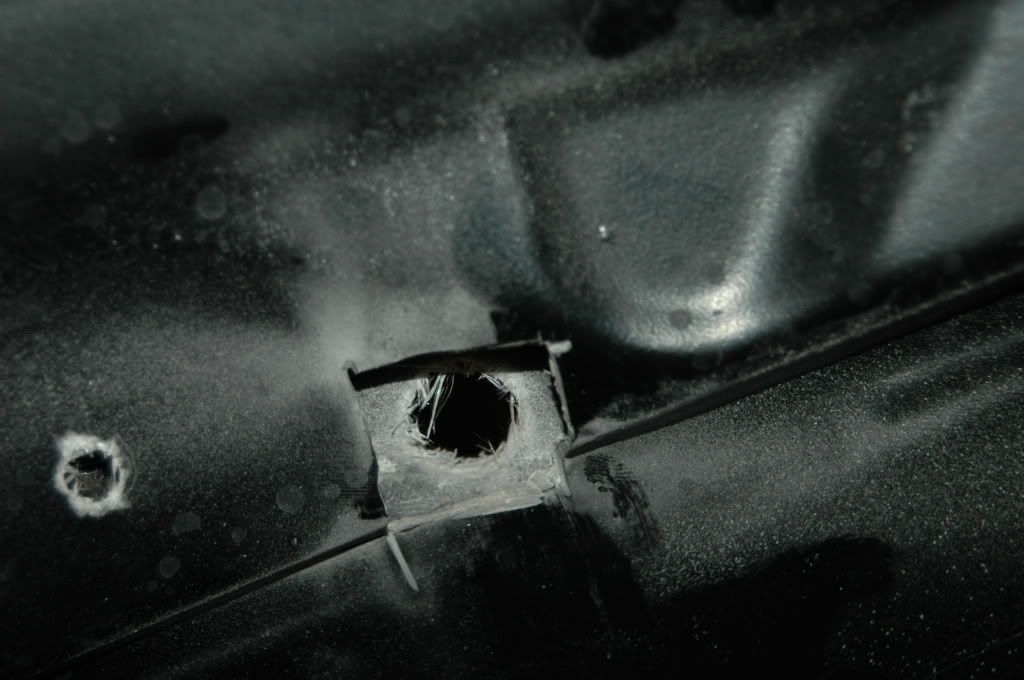
10 (optional) i cut some of the fg on the bottom so the rubber stopper has more contact area
gonna finish up tomorrow. thats when the major cutting on the hood happens.
hood pins are made by and from aerocatch. they are the carbon fiber look, locking plus flush hood pins.
now for this u will need:
-drill bits from 1/8" all the way up to about 5/8". (and or a uni bit (do not use uni bit on cf hood, it will start the rip the hood instead of cutting it))
-dermal
-safety glasses or face shield (optional but highly recommended)
-some sort of mask (optional but recommended)
-some sort of die, i used red lock tight.
-tape measure
-painters tape (optional but highly recommended)
-sand paper (80-120 grit (one of those or something in between) paper)
-allen keys
-screw drivers
-marker or pencil
will update with more tools as the project moves along
get started with the pics and steps
the kit
1.put the painters tape on the hood to reduce scratching
2.measure and mark the hole on the bulk head to where u want the hood pin to sit.
3.start drilling with a small bit (1/8") aka making a pilot hole.
then start moving up with the bits or use a uni bit. made mine 7/16" (some free play)
4.test fit rod.
5.now, mark the top of the rod. i used red thread sealant and it worked out great.
6.find the mark on the hood
7.drill a small pilot hole on the hood (this was hard for me to do, bc i love the hood so much)
8.i went up the drill bits by a (1/8" each bit). if u go up to fast the bit will catch and could crack the cf hood. do this slowly and with the weight of the drill.
9. insert rod and close hood slowly
10 (optional) i cut some of the fg on the bottom so the rubber stopper has more contact area
gonna finish up tomorrow. thats when the major cutting on the hood happens.
Yeah your def helpig people out. Espeically if you are the first to do it on the CF hood. Thats a lotta $$ to invest then mess something up. Good luck and keep up the good work.
Hope to see the car Sat man! Stoked!
Hope to see the car Sat man! Stoked!
I Wanna Beer
Joined: Feb 2007
Posts: 2,151
Likes: 109
From: Minneapolis, MN
Carbon fiber hoods are generally known for having poor hood latches. In many cases the latches don't hold and the hood either flys off or it flips up and smashes the windshield. Because of this many people install hood pins. Some CF hoods don't even come with latches and require the use of hood pins.
Trending Topics


Thread Starter
wham bam thank you ma'am
iTrader: (8)
Joined: Dec 2006
Posts: 10,316
Likes: 41
From: Illinois
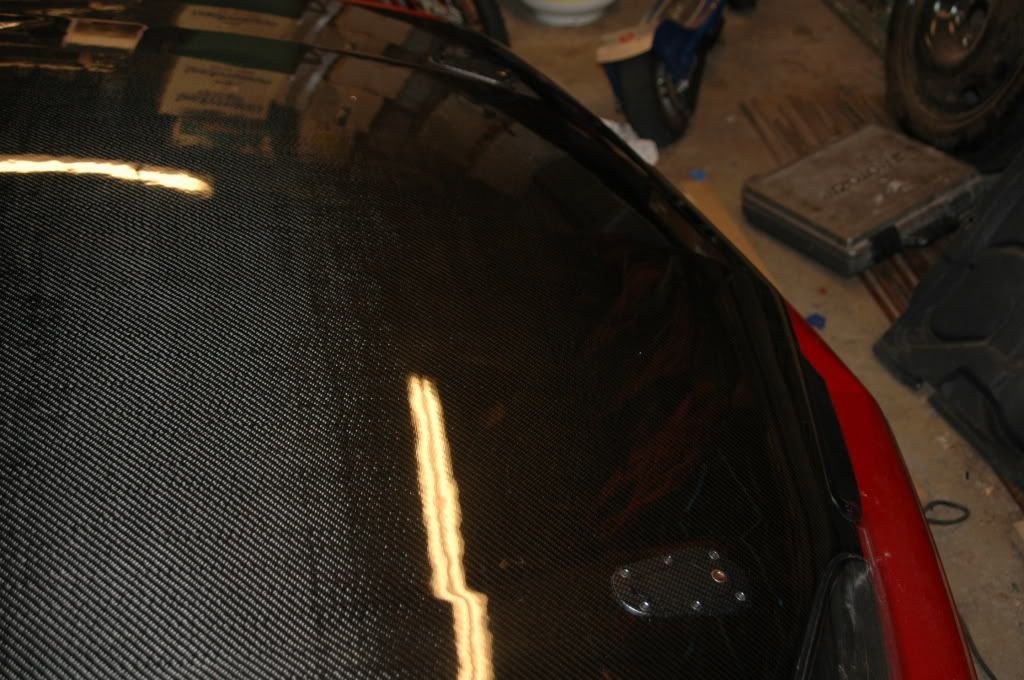
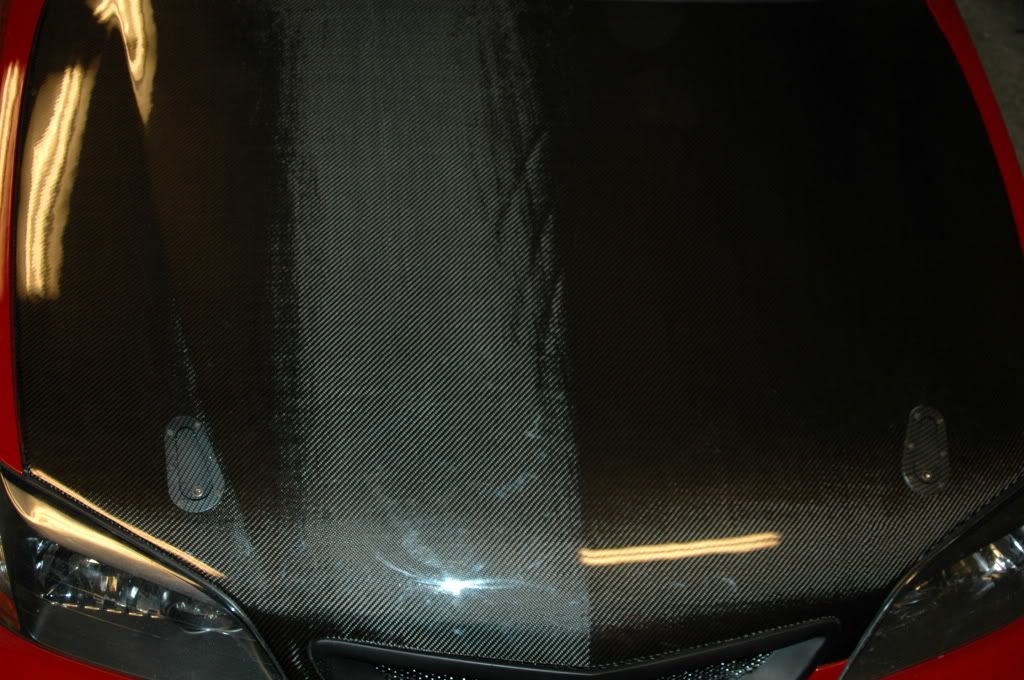
finished up today. still have to cut the bulk head cover so it matches up.
extra tool
roto zip- made cutting the hood so much neater and faster and easier
wenchs or sockets with ratchet
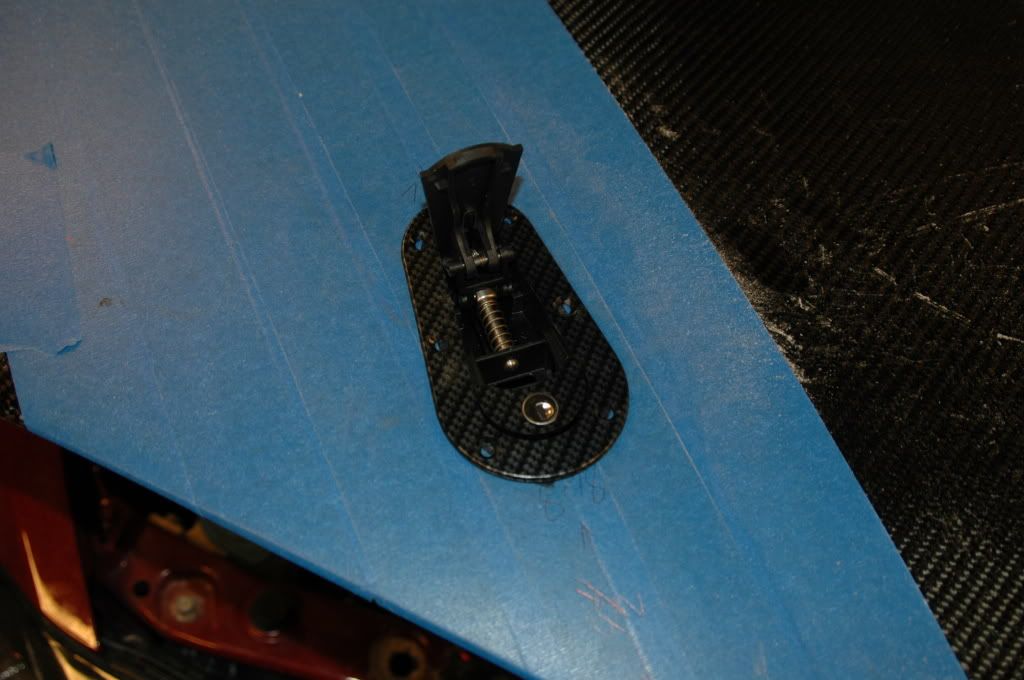
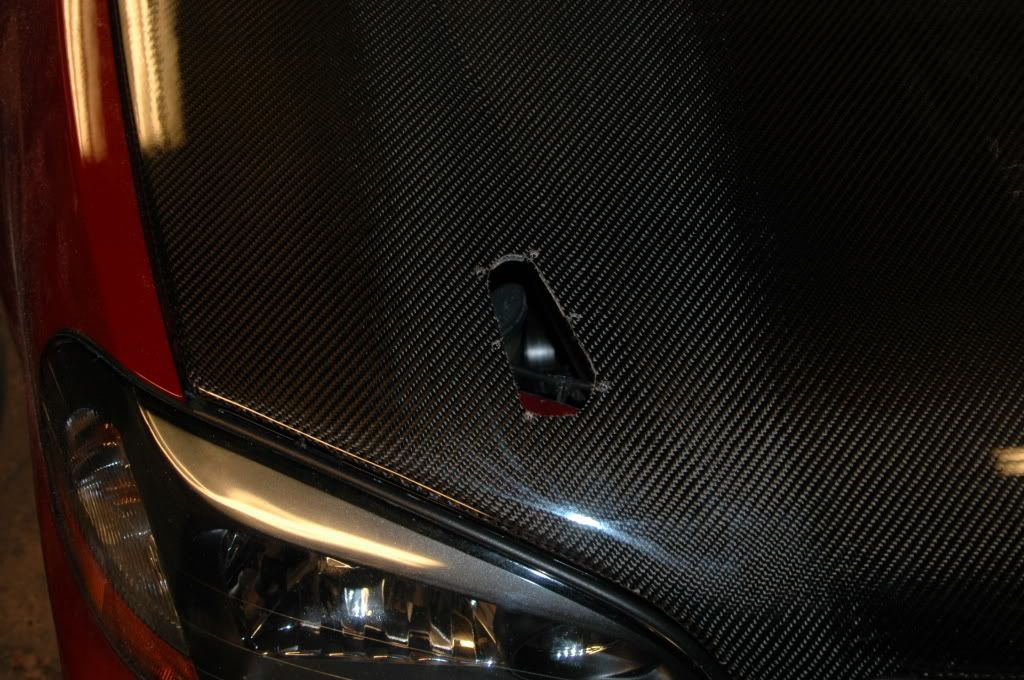
11.place hood pin where u want it and trace around it (the smaller part, not the outside)
12.traced
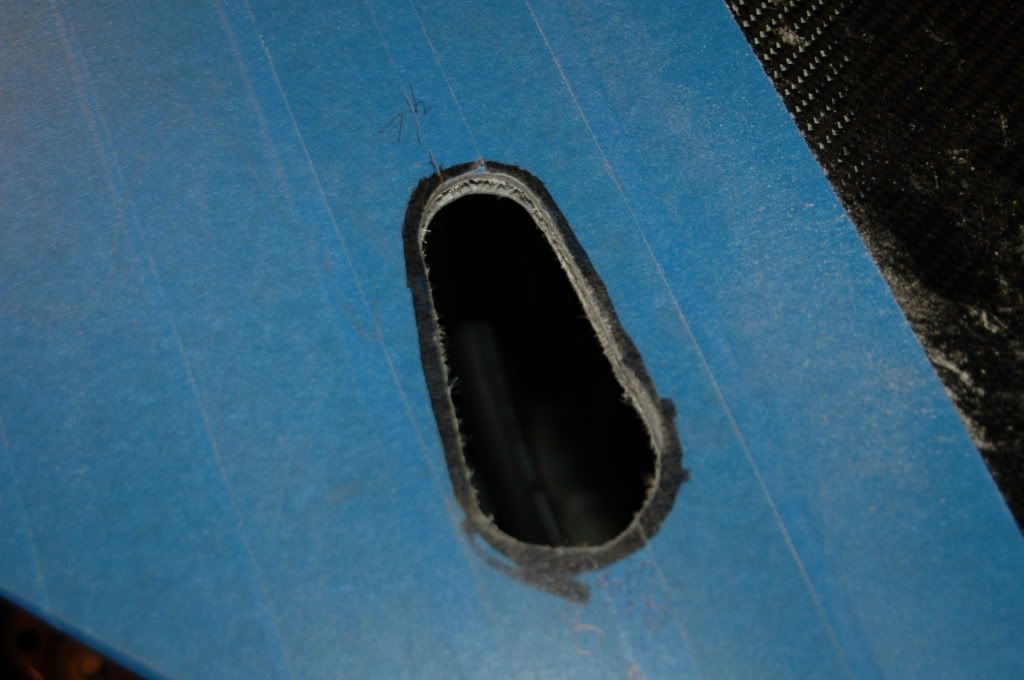
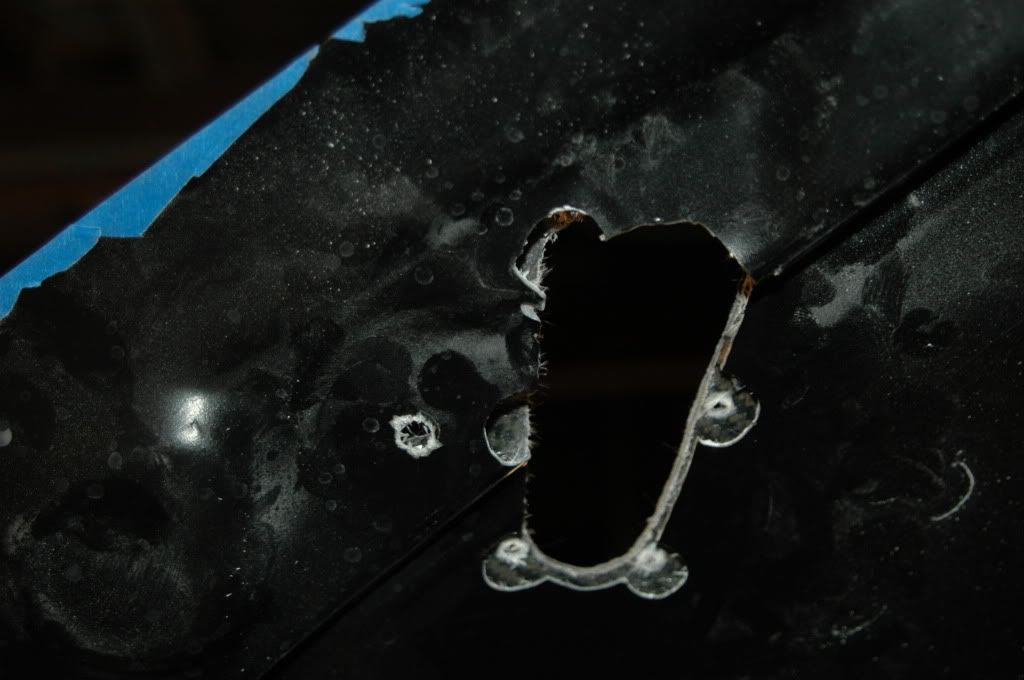
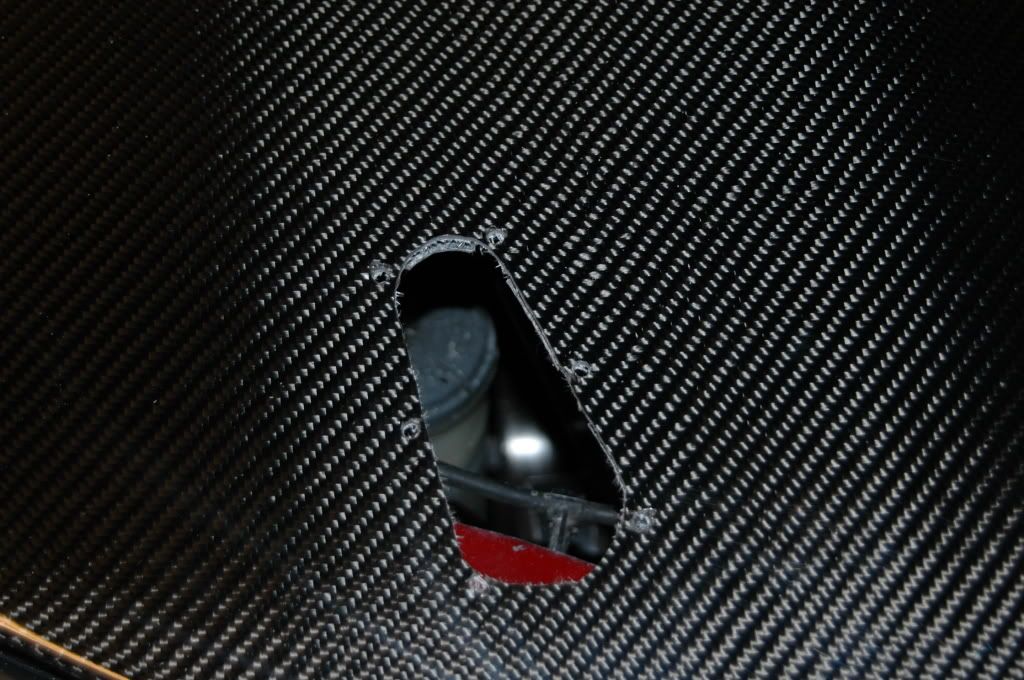
13. i used my roto zip to cut the hole, makes it easy and fast. cut the hole smaller than what u want it to be then make necessary cuts until it fits snugly
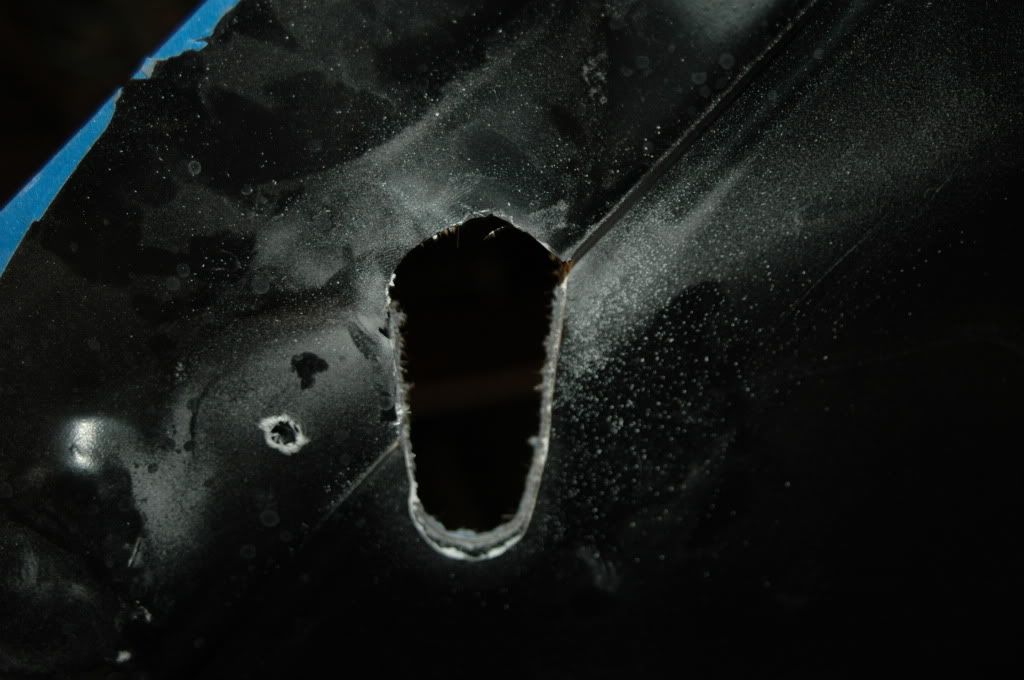
dont forget about the under side of the hood
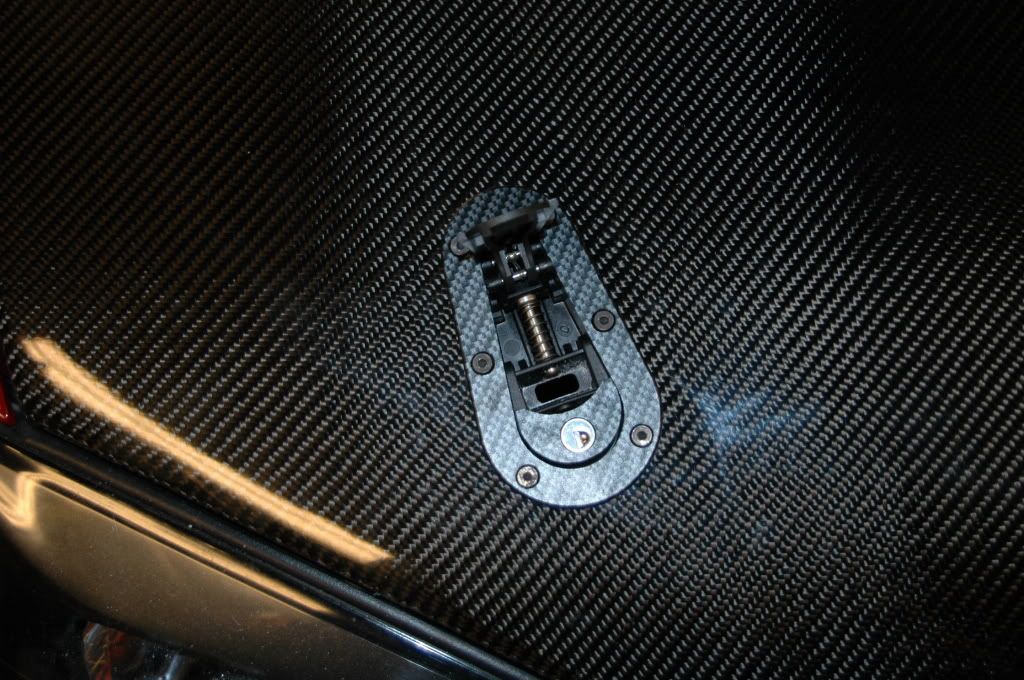
14.test fit latch
15. drill the mounting holes (start small and work your way up the bits by 1/8" increments)
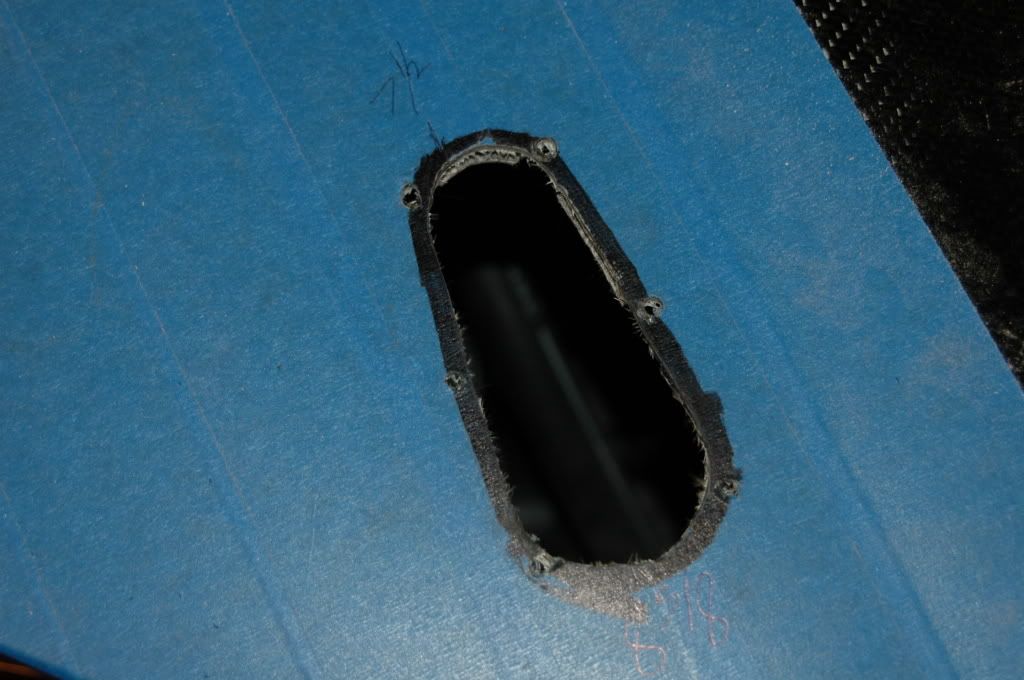
16. for the bottom side u will need to make the holes bigger so a socket can fit in, i used my roto zip. was easy, accurate, and fast
17.peel off the tape and inspect work
18.tighten with the supplied allen key bolts and nylon locking washers

18.makes sure it operates freely
19. close hood to make sure pin slides in freely and the latch catches it and closes
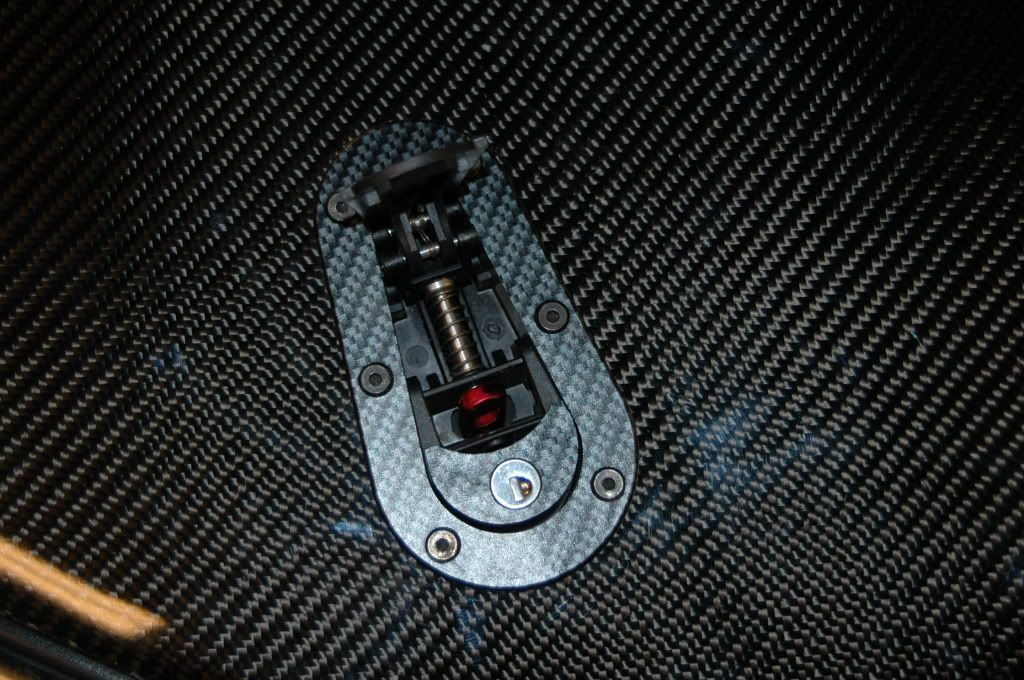
20.inspect work, tighten all bolts to make sure none are lose.
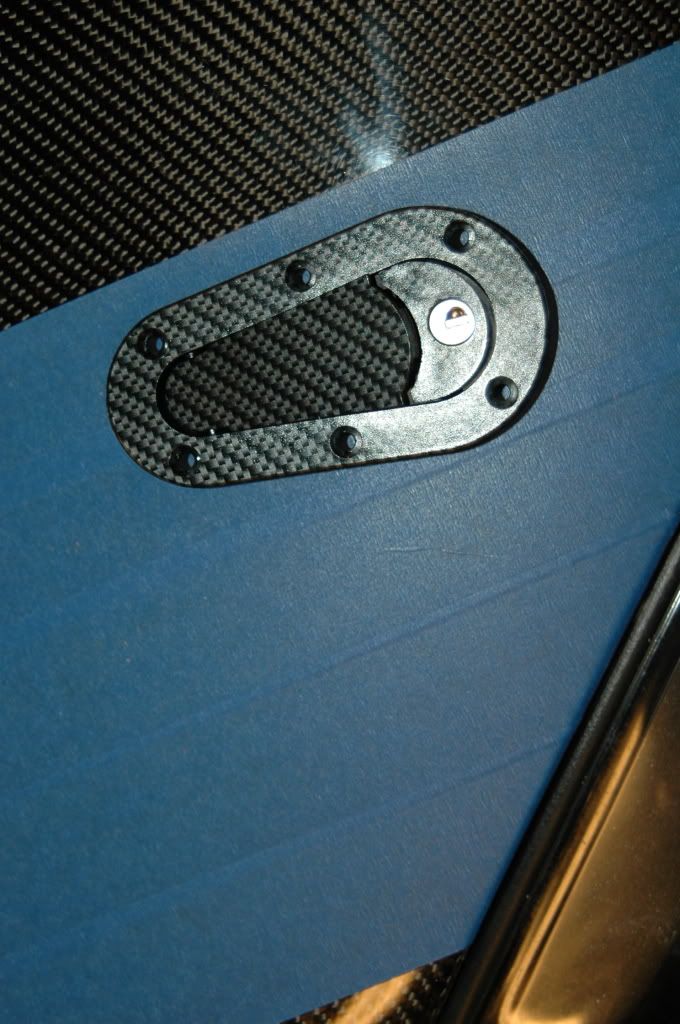
and stand back and look at your work
extra tool
roto zip- made cutting the hood so much neater and faster and easier
wenchs or sockets with ratchet
11.place hood pin where u want it and trace around it (the smaller part, not the outside)
12.traced
13. i used my roto zip to cut the hole, makes it easy and fast. cut the hole smaller than what u want it to be then make necessary cuts until it fits snugly
dont forget about the under side of the hood
14.test fit latch
15. drill the mounting holes (start small and work your way up the bits by 1/8" increments)
16. for the bottom side u will need to make the holes bigger so a socket can fit in, i used my roto zip. was easy, accurate, and fast
17.peel off the tape and inspect work
18.tighten with the supplied allen key bolts and nylon locking washers
18.makes sure it operates freely
19. close hood to make sure pin slides in freely and the latch catches it and closes
20.inspect work, tighten all bolts to make sure none are lose.
and stand back and look at your work
Last edited by Rajca; Jun 4, 2009 at 11:01 PM.
User Awaiting Email Confirmation
iTrader: (5)
Joined: Nov 2007
Posts: 7,786
Likes: 1
From: San Francisco
Oh man...glad you were able to get it in there without jacking everything up.
And seriously thanks for the DIY.
Very helpful...I need to do this as well but I'm too scared to touch it.
But yours came out great.
Def. one thing to mark off the list.
And seriously thanks for the DIY.
Very helpful...I need to do this as well but I'm too scared to touch it.
But yours came out great.
Def. one thing to mark off the list.
Thread Starter
wham bam thank you ma'am
iTrader: (8)
Joined: Dec 2006
Posts: 10,316
Likes: 41
From: Illinois
The cf is printed\painted on the latch. I will get some of that cf vinyl sheet and put it on top so it can flow better with the cf weaves that are on the hood
 ing at your response

Thread Starter
wham bam thank you ma'am
iTrader: (8)
Joined: Dec 2006
Posts: 10,316
Likes: 41
From: Illinois
I was gonna use the dremal too. Then my dad said use the roto zip and it was easy and clean. I still had to use the dremal on the bottol bc it didn't cut a 1\4" of the fiberglass on one of the corners. I'm happy with the way they came out


Thread
Thread Starter
Forum
Replies
Last Post
cycdaniel
1G TSX Performance Parts & Modifications
8
Dec 17, 2019 10:58 AM
Soul_Deamon
Audio, Video, Electronics & Navigation
7
Nov 13, 2018 04:44 PM
BoricuaTL
Car Parts for Sale
138
Apr 8, 2016 01:08 PM
asahrts
Member Cars for Sale
0
Sep 4, 2015 05:55 PM