My water pump/auto-tensioner replacement experience
#1
My water pump/auto-tensioner replacement experience
My 2004 TSX is at 169k miles. I was performing my second serpentine belt change and while the belt was off, I hand spun the various pulleys and found that the water pump was spinning rather roughly. There is no prescribed replacement interval for this item but reading the procedure in the Helms manual didn't seem too difficult so I decided to replace it. My auto-tensioner was also nearing the spec limit so I thought to just replace that as well.
I ordered a Dayco belt, Dayco tensioner, and replacement gasket, and a generic water pump from AdvanceAuto. DO NOT ORDER AN AFTERMARKET PUMP. Even though the AA site says it is an exact fit, I spent about two hours cursing how the bolt holes did not line up. Definitely spend the extra $$ on the OEM pump. BTW it comes with the gasket pre-installed.
Before doing this, start your car and turn the heat to HI so you can fully drain coolant.
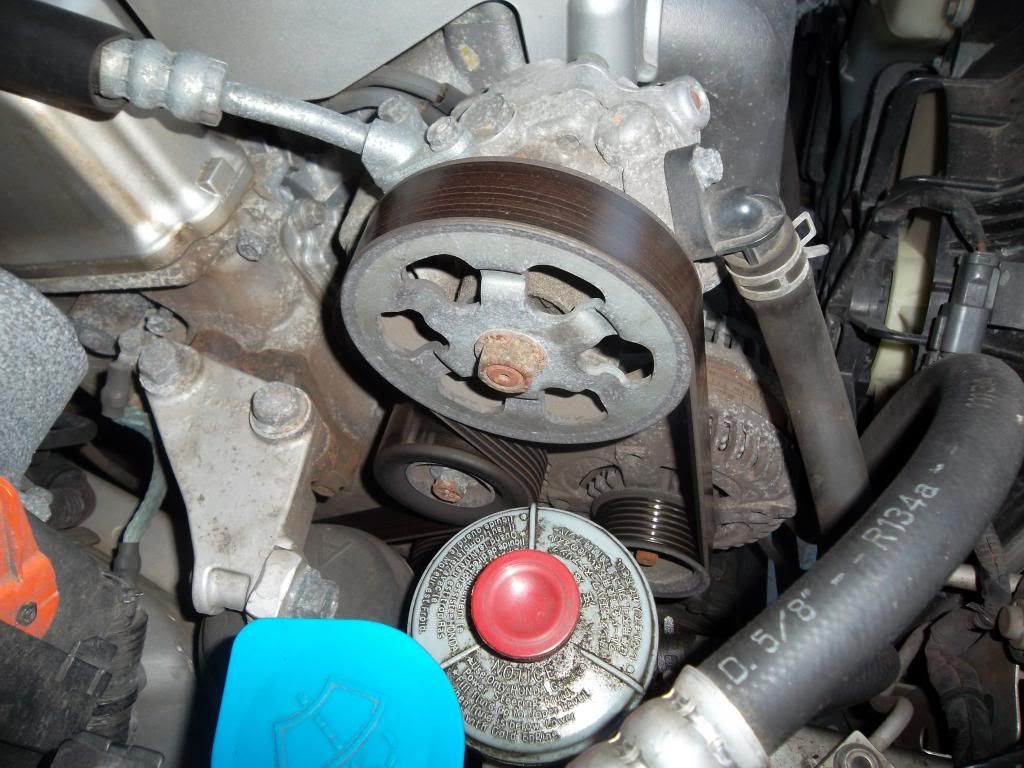
Starting condition
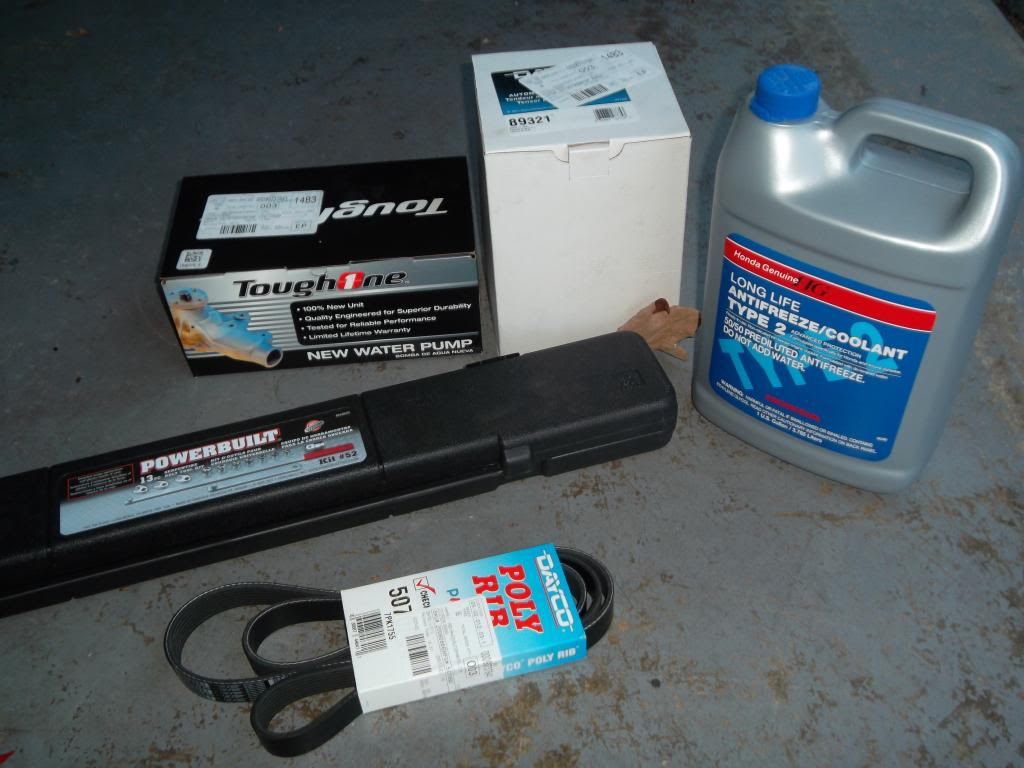
Things you need. Ignore the water pump but get the serpentine belt tool at Advance to help loosen the auto tensioner. It's a free rental.
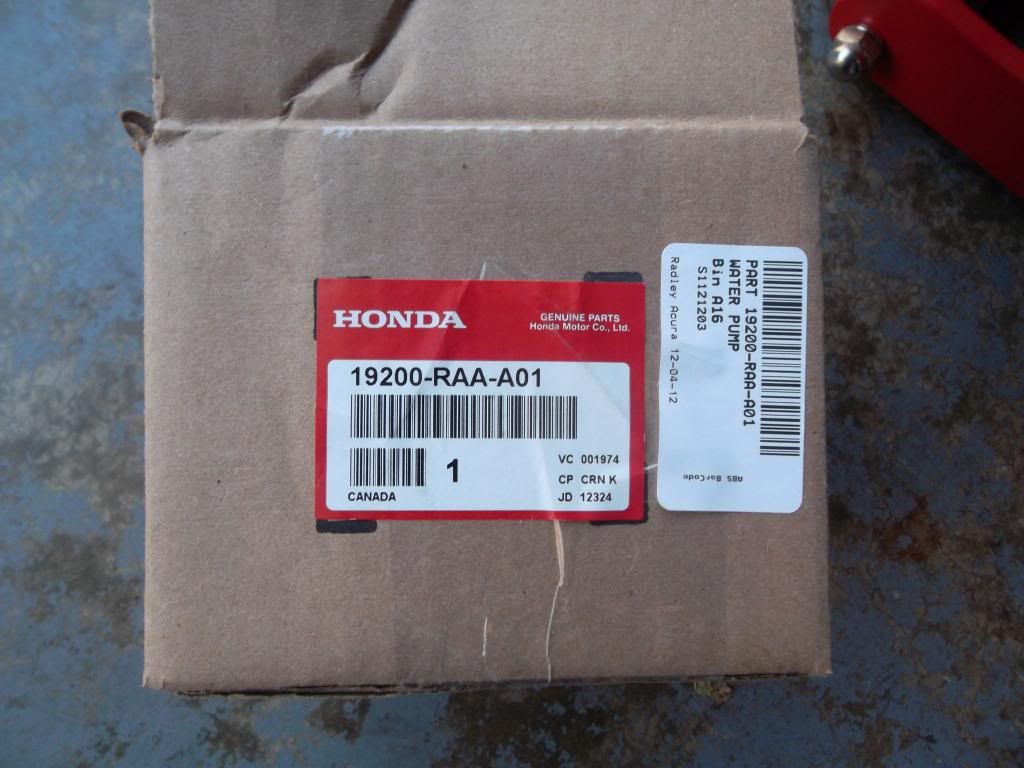
OEM water pump
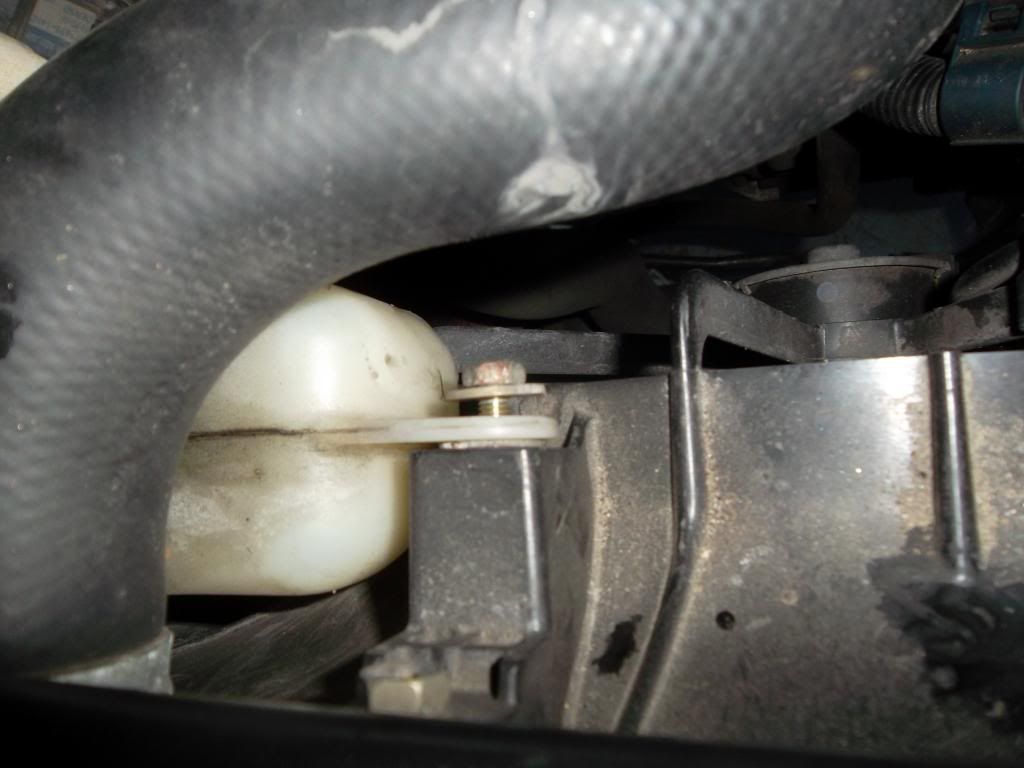
Loosen two 10mm bolts to remove the expansion tank. Pour out the old coolant into a waste container and rinse out the tank.

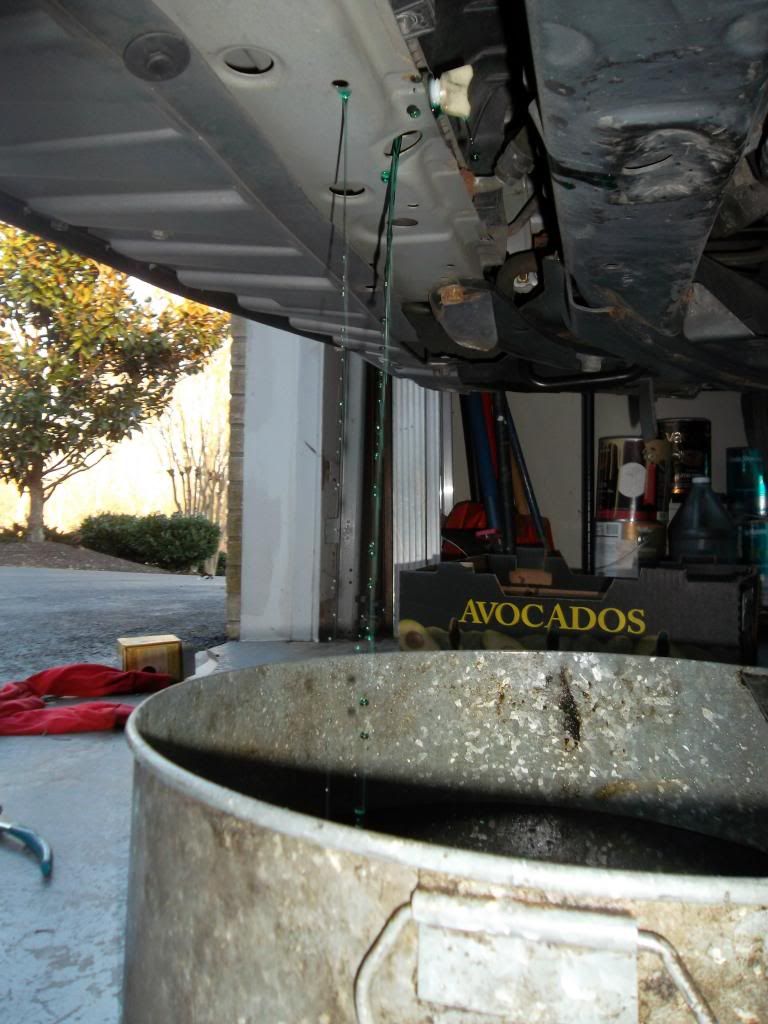
Loosen the drain stopcock at the bottom of the radiator and drain your coolant
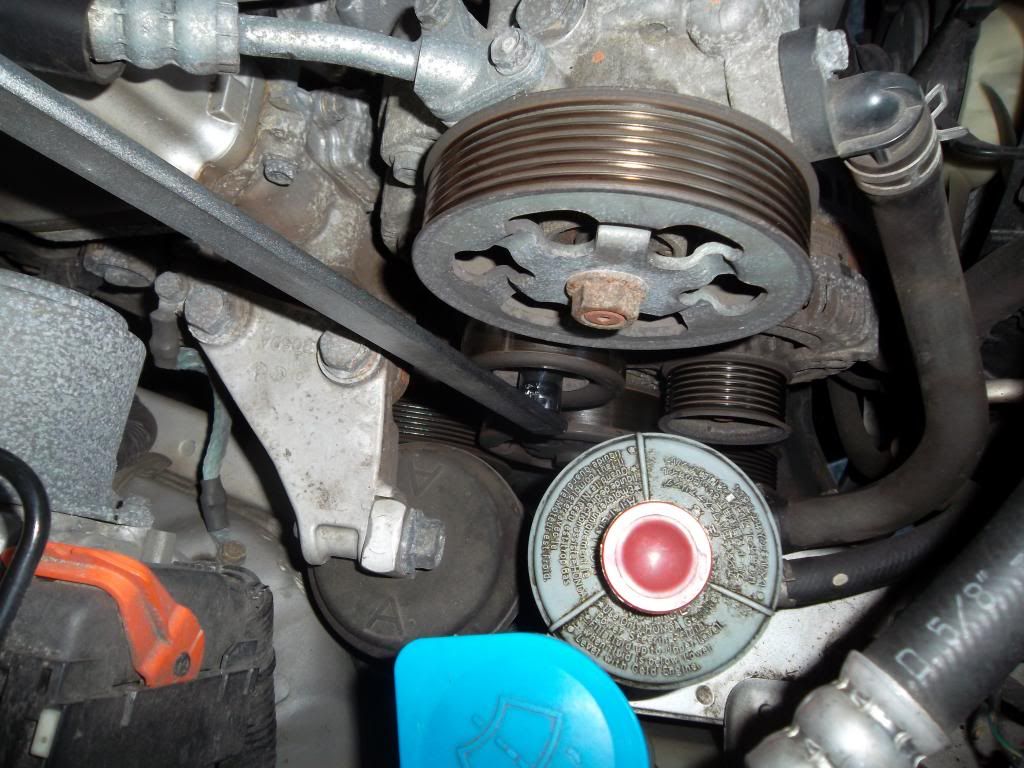
Use the serpentine bolt tool to release the pressure on the tensioner and remove the belt (already removed in this pic).
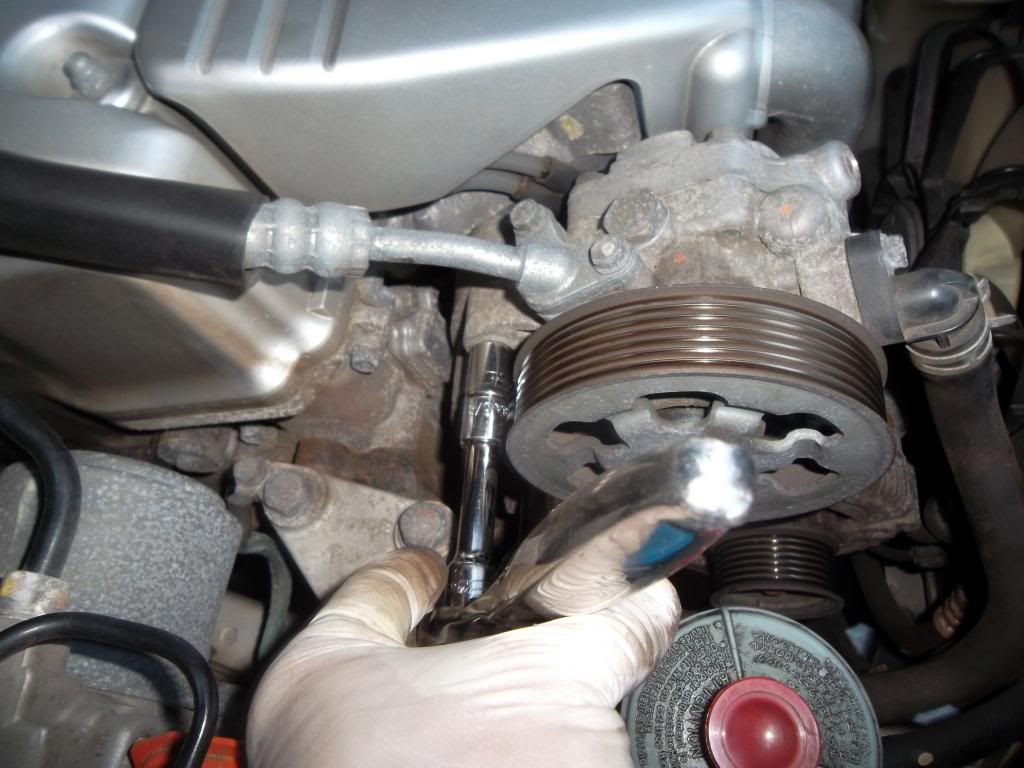
Use 12mm socket with a universal adapter as needed to remove the two bolts that anchor the power steering pump. Lift the pump out of the way towards the outside of the car. You can do the rest of the job with the pump in place, but it is a bit tight at some points in the procedure.
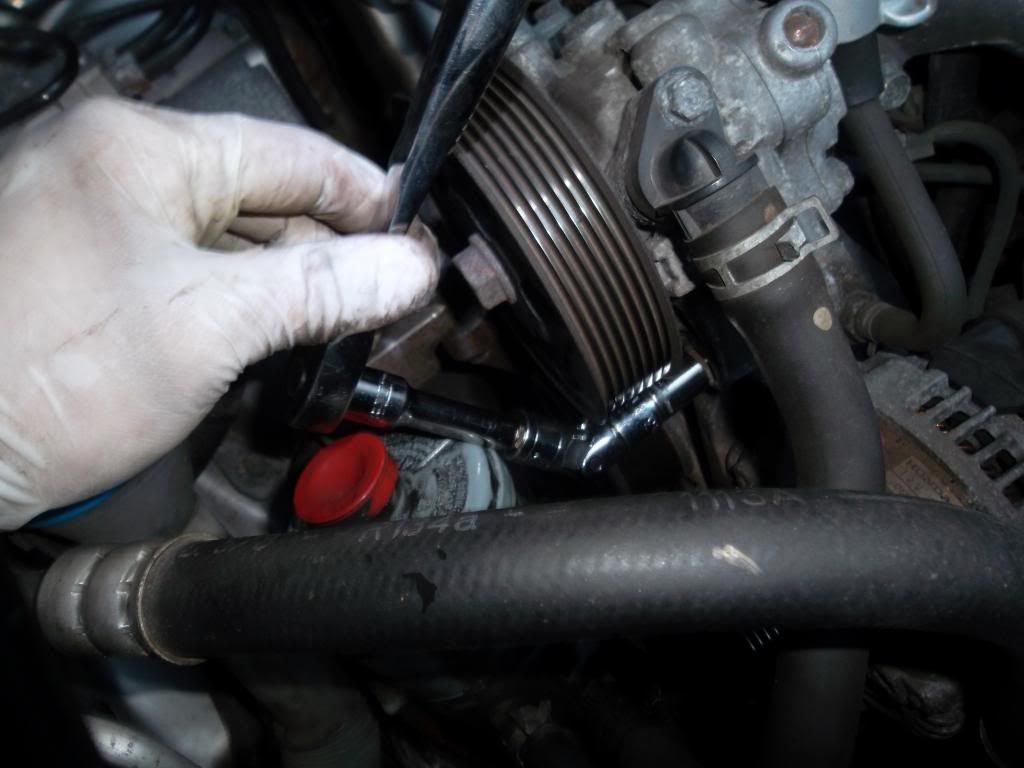
There are three bolts that anchor the auto tensioner. Again use the universal as needed to remove them. It's helpful to have a magnetic pick up to grab the bolts so you don't drop them
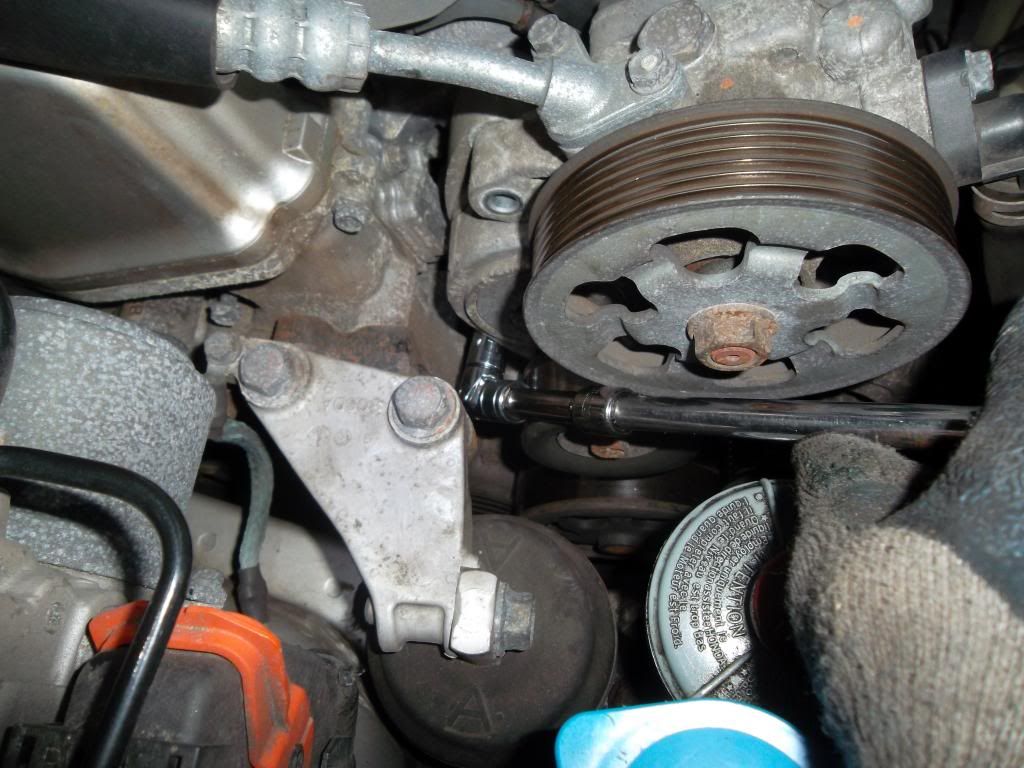
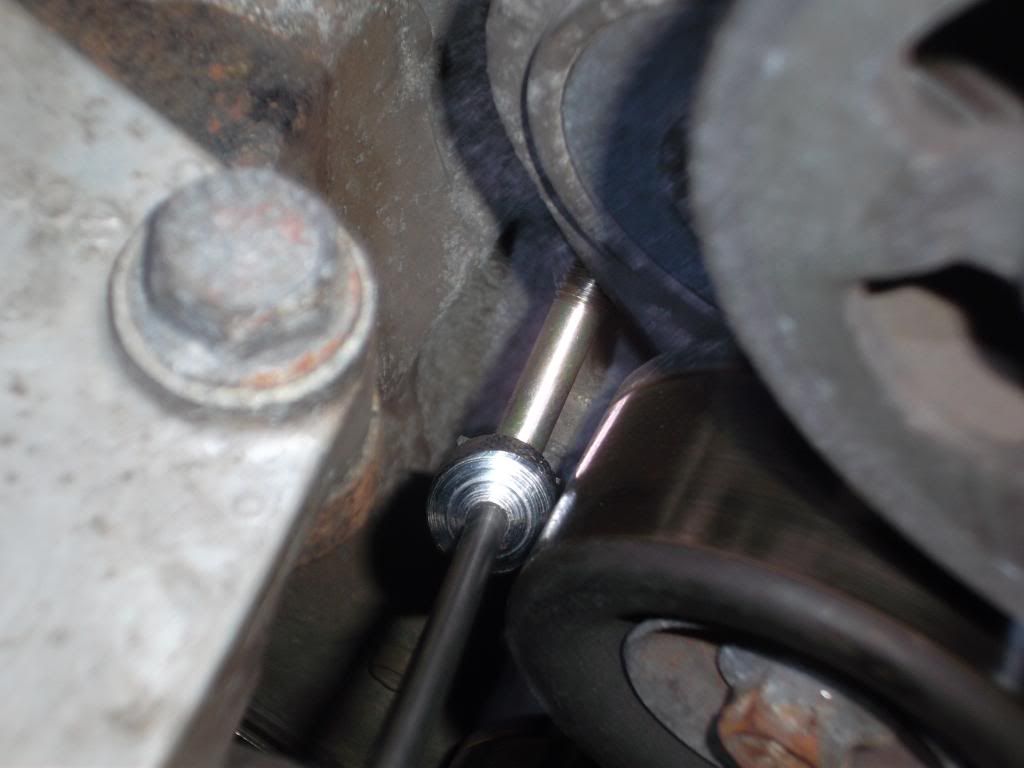
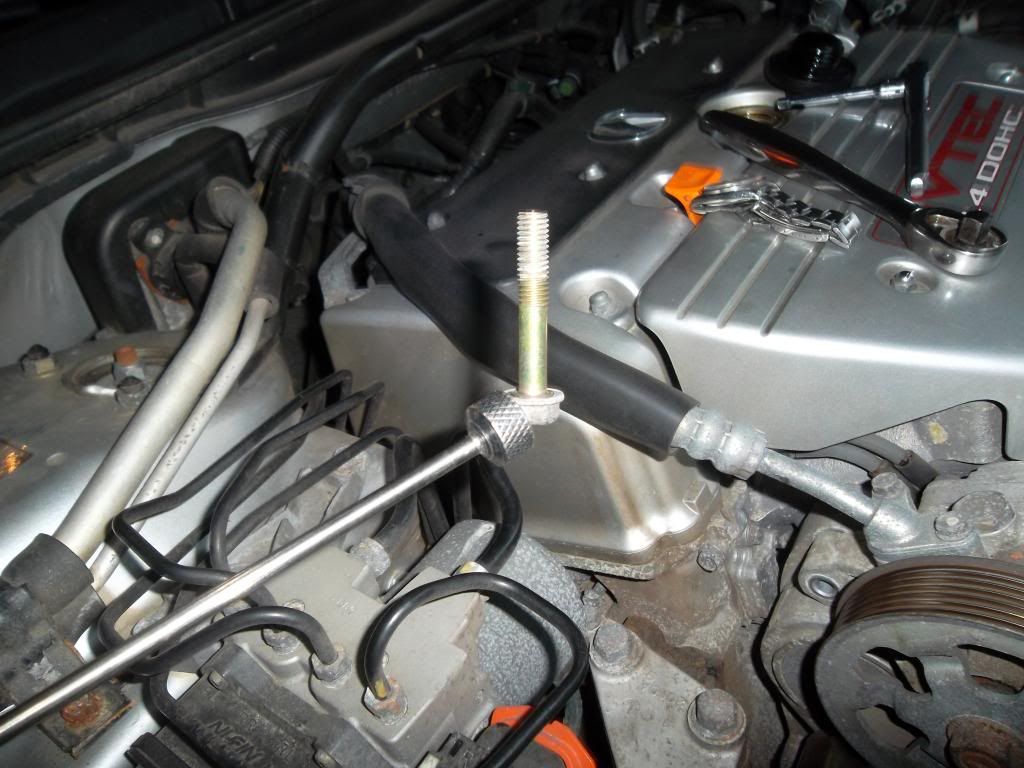
Auto tensioner removed
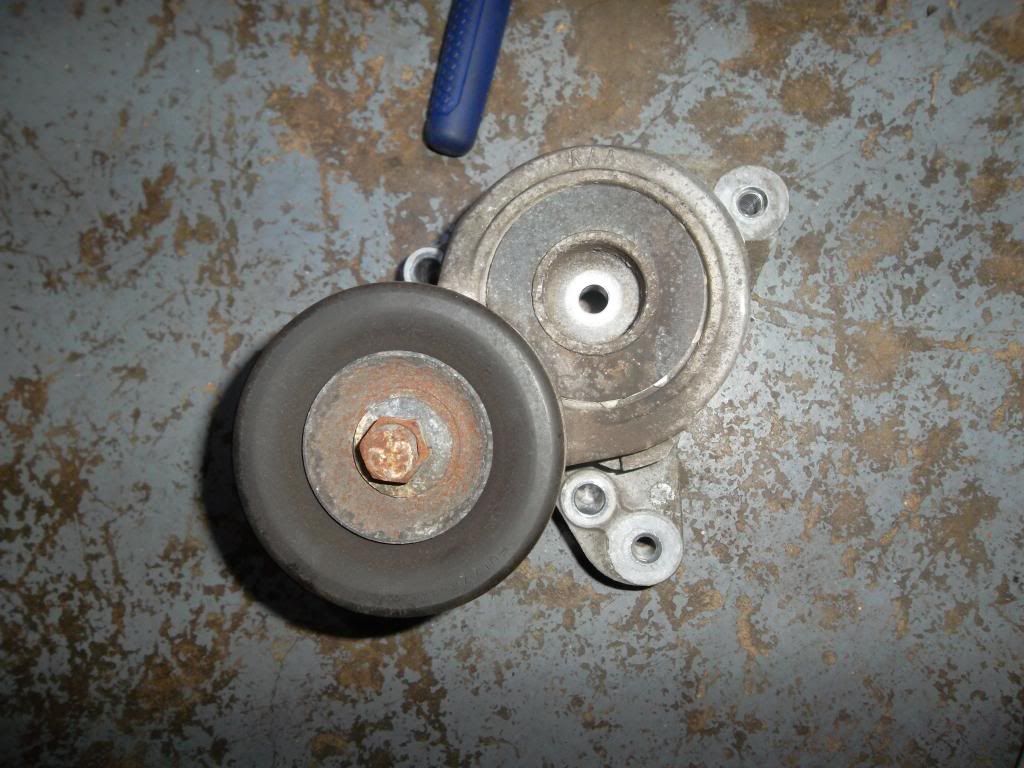
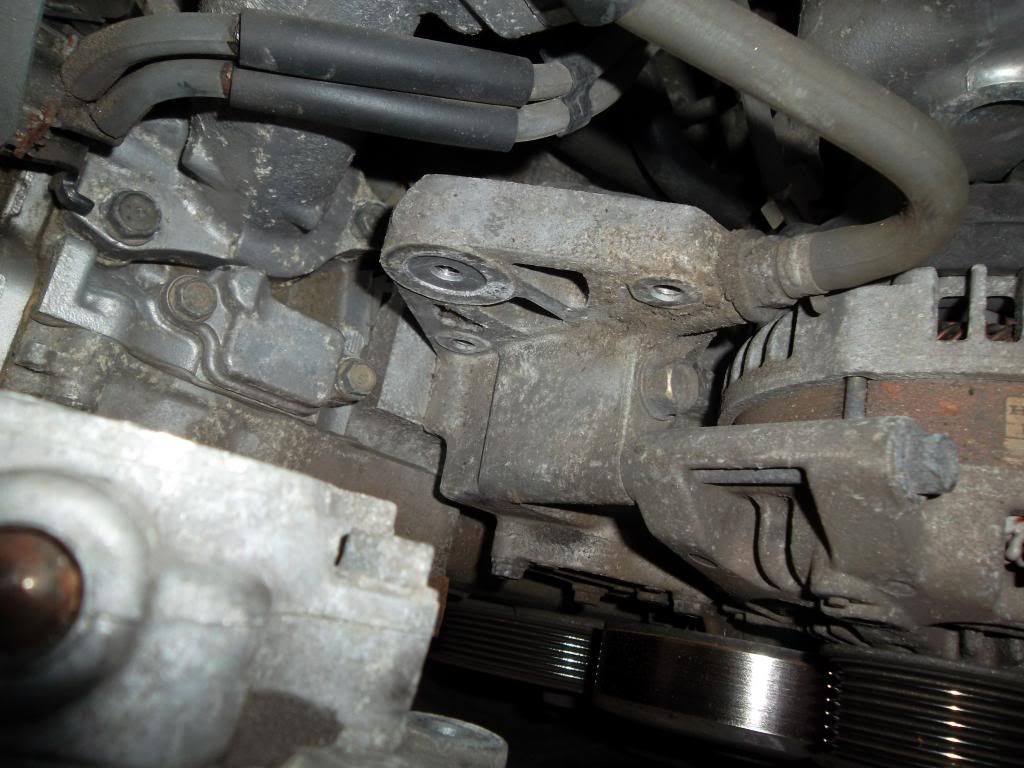
New Tensioner
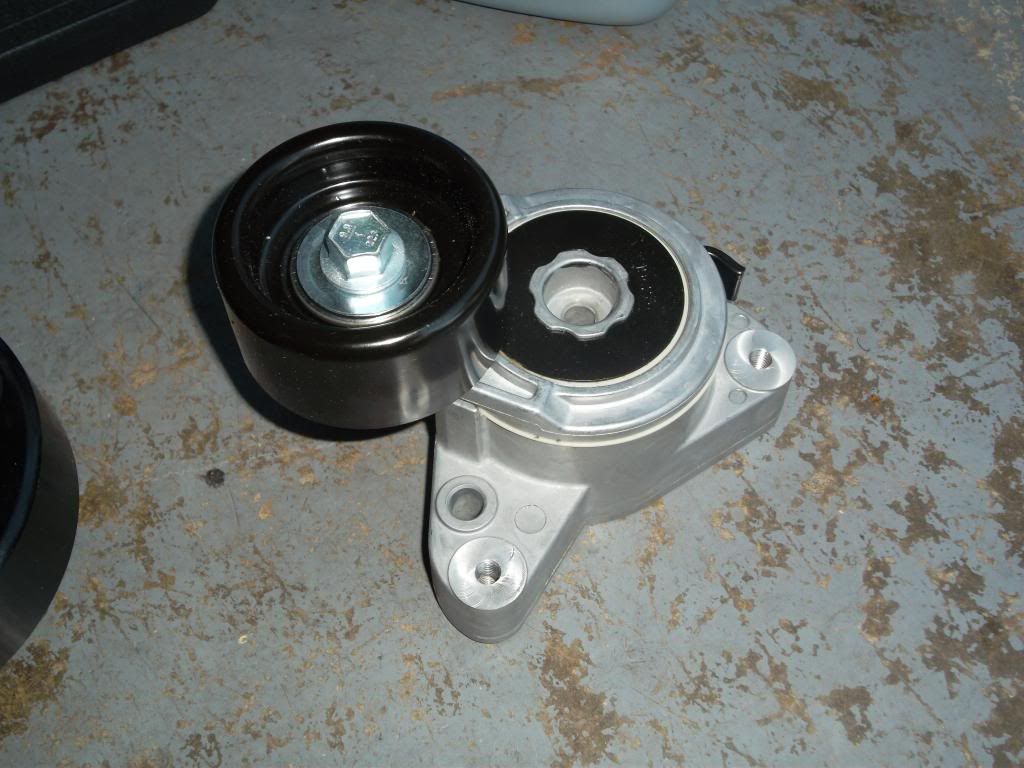
There are six 10mm bolts that anchor the water pump. The top three are pretty accessible, but the bottom three require you to insert the socket in the "spokes" of the pump. The bottom-most bolt is best accessed from beneath the car. Once they are all removed, be prepared for about another cup of coolant to drain out.
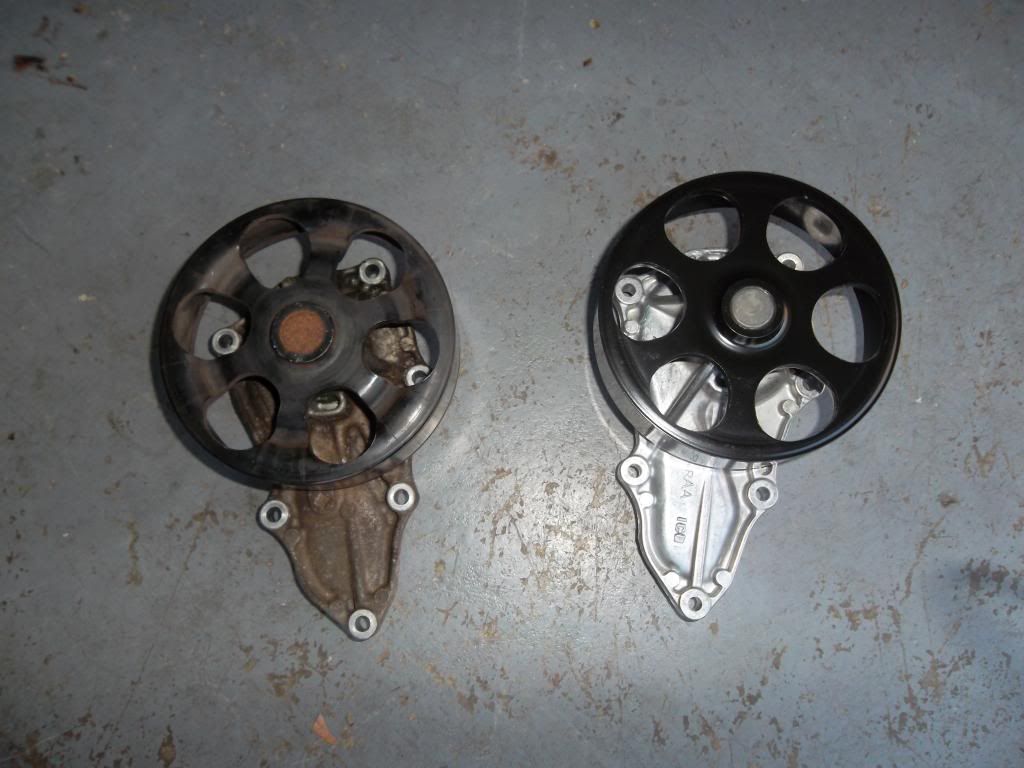
Old and new pump
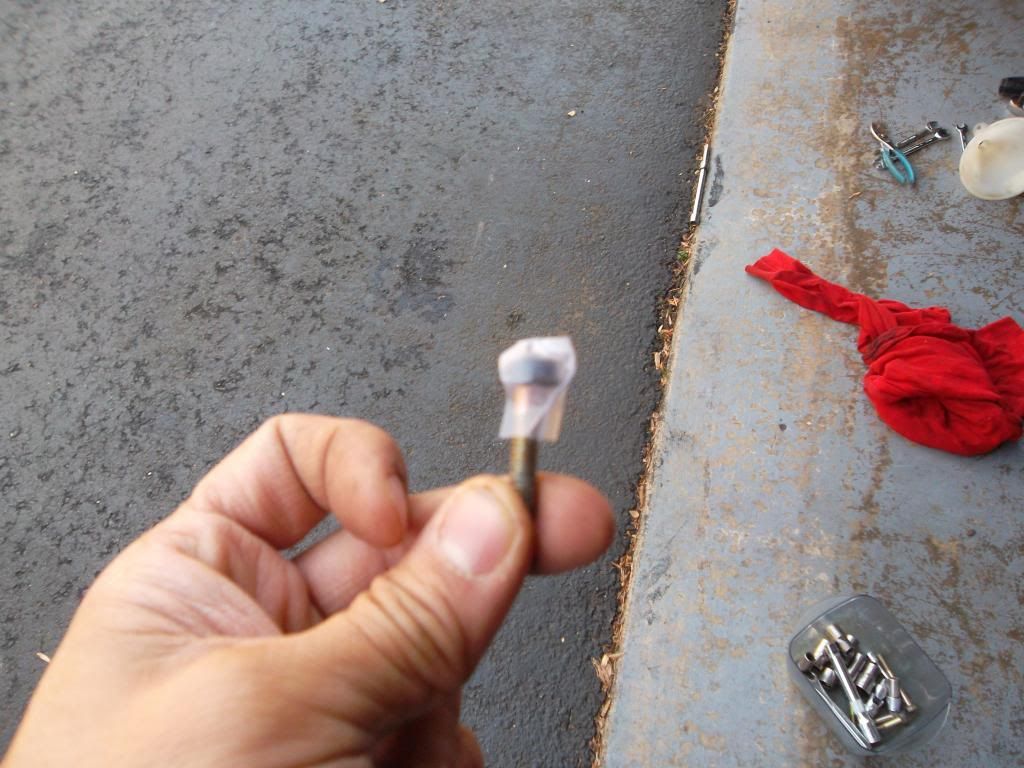
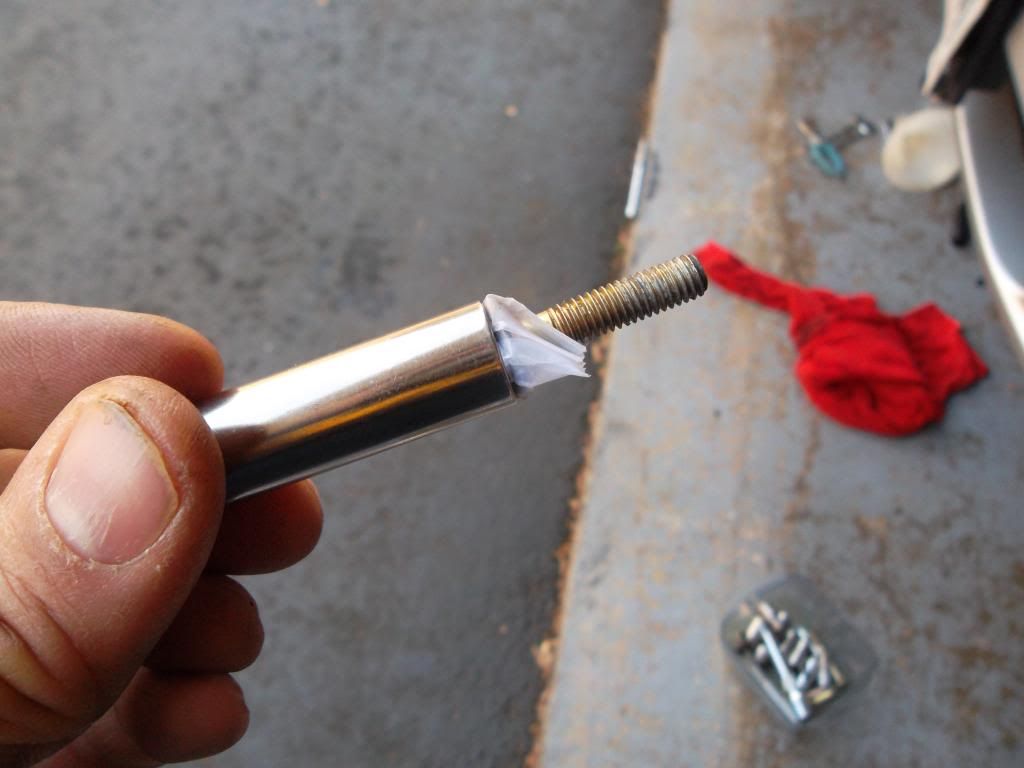
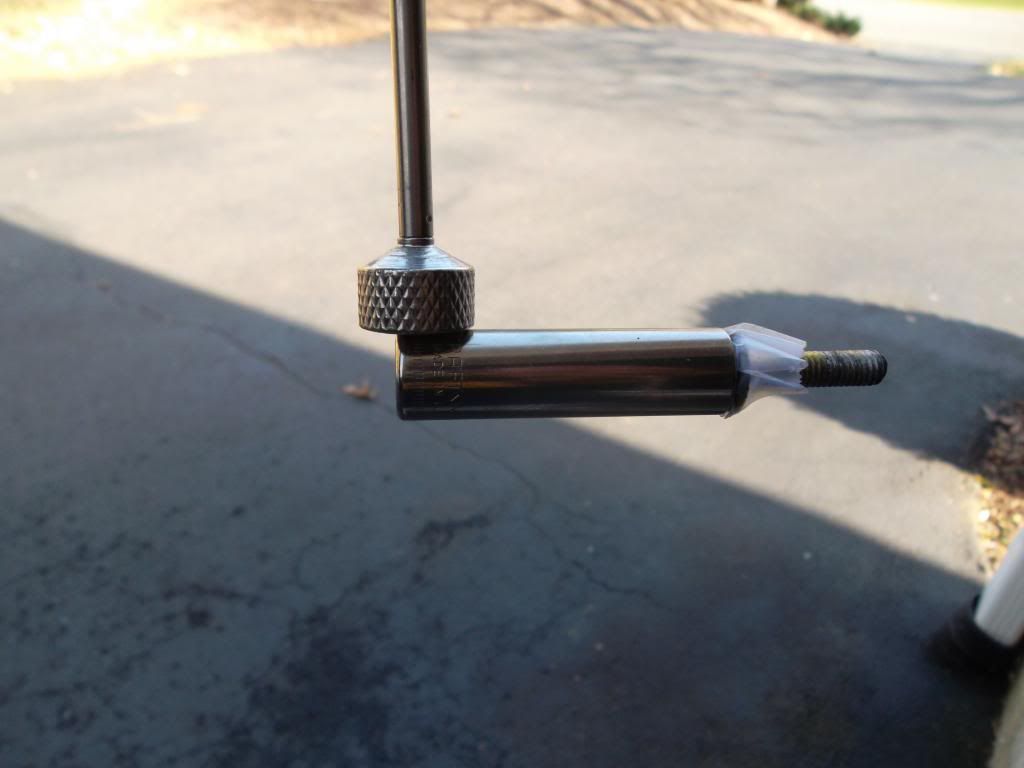
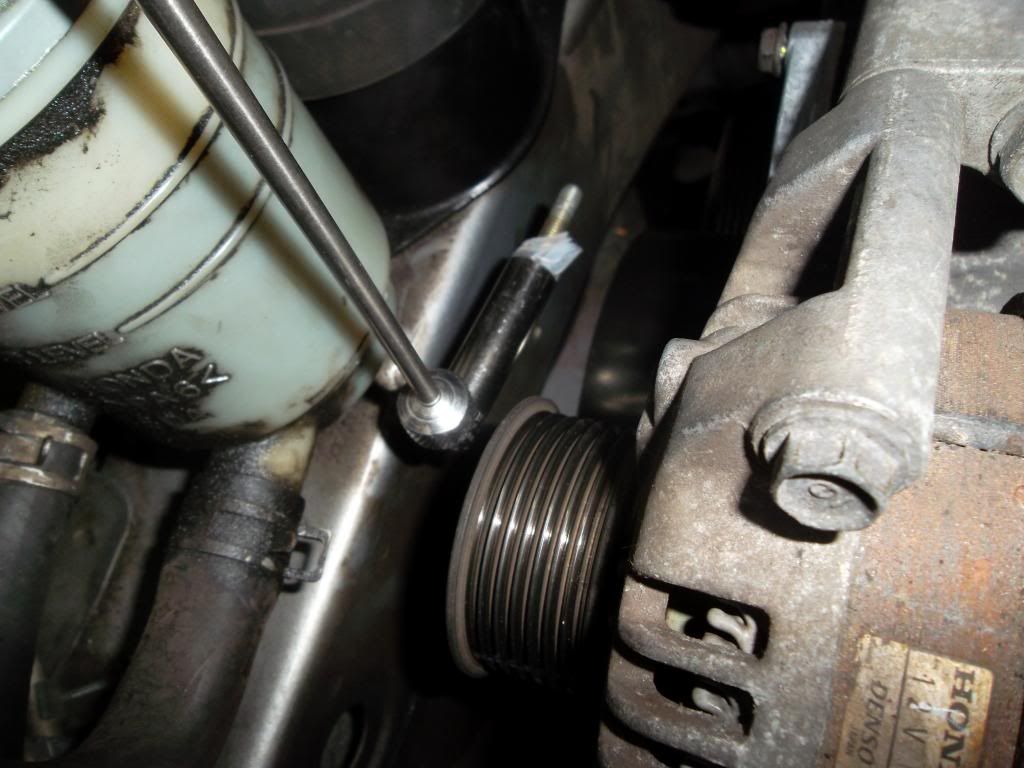
To reinstall, first hand-thread the water pump bolts. Again the top three go in pretty easily. To start the bottom three, I used a piece of tape on the bolt head to hold it in a deep drive socket and then threaded it in by hand. Again I used my magnetic pick up tool to help place the bolt in he right spot prior to hand tightening
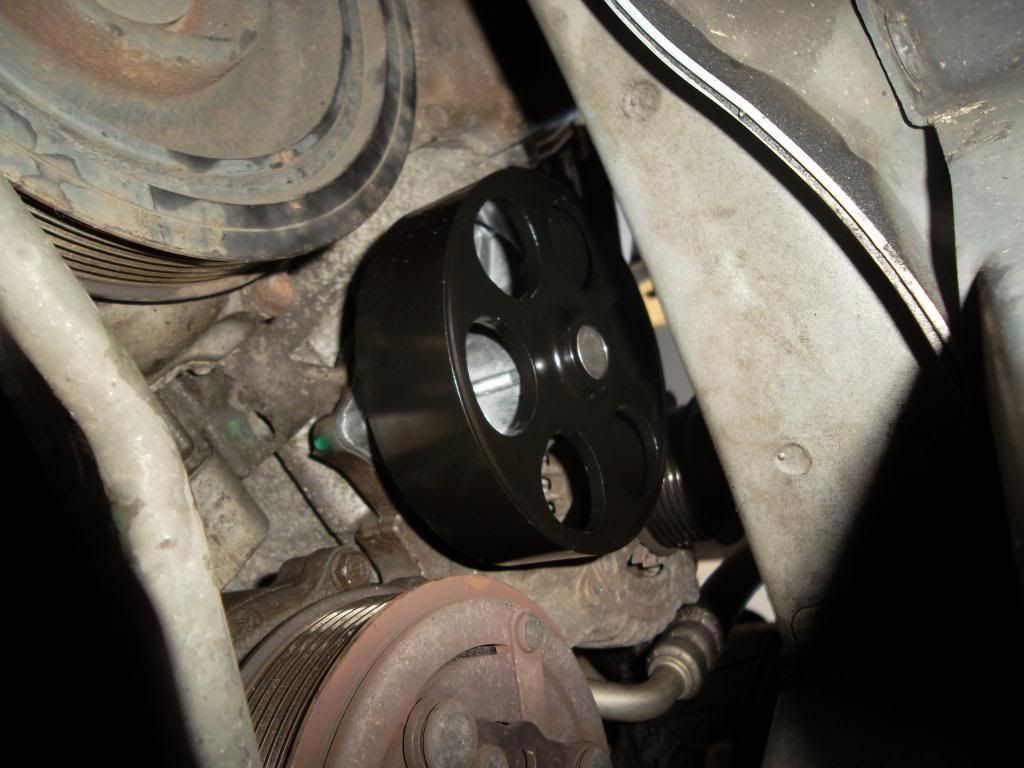
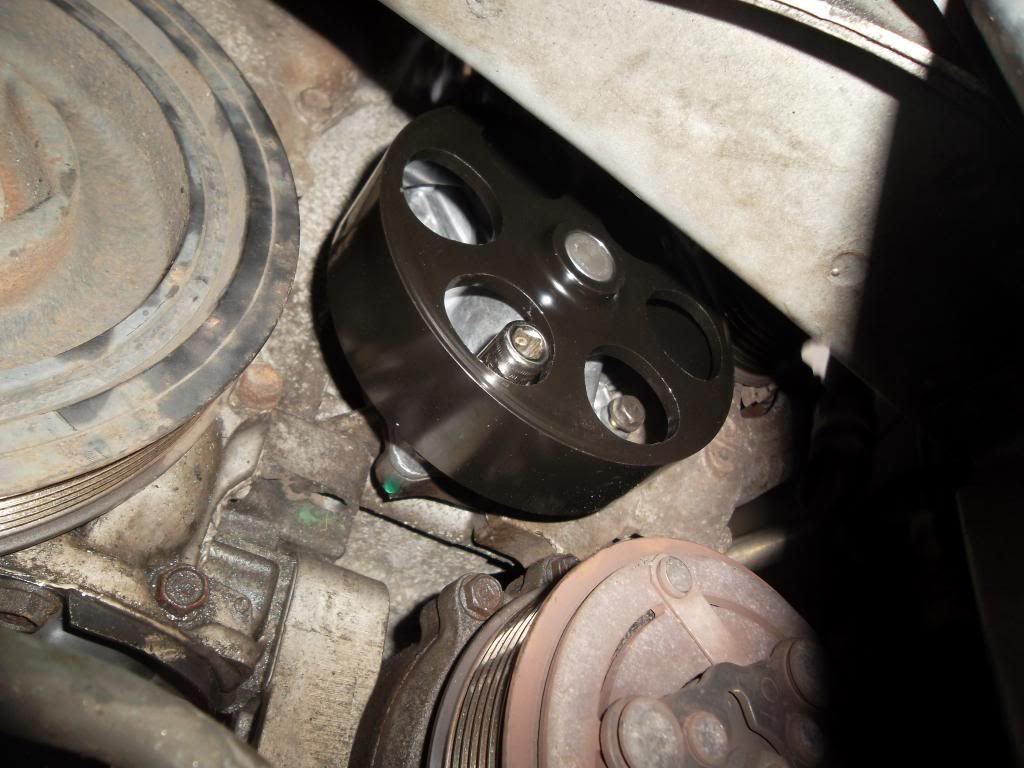
Once the pump is reinstalled, replacing the tensioner, PS pump, and belt, are just the reverse of removal. Total time was about two hours if I don't count the time I wasted trying to get the aftermarket pump to fit.
Fill the expansion tank with coolant first and then slowly add coolant to the radiator. I used a total of 1.4 gallons of Honda Type 2. After I had added about a gallon, I started the car to help circulate coolant and bleed out air bubbles. Squeeze the top radiator hose periodically to help the bleeding.
While doing this, I realized my valves were also ticking quite a bit. Looks like the valve adjustment job is next...
I ordered a Dayco belt, Dayco tensioner, and replacement gasket, and a generic water pump from AdvanceAuto. DO NOT ORDER AN AFTERMARKET PUMP. Even though the AA site says it is an exact fit, I spent about two hours cursing how the bolt holes did not line up. Definitely spend the extra $$ on the OEM pump. BTW it comes with the gasket pre-installed.
Before doing this, start your car and turn the heat to HI so you can fully drain coolant.
Starting condition

Things you need. Ignore the water pump but get the serpentine belt tool at Advance to help loosen the auto tensioner. It's a free rental.

OEM water pump

Loosen two 10mm bolts to remove the expansion tank. Pour out the old coolant into a waste container and rinse out the tank.


Loosen the drain stopcock at the bottom of the radiator and drain your coolant

Use the serpentine bolt tool to release the pressure on the tensioner and remove the belt (already removed in this pic).

Use 12mm socket with a universal adapter as needed to remove the two bolts that anchor the power steering pump. Lift the pump out of the way towards the outside of the car. You can do the rest of the job with the pump in place, but it is a bit tight at some points in the procedure.


There are three bolts that anchor the auto tensioner. Again use the universal as needed to remove them. It's helpful to have a magnetic pick up to grab the bolts so you don't drop them


Auto tensioner removed


New Tensioner

There are six 10mm bolts that anchor the water pump. The top three are pretty accessible, but the bottom three require you to insert the socket in the "spokes" of the pump. The bottom-most bolt is best accessed from beneath the car. Once they are all removed, be prepared for about another cup of coolant to drain out.
Old and new pump

To reinstall, first hand-thread the water pump bolts. Again the top three go in pretty easily. To start the bottom three, I used a piece of tape on the bolt head to hold it in a deep drive socket and then threaded it in by hand. Again I used my magnetic pick up tool to help place the bolt in he right spot prior to hand tightening


Once the pump is reinstalled, replacing the tensioner, PS pump, and belt, are just the reverse of removal. Total time was about two hours if I don't count the time I wasted trying to get the aftermarket pump to fit.
Fill the expansion tank with coolant first and then slowly add coolant to the radiator. I used a total of 1.4 gallons of Honda Type 2. After I had added about a gallon, I started the car to help circulate coolant and bleed out air bubbles. Squeeze the top radiator hose periodically to help the bleeding.
While doing this, I realized my valves were also ticking quite a bit. Looks like the valve adjustment job is next...
Last edited by kbh; 12-09-2012 at 09:57 AM.
The following users liked this post:
sameoldmacho (07-09-2013)
#3
kbh:
Thank you for posting. Great post.
Several questions:
1) Are you the original owner of the car?
2) If you are the original owner of the car, had you ever replaced the tensioner before or did it last you 169k miles?
3) If this is the first time you replaced the tensioner, was it making any noise?
Thank you for posting. Great post.
Several questions:
1) Are you the original owner of the car?
2) If you are the original owner of the car, had you ever replaced the tensioner before or did it last you 169k miles?
3) If this is the first time you replaced the tensioner, was it making any noise?
#4
Yes, I am the original owner since 8/03. The tensioner pictured above is the original. I checked it at the first belt change at 85k miles in 2008 and it was still in spec. I checked it at each oil change since then and the arrow mark was slowly moving towards the limit but was not past it. The pulley bearing was a little rough but not as bad as the water pump. Overall since the swap, the engine idles more quietly but the valve tapping is now more noticeable.
#6
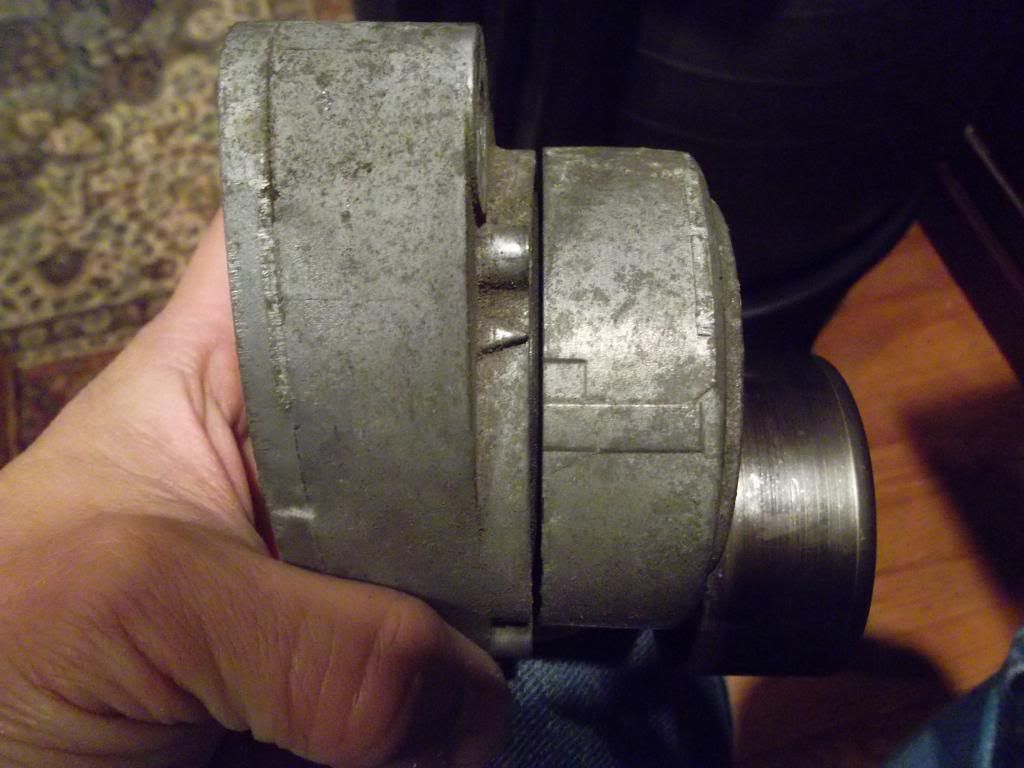
There is an arrow and two bars on the top of your tensioner to show if it is in spec. When you car is new the arrow should be pointing right at the midpoint of these bars. See illustration in Helms

Here is my tensioner. Of course it is now out of the car and there is no belt to hold tension against, but when it was still installed the arrow was going out of limit.
PS Pump torque spec is 16 lb-ft. Auto tensioner torque spec is also 16 lb-ft. Water pump torque spec is 8.7 lb-ft.

Here is my tensioner. Of course it is now out of the car and there is no belt to hold tension against, but when it was still installed the arrow was going out of limit.

PS Pump torque spec is 16 lb-ft. Auto tensioner torque spec is also 16 lb-ft. Water pump torque spec is 8.7 lb-ft.
Last edited by kbh; 12-11-2012 at 09:24 PM.
The following users liked this post:
shipo (12-17-2013)
#7
Boy those torque figures seem awfully low, but I'll take your word for it (granted, the fasteners do look small). I might be more inclined to use a torque wrench the indicates inch pounds for torque values that low. That's a little too close to the low end extreme of the range (especially 8.7 ft lbs) for a torque wrench that indicate foot pounds for my liking.
Trending Topics
The following users liked this post:
shipo (12-17-2013)
#9
Interesting (I'd still use a small torque wrench and convert to inch pounds though)(if that's an unknown, just multiply the value by 12 by the way). Once again, we're reminded of the occasional toy-like nature of some of the parts for this car (the battery and the rear brakes come to mind....).
Thread
Thread Starter
Forum
Replies
Last Post
asahrts
Member Cars for Sale
0
09-04-2015 05:55 PM


