When you click on links to various merchants on this site and make a purchase, this can result in this site earning a commission. Affiliate programs and affiliations include, but are not limited to, the eBay Partner Network.
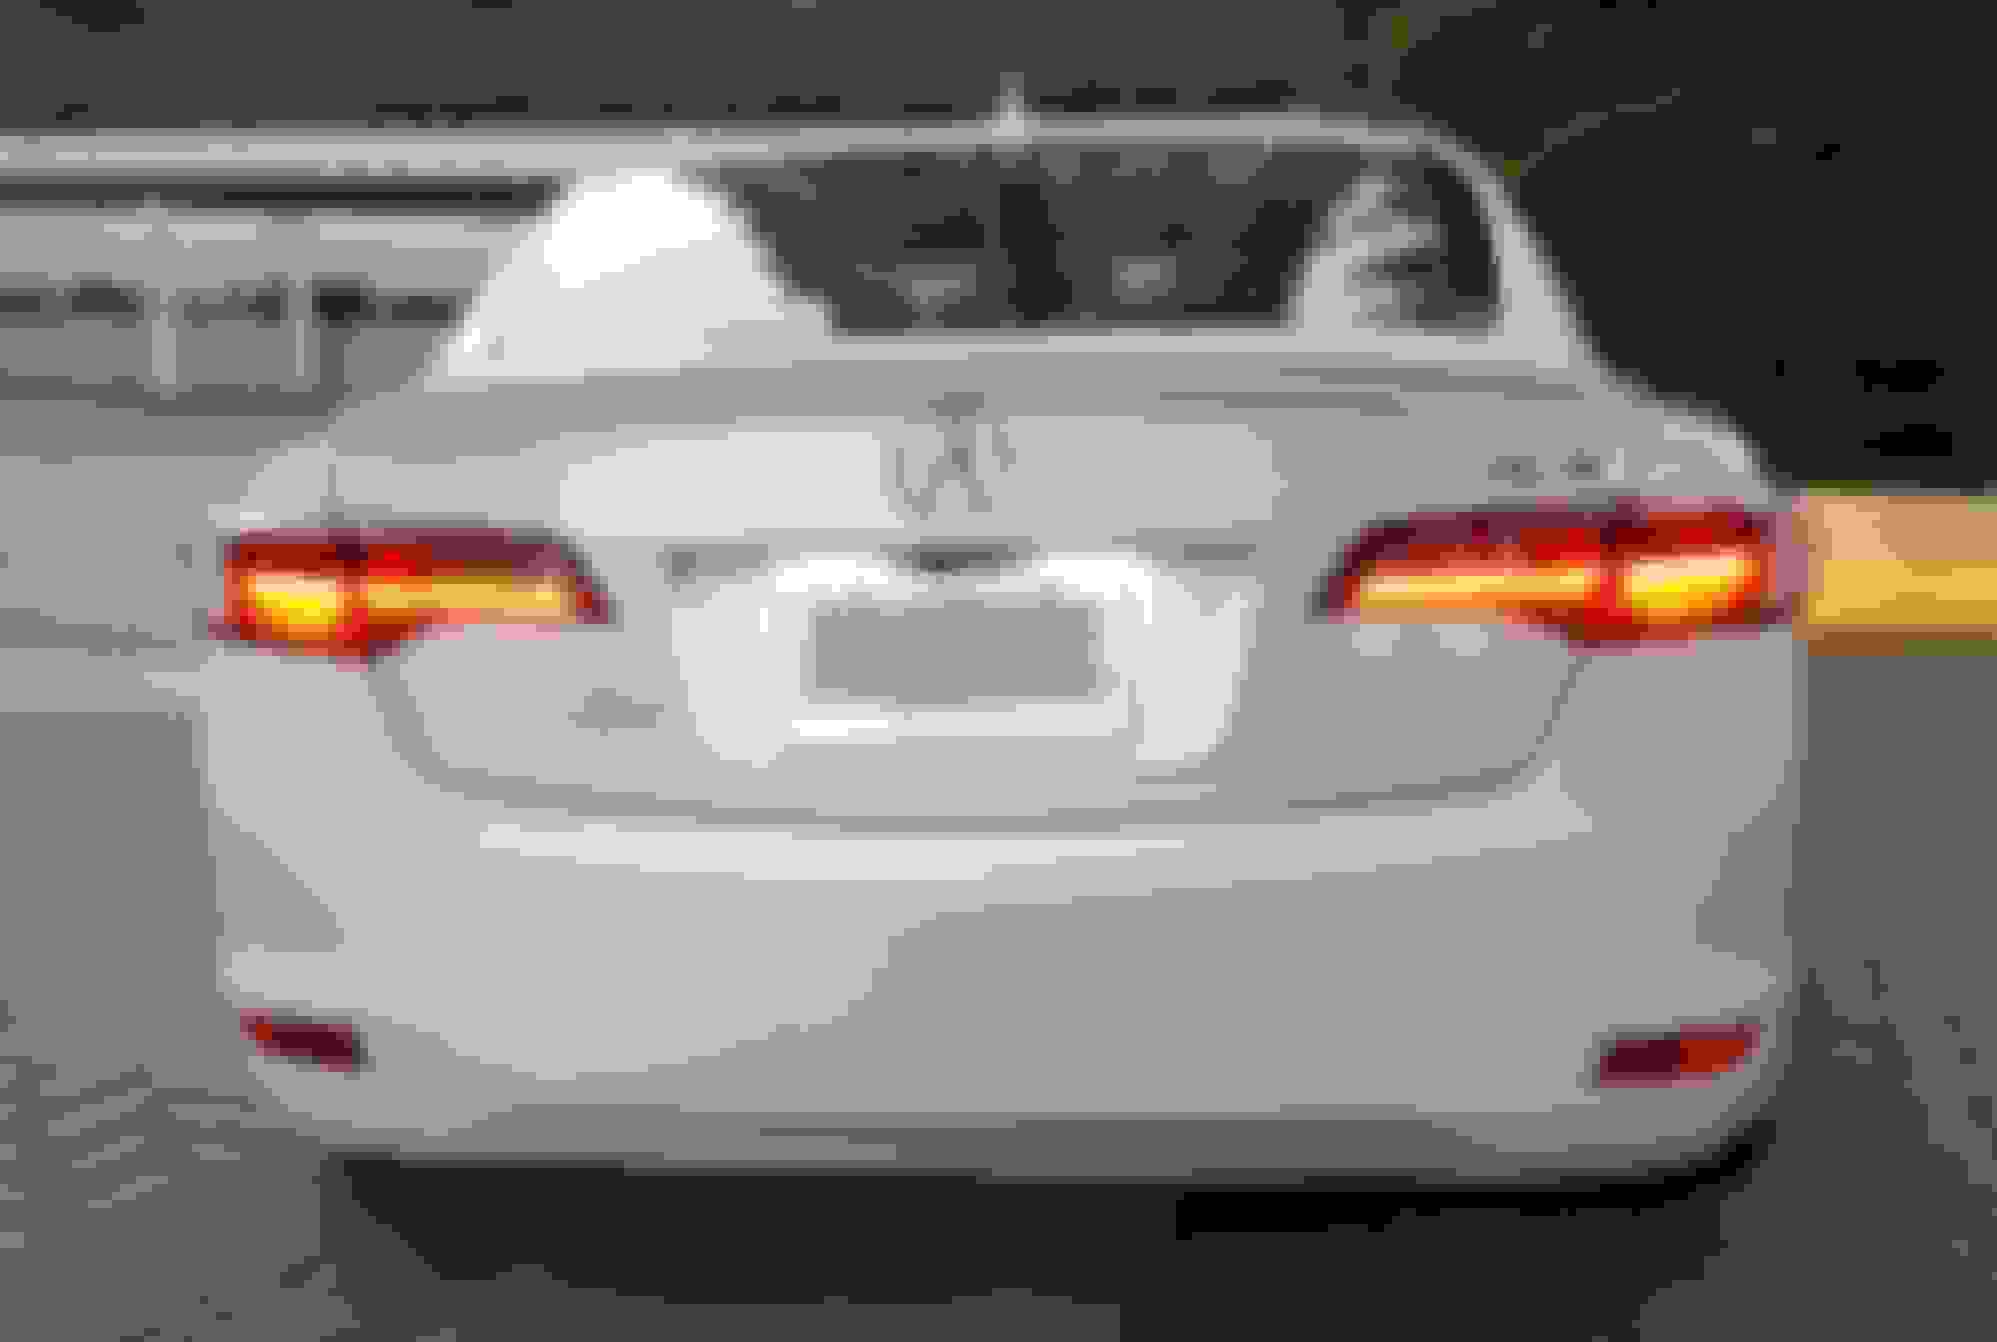
2013-2015 Rear taillight conversion to the newer post 2016 model years!
It seems there is a fair amount of interest in this, so for all of you curious peoples out there here it is:
***** First I must say that I did this a while ago and I no longer have my 2013 Acura ILX for a reference, I can not take any additional pictures and am using the ones I took for my install..... please forgive me if I forget something???
Is this what you want?????
So clean and so much more modern looking
Well you need these:
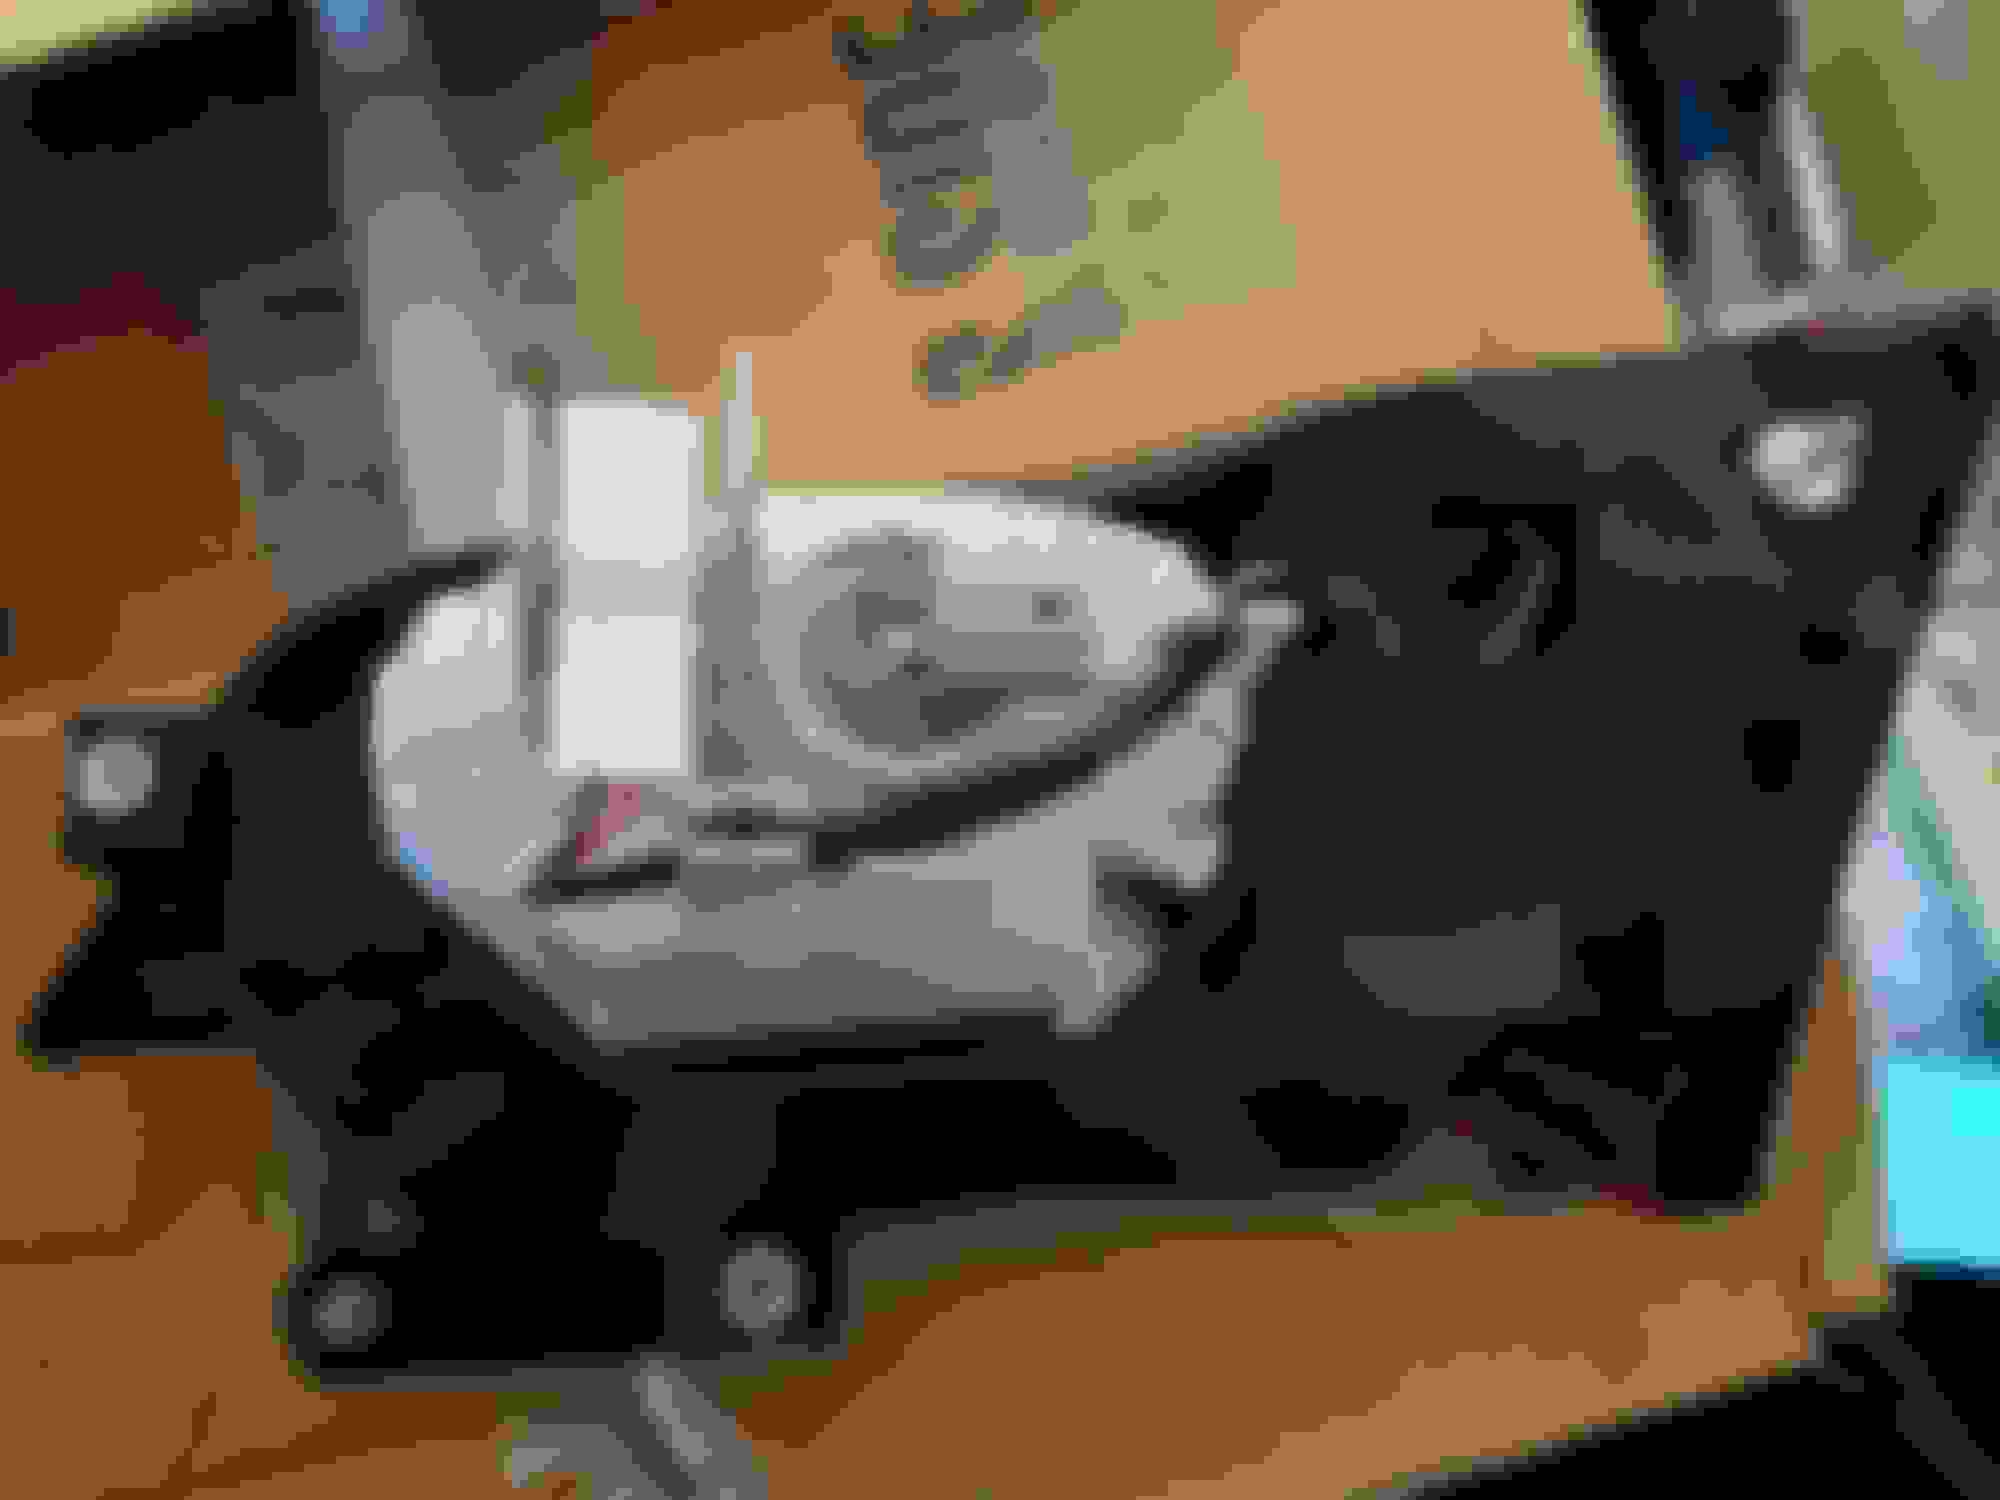
Rear passenger side
The side taillights are plug and play with no modifications.
Just open up the trunk, pop off the plastic clips to reveal two screws. Pull out the taillight assembly, yes it will just pull right out as long as you pull it straight out (you might need to give it a light tap on the side of it). Then twist and unplug the two light bulb harnesses.
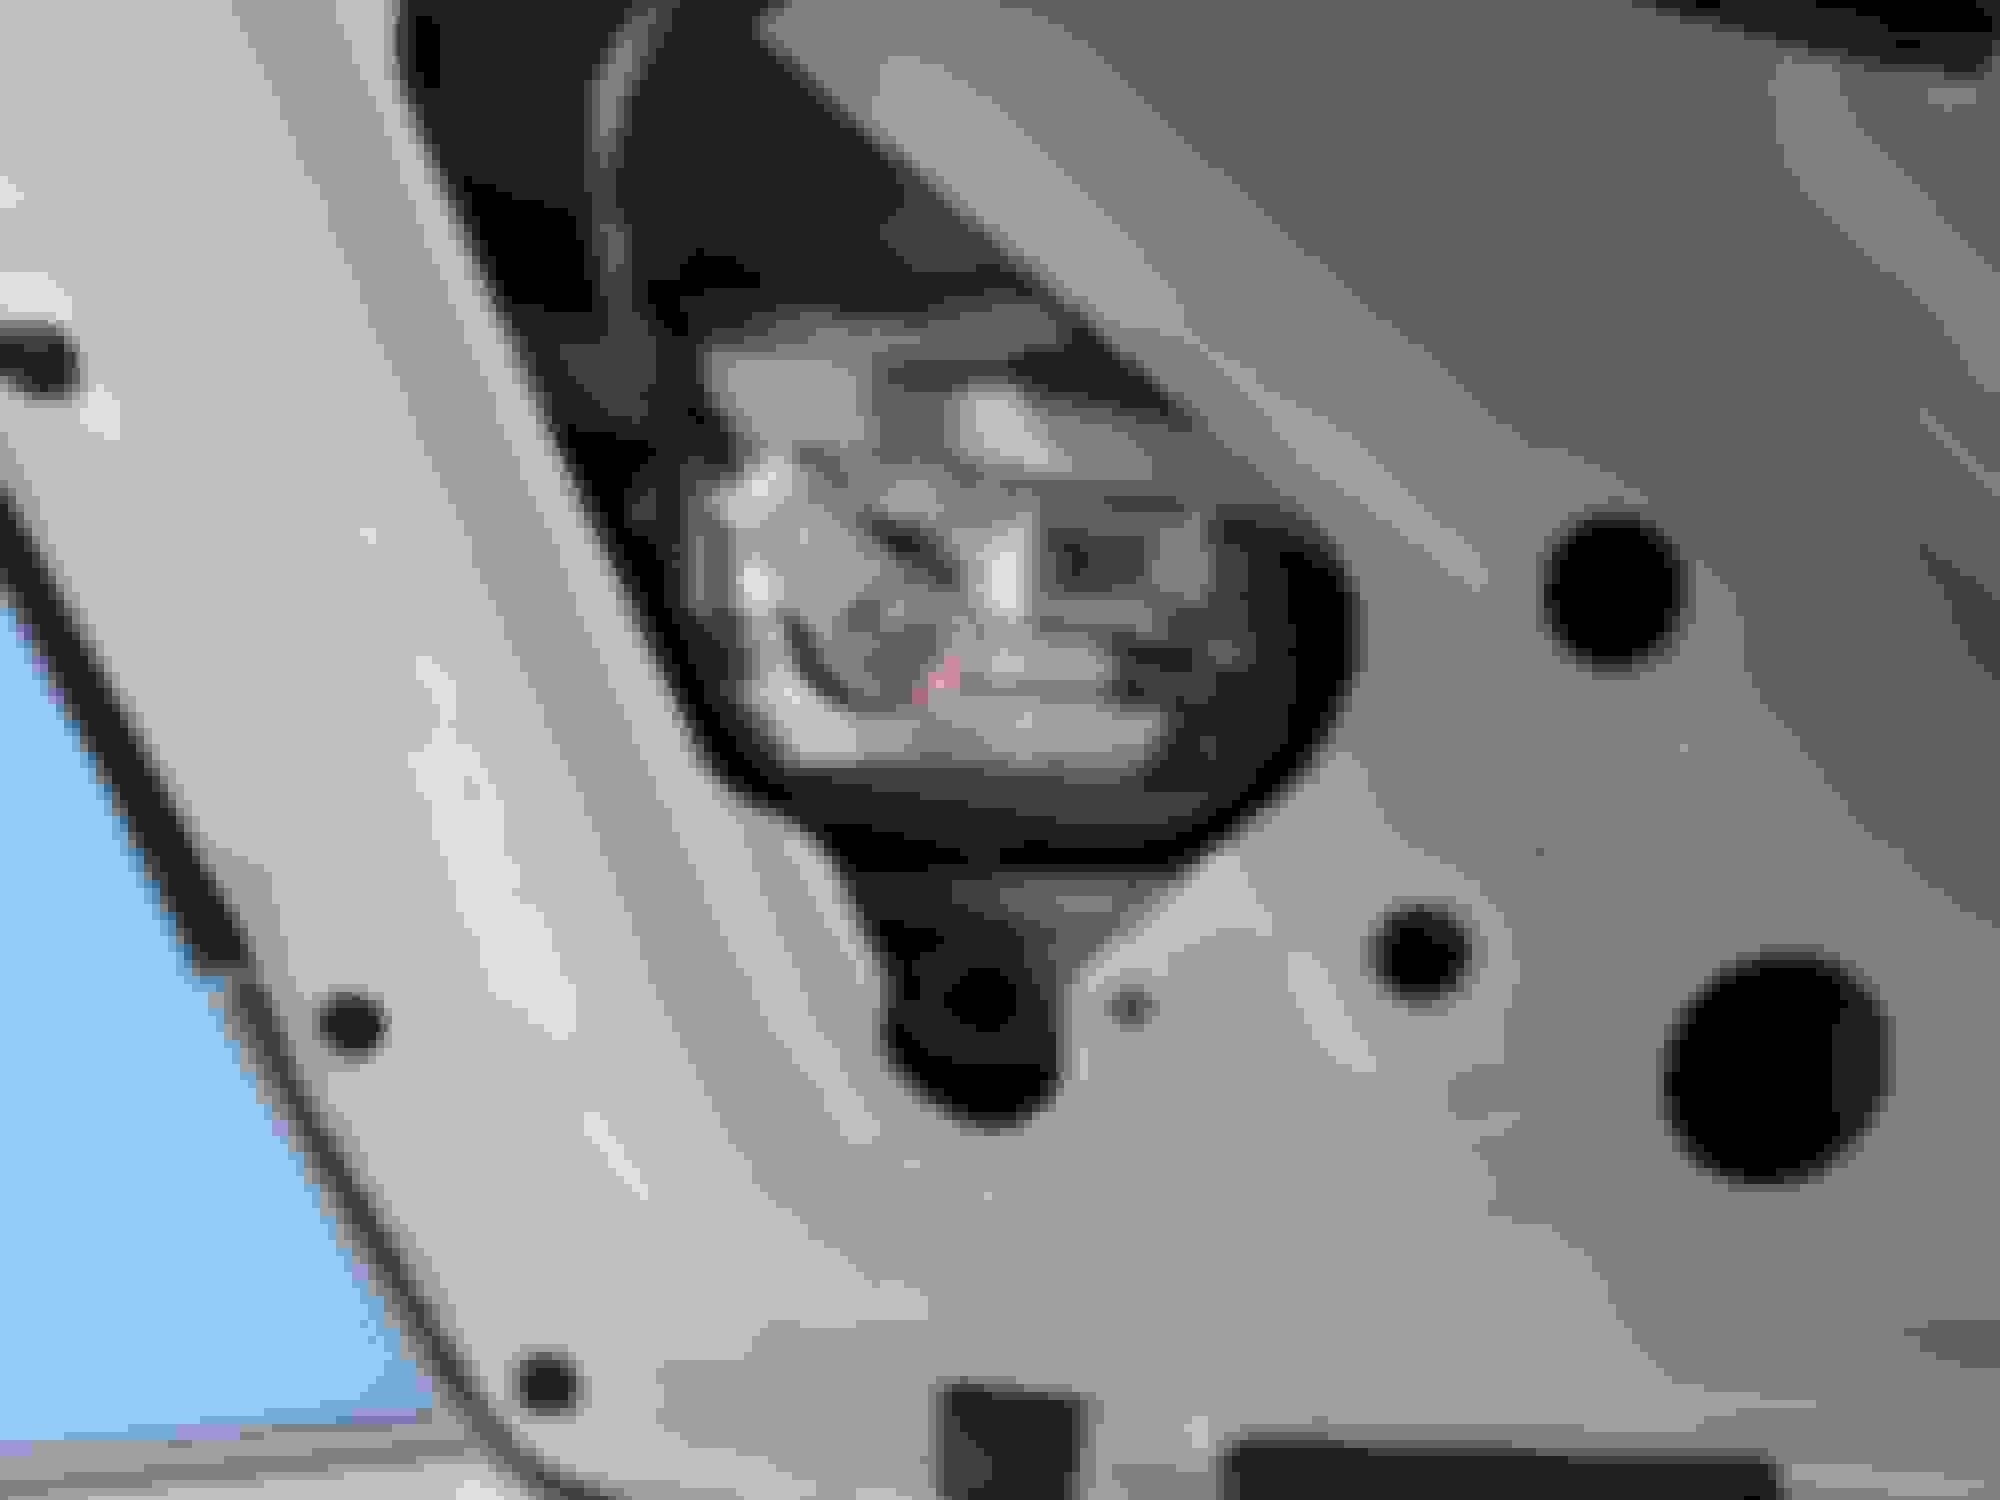
Rear driver side - Note there is a plastic bulb holder that unclips to the vehicle harness. The vehicle wiring harness fits into the new taillight assembly (how nice is that!)
Older Version - Driver side corner (Front) Older Version - Driver side corner (Rear)
Newer Version - Rear passenger taillight (Front) Newer Version - Rear passenger taillight (Rear) - Yup that stock wiring harness plugs right in there and its dummy proof as they are different sized for each of the two wiring harnesses.
After installing the rear clips to the vehicle wiring harness, place the taillights back into the vehicle - Ensuring that the extended plastic piece fits into the blue hole/grommet. Then replace the 2 screws and then the plastic cover.
Ahhh, if only it were that simple..... Next comes the trunk/centre middle pieces and they are the more complicated ones!
There is a little more work to remove these ones and In the 2013-2015 version there is only the reverse light, however the 2016+ model years have the LED night light.
To make this work you will need to remove the trunk taillights (best to go your local Acura for instructions and have them print it out like I did - This is where I might forget a step?) this is a bit of a pain:
- Remove the inner trunk liner, should be plastic plugs that just pull straight out (I believe there is a screw near the centre trunk latch - Remove this as well before pulling out the fabric liner).
- Remove the screws for each of the centre taillight assembly (3 each?)
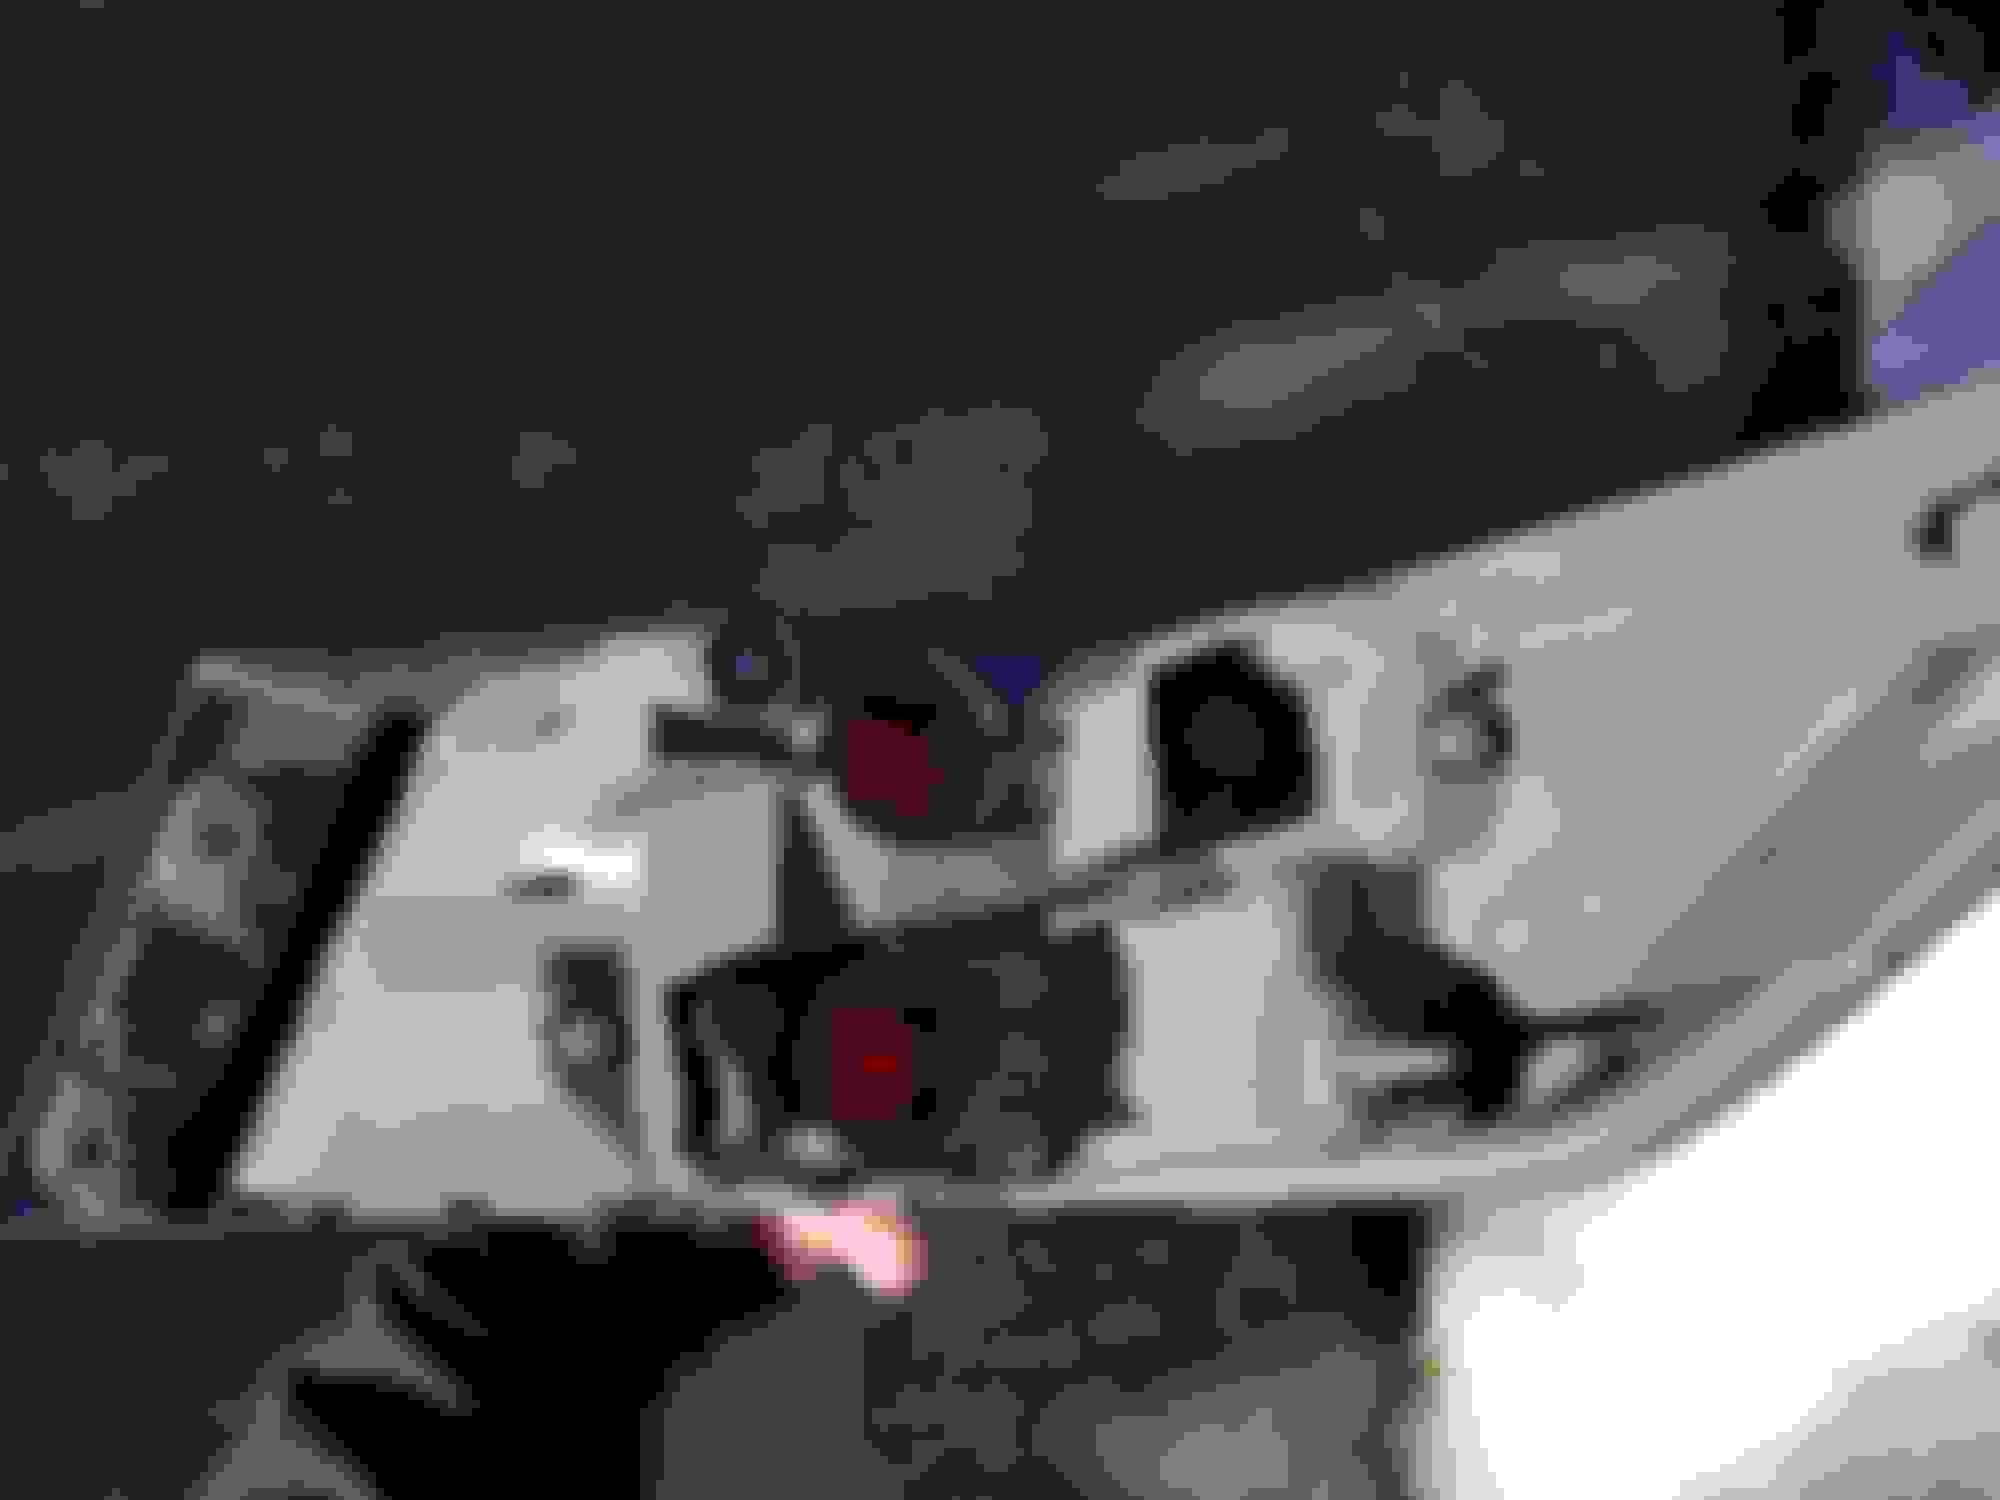
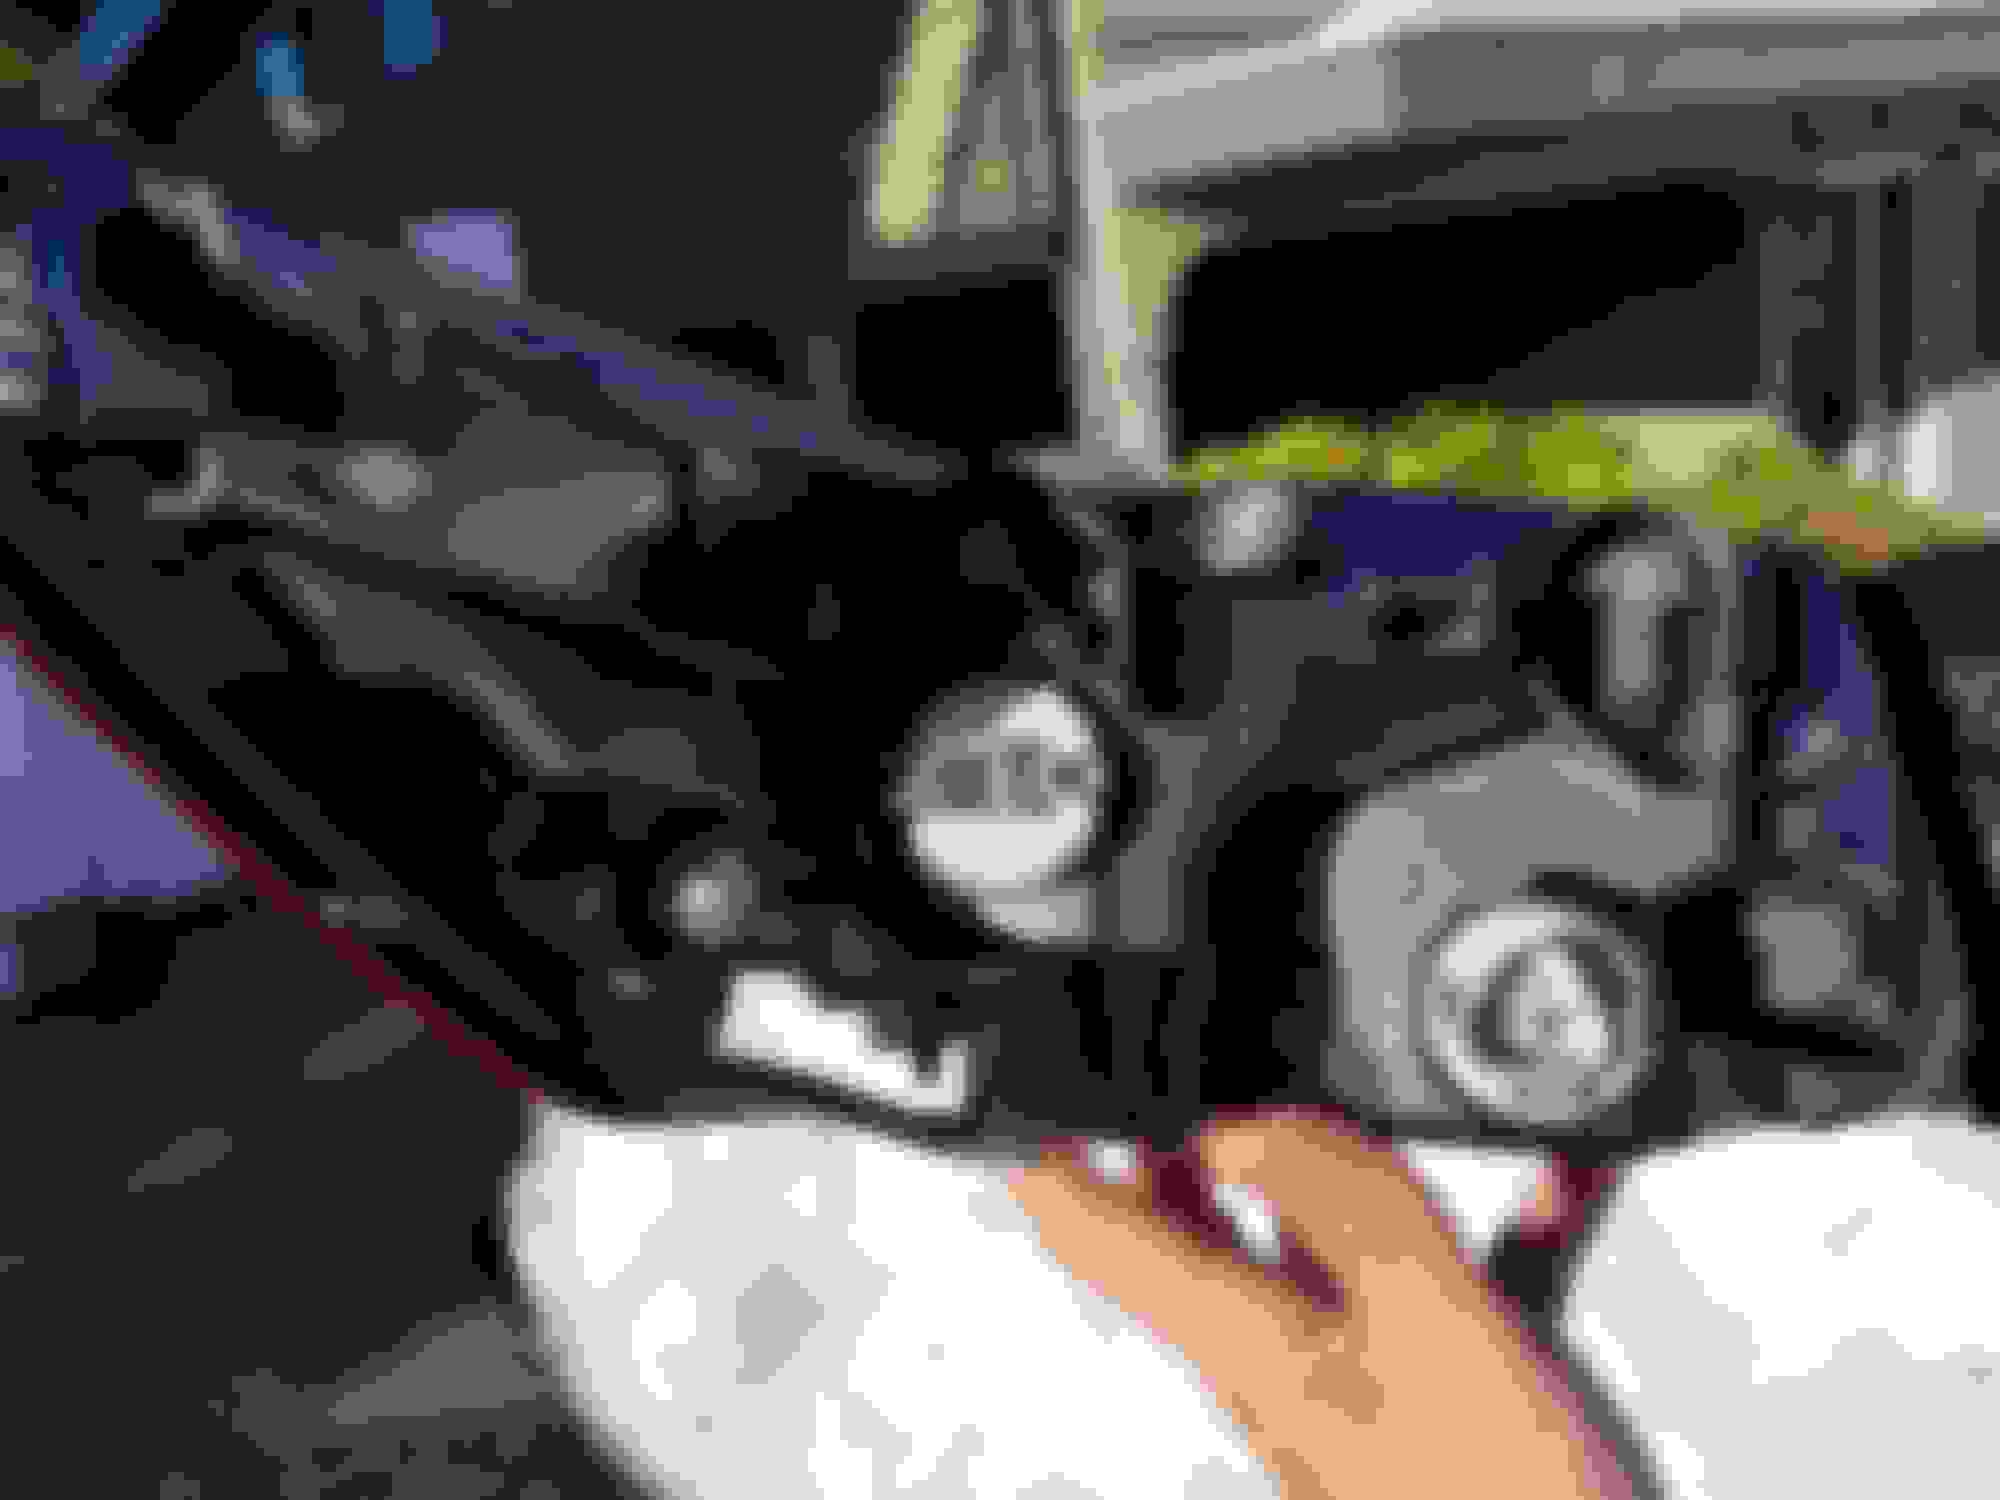
Trunk lid without fabric liner. Close up with stock driver side taillight - Notice there is only one clip and one stock wiring harness for the reverse lights.
- "Carefully" pull up the portion of the trunk lid that supports the taillights (there is adhesive that if you are not careful you will need to replace - I did not have to replace it and had no leaks).
- Remove the old taillight.
You will notice there are 3 wiring harnesses in the middle of the trunk lid - The center one is for the locking mechanism, the other two are for the license plate lights. You will need to splice 2 wires from each of the license plate lights to run power to the center LEDs to turn them on at night for the new taillight assembly.
Newer Version - Center taillight (Rear) Grey connector is for the reverse light, the white one is to run the LED Notice how small these 2 prongs are, I used a very small female connector. *** Make sure you have a cover over each connector so they do not touch!
- Install the both of the newer version of the taillights (being careful with the trunk adhesive).
- Replace the taillight screws.
- Replace the rear fabric cover plugs and the screw for the locking mechanism.
Done!
Again, I am sorry I may be slightly off on my description above - But I believe that should do it!
Please enjoy - This was one of my favorite cosmetic modifications to my car that really separated it from all of the other 2013-2015 models out there! I actually liked the look of the rear of my vehicle after this mod, over the newer ones.
If you liked this modification, you can check out what else I did to my 2013 Acura ILX Dynamic at: "MY 2013 BUILD" thread here on Acurazine.
Last edited by Chrifff; Apr 4, 2019 at 10:59 PM.
Reason: Better closing comments
I picked a new set up online from a genuine Acura parts place (sorry can't remember the exact name), I paid about $1,000 Canadian for them after shipping, duty, and exchange = way more than I thought I was going to pay for them. I did try to find some at a pick and pull however there was none available around my area back then. Now that being said, I am sure you can pick one up at a pick and pull now as that was about 2-3 years ago - The easiest way for a vehicle to be written off is from front end damage/collisions hence you could find a decent set for cheap?
I just did my swap today and it took about 3 hours or so, I made a different harness using spade connectors or knife connectors as some call them, and plugged them into my night lights, ran them from the license plate lights and just like chrifff stated they work well.
I just did my swap today and it took about 3 hours or so, I made a different harness using spade connectors or knife connectors as some call them, and plugged them into my night lights, ran them from the license plate lights and just like chrifff stated they work well.
I didn't get a shot of the lights on due to the day being dark and gloomy, but the lights all work fine, inner trunk lights function well, and man do they look so good compared to the solid red on the OEM ones
Looks great, nice job! Post some picks with the lights on in the evening!
Man oh man I can't get enough of them, they look so slick, I appreciate that you bit the bullet and figured this out yourself, you walked in 2017 so we could run 2020
also the quality is pretty awful, my camera doesnt absorb the light too well
Spankz, It looks much more modern from the rear and the lighting is way more visible in the evenings! I am glad to see you got it done, did you have any challenges with the rear center deck lid with the stock adhesive?
The stock adhesive on my car was a bit old and as soon as I pulled up on the trunk lid it immediately took a portion out, I resealed the portion that fell off with some quick drying adhesive and it sealed right up, it was a bit of a hassle but if you're willing to replace it, go for it.