When you click on links to various merchants on this site and make a purchase, this can result in this site earning a commission. Affiliate programs and affiliations include, but are not limited to, the eBay Partner Network.
Made my aunt a serving tray for her birthday. Solid cherry with walnut accents. Only thing I hate about it is the screws for the handles. Next tray (already have 4 more to make lol) I'm going to go with an integral handle without screws.
Was there enough material to just countersink the screws and then plug it? Maybe something to think about in the future
No can do, I don't have a bit small enough for you.
Originally Posted by thoiboi
Was there enough material to just countersink the screws and then plug it? Maybe something to think about in the future
I the material was about 1/2" thick so I'd be down to 1/4" if I were to counter sink and plug. I was concerned that wouldn't be enough and could break the wood if the handle got snagged on something. The future trays will have an integral handle so I'm not too worried about having to deal with this again lol.
Originally Posted by rockstar143
i have a feeling with a tray like that he'd be worried about it coming loose over time and would want the ability to tighten back up.
I wanted to be able to take the handles off for cleaning, that was the main rationale.
And holy crap I haven't updated this thread in a while. I have a bunch more to share...
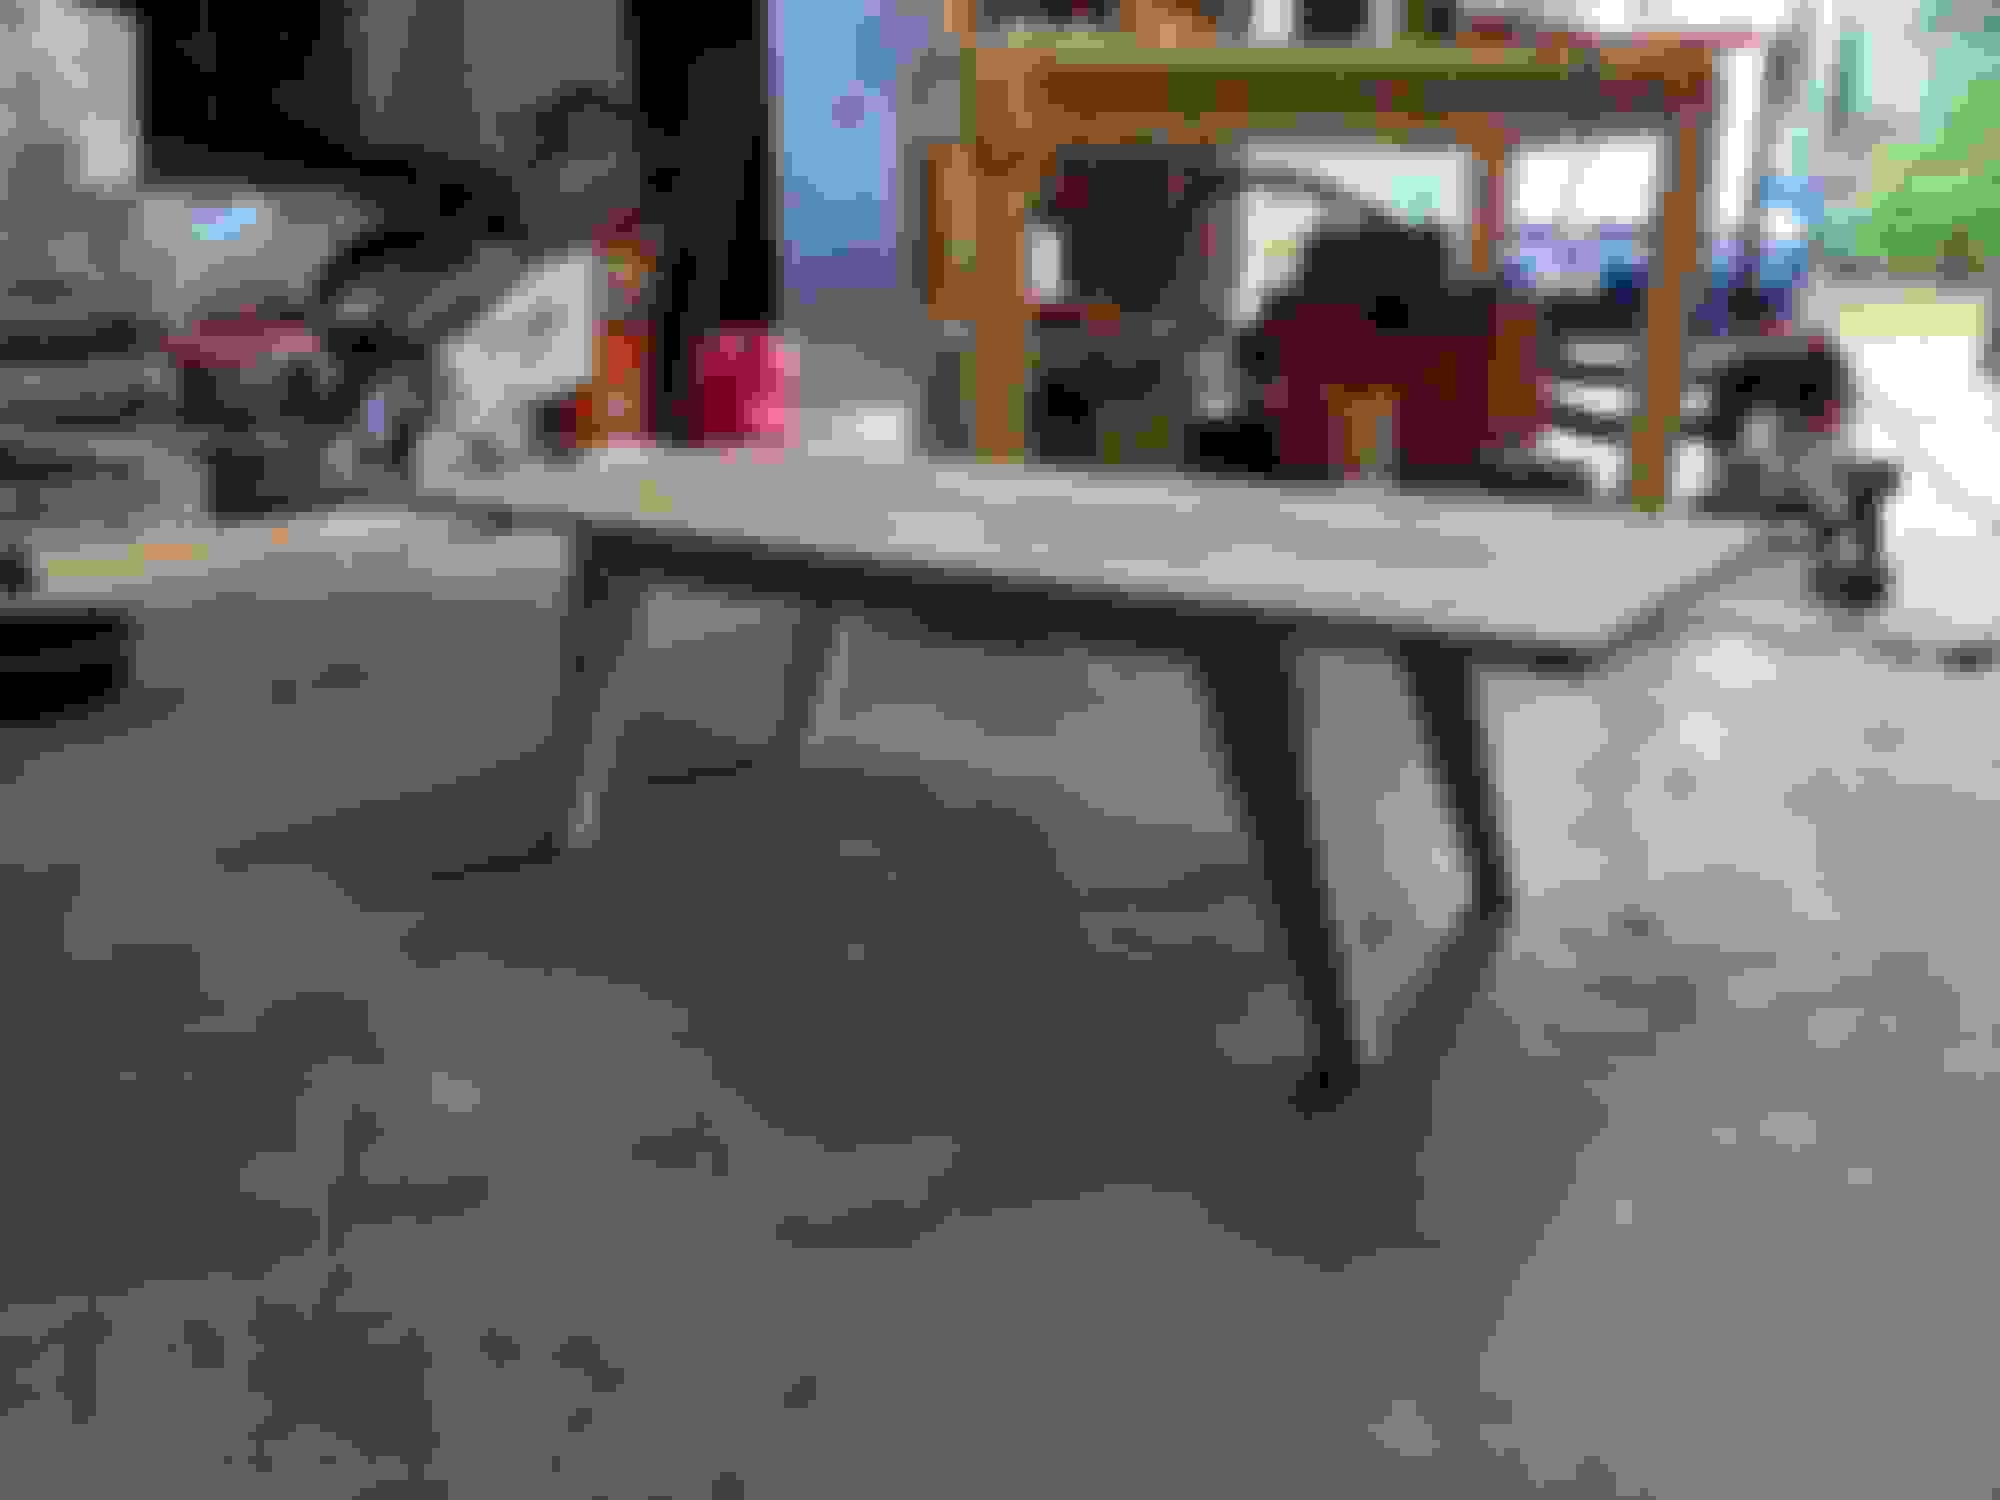
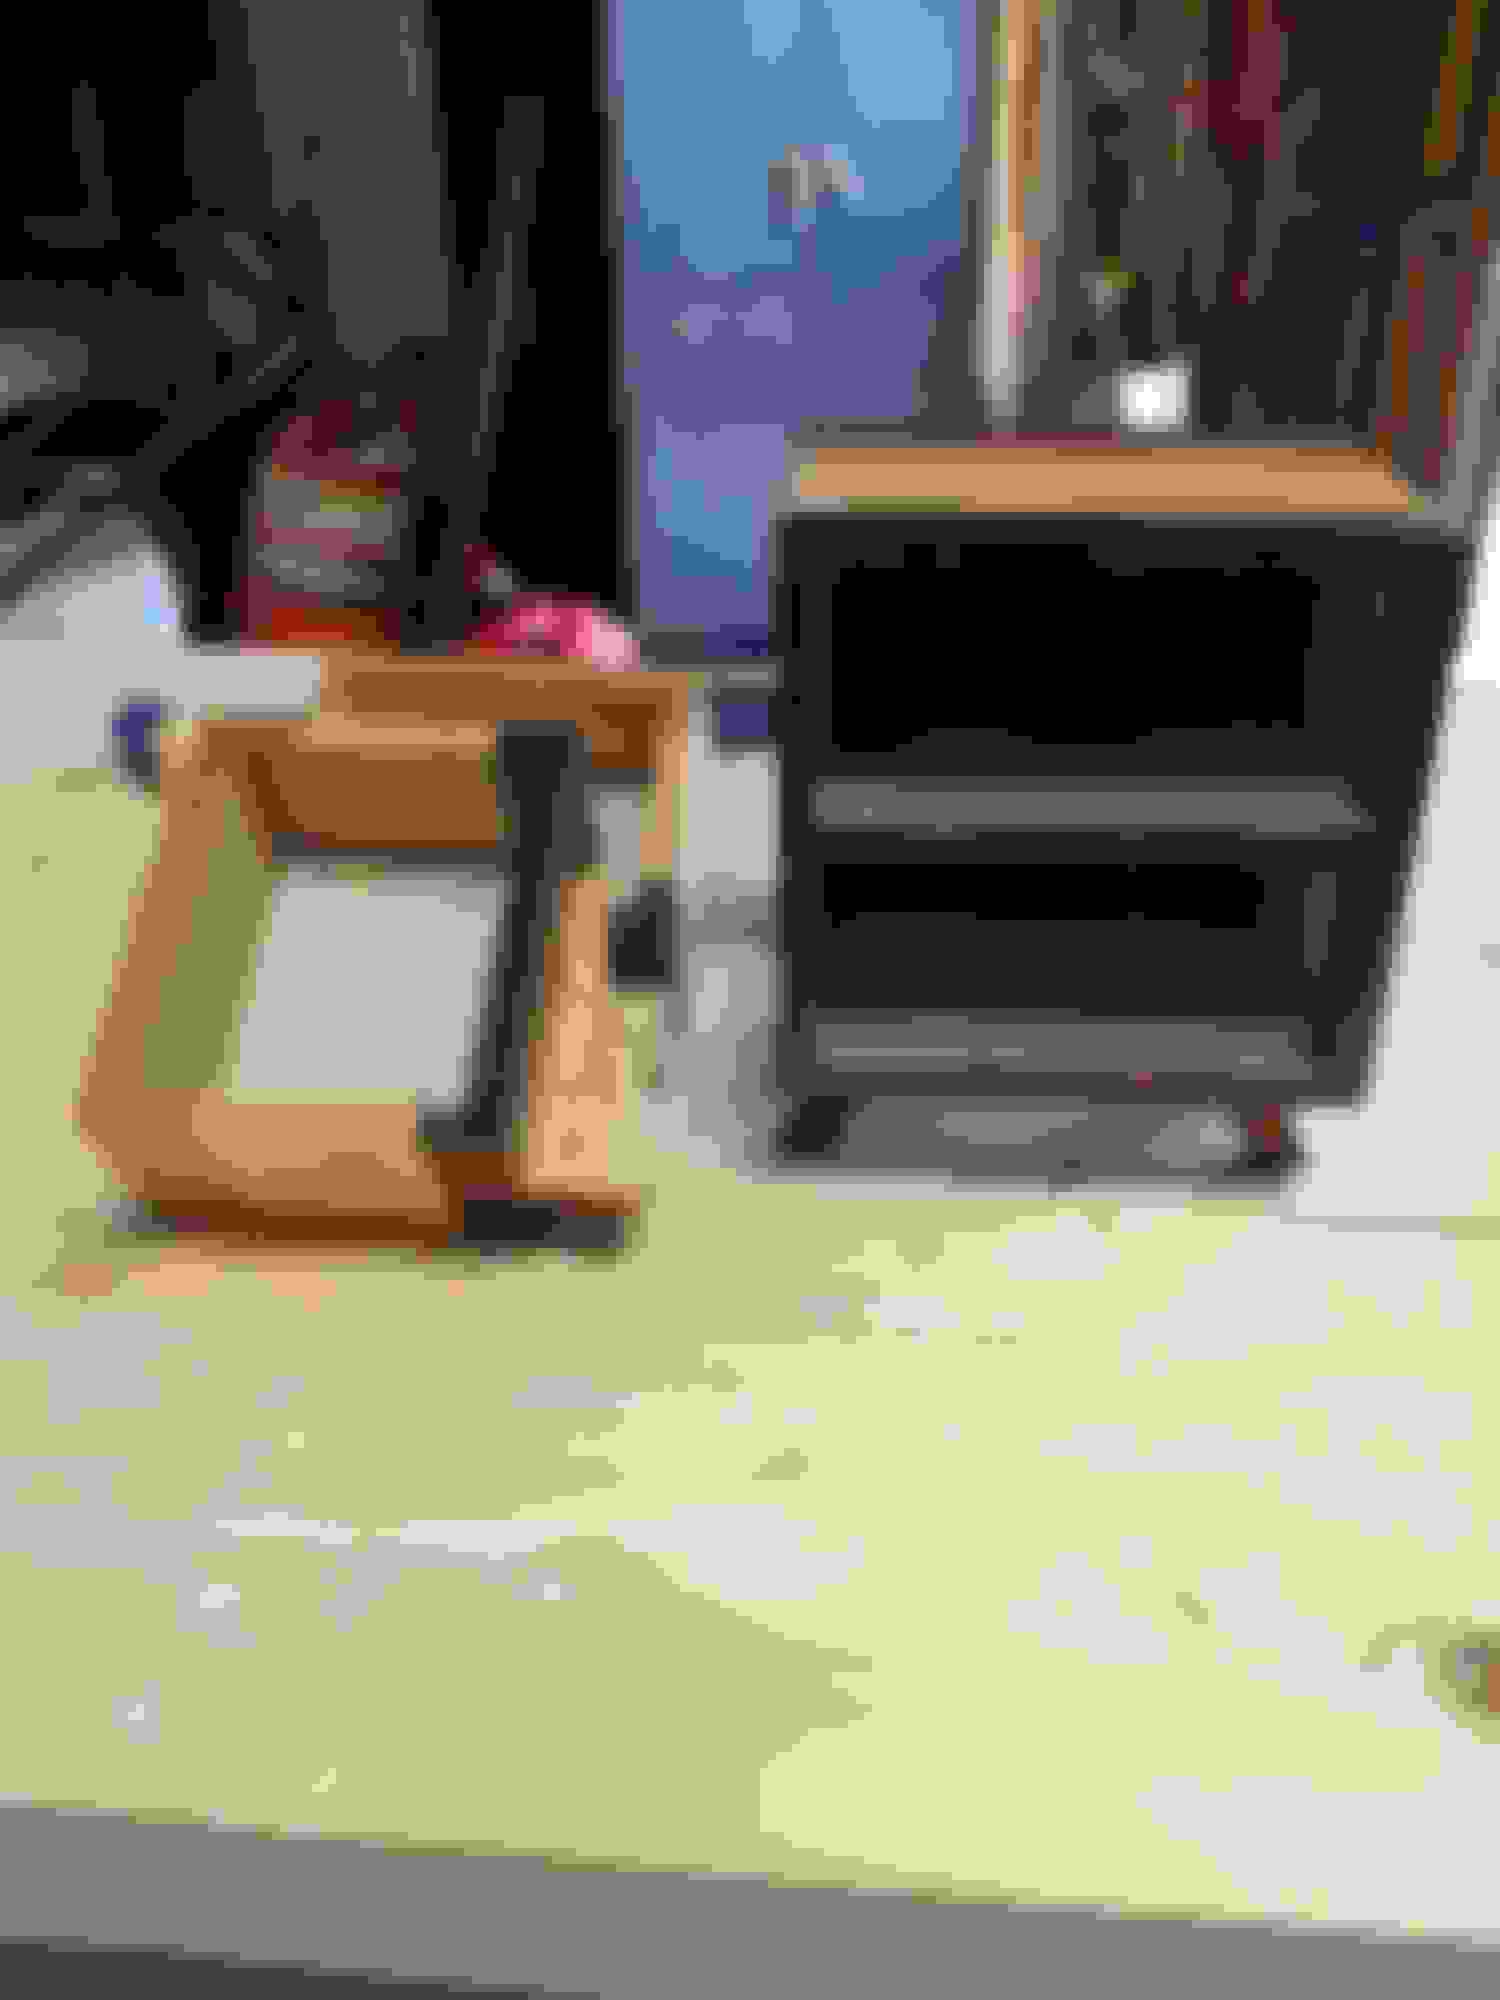
Here's a table and jewelry box (for the wife for our 5th anniversary) I'm working on finishing. I have to take a few more pics, I realized I haven't taken any in a while...
Love the table. Clean lines and unique look. Make sure to break the corners for resistance to chipping.
Interesting construction on the jewelry box. I don’t think I have seen a case or drawers made like those. Got more details on them?
Table isn't done yet. The edges aren't even trimmed and nothing is sanded but all will get round over to make sure no chip out or personal injury lol. Also going to stick the top on some metal rods or wood dowels to give it a floating look. Haven't thought that far ahead though. Base will get painted in chalk black this weekend and top will just be finished in clear oil based poly.
Jewelry box is a bandsaw box style design. However instead of just one cut and reglue, it took three to make the square design for the drawers. Drawers had the front and backs cut off, middle bit scooped out for drawer space, and the front/back glued back on. Makes for a pretty seamless look. All I have left is to flock the inside and good to go.
Originally Posted by 00TL-P3.2
Nice work, Sam, as usual.
Thanks dude! You thought any more about that cutting board? I'm gearing up to do a big run before the cold finally hits and could include you in it.
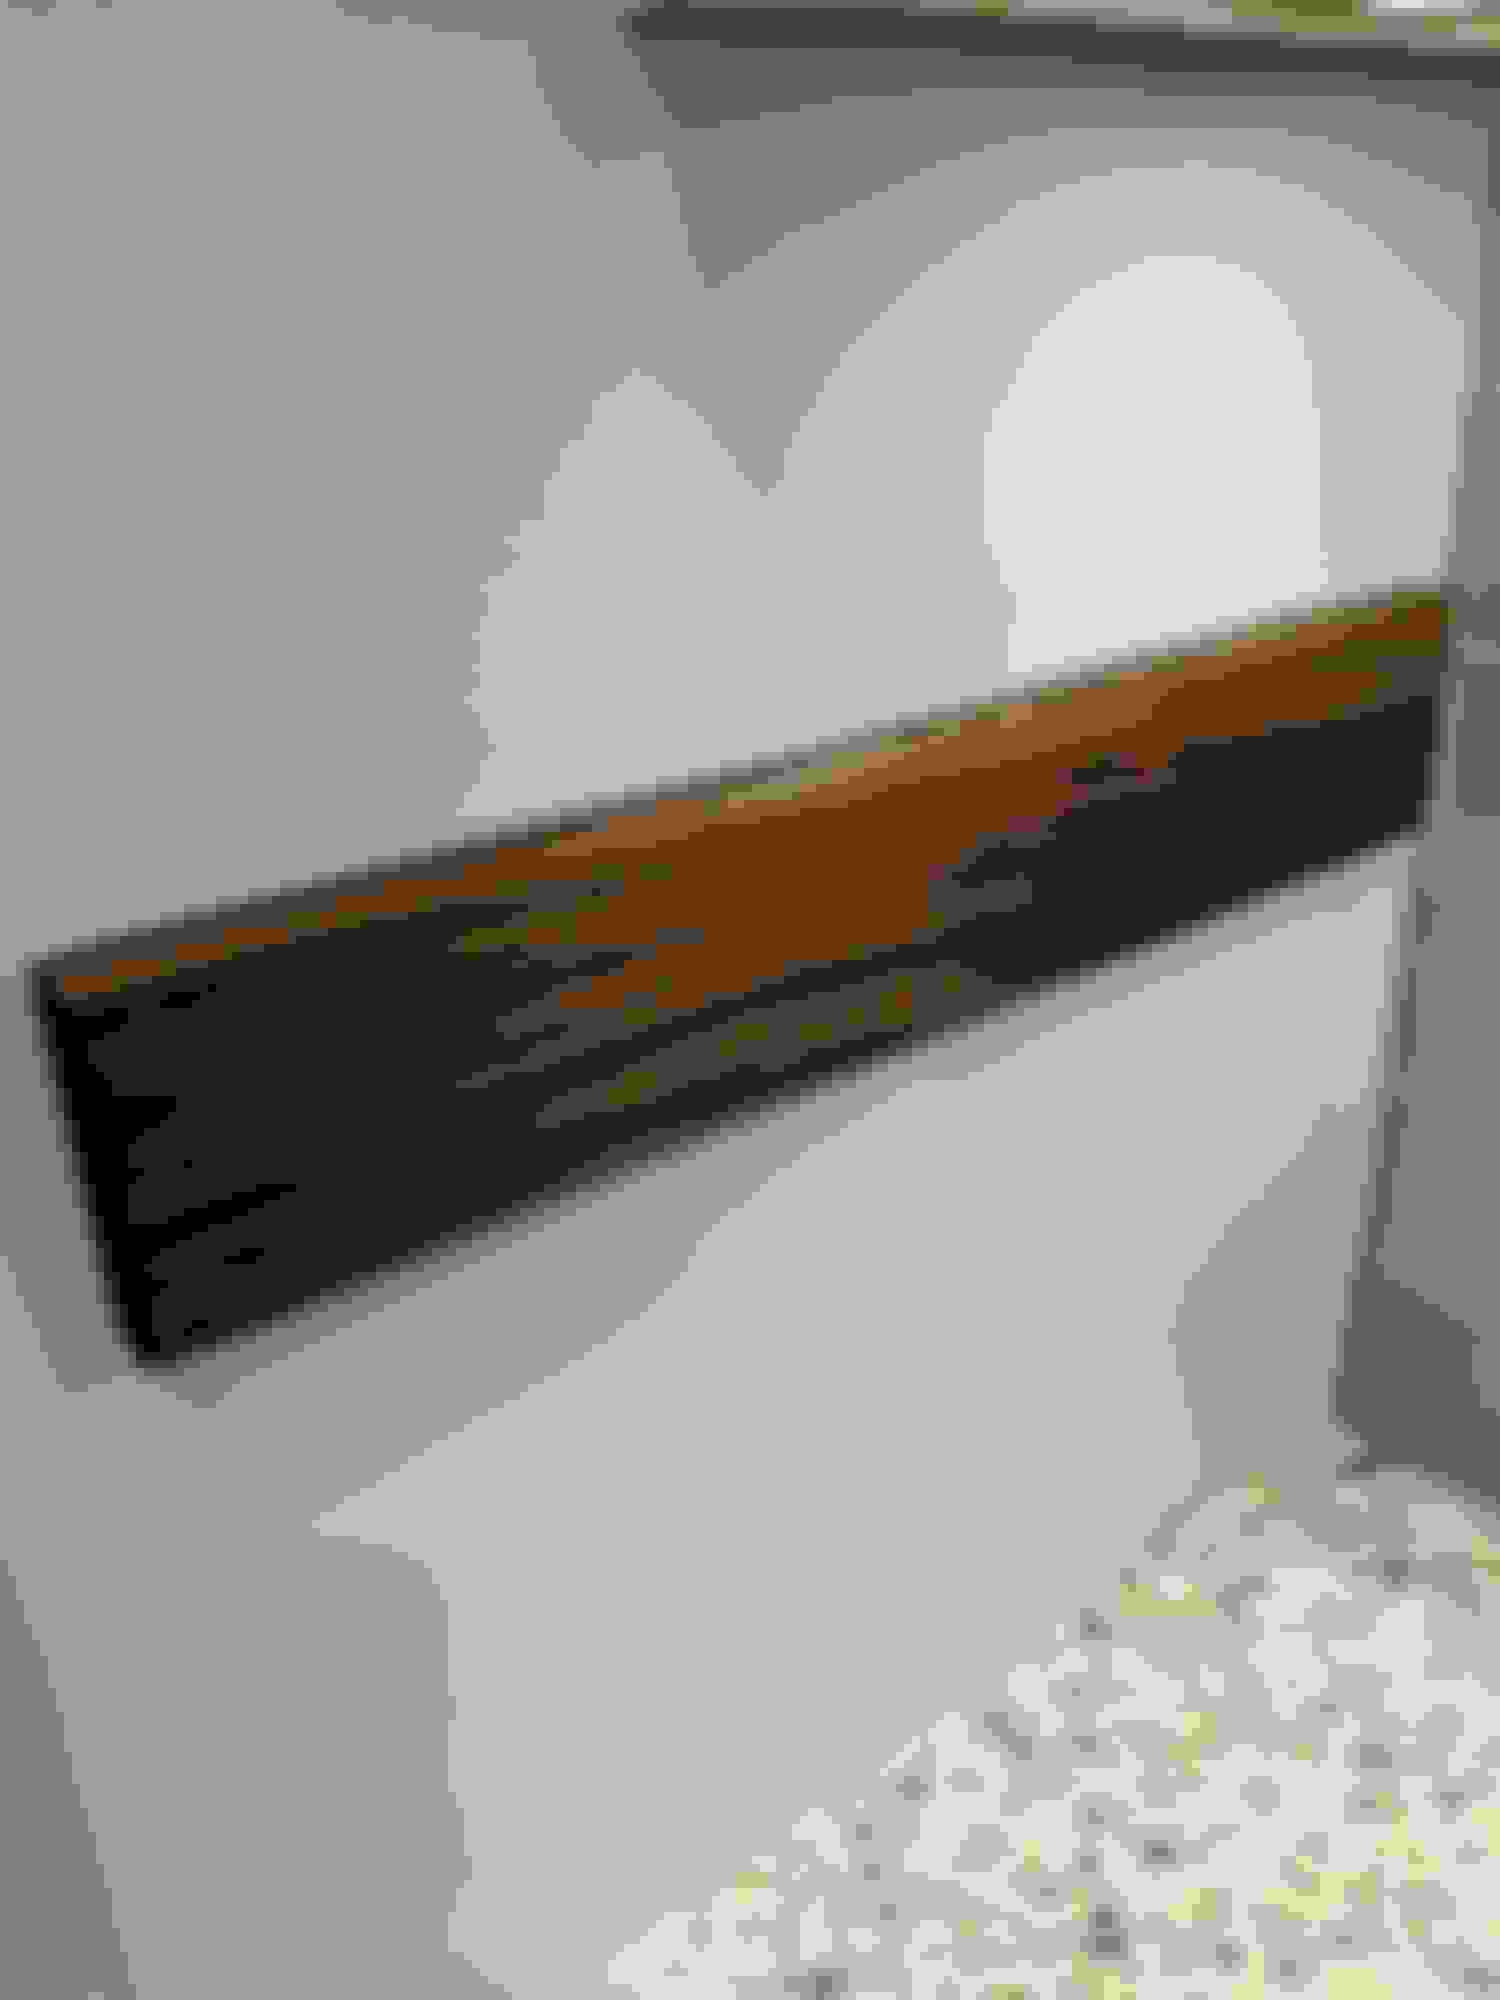
No update on the table. I caught a cold over the weekend so didn't finish it. I did, however, finish the jewelry box and also a magnetic knife block. I just discovered that I didn't have any more wall hangers so I can't finish it until today when they show up.
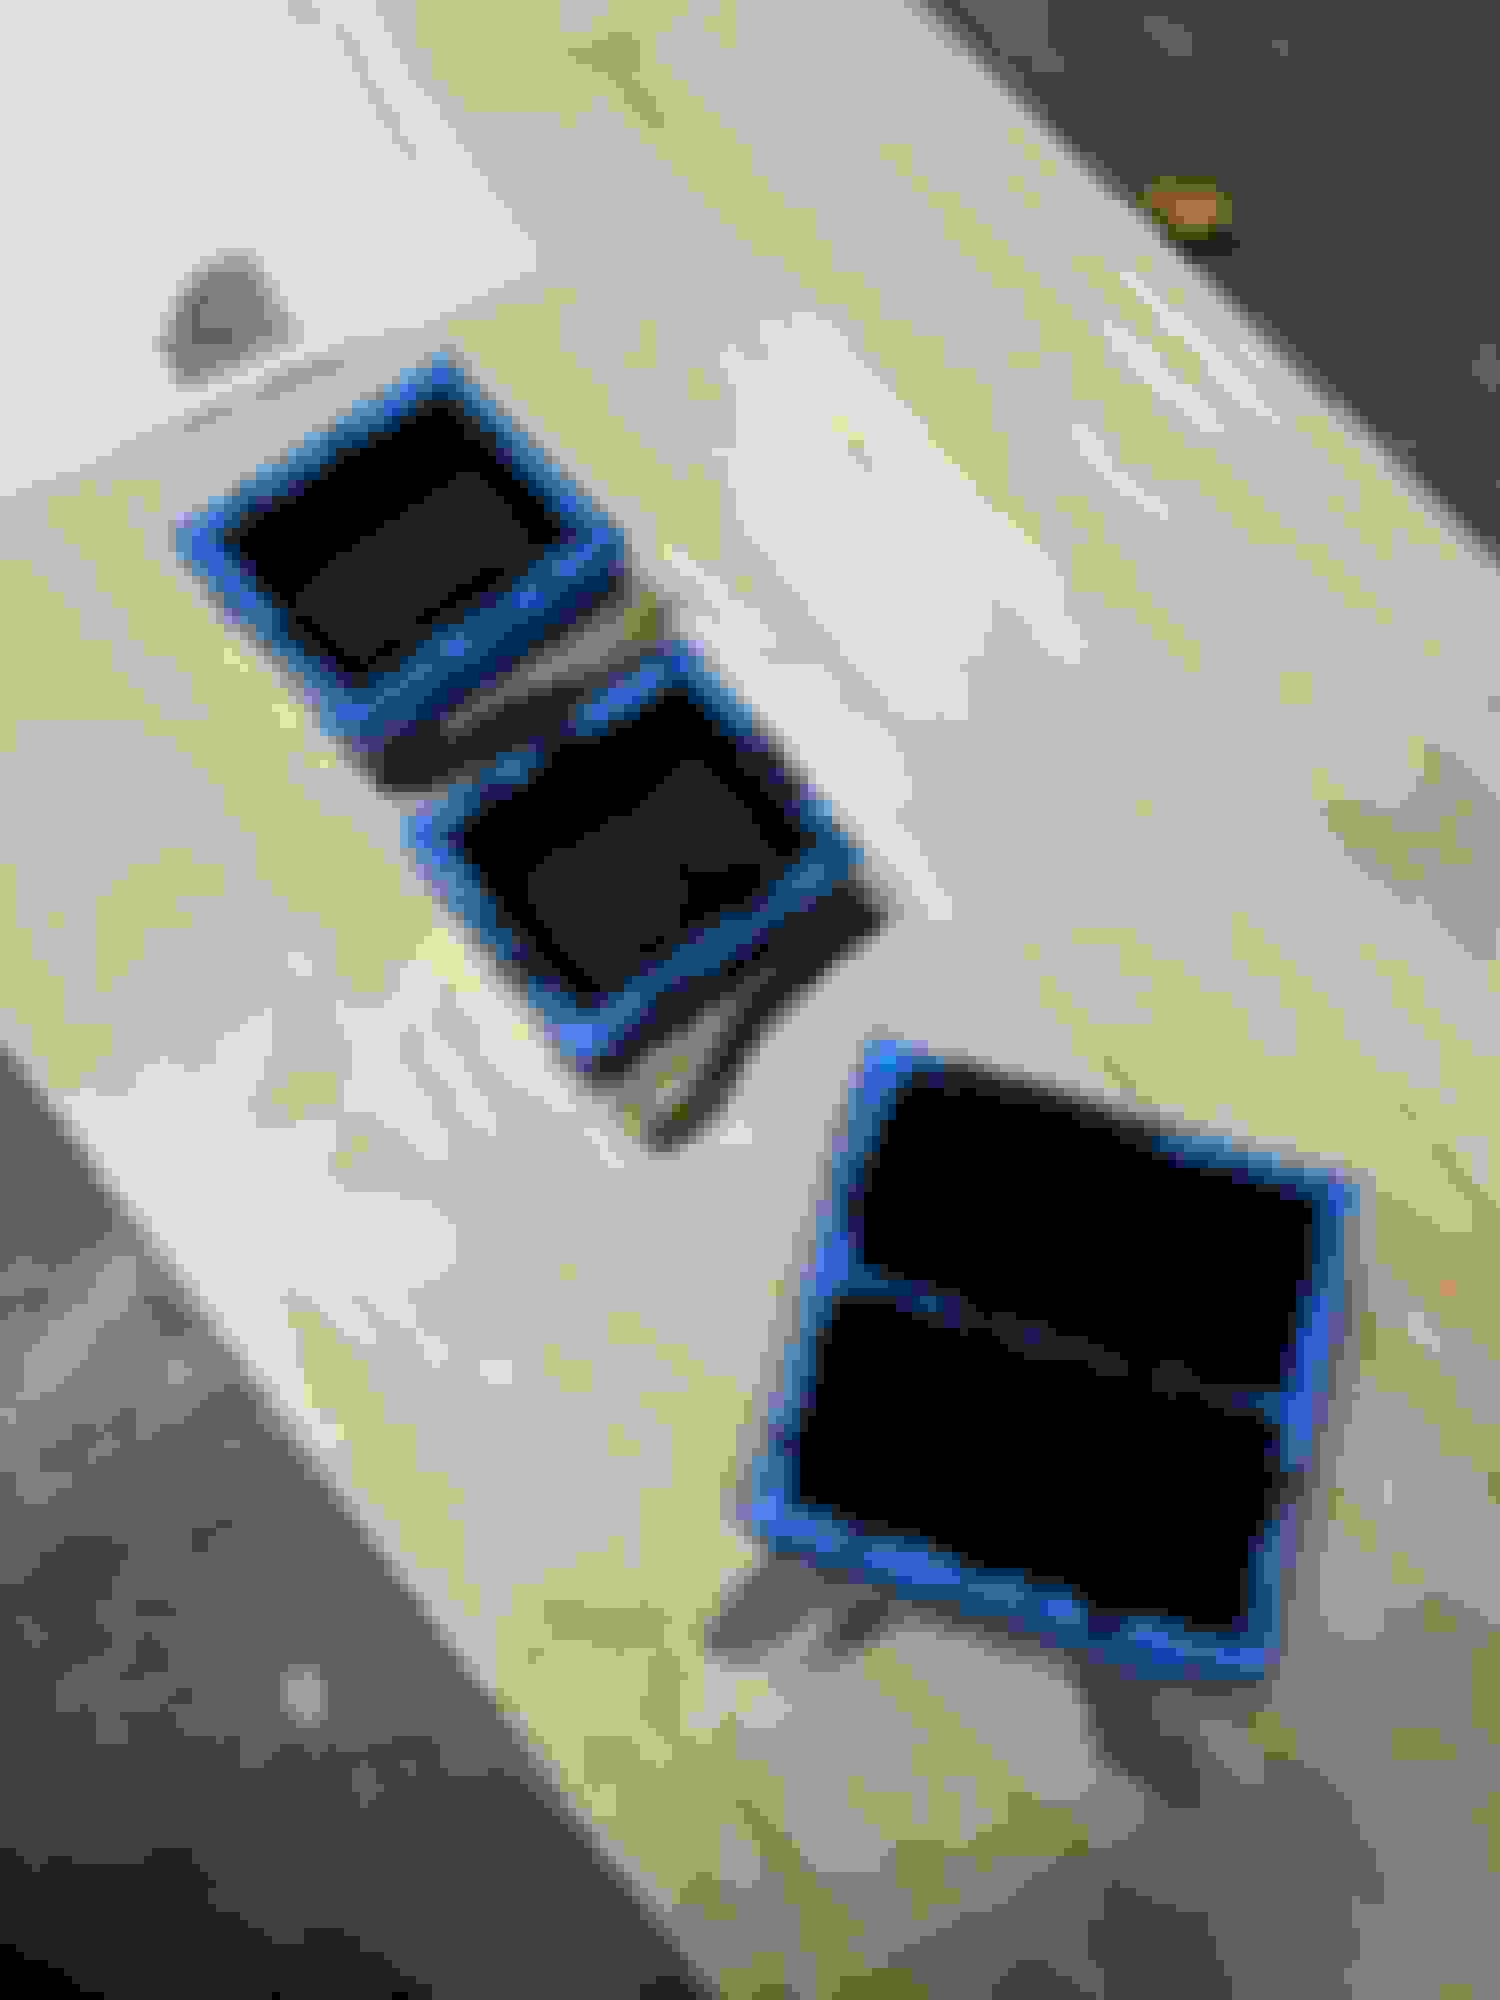
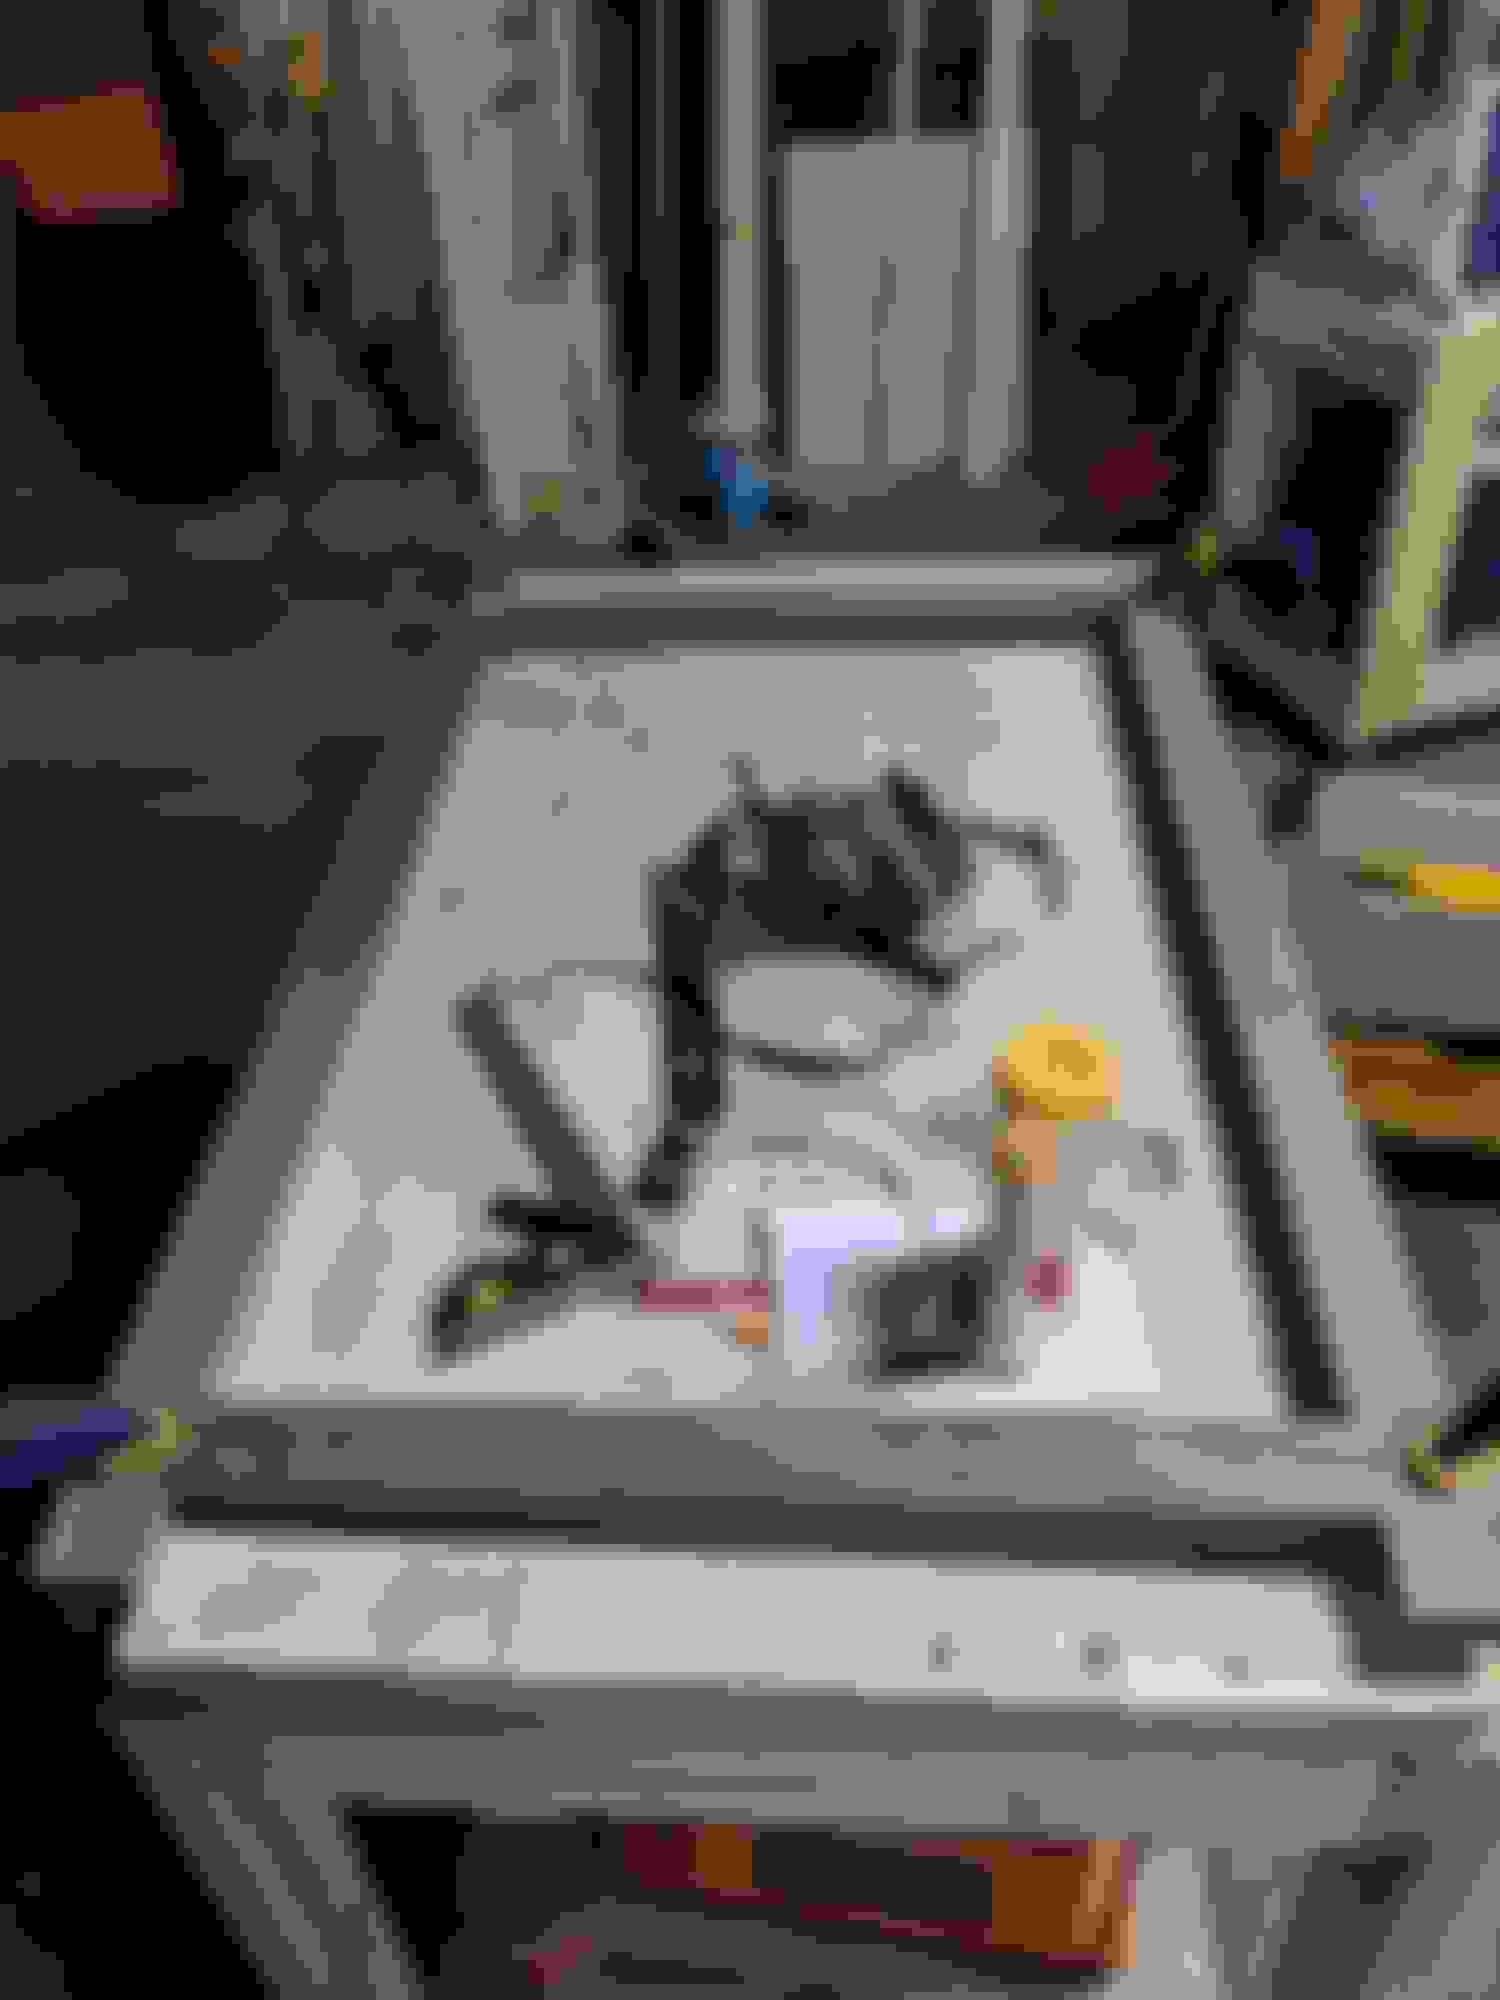
Flocking the inside of the drawers and case to provide a nice snug fit and a cool look.
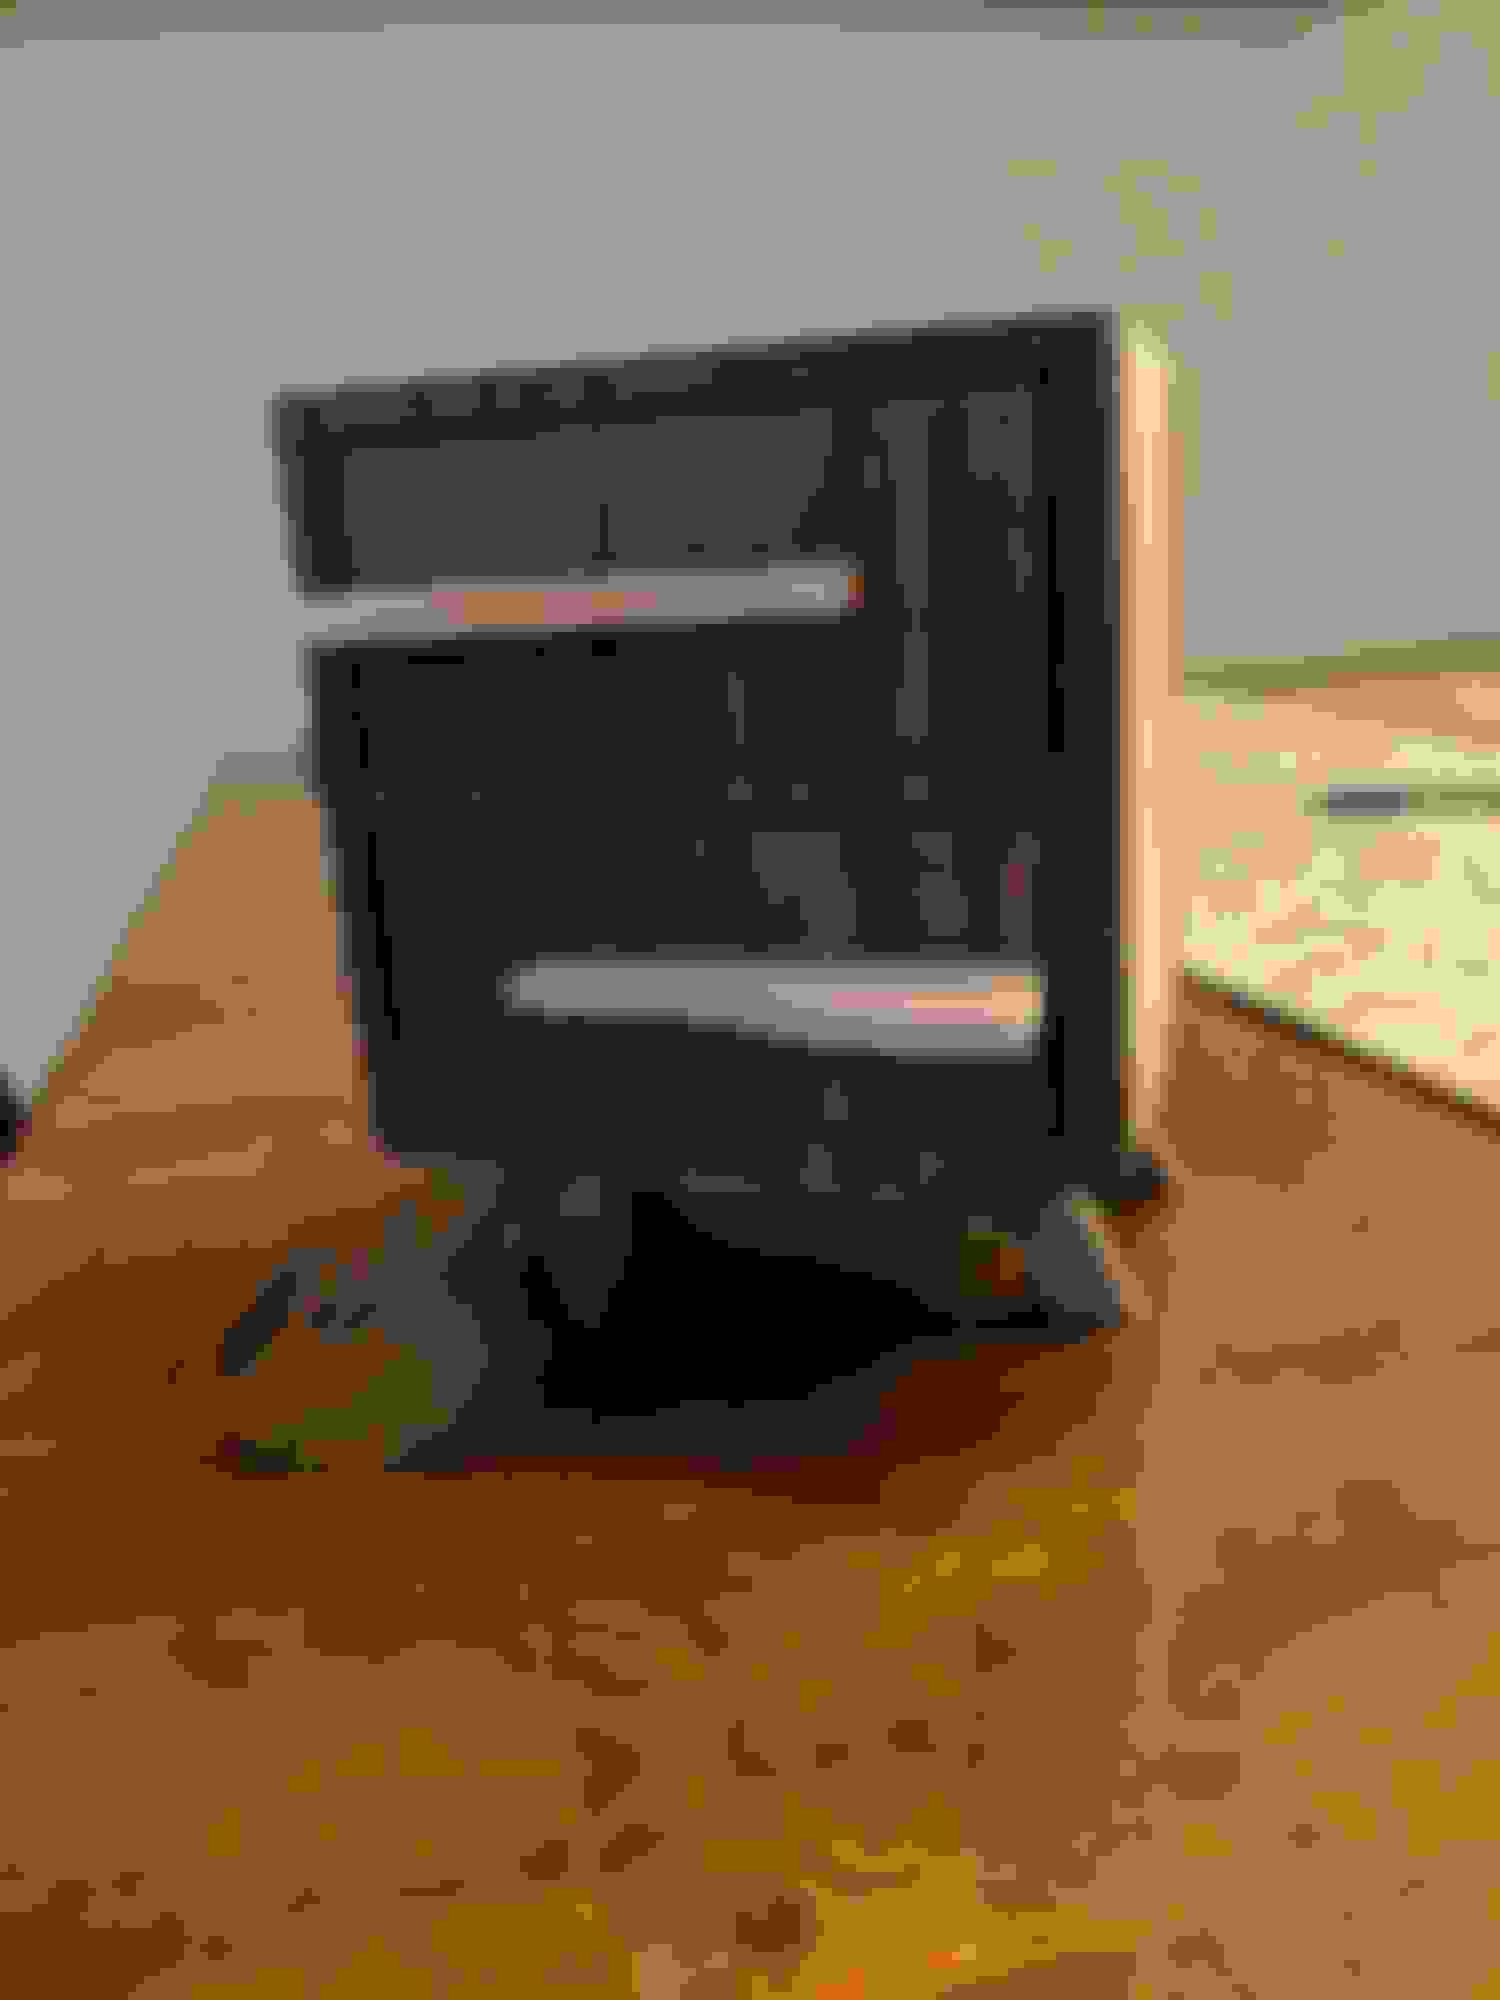
Done! Pretty happy with the outcome but there are things I need to work on for my next one. For starters, I got a new bandsaw blade that is night and day better than my old one that will help with a cleaner cut.
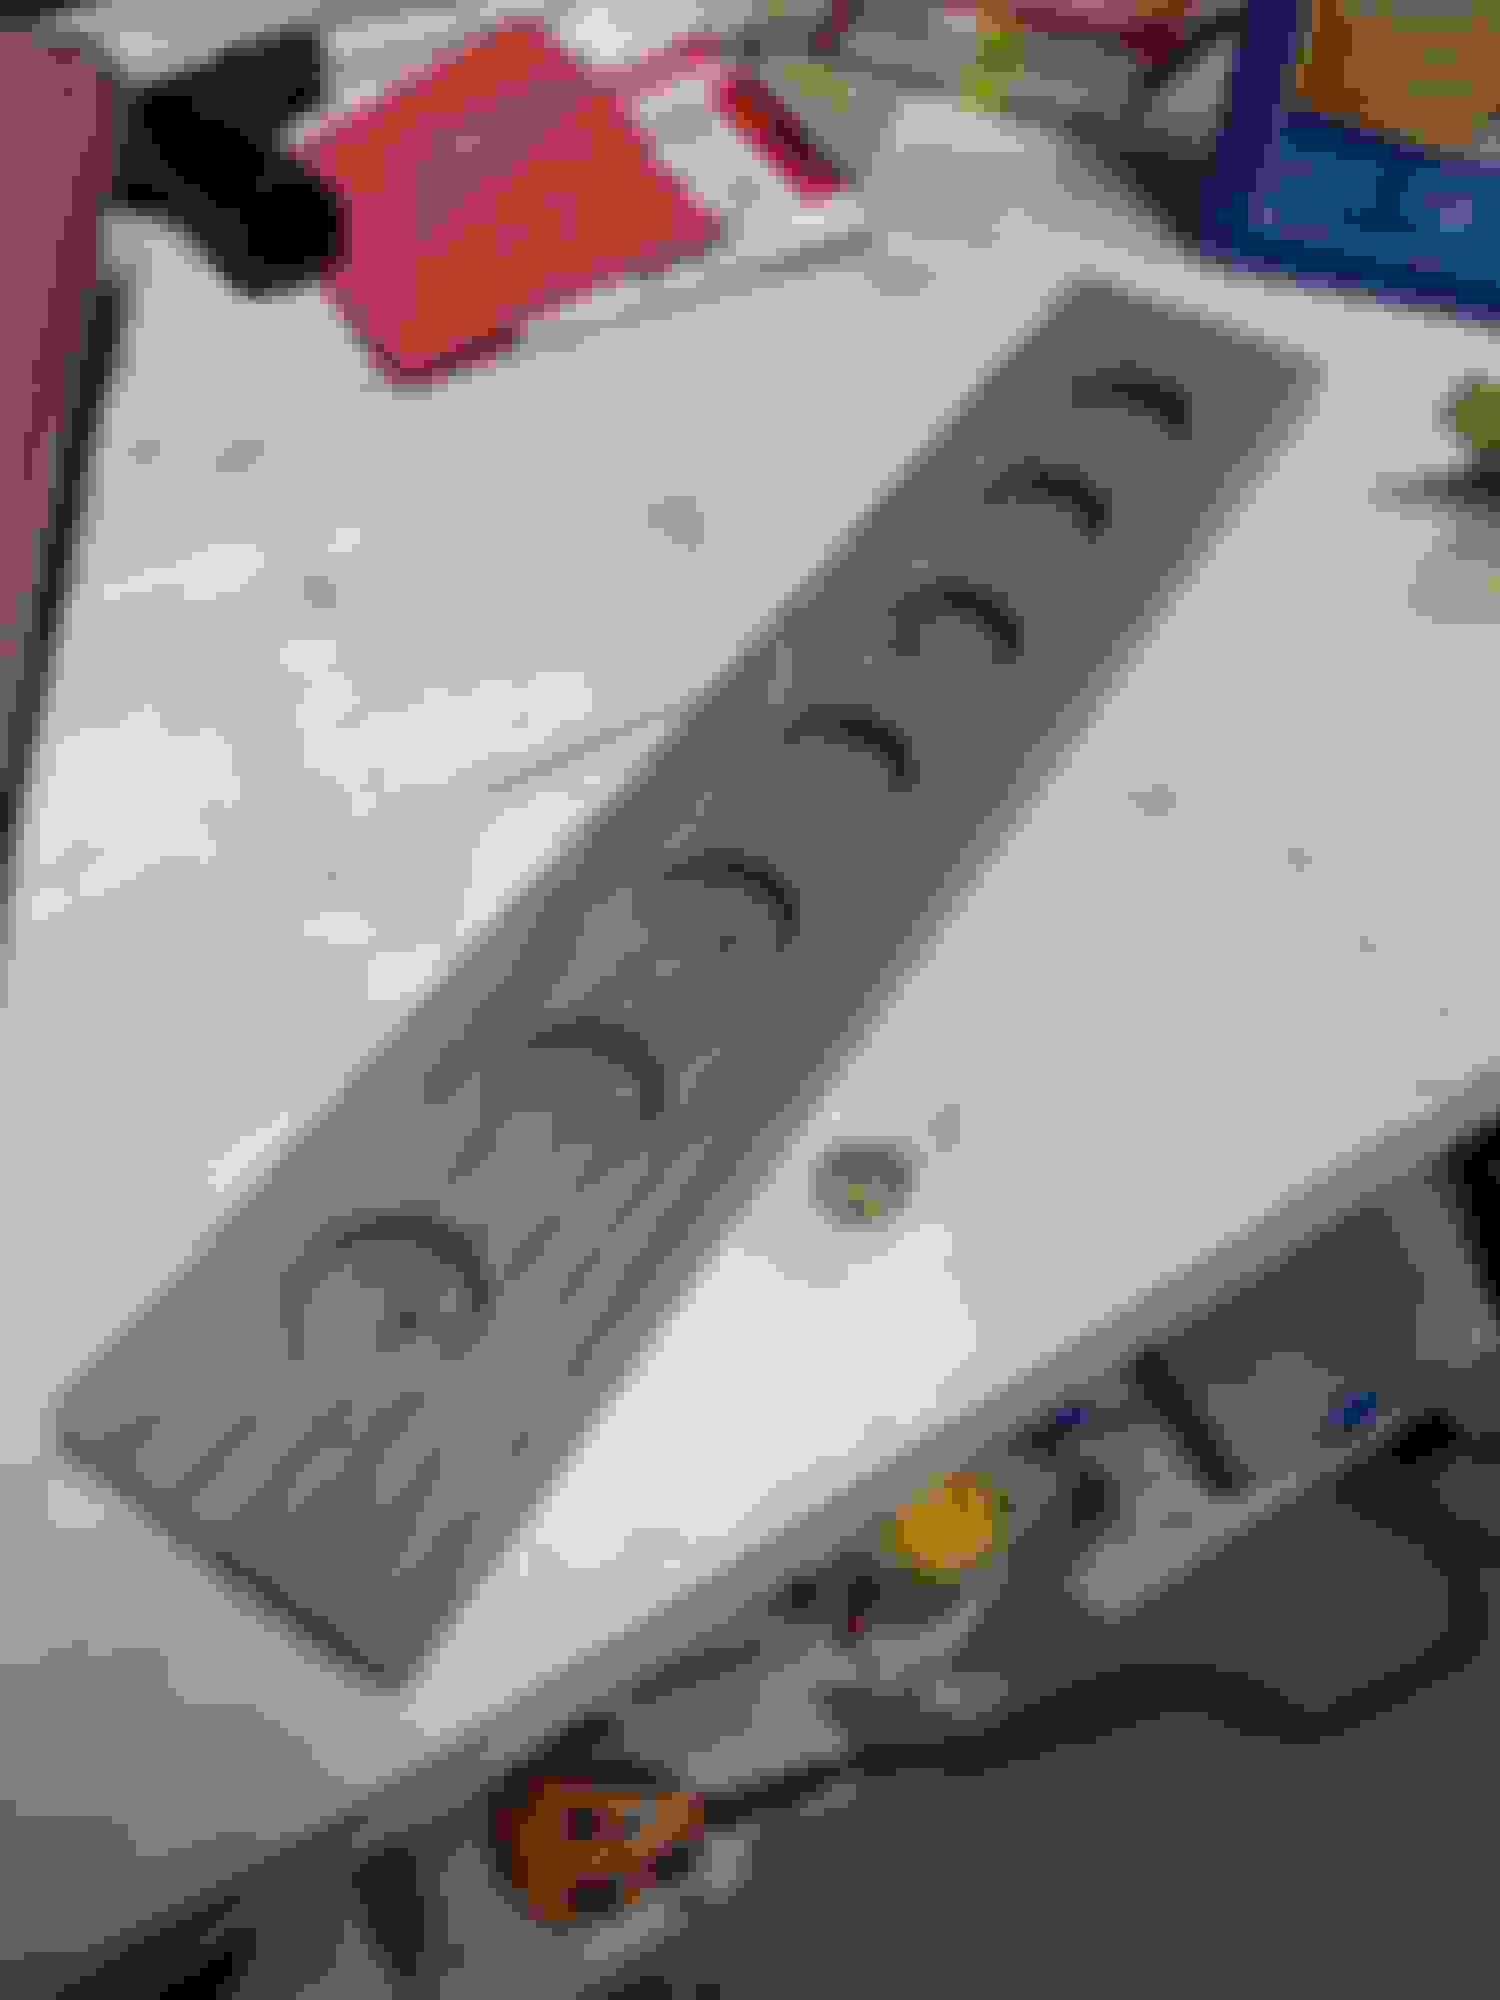
Knife block out of solid walnut, ready to glue in the magnets.
Welp, the knife block didn't really work out. The magnets weren't in there deep enough. I checked it with what I thought was my worst case knife before gluing the magnets in but it seems that the ferrous content of my other knives is less and some just don't stick on there. Guess I'm going to try again with this one.
Next up, I'm taking a class on knife making this Thursday so that'll be interesting to try out. I'll post pics if I can.
On another note/project, I finished this walnut picture frame for our national park map. Our goal is to hit all (or most, some are pretty fucking crazy to get to) of the NP's in the country, this map has all of them that we can put pins and dates on them as we go along. Made with half lap joints, I really need to get a saw that can accept a dado stack. Cutting 2" half laps with a 1/8" blade sucks. This is the frame glued up but not even close to finished yet, still have to sand and round over the edge on the show side and then rabbet the back for the map to go into. More to come...
For the half-laps maybe chisels and a router plane? Can also do them with a router. Lots of ways to skin that cat.
For the knife block, were the magnets put into bores on the back side? Rare earth magnets? The strength of the magnetic field drops off with the cube of the distance so even a small distance change can be huge.
I know routers awesome tools for a lot of things but I, for whatever reason, just don't trust them for anything other than edge work or other guided work (like pattern following). Not sure why, but I just haven't had good luck with doing stuff like that with them. Chisel and router plane would work but would have taken MUCH longer to do. I did most of the waste removal with the table saw and then used a big 1" chisel to clean up the bottom for the glue up.
Yes, they were epoxied in there. You're definitely right though, I used a forstner bit to make the holes and didn't go that deep due to the centering burr on the leading edge. I might try and just sand the front of the board down to thin that out. Can't lose at this point... I was going to run it through the planer but realized that would be a poor decision with the magnets in there lol. Next time I do this I'm going to buy a cheap set of bits and grind the burr off of them for the final cut.
You could also bore through, use a veneer for the face, and set the magnets behind that.
At some point the wood/veneer might get thin enough that the outline of the magnets will telegraph through the face.
Maybe multiple deep skinny rare earth magnets would do the trick.
And I agree on routers. I always use them with guides, never freehand.
I didn't even think about veneering the front. I have a pile of walnut veneer sitting around waiting for a project. Looks like I just found it lol. Going to sand down the front until I can get a good stick and then, if needed, glue the veneer over the front. If all I have are the small burr holes, it should be just fine.
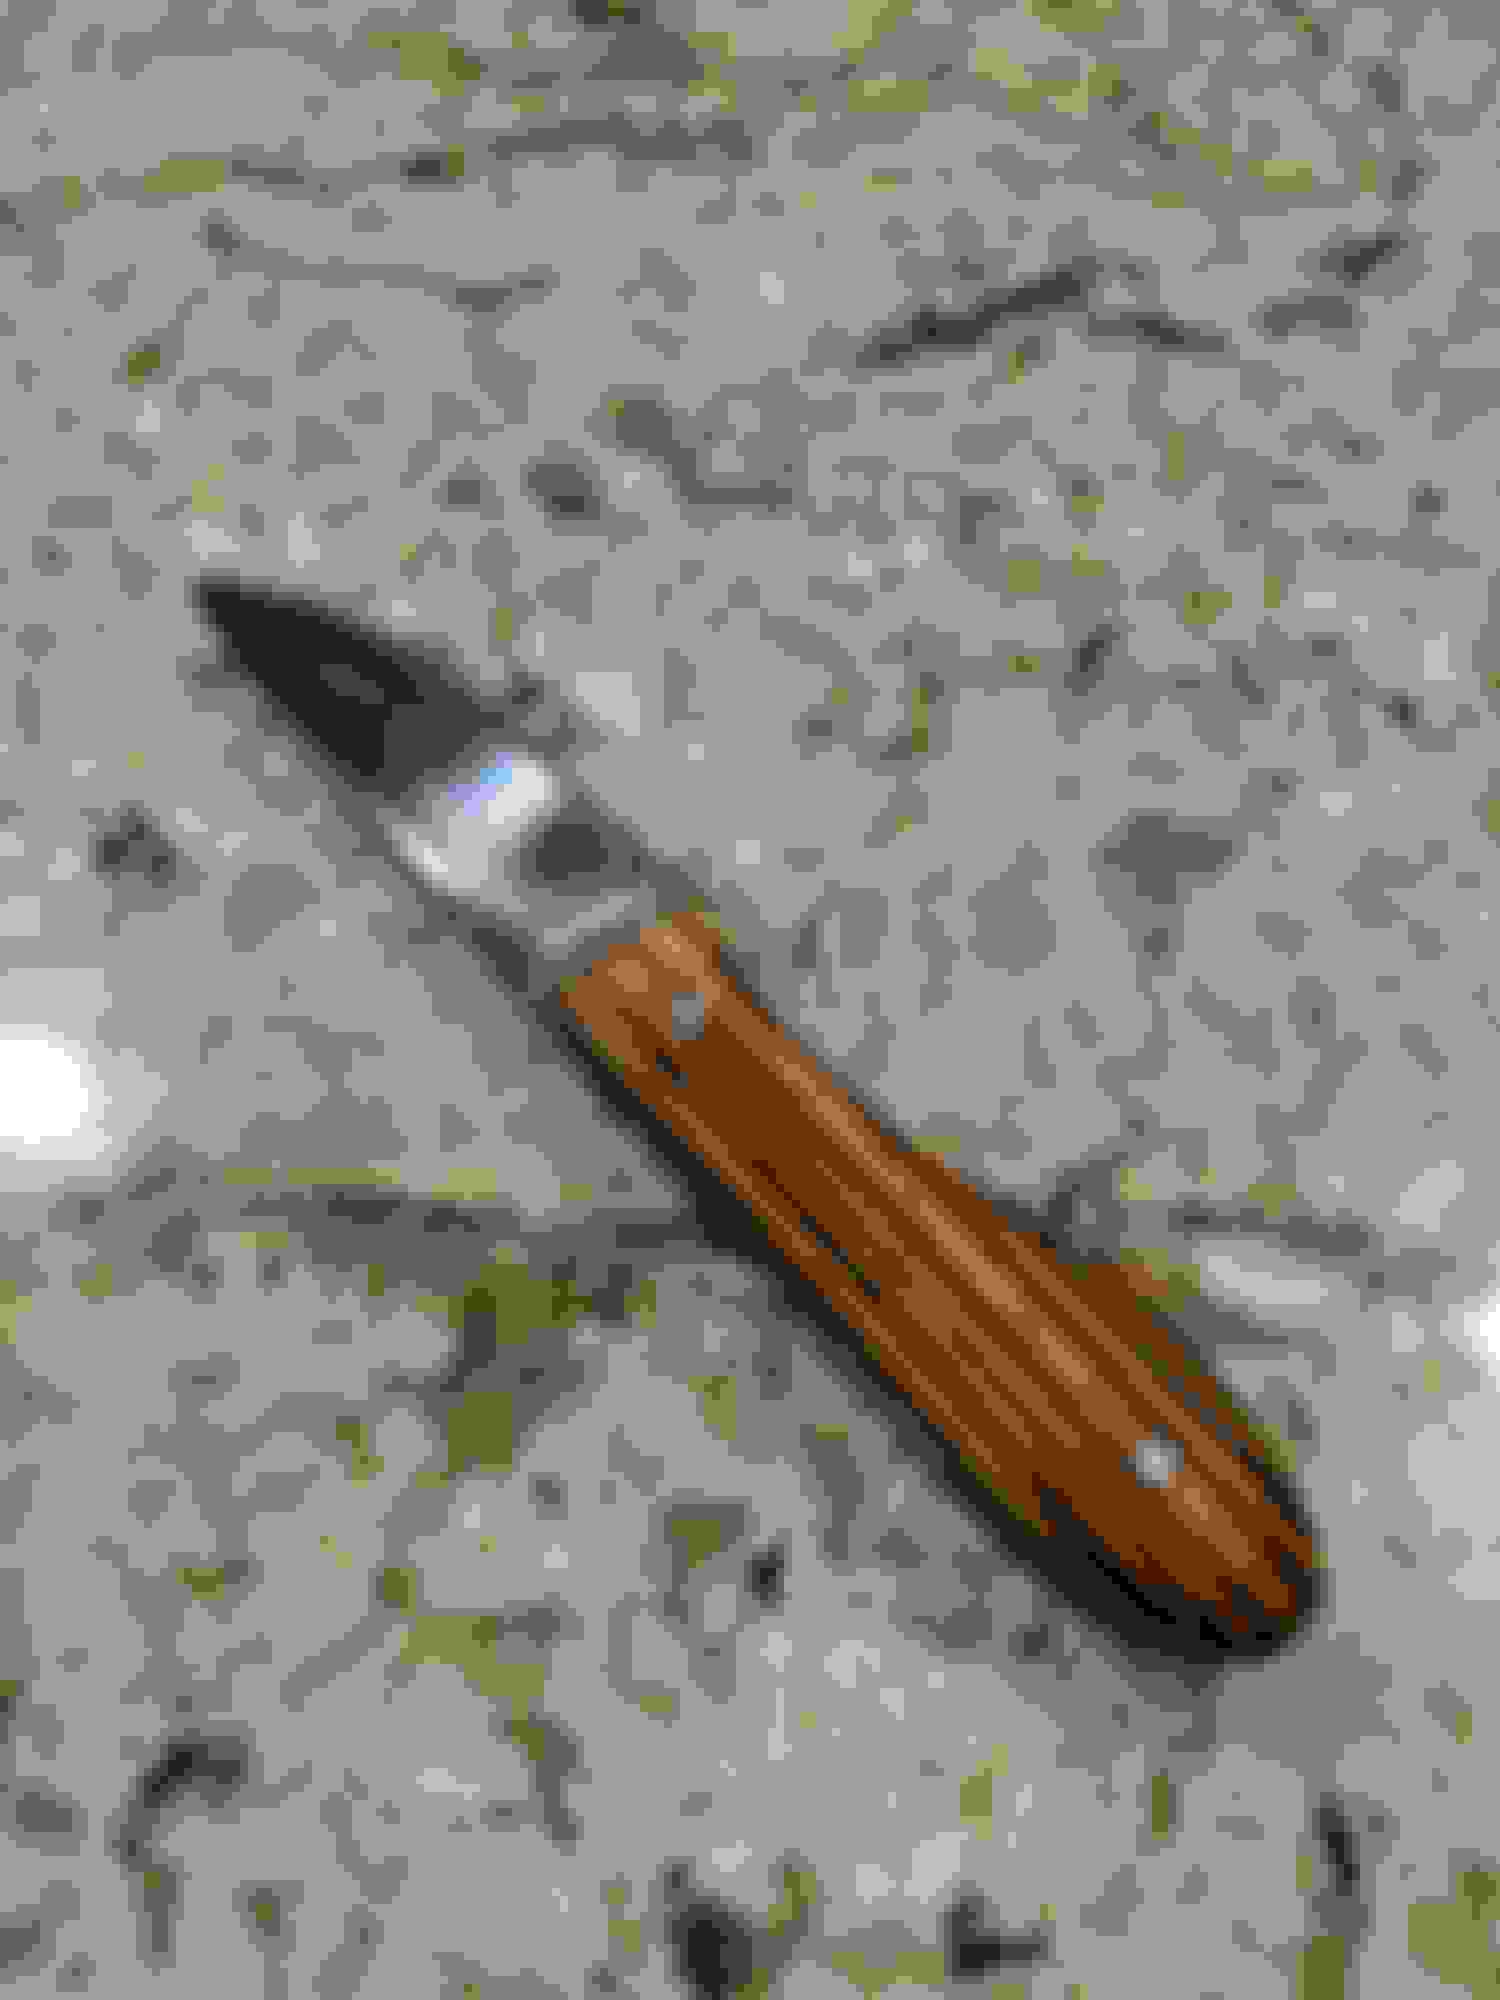
Just wanted to post and say thanks to Mike for the idea for the magnetic knife holder. I was going in with the full intention of having to veneer the front but it seems that I left much more on the face than initially thought. I just ripped off ~1/8" using the table saw, resanded, refinished, and we're back in business. You can see an ever so slight dot where the burr peaks through but it's not noticeable unless you're me and know what to look for. I have a few other projects wrapping up soon that I'll post pics of when I can. In the mean time, here's the finished knife holder and the knife I made last week (which turned out awesome)!
How do you anticipate the finish on the knife holder holding up after use? Is there a better coating (more layers of varnish?) that will help protect it from scratches?
How do you anticipate the finish on the knife holder holding up after use? Is there a better coating (more layers of varnish?) that will help protect it from scratches?
I didn't make the metal part, just the handle. The bland and tang came in a kit that I put the handle on and formed it to shape. It was a huge PITA but turned out pretty awesome.
The finish on the knife holder is not something I'm expecting to last forever. The mineral oil finish is the same that I put on cutting boards so it's designed to be refreshed as the wood dries out over time. It is, however, entirely food safe so good to go in case anything gets on a knife and then into the food. I wouldn't want to use anything harder on it like a varnish or urethane just for the food safety aspect.
Makes sense, I couldn't tell from the pic if it was stained, varnished or other, but the food safe oil makes perfect sense.
here comes another "what oil do you use" thread on acurazine!
I used hemp oil on my tool box butcher block
Woody Harrilzon (sp?) approved!!!
If you're not going to be eating off of it, it doesn't really matter what you use. For me, if it's just a show piece, I use an oil based poly finish. Adds so much depth and shine...
Originally Posted by stogie1020
Makes sense, I couldn't tell from the pic if it was stained, varnished or other, but the food safe oil makes perfect sense.
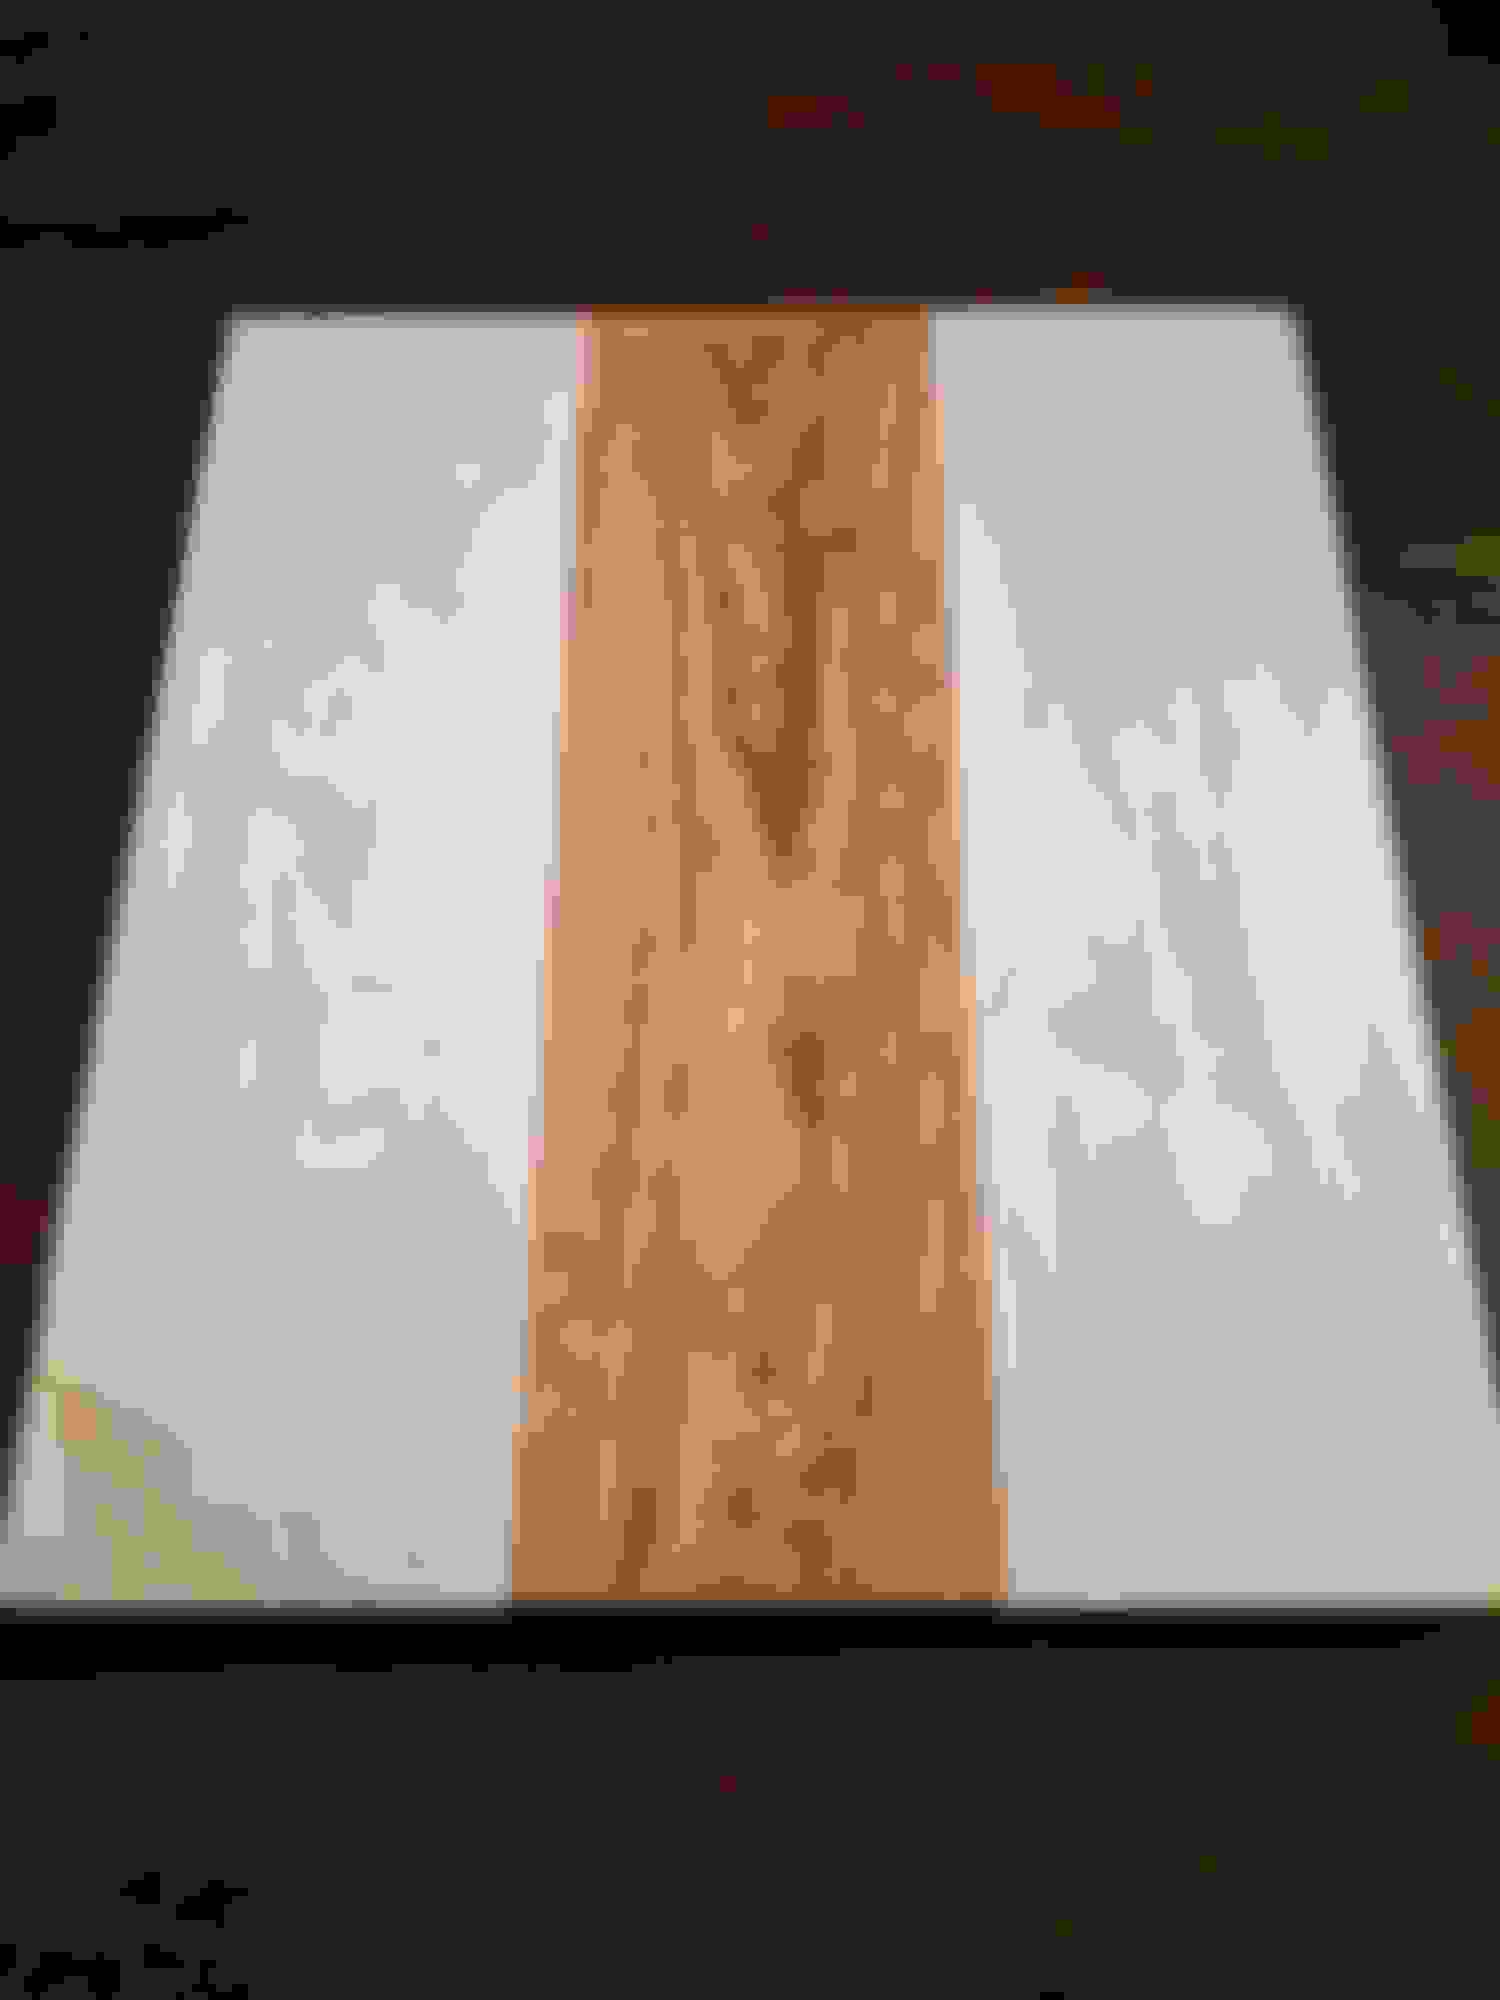
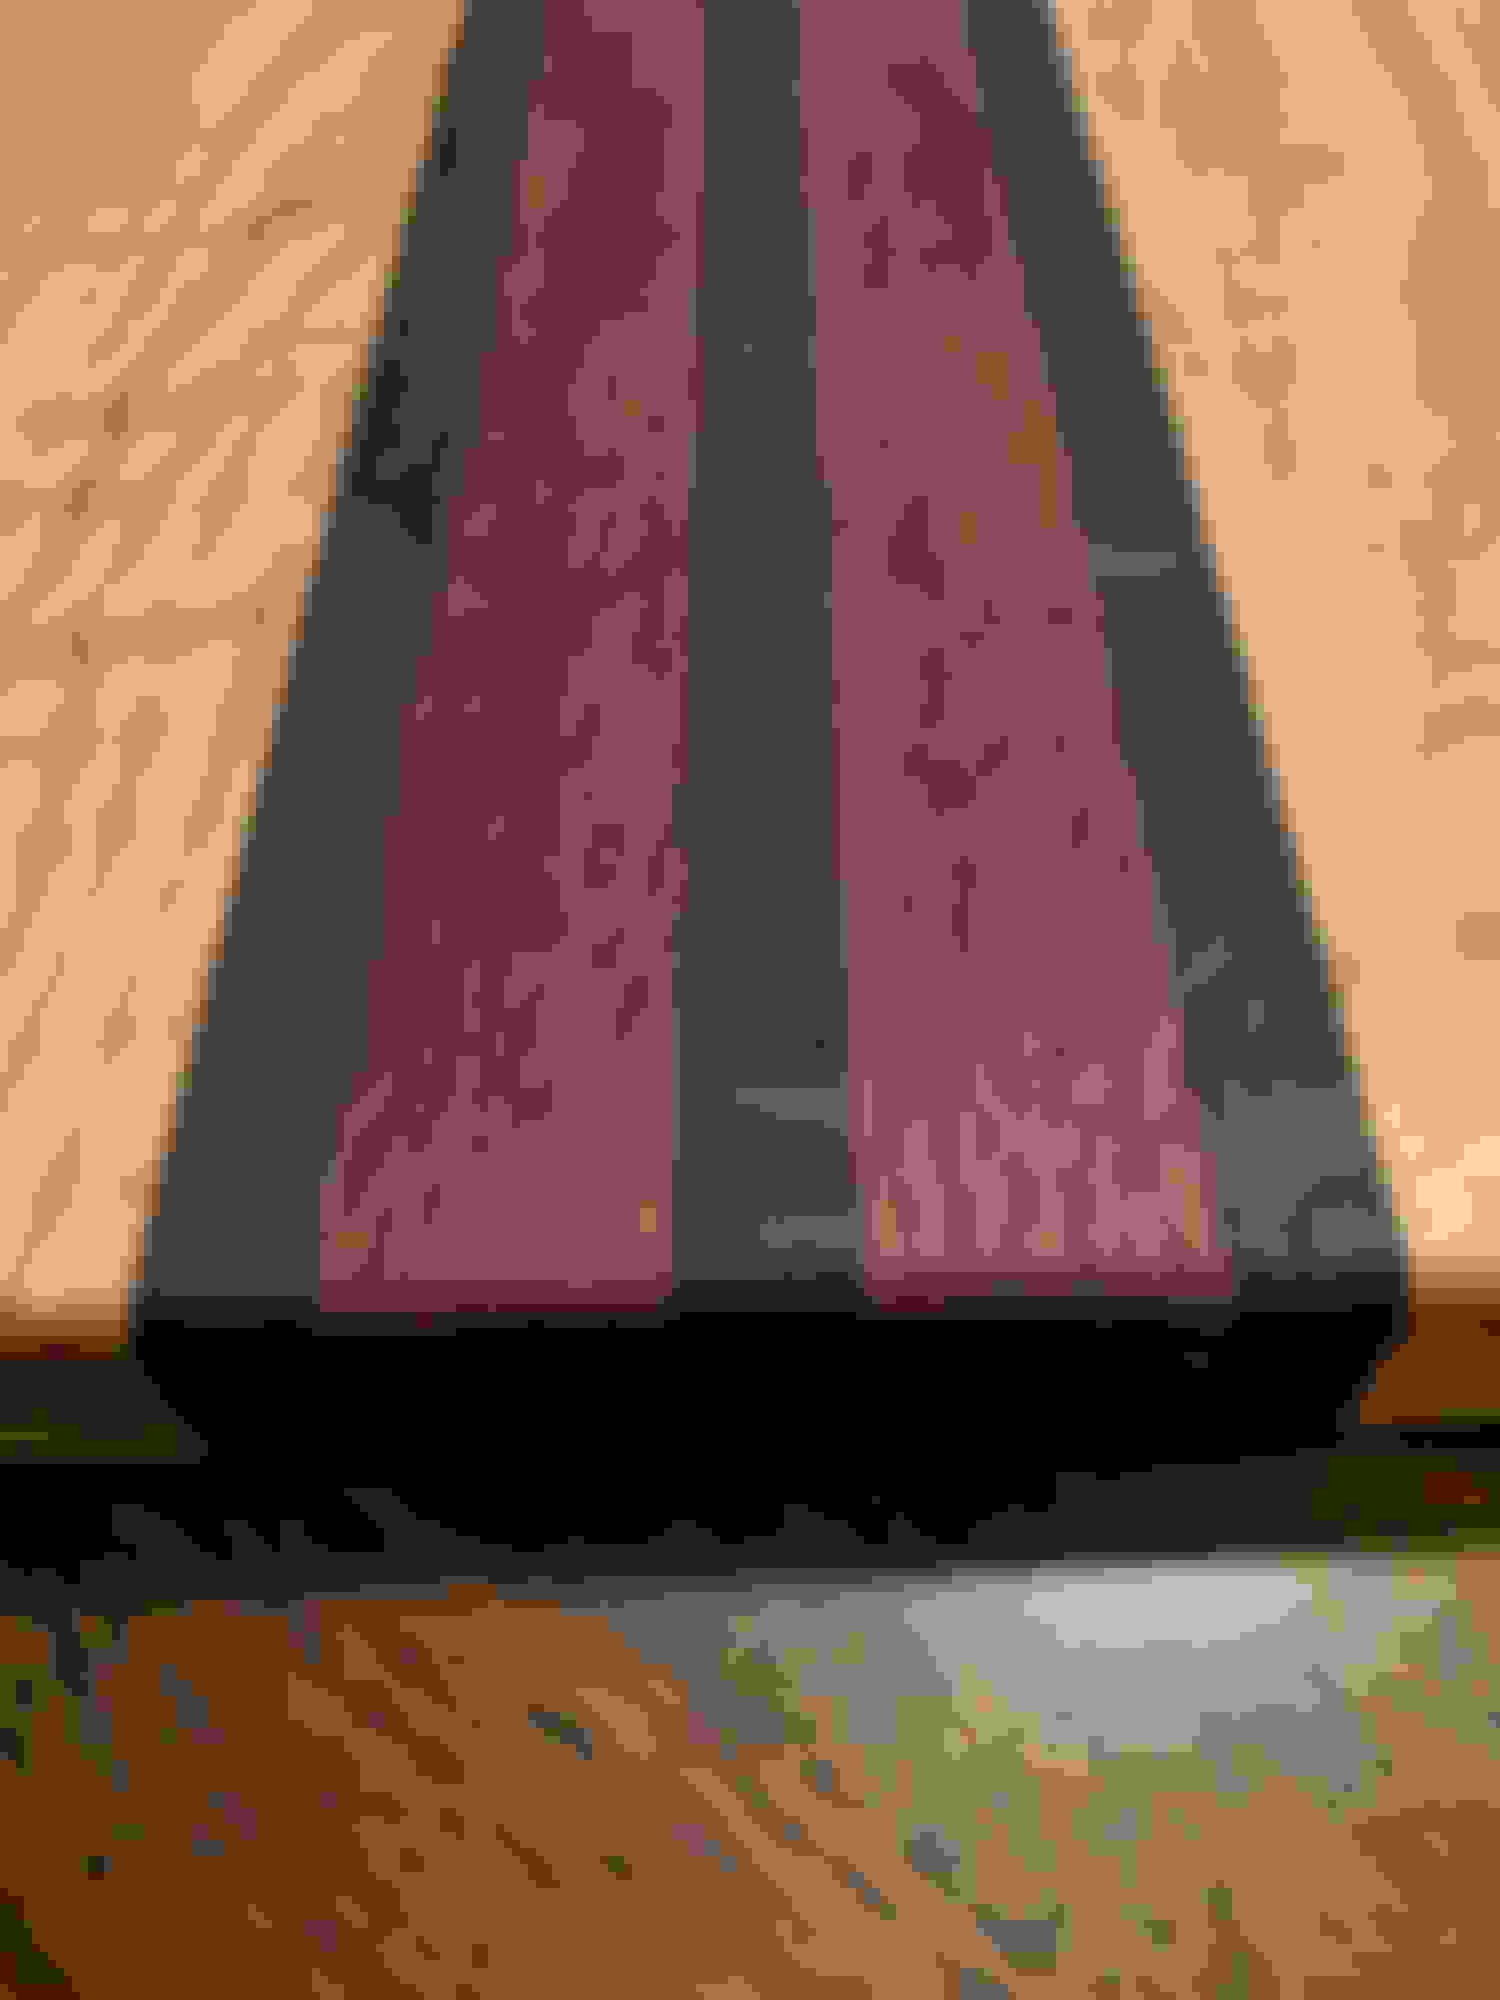
I have a few more cutting boards that I'm wrapping up right now finished in the same stuff. Will show as soon as I get them sanded. One of these came out super awesome with curly maple and leopardwood.
Finished up this final batch of boards for the year. It started snowing today and the high this weekend won't even crack 30F lol. Don't mind the blotchyness of the surface, these were freshly oiled and still had some left to absorb.
Didn't get nearly as much done this year as I wanted to but next year should be even better. Lots of equipment upgrades planned for the winter to gear up to make some new cool stuff. I do have some final things to wrap up, mostly finishing stuff, in my basement but then it's all done for the year.