When you click on links to various merchants on this site and make a purchase, this can result in this site earning a commission. Affiliate programs and affiliations include, but are not limited to, the eBay Partner Network.
I am going to eventually do the weaponX carbon lip kit. It will be similar although a little thinner than the carbon kit I had on the ISF. I wish it was thicker but oh well I like the look over all.
Can't find wagon pictures of it but it shouldn't look much different than this on the car.
edit:
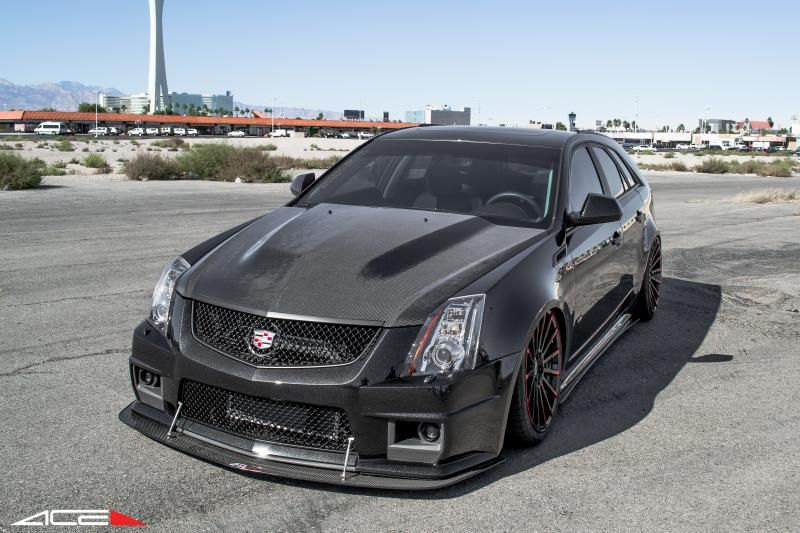
This is just the sides on a wagon. Not sure I am going to go for the full aggressive front with the stabalizer rods but maybe. I definitely will eventually go as aggressive with wheel fitment on on the V as I did the F.
I might go carbon crazy again on this car. Going to probably do the vents on the fenders in carbon and I am iffy on the hood. If I did the hood I would paint everything but the bulge in the middle.
It actualy provides more clearance than the stock pieces b/c those stock gray ones are removed for this install and the APR lip is thinner. I think one of the guys on the CTSV Forum measured it and this actually gave him a bit more clearance.
The "X" Factor is really how far out you extend it. If you give yourself a really large shelf and stick it out far... clearance will be reduced. I would probably install it similar to the slammed Vagon above...
The V has a really big overhang for a RWD car. I has to see if the overhang was bigger on the F or not. I had the F lowered to 3.75in off the ground so as long as the V is higher it will be a cake walk getting around town.
That APR splitter is definitely not subtle but I still like it. I am glad, though, that I went with my blue Kevlar splitter. That one looks great. Had I not found it, I'd go carbon fiber lips all around. It's so easy to attach them with the OEM clips.
Roof rails arrived. Haven't opened them yet to see what color they are. lol. May need to hold off until I decide what color I am going to vinyl the chrome...
The V has a really big overhang for a RWD car. I has to see if the overhang was bigger on the F or not. I had the F lowered to 3.75in off the ground so as long as the V is higher it will be a cake walk getting around town.
It also has a big hangdown as well
Originally Posted by CCColtsicehockey
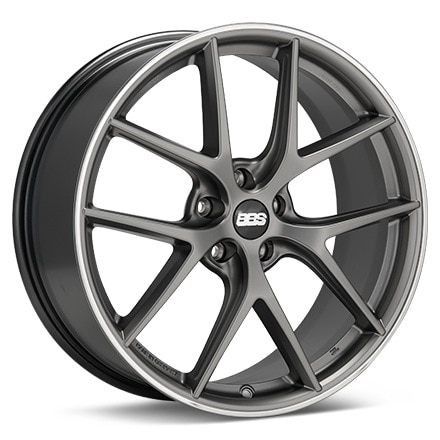
Finally found my dad a set of winter wheels for the RS7.
I like that APR splitter, looks very aggressive. I know most of it is marketing bullshit, but is it at least a solid mod, not going to fly away somewhere on the freeway..??? I wonder if it connects to the bumper cover only. It's pretty flimsy.
I like that APR splitter, looks very aggressive. I know most of it is marketing bullshit, but is it at least a solid mod, not going to fly away somewhere on the freeway..??? I wonder if it connects to the bumper cover only. It's pretty flimsy.
It does, but it connects in the front of the bumper as well as under. And once you install the struts, it's pretty stout. There's a write-up on it on the CTSV Forum in the Exterior section and I think the guy used like 14 bolts to attach it. It's not going anywhere
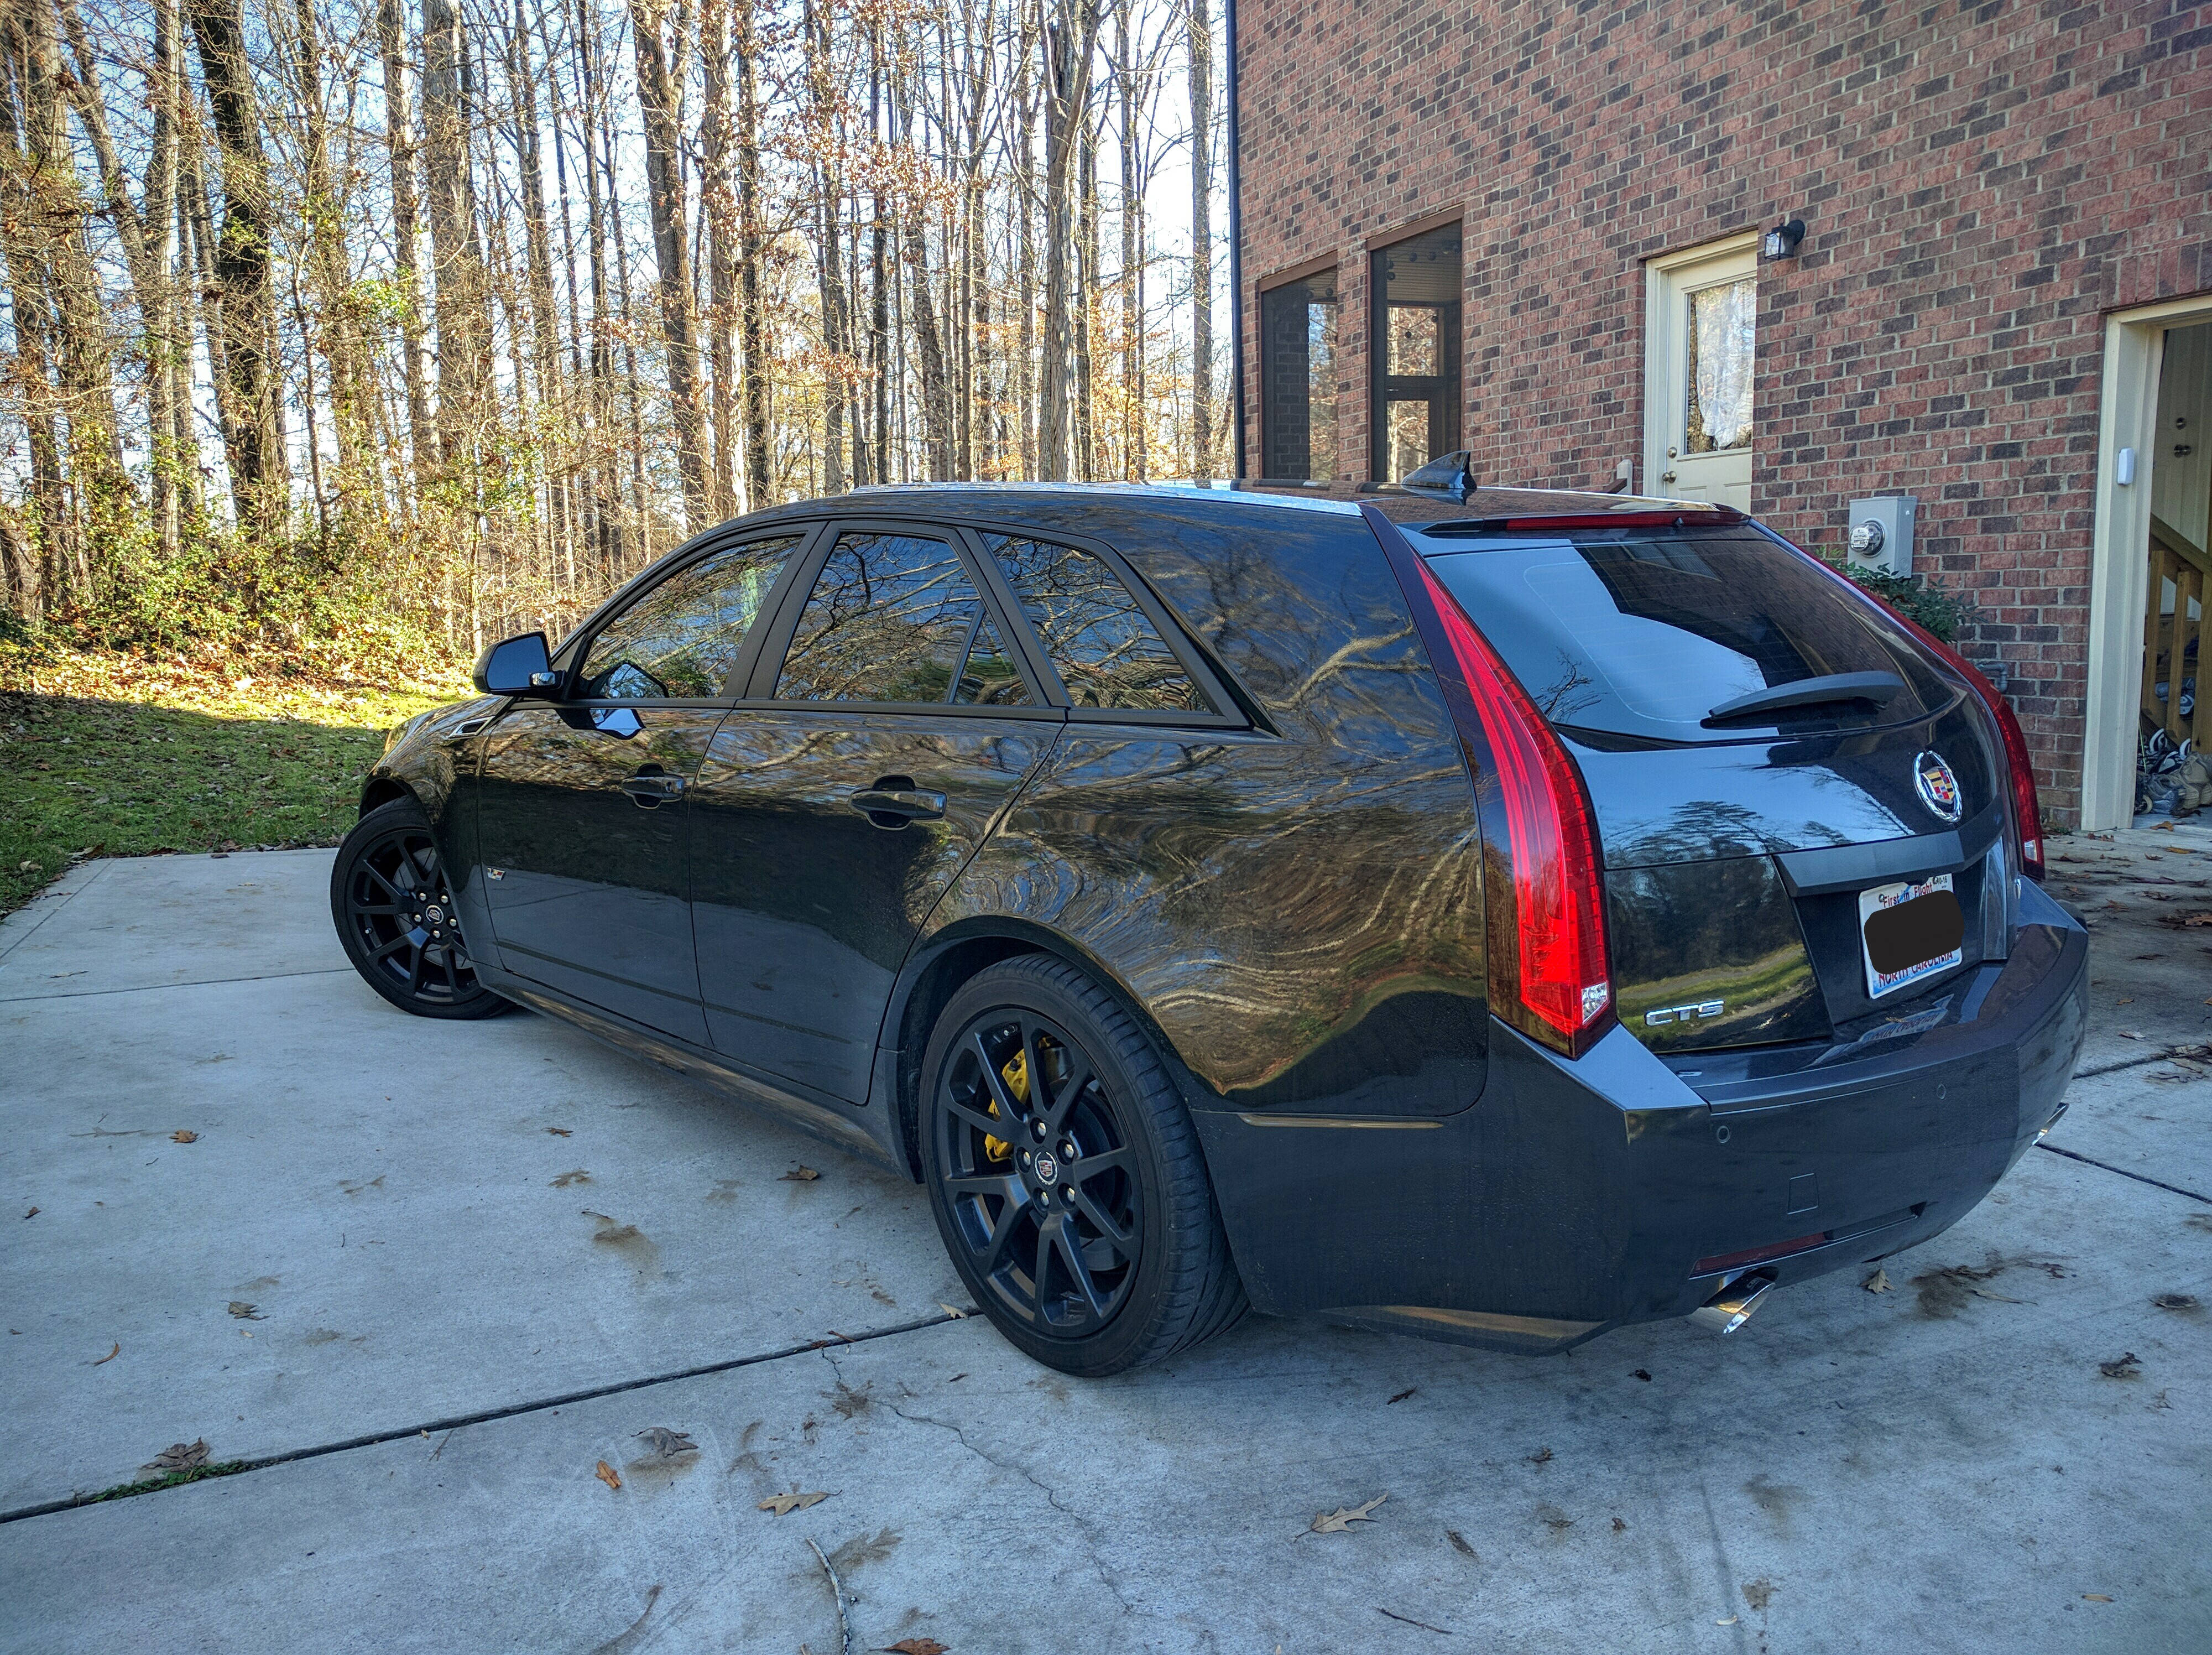
So changed the diff fluid this weekend. It wasn't solid black but definitely was dark. No more groan right now though which is awesome.
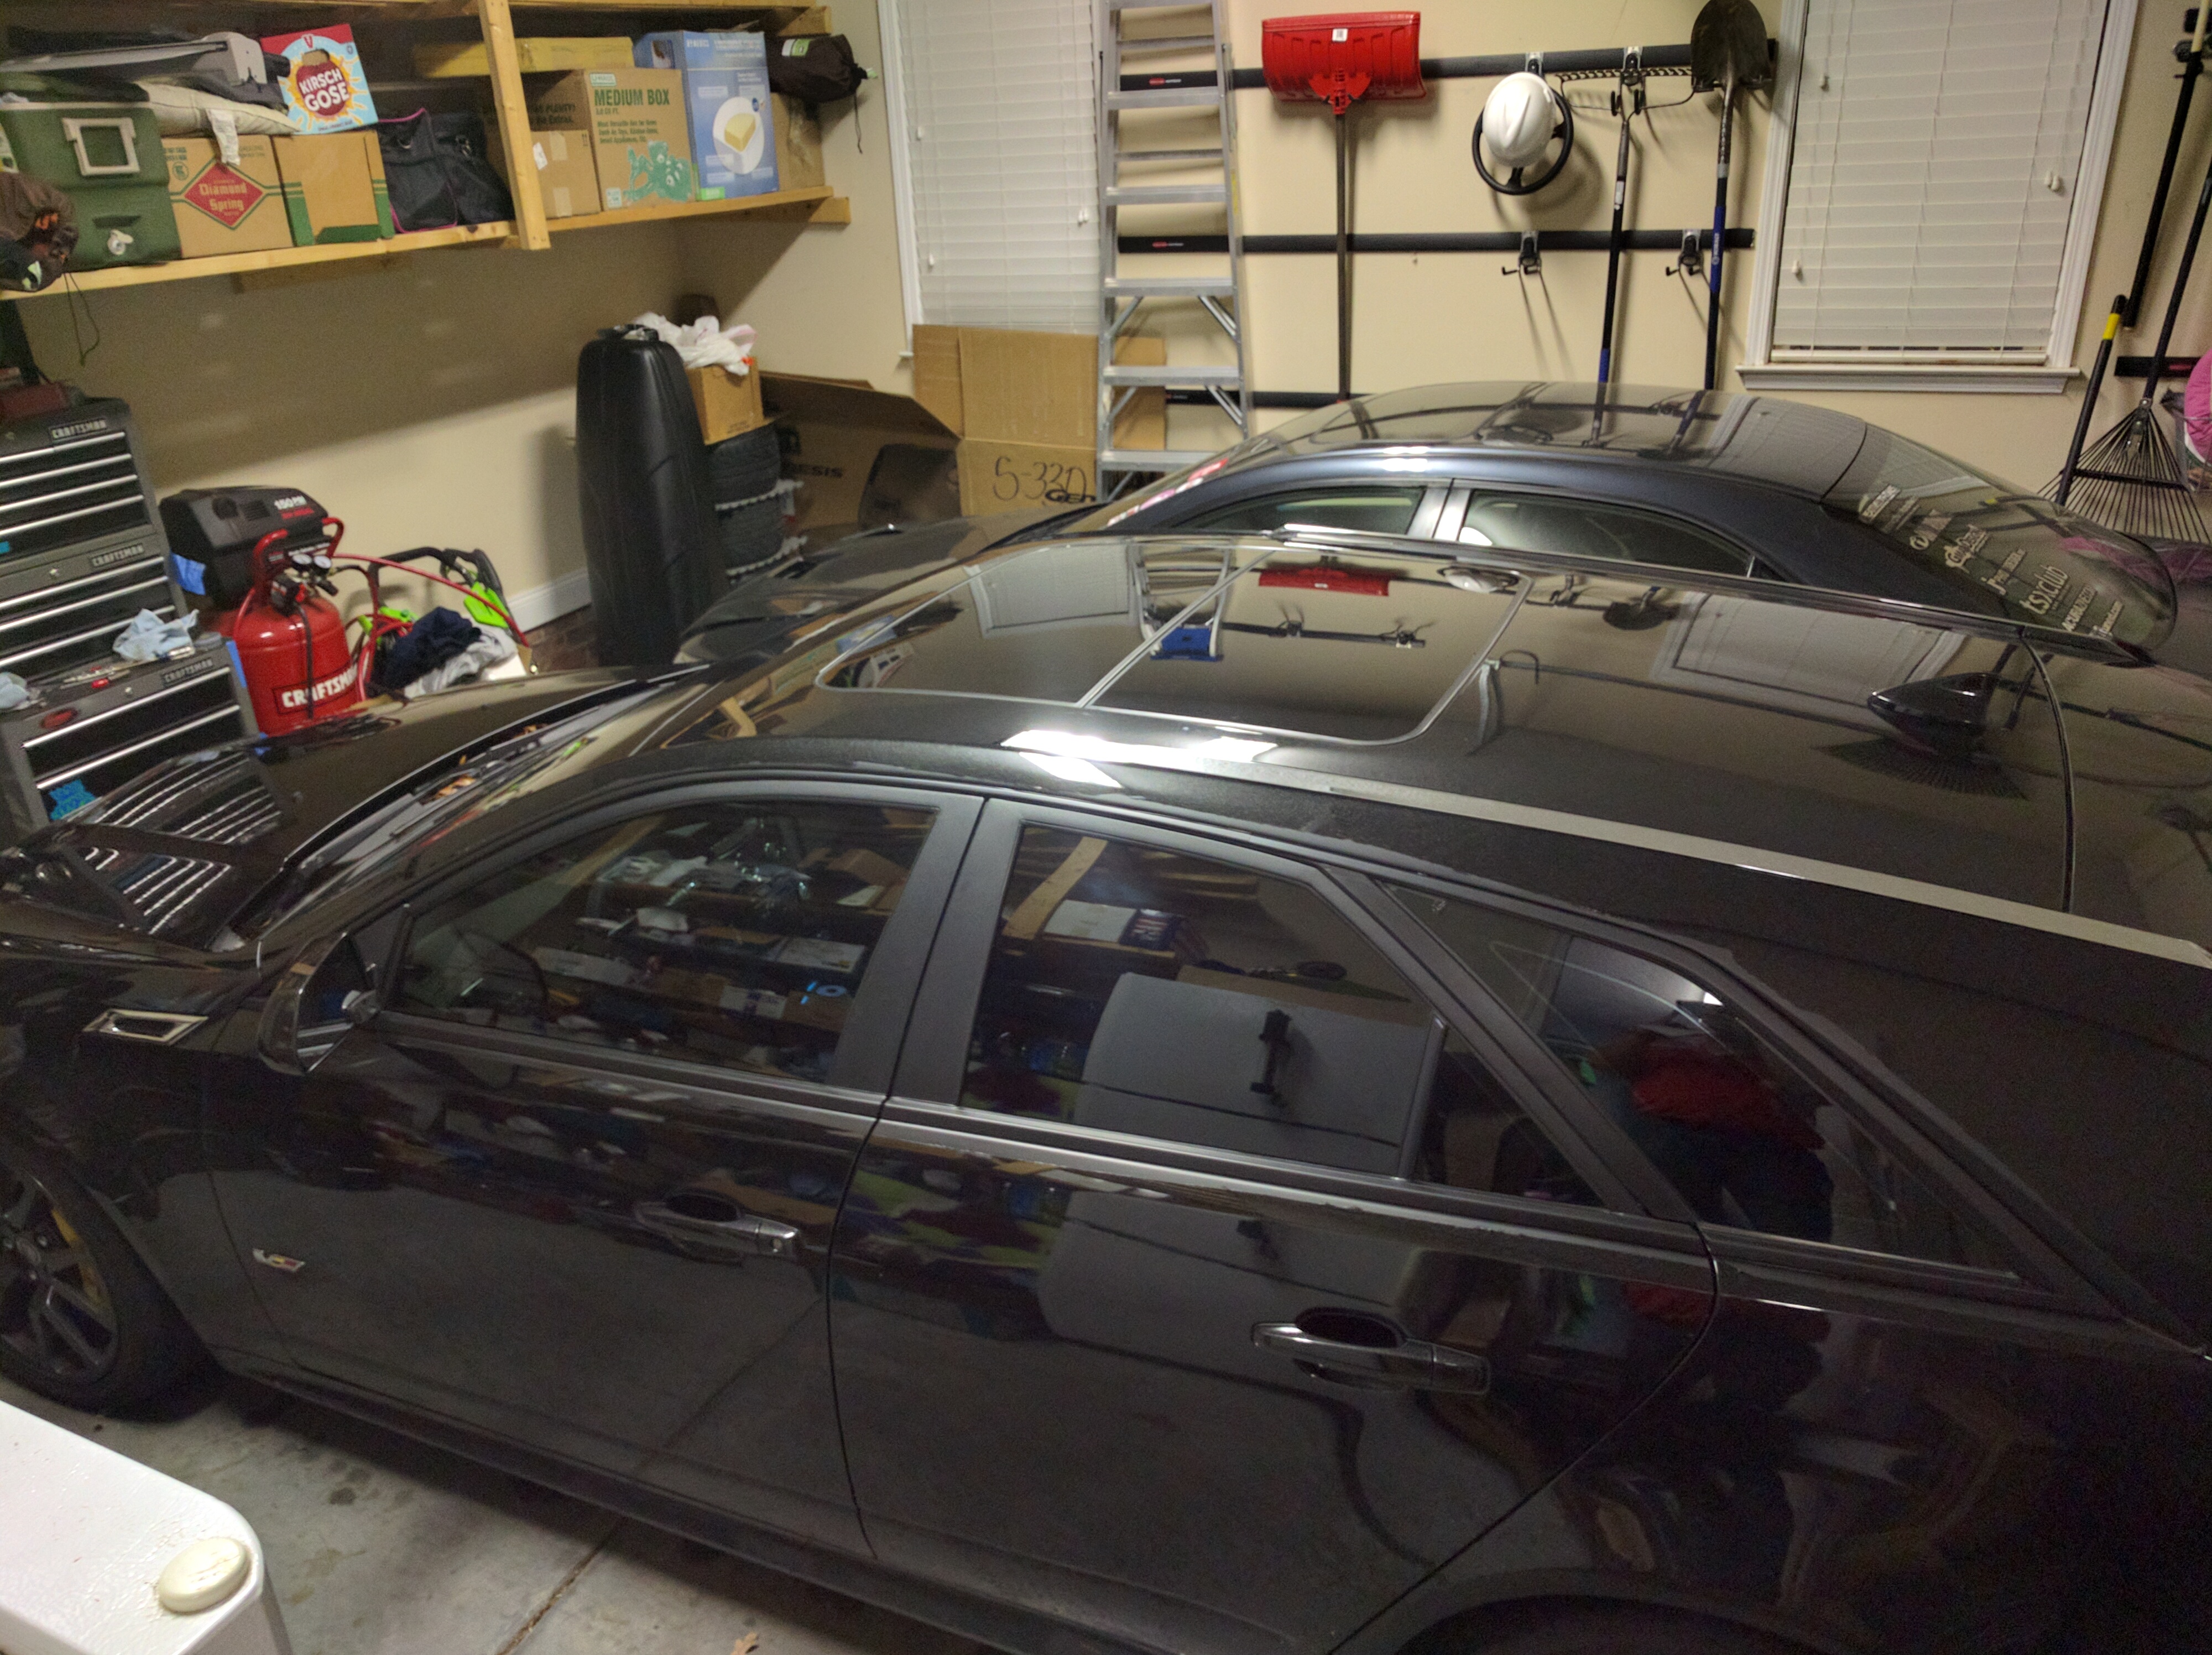
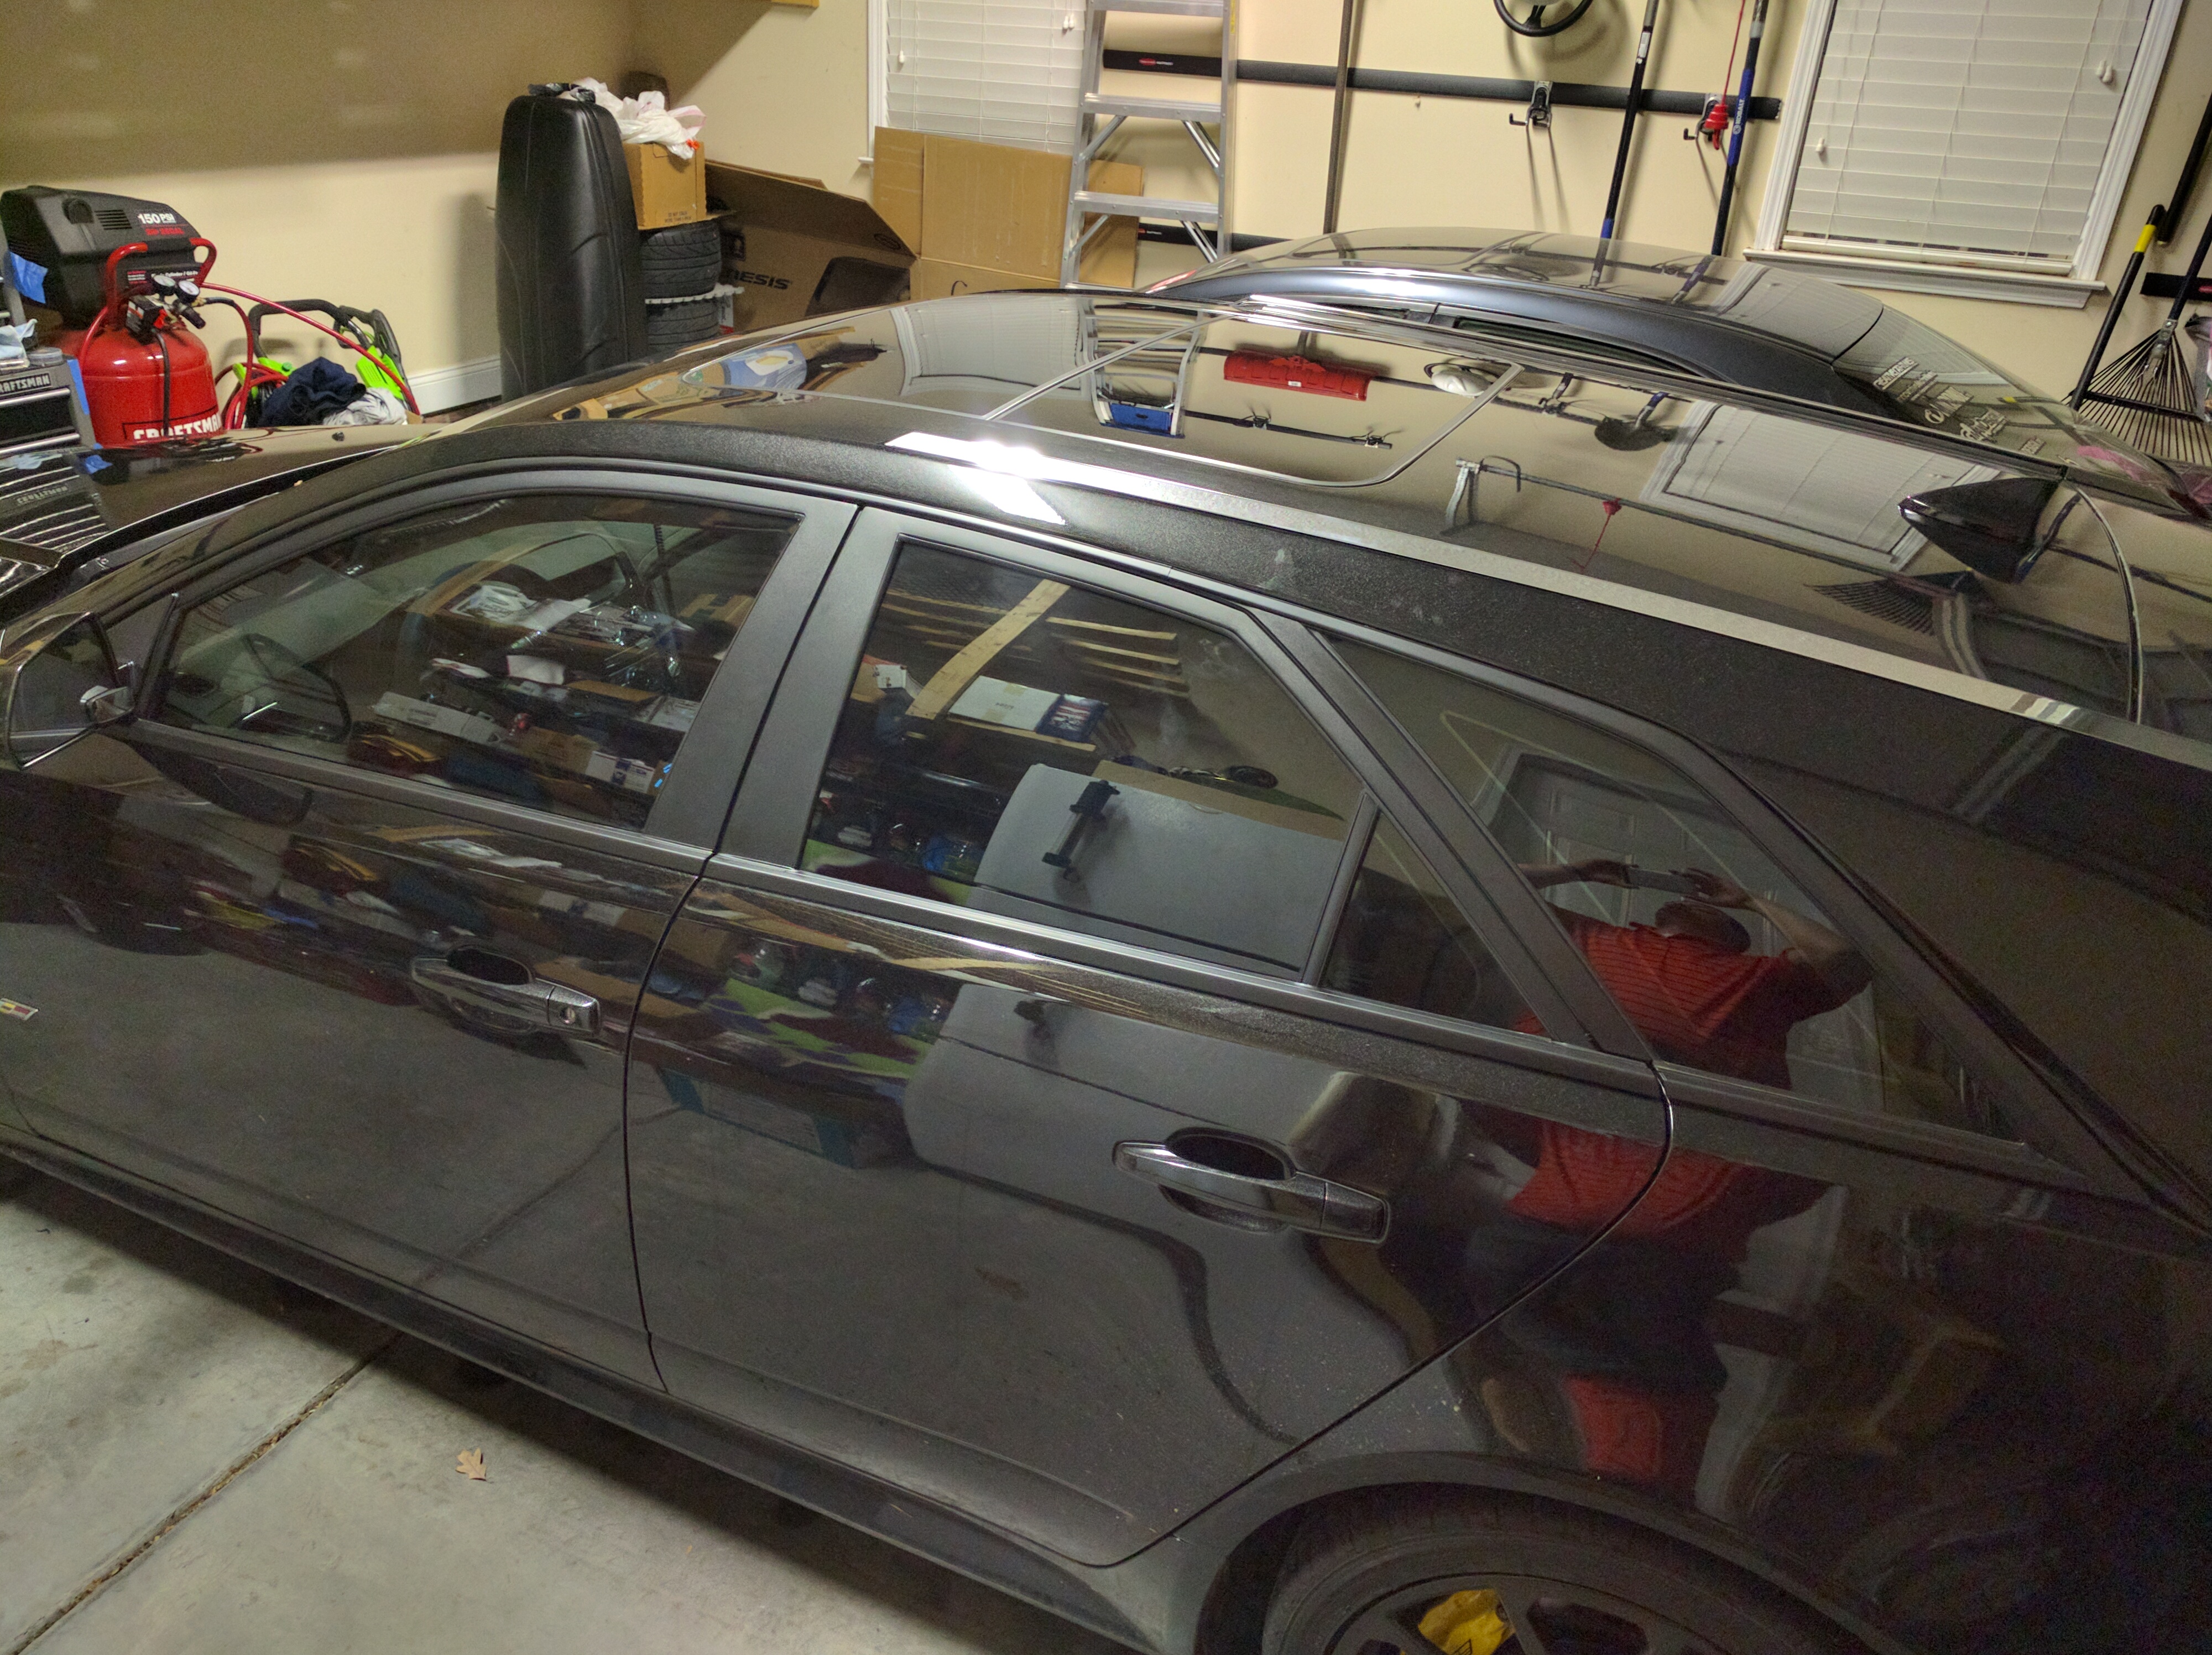
Also started on plasti dipping all the chrome trim. So far I have the rear done and the drivers side. Passenger side gets done tonight hopefully. Haven't done the fender vents and I am not doing the grill cause it would be a pain to ever get it off the mesh. I am now trying to figure out how to vinyl wrap of plasti dip the chrome roof rails. Also not sure if I want to do the fender vents. Eventually I will get the carbon ones but not till I do the kit.
Last edited by CCColtsicehockey; 12-15-2015 at 06:36 AM.
Pics are coming. Also for the differential fluid change it really is as simple as they make it seem. Even being overly careful and thorough my first time I was done in 1hr from start to cleanup. I paid $59 for the pump and the fluid shipped. If you are paying $120 a year bob to do it once you have the pump it will only cost you $50 from there on out. It is easier and less messy than even the oil change. I am definitely going to do one every year now probably.
^ Nice! I've never had too much luck with PlastiDip (probably b/c I'm impatient) which is why I'm looking at vinyl. lol.
Post pics!
Definitely have to be patient with plastidip, and it has to be decently warm out for it to spray nice. Have you guys seen the Heintz racing V sedan? 800 wheel or something
Back to my overly detailed build thread posts from TSX days.
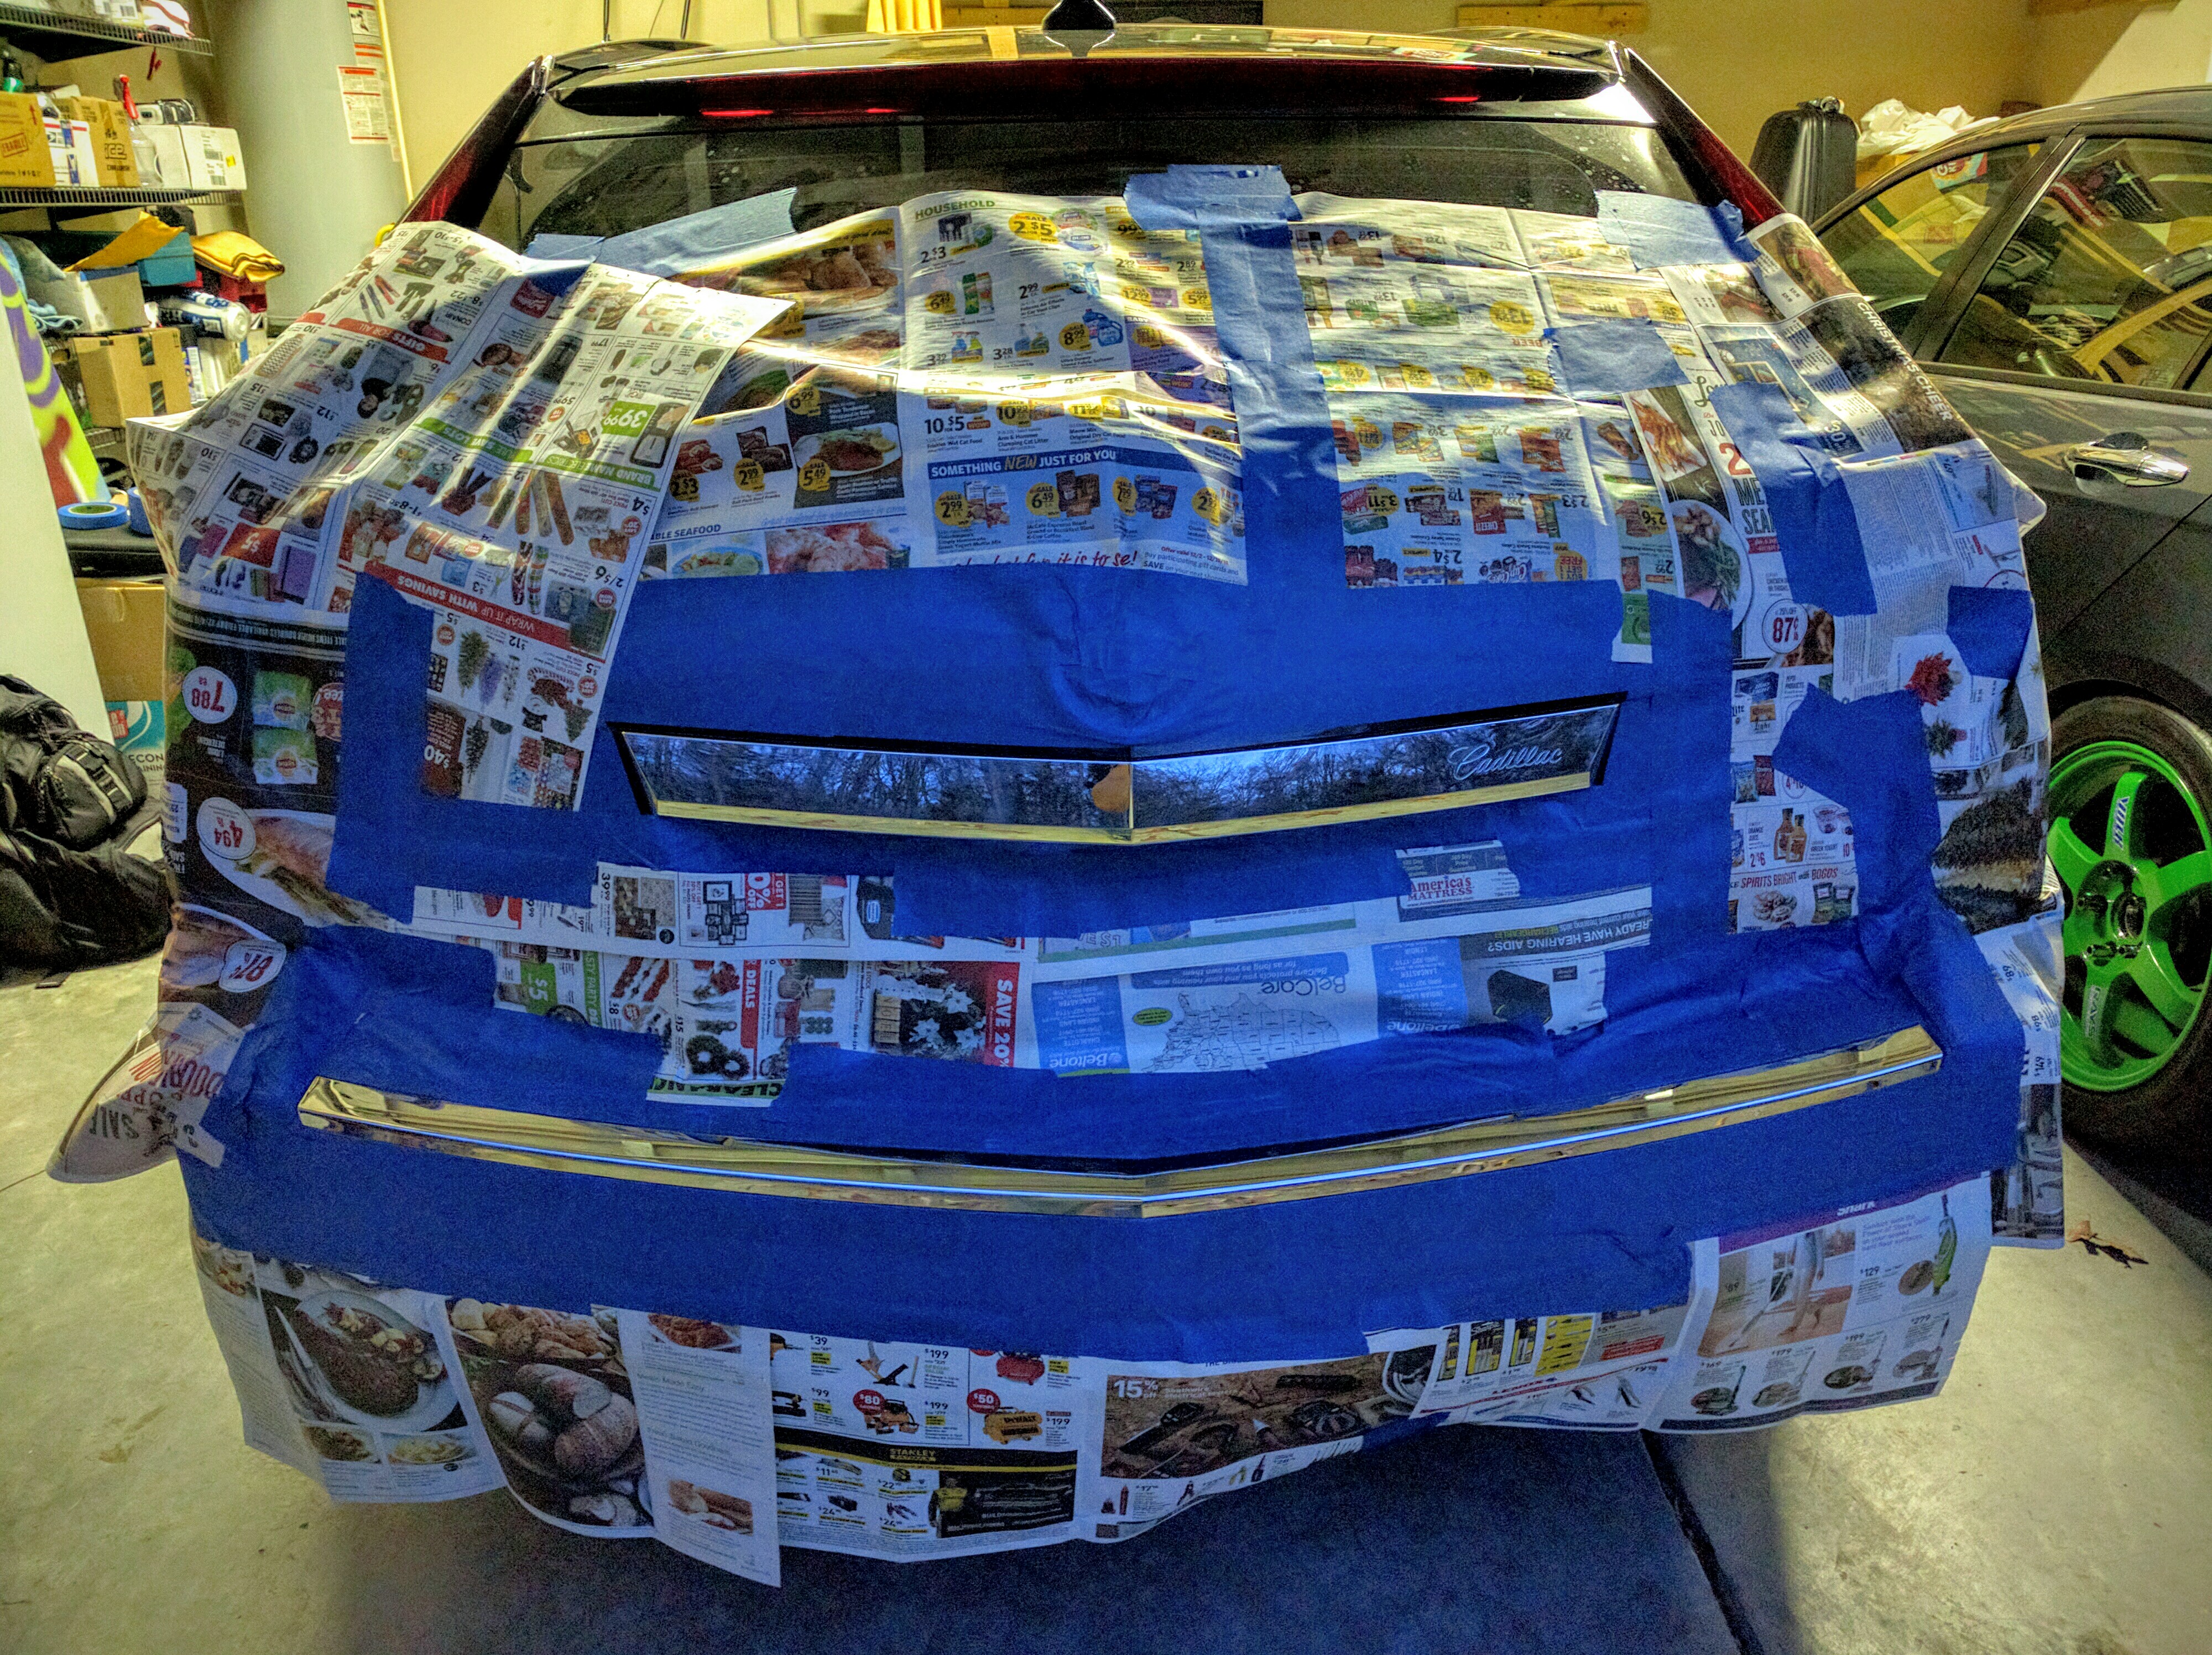
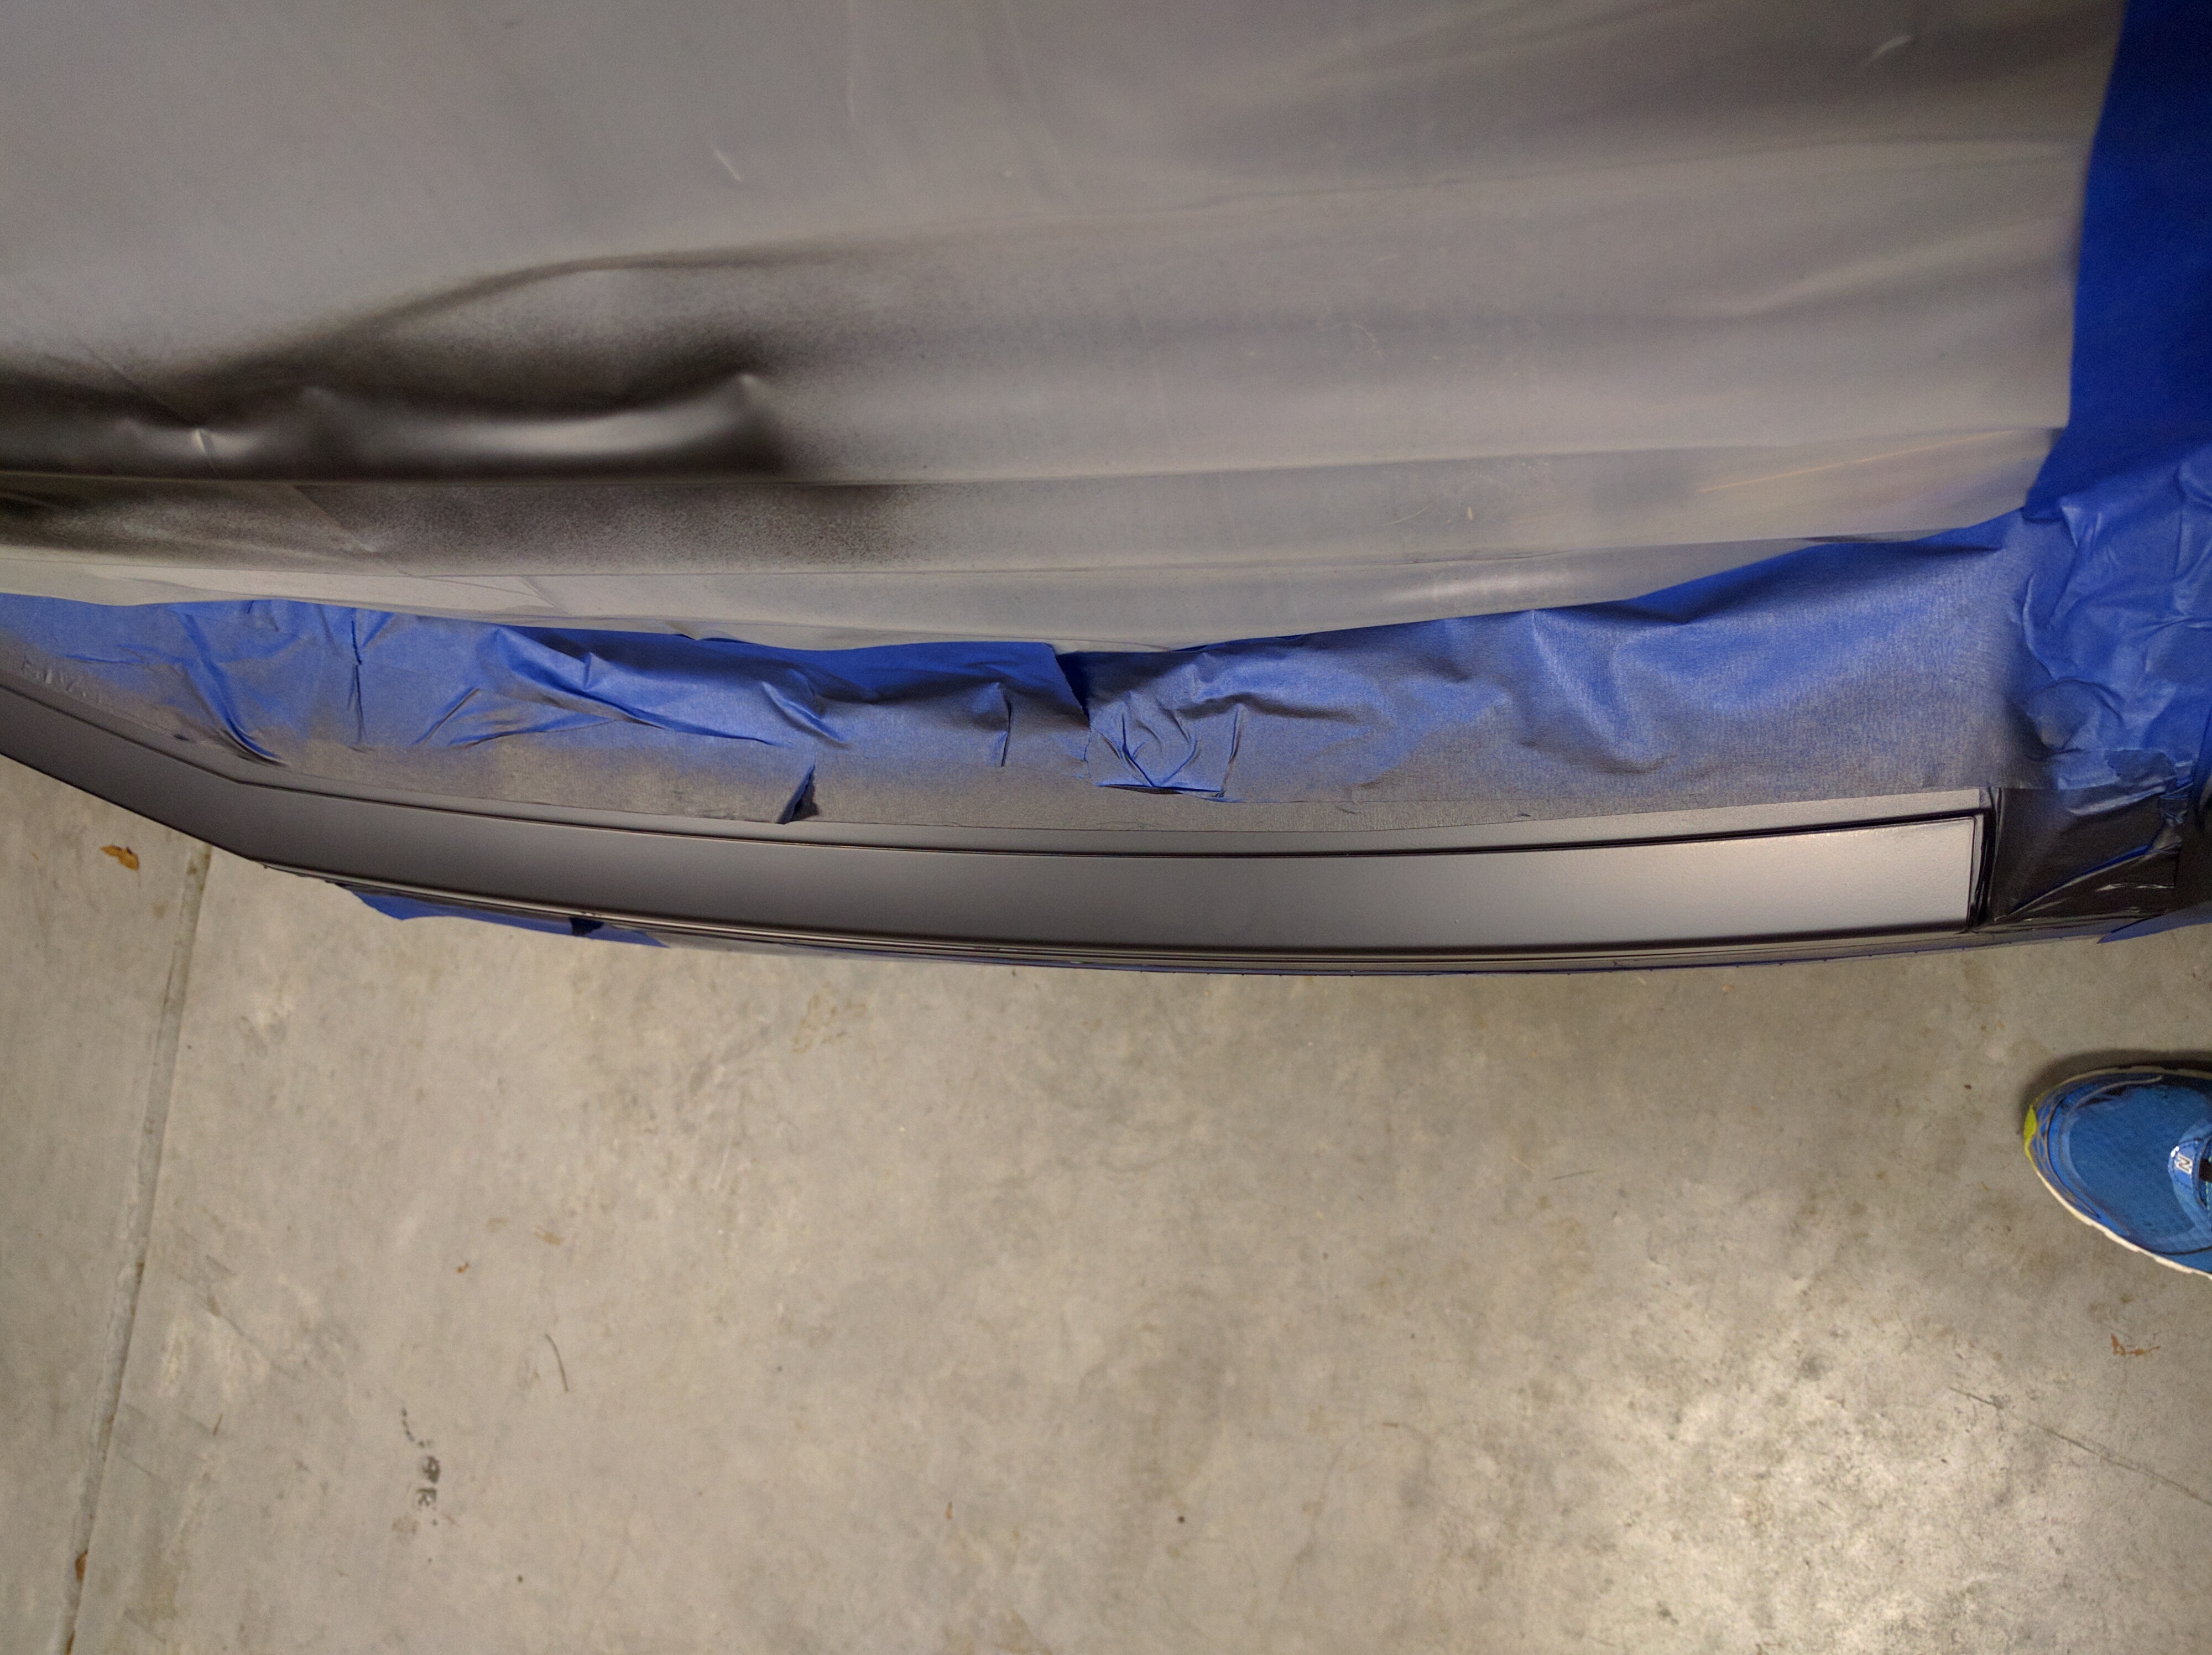
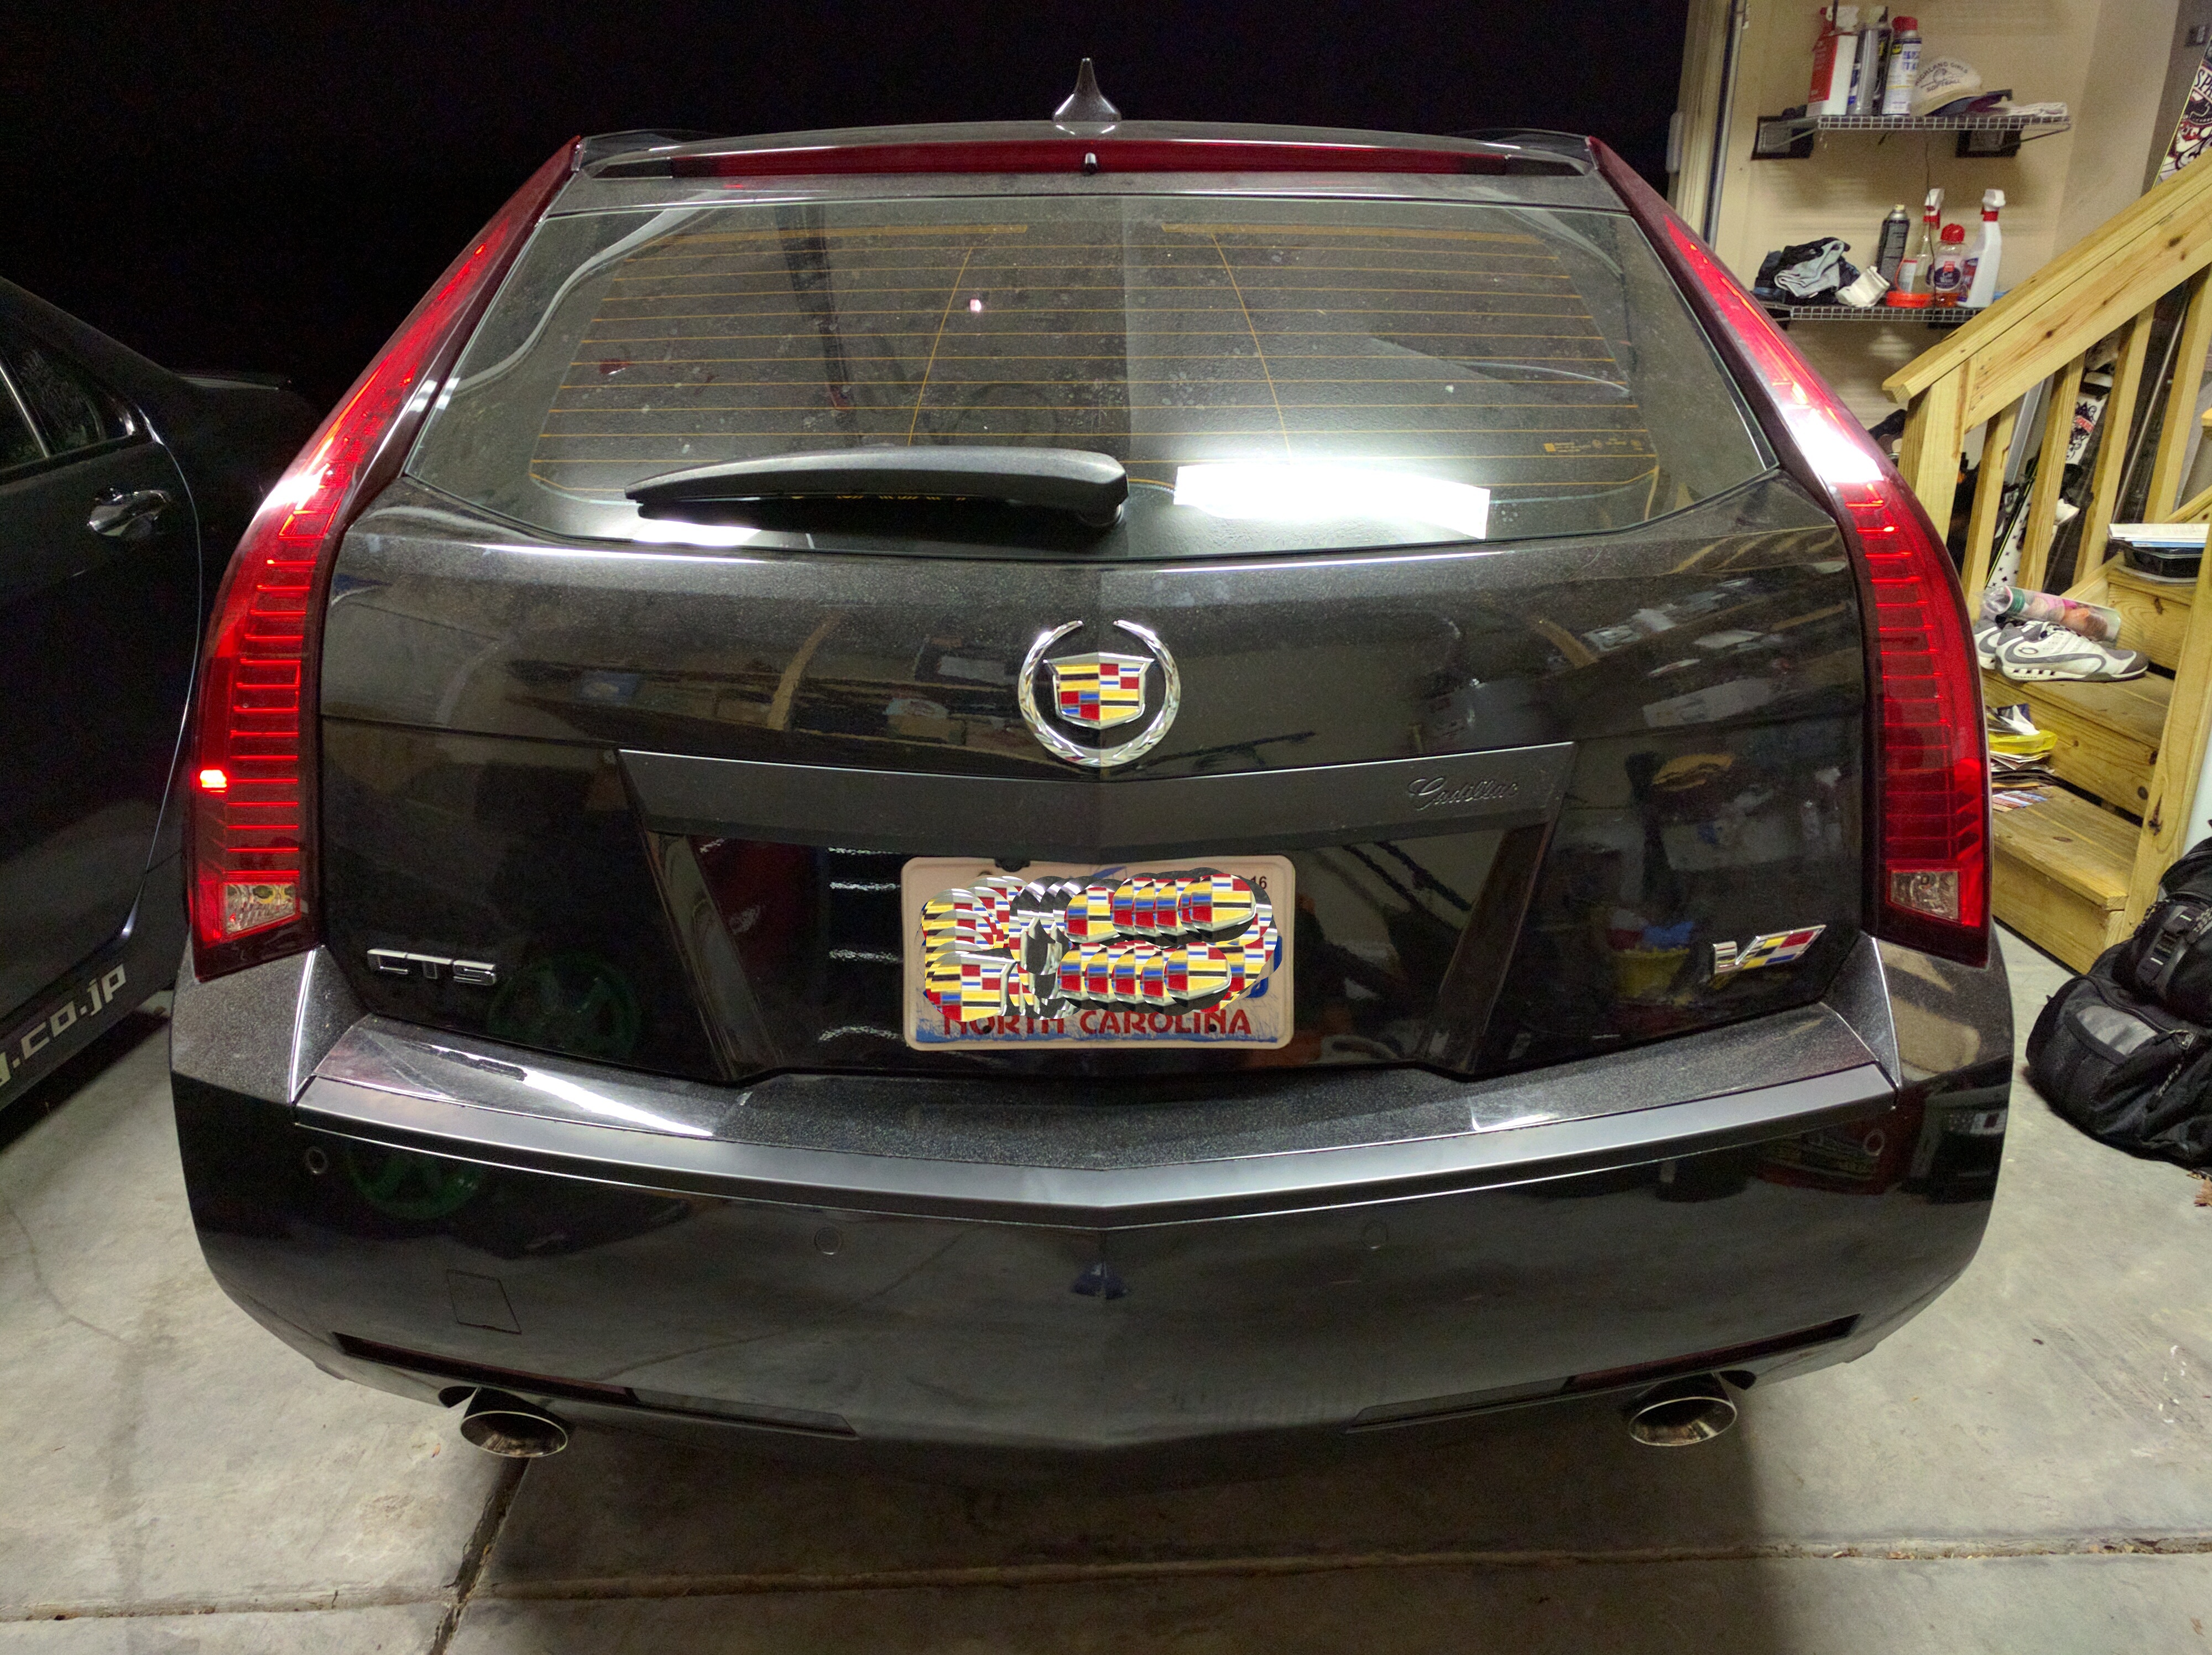
So my first time doing the plastic dip things did not go that great. The bottom bumper strip peeled off with the tape and the hatch piece has horrible little bubbles all over it. Then again I did them at the same time and it was my first try. I redid the bottom as a second try and it came out nice and smooth but the tape was too close to it again so if you look straight down at it from the top you see tiny lines of chrome.
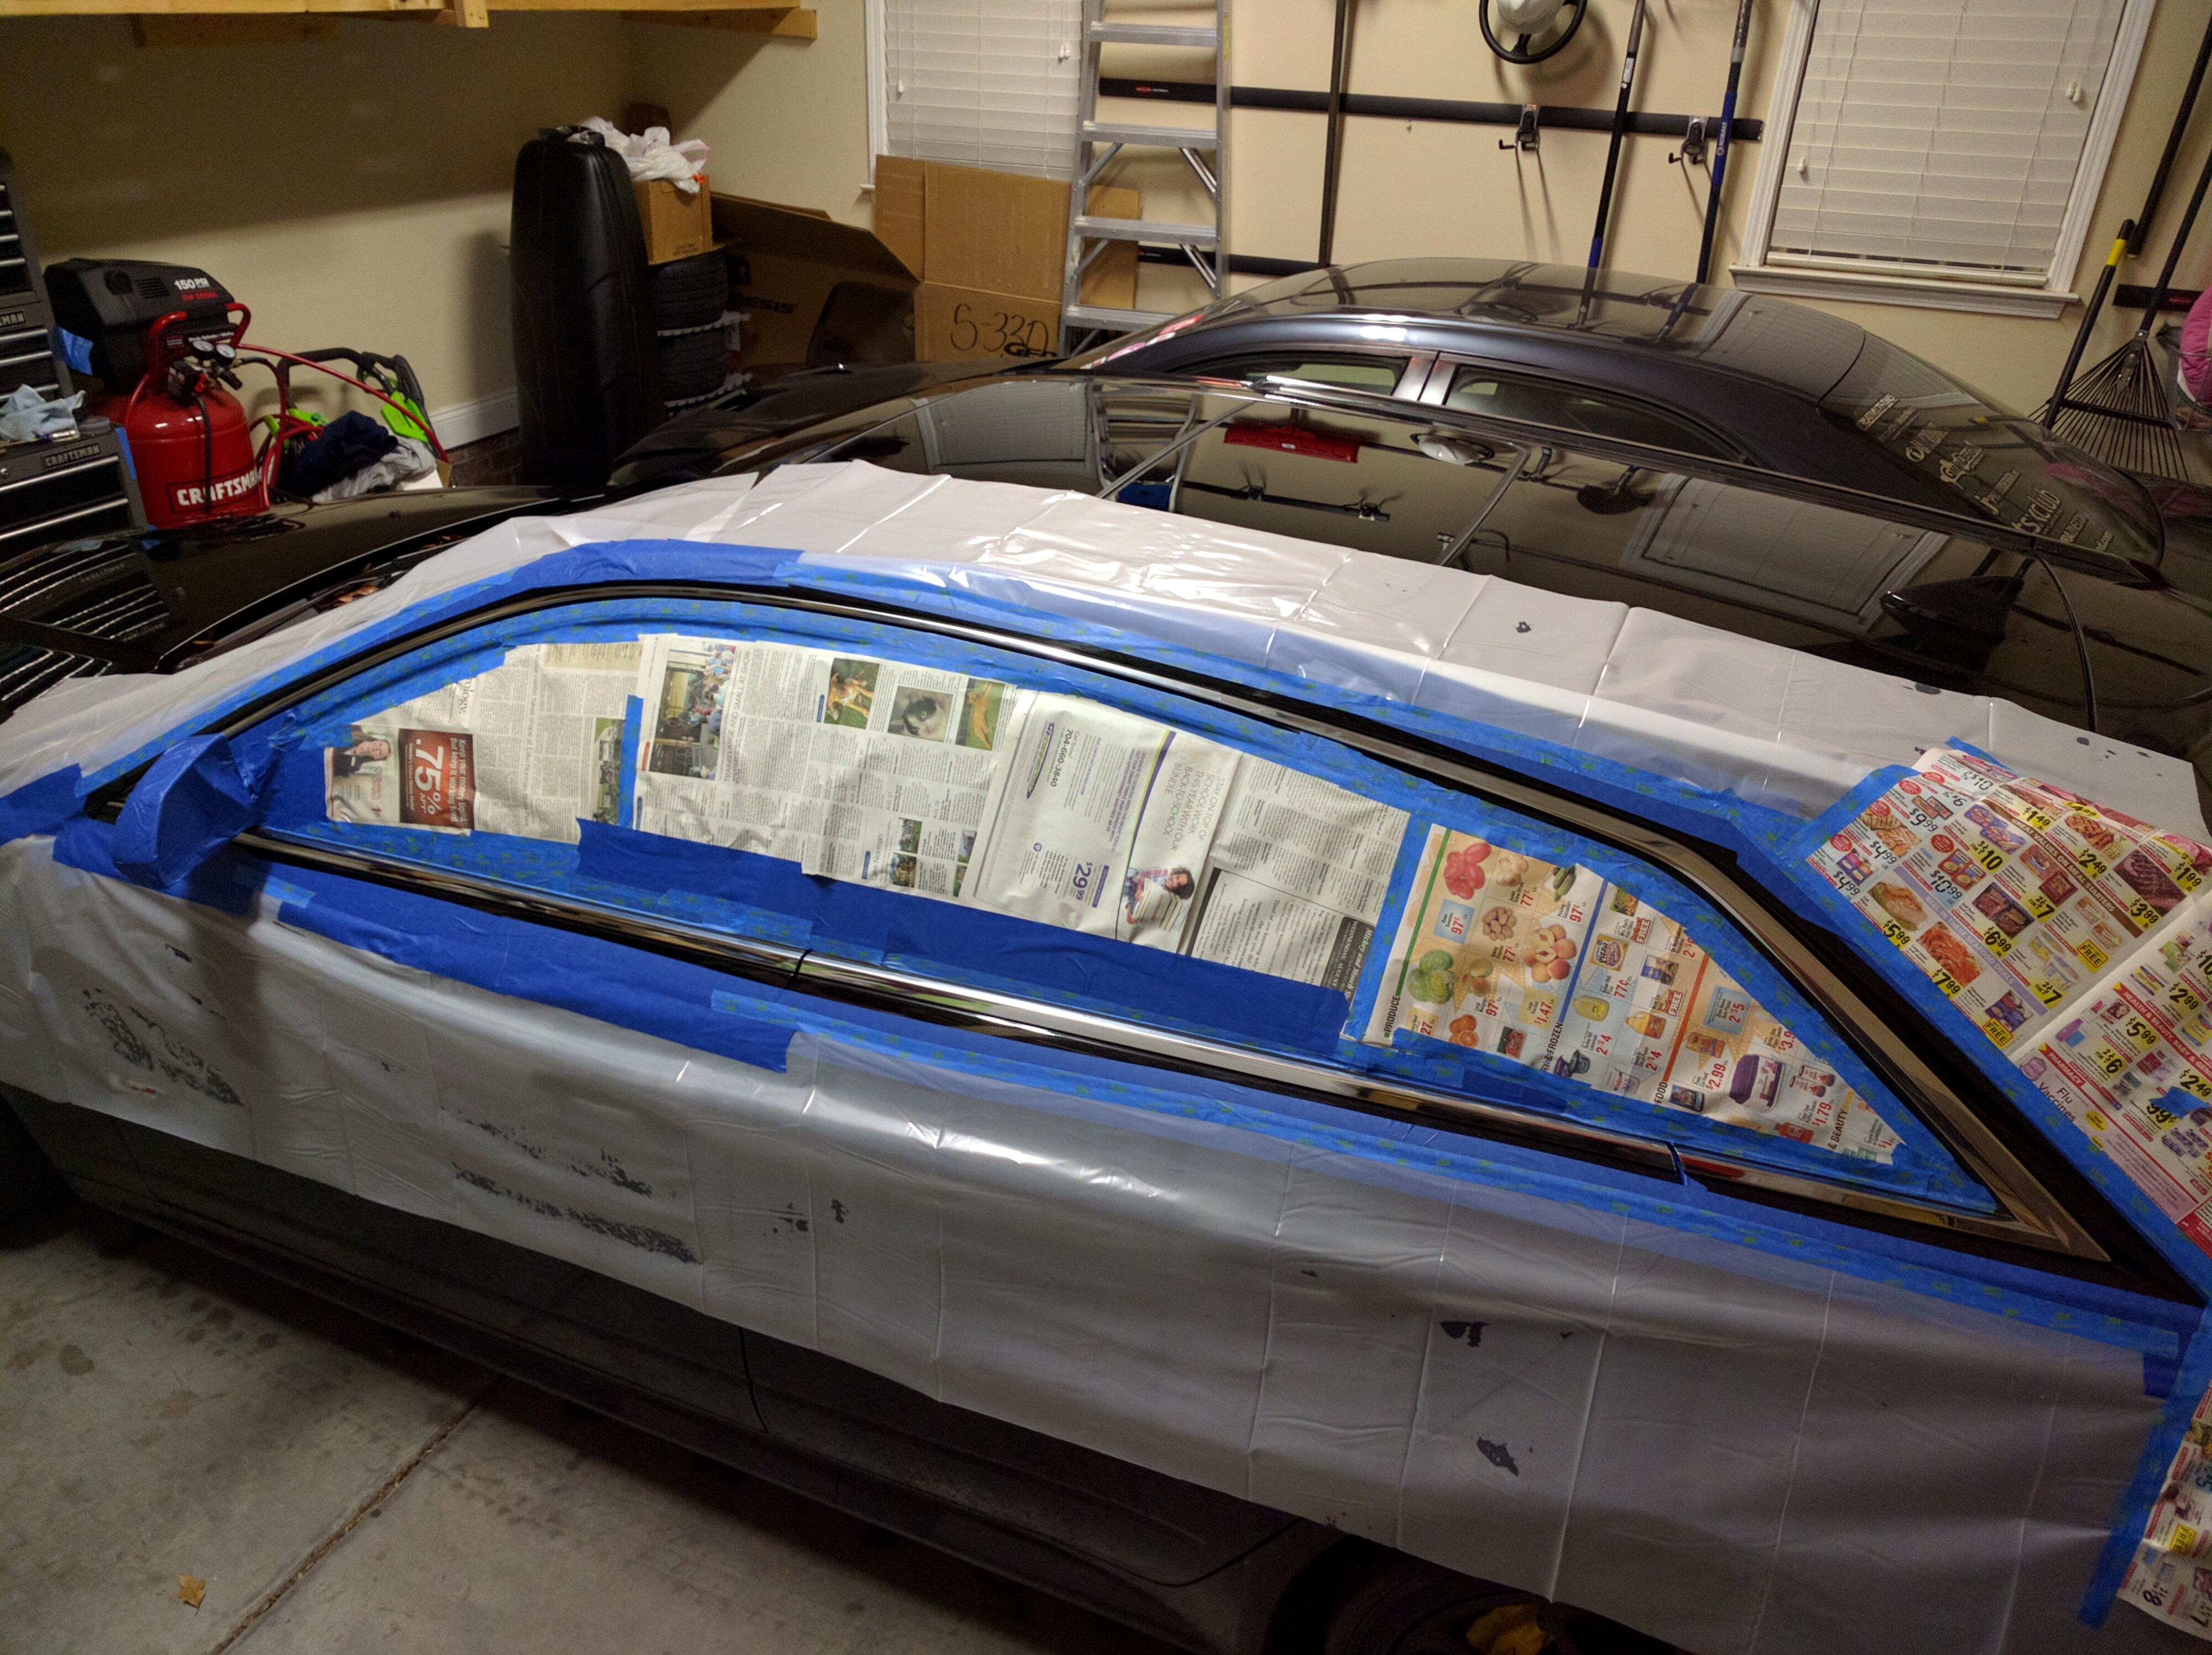
The drivers side window trim I did last night came out much better though so starting to get the hang of it all. It doesn't take that long though. Taping and masking is the worst part of it all. You only have to wait 15-20min between coats and 4 of them total.
Taping the first time.
This is the second time for the bottom piece. Notice the gap now between the bottom edge of the trim and the tape. I thought there was not enough gap between bumper and trim for it to work leaving space for it to make its own edge but apparently there is cause it worked perfectly the second time on the bottom.
Yeah the dip matches that really well. I am thinking of ordering some of the glossy finish dip for the rear hatch parts as it might look better than the matte.
Looks great Colt, I have reggo and gloss sitting on the shelf. I've been meaning to dip as well. I've been considering dipping the 3rd brake / trunk light. I think it'll really look slick on the RSM. We'll see.
Looks great Colt, I have reggo and gloss sitting on the shelf. I've been meaning to dip as well. I've been considering dipping the 3rd brake / trunk light. I think it'll really look slick on the RSM. We'll see.
We have the same color... so you do it first and let me know how it looks...
Oh, and if you're curious... Plastidip doesn't work on the exhaust tips. No matter what they say or what other people say, it doesn't.
Well, I mean, it will for a little bit, but it'll start to cook off in short order. I imagine even sooner with a high output motor and a lead-foot like I'm sure you have in the Vagon. Use a true high-temp paint if you're going to spray them.
I blacked out the chrome on my truck including the exhaust finisher. "They" said the Plastidip would hold up fine and that it's good up to eleventy billions degrees or something.
I think I've decided that I will black out my window trim to match the rest of the window surround, then do a brushed or satin silver... possibly black chrome, on the rest...
Last edited by juniorbean; 12-15-2015 at 03:02 PM.
I wonder if anyone makes titanium dipped tips for the V.
The exhaust I wan't has 4 different tip options you can order and they are actually removable so you can buy others later if you want. You can get chrome, black chrome, gloss black, and matte black.
Trim looks great! Thinking about doing the same on the chrome trim at least on the side windows on our Flex. Likely in a high gloss to match the pillar trims.
Oh, and if you're curious... Plastidip doesn't work on the exhaust tips. No matter what they say or what other people say, it doesn't.
Well, I mean, it will for a little bit, but it'll start to cook off in short order. I imagine even sooner with a high output motor and a lead-foot like I'm sure you have in the Vagon. Use a true high-temp paint if you're going to spray them.
I had plasti dip on my TL exhaust for at least three years. Pretty durable stuff
^ I'll likely go the PD route, to see if I like the look, then look into vinyl later.
I imagine it's a lot easier to remove the PD if you don't like it/it gets scuffed/damaged.

 12-09-2015, 12:39 PM