When you click on links to various merchants on this site and make a purchase, this can result in this site earning a commission. Affiliate programs and affiliations include, but are not limited to, the eBay Partner Network.
So far no complaints, I installed it facing the passenger side since my console was upside down and was on several Zoom calls for work and everyone said they could hear me perfect. I have since flipped it to face me, but no concerns with the audio quality
Next multiday project completed. AFE just released a new 76 mm TB that's a direct replacement for the stock 70 mm, so I jumped at it figuring it would be a great compliment to the ECU tune. I've also been meaning to clean my AFE filter, so figured I'd knock out multiple tasks at once. Here's a before of my dirty engine bay and intake.
And the stock TB with the AFE TB Spacer
First things first, remove the intake tube and remove the dirty cone filter.
I probably have 15-20k miles on this filter, it wasn't awful but definitely needed a cleaning
Inside cone was definitely dirty
Ready to be washed
After cleaning and rinse
Let dry overnight and ready for oiling
I have both the gel and the aerosol, but opted for the aerosol since it coats more evenly and it's what I'm used to with K&N's in the past
All coated and ready for action
In parallel, while the filter was drying I removed the stock TB and AFE spacer
The biggest pain in the ass was removing the coolant lines to the intake as I had never removed them before, and getting pliers in to access the hose clamps was not easy.
And here are the 2 coolant ports after removed
And the 2 coolant lines removed
The AFE TB comes with an adapter plate that replaced my TB spacer
It bolts up to the IM and then the TB bolts to it
Lining it up with the stock IM gasket is a bit tricky
Here's a side by side of the new TB next to the stock one, so shiny!
The TB comes with a gasket to go between it and the adapter plate
Testing and lining everything up. I got 3 of the bolts in before I realized that it's easier to install the coolant lines with it not bolted up
And here's the coolant lines installed before I put the hose clamps back in place
Also the gasket for the TB wire harness came off in the TB so I removed it and reinstalled it in the harness
And here's the new TB all installed and bolted in
Installing the silicone coupler on the larger TB was equally challenging. I ended up having to use a larger hose clamp, thankfully I had larger sized ones in my toolbox.
And here's the cleaned and oiled filter back in place through the intake window
And a final shot of everything reinstalled.
It idled a little high at first start, but they warned that this could happen. I took the truck out and gave it some rips and my god the increased throttle response is very noticeable, as well as the increase in intake growl. I'm curious to see how it performs going forward, but so far it definitely seems like a nice increase and compliment to the ECU tune and other mods.
Very nice, living on the surface of the sun, my first mod on all new cars has always been TB coolant delete. As it is never under 50 here (and mostly over 70) it is not needed.
Picked it up last night, got a fair price on my trade in and a fair price on the sale, they gave me a nice discount on the 17 that's why I was looking at them. They were selling pretty closed to what used 2014's were going for on their lot. I got them to come down a bit further before agreeing to the sale. Truck had 22 miles on it when I drove it off the lot, and 8 or 10 of those were from my test drive. Weird driving a brand new car, I haven't bought new since 2000, but have been driving my gf's new Subaru on and off for months. It was also bittersweet because I loved my old 4Runner so saying goodbye to her was tough, been through a lot of life changes with that thing, but it was time to move on. Here's a pic that I snapped at the dealer, I tried to recreate the pic from 2012 when I bought the 08 and traded in my 03.
And again, out with the old and in with the new again!
Loving the color so far, and the interior is like a freaking living room, so much headroom and so comfortable, way more spacious and comfortable than my last 2 4Runners. Already ordering mods for it
6 years ago today, crazy how time has flown. Thrown some more mods in but need to post up pics, soon....
Long post, small update lol. Replaced the stock steering wheel with a new CF one, this was supposed to be a simple mod but turned into a bit of a debacle... Here's a before of the stock wheel
First step is removing the airbag
Unhook the wires on the airbag
Airbag removed
Remove the wires from the clockspring
I tried to remove the wheel by hand, but ended up needing a steering wheel puller. I've replaced the wheels on my Ack and my 4th Gen 4Runner, and had rented the puller in the past, this time I ordered one on Amazon and had it the next day, for the price of the rental lol
Wheel came off nice and easy with the puller, then it was time to remove all the pieces
Here's the new wheel
You reuse all the original parts from the stock wheel
Stock wheel stripped down fully
You even reuse the rear cowling from the stock wheel that has the airbag mounting screws
And here's everything installed on the new wheel
New wheel installed
And here's where the problem begins. When removing the wheel nut the steering column turned a slight bit, so the wheel ended up being off by 1 notch
As you can see the wheel looks great, but was off 1 notch to the left
I debated not posting this part, but it was a valuable lesson learned. When I went to remove the wheel the second time, I was rushing and didn't get the plugs completely removed from the clockspring, and that's when disaster struck
I knew the part would need replaced, but I was able to at least get it put back together so I could drive the truck to an appointment while waiting for the part
I instantly could tell that the truck wasn't happy and I wasn't surprised
Another sign that something was wrong was that the steering wheel lines were way off when I put it in reverse
Got the new clockspring in and got it installed
Here's the clockspring and steering wheel sensor removed
I snapped a pic of the part number while I had it out incase I would need a new one, thank goodness I did
I pulled everything back apart and tried recentering the sensor by hand, but alas it did not work, and eventually the sensor failed and the steering wheel lines disappeared, so I went ahead and ordered a new one. When I pulled the old one, it was clear that the sensor was toast, it had grease oozing from it
Researched the part and prices and found a good deal on one, here's the new part when it came in
New part all installed and ready to go in
New sensor and clockspring in and ready to go
And finally, the new wheel all installed properly with working clockspring and steering wheel sensor.
Thankfully the steering wheel sensor resolved the 2 dash lights and everything worked after it was replaced. Definitely a lesson learned as I always take my time and am meticulous with details. One slip up costed some time and money and plenty of aggravation, but I'm happy that I was able to fix everything and save myself a trip to the dealership. Plus the new wheel looks great and I love the thicker thumb areas which is the main reason I bought the wheel. I took the truck to a concert an hour away and everything worked flawlessly, the cruise control, headlights, volume controls, so I'm happy it's all fixed. Definlitely don't advise rushing when removing a steering wheel, I have done it a dozen times and all it took was 1 slip up to piss me off
On a happier note, on my way to the concert I broke 34K miles, just after 6 years of ownership, so had to grab a pic
This week I've been doing a deep cleaning/detail of the interior. The carpet still needs some love, but this is the cleanest my interior has been since I did the massive detail 4 years ago. Here's a couple shots after I conditioned the leather.
Ignore the dirt on the floormat, I walked through my daughter's chalk drawings before taking pics
Couple small updates... I bought a dash trim piece to match the CF steering wheel. I don't want to go CF crazy in this car, but I wanted something subtle to compliment on the other side. Here's a before of the random trim piece above the dash that's a bit out of place in this interior
And here's the piece with a side by side with the steering wheel
It attaches with 3M double sided tape, install was super easy
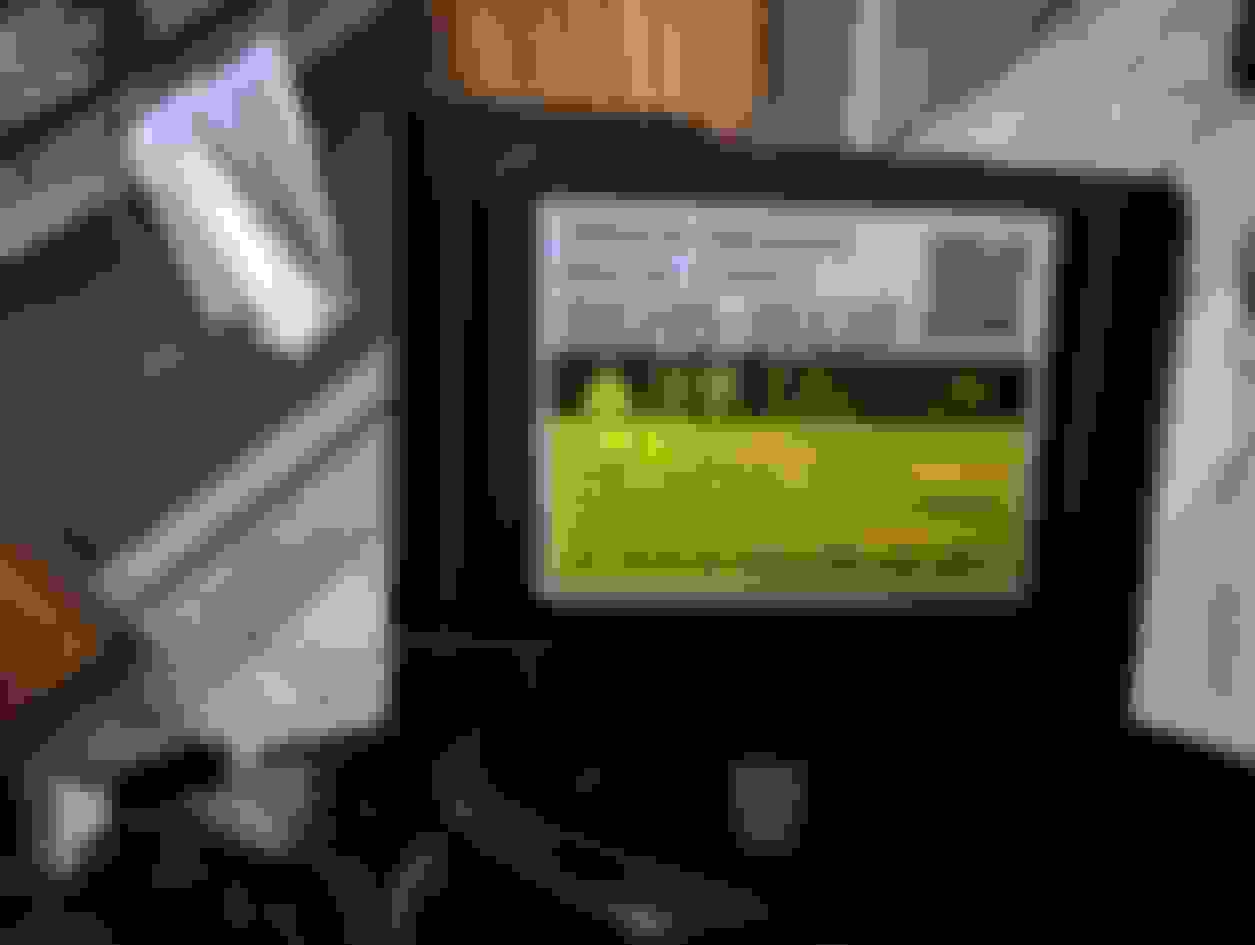
And here's a wider shot of the trim piece and the steering wheel. (I realized that when I detailed the interior I didn't clean the Kenwood screen, so I did that after this picture lol)
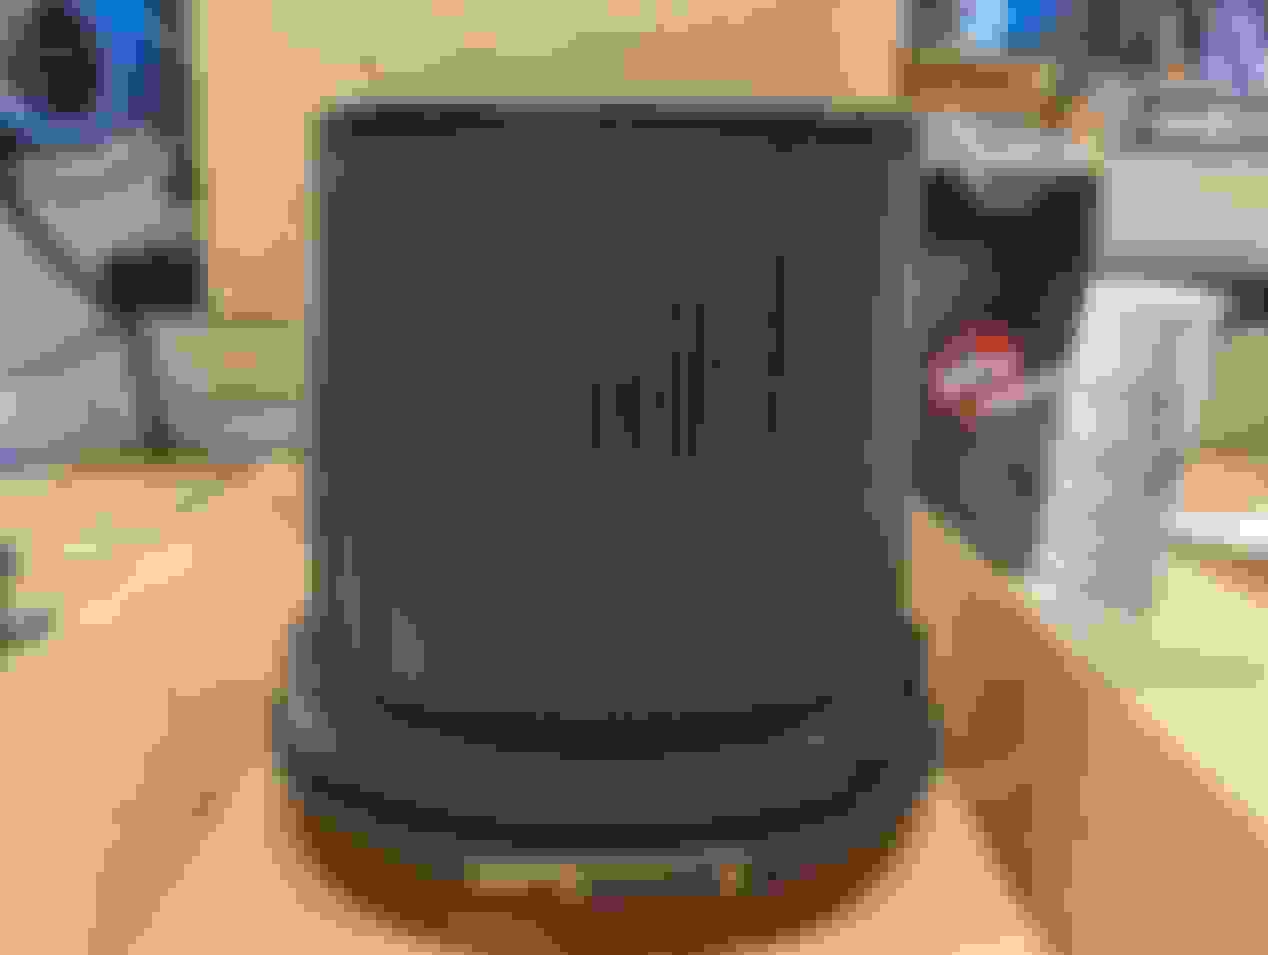
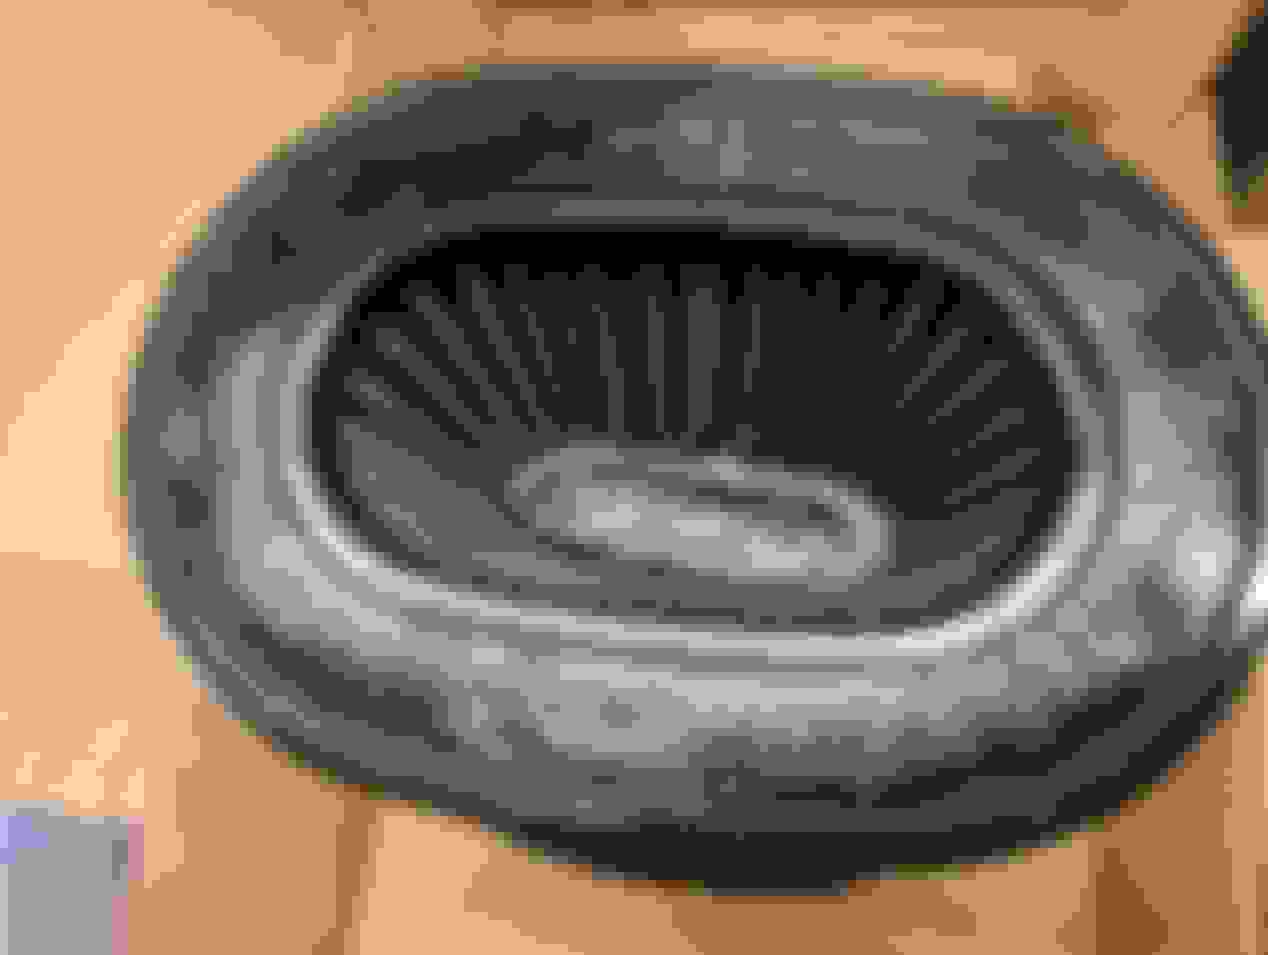
Also as part of my 6 years of ownership anniversary I decided to replace the cabin filter which I haven't done in a couple years. Pulling the old one out
And it wasn't terrible since I don't drive a ton, but it definitely was dirty and had some debris in it
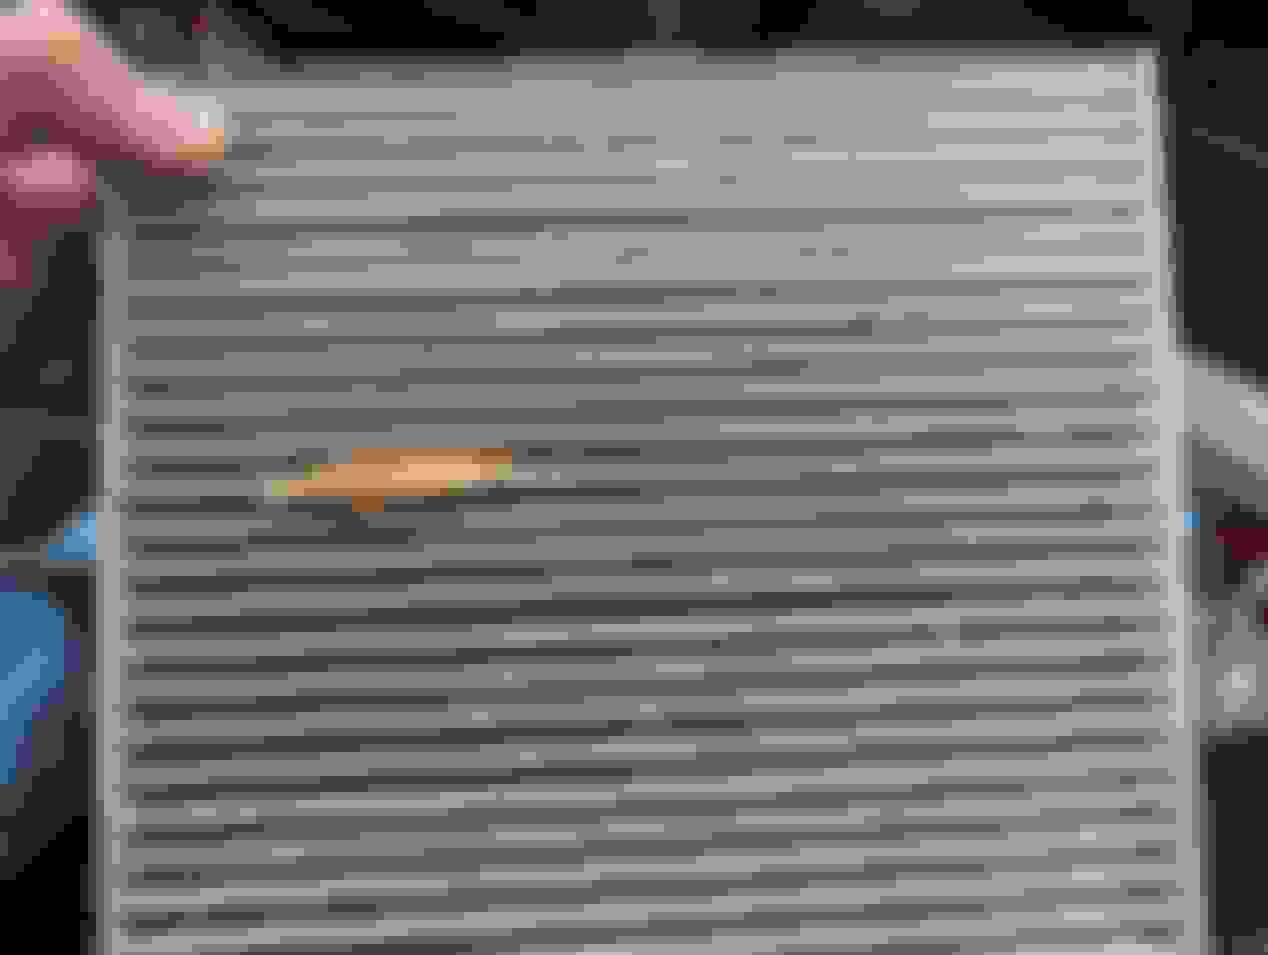
New filter about to go in
And here's another interior shot with the touchscreen cleaned
I had another mod planned but had to order an adapter, so more to come
You're such a giant dork.
but I appreciate your attention to detail and your undying
commitment to posting to the forums. some of us
old schoolers are really carrying this place.
that sucks, I had a clockspring issue & found there is no need to pay Toyota 200+, the sub 40 dollar Chinese units work fine. (I got it on Amazon after the OEM failed almost immediately, Amazon cheap one going strong over a year now)
Another small update that I've been putting off since I had performance mods and other things taking priority. I decided to replace my Expedition Essentials phone mount with a wireless charging mount. Here's a before of the old mount
I removed the center console safe because my initial plan was to run the power wire for the charging mount from inside the arm rest/center console safe, however I quickly realized that there is no way to run from the safe/arm rest area under the center console without drilling. To make things more difficult there really is not much room underneath the 12v plug in the arm rest console shown here.
I was all set to drill when I realized that I have 2 12v plugs right in the back of the console that also is right next to the underside of the center console that I was planning to run the wire anyway. I used a low pro USB plug so that only the plug sticks out and I used a little wire clip to lessen the wire
I fished the wire along the side of the center console and zip tied it with my other bunch of wires
Removed the old mount since I don't need it any longer
I purchased this mount back in 2021, and I wasn't sure what I wanted to mount on it so it's just sat on the shelf for a couple years. In 2022 I got a deal on the wireless Mighty Mount which I have been waiting to install.
The Pro Clip snaps into the channel next to the change holder and clips under the center console and also uses double sided tape to mount.
Here's another look at the mount
And here is the ball mount installed with 4 screws
And here is the wireless cell phone mount, it has motorized arms that close to hold it in place. I tested this a while back so I already knew it worked and was sized for my cell phone
And here it is all installed, I tested everything and the wireless charger works great
Some small updates, got the truck inspected, put new rotors on the front, and put the stockies back on for winter. Excuse the parking job, the person next to me was way over the line
Washed the summer wheels to get them ready for storage
I also coated them with wheel sealant so they're ready to go in the spring
A few days after my inspection, I was driving home from getting groceries and my traction control started going nuts, the truck went into limp mode and was not happy. Thankfully I was right by the shop that did my inspection so I limped it up to them and they pulled the code which indicated that the steering angle sensor was bad. He recalibrated the system and I was able to get the truck home, but I knew the cheap Chinese sensor that I installed was the culprit so I instantly ordered an OEM clockspring and steering sensor.
Having the truck freak out and traction control going nuts was scary enough to make me want to spring for the OEM parts and I found a good deal for them on eBay
The OEM Panasonic steering sensor
Upon removal, it was clear that the sensor had failed after just a few weeks and only a couple hundred miles....
I never dreamed that this sensor would be so vital, but lesson learned. Here's a side by side of the OEM and the knockoff
New OEM clockspring and steering sensor all installed
And back to normal. Hoping to not have any more issues after this, definitely a lesson learned to not buy knockoff sensors and only buy OEM for something like this
That's crazy, none of the clocksprings I got came with the sensor, I reused the original.
I bought both separate the first time, I was looking for just the OEM sensor but found both parts together and said why not... Much more piece of mind with the OEM parts
You know, I saw the stock wheel and thought, I really like it, especially with the gray emblem but the carbon looks even better, nice work!
Thanks man, I love it... Not sure it was worth all the nonsense with the clockspring/sensor bs but I do enjoy the wheel and love the look and feel of it
Also funny, I had messaged the seller of the faulty sensor before I ordered the OEM parts, I should have asked for a return but I was pretty shaken from the truck freaking out. They sent me another chinese knockoff sensor, but also removed the listing for the part on Amazon so I can't leave a bad review But needless to say that knockoff sensor is going straight in the trash....
12/30 is my yearly oil change date, so keeping up with the last 3 years, I went ahead and did the oil change again on 12/30. I picked up a set of Black Widow oil change ramps to make life easier, and this was definitely labor wise the easiest oil change I've ever done in a garage.
I also picked up a legit oil change mat, since using puppy pee pads just doesn't give me the coverage that I need on the garage floor.
Since the drain plug is behind the filter I put the mat front to back and it worked out great. I also didn't spill much oil whatsoever.
Also still loving my skid plate with the trap door for the oil filter.
I'm also on my last TRD filter so I wanted to compare to the stock Toyota OEM filters, and think that I'll be sticking with my TRD filters as they just seem to be much higher quality.
Got the filter housing all cleaned up and installed the new filter and O-rings.
Also very happy with the aluminum filter housing, and glad I made that upgrade as well.
Oil all drained and ready for fresh.
Also a small little thing but I grabbed a new rear wiper since mine is 7 years old, there wasn't anything wrong with it per se, but figured it was time for a new one.
Super quick install
I have more mods pending, but had more issues with my ABS and Traction Control so been holding off on mods for the time being, but hopefully have all those issues sorted out. :fingerscrossed:
for ramps. Made the oil change on the Explorer a lot easier.
I ended up removing the air dam from the front bumper of the Expedition & just slid under it without lifting, since the jack I had wouldn't even attempt to lift the truck.
Why is the TRD filter a higher quality? Just because of the metal ring thing? Can't imagine it actually filters any differently than the normal one...
Originally Posted by Yumcha
Per Sam's question, yeah, what's the primary difference in the filter you can observe/describe?
I honestly don't know that it's that much better honestly, I got them on sale years ago and have been using them ever since. To me the filter mesh material just seems better quality. They're made by Champion Labs who makes Royal Purple, the TRD, Mobil1 and I believe K&N so they're definitely a good quality filter IMO. How much better? IDK but I couldn't beat the price when I got them on clearance. Just trying to decide what I'm going to go with next year since I have a bunch of OEM Toyota but no more TRD ones
Looks great ! love my TRD Pro skid with that door. I use Wix on the Tundra & Prius, Mann on the BMW.
I also just killed my Amsoil account after seeing a Blackstone report that was better than mine on a SC Tundra that used Kirkland Full Syn. I got 20 quarts for the Sequoia, Prius & BMW for less than 1/2 of a single oil change for the Sequoia of Amsoil.
I honestly don't know that it's that much better honestly, I got them on sale years ago and have been using them ever since. To me the filter mesh material just seems better quality. They're made by Champion Labs who makes Royal Purple, the TRD, Mobil1 and I believe K&N so they're definitely a good quality filter IMO. How much better? IDK but I couldn't beat the price when I got them on clearance. Just trying to decide what I'm going to go with next year since I have a bunch of OEM Toyota but no more TRD ones
I'd just use the OEM Toyota one if it's notably cheaper lol. It's a 4Runner which is basically unkillable to begin with haha.
I keep expecting to see a trade in one of these days in this thread. It is getting to that time. Wish the wheels would have stayed on like last winter
No trade in while they are still selling the same gen, once the 6th gen launches I definitely will be looking to upgrade, but not until then and probably not immediately
 08-01-2023, 10:29 AM


 some of us