When you click on links to various merchants on this site and make a purchase, this can result in this site earning a commission. Affiliate programs and affiliations include, but are not limited to, the eBay Partner Network.
So I just called my indy shop and they said they can't install a customer bought compressor. So, estimate was between $900-$1300 to service and replace components.
I'll be DIYing now lol. Will rent the A/C vacuum and gauges from an auto store and tackle this project in the coming weeks.
So, installed the rockauto cables today. Pretty straightforward DIY. Hardest part was removing the metal battery bracket lol.
I didn't take pics like I normally do, but steps as follows:
1) disconnect + and - terminals
2) remove battery
3) remove intake tube (right next to the battery in front by radiator)
4) unbolt and remove metal battery bracket. There is a 3rd bolt on the bottom by the intake and is a PITA to get too.
5) disconnect oem cable from battery bracket and starter. Then disconnect oem cable from fuse box. Also disconnect negative cable from body.
6) install new cable in reverse order. The cable configuration was slightly different and was not following the same route as OEM. I ended up figuring out a way to install and get good connections without strain on the wires.
7) install battery bracket and battery. I elected to only reinstall the bolts for the battery tray from the top.
8) connected terminals to the battery. Ensured there was no strain on the connections and everything was nice and tight.
9) reinstall intake tube and plastic cover.
10) did a once over for any tools and then went to start the car. The car fired up on the first try
The new cables were thicker than the OEM, so I had to do some adjusting. Install complete.
So far, 2 successful starts. Will monitor, but I hope this resolves my intermittent starting issues.
Work has been extremely crazy. Past due on service for the TL and I'm finally tackling the A/C install. Plan is to knock out oil and filter change, coolant (removing radiator), compressor, dryer, expansion valve, and new cabin air filter since I'm removing the blower.
The part I dreaded the most is already complete thankfully. I already took apart the inside to cheng the expansion valve to put it back together. Several swears, but it's not as bad as I thought it would be.
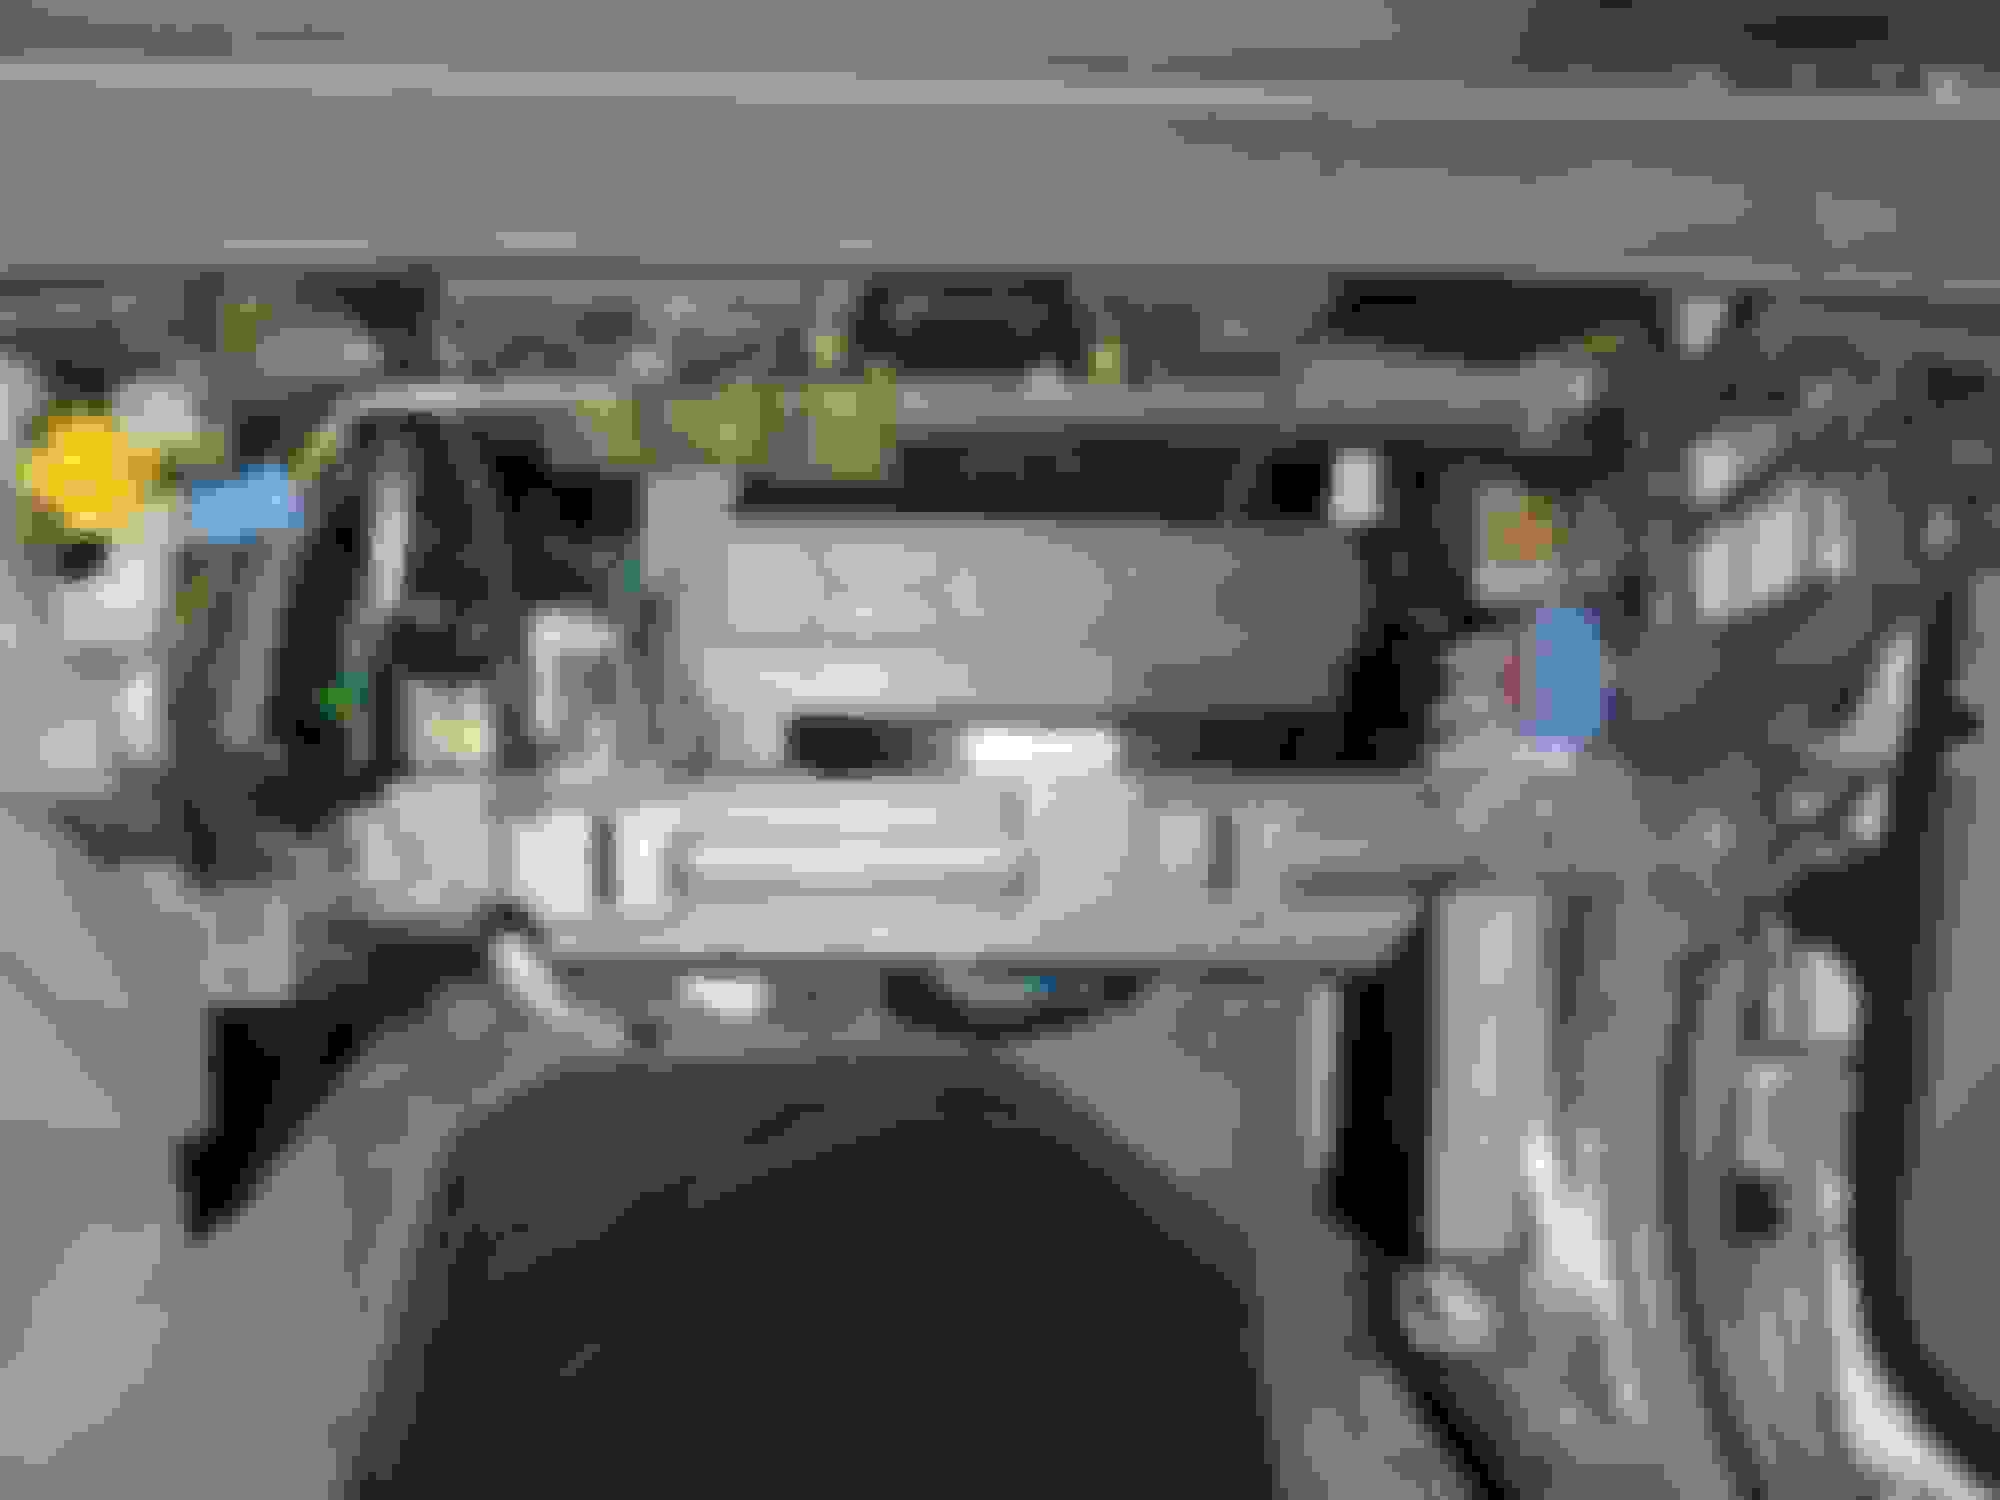
Taking it apart... straightforward for the most part and plenty of YouTube videos to help. Blower motor ready to come out. 2 bolts and 2 nuts to pull. Afterwards, I gently pulled it out rocking left and right. This nut is not accessible... i loosened it to help with re-installing. The clearance I left... it helped tremendously. Blower out and this plastic cover between the evaporator and blower motor. There are quite a bit of self tapping screws that need to be undone to get it out. Evaporator exposed. Onto the engine bay to get that 10mm bolt that is holding the lines in place. Its a PITA and you need a u joint to get to it. The cruise control was also an issue, but finally got it. Unbolt the brackets holding the High and Low pressure lines so it can move when you pull it off the evaporator. The setup to get that damn bolt. A little mess... be sure you have some rubber mats or newspaper to protect the carpet. Pulled the evaporator out. Have to slightly dance it out while pulling. There was a small slot underneath I put a thin flat head screwdriver to help as well. Removed old one. You have to reuse the foam piece and screws. I put never seize on the bolts and lubed the o rings before installation. Installed the new Denso Expansion valve. It came with the 4 o rings and I changed all of them. The 2 for the lines had the most cursing 🤬 This was the hardest part lmfao... the damn o rings were a struggle to put on. No easy way to get under the dash while the lines are moving. Got 'er done though. During reinstall, changed cabin air filter. Done... drinking a beer, eating lunch and then back to work.
So, completed oil change, A/C compressor install, and thr dryer install on the condenser. Ton of cursing, but it all worked out.
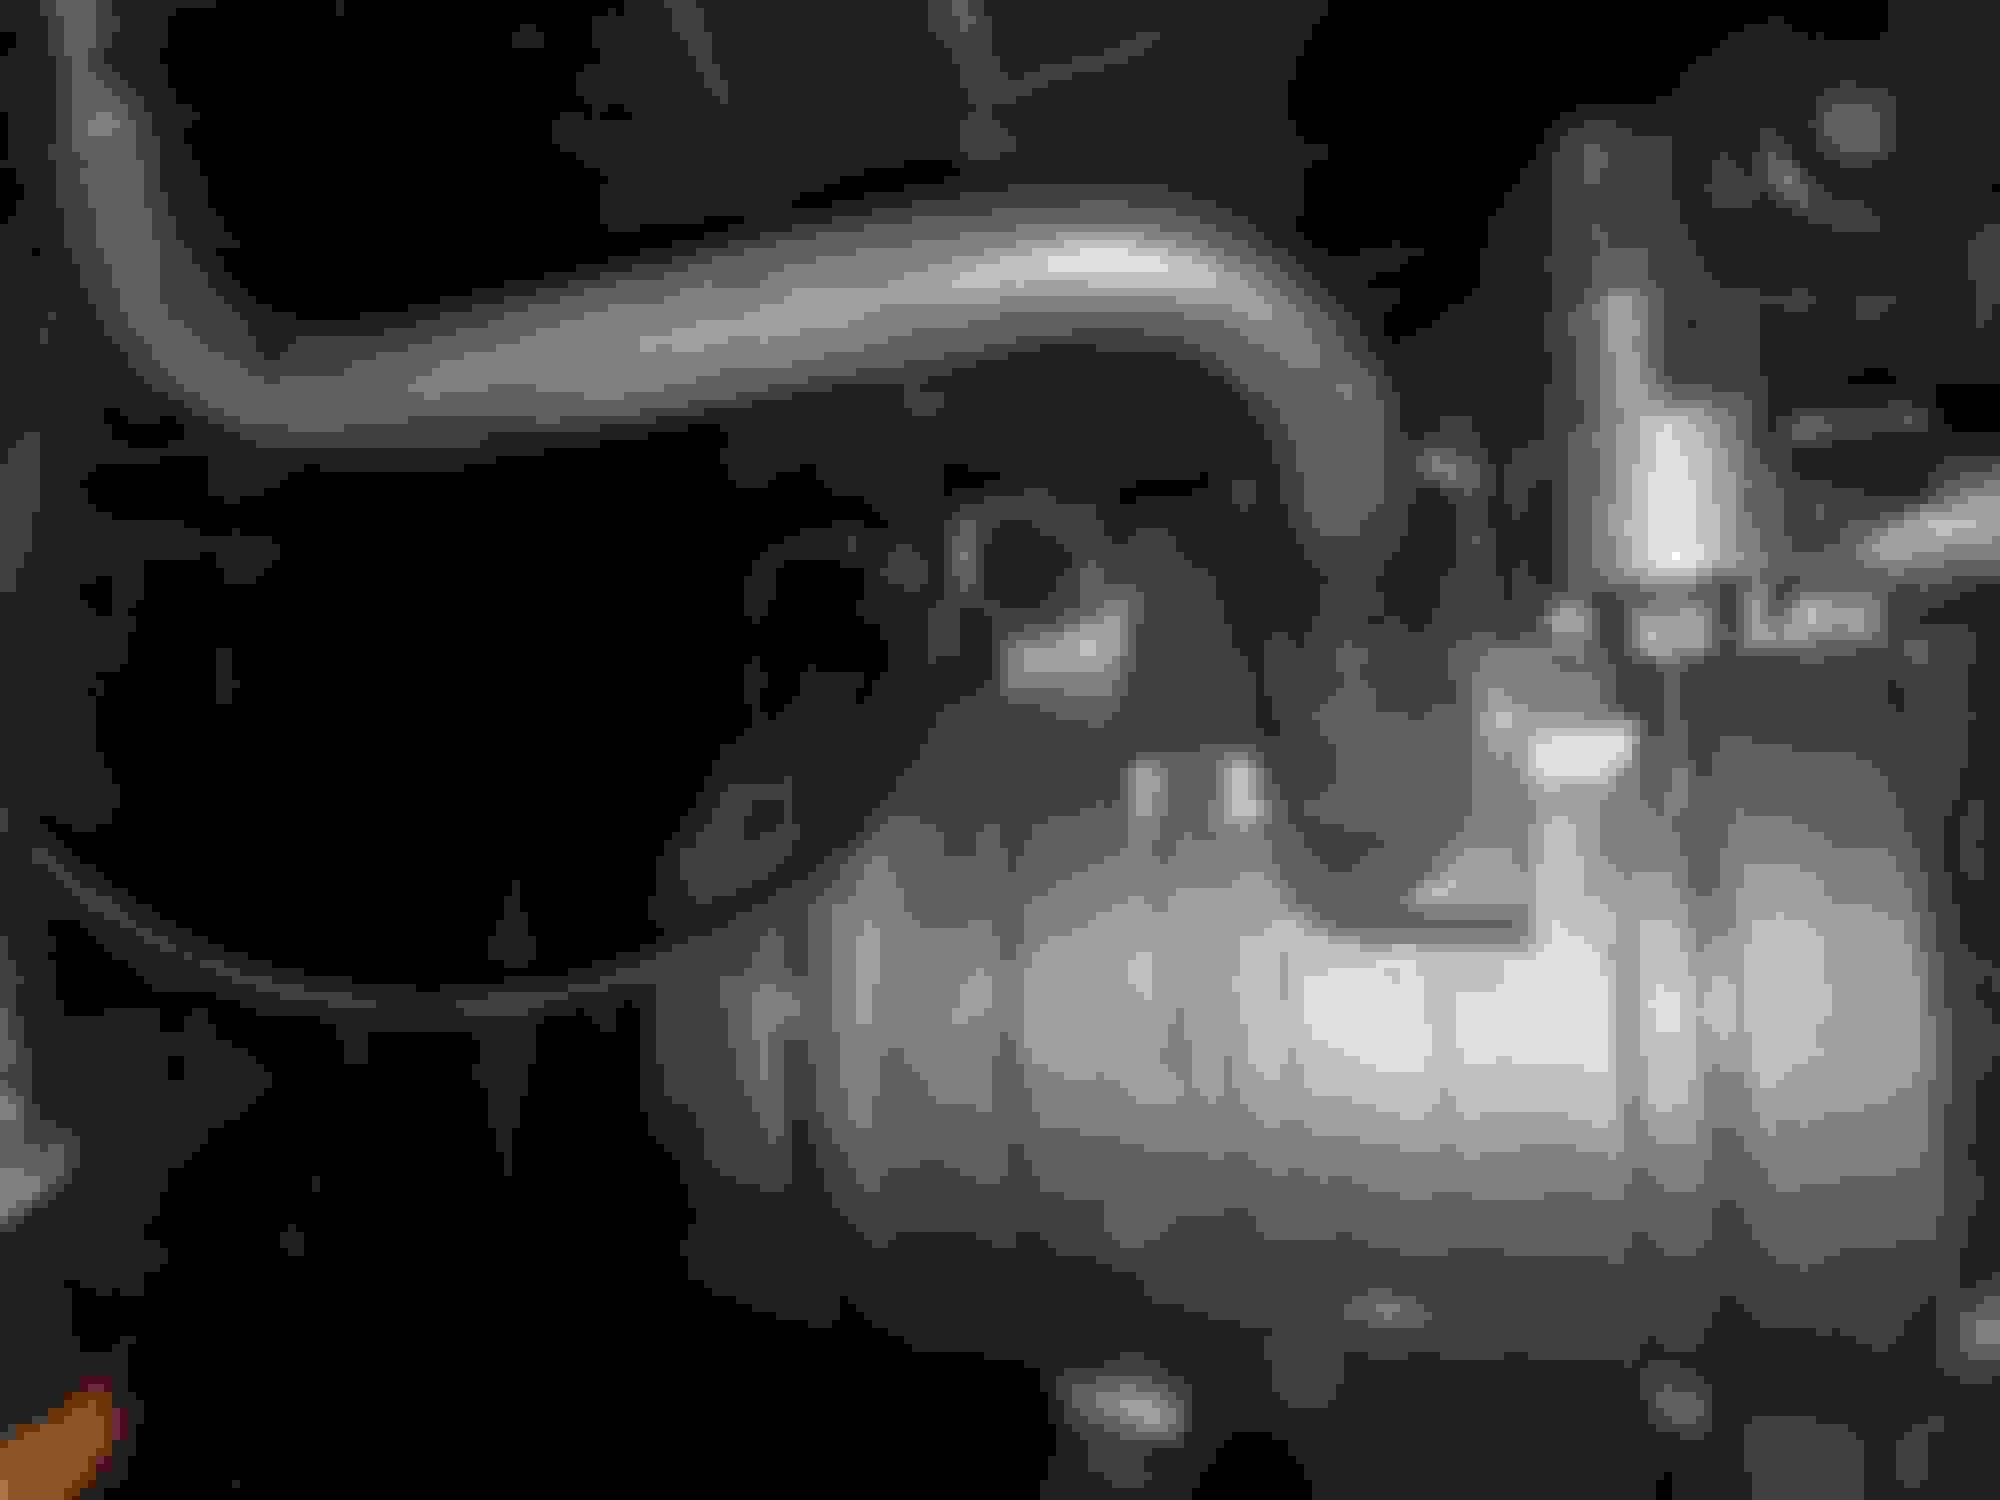
Radiator and fan shroud out Compressor out and comparing to new Denso Had to drill out the stripped 5.5mm bolt. This was a PITA as I teied to save it for 1 hour. Went to Ace, snagged some M6x1.0 20 mm bolts to attach the bracket. Condensor out to change dryer Dryer swapped New compressor installed
Pulled oil filter housing... gasket was stuck. Tip: recommend disconnecting the 2 plugs prior to unbolting. Took me 15 mins trying to disconnect them while the housing was hanging. Removed and cleaned up the housing to install new gaskets. I went to the dealership to get new gaskets (15825-P8A-A01 and 36172-P8A-A01) on Saturday. Everything mated up fine. Tip: fix leaks before you complete your oil change lol. Completed oil change on Friday. Saturday, I realized I should change these gaskets, got to it today. Forgot the crush washer.... I ended up draining the oil anyway to install it 😠 No issues, just frustrating. Reinstalled radiator after a good rinse. Double checked all connections, filled coolant, and started the burping process. Took a while, but thermostat finally opened and fans kick on and off as they should. All is well. Currently don't see any leaks on this side... I now its leaking at the RMS. Added R134a to the system. All is well... A/C compressor is engaging, A/C fan kicks on, and cold air is blowing inside the car! Reset and GTG!
Since JAN 2023, I got my RSX up and running, so I've been driving the RSX over the TL. Took this afternoon to knock out an oil change and plan to drive the TL this week.
Hey man, what's up!?!?! Love the updates...
after ALL that work you put the freon in in that can? I hope it didn't have any stop leak in it...
Get a set of gauges and a vacuum from harbor freight or amazon...you need to suck out the system
to ensure no moisture is in there and to ensure there are no leaks...and then you can add the 134
with the much cheaper cans of pure refrigerant.
Anyway, I love the work you put in...why did you end up having to replace the evaporator?!? I had to do
it on my 96 Yukon and it was a JOB.
GM Sir! Definitely appreciate the advice and will look into gauges and vacuum setup for future work. I did go the cheap route to get the A/C running and figured worst case, I can go to my indy shop to do the A/C lines vacuumed and recharged.
Fast forward 9 months later, A/C is blowing like a champ and no leaks! I replaced the evaporator because it was recommended based on the compressor warranty and didn't want to chance it. Also, I bought the car with the A/C inoperable, so figured to knock it out.
All in all, this TL has been an amazing DIY project. Still shocked how well it drives and looks for being 19 years old. I do think I need to bit the bullet and take it (and thr Mrs. MDX) to get the RMS replaced. The undercarriage is pretty soaked and it's wreaking havoc with oil spots all over the driveway.
well there you go...
what do I know!
and honestly, unless i absolutely have to...i will NEVER replace anything but the compressor and drier.
that's it...if it holds vacuum and you don't have black death debris all through the system, it's wayyyy too
much work for what it is.
Oddly enough on my last TL and my stepdaughter's TL a can of 134 would keep it cold for a whole year at a time. LOL.
my TL-S is good to go.
RMS might also be the oil pump seal...pretty sure they go hand in hand.
So today, while I was driving home, the check engine light popped on. Got home and did a quick look over the engine. PS fluid was low, so I added some. Pulled codes and got P2279 which pointed to a vacuum leak.
Started the car and sure enough, I could hear a loud air leak. Turned out to be the EVAP purge valve hose:
Massive tears in the hose Had spare rubber tubes in the garage to make a temp fix Decided to just use this universal tube instead of trying to rebend air hoses from my other vehicles. Installed!
This is a temp fix until I can get a replacement hose.
 02-26-2022, 10:04 AM