When you click on links to various merchants on this site and make a purchase, this can result in this site earning a commission. Affiliate programs and affiliations include, but are not limited to, the eBay Partner Network.
The goal from the start was to try and make it look as stock as possible. The display on the TLs once cutout fits a 7" tablet very very well. I wanted to re-locate the HVAC display to where the OEM clock was, kinda like the NAV version gives you. Losing the clock wasn't much of an issue since the Nexus 7 has a clock. I wanted to retain the stock function that dims the display lights when you turn on your headlights. I will include a list of the parts I used but they will all be from Amazon Canada since...well I live up here. At the same time I followed the LED conversion guide from DeathMetal that can be found here.
The tablet runs stock Android 5.1.1 and runs on top a different kernel made by Timur named Timur's Kernel. It adds a couple features like fast charging (to keep the battery topped up even under full use while max screen brightness), charging while still passing data (so you can play music using an external USB DAC) and deep sleep (so the battery doesn't die to quickly when the car is turned off, and the tablet will auto-sleep when you remove power aka shut down the car). I am using v3 which runs on 5.1.1, but he is currently working on v4 which runs on Android 6 and adds USB cam (for a rear cam, v3 only supports analog to USB adapters which can be finicky), but v4 is not in final release as of writing this guide.
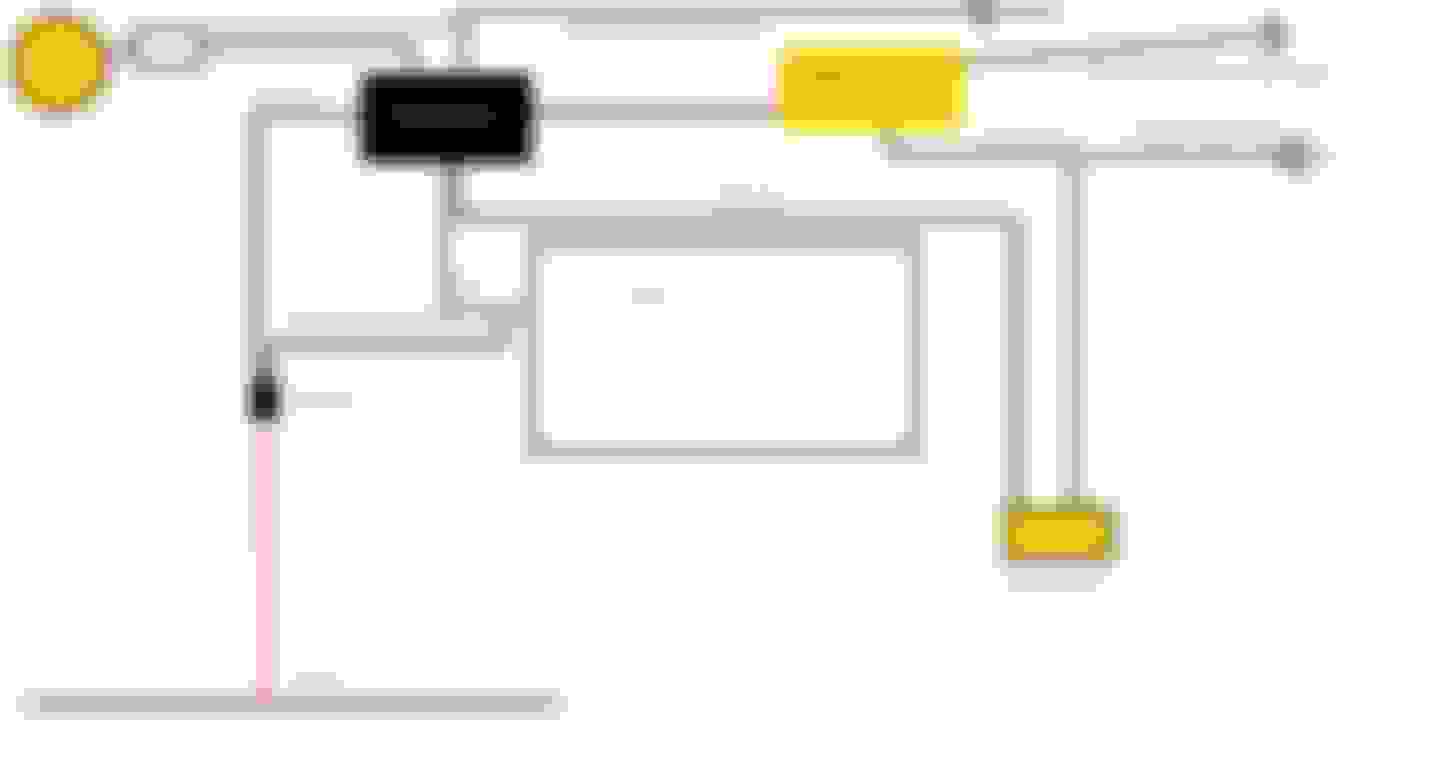
Here is the plan/layout for this build. I do plan to change the stock HU for something else in the future so the steering wheel controls using a JoyCon might be added down the road, same with the USB rear view cam once v4 final is released.
Here are some finished shots to give you an idea. The bottom cubby was too small for my cellphone and the 12V adapter is recessed so far in I couldn't easily plug a USB cable in there, let alone at night, so it has a custom plate I built out of ABS plastic with a 12V to USB taped into the line from the arm rest epoxied in there plus the usb/aux adapter. A small 90 degree metal plate holds it all in place. Some modification of the cubby had to be made to fit the wires behind. For the 12V to USB adapters, solder the negative cable to one of the sides and the positive cable to the bottom metal piece, wrap with lots of electrical tape and tap into +/- properly. And enjoy a little Boo
Follow some guides to remove the trim and plastic pieces to get to this point.
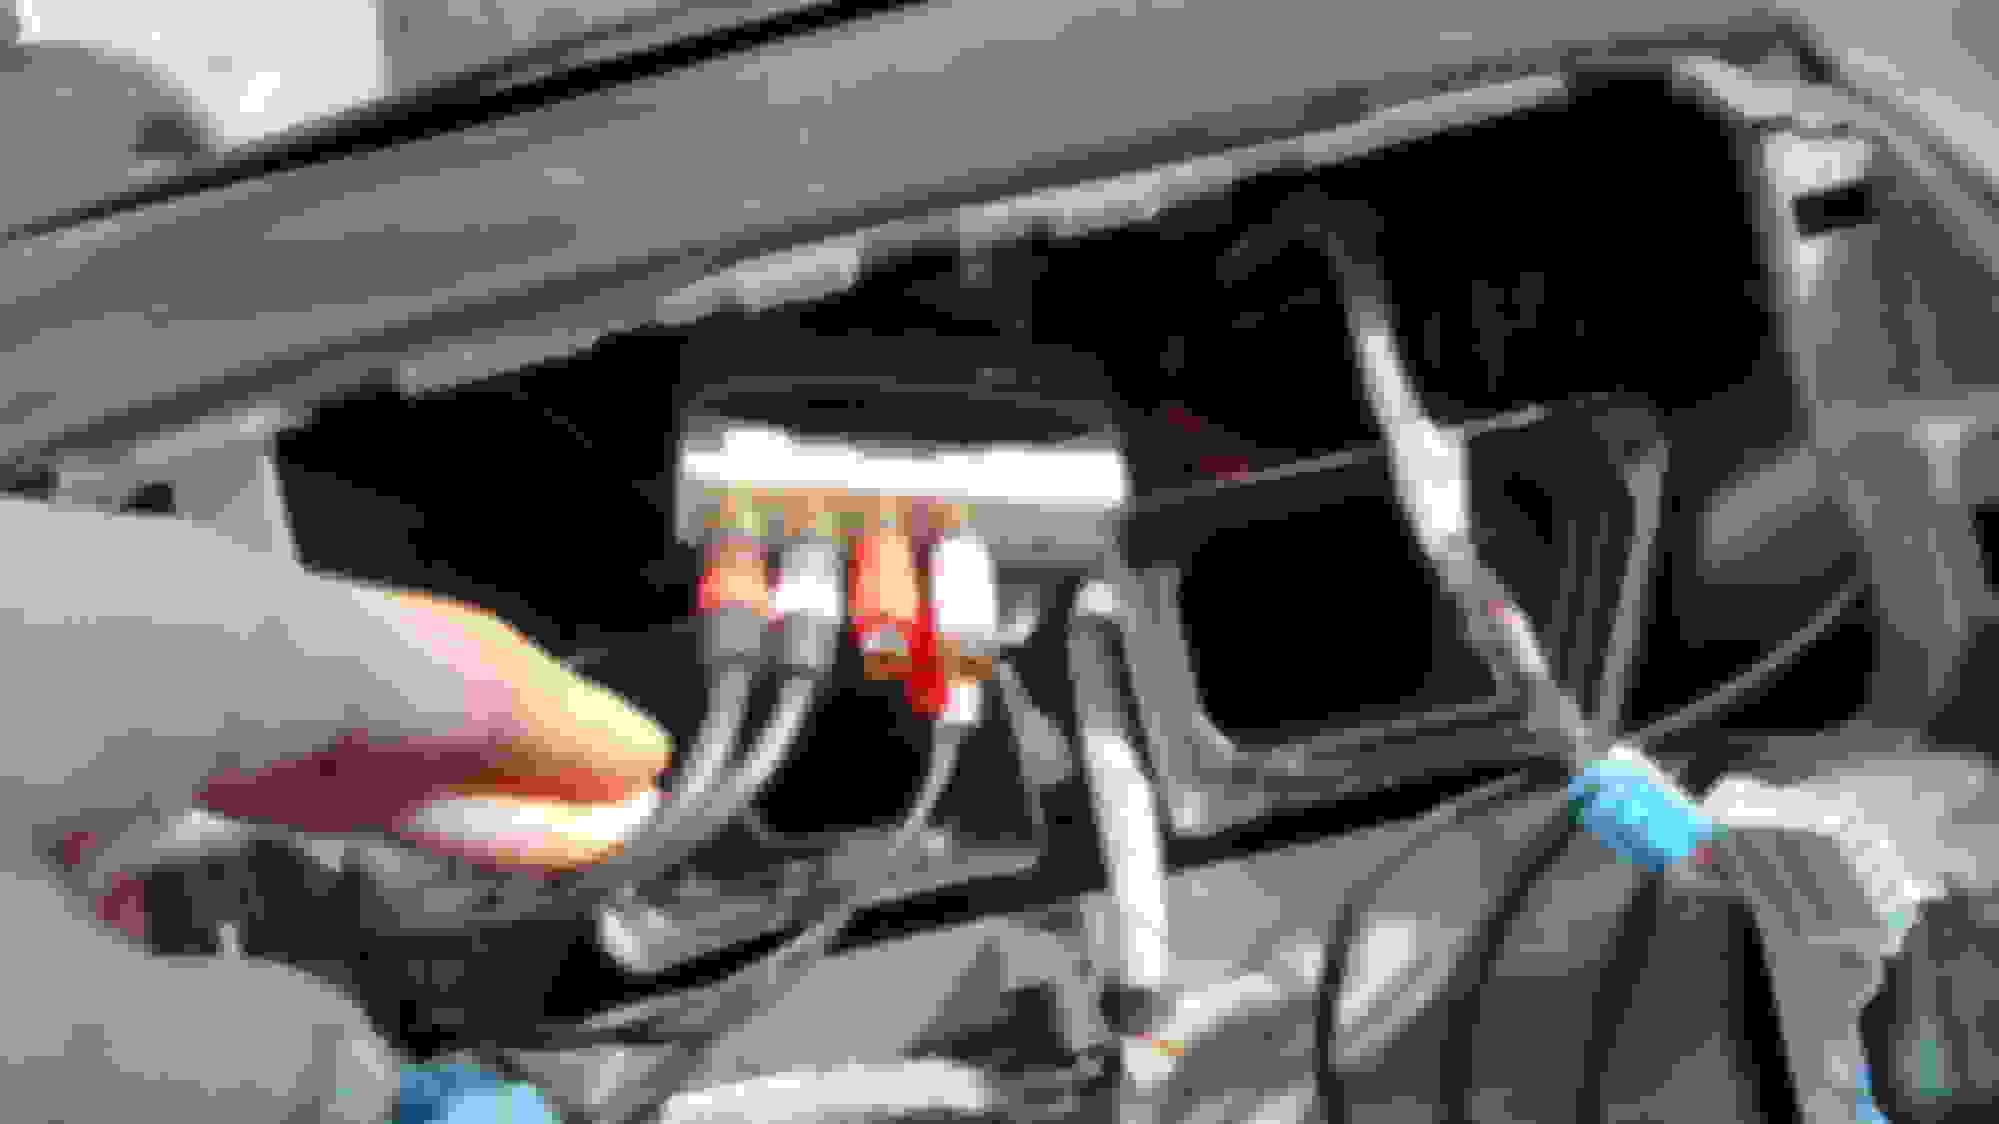
iSimple connected to stock HU resides near right leg on the driver side, 12V to USB is hiding just to the left behind the plastic trim (you can see the cables). Power for tablet + power for hub connected, micro-usb goes to tablet power, regular usb goes to tablet data. USB DAC stashed under dash centre speaker, with the RCAs out connected to iSimple and in this case RCAs in connected from cubby hole AUX line (the bluetooth RCAs use to go into the piggyback RCAs you see there. Hub has the DAC connected, USB from cubby hole and USB for bluetooth power (now unplugged), rear view cam would connect there also.
Thermal/fire material to fill up empty space to protect and stop rattles/vibration.
Removed old broken Bluetooth unit, drill hole, glue in place. Dash cam hard wired to 12V to USB taped into mirror's 12V line.
Here is the finalised upper vent unit, ooooh looking clean, and stock!
Wanted to retain stock lighting functions (dim when you turn on the lights) so I didn't just want to stick a LED strip back there (but you could though) or if you have the NAV version, lucky you this part is easy/simple for you since it is already there. Otherwise you end up with this weird sandwich setup. Made a backplate for the LEDs out of lexan, glued/taped to the back of the diffuser (didn't want to epoxy it since I ended up re-doing this 3 times until I was satisfied, hot glue help up just fine). De-soldered the LEDs from the control board, soldered extension cables, soldered new PLCC LEDs purchased online (what a bitch to do, so small, use FLUX!!!) added the 24-pin connector. White plastic is the diffuser + holds the actual display. Cut the black plastic adapter from the original display to centre/give stock look to the HVAC display. Grinded/cut the original plastic parts that held the clock so I can still attach this new abomination properly and centre it easily.
Made a new front plate out of Lexan. Measured the size correctly, centred the display, cut the Lexan until it fit snugly in the old clock plastic mount and it would sit flush. First time I cut a piece of tape that I left on the back of the Lexan as I painted it black. Paint didn't give the best of finishes so third time around I went with regular black vinyl wrap (same stuff I used to redo my window bottom trim), looks much more clean and uniform! Easy to work with, lay it on, measure and cut to remove little window for the display.
Closer look at this crazy montage. Goes Lexan with 12 LEDs, white diffuser, HVAC display, old display holder, Lexan with vinyl wrap, black plastic from clock, clear plastic from clock.
Cut with a shap exacto knife and a ruler.
Use a Dremel to remove most of the material so it is not visible anymore once installed.
Cut a piece of Lexan to size and bent/curved it using gloves (hot hot) and a heat gun to get that sexy stock look!!!!
Everything is back together and holding solidly. Added metal wire just as a fail safe, the hot glue has been enough for me in the past even in the summer, but while I was there I figured, why not. Small screw and bolt on both sides and metal wire holding everything together. While you are there, might as well upgrade the light in the hazard button to an LED!
Getting that stock vibe! Sexy!
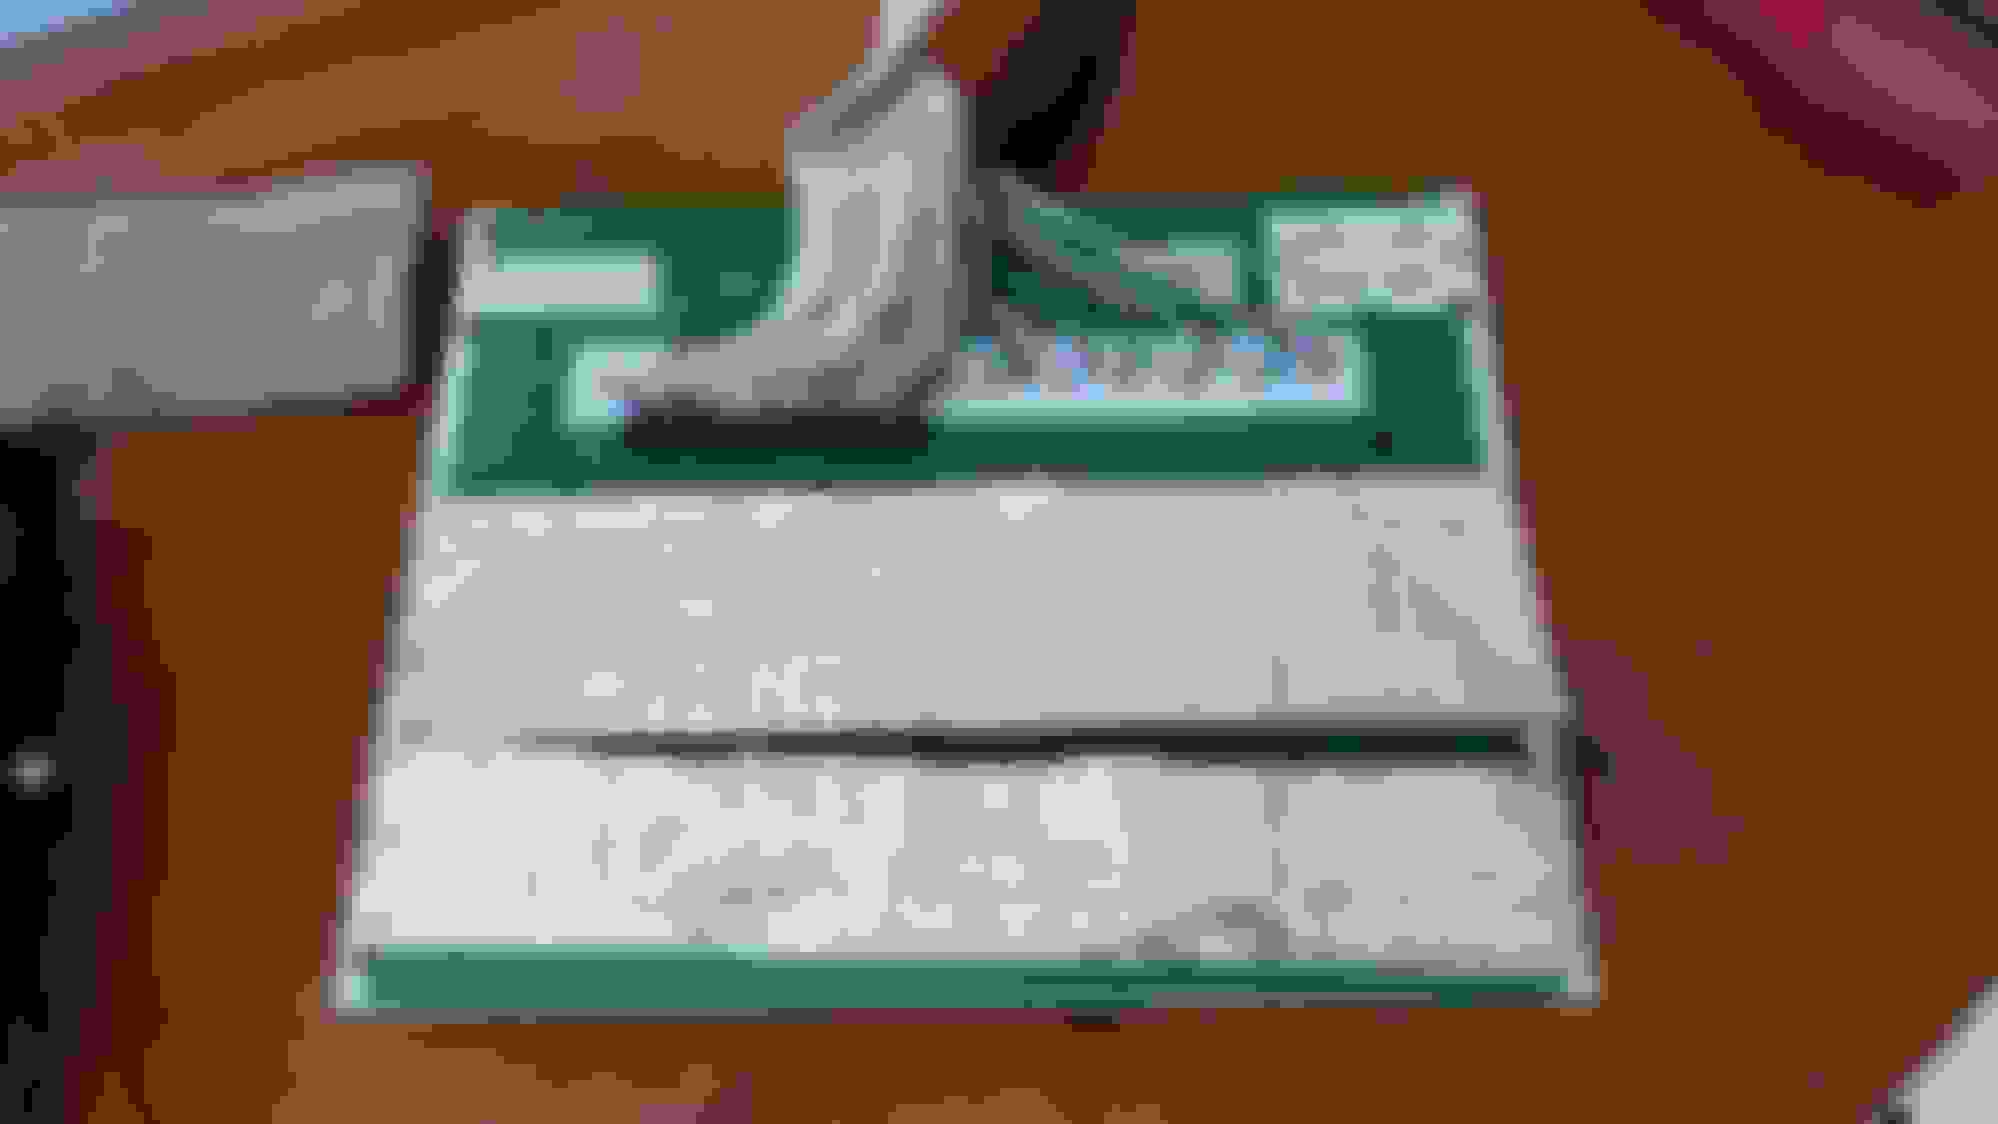
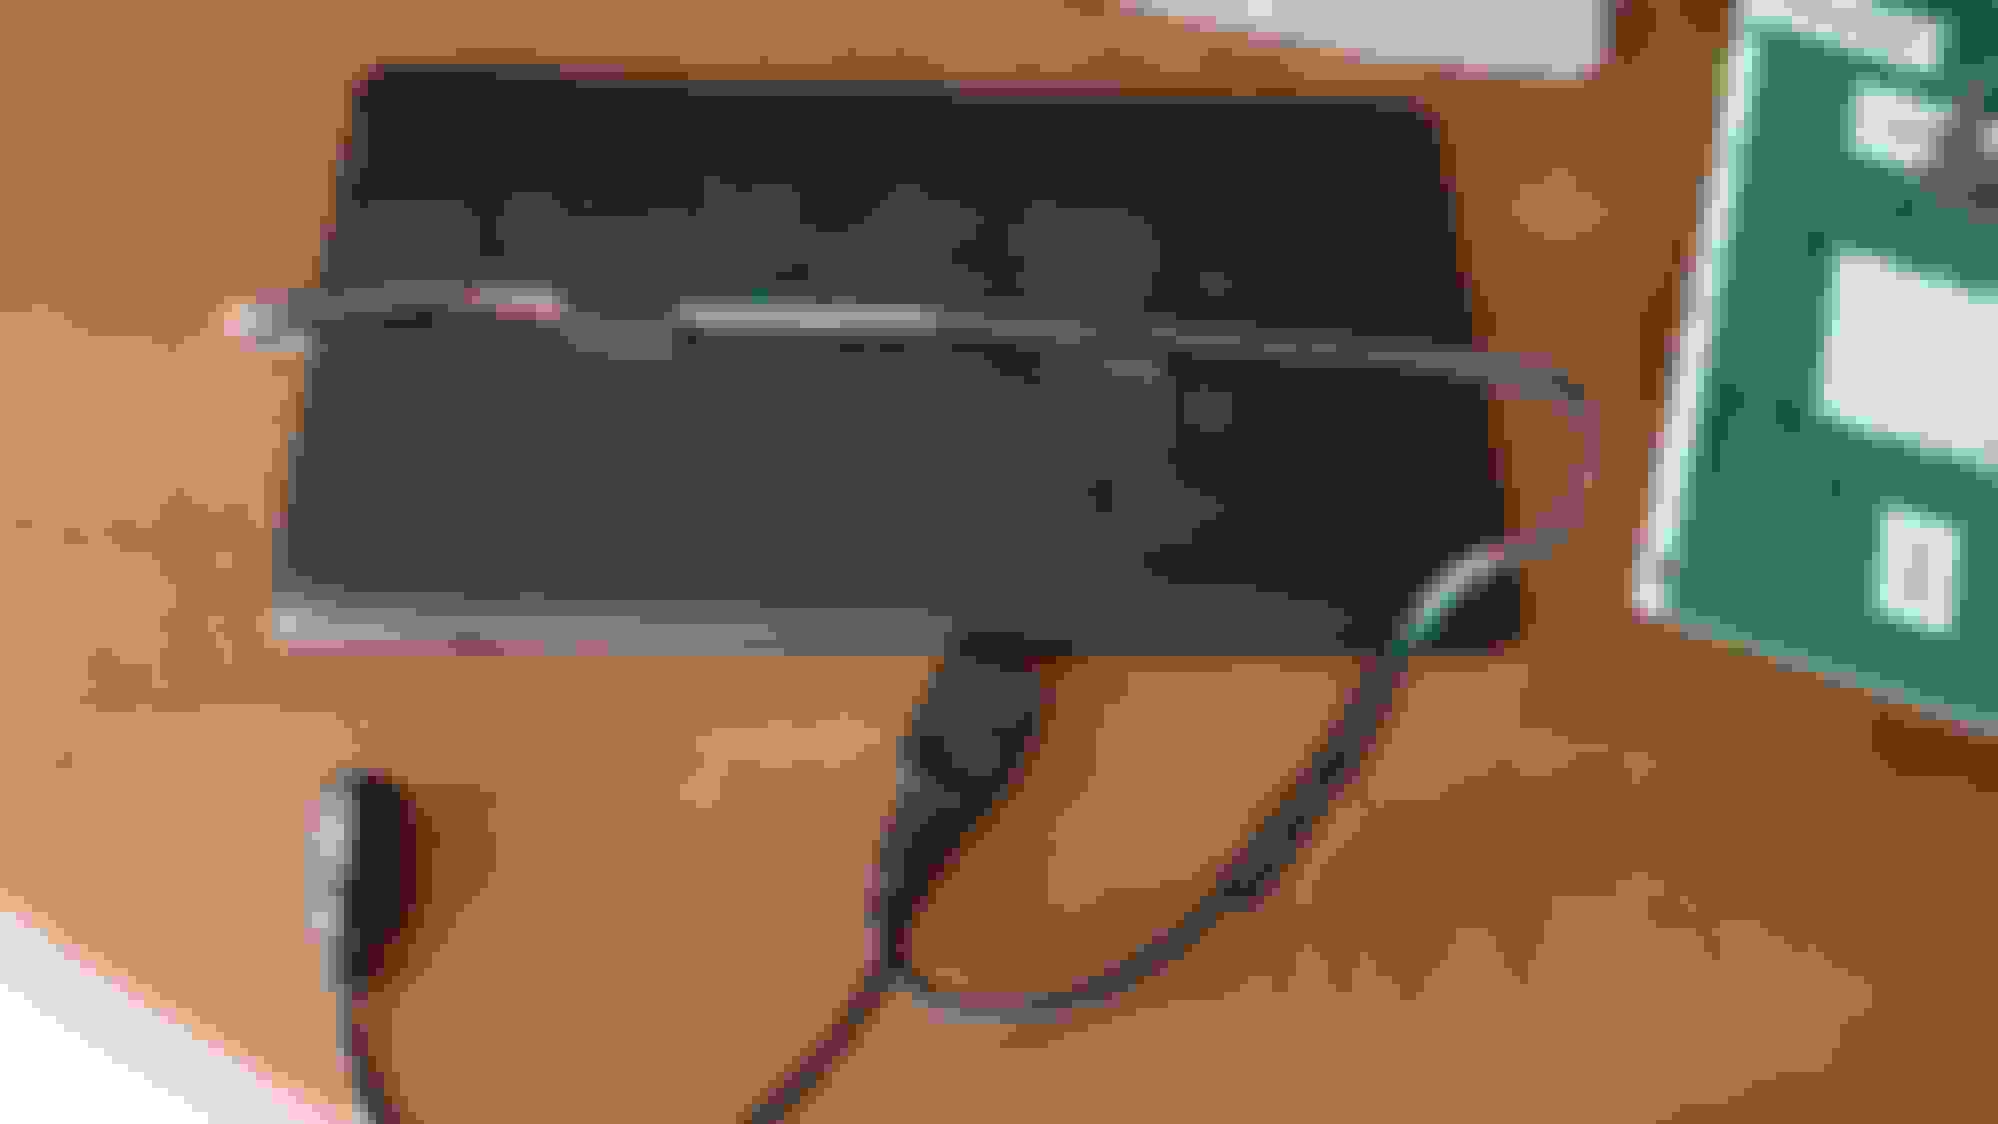
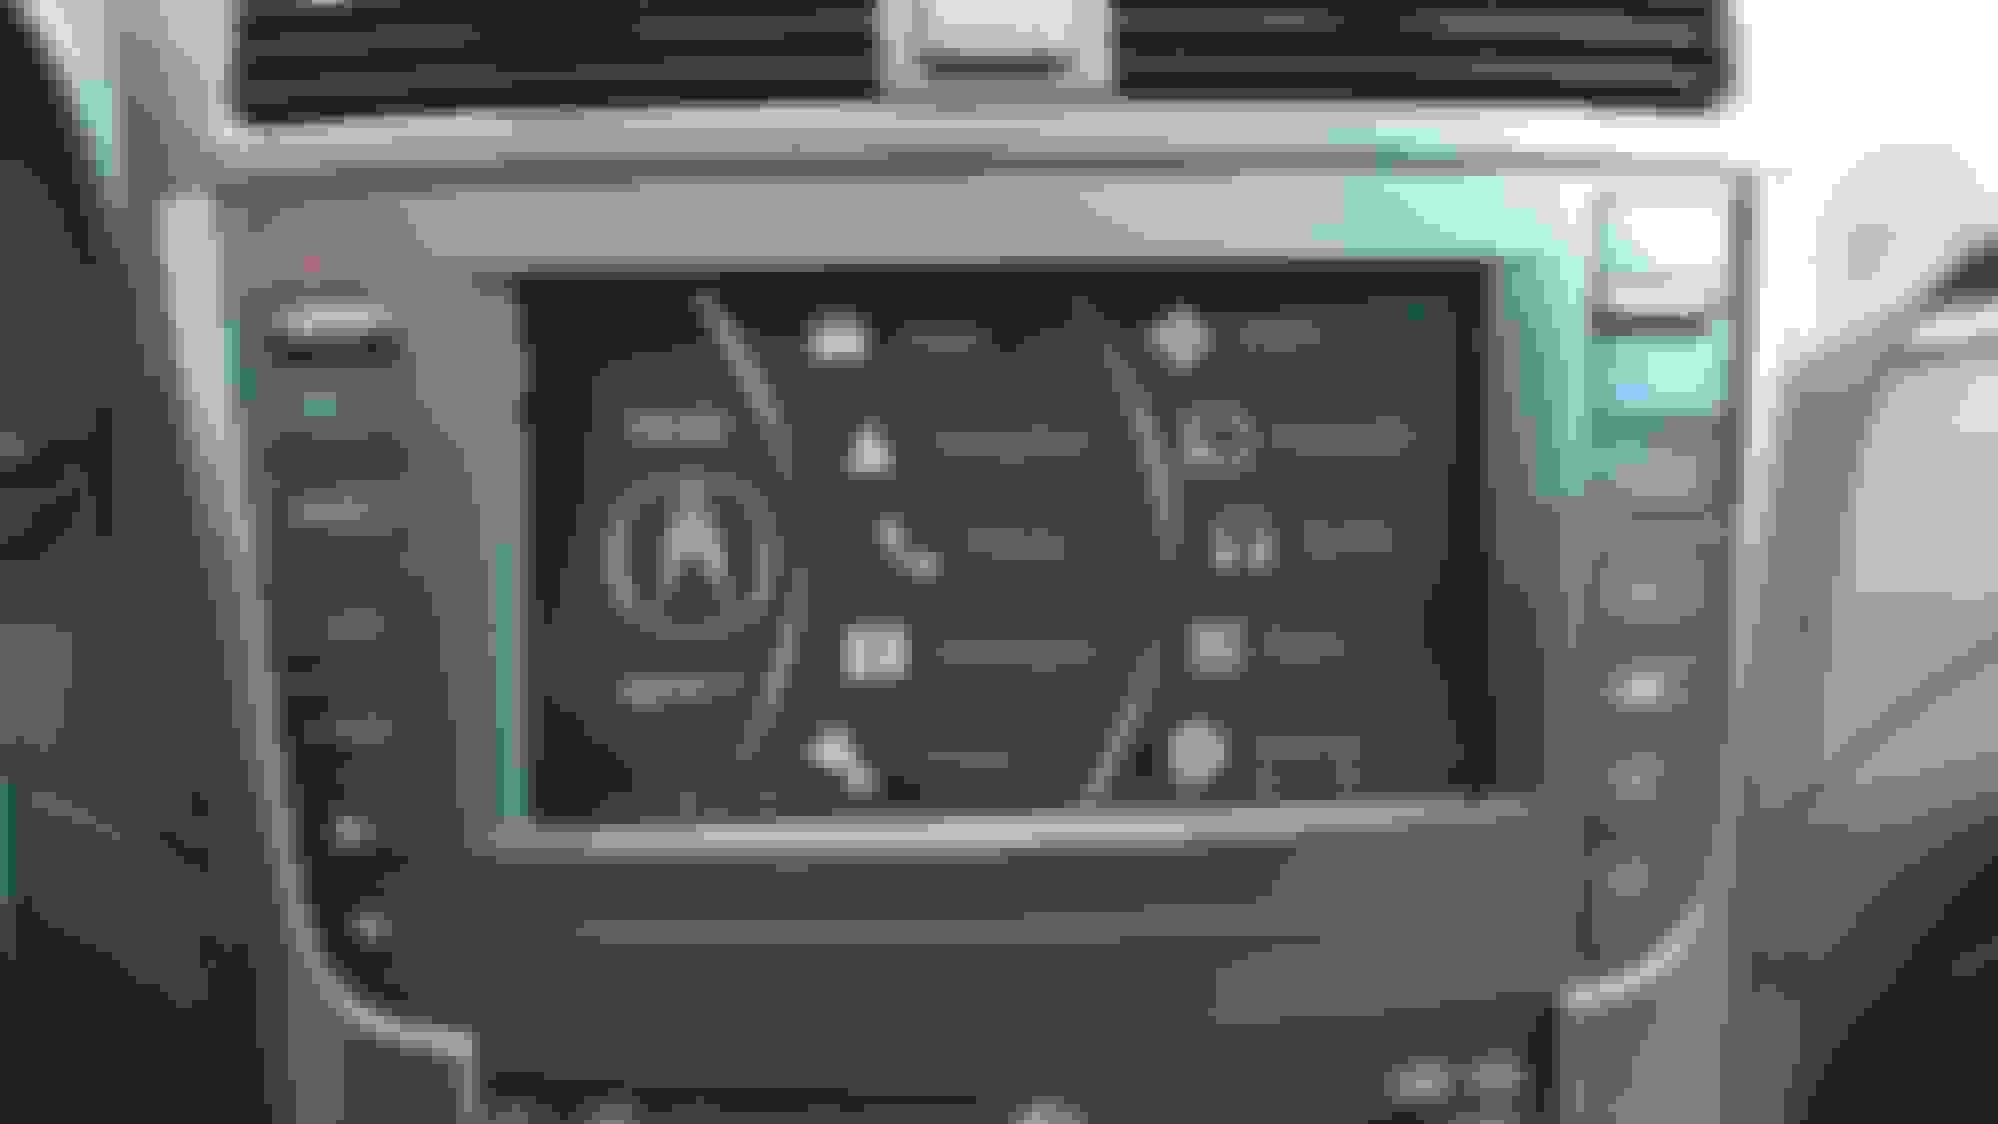
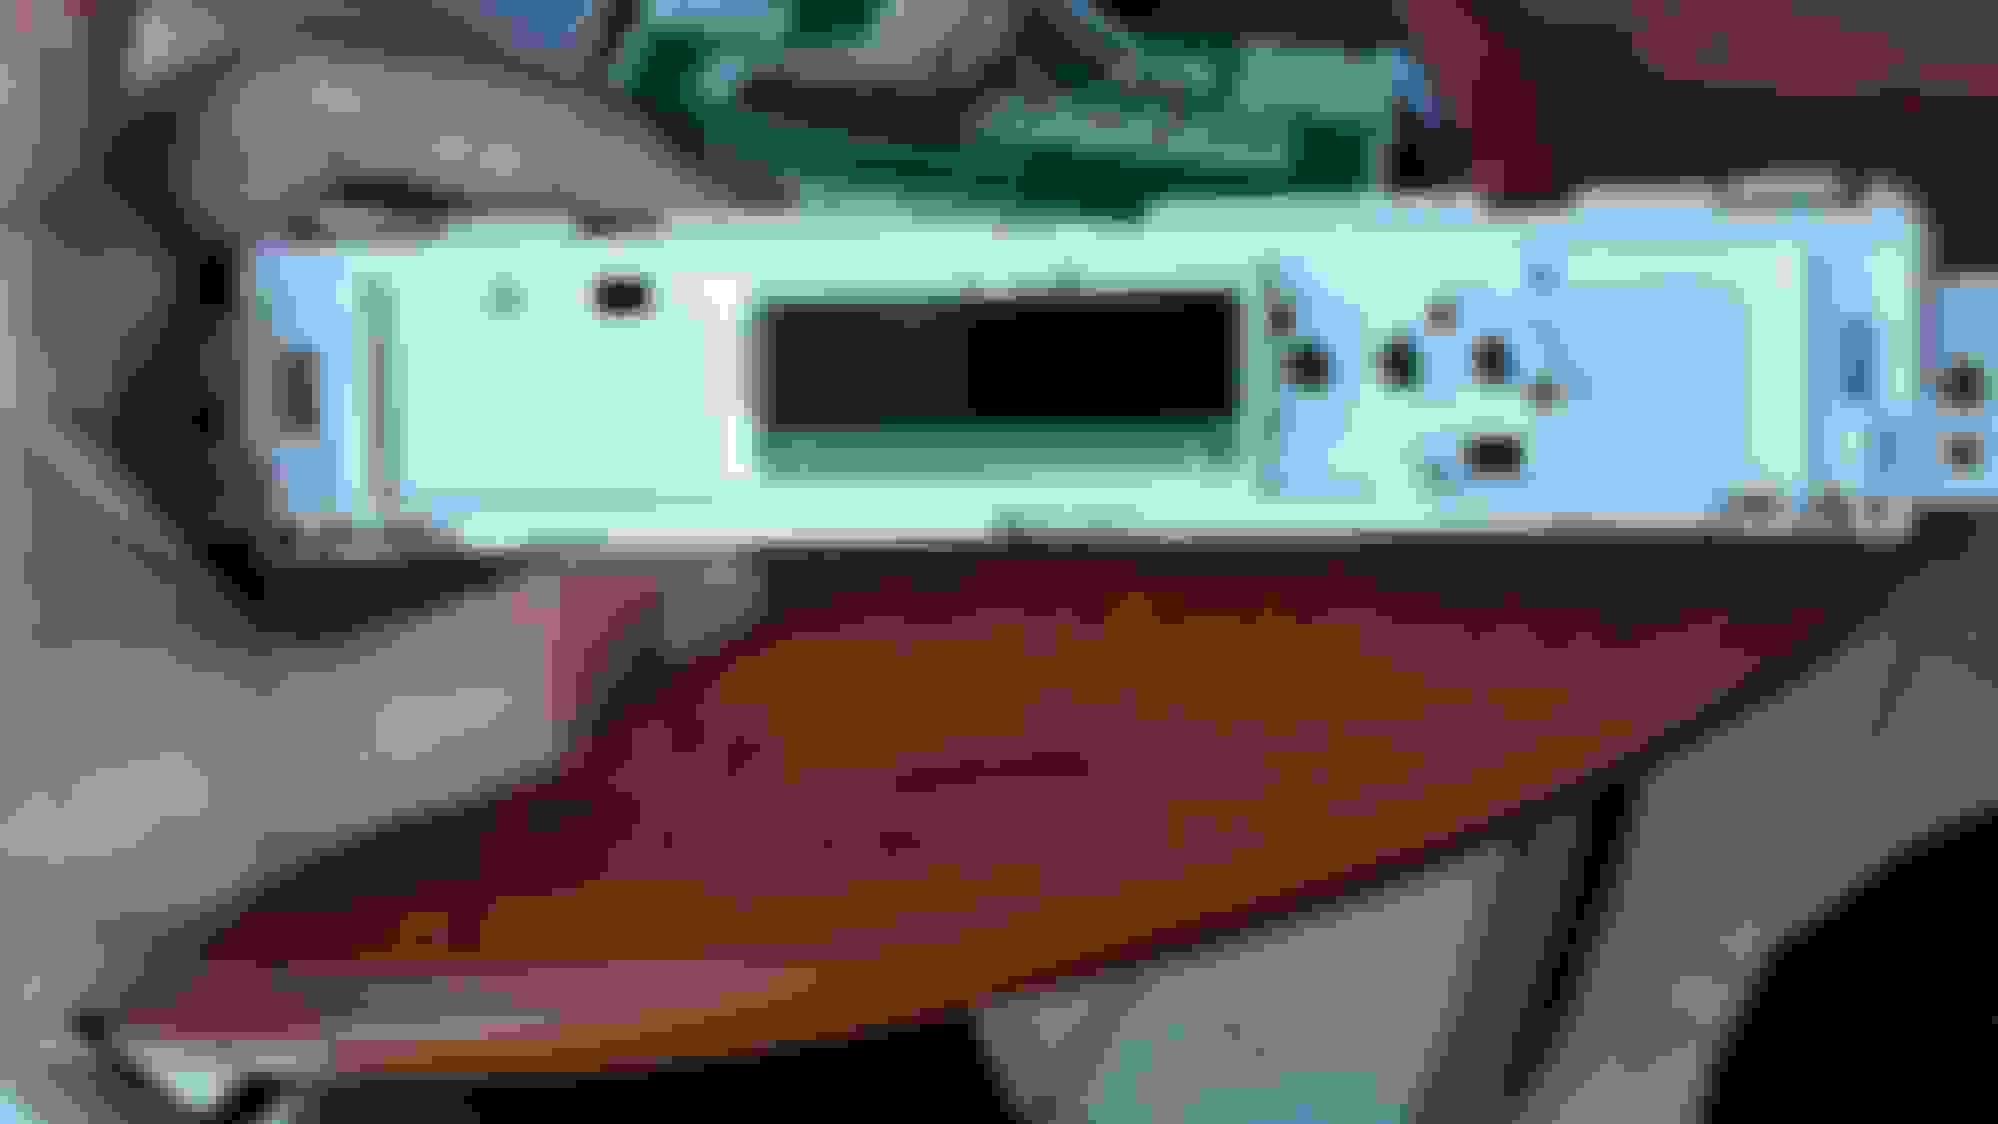
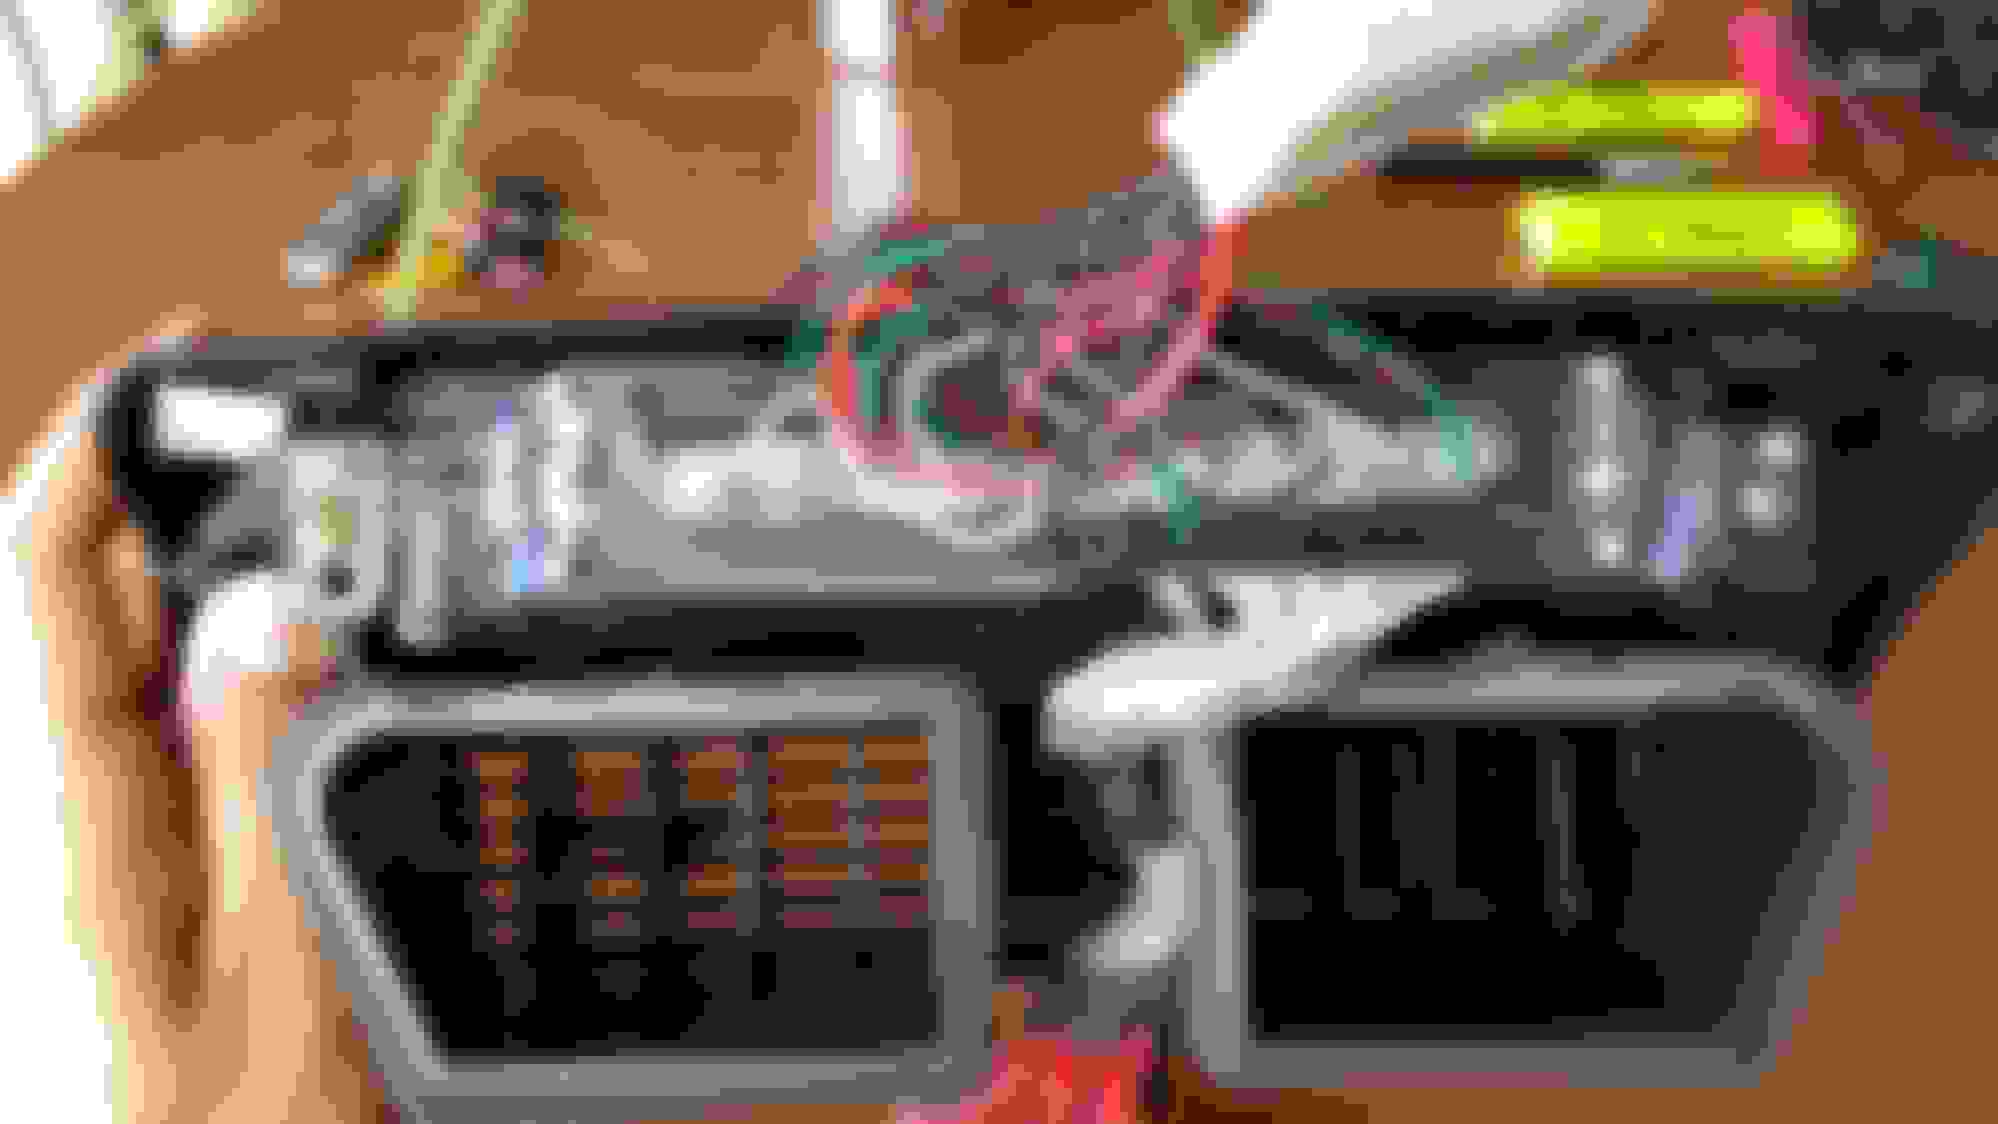
This is how the main unit will look like once you are done with it. Some people use moulding putty to hold it in place, I used pieces of weather stripping so it would sit where I wanted height wise and it is bring held by pressure against the unit from behind. Fits nice and tight! The back metal cover was cut to accommodate wires passing through to reach the HVAC display now sitting in the upper vent unit. In the end I only got my wires to exit the top but I cut holes a little bit everywhere to be covered in case I wanted to run them in different ways. Remove the radio and HVAC displays by un-soldering the connections or cutting them (I cut them with tiny nail scissors since nothing else I had could get in there). Some more heat/fire material was used as padding to protect the wires/hide the light coming from the radio LEDs/pad the empty space to hold the Nexus 7 in place. You will see the un soldered/extended LEDs and the soldered connections I made for the actual display (using an old IDE cable since it was so small not much room to work in there) 24 connections for the LEDs and 27 for the display, have fun! Radio is 52 and 97 if ever I feel like relocating it Update your control lights to LEDs while you are in there!!!
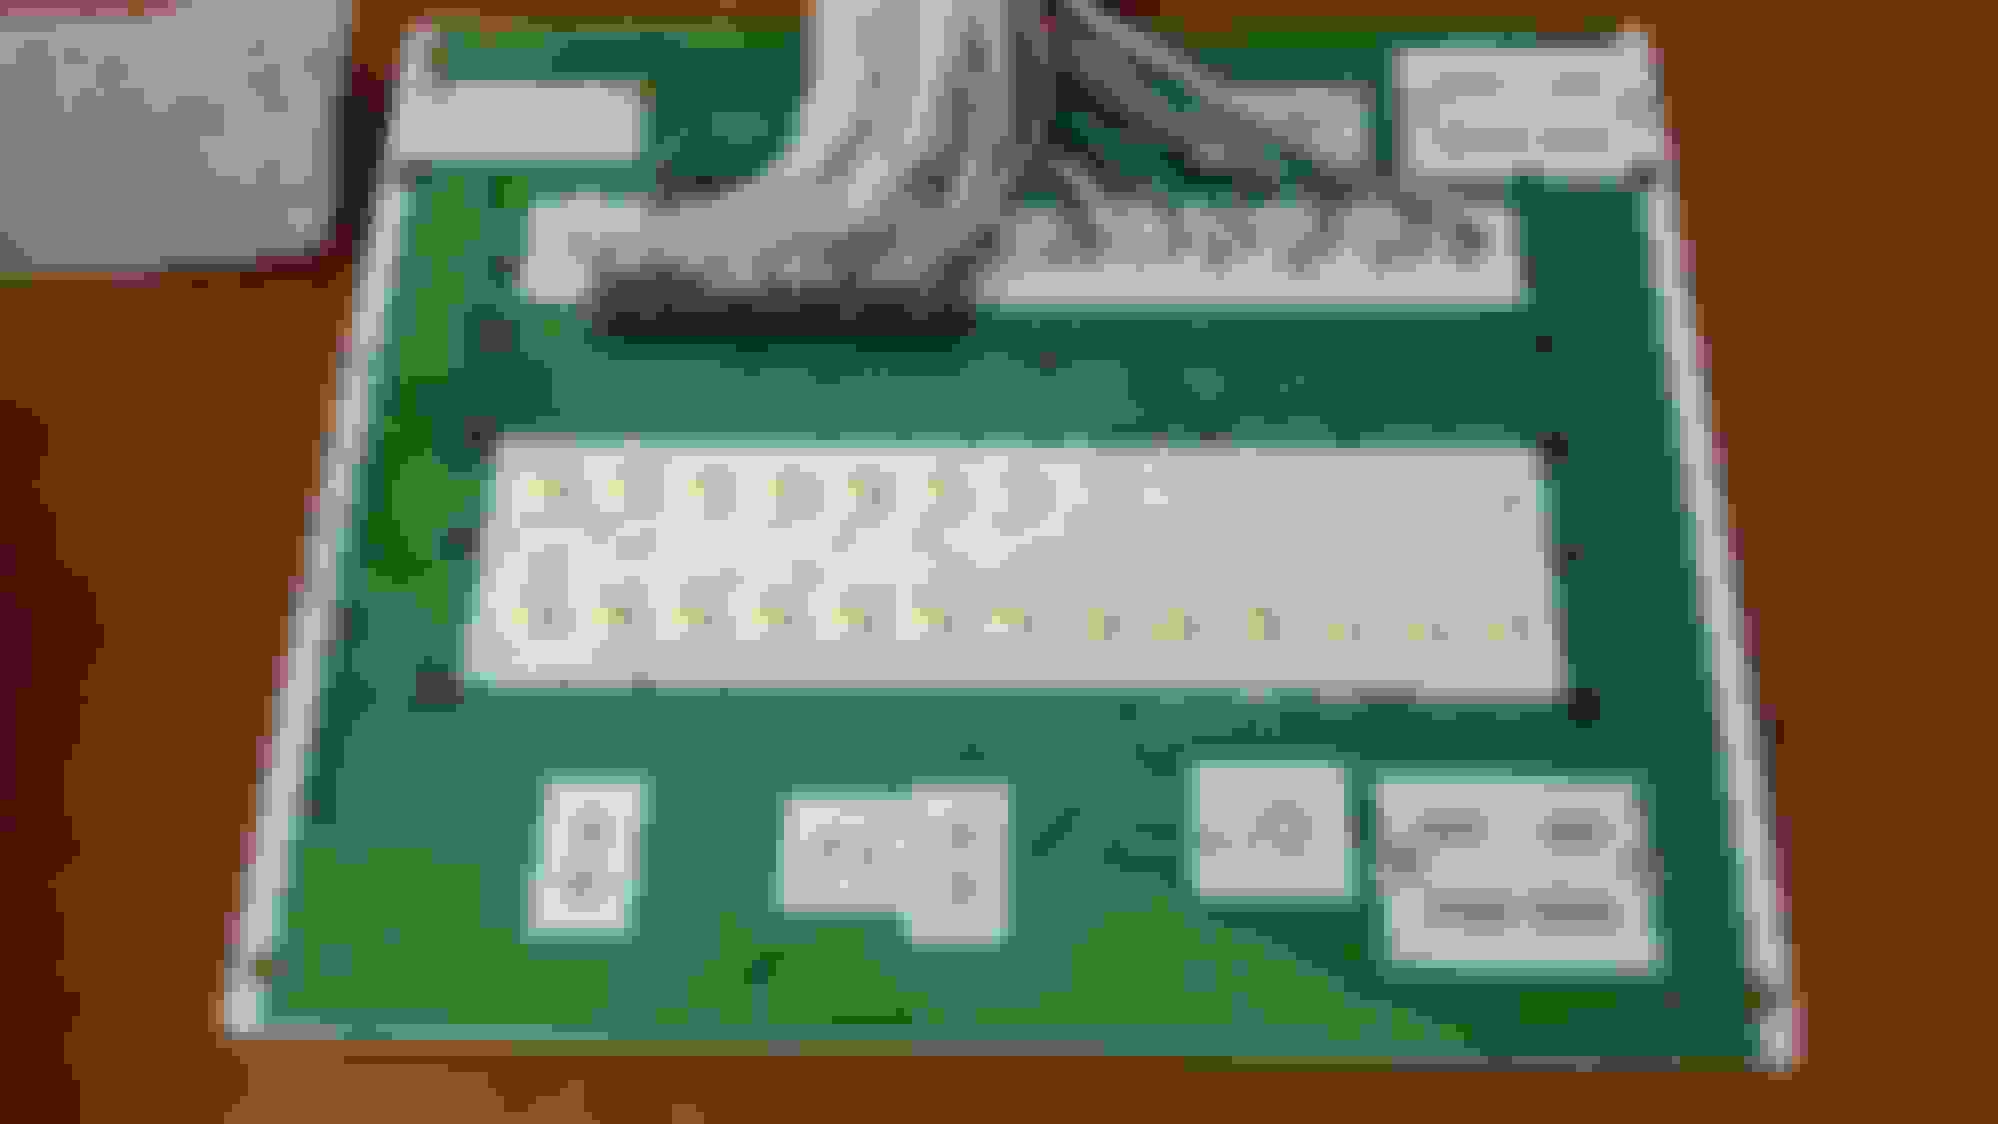
Here you can see how I used the weather stripping to align the tablet where I wanted it to sit. You will need to remove some material on the right side (when looking at it like it is installed in the car) for the USB adapter to fit. The 2012 model could have a relocated USB connector, much much harder with the 2013 model unfortunately. Some grinding will be required to make sure the tablet sits flush. The first DIY guide I provided has instructions on how to cut the opening for the tablet in there.
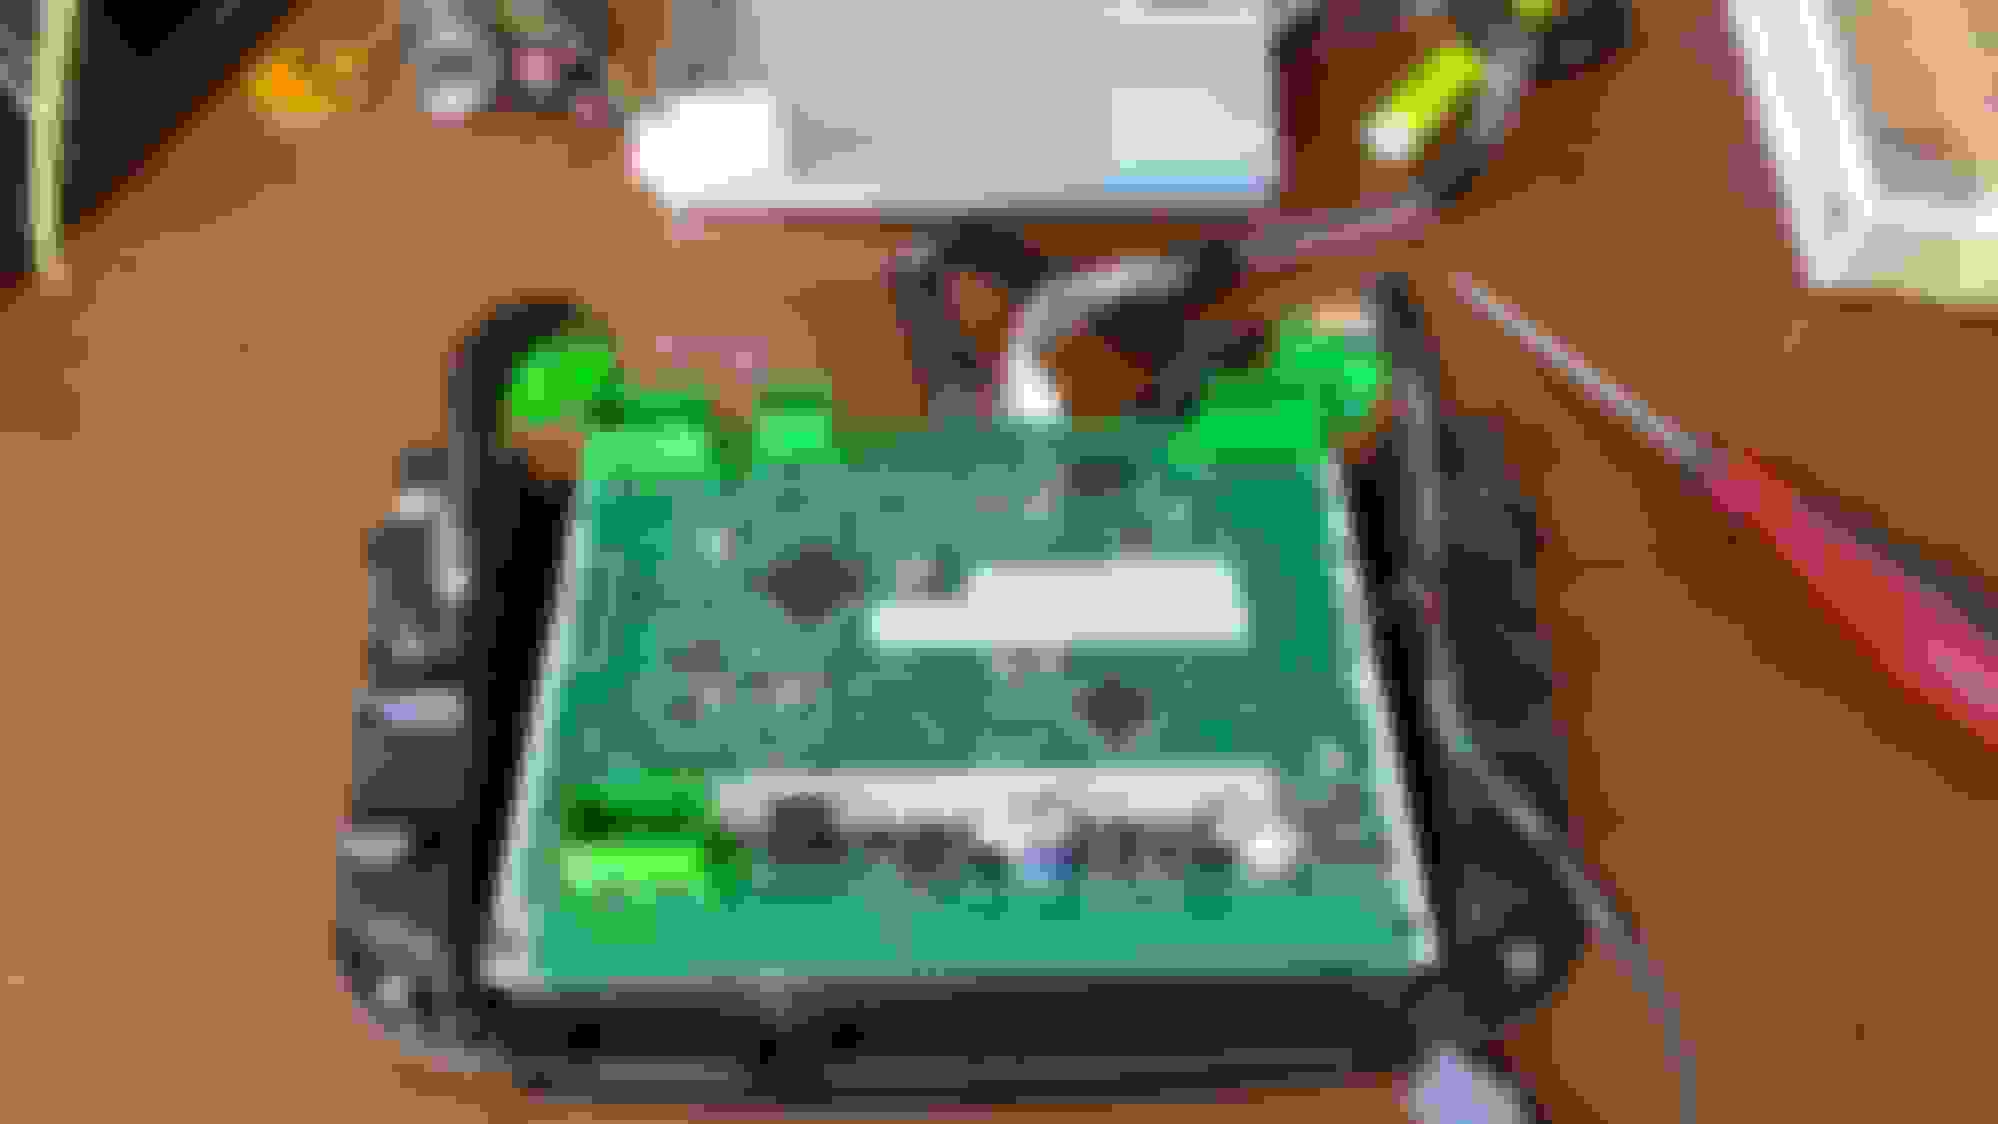
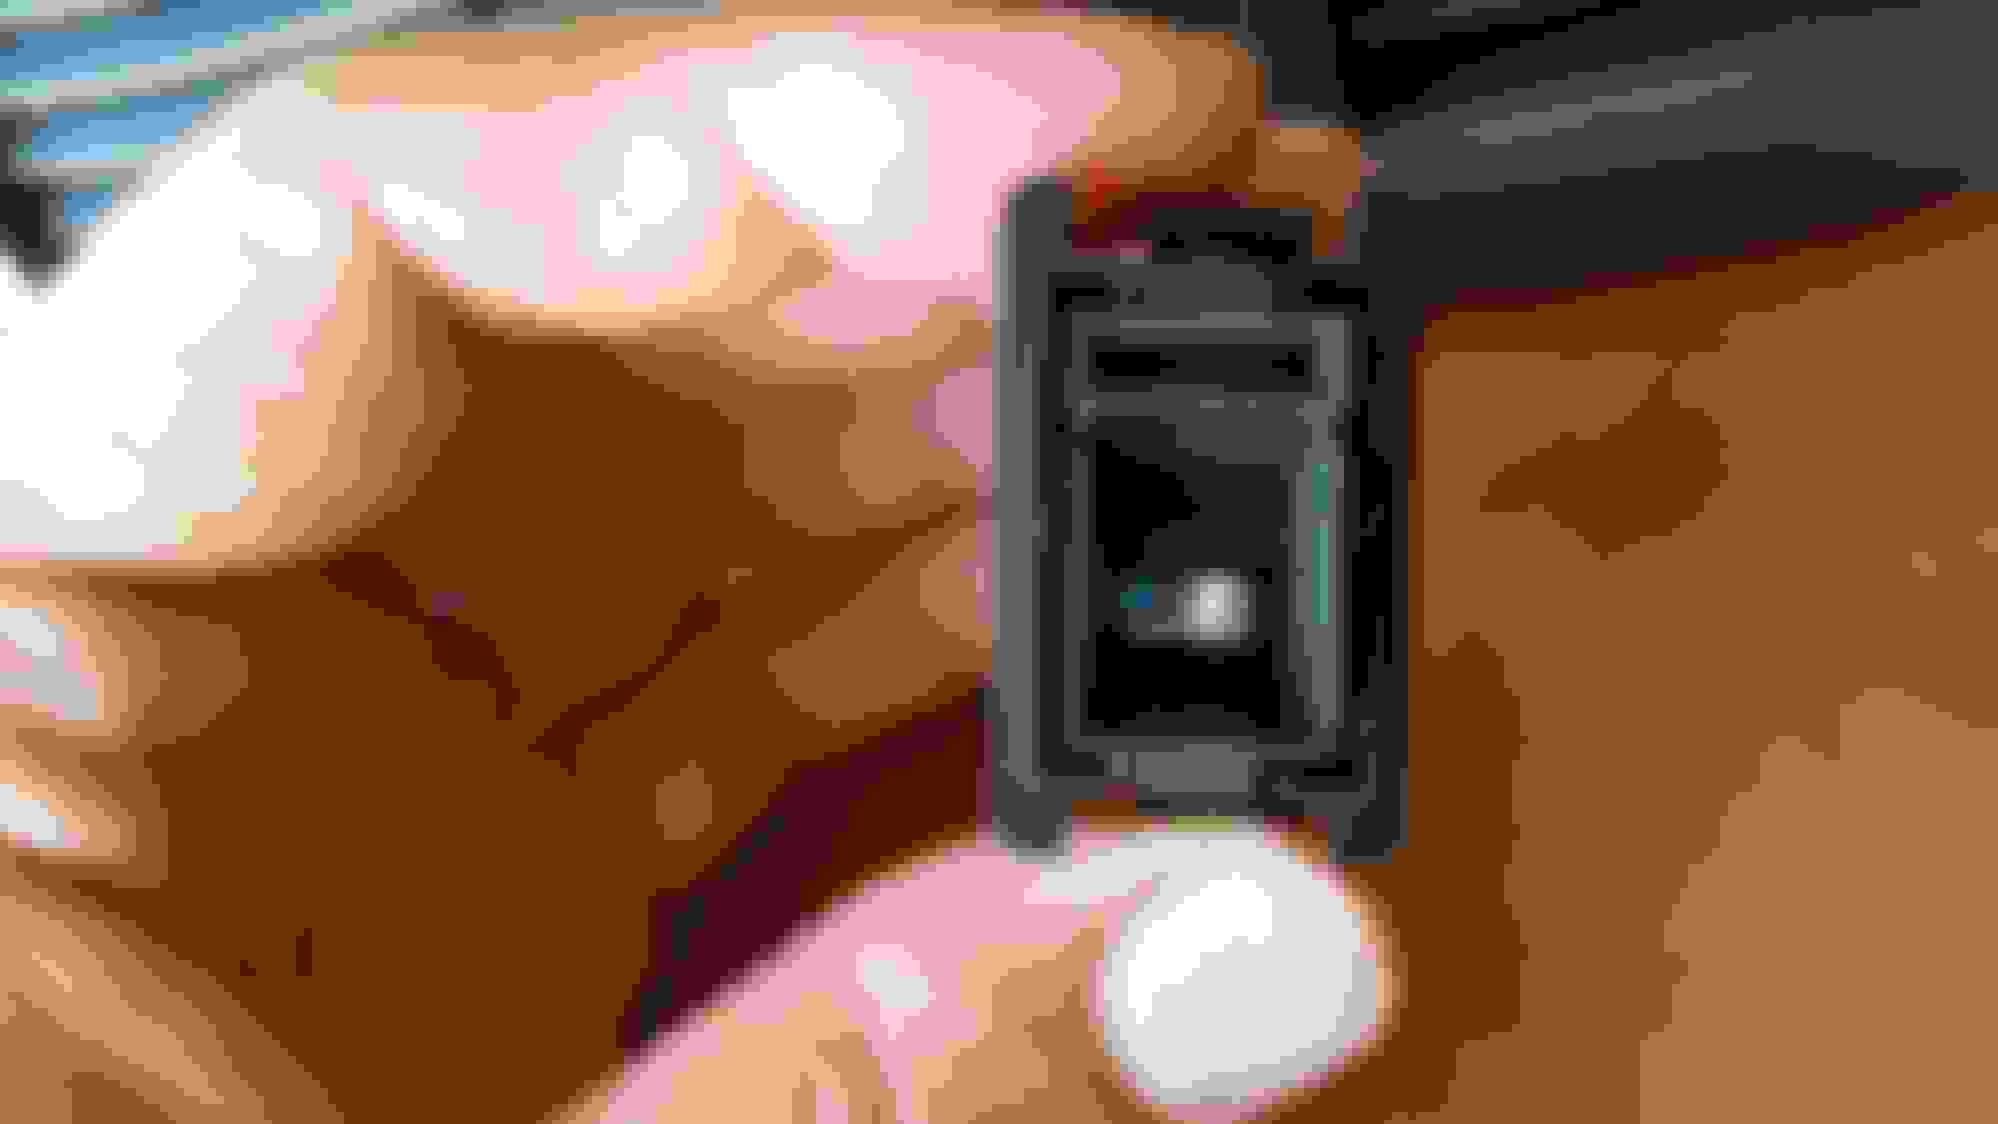
Now I used one of the USB host OTG Y cable and removed the plastic surrounding the connector to make it smaller and fit in that tiny opening we grinded for it. I then bent the wires on themselves to make it easier to fit and added a dab of hot glue to help support and solidify the whole thing. It was also extended at the same time so it would be able to reach outside the metal cover to connect to the power and usb hub in the car. You can see on the back that there is a tiny sheet of aluminium foil. If this connector becomes loose it can cause weird issues, saying it is charging when it is not, not charging at maximal capacity so the battery slowly dies, not turning off when you remove power, buzzing the speakers matching car RPMs....anyways all of this is caused by a loose connector that doesn't remain ground anymore, the tiny foil makes it a very snug fit keeping it in there nice, tight and grounded!
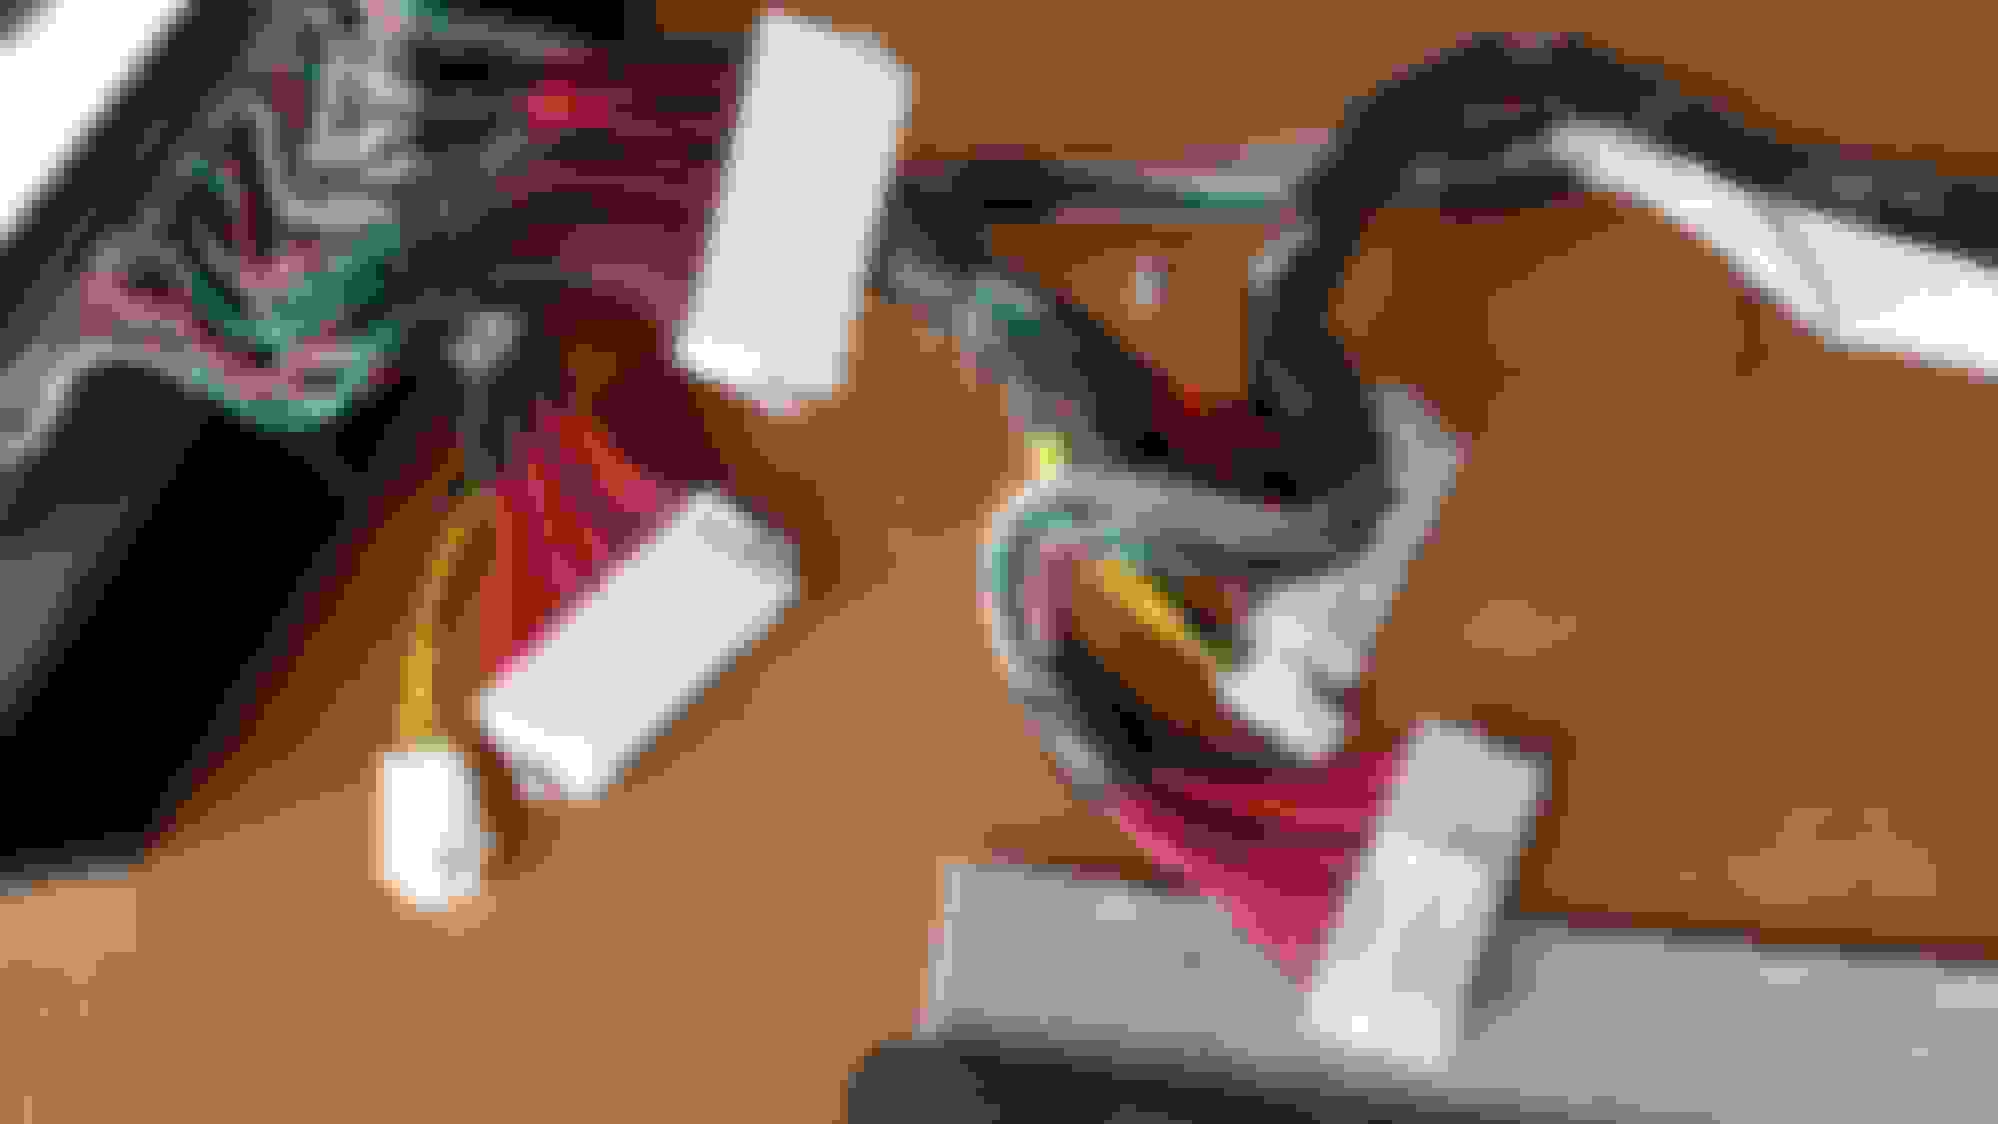
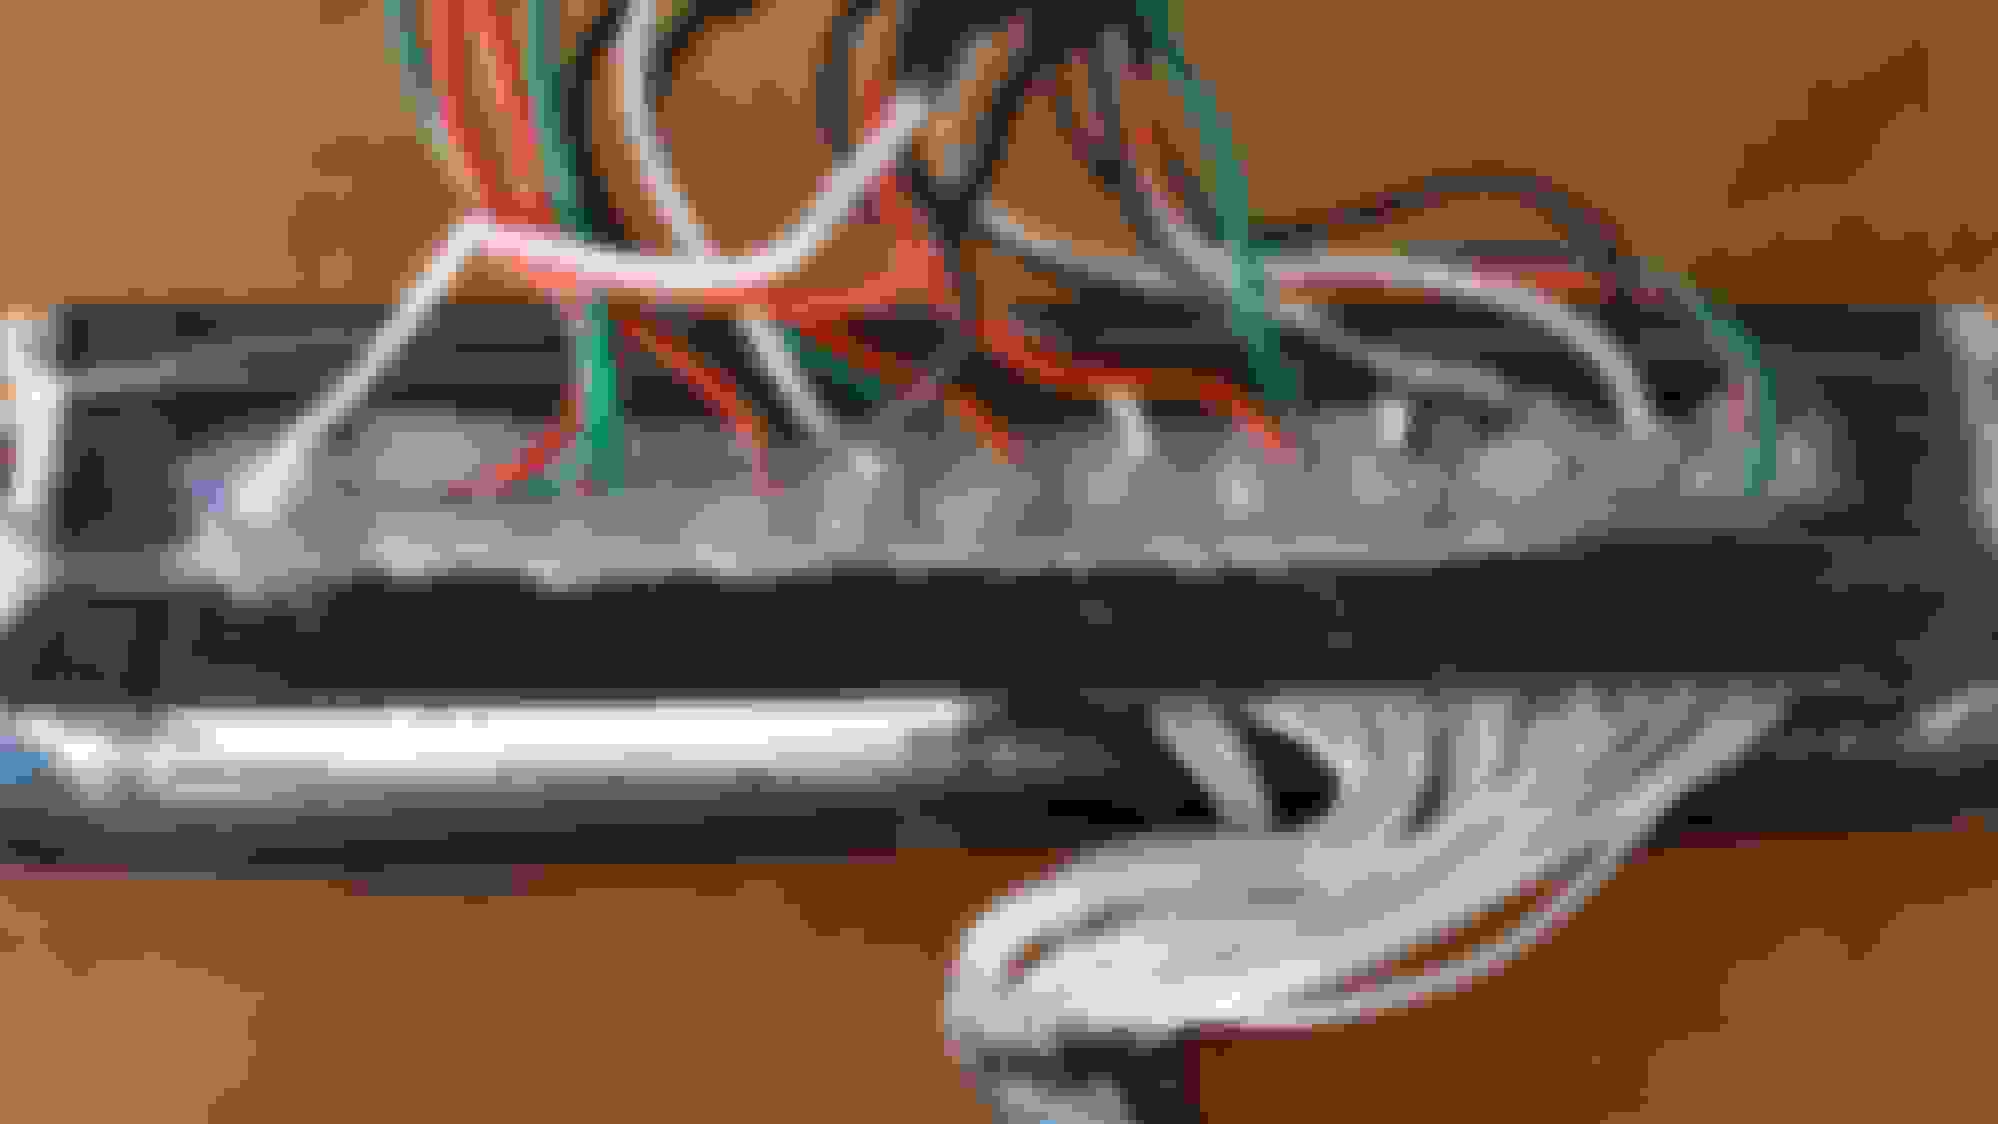
Mess of cables with their extensions.
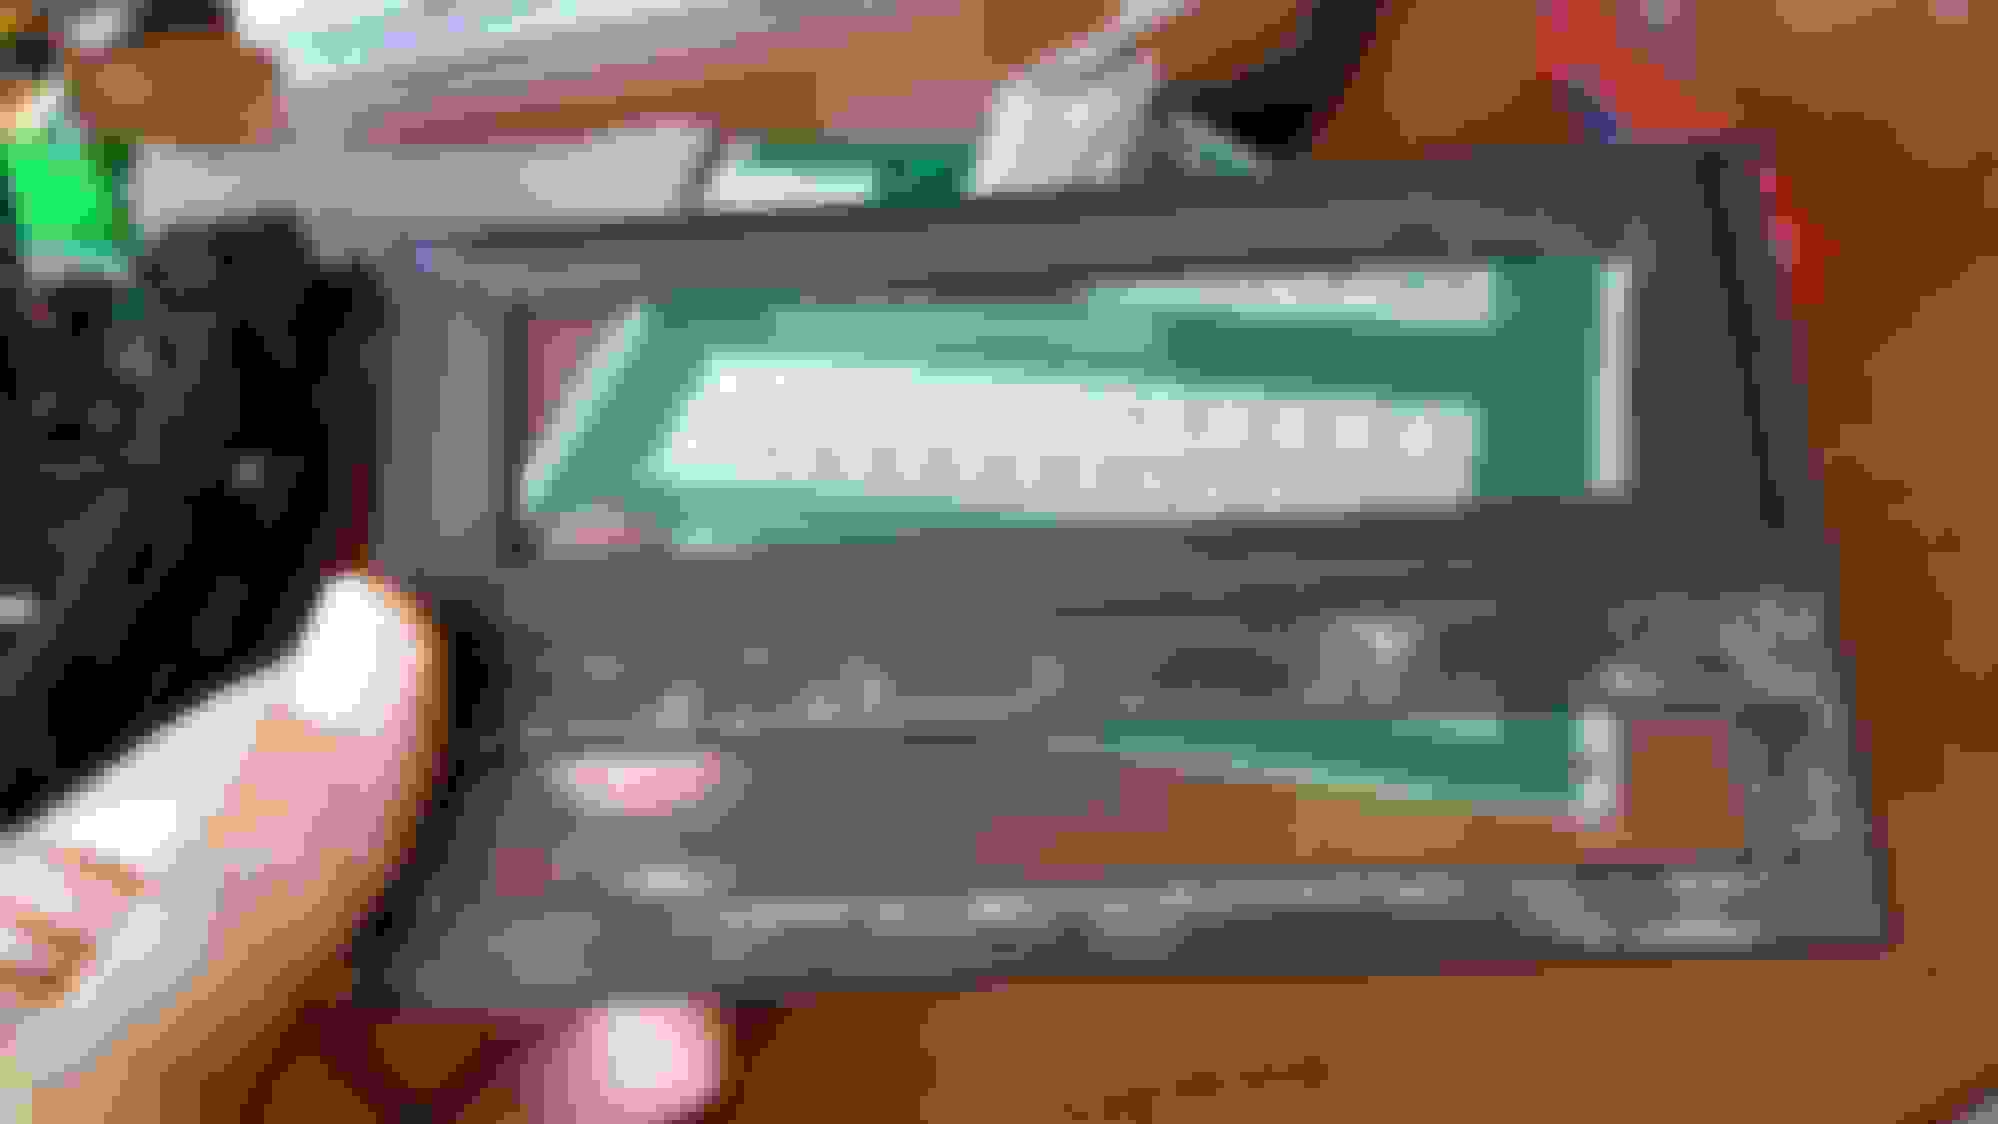
Negative solders to side marker, positive solders to bottom pin, wrap with electrical tape and tap into 12V line (buy a quality adapter that gives 2.1A at least to keep tablet charged, not a POS like this cheap one).
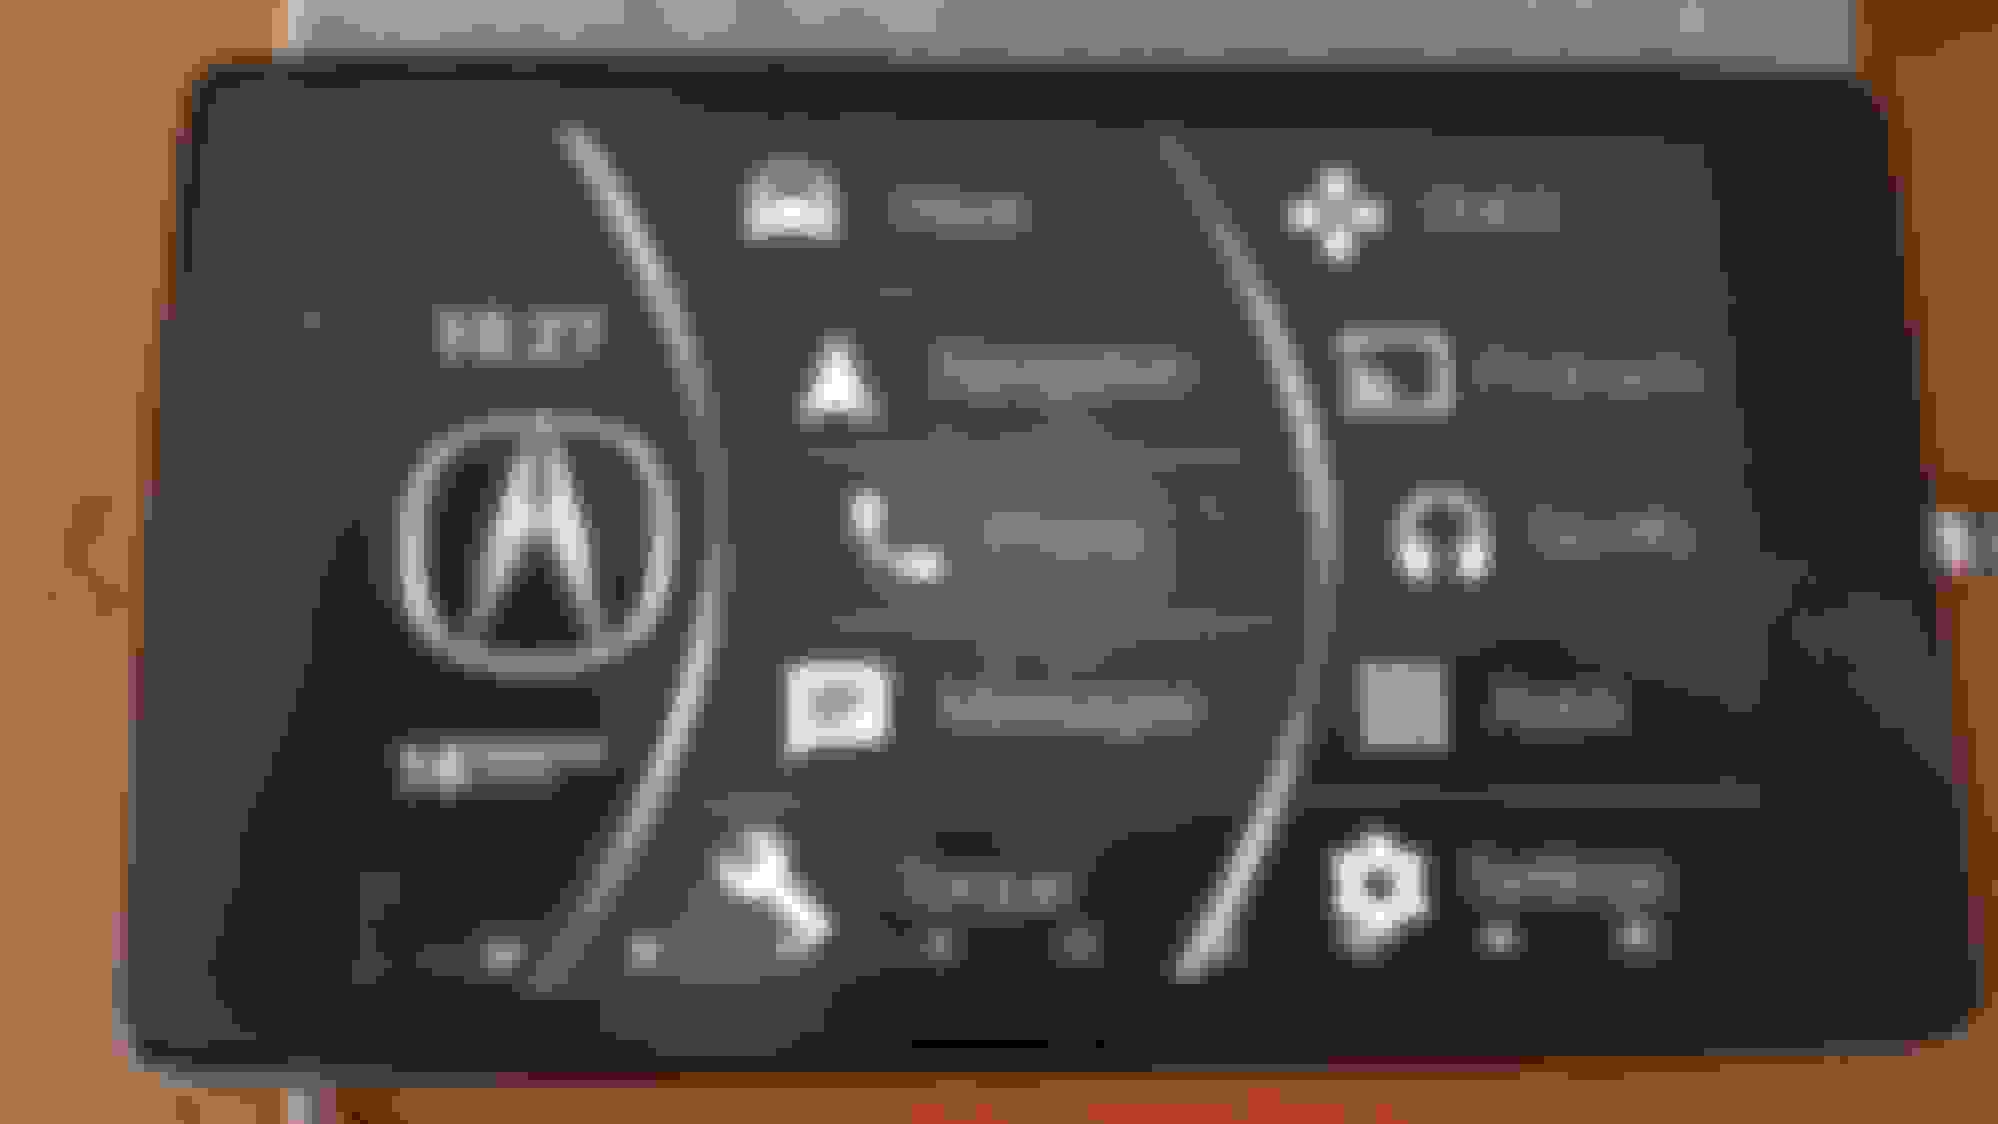
Alright, actual tablet configurations. So my setup is simple. I created a background image in Photoshop, use it as a background for my tablet and using Nove Launcher Pro I had all notification bars and launchers and icons. Using an app (AmazingText FREE in my case) I create a rectangle widget that I lay on top of the text for the app I want to use, make the widget transparent and open the required app on touch. Clock and date are simply widgets.
If you want to do the same for yourself here a blanks for a base TL and a red version for the TL-S, icons where found here. Also here is the original PSD file created by some awesome guy (forgot his name or where I originally got it from) from a BMW install: Zippyshare.com
Power Event Manager, the main reason behind the Timur Kernel, usb host mode, fi mode, fast charging and firm sleep (and other things to make it a whole lot better).
Display settings I use. Adaptive brightness set to off because I use an awesome app to control screen brightness.
GMD gestures to control my music mainly. Swipe right with 2 fingers to forward songs, swipe left with 2 fingers to rewind songs, douple tap with 2 fingers to play/pause. I now use the new bottom menu with the some options a lot more than gestures now that I've found this neat little mod that installs on top of Timur's kernel.
The app AutoBright (paid app) controls my screen brightness based on sun rise and sun down information. It works without any need of data. You can set max and min brightness and the app does the rest.
That's pretty much how I did it. If I want to use navigation I use Waze with the tablet connected to my phone's data using a hotspot. Otherwise I use Navmii for offline navigation. Tablet Talk to connect phone and tablet and be able to interact without me needing to touch the phone at all and Spotify Premium for offline music playback. I am extremely happy and proud of this mod, this tablet was made to live there! Let me know if you have any other questions, post them below. There are plenty of guides out there explaining how to install Timur's kernel on the Nexus 7. If I think of something else, I will post it below. Thanks for reading guys!
Great write up man!! Thanks for your help along the way. Had a few more questions that came up recently
- did you pay for the paid gestures app? I have the free one but whenever I make my own commands and use them it says j can only use them on lite programs whatever that means.
- I know you linked me to the thing that adds buttons to bottom bar like skip music tracks, but do you know what I could use for v4 of timurs kernel? I'm either going to go for the paid gestures to control my music or the added buttons but I'd prefer the added buttons. I just don't know what works with v4
Yesterday I tried out my tablet setup temporarily docked in my car and the music came out great with the Fiio e10k DAC (but it is pricey)
ps v4 final release should be coming out at the end of the month
- Yes I did end up paying for the app, but personally only really use the media buttons now that they are available.
- Yeah search the subreddit, there are files in there for the v4 media buttons!
Awesome, heard great things about the Fiio brand, but like you said, was a little pricey for my taste at the time and now ... new clutch going in so
Sorry pics are so large, didn't know how to resize them....
Damn! I would love to write "game recognizes game," but my Nexus 7 installation and game is weak compared to what you've done. Amazing work! Thanks for documenting for everyone!
Damn! I would love to write "game recognizes game," but my Nexus 7 installation and game is weak compared to what you've done. Amazing work! Thanks for documenting for everyone!
Thanks! While it took me a long time to write the guide I'm happy that I did since others like yourself helped me greatly in making this happen, so the more info out there the better!
How much did this cost you start to finish? Tablet, parts list, ect
OP has been answering my questions during my install. My current cost is 285 but I have a much more expensive DAC (75 bucks) than the OP (23 bucks or so). My tablet cost me $75 used. everything else is just cables, usb stuff, apps, kernel, etc. high quality cables are needed for everything to function well.
what emulator did you use to run SNES? is there any lagging for the game/controller? did you come across any nintendo emulators? such a cool integration haha
I wish i was this tech savy lol I want to so baddddd
you can do it if you're dedicated!! i have no experience with android but i've spent the last 3 weeks researching and reading, and now my tablet is almost ready for install. it's seriously the best tech you could ever put in a car...i'm blown away each time i add something!
So I've been messing around with a ton of non data navigation apps and so far I like navmii the best. However it wouldn't let me use the media buttons on the navbar when I was in navmii. Did you have this issue? This is a big issue for me because I need those controls if I'm not in my music app. Let me know if they work for you!
Ps I got the reverse camera acting really well. Just waiting on timurs final release before installing it!!
let me know about navmii!! Also which emulator are you using? I'm trying to find a good Nintendo one
nevermind about navmii...i reached out to the developer and they let me use their beta version which fixes this!! i'm now running this as my non-data navigation setup, it's pretty sweet.
let me know about those emulators if you can, thanks!
This looks awesome!!!! Really wanna update the look of my center console and everything. I do have to questions tho .Would it be the same set up if you have navi because pictures i see are all from the console without navi. and also how does it work when oyu change your batery and you have to input the code how would you do that?
Thanks! While it took me a long time to write the guide I'm happy that I did since others like yourself helped me greatly in making this happen, so the more info out there the better!
This is great, perfect timing on mine to give this a try as my Nav system just took a crap. I skimmed over this but I'm assuming you have this wired into switched ignition so it powers on automatically or do you power it up yourself?
But what brought me to comment is to ask what makes the nexus the choice tablet for this? Has anyone successfully done this with an Galaxy or iPad.
- perfect size
- cheap
- highly customizable (many custom roms and kernels, some kernels are made specifically for instalation in cars etc.)
- others already used it it many different cars
Why not iPad? Zero customization, it will never look like original system, won't autoplay music, finding DAC in decent price might be a challenge (if iPad supports them), Google maps doesn't work offline (still? Last time I used Apple product was a year sgo)
You might have luck with other Android tablet with 7 inch screen and similar size, but look for the software (mostly kernel). Without simultaneously charging and OTG capability there's not much sense. Unless you are not planing to use DAC (it's totally worth, even if you have aux input. Music quality is great)
Ps
I'm pretty sure I saw a iPad installation somewhere. Might be different Acura model tho. Guy used some custom bezel totally replacing radio or navigation. Don't remember at this moment.
Trust me I'm no fan of Apple, I was just wondering about the Nexus. I never heard of it until I stumbled across this modification but sounds like it was made for it. Android is certainly my software of choice so glad I didn't drop the cash replacing the crashed Navi unit. Looking forward to doing this.
Like Peter said, anything other than a nexus 7 will mean much much more work. The nexus 7 install isn't without its bugs, as all tablet installs are prone to, but they can all be worked out to some degree. Nexus 7!!!
and even more critical, Timur's kernel for nexus 7!
And here I wouldn't agree. I had many problems with Timur's kernel. Pretty much always when you turn the key to accessory and start the car too fast OTG will not work. Also couple times it failed to turn on (black screen all the time, but it was connecting to wifi). It was like three times before I gave up.
Right now I'm test running ElementalX. It has fast charge in with OTG. There's a little bit more work to set it up to sleep when off, but it works really nicely. Also it works with Cyanogenmod, and xposed. Meaning much faster and much more tweaks (adblock for YouTube!). Right now running this setup for three weeks. Driving and using it every day. Battery never drops below 94 (that was the lowest). Car is sitting outside in Chicago area, so right now temp is 20-40F.
So the sleep results are not the best in terms of battery usage, but reliability is higher.
My instalation is still not complete, but I might write something when it will be. And I will probably change my software setup many times.
I am trying to see how feasible this install is for me. I am fairly knowledgeable in car audio and how to wire things, but I have never implemented a tablet into my system.
I am currently running an aftermarket headunit, so I want to know how this will affect how things are wired.
What I understand I would need to do:
You need to relocate the HVAC controls by lengthening the wires and then fabricating the LCD panel into the clocks stock location.
Power the tablet through a 12V+ USB source
Interface the tablet with the HU
Perform some mild fabrication to fit the tablet and relocate the HVA LCD
Questions:
I can tap the 12V power from my HU adapter harness for 12V ignition power, correct?
If I am using an aftermarket HU for playing music from, do I need a DAC? I'm thinking no, unless I want to use the tablet to play Spotify through to the HU.
What would be the best way to tie the HU and tablet to each other? If I want to do audio from my phone, I am thinking the tablet can go into another input. I have 2 USB inputs on my HU. If it makes any difference, I am running a Pioneer DEH-80PRS.
For OBDII, I would need to get a BT OBDII reader and then install and app, such as Torque to get readings, correct?
Any blatant items I am missing here?
I mainly want to install a tablet because with the factory radio removed, one of the LCD panels is always blank now. Relocation the HVAC controls to where the clock currently is and installing a tablet would make the dash look way better and much more modern. I have a non-nav car, nav didn't really appeal to be because it looked super dated anyways.
I mainly want the tablet to do nav (Waze or Maps) [using my phone as a hotspot], for Torque, plus any other cool little things I can think of.
How did you get amazing free text to load the app drawer? I'm having a lot of trouble figuring it out. I've got almost everything else on the home screen setup. Also does anyone know where to find a good write up of just tablet prep?
^^ are you Matt on YouTube (I responded to the exact same question on YouTube)? You have to launch a shortcut (not "launch apps") when in amazing text free to put in your apps drawer
Yes I'm Matt, I figure it out. Launch app or shortcut, launch shortcut, Nova action, and app drawer. Thank you. Now to figure out how to do the oem charge 0 and figure out how to get the bottom buttons installed.
Glad you got it!
Send me your email in a PM and I can give you my email address to ask me questions anytime. I'm currently helping like 10 people via email haha
If you don't really plan on putting a back up camera, aswell as steering wheel upgrades, or even using a DAC would you need to use the USB hub? I might just use the GROM USB car adapter, which plugs right into the nexus giving it lower power it also has bluetooth so I could bluetooth my phone for tunes as it plugs into a HU. Could I just 12v to USB then straight to my N7 via OTG, and GROM from N7 via Micro USB, and would be done?
How do you tell which radio station you you're listening to? I did not see the panel with that information.
Thanks,
Scott
I was thinking the same thing Scott.
The non-navi HVAC display is a separate screen from the radio screen. If you relocate the HVAC display (from a non-navi TL) to above the center vents, where does the radio information go if the radio screen isn't installed anywhere? Instead of relocating the non-navi HVAC screen above the center vents, could you just purchase a navi dash screen instead? This OEM screen is already above the center vents (so it would fit well) and displays the HVAC information there. Wouldn't that look cleaner/more OEM? Just my two cents....I believe this screen also displays some audio input information as well? Please correct me if I'm wrong
This concept may have been discussed in a different Nexus 7 thread, but I can't find it right now... sorry for that guys. I'll keep searching.
How are you tethering to your phones? Currently I am using blue tooth for internet but I have to manually connect each time.
download a program called bluetooth auto connect for the tablet. you set up the priority of connecting and it will connect to your phone automatically every time.


 Update your control lights to LEDs while you are in there!!!