3G TL (2004-2008)
Sponsored by:
Sponsored by:

DIY: Steering wheel emblem replacement

Thread Tools
 
Search this Thread
 
Old 01-19-2021, 02:18 AM
  #1  
Racer
Thread Starter
iTrader: (2)
 
DesertMistTL's Avatar
 
Join Date: Jan 2014
Posts: 391
Received 103 Likes on 60 Posts
DIY: Steering wheel emblem replacement

While doing a steering wheel swap, and given the only documentation on this is Youtube I thought I'd give it a write-up.


While this is a lot more time consuming I think it's better then sawing off the emblem with steering wheel on since the emblem is melted in place.

Materials Needed
  1. Steering wheel emblem, this fit the 07-08 but fits lot of models according to listing - Ebay Link Here
  2. A pick or a small flat head
  3. JB Quik Weld or any epoxy glue that can withstand hot interiors -
    Amazon Link Amazon Link
  4. Recommended: Ratchet screw driver

Instructions
  1. Remove airbag from car using these instructions - Click here
  2. Remove these philips screw, I recommend a ratchet screw driver because they were on a little tight

  3. Pry up gently these white caps
  4. Use a pick or flat head to poke these tabs loose for the bottom white cap here


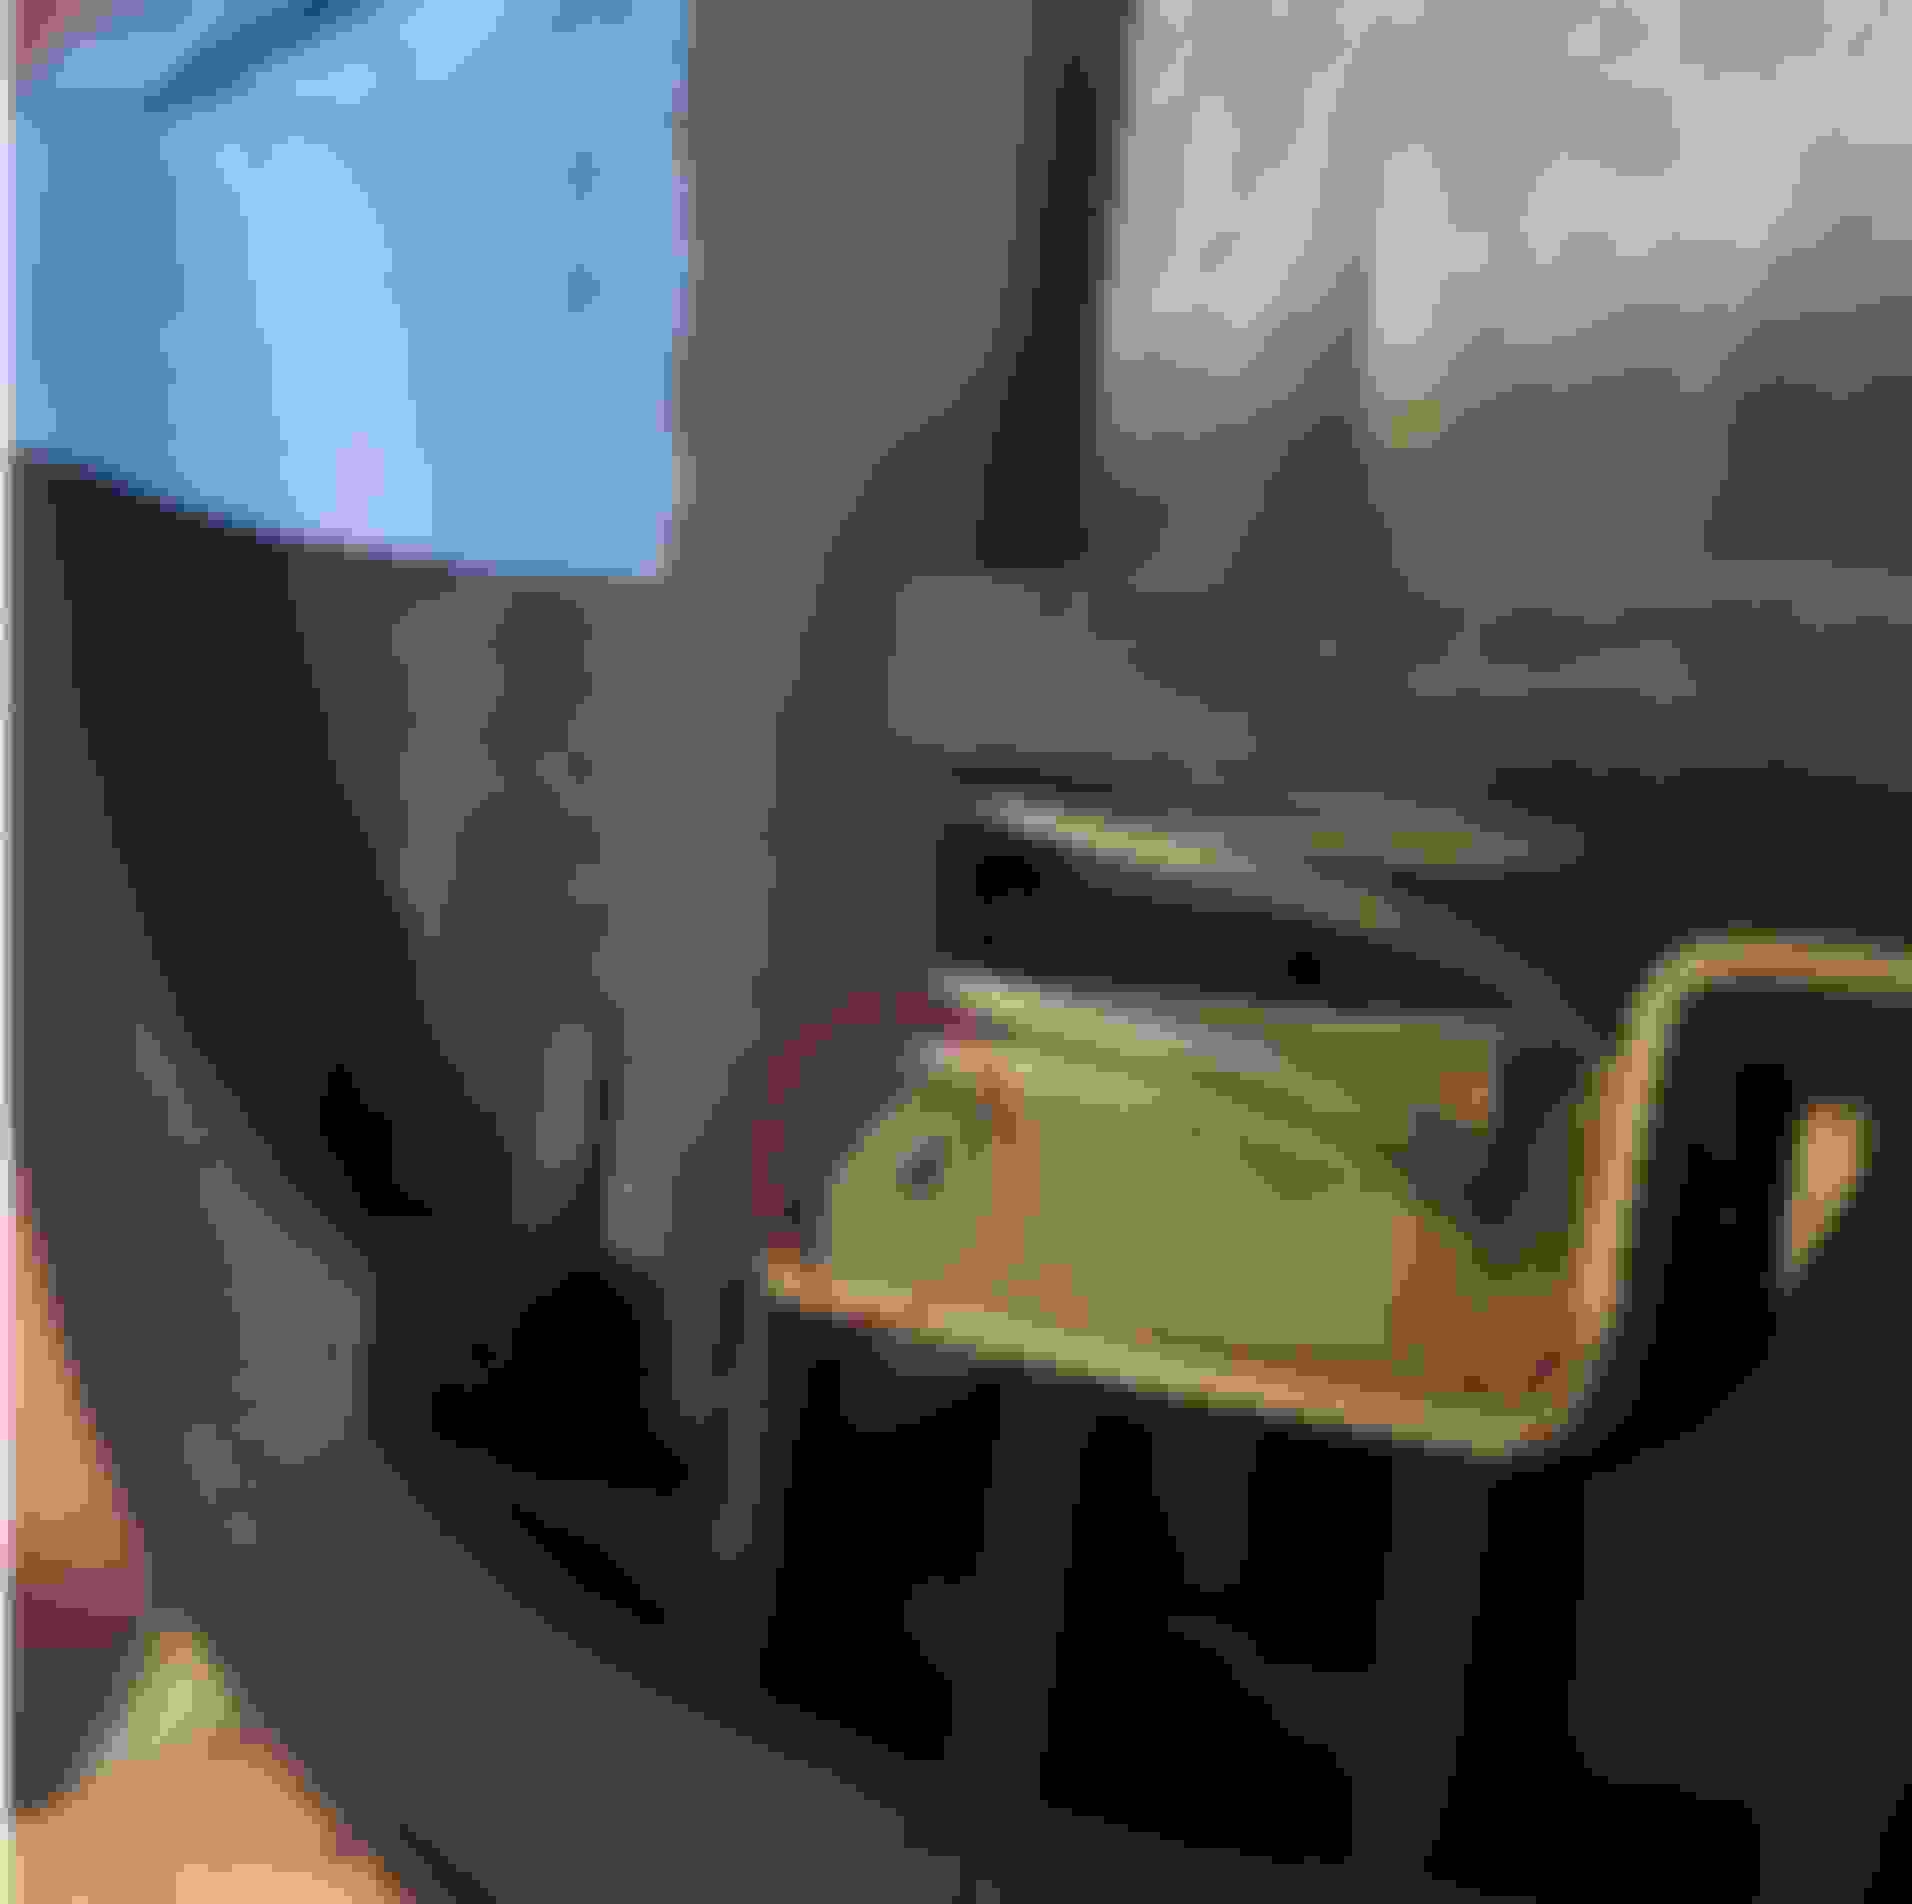
  5. Now we need to separate the plastic tabs holding the airbag, shove a flat head on the back and just pry out, theres 3 tabs on each side. Put airbag on something soft so you dont scratch up the front


  6. Now lift the airbag bottom up, there's hooks up here in red that will just slide out of the plastic cover, no need to pry hard here.
  7. Now you'll have the airbag and plastic cover separated, and see all the melted plastic tabs the old emblem has

  8. Use some wire cutter or your weapon of choice to get under these melted tab heads and snip them. I was doing it the hard way but you can fit under these blobs and cut the heads off

  9. Test fit your emblem, and see which tabs you need to cut. If you are skilled in vinyl, now is a time to wrap this section for a CF look

  10. For me, I needed to cut the 2 o clock and 7 o clock tabs, but double check by placing new emblem in the holes and see where it's not slotting in first! emblems can be different

  11. After I had it all fitting nice, I trimmed the tops of the tabs because they were a lot longer then OEM, trim just a little

  12. Wipe down the entire area with rubbing alcohol
  13. Mix epoxy and rub it into all the tabs and hold in place till try or clamp

  14. This is what you should be left with. It'll fit only as good as you holding it place while epoxy dries. Even mine isnt 100% flush but I accept it for what it is
  15. Reassemble the airbag
  16. Reinsert the bottom clips back in first
  17. Clip back in the 6 tabs
  18. Pinch the spring and try to get it to seat around all 4 of these little retainer tabs

  19. Make sure these little vertical tabs are sitting outside the spring and NOT under the spring like this.
  20. Pop the top cap back in and bolt


  21. Do one last check of everything
    1. All springs seated
    2. All top and bottom white plastic caps are in
    3. All 6 side tabs are in
    4. Top two hook/tabs are in
  22. Tighten the side bolts as far as you can snug, bottom one doesnt need to be that tight because if you tighten too much it'll ground the horn and the horn wil be on ALL THE TIME
  23. Not bad for little work


Bonus Round
  1. Experimenting dechroming the original emblem, might be useful for someone that doesnt want to buy a new emblem.

  2. Just pour bleach in a cup and toss the emblem in for 12-24 hours--it should dechrome the emblem. Keep out of reach of children, pets...and put in WELL ventilated area.


  3. After dechroming--just primer and spray paint black/silver
  4. You can then reepoxy the emblem back in like how I did above--there should be enough back tabs to reuse the emblem
  5. I just did this so not sure how well it'd work. I did this a decade ago to some Accord emblems and it stripped it clean but started to eat the plastic underneath so should watch it

Good luck! Follow me on my instagram: https://www.instagram.com/melon_tl/

Last edited by DesertMistTL; 01-19-2021 at 02:30 AM.
The following 9 users liked this post by DesertMistTL:
04WDPSeDaN (01-19-2021), Acura TL Builder (09-08-2022), BROlando (09-08-2022), csmeance (01-20-2021), Curious3GTL (01-21-2021), Legend2TL (01-19-2021), pohljm (01-19-2021), Rende_WDP (01-19-2021), Slpr04UA6 (01-19-2021) and 4 others liked this post. (Show less...)
Old 01-19-2021, 04:35 AM
  #2  
Null and proud of it
 
Midnight Mystery's Avatar
 
Join Date: Mar 2016
Location: Metairie, LA
Age: 27
Posts: 10,375
Received 898 Likes on 788 Posts
Such a detailed post man. Looks super cool but this little project requires some dedication!!!
The following 2 users liked this post by Midnight Mystery:
Curious3GTL (01-21-2021), DesertMistTL (01-19-2021)
Old 01-19-2021, 12:31 PM
  #3  
Burning Brakes
 
wusty23jd's Avatar
 
Join Date: Apr 2015
Location: Grand Rapids, MI
Posts: 1,212
Received 232 Likes on 160 Posts
This.is.awesome. and also why Acurazine is still the best place to find informative DIY threads. Thanks for sharing your experiences with everyone. It looks great!
The following 2 users liked this post by wusty23jd:
DesertMistTL (01-19-2021), Rende_WDP (01-19-2021)
Old 01-19-2021, 01:12 PM
  #4  
9th Gear
 
Rende_WDP's Avatar
 
Join Date: May 2019
Location: Toronto, Canada
Posts: 9
Received 7 Likes on 6 Posts
Awesome write up man! Never knew the airbag could come apart like that but it would've made my life a lot easier when I pried mine emblem off from the front lol. Wish AZ was still popular like it was back in the day for the 3g TL. Hopefully it can make a comeback.
The following users liked this post:
DesertMistTL (01-19-2021)
Old 01-19-2021, 01:28 PM
  #5  
Racer
Thread Starter
iTrader: (2)
 
DesertMistTL's Avatar
 
Join Date: Jan 2014
Posts: 391
Received 103 Likes on 60 Posts
Bleached taking too long, someone recommended oven cleaner and wow it took 2 minutes!

The following users liked this post:
Rende_WDP (01-19-2021)
Old 01-19-2021, 01:31 PM
  #6  
Rev High; Drive Happy
iTrader: (2)
 
o4Komodo's Avatar
 
Join Date: Feb 2008
Location: Scarborough, Ontario
Age: 34
Posts: 4,074
Received 398 Likes on 332 Posts
As mentioned on FB. Glad you decided to write a detailed DIY here. And a proper one at that (none of that in-car removal stuff).
The following 2 users liked this post by o4Komodo:
csmeance (01-20-2021), DesertMistTL (01-19-2021)
Old 01-21-2021, 11:10 AM
  #7  
Safety Car
iTrader: (8)
 
EvilVirus's Avatar
 
Join Date: Apr 2011
Location: Houston
Posts: 4,227
Received 1,120 Likes on 893 Posts
Nicely done OP

It was a PITA when i first tried to swap the emblem out
Old 01-21-2021, 01:41 PM
  #8  
10th Gear
 
Ranuponya's Avatar
 
Join Date: Jul 2020
Age: 39
Posts: 14
Received 2 Likes on 2 Posts
thanks for the write up. the community needs it!
Old 08-07-2022, 01:23 PM
  #9  
Instructor
 
kcjohnnyboy's Avatar
 
Join Date: Dec 2012
Location: Kansas
Posts: 222
Received 27 Likes on 23 Posts
Is there another way to find the link to the emblem. I'm trying to replace one on my 05-08 Acura RL
Old 09-08-2022, 02:50 AM
  #10  
Racer
Thread Starter
iTrader: (2)
 
DesertMistTL's Avatar
 
Join Date: Jan 2014
Posts: 391
Received 103 Likes on 60 Posts
Originally Posted by kcjohnnyboy
Is there another way to find the link to the emblem. I'm trying to replace one on my 05-08 Acura RL
they're mostly on ebay and acura more or less used the same size emblem for almost all their cars for a while.
Old 09-08-2022, 10:32 AM
  #11  
Safety Car
 
Acura TL Builder's Avatar
 
Join Date: May 2007
Location: At the Track
Posts: 4,291
Received 856 Likes on 704 Posts
Thank you for the detailed post!
Related Topics
Thread
Thread Starter
Forum
Replies
Last Post
ryanbtl
3G TL Problems & Fixes
4
01-19-2021 03:36 PM
tkosho24v
3G TL Photograph Gallery
4
08-13-2019 06:09 PM
randytlx15
5G TLX (2015-2020)
24
05-08-2018 03:09 PM
Rae Rad
ILX
16
11-02-2015 07:30 PM
silver3.5
1G RL (1996-2004)
30
11-05-2010 10:28 AM


Quick Reply: DIY: Steering wheel emblem replacement


All times are GMT -5. The time now is 11:55 PM.