Transmission and transfer case oil changes
#1
Transmission and transfer case oil changes
How far off the ground does the car need to be (thinking of buying the wheel cribs for this project)?
Thanks,
TT
Thanks,
TT
Last edited by tractng; 01-03-2022 at 02:54 AM.
#2
Instructor
It depends. If you are a big guy lift it high enough where you can comfortably crawl under and still have room to work. For me I drove it up a rhino ramp and jack up the rear end. Besides height the key is to level your car if your driveway is at an incline. This will ensure proper oil level. Also measure the amount coming out and put back the same amount. I changed my transfer case oil at 15k. I plan on doing the transmission oil in the summer when the car reaches 20k miles. I have a 2019 RDX btw.
#3
Instructor
Hi Toni,
Why change the transfer case so soon? Aren't the transfer case and transmission usually changed at the same time?
Can the transfer case fluid be changed without removing the plastic underbody cover (just the metal ones)?
Why change the transfer case so soon? Aren't the transfer case and transmission usually changed at the same time?
Can the transfer case fluid be changed without removing the plastic underbody cover (just the metal ones)?
#4
Suzuka Master
I would not be changing tranny fluid and transfer fluid earlier than recommended unless you enjoy doing it. 10sp trans seems to be solid and we do not see any failures such that more proactive fluid changes would help reduce the failures. Its been around for a while, and I do not see failures in any of the blogs including honda accord
#6
Instructor
but I am sure that it would be much easier to just lift. I would drive the front up on ramps, then jack the back from the back/center lift point, and
put jack stands for the back, or you can use 4 jack stands. The car needs to be pretty much level.
Remove the metal cover, same cover as for oil change. 4 screws, 90 degree turn to release/re-fasten.
Remove the metal cover behind the plastic one -- the one that starts a few inches aft of where the
oil change cover ended. Two 10mm hex screws with washers, 4 plastic fastener rivets at front of
metal cover (2 each side), and 2 plastic fastener rivets of a different design toward the back of
the metal cover (1 each side). You very carefully pry out the center plastic piece in each rivet
with a small screwdriver or special tool, then pull it out -- very easy to break! Check out a
youtube video on the engine air filter replacement to see similar plastic rivet removal/replacement.
Loosen the fill plug. Maybe take it out and see (finger) how full it is.
Remove the drain plug, let fluid drain, replace plug with new crush washer. Not sure of the crush
washer size. Maybe 18mm, but could be something else.
Pump in new Acura fluid (probably use one of those cheap hand pumps) until full/overflowing.
~0.61 quarts. Pump the fluid slowly -- it can back up and flow out, making you think it is full,
when it is not yet, so keep track of the amount you drained and have pumped in.
Replace plug with new crush washer. Torque plugs to 32 ft #. Replace metal covers.
The plugs take a 3/8 square drive. The drain can maybe be done directly with a 3/8 ratchet, or with a short extension.
The fill will take a long extension or series of extensions. Not sure, but maybe in the range of 16" or so. Have
a bunch of options handy. Too long or too short will not work.
Before removing the fill plug, shove some rags under it to catch spills. It is right above the steering
rack and some cables, and is difficult to reach to clean if you spill fluid, hence the rags. Be sure to
remove them before replacing the covers.
I haven't done this procedure (only 3500 miles on RDX). I just read online, and removed the metal covers today
and looked at it.
One good source of info was an Acura Tech on reddit:
RDX 3G transmission and transfer fluid
He posted some helpful photos and info. He also responded very quickly to my questions (I'm the one
who asked about the transfer case on that thread), so he would likely answer whatever questions you
may have (e.g., crush washer size).
-Gary
Last edited by attofarad; 07-24-2022 at 03:35 AM.
#7
Cruisin'
It's best to raise the vehicle to do this procedure. I'm 5'10" / 136# and might possibly be able to do this without lifting (oil change is doable) ,
but I am sure that it would be much easier to just lift. I would drive the front up on ramps, then jack the back from the back/center lift point, and
put jack stands for the back, or you can use 4 jack stands. The car needs to be pretty much level.
Remove the metal cover, same cover as for oil change. 4 screws, 90 degree turn to release/re-fasten.
Remove the metal cover behind the plastic one -- the one that starts a few inches aft of where the
oil change cover ended. Two 10mm hex screws with washers, 4 plastic fastener rivets at front of
metal cover (2 each side), and 2 plastic fastener rivets of a different design toward the back of
the metal cover (1 each side). You very carefully pry out the center plastic piece in each rivet
with a small screwdriver or special tool, then pull it out -- very easy to break! Check out a
youtube video on the engine air filter replacement to see similar plastic rivet removal/replacement.
Loosen the fill plug. Maybe take it out and see (finger) how full it is.
Remove the drain plug, let fluid drain, replace plug with new crush washer. Not sure of the crush
washer size. Maybe 18mm, but could be something else.
Pump in new Acura fluid (probably use one of those cheap hand pumps) until full/overflowing.
~0.61 quarts. Pump the fluid slowly -- it can back up and flow out, making you think it is full,
when it is not yet, so keep track of the amount you drained and have pumped in.
Replace plug with new crush washer. Torque plugs to 32 ft #. Replace metal covers.
The plugs take a 3/8 square drive. The drain can maybe be done directly with a 3/8 ratchet, or with a short extension.
The fill will take a long extension or series of extensions. Not sure, but maybe in the range of 16" or so. Have
a bunch of options handy. Too long or too short will not work.
Before removing the fill plug, shove some rags under it to catch spills. It is right above the steering
rack and some cables, and is difficult to reach to clean if you spill fluid, hence the rags. Be sure to
remove them before replacing the covers.
I haven't done this procedure (only 3500 miles on RDX). I just read online, and removed the metal covers today
and looked at it.
One good source of info was an Acura Tech on reddit:
RDX 3G transmission and transfer fluid
He posted some helpful photos and info. He also responded very quickly to my questions (I'm the one
who asked about the transfer case on that thread), so he would likely answer whatever questions you
may have (e.g., crush washer size).
-Gary
Trending Topics
#8
Instructor
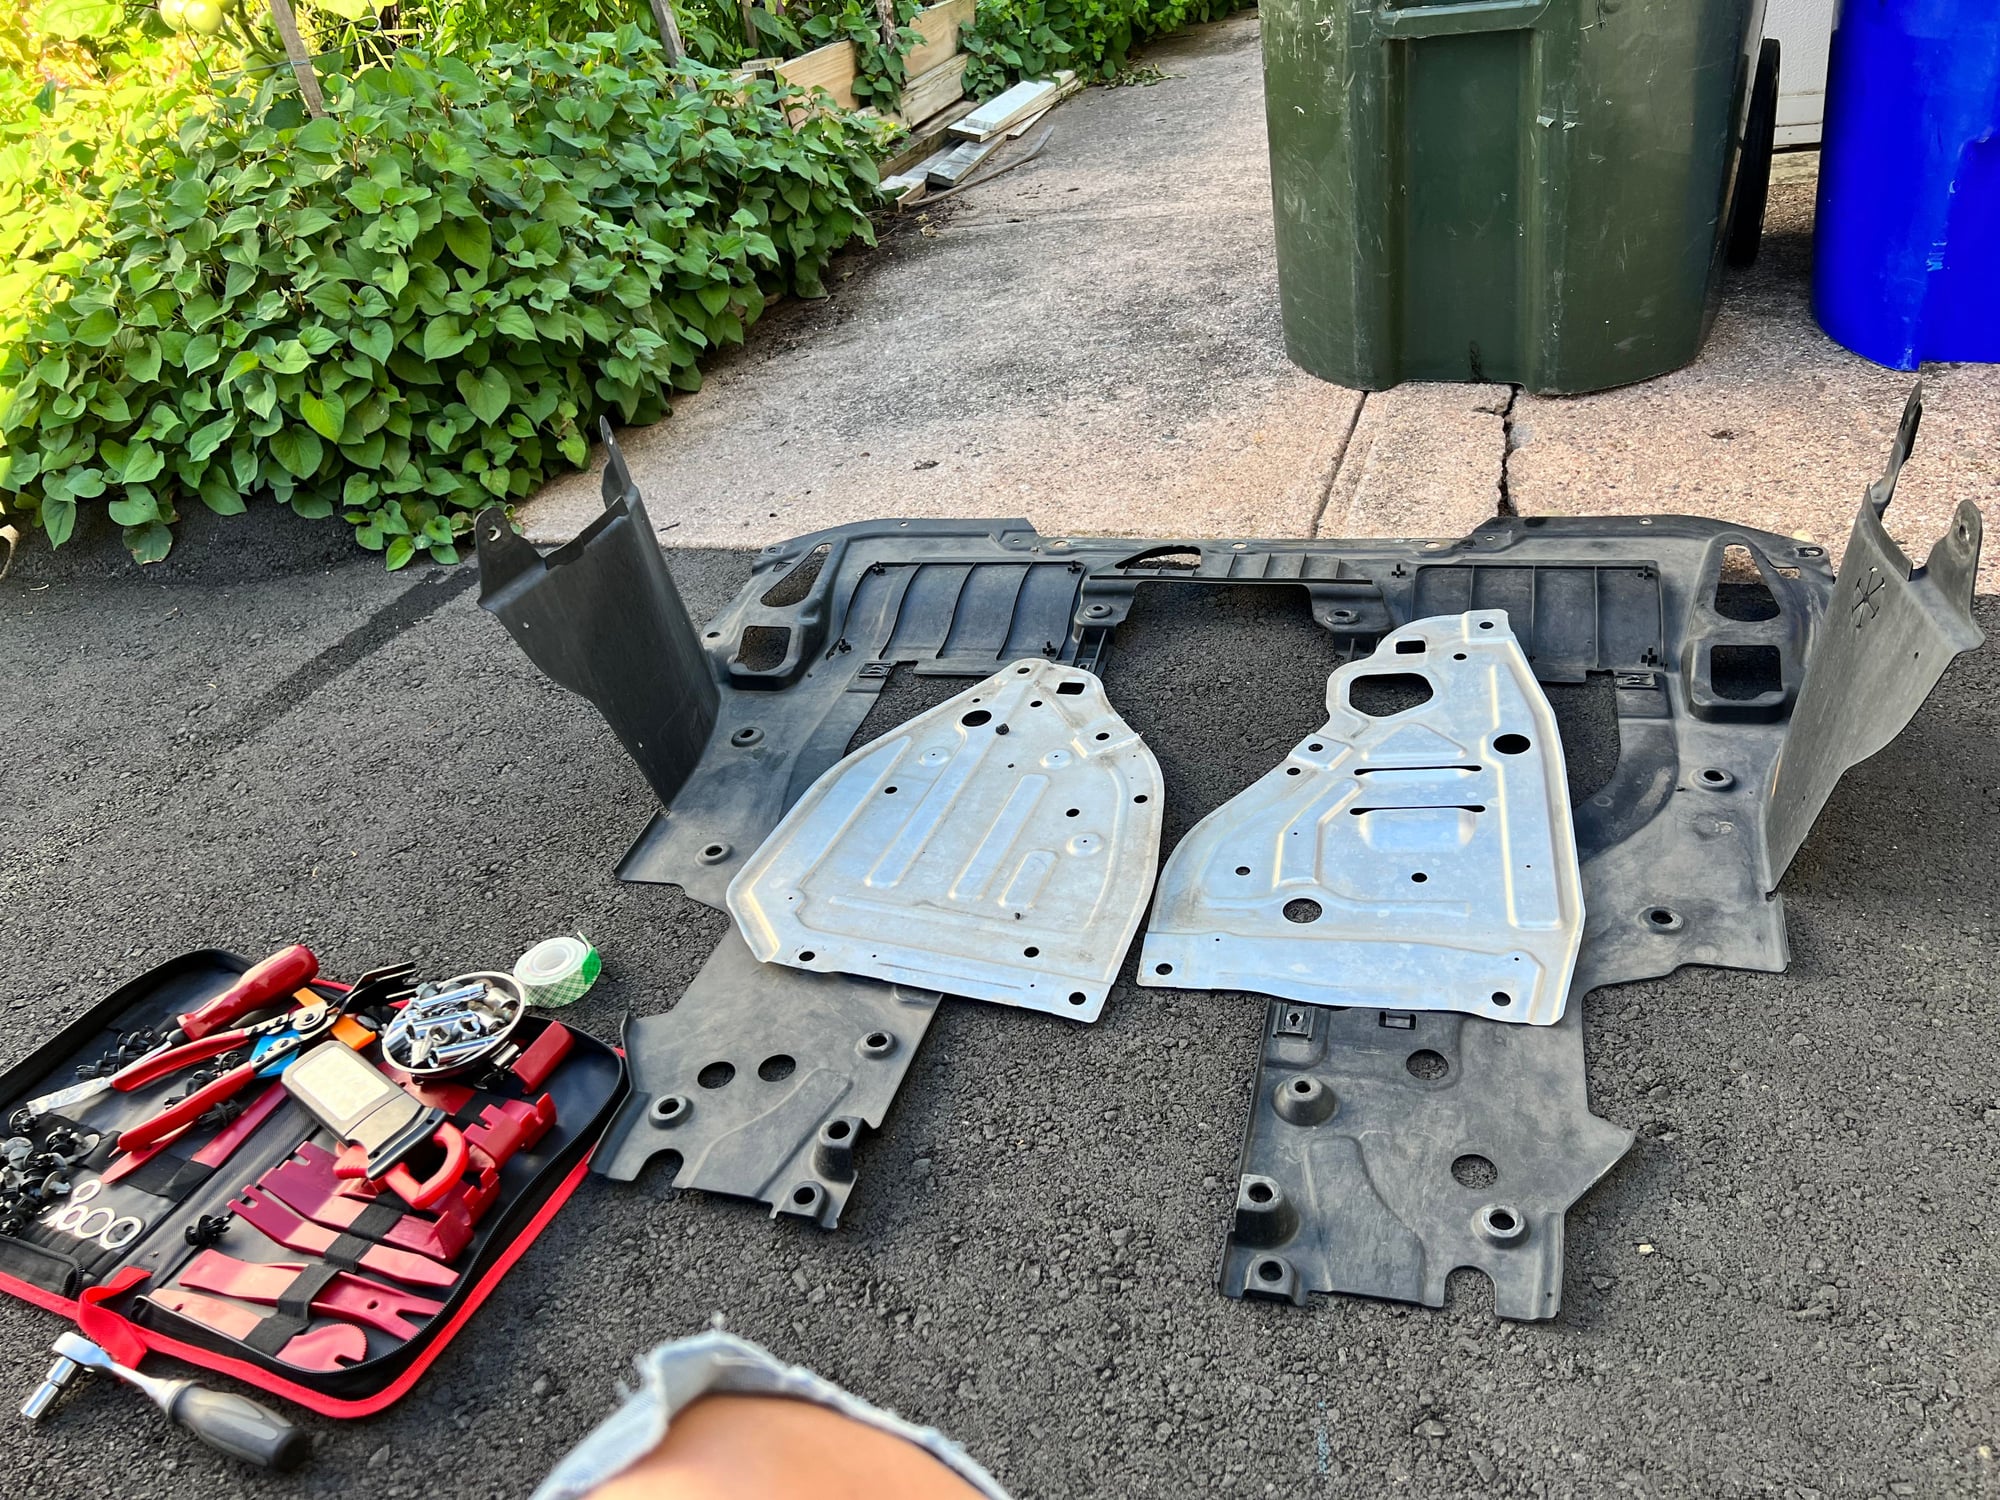
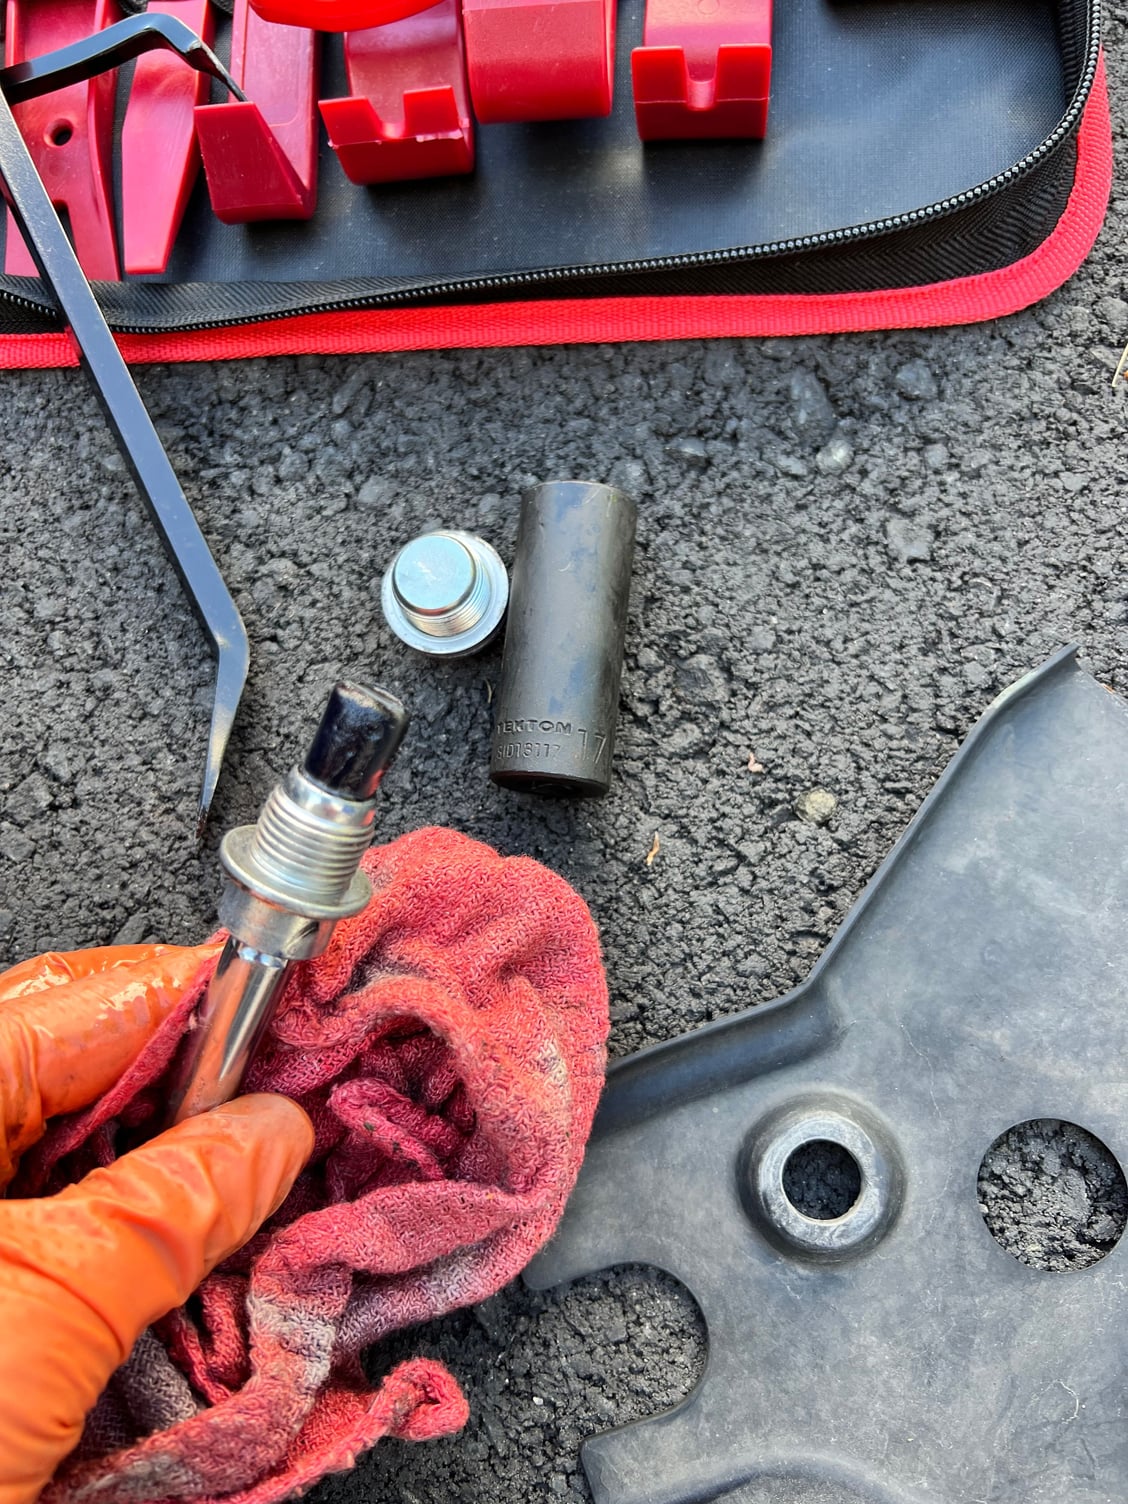
I just changed my ATF fluid yesterday. The most painful part was removing all clips. Even with extreme care I managed to break one clip. If dealer tech does this I guarantee 100% broken or missing clips. I measure the ATF fluid came out at 5.5 quarts to be exact. User manual call for 5.1 for drain and fill. Perhaps the factory overfilled.
I will include pictures here to help anyone want to do this. Use a flat head screw driver and slowly ply the clips out is best. I was short on fluid and went to dealer to buy another quart. The front is on a rhino ramp and I jack up the rear with safety jack stands. Level the car.
Parts:
ATF 2.x (6 quarts to be safe). Use the 6th bottle and fill it half way. Get the car transmission to warm up, cycle throw all the gears stopping each at 5 seconds P,R,N,D,S,S2,S1) and reverse it (S2,S1,S,D,N,RP). Shutoff engine, remove ATF level bolt until fluid slowly dripping down.
Fill bolt: 17 MM
ATF level bolt: 12 MM
washers: I think 20 MM and 18 MM (I bought these in advance, ask dealer). I bought a few a long time ago
3/8 drive ratchet
Plastic cover bolts: 10 MM


Last edited by ToniRDX19; 07-31-2022 at 10:04 AM.
#9
Instructor
Parts:
ATF 2.x (6 quarts to be safe). Use the 6th bottle and fill it half way. Get the car transmission to warm up, cycle throw all the gears stopping each at 5 seconds P,R,N,D,S,S2,S1) and reverse it (S2,S1,S,D,N,RP). Shutoff engine, remove ATF level bolt until fluid slowly dripping down.
Fill bolt: 17 MM
ATF level bolt: 12 MM
washers: I think 20 MM and 18 MM (I bought these in advance, ask dealer). I bought a few a long time ago
3/8 drive ratchet
Did you replace any bolts, or just washers?
Did you pump the oil in, or use a funnel/hose from above?
Thanks for the write-up!
#10
Instructor
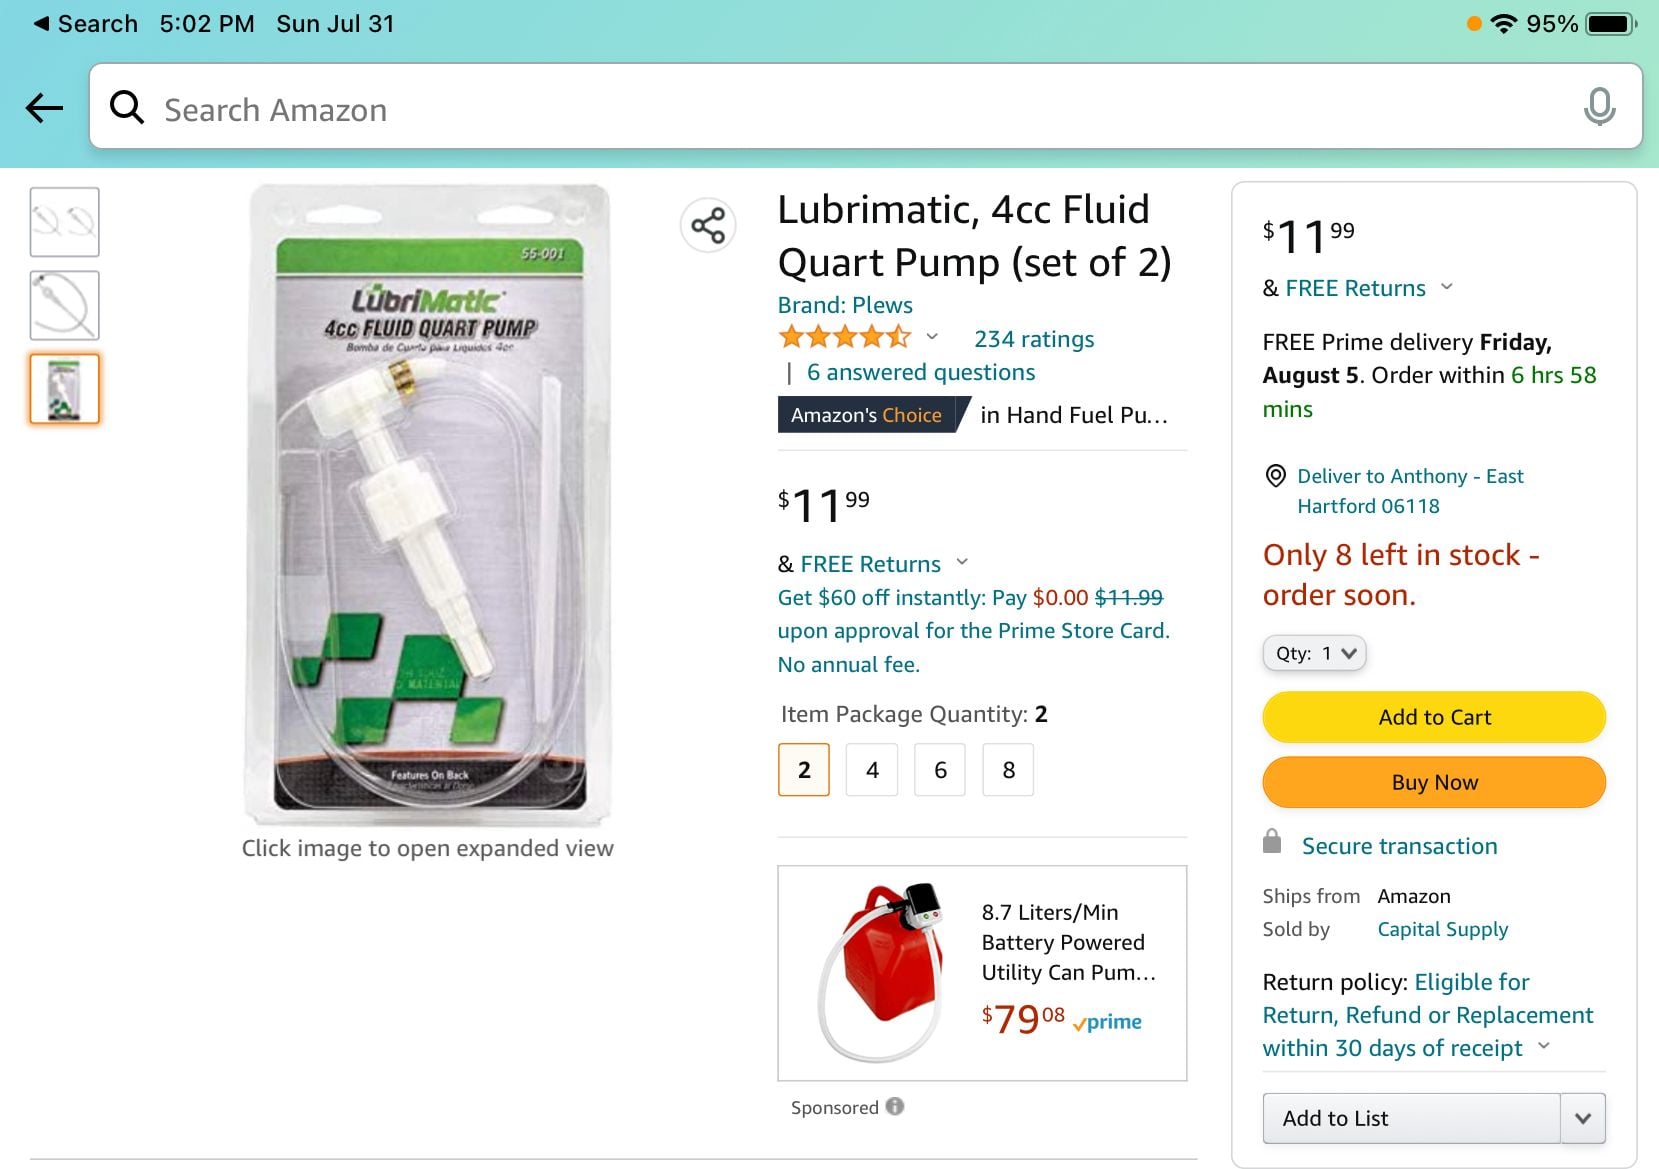
I use a quart pump. The fill hole is shallow and I had to pump the fluid in slowly. If I pump too quickly some of the fluid escape out in the process. Itís easier to pump than using a hose from the top since you have more control over the fluid flow in my opinion. Picture of pump below.
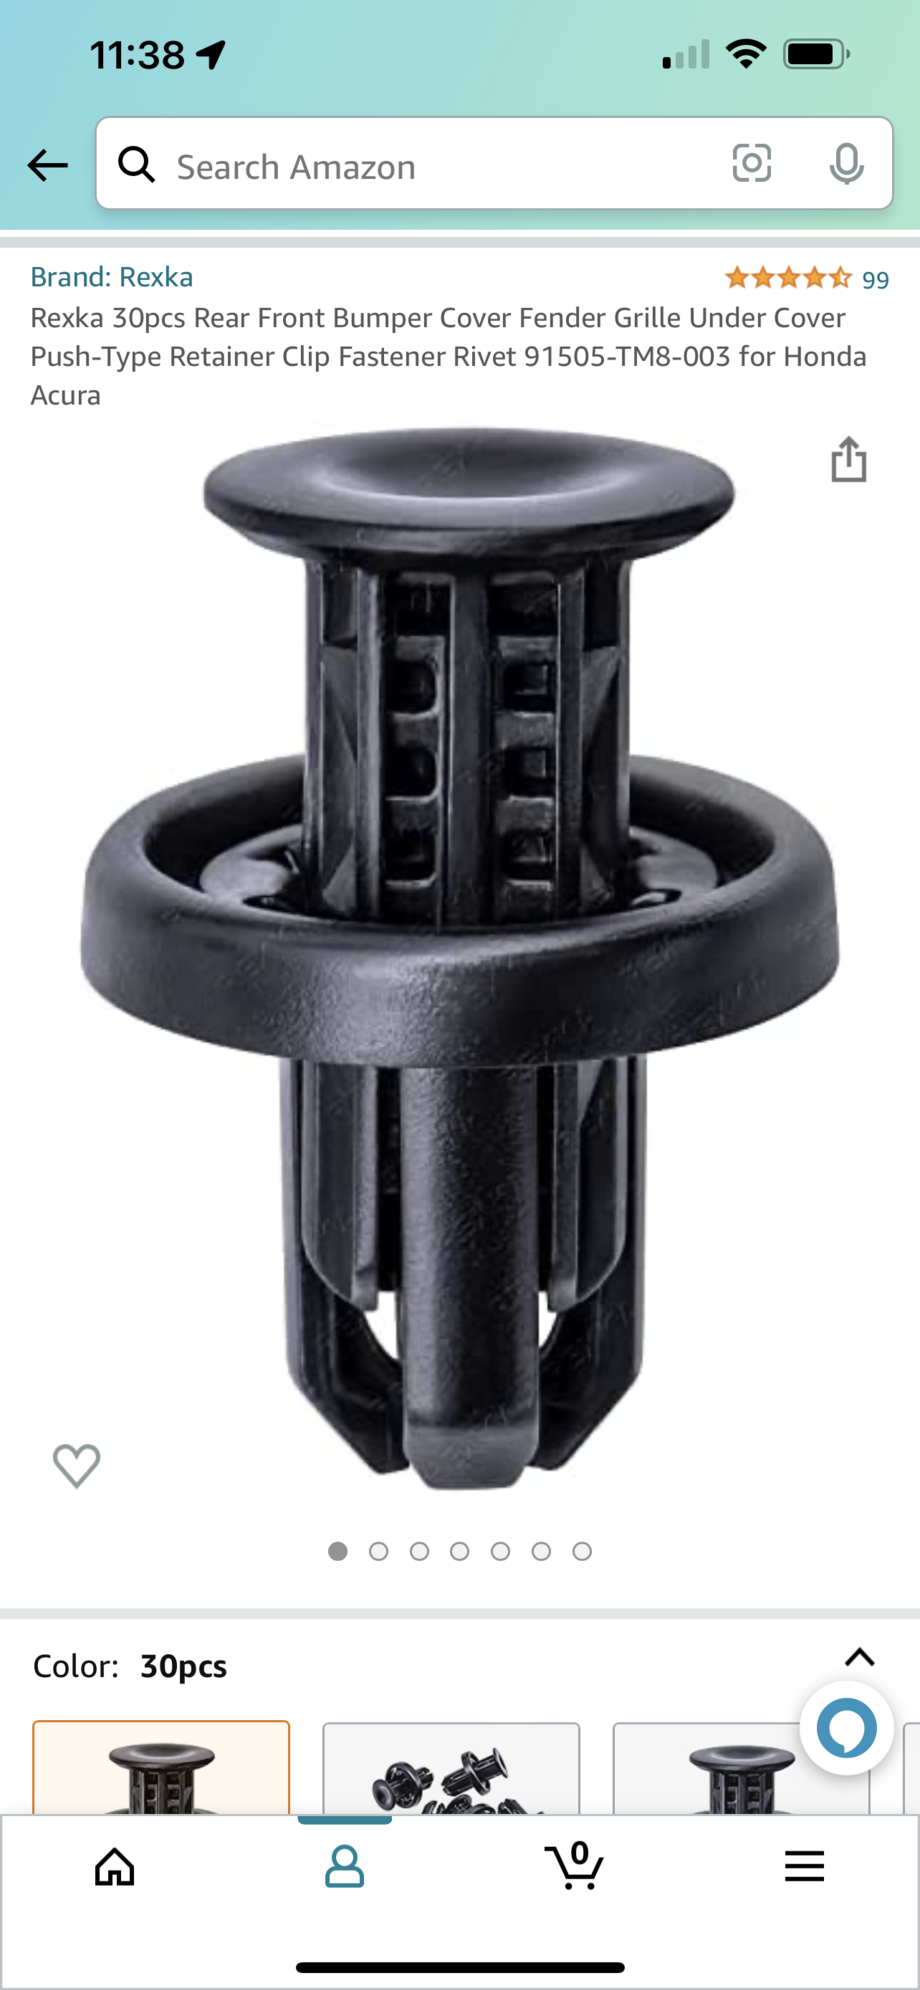
in case anyone busted a few plastic clips I also included the part I purchase. I plan to replace a few lose one the next time I change my ATF fluid.


#11
You don't necessarily have to take the whole plastic piece down. You can access the fill hole with a stubby socket and a long-handle swivel head ratchet (I don't know if this is entirely necessary, but it's what I used). Then you can snake a hose down from the top (forget exactly what size, but just make sure it fits all the way into the fill hole) with a funnel and fill from the top. The first time it took a little while because I was figuring everything out, but the second one I did took the same amount of time as an oil change (about 15mins). I despise those hand pumps. If I can avoid ever using them, I will.
#12
Instructor
You don't necessarily have to take the whole plastic piece down. You can access the fill hole with a stubby socket and a long-handle swivel head ratchet (I don't know if this is entirely necessary, but it's what I used). Then you can snake a hose down from the top (forget exactly what size, but just make sure it fits all the way into the fill hole) with a funnel and fill from the top. The first time it took a little while because I was figuring everything out, but the second one I did took the same amount of time as an oil change (about 15mins). I despise those hand pumps. If I can avoid ever using them, I will.
#13
If you position your body where your head is at the front of the car (rest of your body is underneath the length of the car), it makes it possible to snake your arm up there without having to place much pressure on the plastic undercover at all. Give it a shot next time. I looked at all the plastic clips and said, "oh hell no" and tried it without taking the cover off. It worked and saved me a boatload of time and irritation ... because I'm already an angry enough asshole. As for the filler hose, just make sure you wiggle it around in the fill hole because it has a tendency to get caught up on the threads. Go in as deep as you can so it doesn't come out while filling. I'm really glad at how easily serviceable all the fluids are on this car.
#14
Instructor
Here is a video link to a series of 3 videos, from someone who also changes the transmission filter which I did not know exists.
https://m.youtube.com/channel/UCKYNk...OaGXYPg/videos
Does anyone know whether the Acura shop manual suggests changing this filter ever?
https://m.youtube.com/channel/UCKYNk...OaGXYPg/videos
Does anyone know whether the Acura shop manual suggests changing this filter ever?
#15
Instructor
Here's another article on servicing the Honda 10-speed transmission.
https://www.transmissiondigest.com/h...-transmission/
The writer shows the transmission filter, but not the procedure to change it (if one so choses). There is a YouTube video on that.
Also shown is how to take it out of Park with a dead battery, should that become necessary. I think that requires removing the battery.
Thread
Thread Starter
Forum
Replies
Last Post


