When you click on links to various merchants on this site and make a purchase, this can result in this site earning a commission. Affiliate programs and affiliations include, but are not limited to, the eBay Partner Network.
I know, refinishing the beak has been done many times before but it's hard to find a step-by-step so this...is that. Note: Some mask off the area around the beak but I chose to remove it entirely which is shown in the photos and description below. So here we go, by the numbers...
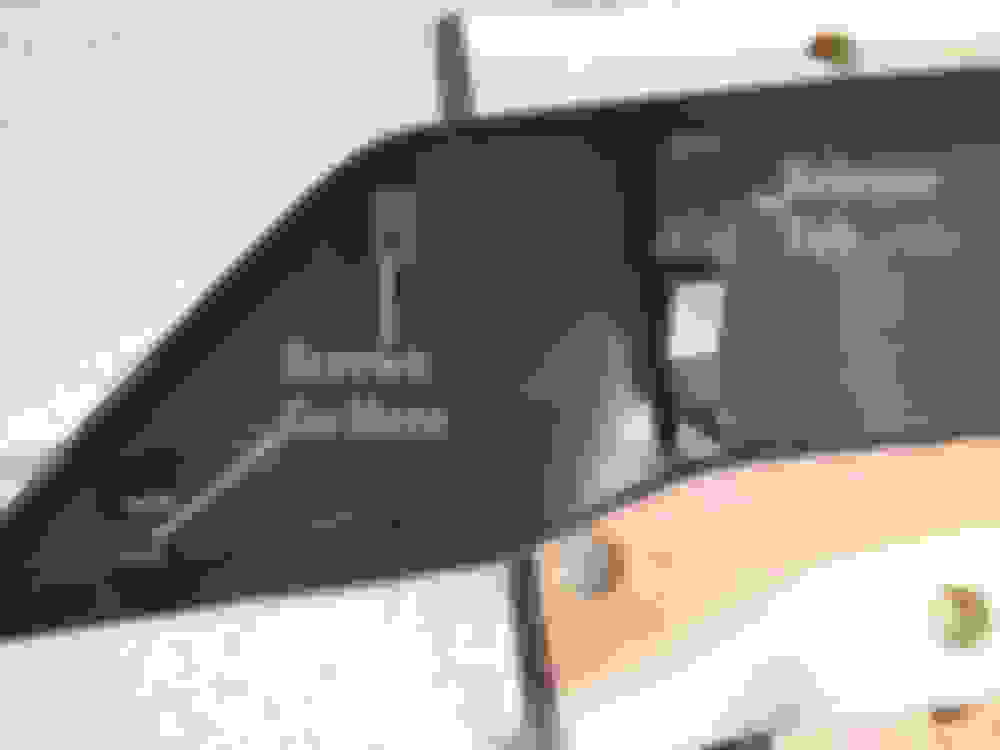
1. Open the hood and remove the top panel. It's the piece you can see the radiator cap and hood latch though. Use a small screwdriver to pop the center pieces up and pull the fasteners out. When they're all removed simply lift the panel off and set it aside (along with the fasteners).
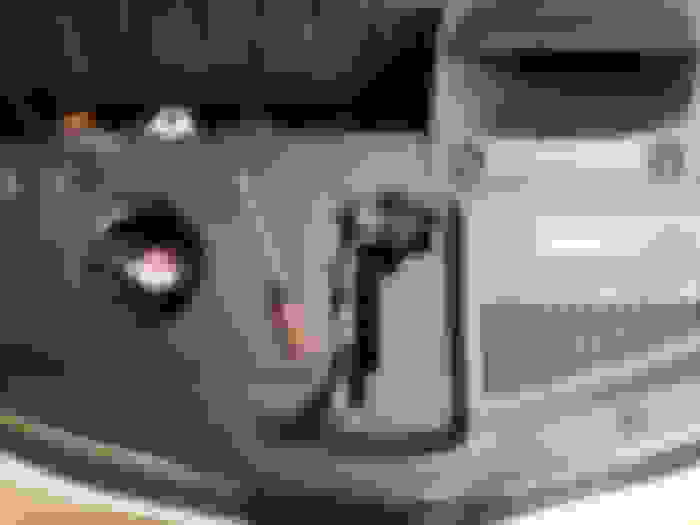
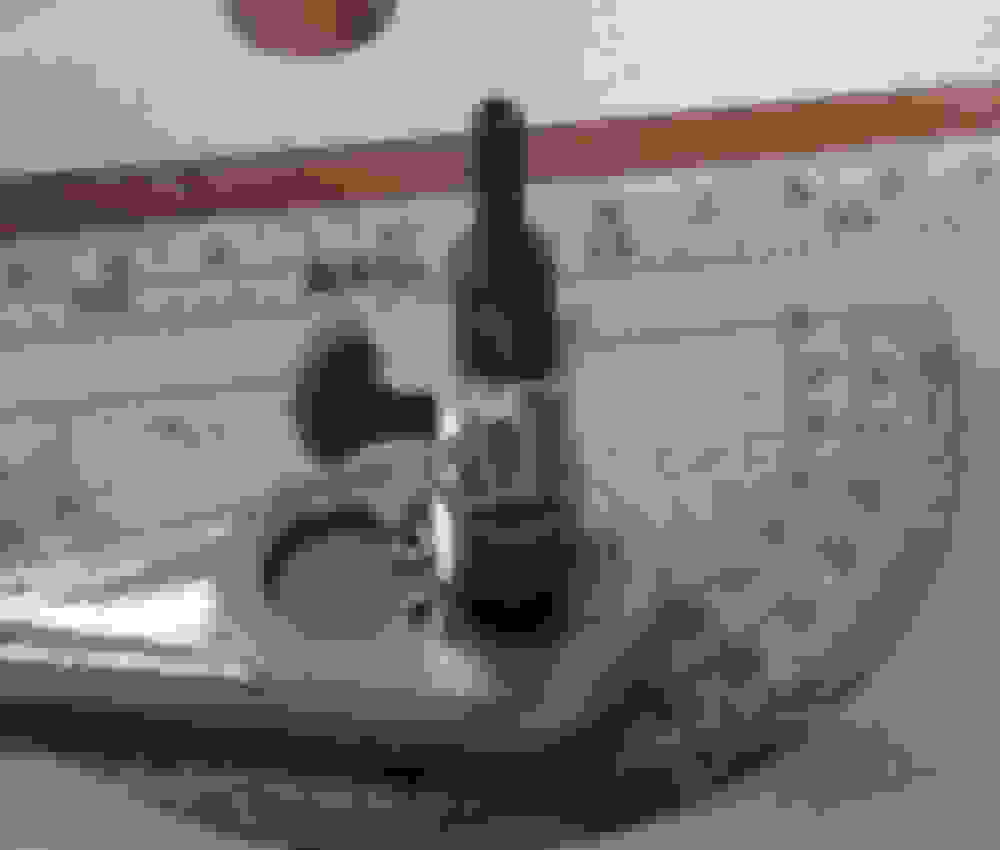
2. With the panel gone, remove the innermost (near the hood latch) horn to get it out of your way. It's a single 12mm nut. Look at the back of the grille and around the beak area are about eight screws. Remove the screws using a small (T-15) Torx bit and 1/4" ratchet and socket. (Pro-Tip) use a tiny bit of paper towel around the bit to hold it firmly in the socket. Note, there's some sort of plastic deflector below the radar antenna (if equipped) that comes off with two of the screws you're removing. Remember where it goes for reassembly.
Torx bit and 1/4" socket/wrench. Note paper holding bit firmly in place
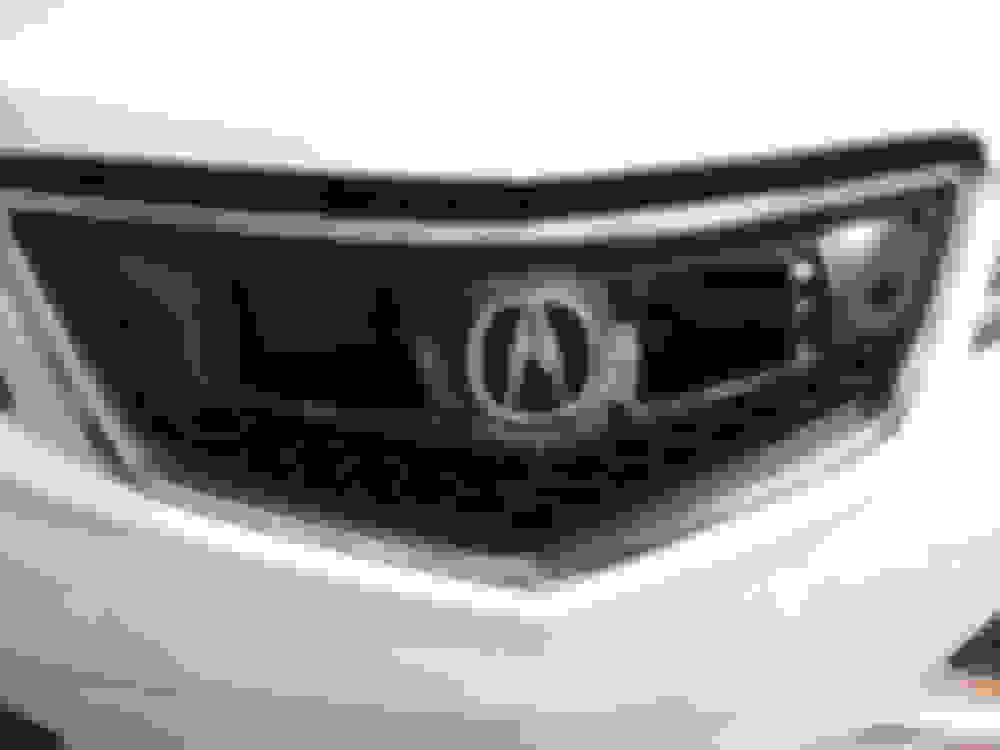
Behind the beak. There are eight of those screws and a release tab on each side.
Back side of beak showing screw location examples and release tab
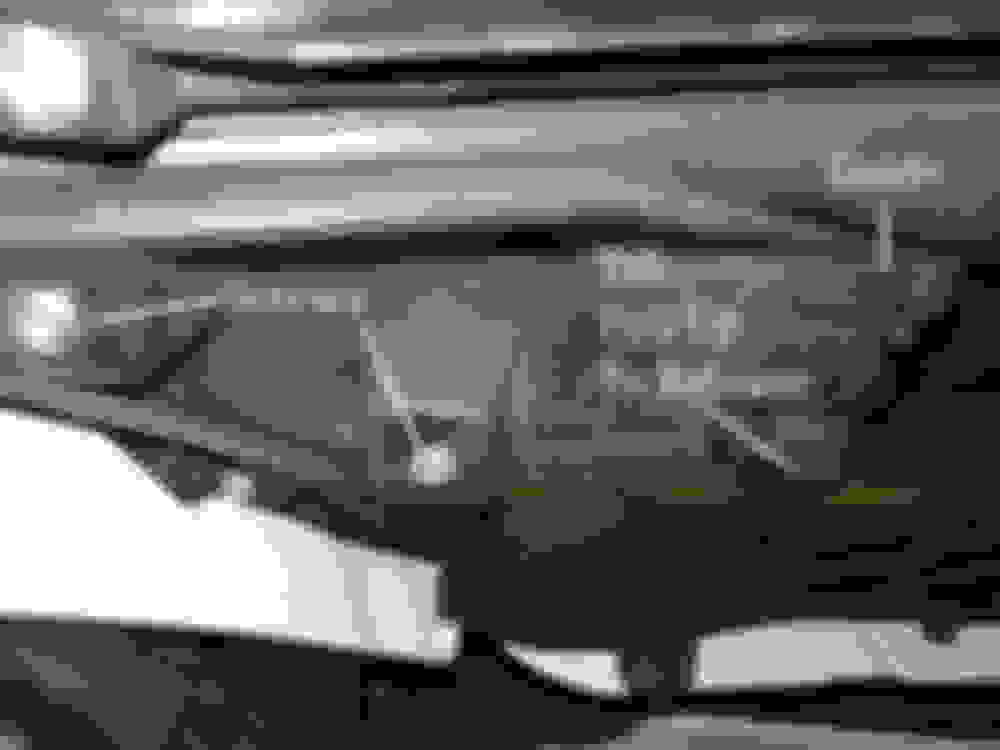
3. With the screws removed identify the two catches (shown in the photo above) and pull 'up' on them to release. The plastic is offering quite a bit of resistance so pull hard until the catch releases. Now you can remove the beak.
4. Use your choice of finish product. I started with 3M Black Matte wrap but completely screwed that up (hey, it's harder than it looks in videos) so went with Plasti-Dip. The beak now has 6 coats (3 light, 3 heavy) of Dip plus one coat of Glossifier.
5 When you're finished with your finish (hah!) put the beak back on in the reverse order you removed it. Don't forget the horn.
Done!
This project is simple with most of the time involved waiting for the paint to dry. It took me about 20 minutes to remove the beak, 10 minutes to replace it. Waiting time between each coat of Plasti-Dip is minimum 1/2 hour then when all your painting is finished wait another 8 hours for complete drying. If you use a film coating removal and replacement of the beak is identical, you just get to skip all the 1/2 hour waits between each coat of Plasti-Dip.
Cheers!
Last edited by Gadgetjq; Sep 19, 2020 at 10:30 AM.
Note: First remove the two fasteners on the air intake and push it aside. Then proceed to remove the fasteners and the top panel. Good write-up, Gadget.
I didn't see this post, and if I had, I wouldn't have done my own write up! Very well done and very thorough description of the process!
Also, great job with the plasti-dipping! Wish mine came out so nice! I've got to redo mine at some point...
Nice screwdriver! I guess great minds think alike??
I really think that the look of the black beak, especially on our white RDX's looks super sharp.
BTW, are you sure its T15? Could have sworn I used a T20.
BTW, are you sure its T15? Could have sworn I used a T20.
Hi Jason,
I think you're right about that. The T20 in my set vanished sometime back so I used a T15 which fit just a little bit loosely but worked fine. The screws go into plastic so they're not really torqued down much.
Plasti-Dip is some sort of rubber/plastic mixture. As a result you can NOT use a normal wash cloth/mit/microfiber towel on it without leaving a zillion little bits of fiber behind. So, if you dip, you can use soap & water and your hand to loosen bugs and grit or get a wash mitt or rubberized cloth specifically made for cleaning dipped cars. Here's a link to one: https://www.dipyourcar.com/products/...=1268631011343
I�ve previously dipped my grill but now handling the beak another way: Total removal.
If you�ve followed the #DeleteTheBeak hashtag on IG, you�ve seen a number of TLX�s with a grill swap to the current design. Got one done for the RDX 2GEN, I believe it�s his first one. While he wasn�t able to do the swap to include the current grill insert design, I choose the insert to be of a hexagonal mesh pattern that resembles the mesh pattern on the faux air vents. Will ship today and install soon.
I know, refinishing the beak has been done many times before but it's hard to find a step-by-step so this...is that. Note: Some mask off the area around the beak but I chose to remove it entirely which is shown in the photos and description below. So here we go, by the numbers...
Thank you gadgetjg for the step by step! Made removing the beak on my new-to-me 2015 RDX super easy. We did the 3m vinyl wrap. Huge improvement for under $20.
why not blacking out all of the chrome?...would look 1000x better no?
We are seriously considering that. This was a phase 1 to quickly get rid of something I hated the look of. But you are right, getting rid of the rest of the chrome will look even better.