
Yet Another weekend project!
 05-17-2008 | 10:38 PM
#1
Thread Starter
9.5 lbs o' Boost!!!!
Joined: May 2002
Posts: 765
Likes: 0
From: Palm Beach Fl.
Yet Another weekend project!
Ive been wanting to re-finish my wheels for some time now and I finally have the time now that summer is here. So I have been working on them since Thursday and and am currently done with 3 of them. I have used a color that is similar to the stock silver but with a little more metallic. The finish is beautiful on the wheels and best of all, they look brand new! I have experience working with a body shop when I was in high school so I had confidence going into the project. Here are the steps I took: and here are some pics:
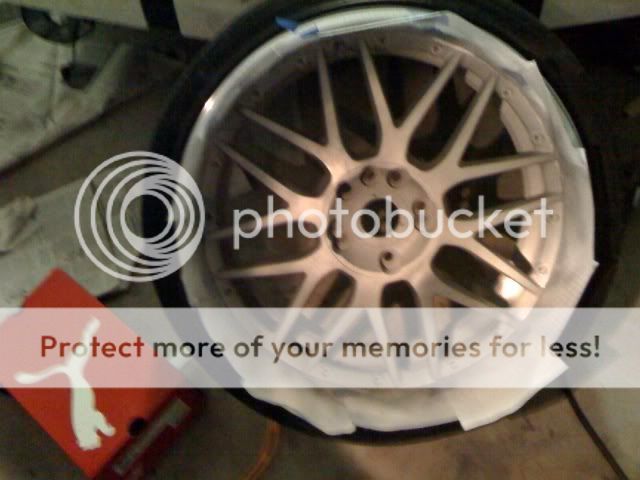
This is a pick of an extra wheel I had and wanted to see what this particular color was like
1. Take wheel off and thoroughly clean them with degreaser.
2. Dry wheels and use a dremel with scuff wheel attached that is not very abrassive. You have to carefully work your way around the curves of the wheel.
3. Once done clean the wheel yet again with degreaser.
4. Make sure the wheel is clean and free of dust and dirt!!!
5. Paint-make sure that you choose a paint that is made for wheels and is heat and brake dust resistance.
6. NOTE-it is best to paint when the sun is out and there is not wind because the heat from the sun will allow the paint to bond well to the medal.
7. Apply even quick bursts of paint to the medal. Make sure that you are at least 8" away from the wheel while painting.
8. For best results do very thin coats with a waiting period of 5 minutes per coat application.
9. Once the base coast has cured, It is necessary to knock down all the build up of dust and paint so that the clear coat will adhere and make a glossy smooth finish.
10. once the paint is on and the texture is smooth and free of bumps and abrasives, spray the clear coat on using the same method for painting.
11. Once the wheel is done, the finish should feel smooth and no bumps or powder. If the finish is not smooth brake dust will accumulate in the groves that are there and will be difficult to clean your wheel.s Allow to cure over night before putting the wheels back on.
Thats it!
05-17-2008 | 10:46 PM
#3
Thread Starter
9.5 lbs o' Boost!!!!
Joined: May 2002
Posts: 765
Likes: 0
From: Palm Beach Fl.
Originally Posted by zac
No primer? No clearcoat?
05-17-2008 | 10:48 PM
#4
Thread Starter
9.5 lbs o' Boost!!!!
Joined: May 2002
Posts: 765
Likes: 0
From: Palm Beach Fl.
I forgot to mention that the easiest way to knock down the sandy abrasive texture after painting, simply use a cloth with some degreaser diluted with some water. You will have to go over the riff spots vigorously until the surface is smooth! then you are ready to clear coat it!
05-17-2008 | 10:59 PM
#7
Burning Brakes
Joined: Aug 2007
Posts: 969
Likes: 39
From: Lancaster PA
Originally Posted by italiaCLs
yes, There is a clear coat, it is in the last step.

Thanks for the info. I plan on painting my stock wheels this summer as soon as school is out. They have much curbage, so I'll have to sand and fill some deeper scratches with bondo.
Trending Topics
 05-18-2008 | 03:14 PM
#14
Originally Posted by TypeStylinOnU
just wondering if anyone has any advice for painting over chrome?
plus if its the set of rims in your avatar, its probably polished lip not chrome.
but you should just sand it down, use paint promoter, paint light coats of 3-5, clear coat... might want to throw in wetsanding too...
05-18-2008 | 04:21 PM
#15
Thread Starter
9.5 lbs o' Boost!!!!
Joined: May 2002
Posts: 765
Likes: 0
From: Palm Beach Fl.
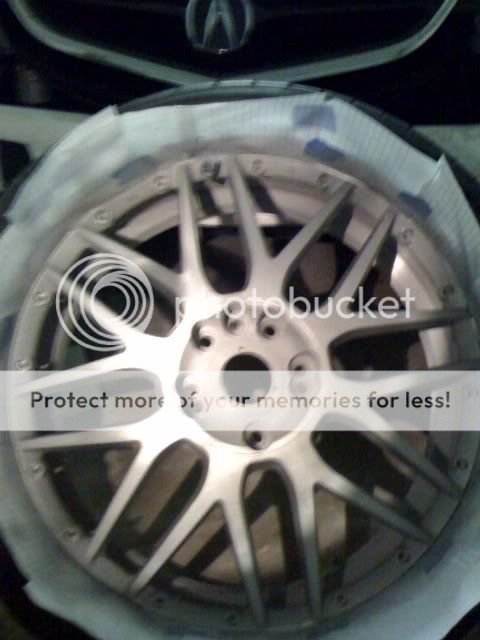
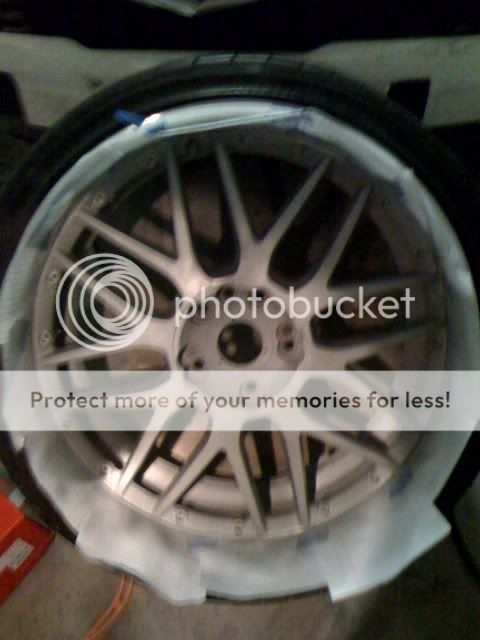
Here are some updates of the finished wheels. I will post pics of them on the car once the headlights are back on.
Look at that shiny glare!
http://img.photobucket.com/albums/v369/italiacls/w3.jpg
the finish and texture is near perfect
http://img.photobucket.com/albums/v369/italiacls/w2.jpg
the entire wheel. Looks Awsome in person
http://img.photobucket.com/albums/v369/italiacls/w.jpg
Look at that shiny glare!
http://img.photobucket.com/albums/v369/italiacls/w3.jpg
the finish and texture is near perfect
http://img.photobucket.com/albums/v369/italiacls/w2.jpg
the entire wheel. Looks Awsome in person
http://img.photobucket.com/albums/v369/italiacls/w.jpg
05-18-2008 | 11:42 PM
#16
Keeping the Stealth alive
Joined: Dec 2006
Posts: 632
Likes: 0
From: Naples/Ft. Myers, Florida
Originally Posted by BigLizard
The pics are fuzzy but doeable.
Looks like this will go over to the FAQ once there is enough response.
Looks like this will go over to the FAQ once there is enough response.
https://acurazine.com/forums/showthread.php?t=150483
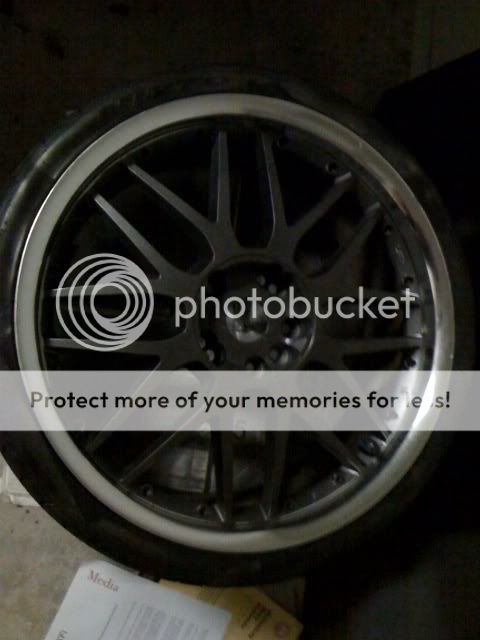
I found these pics interesting too....not trying to threadjack, just add more and more pics/info on painted wheels.

https://acurazine.com/forums/showthread.php?t=177651
05-19-2008 | 04:03 PM
#20
Thread Starter
9.5 lbs o' Boost!!!!
Joined: May 2002
Posts: 765
Likes: 0
From: Palm Beach Fl.
tried to do that but it is welded. besides, I masked it perfectly and i have no over spray, or paint on the lip at all. There is a small gap in between the face and the barrel of the wheel where I inserted paper. So, the paint went to the edge and covered the entire face evenly without getting paint on the lip.
05-19-2008 | 04:09 PM
#21
Thread Starter
9.5 lbs o' Boost!!!!
Joined: May 2002
Posts: 765
Likes: 0
From: Palm Beach Fl.
i almost forgot to mention, The final step in the process is wet sanding the surfaces so that it is silky smooth. The best grit is 1200-1500. (wet sand paper) Use soapy water to lubricate the surface and gently and evenly sand the surface making sure it is always lubricated. Once the surface is smooth you can use a 3000 fine cut polish if there is any clouded areas. however with using such a fine grit paper you will not even see clouding. I barely used polish and the wheels are smooth and shiny.

Thread
Thread Starter
Forum
Replies
Last Post