When you click on links to various merchants on this site and make a purchase, this can result in this site earning a commission. Affiliate programs and affiliations include, but are not limited to, the eBay Partner Network.
LOL...I don't care about watching other people drive either...nor what they own.
but I do LOVE ripping around in the C6Z.
CL has more of a traditional old look to it IMO, especially the feel of the interior...
I love it too and before my 3G love I was in love with the 2G classy look.
3G just owns a piece of my heart, fell in love with an aspec on the showroom floor
in 2003 and that feeling never really left me. Every time I don't own one I'm like FUCK
I'm getting another. Recently bought my own KBP manual one back for a 3rd time and
finally realized I ain't giving it up ever again. There's something very cool about seeing
an old car that looks and drives well going down the road.
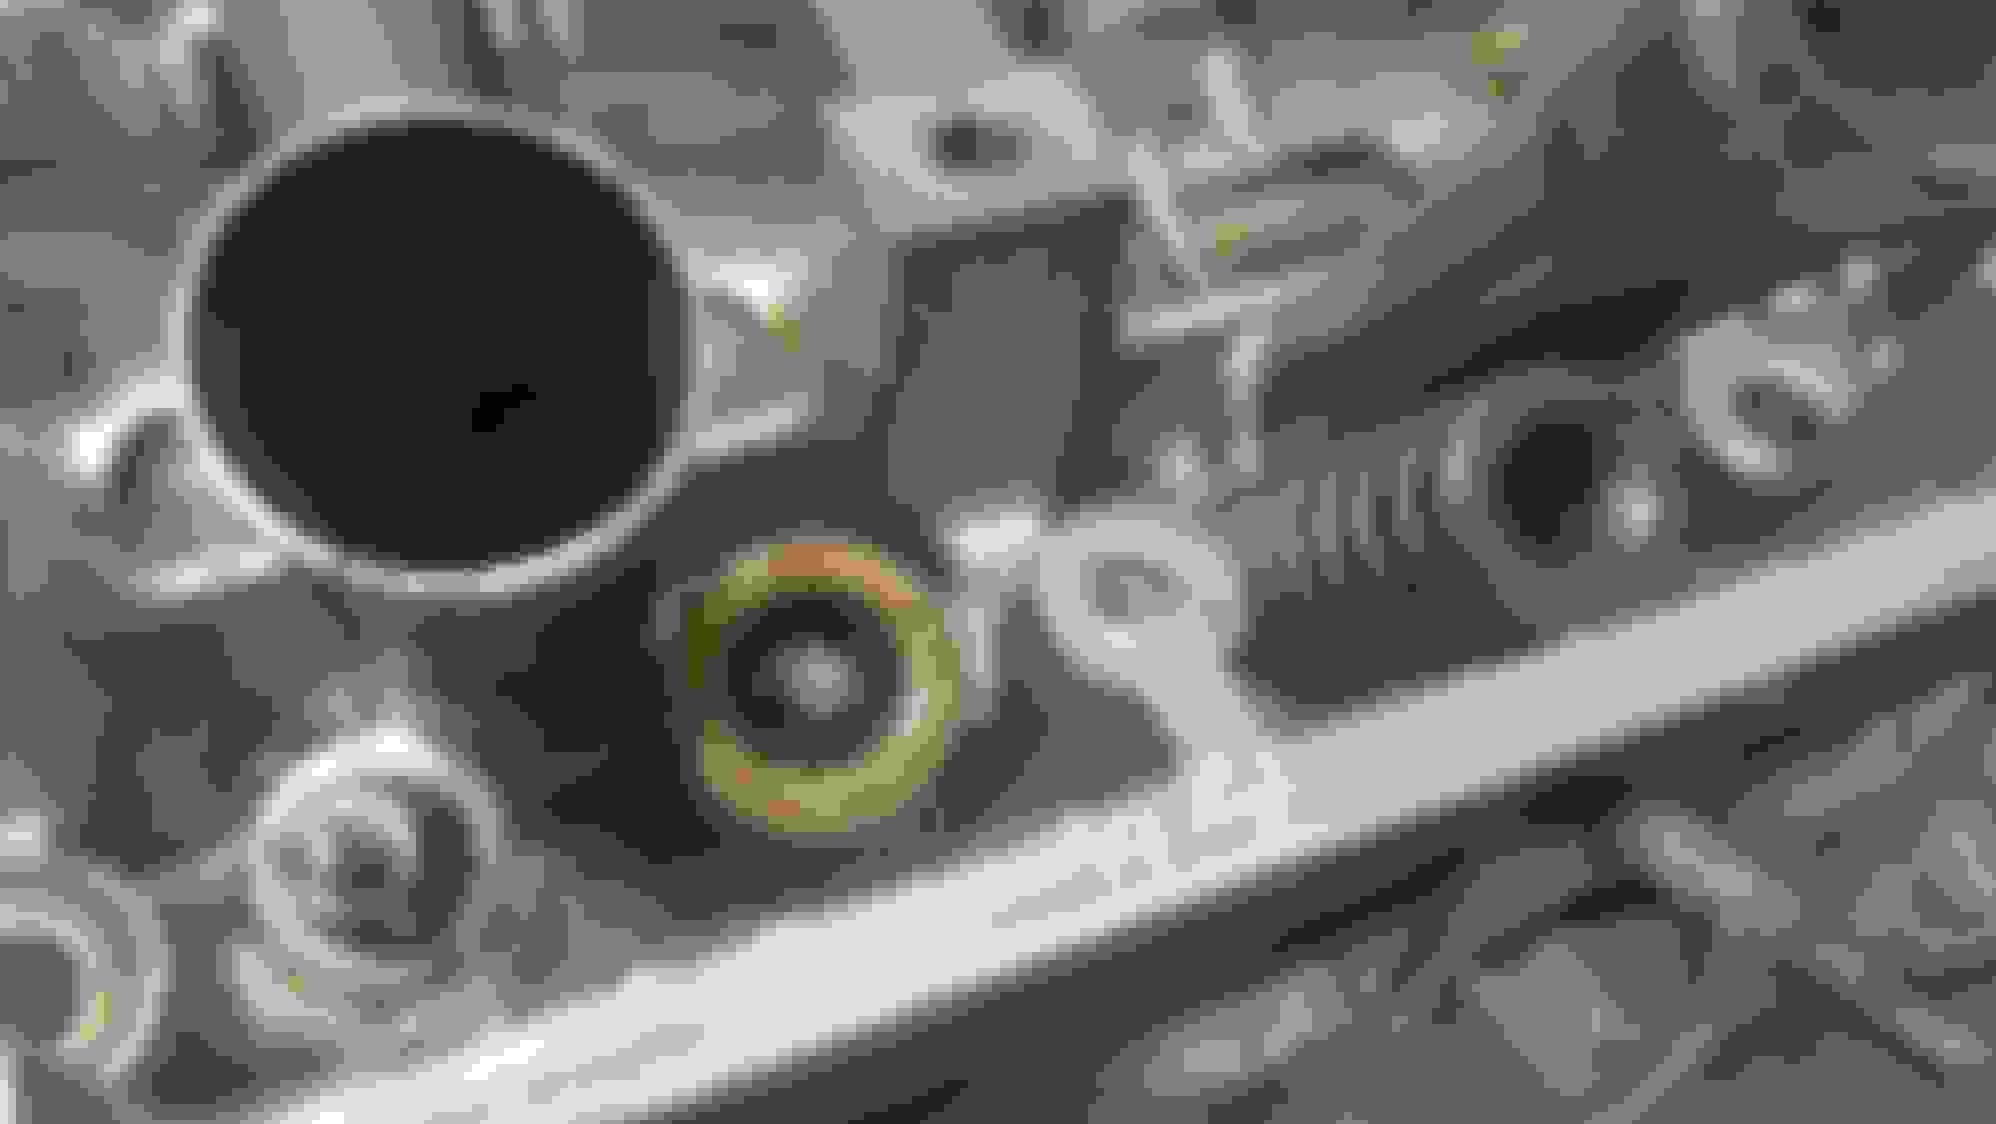
Thefireball, do you have an extra intact (red arrows areas) lower air cleaner case on hand that you may want to sell cheap?
The upper case hinge latches have to be present.
Thefireball, do you have an extra intact (red arrows areas) lower air cleaner case on hand that you may want to sell cheap?
The upper case hinge latches have to be present.
I should have 3 different ones lying around from the 3 CLs that we own. I can check the latches & bolt holes to see if they're intact. I'll let you know either later tonight or tomorrow.
All 3 have one broken clip, but all the other circled parts are intact. Crazy how it's the same exact clip on all 3 too.
I'm hoping to run to the junkyard here soon to grab that top plate for eBay, while also checking to see if it has a J37 and looking at a new 3G TL that just popped up. I'll either be going tomorrow or some time later this week. I can check the cars for an intact lower airbox if you'd like.
I can check the cars for an intact lower airbox if you'd like.
Yeah, keep an eye out. It has to be from a 2G CL/TL Type-S, though.
Let me guess, the broken clip is the one circled in red?
Here's the one I just got at the salvage yard, the clowns there wanted $20 for this smashed-up pos. I got them down to $5.
It's the best one I've seen because they are all smashed up and / or have that molded broken tab.
I may just try to rig this pos with some wire and epoxy to at least keep the cleaner cover held down tightly.
So I've been trying to figure out how I'm going to swap valve springs with the heads still on. Looking online, I can find plenty of spring compressors that bolt to the head for B, F & H series, but not for the J. It sucks because I have a C clamp type spring compressor, but it's only useable with the heads off. I've been debating pulling the heads off, so that I could also lap the valves. I've tried researching on here and V6P for some one who has swapped springs with the heads still on, but have come up short.
I'm sure the valve seats are worn, in fact, I know so due to how much compression leaks past them. Before putting the motor in last year, I hotwired the starter and was getting around 110PSI, but it was more than 10% between a couple of the cylinders. When I hand cranked, I could hear the hissing. I cleaned them up real good with some brake cleaner, and it helped out a lot, but it was still leaking. Now I know when a motor is actually running, the forces push those valves even harder creating a better seal, along with thermal expansion helping even more. But I don't know the mileage of my J35. From previous experiences of taking apart these motors, I'm confident there is a lot of pitting on the valve seats.
Now, I should go ahead and address the issue while the motor is out, but three things:
1. This is a manual swap thread, not a partial motor rebuild.
2. I don't want to spend yet another $100+ on head bolts & gaskets.
3. I don't actually expect this motor to last too long, especially when I put it through my future plans. That's why I plan to build a J37 for when this one fails.
Now, I have another valve compressor, but it's cheap from the auto parts store, wonky, and has trouble fitting into the tight spaces. Asking P2R, they didn't have much input either. So I did some modifications to this cheap compressor, and may have found a solution.
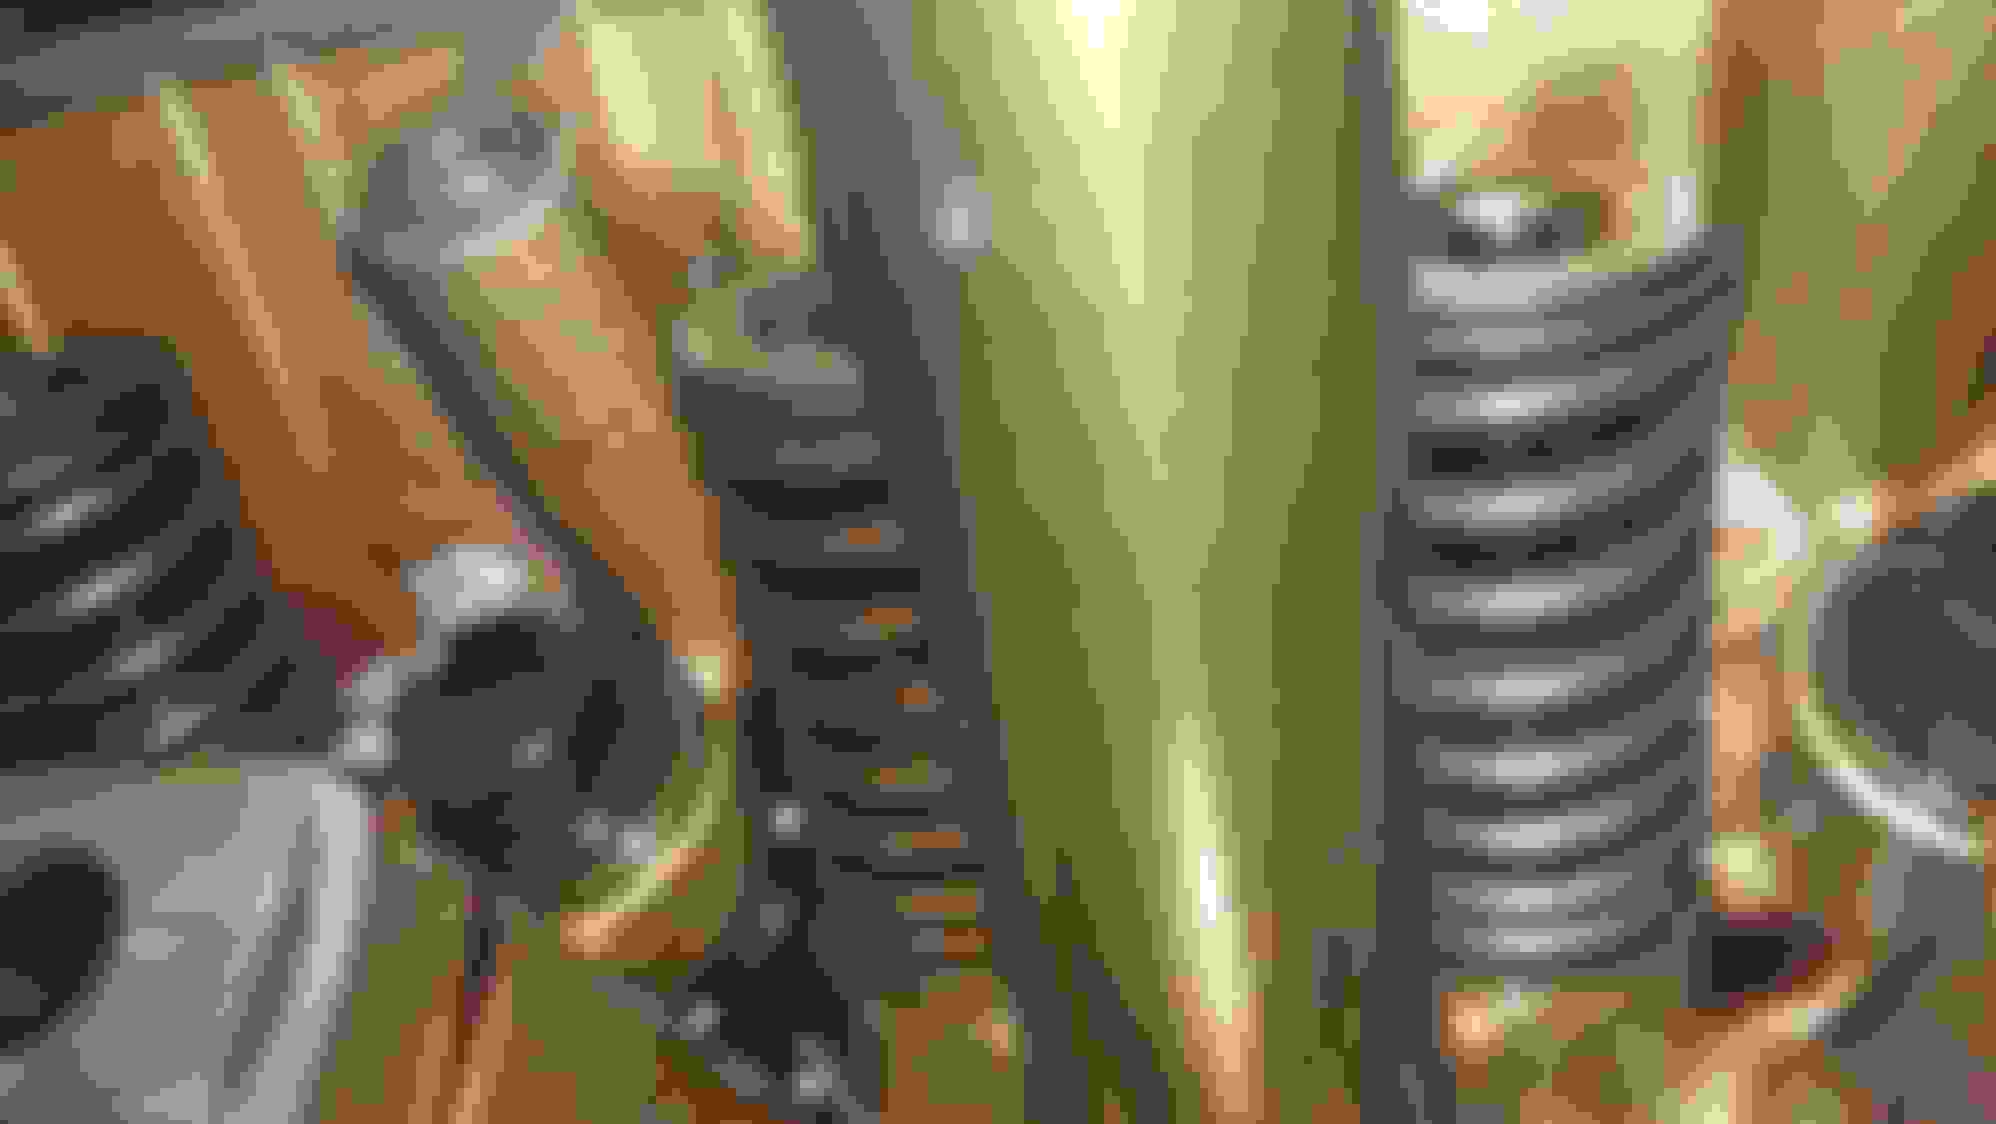
I managed to put the circular portion from my C clamp compressor on the end of this compressor. Fits perfectly. You can see what was on it before above it, and it was hot garbage. I managed to get the locknuts on one valve that I tested using this set up. This is a spare J35A3 head that I have lying around, as well as spare springs & valves.
I push the compressor on the spring, pushing the arms a little bit further, then start compressing. I get one lock nut on first, but it doesn't leave much room for the next one. So I have to push the compressor down a little bit, and then I can get the next one on. I then tested to see if I were able to do the same thing to one next to it with the spring on, and I could.
Now it's time to try and do this on my actual motor. I'll be plugging the oil holes, because God forbid a lock nut falls into the oil pan. If that does some how happen, then fuck it, I'm pulling the heads off.
In addition to all of this, I've learned that the J35A3, or maybe only the automatics, have this notch here on the head by the alternator. I had to shave it down to make room for the cam sensor. I accidently broke the plug a little bit not realizing this was there at first. But to be honest, the entire plastic wrapping around the cam sensor wire was brittle and just crumbled apart. The sensor plug was also brittle. But it holds in place just fine. I'll be taping the connector on just in case it slips off though. I already rewrapped the wire in some electrical tape.
Pulling off the valve cover, I also think I found the oil leak on the front valve cover gasket. The gasket still seems fine? Maybe the it wasn't screwed down tightly enough?
Crazy how filthy & dusty a motor gets after just a year of use.
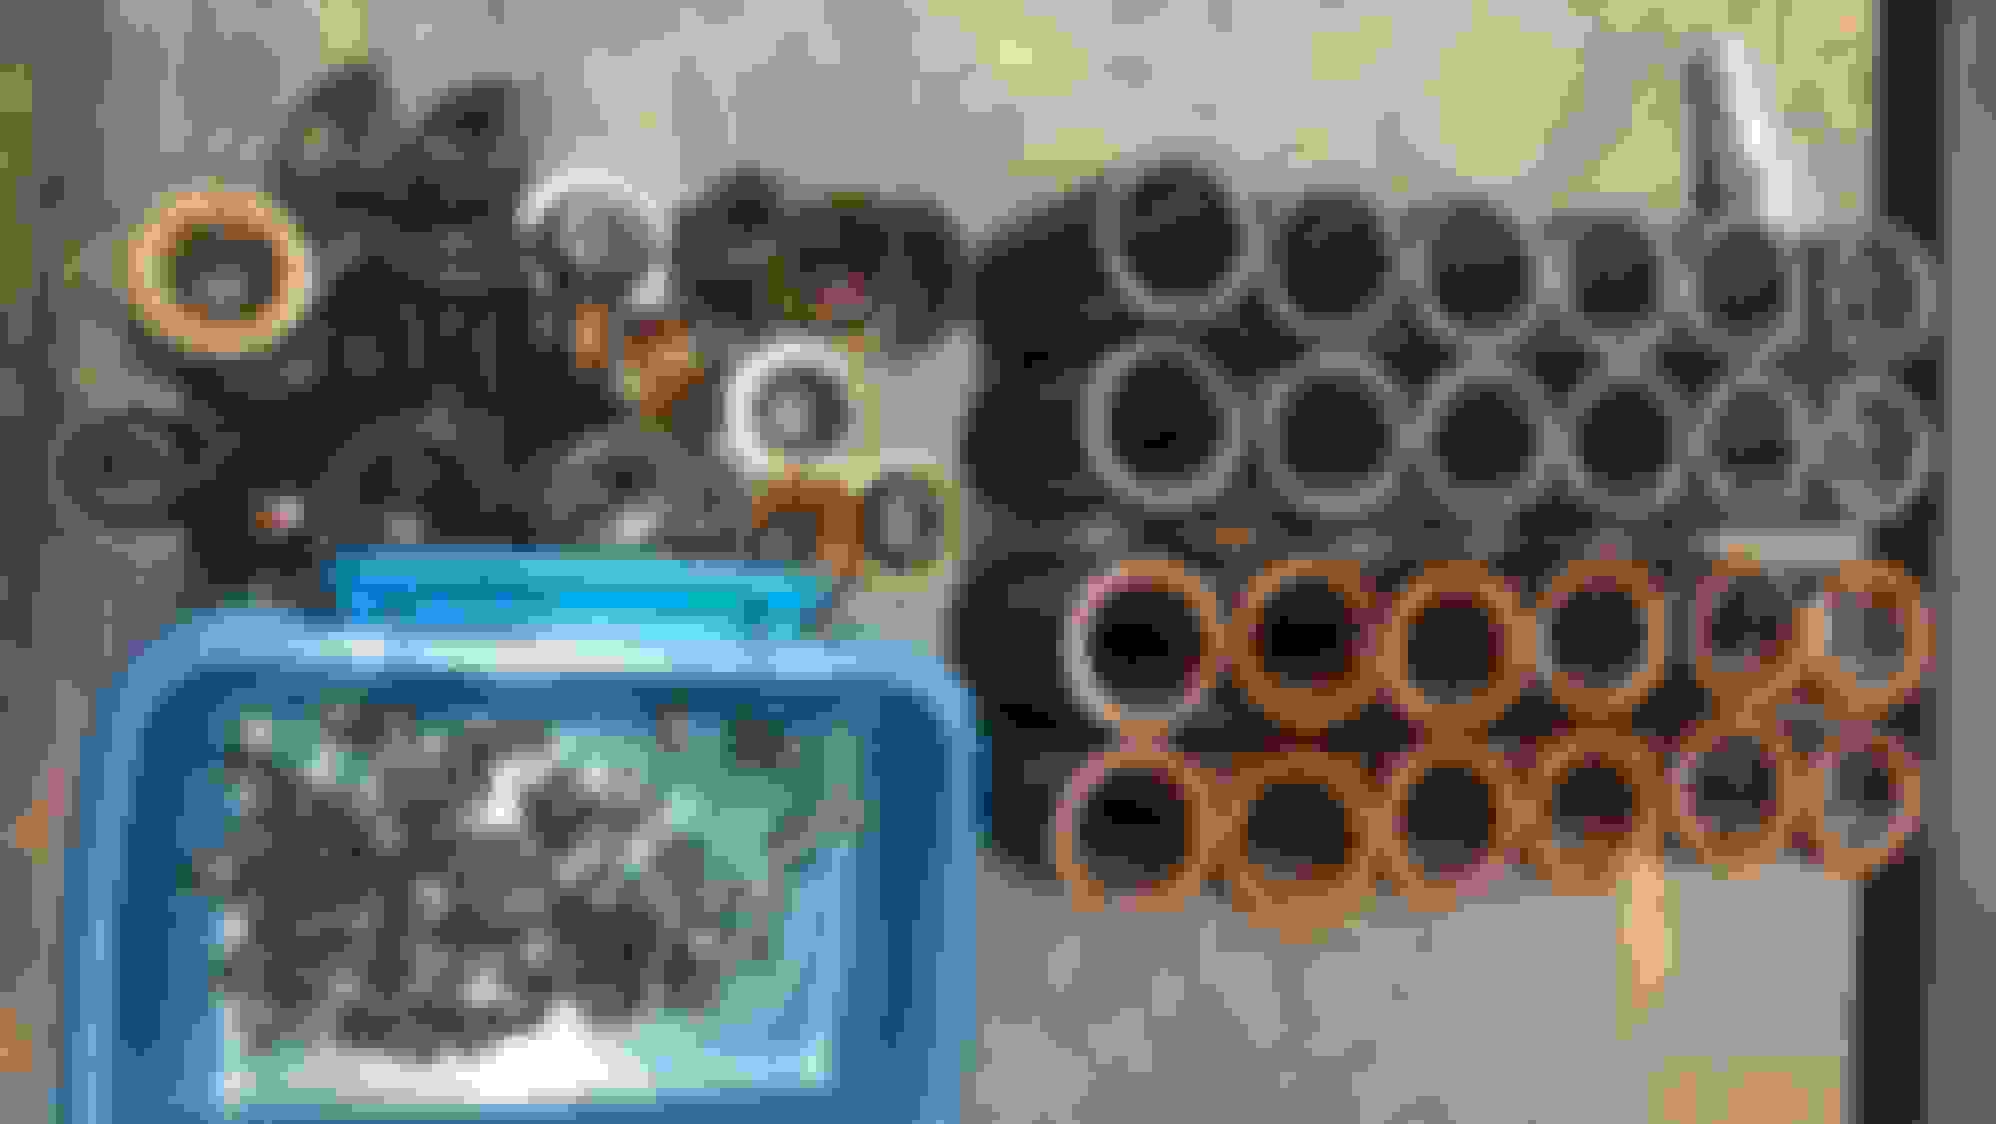
Done swapping all 12 valve springs on the front cylinder head. Took me a bit of researching to figure out which springs were which, as the J35A8 springs are color coded red/blue, unlike the older motors. No one seems to talk about this anywhere. I took a trip over to Hondatech to see if they had any input, only to find out that Honda has also used green, brown, and yellow to color code springs. To make matters worse, there were conflicting answers with some people saying the intake springs were both blue or red.
Watched a video on some one taking apart a J cylinder head, and as soon as they took off the exhaust spring, I noticed it was painted blue at the top.
So for anyone who is dumb like me and gets their springs mixed up:
Intake springs are RED
Exhaust springs are BLUE
Kind of dumb, as you would think blue would indicate cold air, while red would indicate hot air.
For anyone wondering, I used my crappy McGraw 110PSI pancake air compressor connected to the spark plug hole to hold pressure in the cylinders to keep the valves pushed up. I also used the J35A8 retainers & keepers, not the J35A3's.
I'm still unsure of the specs of the valve springs between the J32A2, J35A3, & the J35A8. All I know is the J35A3 springs are weaker. In an older thread, some one said to only swap the exhaust springs.
I'll get to the other side tomorrow. The more I did it, the easier it got, and the faster I was.
Last edited by Thefireball; 01-11-2023 at 05:04 PM.
Done swapping all 12 valve springs on the front cylinder head. Took me a bit of researching to figure out which springs were which, as the J35A8 springs are color coded red/blue, unlike the older motors...
...I'll get to the other side tomorrow. The more I did it, the easier it got, and the faster I was.
You're braver than I am doing those on the car. Probably more determined too. lol
The RL j35a8 I used for parts had yellowish(beige) color intake springs unlike your TLS. But, blue def seemed to spark my memory.
Factory part numbers/colors for gee whiz reference :
Weird that they list them as beige, but you can clearly see they are marked red. These came out of two separate vehicles. For some reason, I also have way more red springs left over, and like 4 uncolored springs that I can't figure out which ones they are. Pretty sure I grabbed all the springs out of those heads.. I highly doubt some one had the springs swapped out though. Not really something some one just replaces unless they're doing a full rebuild, and given the fact that the two TL-S' were completely stock, I find that highly unlikely.
Also, are these Nippon steel springs that were folded over several times?!?!
My camshafts better watch out.
Oh, and I forgot to mention that I managed to drop one keeper half into the oil drain hole in the far bottom right corner of the head, even with it being plugged. THANKFULLY it landed on a shelf type ledge inside the head that I could clearly see. Managed to grab it with that magnetic rod I was using before. What a scare that was. I'll be sure to plug the holes extra securely next time.
Last edited by Thefireball; 01-11-2023 at 09:39 PM.
Been taking things slow. Haven't been getting much sleep lately. Insomnia has been bad. Been staying up until 5AM, getting 6 hours or less of sleep daily. So I took a day off and just slept all day before work Woke up early and went to the junkyard Thursday and pulled another top plate off a car. No J37. I'm tempted to grab a hand brake off of a 3G TL and see if I can't get it to work in the CL. Anywho, still did a little bit of work.
Bushings arrived the other day, along with the new rear main CL for the J32. I squeezed the stock ones, and they flexed easily. Tried squeezing these new moogs, and they are absolutely solid. Hurt my hand trying to squeeze them. I'll be waiting to put them in when I put on the newer lower control arm. Also got another magnet for my collection. I'm tempted to try and see if I can't get my CL on a RockAuto magnet..
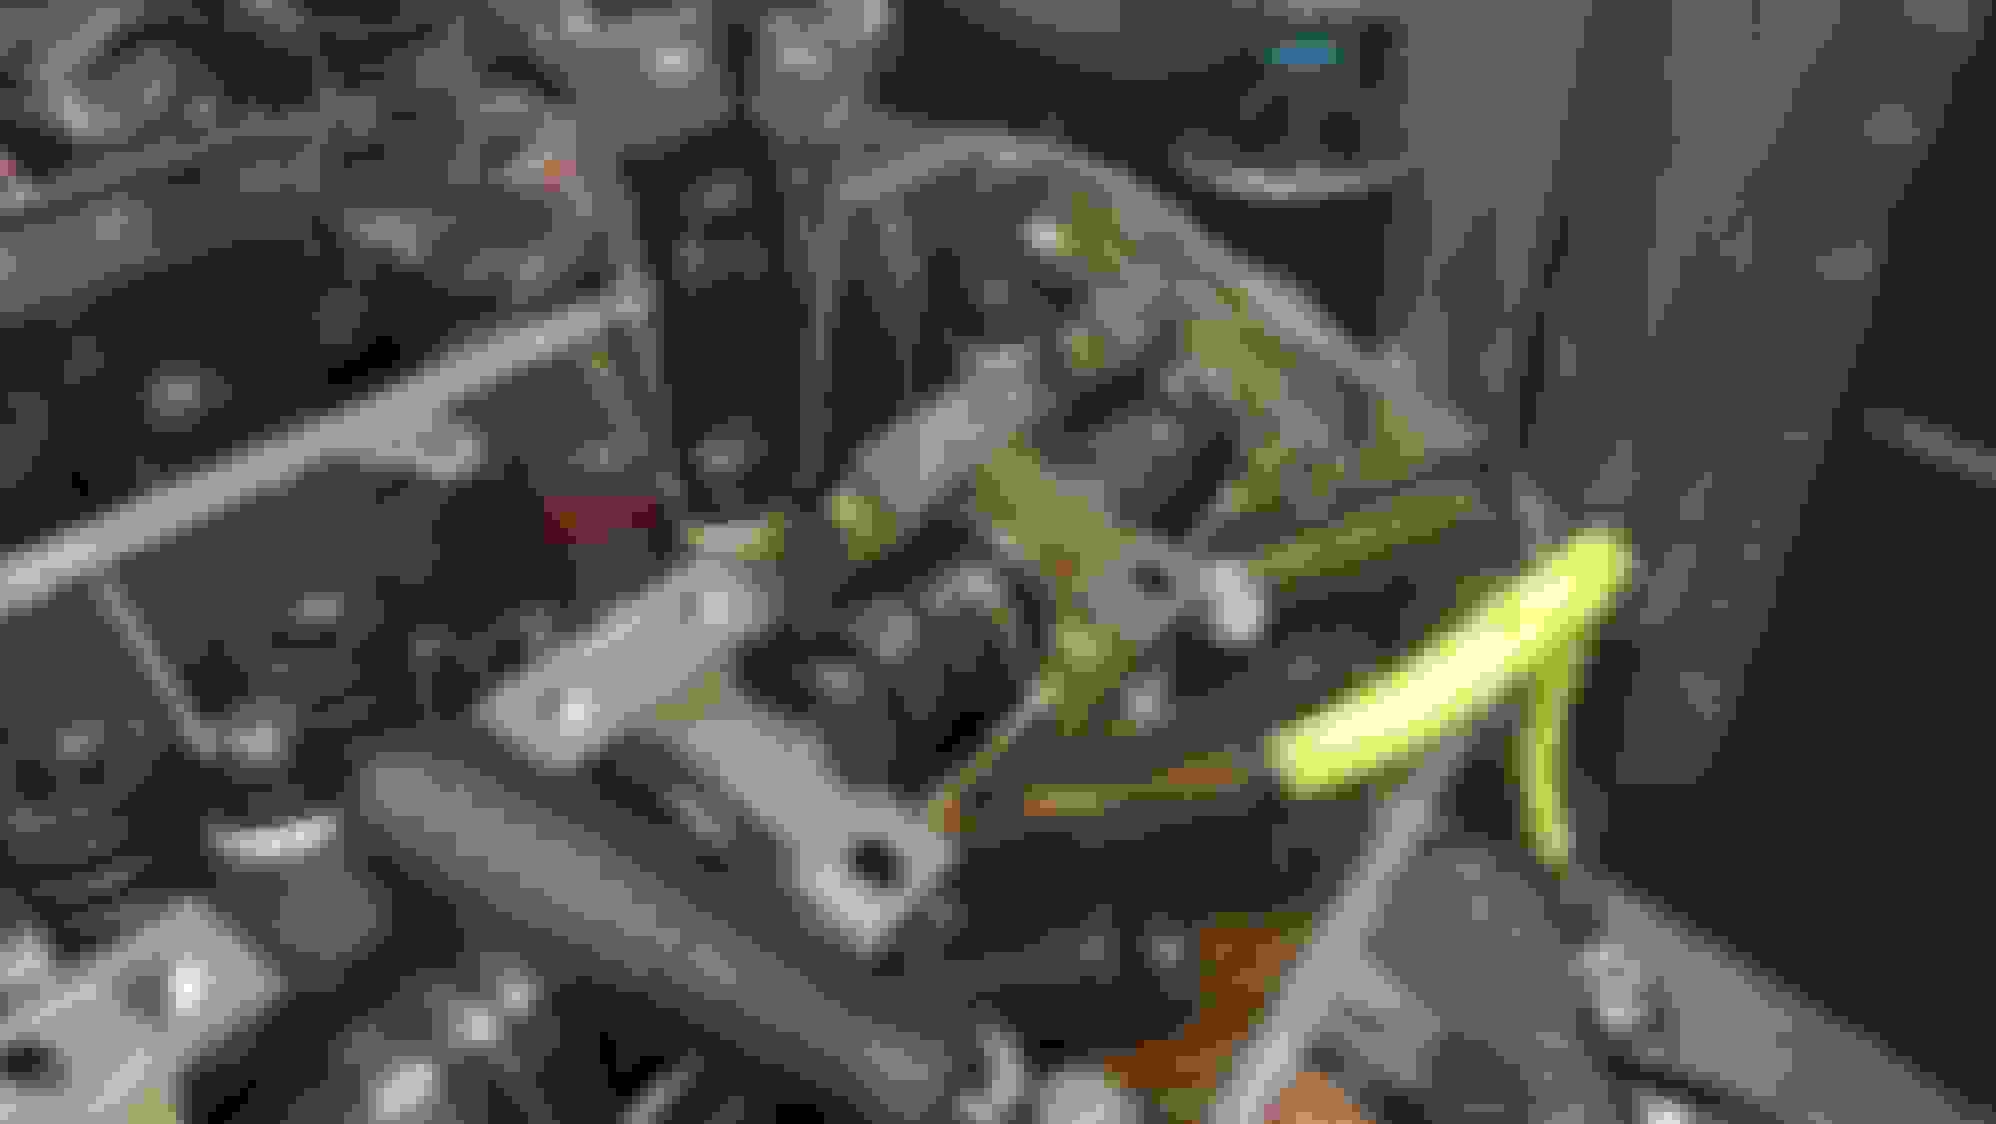
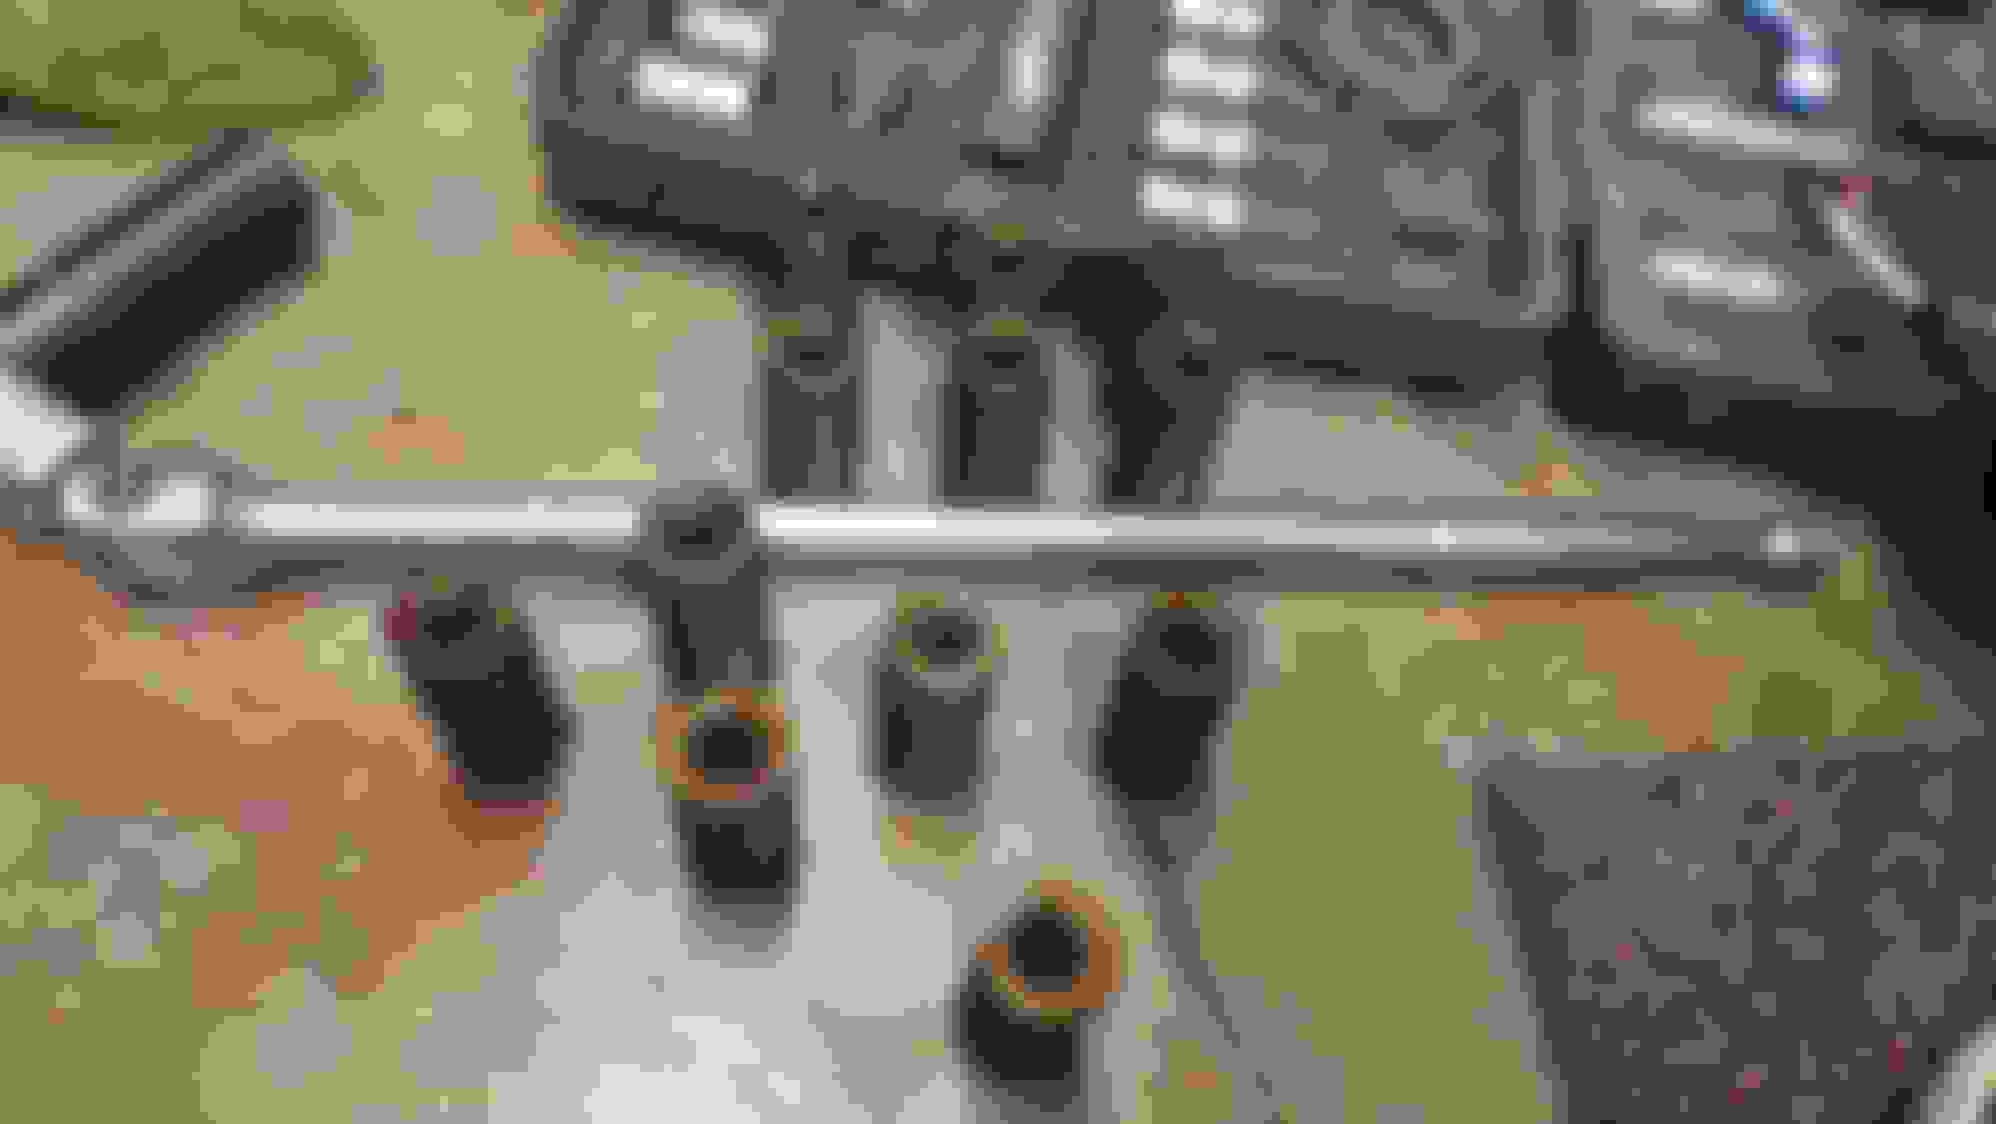
So the auto oil pump does not have a hole for the top bolt of this bracket. 619rcr does not run this bracket, but he also has a stiffer belt. I believe this bracket is simply to prevent the belt from stretching under high RPMs causing it slip off the crank gear, and we all know what would happen if it did. So I came up with this little idea. The nut under the bracket has loctite on it, so it's not coming off. The bolt is long enough to prevent the bracket from touching the oil pump, keeping it in line with the bottom bolt. It does not budge when I try to move it, but I'm curious as to how well it will handle under heat & high RPMs.
What do y'all think? Should I undo it and run my motor with out it, or do y'all think it'll be fine? The most damage it'll do is tub against the belt, and I'm pretty sure I'd smell the belt burning before it completely shreds it. Still though, it's risky. Might go back in to put some loctite on that bottom bolt to really secure it. And before anyone mentions it, I'm too lazy to swap oil pumps.
Motor is all put back together, that also means that I finished swapping the valve springs. Cleaned her up a bit with some silicone lubricant, just because I wanted to see how well ot'd clean and if it'd a bit of a shine. It did pretty good. Still have to clean the other side of the motor by the front mount bracket though. It's drenched in oil.
Exhaust pipe cutter came in. Got the Y pipe off, with enough room on the cat to slide a sleeve on it. I just hope the new Y pipe from P2R fits just right and isn't too short or too long. My exhaust sleeve clamp also came in, but unfortunately, even though it's 3 inches, it's slightly too small for the exhaust. Measuring the exhaust. It came out to around 2.7 inches. So that's cool, I guess.
Hopefully the DC Sports headers still have some value since they aren't being produced anymore. So I'll be selling them to help fund my project here. Doubt it'll add any value to the black CL if I throw it on that car.
Along with the pipe cutter & sleeve, some new T3 ice blue neo wedge LEDs came in. Already swapped them into all the switches, like the moon roof, heated seats, and other various components. No point in showing them until everything is plugged up and has power. Besides that, I still have to figure out if I have the polarities correct. Only way to find out is plugging it in, and seeing which ones don't light up. So that'll be fun.
Last but not least:
Driver side wire harness is in, brake pedal is removed, clutch pedal is bolted down. The brake pedal was a bitch, and I had to find an image of it here on the forums to see what bolts were holding it down. It definitely would have been easier to remove with the dash, but a wobble socket managed to get that top bolt out.
The clutch pedal is not bolted in at the top. I might see about making some sort of bracket, but as it is, the two nuts are holding it in just fine. I had a bag of washers that I used to space it out.
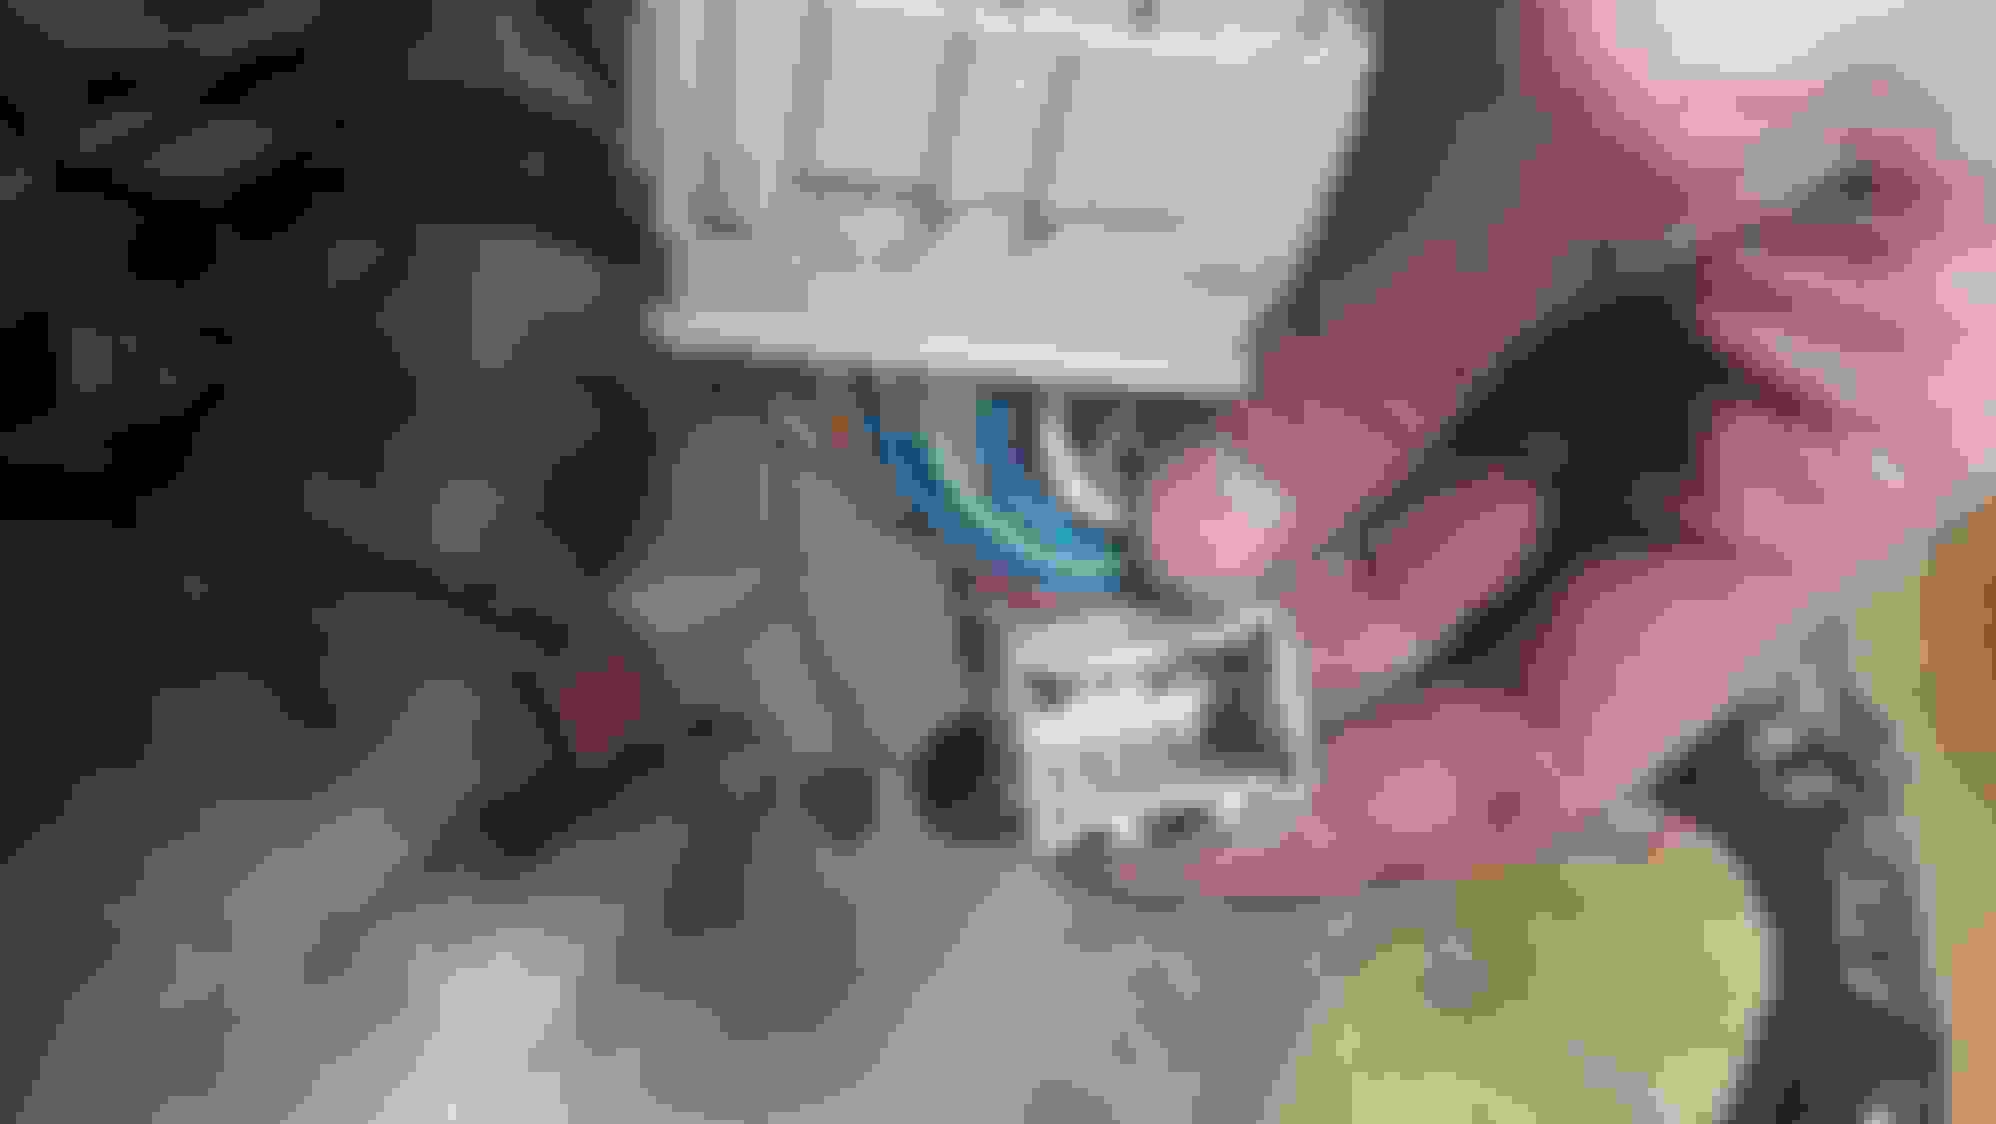
As for the wire harness, in the third image, you' see there's a big brown plug hanging off near the bottom of the image. I don't know what that plugs into. I can't find anything to plug it into. Do I need to swap fuse boxes or something? Also, if you look above that plug in the background, there are 3 sockets that hang. Two are plugged in, while one is left empty. The 6 speed does not have this plug, so I guess I need to remove that for the automatic's wire harness.
That's it for tonight. I'm going to sleep. Tomorrow I'll be removing the 6 speed brake pedal and swapping it in, and figuring out what to do next.
Oh, I haven't mentioned it yet, but when removing the bolt for the E brake in my blue CL, it got stuck, and the bolt head broke off. So that'll be fun to figure out. Either I'll shave it down and leave it, or I'll cut a slot into it to use a flat head. Or a bolt extractor, because I have one of those.
So the auto oil pump does not have a hole for the top bolt of this bracket. 619rcr does not run this bracket, but he also has a stiffer belt. I believe this bracket is simply to prevent the belt from stretching under high RPMs causing it slip off the crank gear, and we all know what would happen if it did.
...
Last but not least:
As for the wire harness, in the third image, you' see there's a big brown plug hanging off near the bottom of the image. I don't know what that plugs into. I can't find anything to plug it into. Do I need to swap fuse boxes or something?
For reference my oil pump was replaced with a new aftermarket CL part when building new motor. I do run the auto sensors now, but don't recall ever seeing that bracket.
Originally Posted by 619rcr
Also, the wider brown plug in your picture appears to be for the main relay. PM, if you need help with other specific plugs.
Man, what a fucking nightmare.
So to remove that one single unused plug, I had to rip apart the entire dash. I really didn't want to, but 619rcr managed to figure out what this plug goes to. It's for the VSA we believe, which if I'm going to convert the black CL and make it road worthy, it's going to need it.
The worst part about all of this is that I'm not even half way done. I have to go out to the black CL and do the same exact thing. To make matters worse, I actually pulled out the wrong wire harness first. I also slammed the door on my thumb by accident, and now it hurts to put pressure on it.
Wire harness has been swapped and the dash is back in place.
Getting the dash in wasn't nearly as difficult as it was pulling it out. Still though, that sucked, a lot. Everything is pretty much plugged in, but I might go back in to do a little bit more wire management & placing zipties on things to get get them out of the way.
Also managed to accidently rip a wire out of it's plug. So I had to do a quick fix on it. Thankfully it was only one wire.
Originally Posted by 619rcr
Yeah, messing with the wiring harness is the part no one wants to do. Least you got the dash out.
ouch, better put some ice on your bruised thumb.
btw, be careful not to spin the driver airbag harness around. I used duct tape over the top to hold it in place.
Thumb is feeling better, but still hurts to put some pressure on it.
I was as careful as I possibly could be with the clock spring.
So, the question before was does the under hood fuse box needs to be swapped? In another 6 speed swap thread, they said to try with out it. Well, I'm not sure if you can leave it in, or at least what the consequences would be.
The top image is a plug that is connected the wire harness that goes to fuse box. It has no socket to plug it into after swapping the SRS wire under the dash. The image on the bottom is a plug that is connected to the interior wire harness, which is on the 6 speed wire harness connected to the fuse box. So, I pulled it out.
From all the pull through wire harnesses, this was by far the most difficult one. Honda really didn't give you much room to fit your hands in, but the hole is also pretty tight. Getting the plugs through was pretty difficult, and I almost thought I was going to break a couple of wires/plugs. But I managed to get it out eventually.
Not going to pull out the other wire harness from the Black CL tonight. Probably tomorrow. Then I'll swap it in, and it'll be time to start assembling the car, after I give the engine bay a bit of a cleaning.
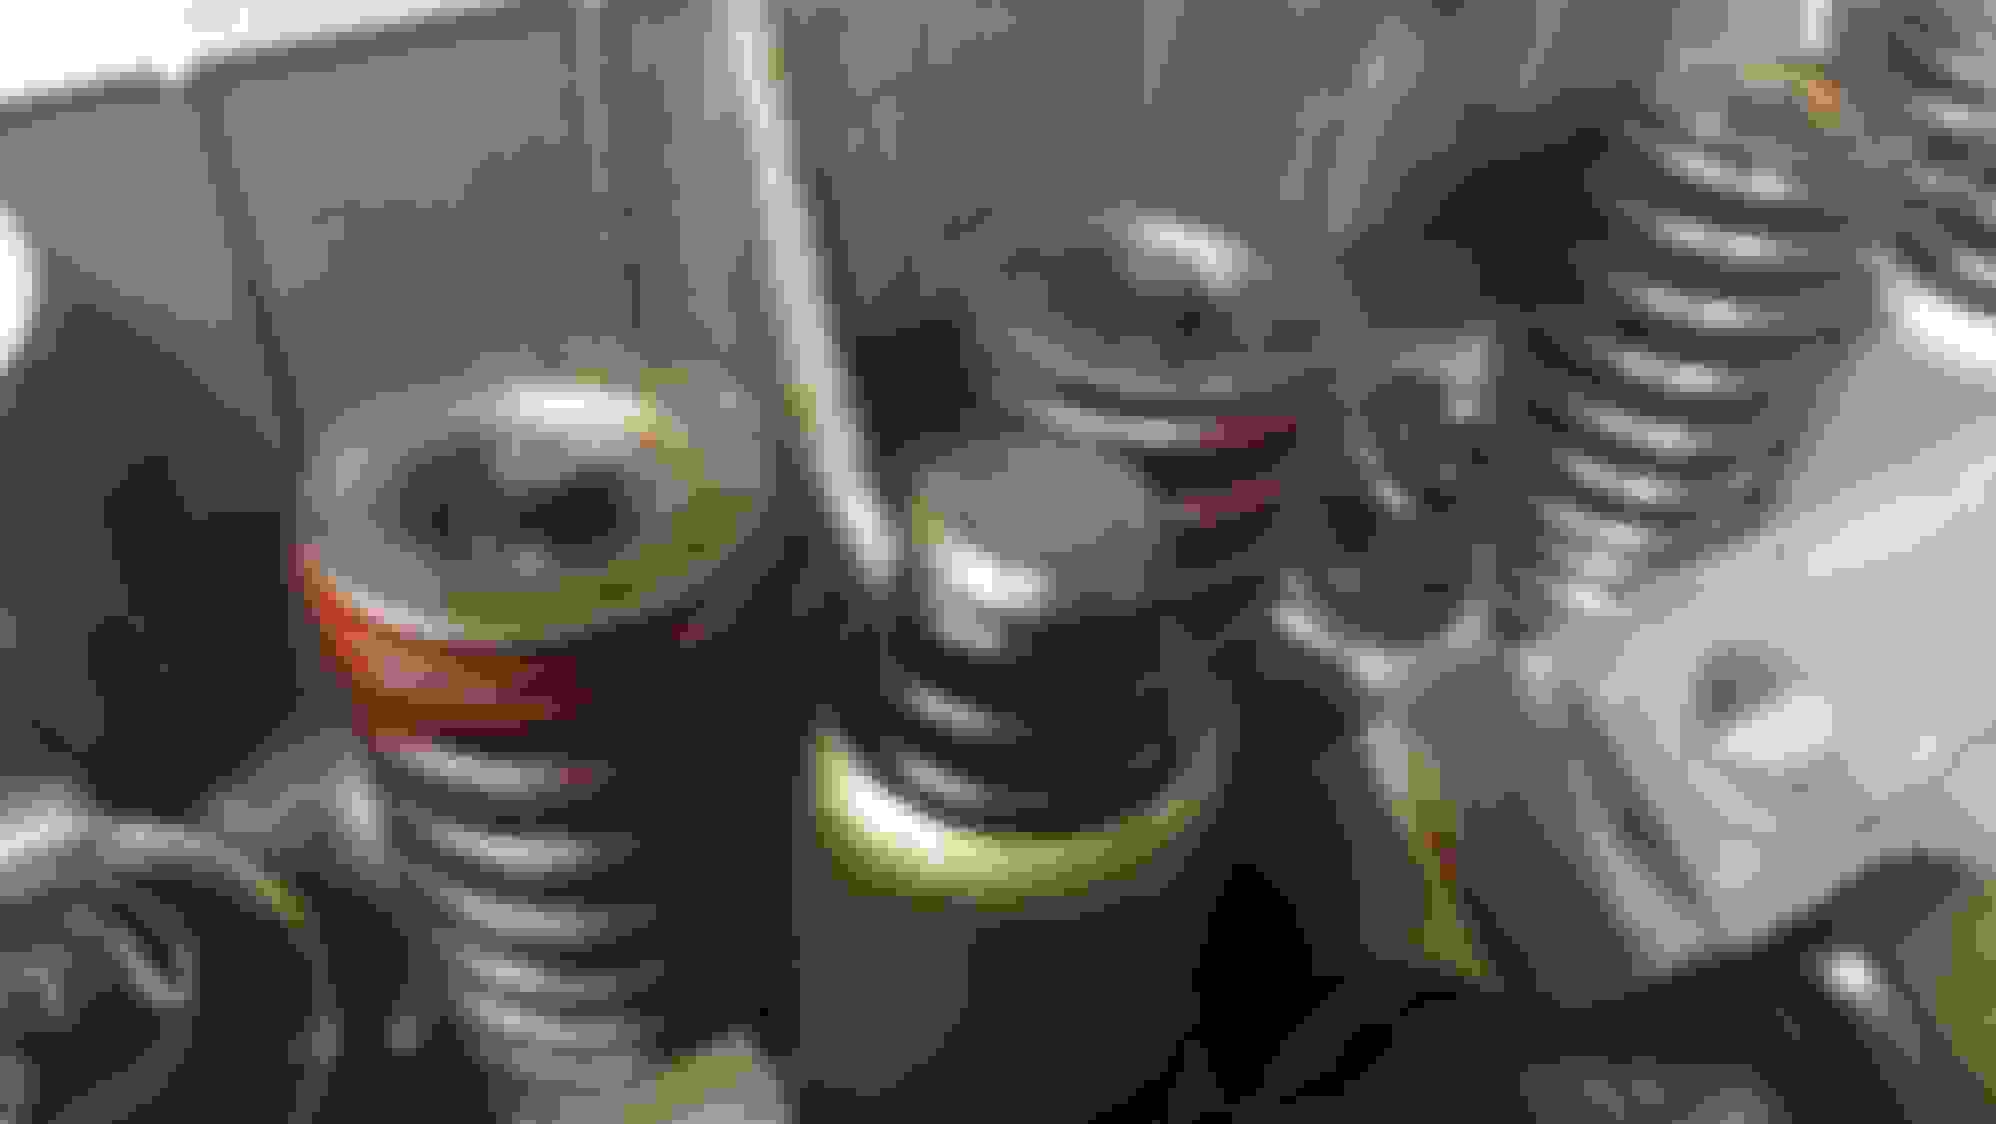
I also have a power steering leak I believe. I think it's coming from this line here (top nut):
I'm not 100% sure if that is where it's coming from, but that nut is filthy. So it might be. But the puddle of oil is on the other side, so who knows. I did see some oil around the adjustment screw on the steering rack, which is right under that line. I'll figure it out before putting the engine/trans in. One thing at a time.
Also, my little 'surprise' that I ordered has finally around. Disappointed, but not completely.
It's an arm rest cover from Redline Goods. It looks & feels great. The dissapointment is that I ordered a shift boot, not an arm rest cover. I had contacted them after viewing the order details and it not saying shift boot. They assured me that I ordered an arm rest cover, even though I remember clicking shift boot? I think the issue may have been when you go to order it, it says in the description to specify if it's a Type S or not, as the arm rests are different designs. Even though I wasn't ordering an arm rest cover, I still made sure to specify.
But, it's not all bad. I now have a brand new arm rest cover that looks good, and matches the color scheme I'm going for. So I'll definitely be installing it, and ordering a shift boot. Sucks that it takes so long to show up though, because it's coming out of Poland.
Here's a pic on my RLG shift boot, purchased many years ago.
They have some pretty good quality with thick leather.
I'll have to eventually look into a new arm cover as well. to the Poles, they are one of our staunchest NATO allies when it comes to the animalistic orcs to their east.
Here's a pic on my RLG shift boot, purchased many years ago.
They have some pretty good quality with thick leather.
I'll have to eventually look into a new arm cover as well. to the Poles, they are one of our staunchest NATO allies when it comes to the animalistic orcs to their east.
I just ordered the shift boot now. I had found them when looking for a shift boot, since the black CL didn't have one and had a crown royal bag in place of it . Gross look, especially being that I'm over a year sober now. Then I decided to see if anyone had talked about them here on the forums. Then I came across your post recommending them.
The arm rest cover looks & feels really good, but if I had known I was ordering an arm rest cover, I probably would have done solid black on the sides, and perforated on the top. Ah well, I'm still happy with it.
Also, I'm part polish. So I have a lot of love for Poland. Hope to visit one day. You know they have several ways to say the word 'fuck' in their language? Jestem super mowie po polsku.
Just don't mention the meme of them fighting tanks with spears on horses.
Last edited by Thefireball; 01-17-2023 at 06:18 PM.
Moving right along on the swap.
That harness behind the glove box is easier to remove without the evaporator box in the way. Tradeoff is have to discharge the AC. Anyways, you'll get more practice on the next one.
Had forgotten about the crown bag for shift boot. lol, some people's ideas. btw, did you end up finding a shift knob to replace that big pickle thing from the previous owner?
man, zeta and his clean interior shots. That red center molding pairs well with the red stitching on the boot. Meanwhile, I'm just here painting valve covers. lol
I tried removing that, I couldn't figure it out. Managed with removing it. At least I know how to do it now.
My friend gave me a replacement shift knob to use, because he also didn't like the big pickle. They're about the same height, but the one he gave me is black and not as wide. I plan to find one that I like later on. Not sure if I want metal or leather. Don't want to hold a cold shift knob in the winter. I really want to see how the auto's Type S shifter would look on a manual shifter. But I'll probably end up getting something else. Just hard to find a knob I like. Too many choices.
I could have sworn that shot of Zeta's shift stick was one they used on Redline Good's site as an example. Tried looking, but couldn't find it. Maybe I'm crazy.
man, zeta and his clean interior shots. That red center molding pairs well with the red stitching on the boot. Meanwhile, I'm just here painting valve covers. lol
The red is a little left over PPG Rio Red I had from when my 1990 SI Civic hatchback was re-sprayed, back in the day.
I had to do something, shortly after purchase, about that 'burlwood' look on the center console, lol.
Not quite like the below San Marino Red; but, close enough & free.
Harness is in and all connected. Had to swap out these boxes, you can see why. Especially since one says 'VSA' on it.
Unfortunately, one socket is left without a plug.
The 6 speed doesn't use this socket, and I really don't feel like removing the dash and undoing everything all over again. The harness that this socket is connected to is the one that is zipties to the dash itself, and not the frame. Not sure what it's for, but I hope it doesn't cause any complications. I'll pull a new harness from a junkyard car, because I can just rip the dash off without caring about breaking things on it.
I was working on getting the ECU harness in, but ran out of time. So that'll be tomorrow.
Found this on a face creep page, If one needs an EGR plate, to block the EGR port, the Honda Civic & Element have them from the factory.
Look up the part number for specific model & years. 18711-PM1-J00; Plate Egr Port
Didn't do to much yesterday. Went to the junkyard and grabbed some stuff. I first wanted to see if a 3G TL handbrake would fit in a CL. There was a single CL-S there, so I test fitted it on that. For the most part, the bolt holes all line up. But there's two issues.
The handbrake is way more bulky. The front portion ends up hitting that frame for the shifter. Not only that, but I believe it also sits up higher. So this was a no go. Then I wondered if an older gen Accord hand brake would work. So I looked around, and stumbled across an older Accord with a 4 bangers, and noticed some one already took the cup holders out, exposing the hand brake. As soon as I saw it, I realized it looked really similar to the CLS6 hand brake, but was positioned on the other side. So I took it out, test fitted it. Bolt holes lined up.
Now, it'll work, but there are some things to do to make it work. I already have it bolted up into the black CL so that I could remove the CLS6 hand brake, while also having something holding the brakes down to prevent the car from moving.
The main difference is that the CLS6 has a larger bracket underneath, and it utilizes 3 bolts. This hand brake only uses 2 bolts, which really isn't a big deal. The two big issues is that the metal piece on this handbrake bolts down else where, and it ends up hitting that metal frame near the shifter yet again. So I just need to shave the metal down a little. But that bolt is a 10mm, where as the rear one is a 12mm. I think it should be fine. The bigger issue here is that this hand brake was meant to be on the driver side. When that top hole is bolted down, the hand brake will be tilted to the right by a lot. So that metal piece is going to need to be bent to compensate for the angle. For now, the single bolt is holding it down, and doing just fine.
As for the CLS6 hand brake rod, I think I stead of getting an S2K rod, I'll just try and find a threaded female-female adapter, and finding a sort of extended threaded rod.
On top of all this handbrake non sense, 619rcr helped me out a lot last night. Turns out, I should have swapped at the wire harness zipties to the dash. The reason being that the E brake switch that lights up the 'brake' light on the dash has the plug connected to the driver side wire harness on the auto's, but it's connected to the wire harness that runs through the dash. 619rcr managed to help me to figure out which pin to put the E brake wire into from the auto harness. So I'll be cutting that wire and extending it to reach the CLS6 hand brake.
Other than that, I managed to get the engine wire harness in.
Originally Posted by zeta
Found this on a face creep page, If one needs an EGR plate, to block the EGR port, the Honda Civic & Element have them from the factory.
Look up the part number for specific model & years. 18711-PM1-J00; Plate Egr Port
Blocking off the EGR will cause a CEL. Only way to get rid of it while keeping it blocked is from a tune I believe. Besides, actually blocking it off only gains you like what, 1-2HP? I'd say it's more for style than functionality.
I wondered if an older gen Accord hand brake would work. So I looked around, and stumbled across an older Accord with a 4 bangers, and noticed some one already took the cup holders out, exposing the hand brake. As soon as I saw it, I realized it looked really similar to the CLS6 hand brake, but was positioned on the other side. So I took it out, test fitted it. Bolt holes lined up.
....
Blocking off the EGR will cause a CEL. Only way to get rid of it while keeping it blocked is from a tune I believe. Besides, actually blocking it off only gains you like what, 1-2HP? I'd say it's more for style than functionality.
We're gonna have to start calling you MacGyver. J/K, like the ingenuity. I will agree an egr delete won't yield noticeable hp gains. But, a benefit is a cleaner intake due to no exhaust entering.
On the egr CEL aspect there was a workaround that banned member nva-av6 fashioned up on post 46:
Made me wonder if the egr plug could be left connected and the egr itself remote mounted with some extended wires? Kinda like how for a while had my downstream o2 sensor mounted to a clamp under the hood and got no cel.
I remember reading through that thread awhile back. Doesn't make it look any better, and not really worth it. I'd rather just keep the original set up since there's little to no gains. I'll block it off in the future when my plan comes together.
As for the EGR, ever since I upgraded to the J37 IM, it doesn't really get all that dirty in there.
Lots to cover in this post. Many steps forward, couple steps back. Let's start with where I began.
The E brake wire has been extended, going over top the driver side fuse box, underneath the steering wheel, through the center console bracket, and down to the E-brake handle.
E-brake has had it's two holes drilled & is now bolted in. One of the holes actually had the threads underneath, so all I had to do was drill away the top portion to expose it. The other hole I ended up throwing a washer underneath, then throwing a nut on, tightening it down, then throwing another nut with some loctite on it. It's not going anywhere.
May have used a little bit too much loctite on it.
Wire harnesses under the engine have all been put in their respective places besides the engine & trans harness, for obvious reasons. However, I came across two issues. One is needed for the automatic conversion, while the other one just seems to be completely dumb and frustrating. Surprisingly, no one has seemed to mention anything about this.
The first image is the cylinder connected to the AC lines on the black former 6 speed. Not sure what it's called, but on top of it is the pressure switch, which utilizes a 2 pin plug. The automatic uses a 4 pin plug, which is completely different in shape. I don't know what the difference is, because the service manual only talks about the automatic, where the two extra pins are for a 'middle pressure'.
To make matters worse, the biggest socket, besides for the axle nut, is a 24mm. It almost fits, but doesn't, meaning it's either. 25 or 26mm. On top of that, the AC lines are going to have to be drained, because removing that is going to leak freeon everywhere. I'm certainly not going to do that in my garage as I'd rather not die from suffocation or poisoning myself. So this will have to be done after the car is fully assembled. Sorry environmentalists, I'm not having a shop drain it because I'm too cheap.
The other issue is the ABS units is going to have to be swapped. The automatic's ABS unit has a whole piece on top, with a now empty socket with the 6 speed harness having no plug for it. Since I'm converting the black car to an auto, it's going to need. Going to need to prepare for brake fluid to be everywhere, and to bleed my brake lines. Great.
I was also up until 4 AM last night cleaning the subframe a bit. Used a wire wheel to get some old hardened power steering fluid off the subframe, while also wiping off a bunch of dust & dirt, and vacuuming some dust, dirt, rocks, sticks, everything in between from the corners of under the hood.
I also got the rear engine mount bolted in. Took about 2 weeks for the polyurethane to completely dry. It was still pretty squishy in the middle, but it's really solid now. The bolts for it were pretty rusty, and were a pain to get out originally. So I sprayed the holes with some WD40, and wire wheeled the threads on the bolts. Went in real smooth.
The front engine mount is bolted down, and I cleaned it up as well. Replaced the vacuum line with the 6 speed one, and now have to swap in the automatic vacuum splitter line to the black CL.
Didn't take pictures of all these things because it was late, I was tired, and super focused on getting things done.
Lastly, let's get to the most frustrating part. I had the ECU in and all plugged up, but I couldn't find the last plug. I figured maybe it just got stuck some where and was hiding. I then did some digging, to see if I couldn't find an image of some one with their 6 speed ECU plugged in here on the forums or on Google, just to see what color the plug was; nothing. Eventually, I came across a pin out thread that gave me all the information that I needed.
Connector E is what I'm missing. Apparently it's on the 'dashboard wire harness A'. The one wire harness I did not swap. The one ziptied to the dash itself.
So, I have to remove the dash again, and swap that harness out. Also meaning that I don't need that extended E-brake wire in my blue CL. It can still be used in the black one since it'll be using a hand brake. But man, I had that wire harness out and everything. This is also one of the parts mentioned in another 6 speed swap thread that was mentioned as 'unsure' of needing to be swapped. Well, it does need to be.
Excuse me as I go outside and scream.
There is some good news at least. I think I've figured out an alternative route on extending the handbrake bolt that doesn't require having to order an S2K bolt. Once I get it set up, I'll show my work. For now, all I'll say is I spent less than $3 to do it.
The other issue is the ABS units is going to have to be swapped. The automatic's ABS unit has a whole piece on top, with a now empty socket with the 6 speed harness having no plug for it. Since I'm converting the black car to an auto, it's going to need. Going to need to prepare for brake fluid to be everywhere, and to bleed my brake lines. Great.
Interesting about the ABS units. It appears the ends of the brake lines going into the ABS units have different angles of attachment as well.
6MT:
Automatic:
Interesting about the ABS units. It appears the ends of the brake lines going into the ABS units have different angles of attachment as well.
6MT:
Automatic:
Fuck, well I didn't notice that. Now I'm considering just leaving it in. I'm looking at the lines and where they go right now, and it doesn't look overly complicated. Just tedious. When I get to swapping it, I guess I'll see how difficult it is to just do one.
I was going to save this for later when I post, but I'll go ahead and post it now.
I bought the longest threaded rod I could find, and a nut coupler. I put two of the nut couplers as far as I could on the E-brake rod, then cut off the rod at the end of it, just a way to help measure it a bit. I then put super glue in the coupler, then put both ends of the rods in it. Then I slipped it into the metal piece, then put a washer & another coupler with some loctite in it, and tightened it down. It works perfectly, and was only about $3 in parts. I am aware that the 6 speed E-brake cable holders are angled differently, but I'm not sure how to swap them without replacing the entire cables them selves. This set up works just fine though, the the right cable does rub against the rubber piece a little bit. I don't really think it matters though.
I bought the longest threaded rod I could find, and a nut coupler. I put two of the nut couplers as far as I could on the E-brake rod, then cut off the rod at the end of it, just a way to help measure it a bit. I then put super glue in the coupler, then put both ends of the rods in it. Then I slipped it into the metal piece, then put a washer & another coupler with some loctite in it, and tightened it down. It works perfectly, and was only about $3 in parts. I am aware that the 6 speed E-brake cable holders are angled differently, but I'm not sure how to swap them without replacing the entire cables them selves. This set up works just fine though, the the right cable does rub against the rubber piece a little bit. I don't really think it matters though.
Nice job with the rod / coupler idea.
It's up to you, though you can decrease the 'angle' of the E-brake cables at the #3 equalizer by utilizing the 6MT (discontinued) #9 wire casing cap adapter:
Moving the cables slightly to the right, though you's have to drill again, IIRC'ly.
Here's how mine turned out.
I left my auto E-brake cable & pedal installed because if I ever sell the car, I'll just convert it back and sell the 6Mt components in the black market.
I would recommend anyone else doing the nut coupler trick to find a much longer coupler than what I used. That was the longest one they had at the store unfortunately. In my images the rod sort of looks like it's at an angle and not perfectly straight. In person, it looks straight.
I didn't realize it had a little bracket underneath it sat on. So I definitely will be swapping that in. Though, in the black CL, I'm looking at it right now, it's bolted in on the left and not the right. It does use two more bolts though. Might be able to just use the two original holes and leave two of the bolts off. I'll figure it out when I swap it over. I just got both dash wire harnesses out, so I'm going to finish swapping that in because I want to finish up with the dash. Only thing holding me up from assembling everything currently.
Edit: I'm dumb. Two of the bolts are to hold the cables in, while the other two are for mounting it to the car.
Also, you did a 6 speed swap? Didn't know you worked on your own car as far as big projects like this go.
Time for another daily update post. Didn't have as much time as usual. I'd have more time if I didn't stay in bed an hour after waking up, or playing clone hero while drinking my coffee to wake up for an hour, or if I didn't have to ship off that eBay order.
Wire harness & dash are all in & everything is plugged in besides the ECU. Also made sure yesterday to put the moon roof drain hose back into it's rubber hole where it belongs. Made the carpet in my car all wet when it came off when removing the wire harness. I also finished getting the glove box back in & situated correctly. Finally, some assembly of the interior is happening.
The 6 speed E-brake cable bracket has been swapped in. Putting it seems to have extended the line up even more. I'm starting to wonder if cutting the rod was even necessary after putting it in. It's metal piece that moves left/right has been moved up so much, that the super glued nut coupler is now sitting inside of it. I had to remove the spring. I'm now considering cutting the rod even more.
Only one hole had to be drilled, and thankfully, there's a small slot under the car to be able to put a nut on the bolt underneath. Putting the actually bracket on required pulling the E-brake cables up a bit. Those cables are pretty tightly packed on there now. It took a little bit of work to get them bolted down onto the bracket.
I'm currently in the middle of cleaning up the metal bracket that sits in-between the shifter & E-brake, as well as the one that sits behind the E-brake cables. They are disgusting, having some sort of gooey shmoo & lots of surface rust. Not even sure how they got rusty. I'll have to finish tomorrow because my drill died. Considering painting them just so they don't rust again. Maybe I won't, I don't know.
Before leaving for work today, I got the steering wheel & clock spring on. I tried something I saw in a video to see if I couldn't get the steering wheel lined up correctly. Is it aligned properly? I won't know until the wheels are on.
The method I used was to draw a line on the stud that the steering wheel goes on. Turn it all the way to the left until it stops, draw a line somewhere that coordinates with where the first line drawn was at. Then turn it all the way to the right, and draw another line. Then count the amount of times the steering wheel makes a full revolution, then turn it somewhere in-between that amount, while also having the first line, on the stud that the steering wheel sits on, sit right in-between those two lines. I did the same procedure with the clock spring, while being very careful not to break it.
As far as I can tell, the steering wheel now stops at the same angle going left & right. It sits perfectly straight when I count the turns now. But we'll see when the wheels are actually on. Hard to tell from just the tierods poking out of the steering rack.
Full assembly of the dash will have to wait until I can give all of the electricals power so as to test which LEDs don't light up due to the polarities being incorrect. I'll at least get the double din set up, as well as the shifter trim, arm rest & cup holders in. Radio I want to test and see if it even starts up before putting in. So I'll be hotwiring that to test.
ABS unit I'll probably do tomorrow. It was really cold today, so didn't want to be outside doing all that. 619rcr also mentioned that I should check to see if the lines are different sizes between the two cars first, since he had that issue when swapping his 6GA Accord.
The AC Pressure switch on the high side I might actually be able to do without leaking any freeon. I did some research over on Hondatech, as well as other various car brand forums. Supposedly there's a valve that stops the freeon from leaking upon removal. Plenty of people have removed the switch without evacuating the AC lines. Does this hold true for our cars? I don't know, but I'll find out on the black CL outside.. once I get a big enough socket.
ABS unit I'll probably do tomorrow. It was really cold today, so didn't want to be outside doing all that. 619rcr also mentioned that I should check to see if the lines are different sizes between the two cars first, since he had that issue when swapping his 6GA Accord.
Well, I should clarify that the issue I ran into was swapping 02 accord parts into the 2G CL shell. Although that accord had a j30 with ABS. It was a mid level (LX) model and seemed to have larger fittings at the master cylinder. i.e. the 6GA hex fitting on the line was bigger than the CL master cylinder opening. The electrical plug on the abs pump was also different. I had already taken every under hood brake line and abs pump for my 6GA, so it was easy to swap the master cyl and brake booster.
So I'm probably going to end up deleting that video to cover my own ass. I forgot to unlist it, and a bunch of people saw it and were crying "EPA VIOLATION". What a stupid thing to have to do for a transmission swap.
So I did even more research in various forums, even coming across a thread on hondatech talking about how the entire AC system works. Some one had asked about removing the pressure switch and if the AC lines had to be evacuated, and the person had said no. So I decided to give it a try to prove this, because there isn't much information on it. I did find a thread for the 3G TL on here where some one did it. They said it hissed a little bit, then stopped, and it didn't leak any freeon.
So, can you remove the pressure switch on the canister in our cars without evacuating all of the freeon? The answer is no.
Here's to hoping I don't get a fine because of this & stupidly posting it on YouTube for the public to see.
Radio has all of it's power wires hooked up to the plug. I prefer soldering over crimping when it comes to putting wires together. Just looks cleaner, and I feel like solder is tougher than a crimp. Who ever installed the Kenwood had a plug that connects to the car's wire harness plug, so that made things easier.I booted it up for the first time ever yesterday by connecting the power & acc wire to the positive terminal on the car battery, and the black cable to the negative terminal. Started up just fine to the set up screen, and the screen it self had no issues. It's never been started before, as all the wires still had insulation on the ends of them, but we're cut so you could slide them off. I'm pretty excited about this head unit overall. Back up camera I'll add in the future since it has inputs for it, and steering wheel volume controls I'll also do later since I need a kit for it. Actually sliding it into the double din plastic housing was a little bit tricky. The unit itself seems to be just slightly too big, and had some metal poking out. I had to grab a flat head to pry the plastic up a bit, but it eventually went in. Still have the same issue I had with the single din housing though, which is above it, that pull out try housing doesn't like to sit flat on top of it. It has a gap there where the pin is, and if I try to force it down, it just comes right back up. Oh well.
I spent the day putting as much of the trim back on in the interior. I never realized how much assembly went into the arm rests. Took a bit of time swapping over the large plastic piece so I could fit the 6 speed cup holders in it. Since I was already disassembling it, I started on replacing the leather cover. I was not expecting this much work. The original leather has a lot of glue underneath it, and it was not easy to remove. On top of the, the new leather has a bit more slack. Trying my best to get it on with out any sort of 'waves' in the leather. I want it as snug as possible.
I am having to glue it down. I originally tried super glue, but the fabric underneath the leather just soaked it up like a sponge. So I switched to some headliner spray adhesive that I had left over from fixing my TL's head liner (it didn't work in the TL). Finished up one side, it's holding up nicely. Other side is currently clamped down drying.
I've done quite a bit over the weekend & today. Wanted to wait to condense my posts instead of doing daily updates.
Clutch & flywheel are on, and torqued down to their correct specs. Glad I have a torque wrench when it comes to things like this. It wasn't easy getting the flywheel on. It fits very snug onto the crankshaft end. Had to lightly hit it in with a rubber mallet, then tightened the bolts down to get it the rest of the way on. I tightened the bolts in the recommended pattern as well.
Leather is on the armrest now. This took a lot more work than I was expecting it to. The top is not glued down, but the sides are. For anyone who does this, if you're using spray headliner adhesive like I did, I recommend spray the adhesive on to something, like a flat piece of cardboard, and using a stick to apply it to the leather. After it applying it to the leather, let it sit for about 5 minutes, then stick it down. I used vice grips and some clamps to make sure it stayed down. Since this was perforated, a little bit of glue did go through the holes. Not a lot, but I cleaned whatever did get through with some alcohol wipes. Then I polished it up with some leather cleaner. I did think about putting some cotton underneath to cushion it up, but I didn't want it looking puffed up.
ABS unit & brake lines have been swapped over. I had to go down to harbor freight to get some line wrenches as my regular wrenches were rounding the nuts on both cars. It was a puzzle getting the lines out & in. I still have to put the lines in on the other car. It's going to be freezing rain tomorrow though, so I won't be doing it then. I'm really wishing I had painted the body underneath the ABS unit now. It's all scratched up and ugly.
I also noticed when removing the passenger side motor mount that it's got a big tear on it. Bought it brand new back in 2018. It's still solid though, and doesn't move when I try to wiggle it. It should last until I get some new polyurethane mounts.
Cleaned both sides of the motor up a little bit from where the oil leak was, as well as it being dirty when I pulled it from the junkyard & didn't bother cleaning it then. Wasn't aiming for perfection. Just better than it was. Didn't take pics of the other side unfortunately, oh well.
Still not sure where that oil leak is coming from though. I'm pretty sure it was from the valve cover gaskets and/or bolt gasket. But it looks like there may have been fresh oil that had leaked around the EGR coolant passage area. I sure hope it was just the valve cover gasket, because those have been replaced.
I cleaned up the rusty subframe in the front. The first image you can still see some rust. I went back and cleaned it up some more after taking the pic. I didn't have black, so I decided to go with the body color since I had some left over. It's Electron Blue in case anyone is wondering. I only did a single layer of clear coat, as I'm not going for looks. Just to prevent rust from coming back.
I did not paint the back of the subframe however. It is cleaned up from rust, but now that the subframe is in, I'm not sure if I want to attempt painting it. The front is more open, so painting it was easy. But the back is more closed off. I might still give it a go however. We'll see.
I investigated the power steering leak. It was clearly coming from this nut here, as I had seen a drop hanging off of it when I was under the car. The tip of the tube is fine, there's no corrosion in site. The threads look fine on the nut as well. So I cleaned everything up and put it back in.
It wasn't easy. Everytime I tried to tighten the nut down, it would back out. It stripped the very beginning of the threads. I ended up taking the entire tube off, and tightening the nut down that way. I believe it being connected the to the hose behind the rack was causing it to bend in a way that the nut just wouldn't go in. I eventually tightened it all the way down, and a little bit extra. I'm hoping it doesn't leak again. Not sure how I would get it out with the motor/transmission in.
Those line wrenches also helped out a lot with this particular line as well. Why is it so hard to find some one selling singular wrenches by the way? Dumb.
Transmission has officially been paired with it's motor. I put the motor on my hoist, and the transmission on my rolling cart, and put things together that way. I wasn't able to push the two together all the way, so I tightened the bolts to do that instead. I was a bit worried about the splines on the transmission shaft not going in correctly, but it slid in smoothly when tightening down the bolts.
Sucks to know the transmission is going to look like the motor a year later. Really makes me want to repaint the motor all over again. But, that'll have to wait for the J37 build (soon�). I also bolted down the rear engine mount bracket while I was there.
Motor & transmission are ready to be put into the car. But I think I'm going to wait until I get some new automatic transmission mounts so I can see if they will fit. I'll be ordering them after this post.
WE HAVE POWER! I removed the fuel relay, and hooked the battery up so I could start figuring out the LEDs. Not going to bother showing the lights before correcting their polarities. The LED on the top of the cruise control button doesn't seem to want to work, even when putting another bulb in. Oh well, not like I can use cruise control anyways as I took the cable off since I put the B series TB on.
I did have an issue that I managed to partially fix. The CLS6 gauge cluster wasn't fully lighting up the LED screen that shows the mileage. It was extremely dim. Using my multimeter, I checked the contact points, and I was getting 0 volts. Then I realized I was measuring with the white back cover off, which has a circuit board in it that plugs into the back of the cluster. So I plugged it in, and was only getting 10V. This is why it was dim, as every other LED was getting 12V.
Then I started to wonder.. what would happen if I swapped over the back cover from the auto cluster? I mean, the auto's gauge cluster was lighting the LEDs up for the screen just fine. So I swapped it over, and boom, it lit up. Now I need to figure out what's wrong with this one back cover, and figure out how to get that circuit board out. Might be as simple as just replacing a capacitor. Might just be easier to take a new back cover from a junker. Unfortunately though, swapping the back cover didn't transfer over the mileage. So the data isn't stored on that smaller circuit board. Oh well.
The plastic housing that holds the AC controls and everything will have to come out however. I have to fix the driver side vent. The clip that holds the moveable flaps broke off, and the flaps keep falling out. Easy fix though.
The radio also works great. Tried the bluetooth, connected it to my phone, and the audio sounds way better with this radio compared to the Kenwood. But maybe I've just gotten used to the TL's audio. I do have a LOT more adjustments I can make to the audio than I did with the Kenwood. So that's awesome. Overall, I'm happy with this radio.
So with all that out of the way, I went to the junkyard Saturday with my friends. One friend went off to look for some roof racks to pull off, while me and my other friend went to go look at a Miata. While we were laughing at the homemade header that some one had made to stick out of the hood, he noticed a Mitsubishi Galant VR4.
It was in pretty good condition. Not sure what was wrong with it. Motor looked fine, but who knows. He had always wanted on of these cars, and was pretty bummed out to see it sitting there. I tried giving it power using my impact battery, just to see if we could get the electronics on, but to no avail. It looked like it was sitting in a garage/barn for awhile. Maybe the owner died, and the people who inherited it didn't know what to do with it, so they just scrapped it?
Well, it was only on the left for a day, so it hadn't been touched yet. In the back of the car was a complete & custom audio set up. Two amps and a 12 inch sub. My friends each took an amp, and I took the sub. I plan on throwing it into my CL at some point in the future. I'll have to make a box for it, but I want to make one that doesn't use too much trunk space. So I'll need to figure something out.
However, there was something very special about this car. It was a limited edition, and had a plaque on the dash. It was #69/1000 (nice). Some one is currently selling a #24/1000 plaque on a keychain for $175. But imagine how much the sex number would sell for? I told him he could have it if he didn't sell it, since he loves those cars. So it's his.
Ignore the black bars on the subwoofer pic. Had to rip it from my Instagram, and blacked out the text.

 01-09-2023, 03:34 PM