
DIY: Rewrapping that faded bottom window trim

DIY: Rewrapping that faded bottom window trim
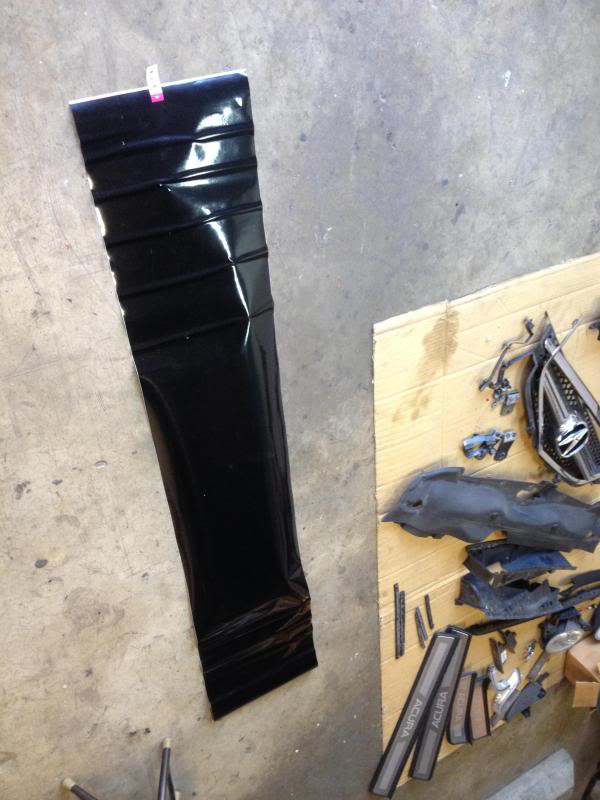
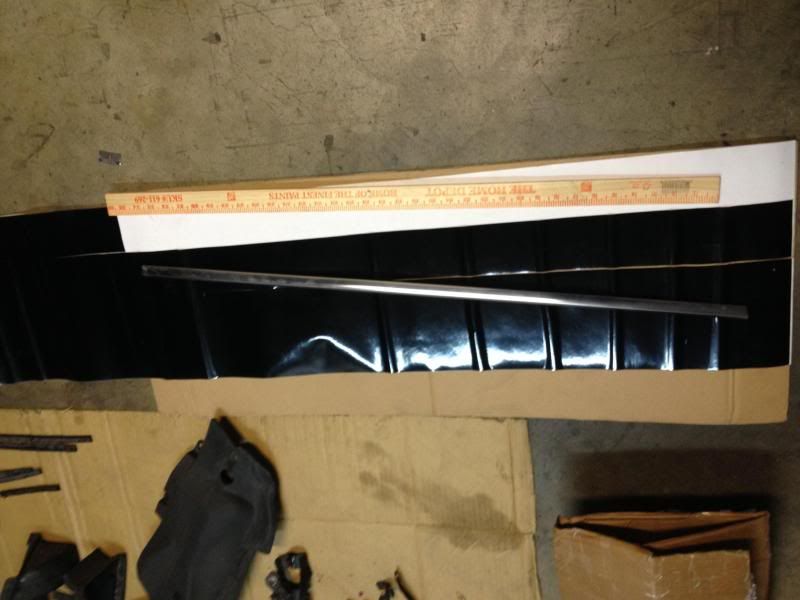
This is a big problem for most hondas/acuras that have wrapped window trims from factory, the factory black vinyl always peels or rips after a couple of years in the sun. Most people do the easy way and repaint it but I wanted to fix mine like how factory would so I got new gloss black vinyl and re-wrapped mine.
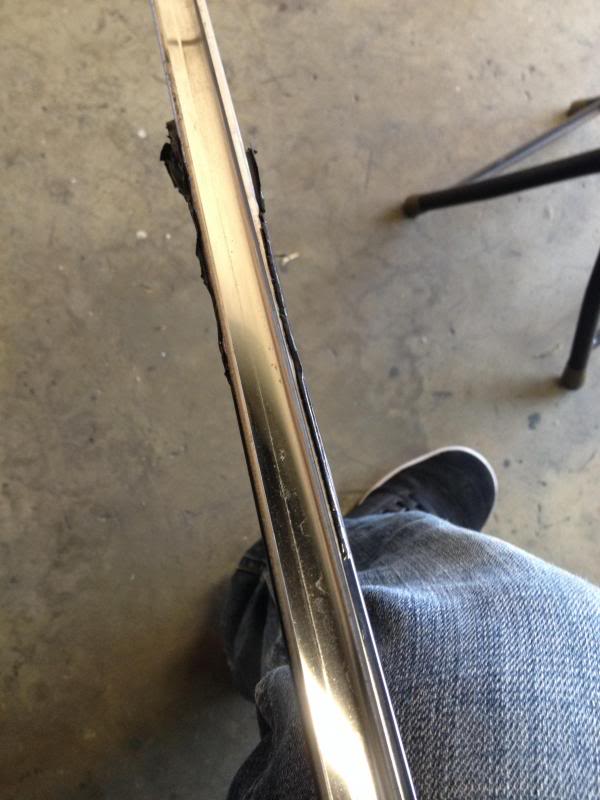
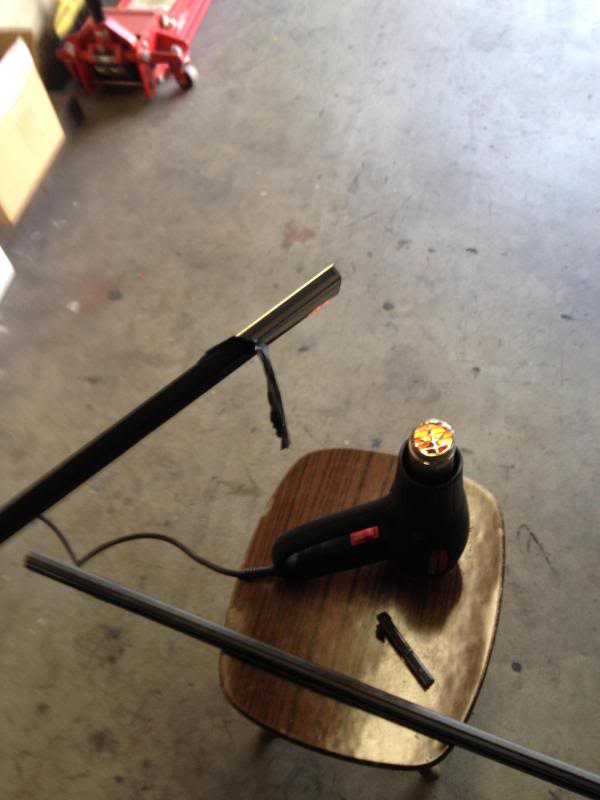
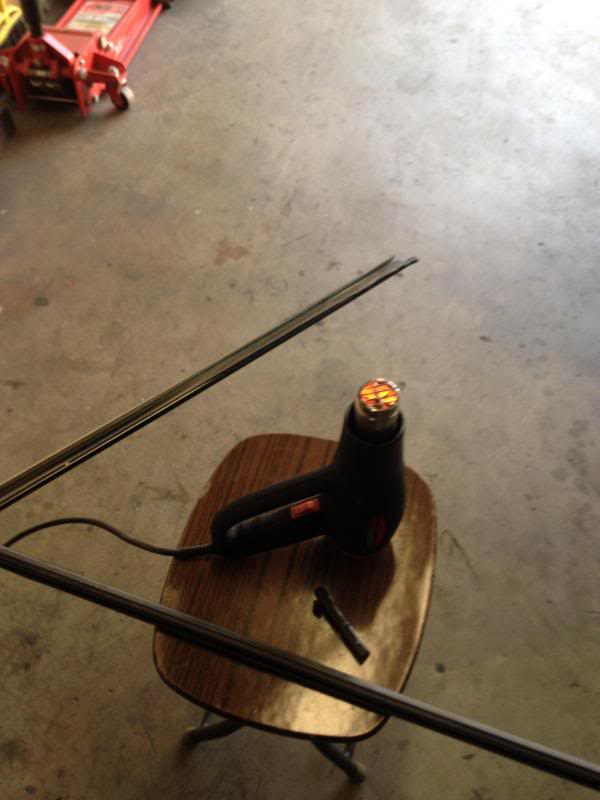
The old factory vinyl is very hard to remove without heat, so don't bother unless you have a heat gun. With a heat gun though it's not very hard, just time consuming. You have to start peeling from each side first, so the vinyl can rip off in long pieces instead of tiny pieces. I'll let the pictures do the talking.
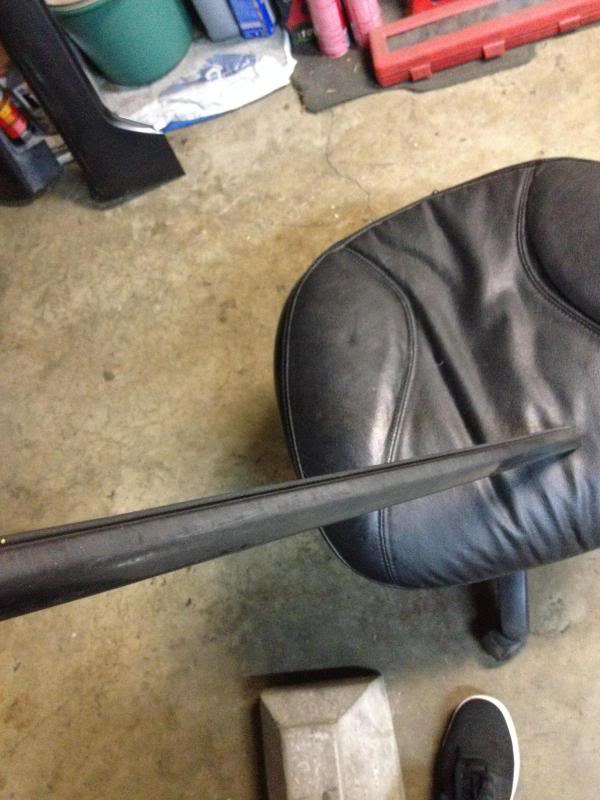
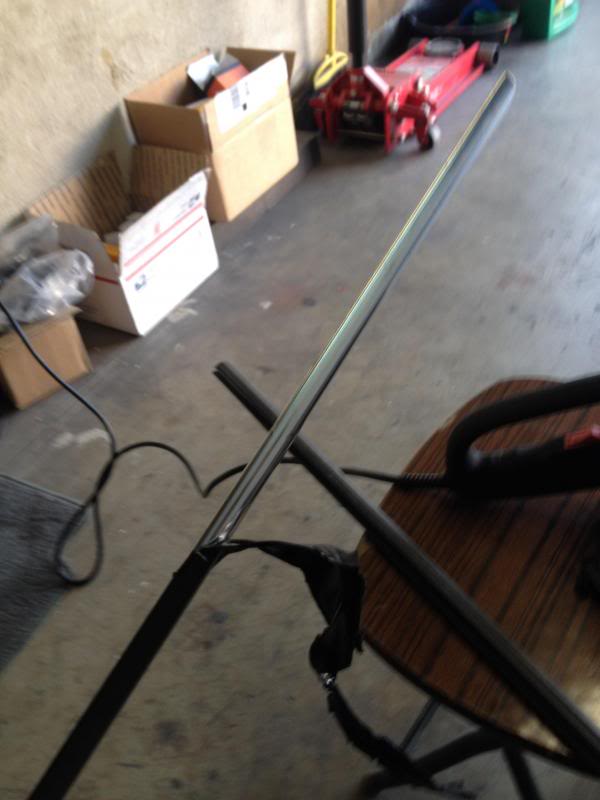
Old faded vinyl:
Process:
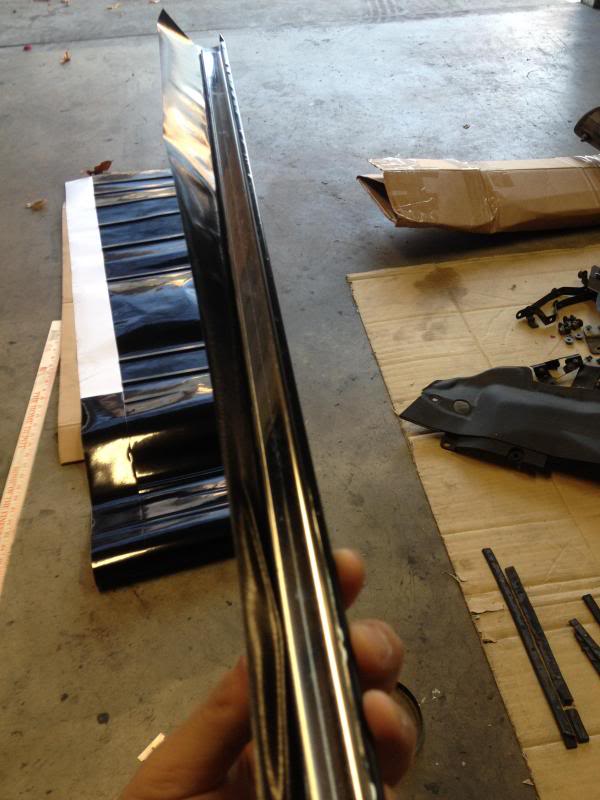
Peel left and right sides up first
Then you can peel off a long piece down
Do so until the whole thing is off
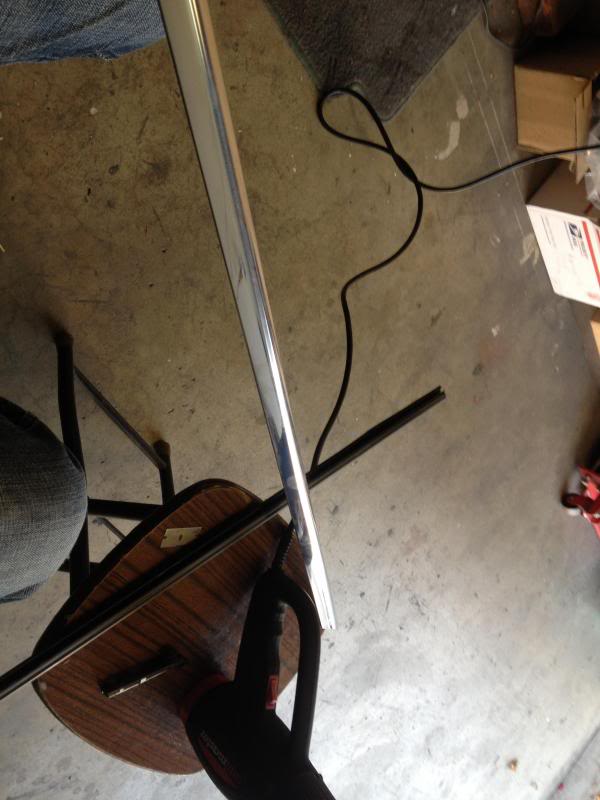
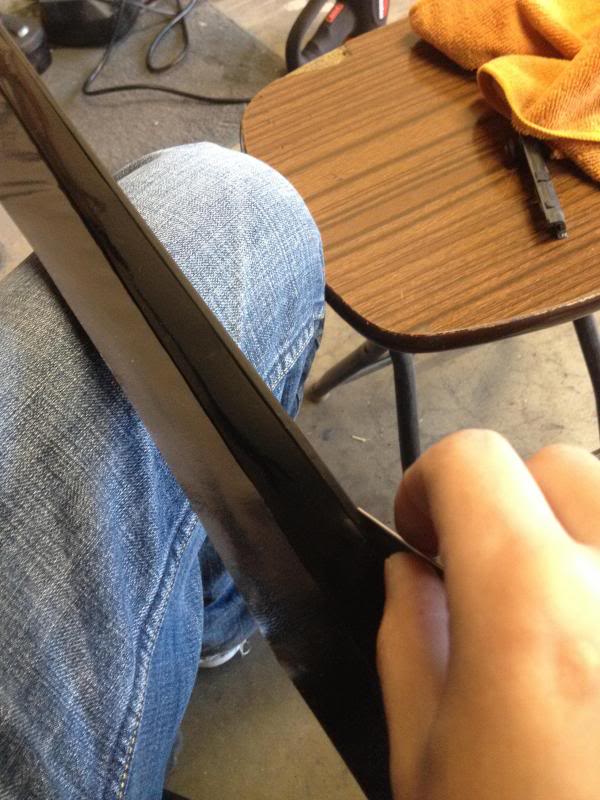
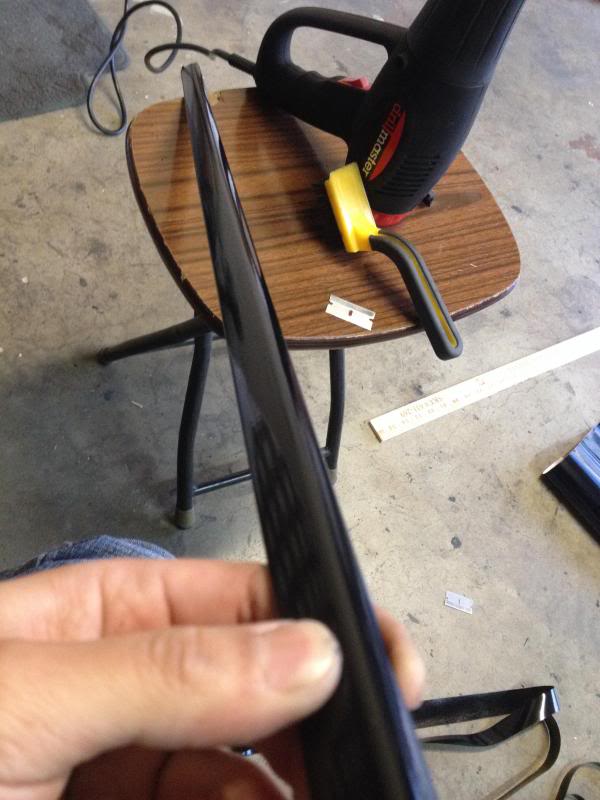
This part will take some skill and patience, but it's not too bad since you can follow the edge with a razor blade
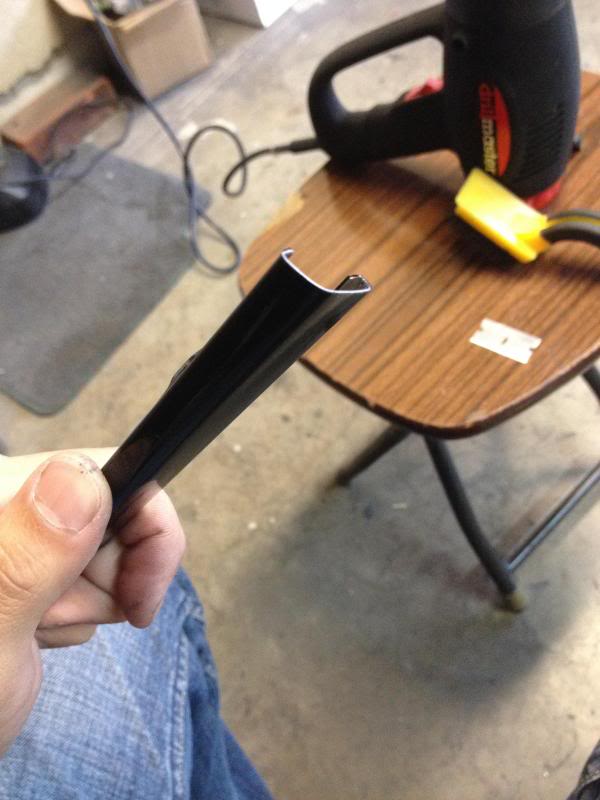
Heat it up a bit with the heat gun to get it to stick well and flatten out any air bubbles
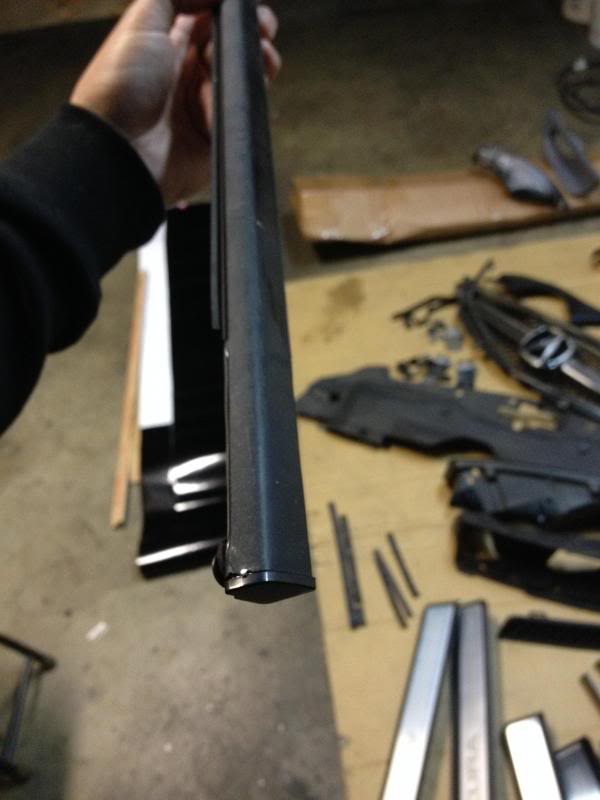
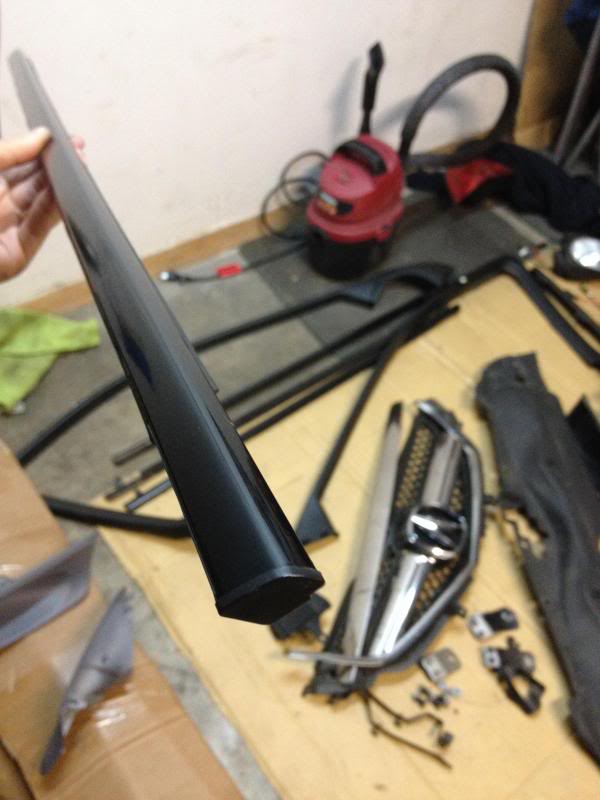
Results:
The old factory vinyl is very hard to remove without heat, so don't bother unless you have a heat gun. With a heat gun though it's not very hard, just time consuming. You have to start peeling from each side first, so the vinyl can rip off in long pieces instead of tiny pieces. I'll let the pictures do the talking.
Old faded vinyl:


Process:
Peel left and right sides up first

Then you can peel off a long piece down


Do so until the whole thing is off


This part will take some skill and patience, but it's not too bad since you can follow the edge with a razor blade


Heat it up a bit with the heat gun to get it to stick well and flatten out any air bubbles
Results:


Nice! I'd been thinking of this before but was hesitant to pull the trims off since the SM says that they bend when you remove them.
Any chance you could add some photos showing how to get them off without bending the crap out of them?
Any chance you could add some photos showing how to get them off without bending the crap out of them?
the one that bends is the top trim above the window.
I have the SM too and I double checked with it when I removed these that they will come off no problem. rears are pretty easy, but front ones will take a bit of muscle to force the clips out.
I have the SM too and I double checked with it when I removed these that they will come off no problem. rears are pretty easy, but front ones will take a bit of muscle to force the clips out.

Trending Topics

05 Acura TL: a-spec
Joined: Mar 2006
Posts: 951
Likes: 17
From: Bay Area, CA
Where did you buy the vinyl from? I can't remember who, but a while back there was a vendor who sold good quality stuff. Currently my driver side is peeling and I was planning on doing the same thing. Are you also wrapping your grille?
I'm not wrapping the grill. I did this because I just want my car to look like brand new from factory since my car is being repainted right now. A new paint job with faded window trims would look kinda off IMO

it might, but its definitely going to be tougher. without enough heat the vinyl will rip off in tiny pieces and leave residue
 ...
...I love when I get time to sit around & do stuff like this...lol no really I do; thanks for posting
 ...
...
A lot of other hondas like TSX and accords are all factory chrome without the vinyl. I think black vinyl makes it look a little better and makes the TL a little different from the accord/tsx, but I'm sure there are people who like it chrome too. Having this piece chrome would look weird though because the side(and I think upper too) window trims are all black. Those are paint and not vinyl so its not removable.

Mr. Detail


Joined: Oct 2011
Posts: 1,104
Likes: 200
From: Arlington, TX
Really nice work! I didn't get quite as involved with my Accord (and my trim is chrome) but I went ahead and used the flat black trim tape on mine:
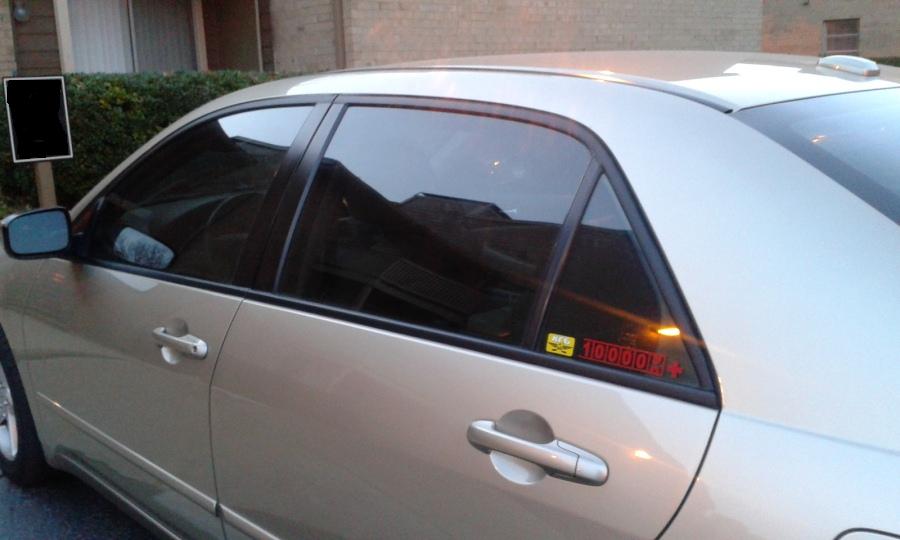
I didn't remove the trim though and it really wasn't all that warm when I did it (upper 50s) so there is a wrinkle or two on the curves. Once it warms up, I'll pull the trim off my car and redo it like you did. BTW, this is a problem that isn't just with TL's, I see it on other cars I detail as well.

I didn't remove the trim though and it really wasn't all that warm when I did it (upper 50s) so there is a wrinkle or two on the curves. Once it warms up, I'll pull the trim off my car and redo it like you did. BTW, this is a problem that isn't just with TL's, I see it on other cars I detail as well.

Intermediate
Joined: Jan 2013
Posts: 25
Likes: 2
From: San Diego
yeah after you remove the screw on the very edge, you'll have to use your fingertips to get a grip on the inside edge, and pull up. Don't forget to remove the side mirror first.
Intermediate
Joined: Jan 2013
Posts: 25
Likes: 2
From: San Diego


Racer
Joined: Nov 2004
Posts: 453
Likes: 28
From: Puerto Rico

Instructor
Joined: Feb 2014
Posts: 109
Likes: 28
From: Little Rock, AR. Soon to be Houston, TX.
Hope this works. Still kinda new to the forum, and haven't exactly figured it out!


Registered but harmless

Joined: Aug 2005
Posts: 14,889
Likes: 1,164
From: Los Angeles, CA
Removing the moldings on the rear doors was easy-- see post 28 for the .pdf files on removal. It took some time to remove the old vinyl from the moldings and then to carefully shape, stretch and apply the new vinyl.
I re-did the rear door moldings yesterday. The car was in the sun for the day to get the old vinyl warmed up. No heat gun or hair dryer was needed-- the vinyl was pretty degraded and came off with a little careful pulling. Wiping the moldings with a shop cloth with [91%] alcohol will remove the glue residue (which will adhere to the cloth) pretty easily and quickly.
Download the .pdf files from post 28, which are indispensable for removal of the moldings.
Download the .pdf files from post 28, which are indispensable for removal of the moldings.
Acura Member
Joined: Jan 2016
Posts: 166
Likes: 12
From: San Diego
This is a big problem for most hondas/acuras that have wrapped window trims from factory, the factory black vinyl always peels or rips after a couple of years in the sun. Most people do the easy way and repaint it but I wanted to fix mine like how factory would so I got new gloss black vinyl and re-wrapped mine.
The old factory vinyl is very hard to remove without heat, so don't bother unless you have a heat gun. With a heat gun though it's not very hard, just time consuming. You have to start peeling from each side first, so the vinyl can rip off in long pieces instead of tiny pieces. I'll let the pictures do the talking.
Old faded vinyl:
Attachment 90869
Attachment 90870
Process:
Peel left and right sides up first
Attachment 90871
Then you can peel off a long piece down
Attachment 90872
Attachment 90873
Attachment 90874
Do so until the whole thing is off
Attachment 90875
Attachment 90876

Attachment 90877
This part will take some skill and patience, but it's not too bad since you can follow the edge with a razor blade
Attachment 90878
Attachment 90879
Heat it up a bit with the heat gun to get it to stick well and flatten out any air bubbles
Results:
Attachment 90880
Attachment 90881
The old factory vinyl is very hard to remove without heat, so don't bother unless you have a heat gun. With a heat gun though it's not very hard, just time consuming. You have to start peeling from each side first, so the vinyl can rip off in long pieces instead of tiny pieces. I'll let the pictures do the talking.
Old faded vinyl:
Attachment 90869
Attachment 90870
Process:
Peel left and right sides up first
Attachment 90871
Then you can peel off a long piece down
Attachment 90872
Attachment 90873
Attachment 90874
Do so until the whole thing is off
Attachment 90875
Attachment 90876
Attachment 90877
This part will take some skill and patience, but it's not too bad since you can follow the edge with a razor blade
Attachment 90878
Attachment 90879
Heat it up a bit with the heat gun to get it to stick well and flatten out any air bubbles
Results:
Attachment 90880
Attachment 90881
Last edited by thoiboi; May 20, 2019 at 11:50 AM.

Cruisin'
Joined: Dec 2018
Posts: 15
Likes: 0
From: CA
Once the pieces are off the car, if the rubber inserts are stuck try rinsing them off and hosing the inside of the metal channel to get some of the dirt and grime out of them. If that won�t free them up, pour a little dish soap down one end of the channel and work it towards the other
Acura Member
Joined: Jan 2016
Posts: 166
Likes: 12
From: San Diego


Here are some pics of the work. I was able to remove and rewrap all 4. It is extremely doable by anyone and if anyone has questions on the removal and reinstallation I can be of assistance. There were no real DIYs from start to finish. I can take pics of the finished product if you all would like.
Acura Member
Joined: Jan 2016
Posts: 166
Likes: 12
From: San Diego
I didnt take too many pics while I was taking the pieces off but if you notice the second TL in the background, I'll be doing this job on that one this weekend so I'll make sure to take pics of every step. The back doors do not even require you to take off the door panel. They're super easy. Since the mirrors have to come off the door panels on the front need to come off but it it super easy.
-------Tim-------

Joined: Mar 2010
Posts: 2,554
Likes: 614
From: Tampa, Fl
^Awesome! I dread taking the front mirror off! Lol! I know it’s probably nothing. But glad to hear the rears don’t need panel removal. (Altho I have to remove one of them for actuator issues for lock). Thnks in advance for any more pics you can provide!
