When you click on links to various merchants on this site and make a purchase, this can result in this site earning a commission. Affiliate programs and affiliations include, but are not limited to, the eBay Partner Network.
What you are going to need to do is clean up these low level branches or what ever it is to show off the front of your house, once it is all done. Curb appeal will enhance the beauty of your kingdom.
It is definitely an issue and really not 100% sure how to make it look all that great since the trees are so tall. Once the heat is over in the fall the Tulip Poplar will get limbed up some but it also provides shade on the driveway. The other tree on the right that you circled is a Wild Dogwood which I love. It will also get trimmed in the fall as it really took off this spring and now I can't even move under it. It will get trimmed a lot less though as I don't like to limb Dogwood unless absolutely necessary. I do wish it was in a better spot but it was there when I got the house.
In my head I have actually considered taking everything out but the dogwood and putting some boulders and smaller flower plants in the bed even. I would hate to lose all that shade though as the sun is brutal on the front of the house.
I mean one of the reason I bought the property years ago in the first place is how wooded it is so yes I like having trees around and wish I could plant more on the one side yard but the septic system is there and they don't take to trees very well.
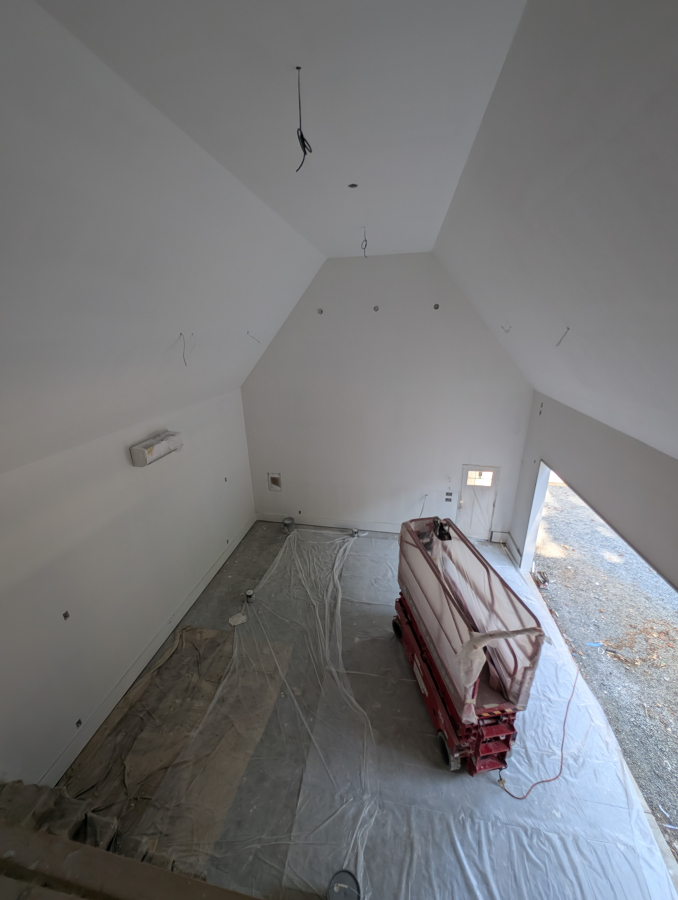
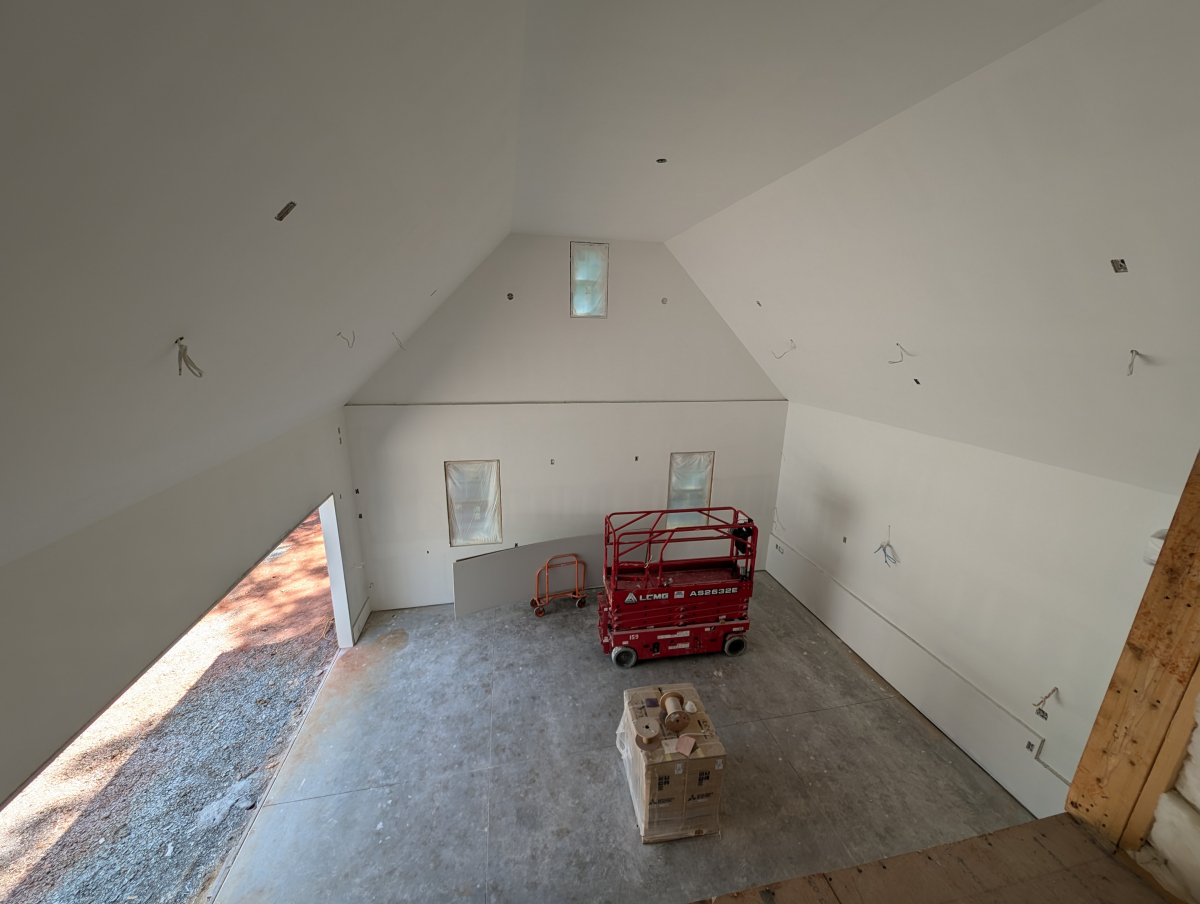
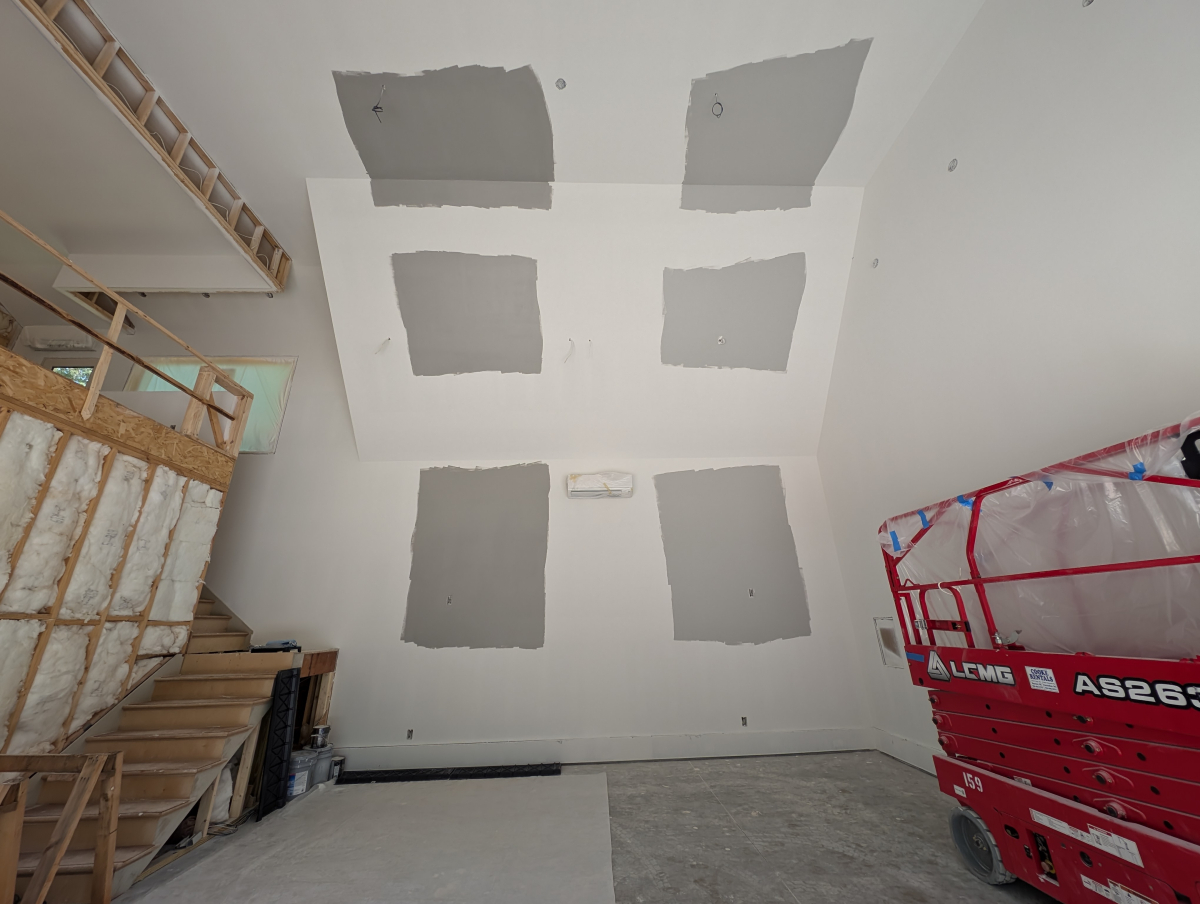
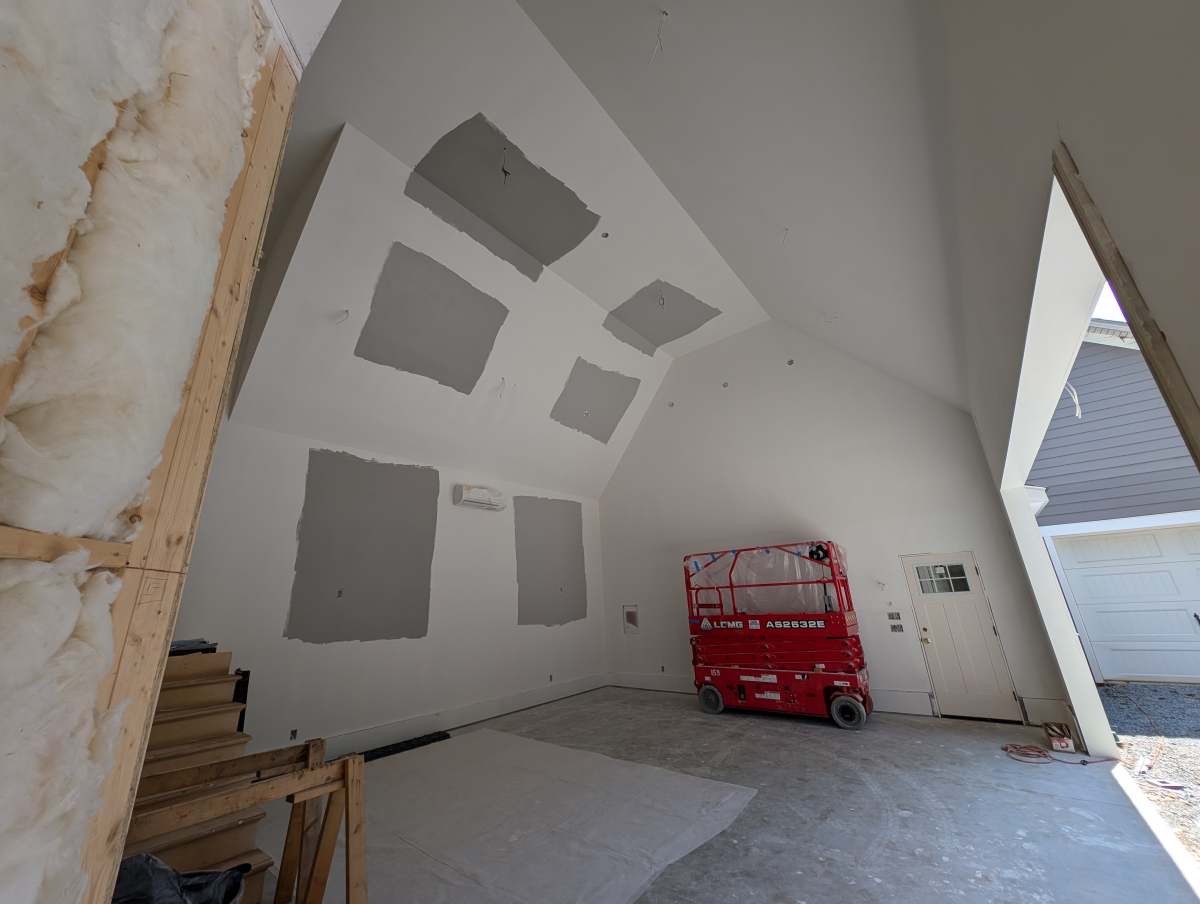
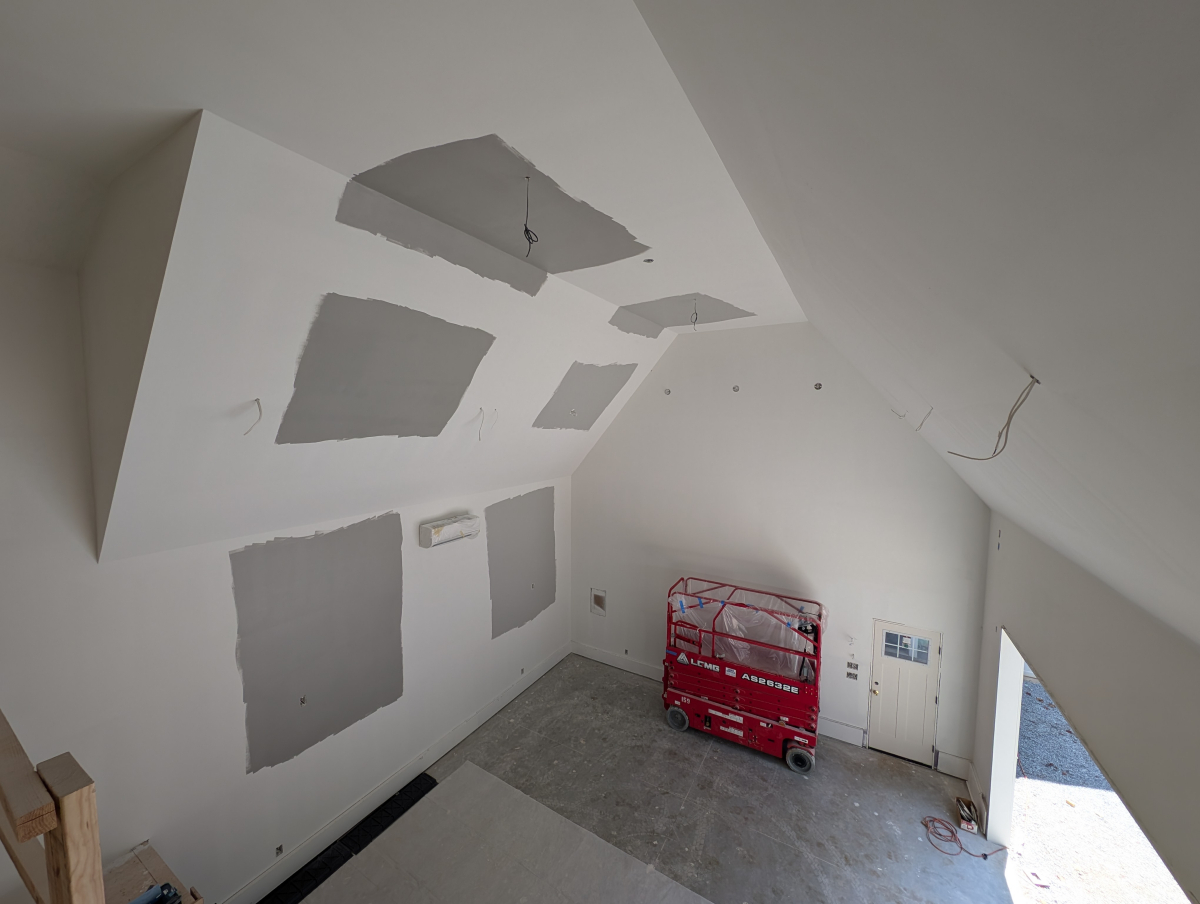
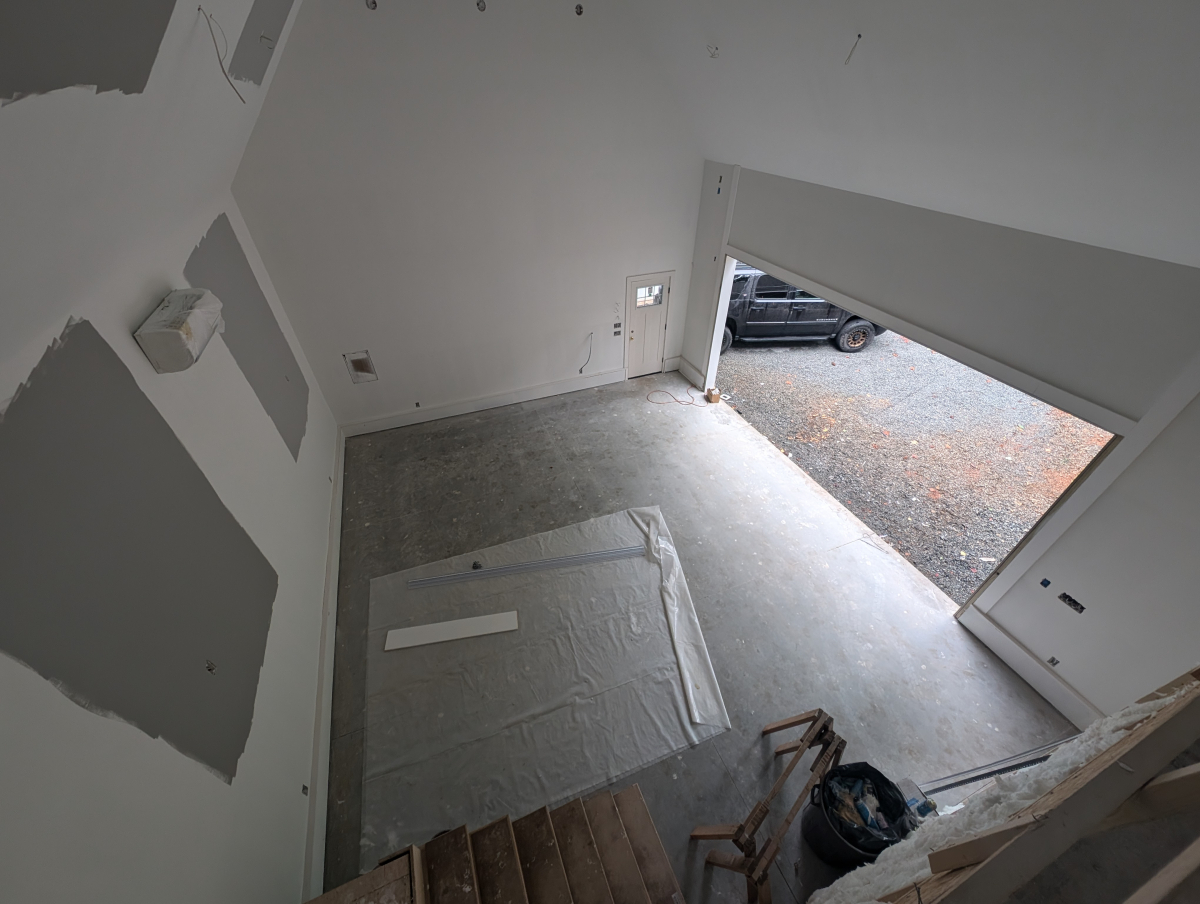
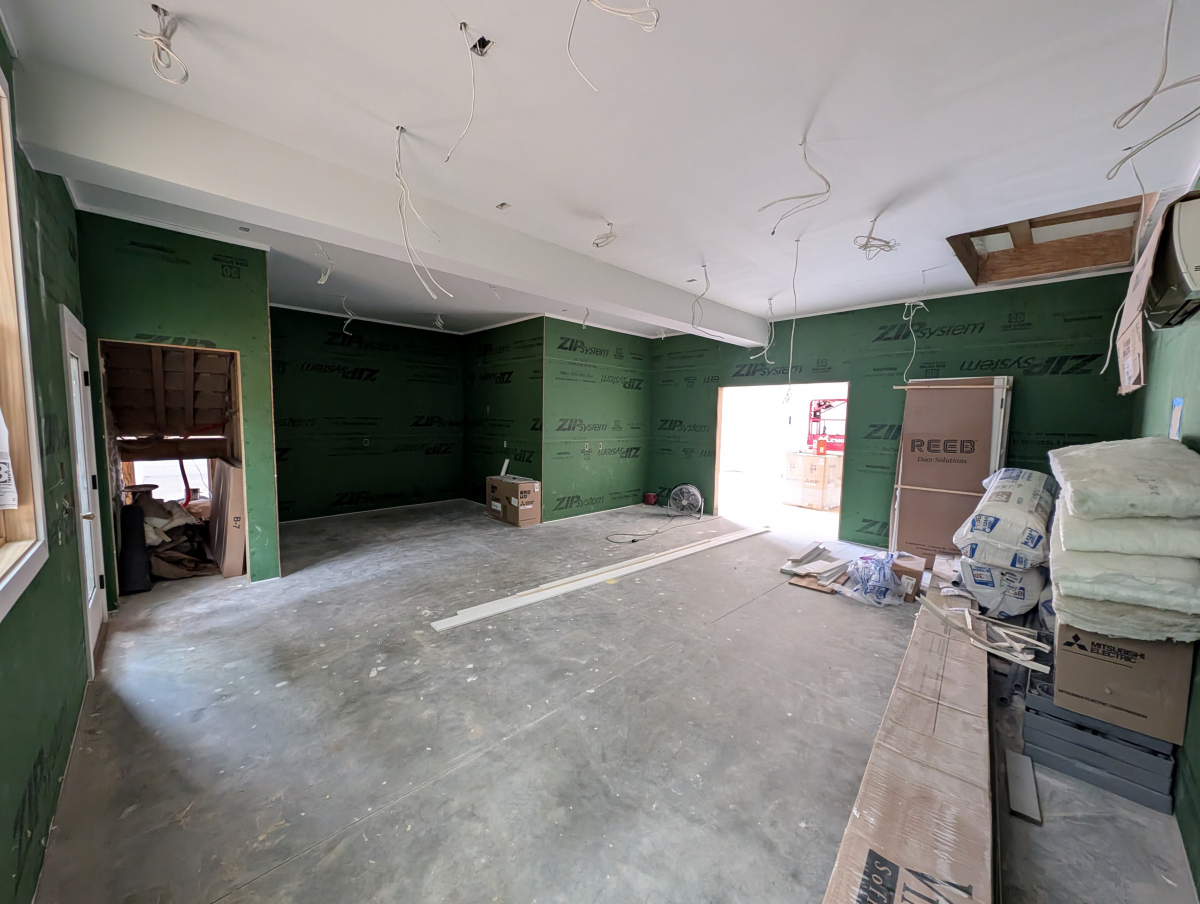
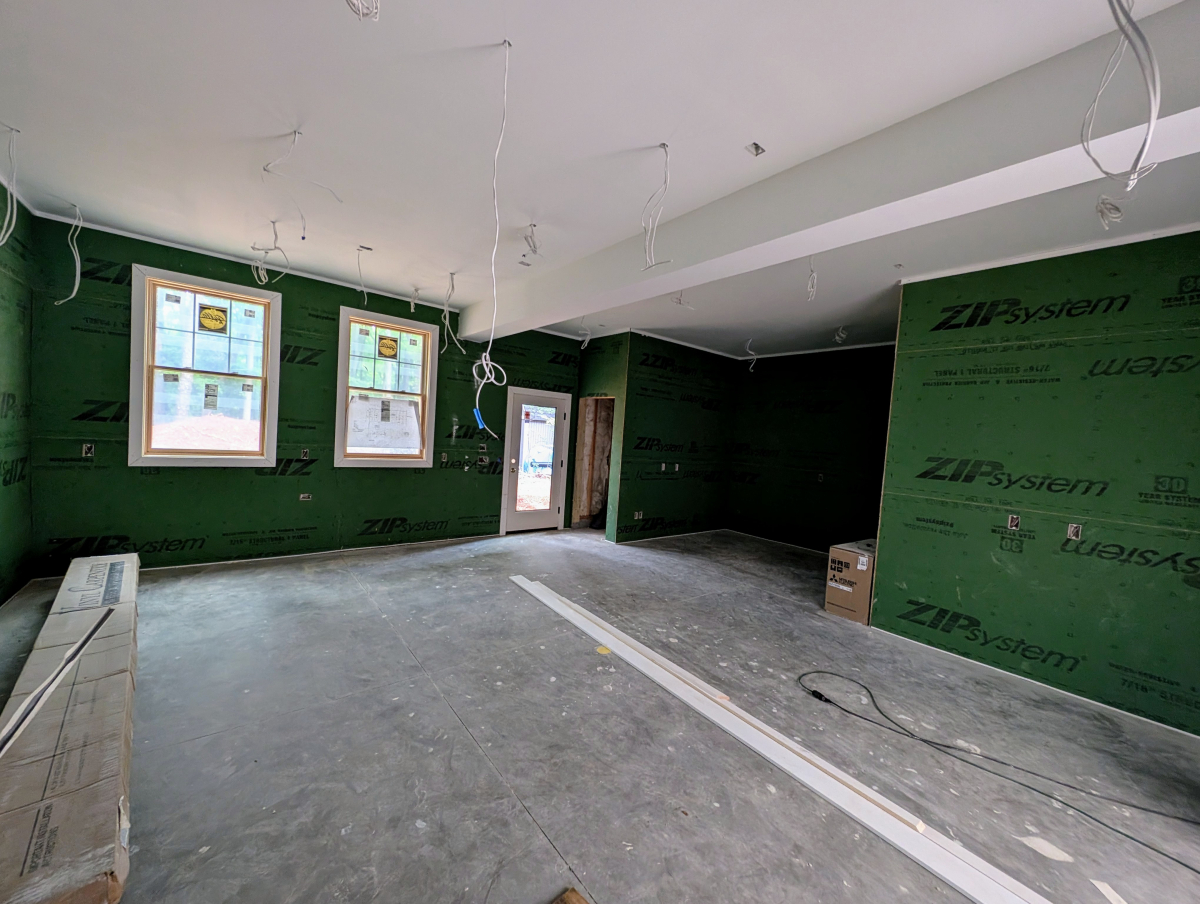
At the end of last week while I was out of town they got all the mud sanded down the last time before priming.
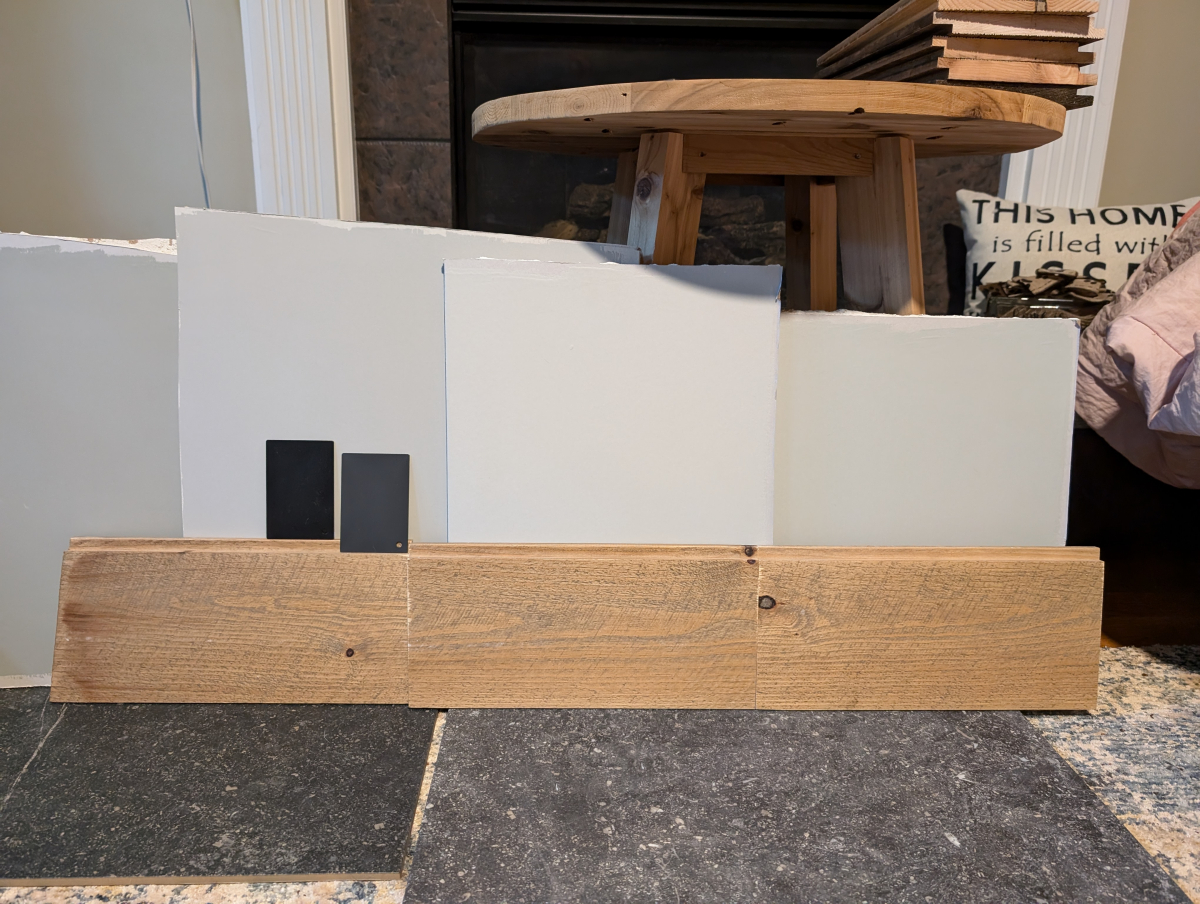
I have managed to narrow my colors down to two for inside the garage. They are even part of the same color family. In this picture, they are the two middle colors. I was originally leaning toward the darker of the two but not sure if it is too dark. The right tile is the loft floor tile and the two metal samples are from NewAge Pro cabinets. The wood is the accent wall wood that will cover the entire corner section wall of the garage as well as the focal wall in the loft.
Two colors in the garage
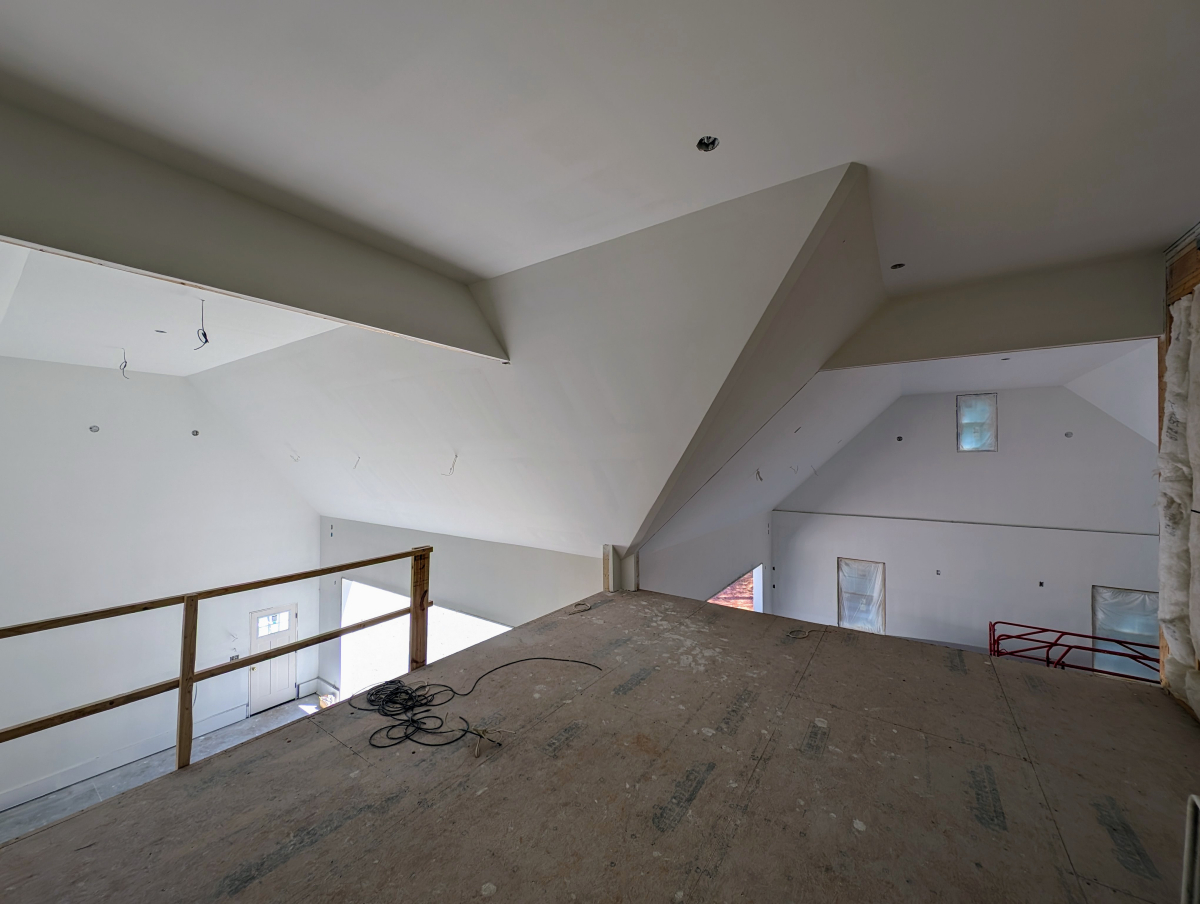
Two colors in the loft
Today they moved on to priming so they can do the final inspection of any remaining mud work afterwards.
Last edited by CCColtsicehockey; 07-03-2024 at 05:35 PM.
These guys really don't take holidays. They ended up finishing the primer on the 4th of July.
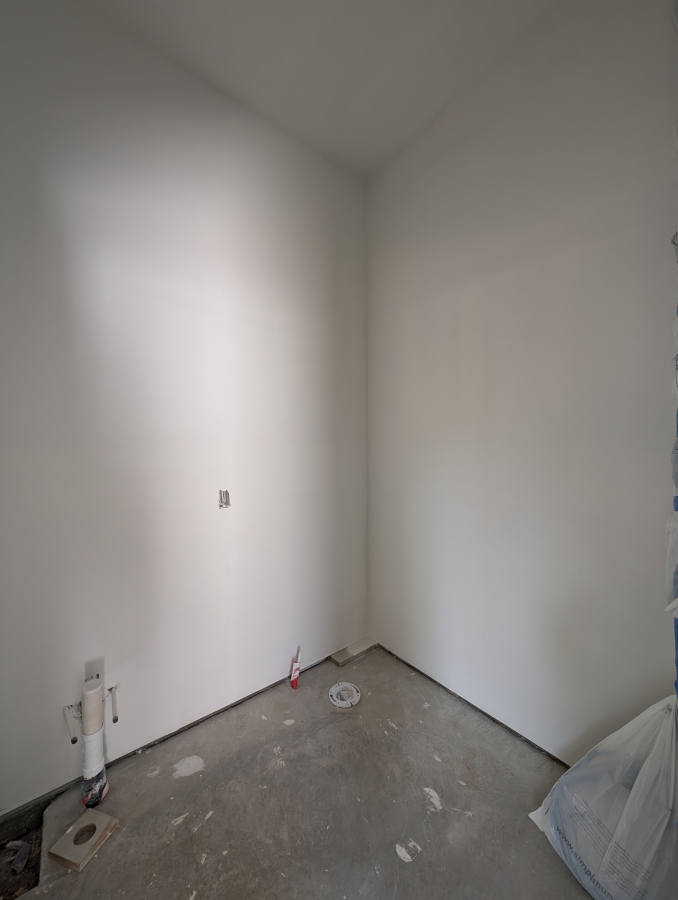
bathroom seems a lot more spacious for the time being while it is white. Will get awful closed in once it is grey and has the vanity and network cabinet.
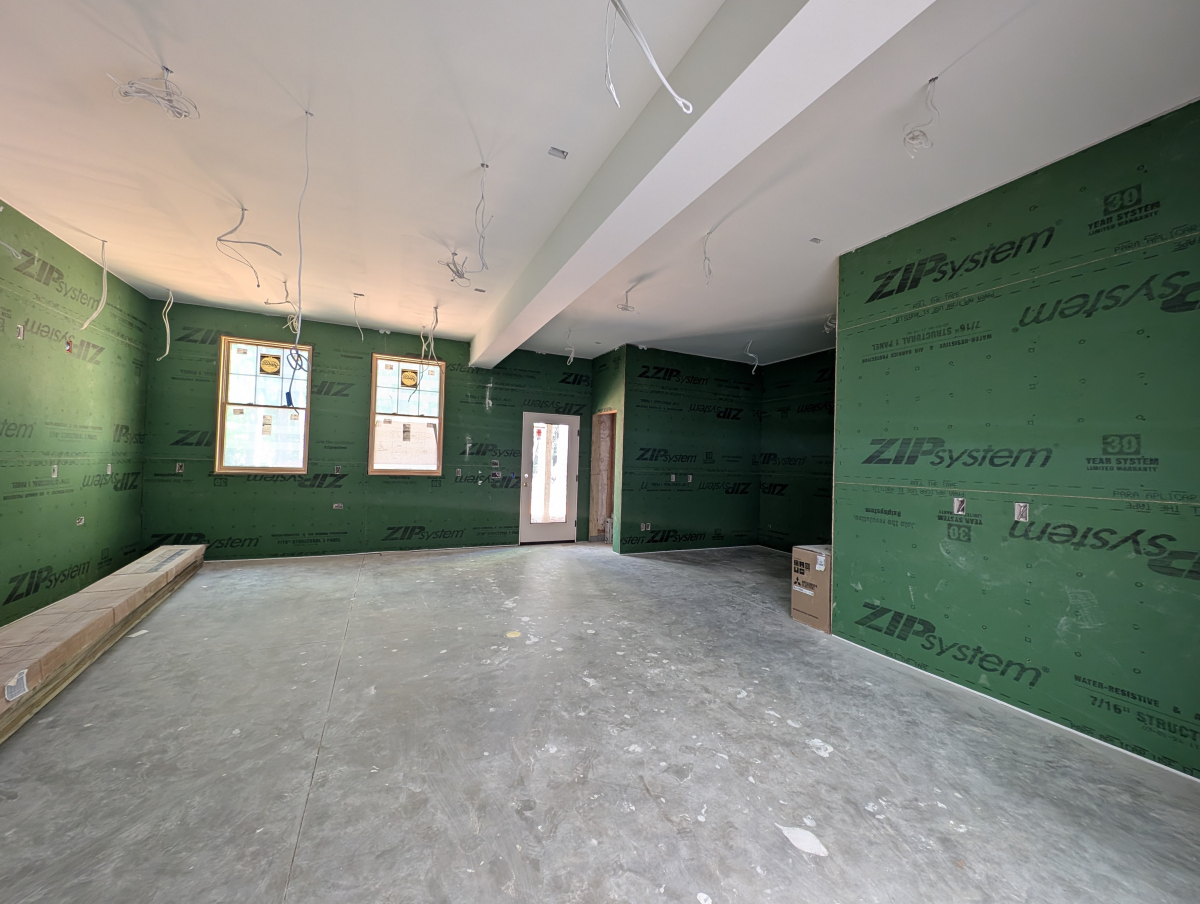
They primed the ceiling but still need to come back and caulk all the zip panel before priming it
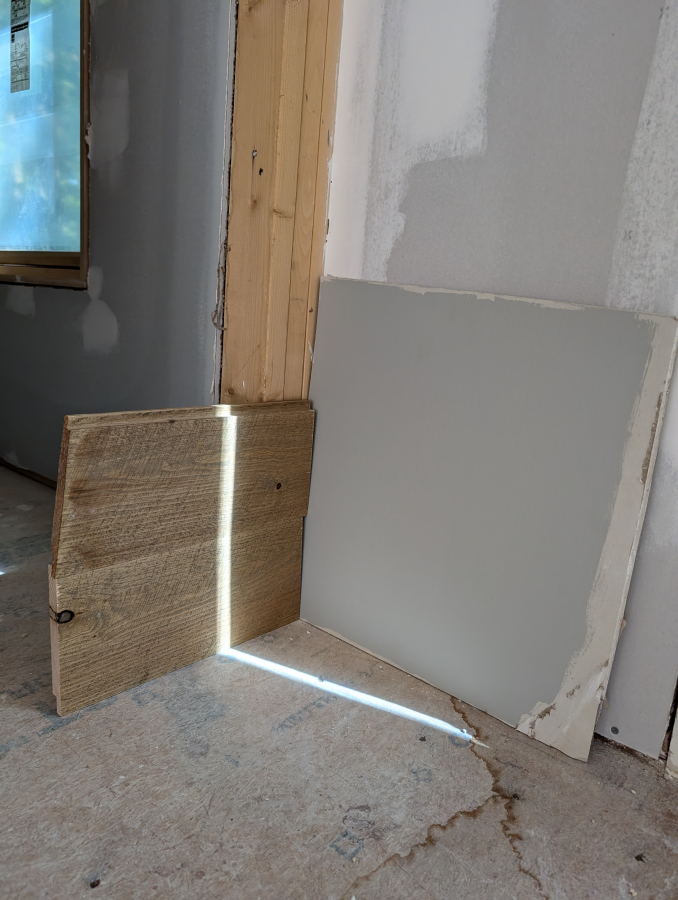
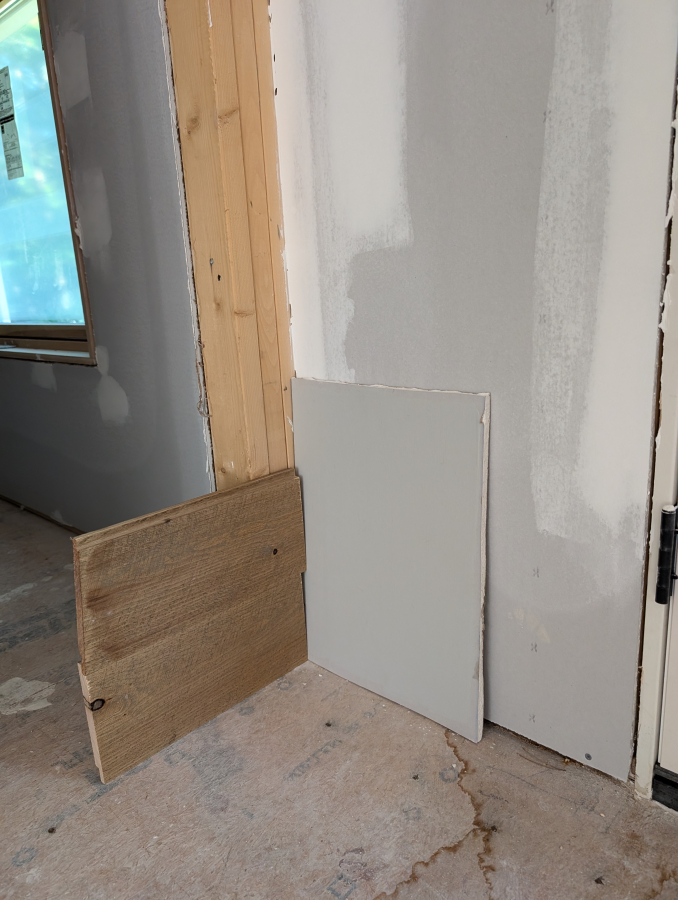
Over the holiday weekend then I got some of my last bits of work done. The biggest one was putting up my final two colors for test on a much bigger surface area. AC-26 Huskie Gray on the left and AC-25 Silver Chain on the right.
I like the darker color a lot tone wise but I am worried it will be too dark in a working garage. The plan is to paint everything in the building the same color due to the vaulted ceilings and the one back wall going all the way up the steps and into the loft. I am leaning towards the lighter color in regard to light reflective values. I would be lying though if I said I was remotely close on picking one or the other and I really need to make the decision like yesterday.
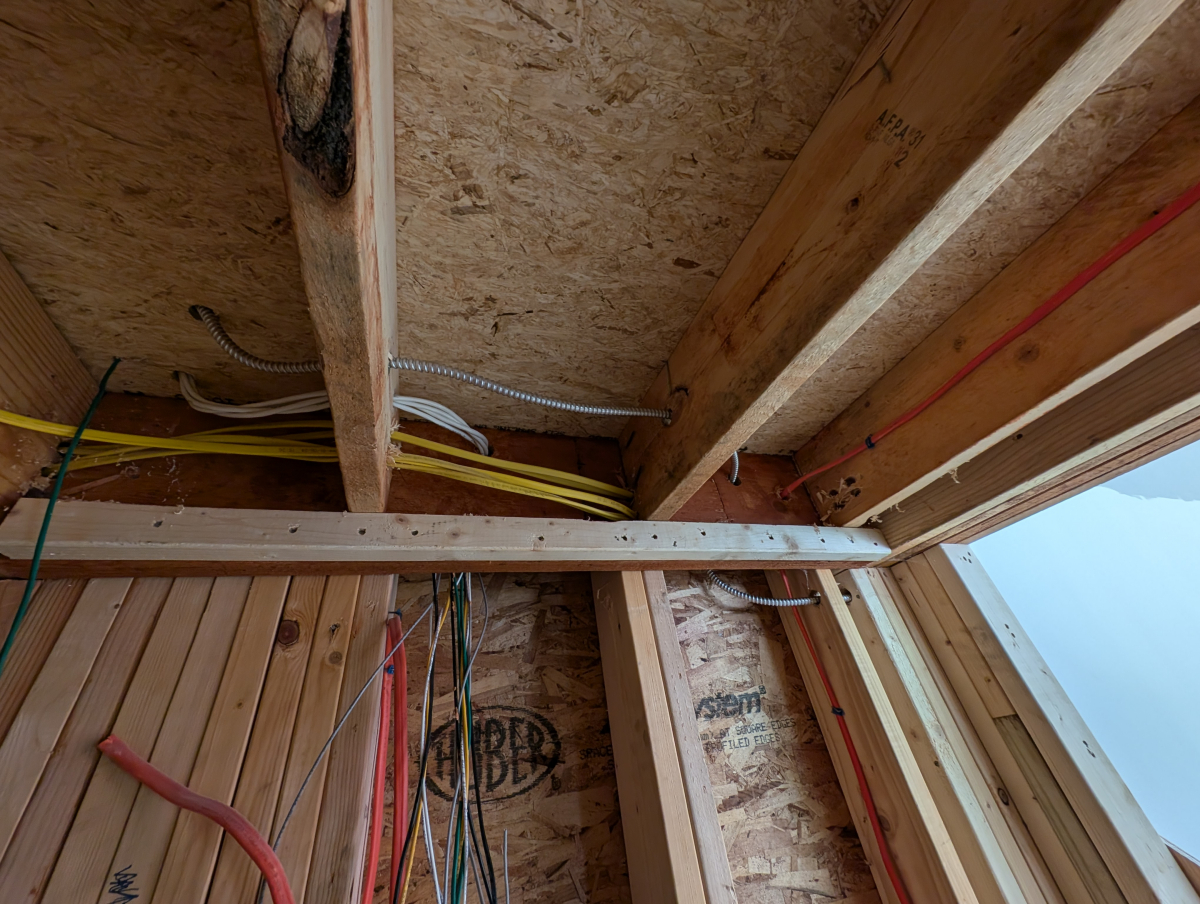
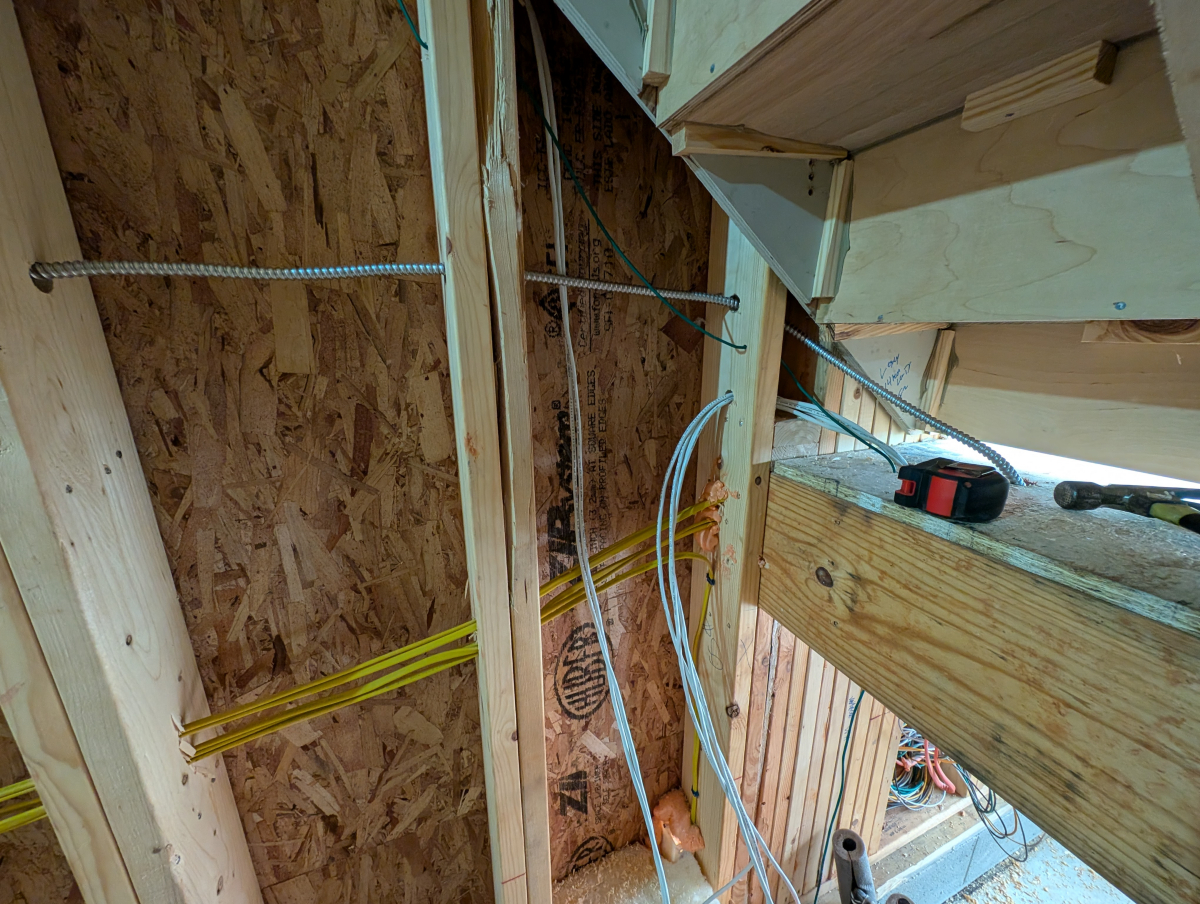
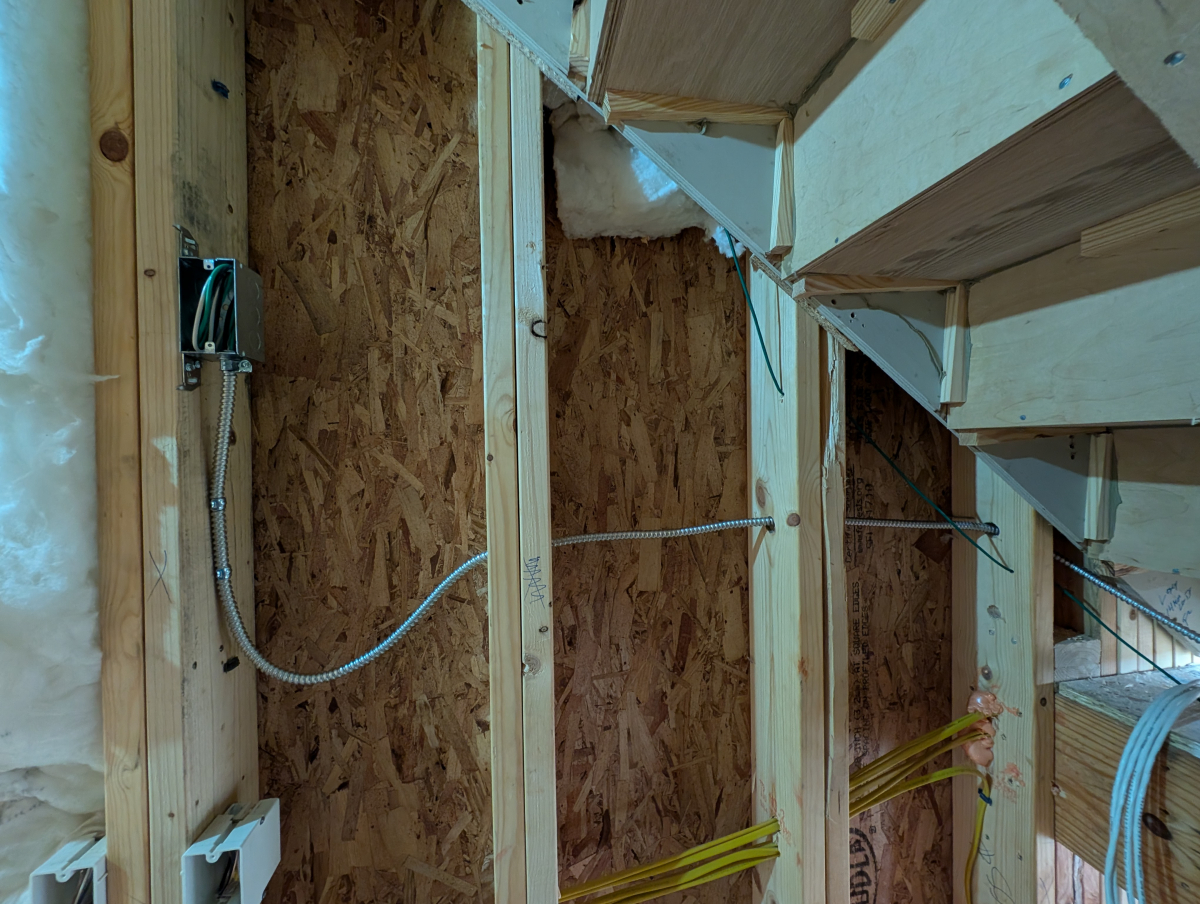
I was also able to wrap up almost the last of the wiring. I got the last section of the MC cable for the air compressor last minute circuit in the wall.
This section under the stairs the platform will get boxed in straight up to the stair bottom so the wires coming out will be hidden. The underside also still needs to be insulated as well before the rest of the zip goes in. Might leave that to the very end as I don't care if it gets painted and I want to install stair lights after the stairs are stained. You can also see the white wires for the blinds. After figuring out the size of the Lutron control box I will eventually use this seemed like the best place to put them. They will be right above the hot water heater.
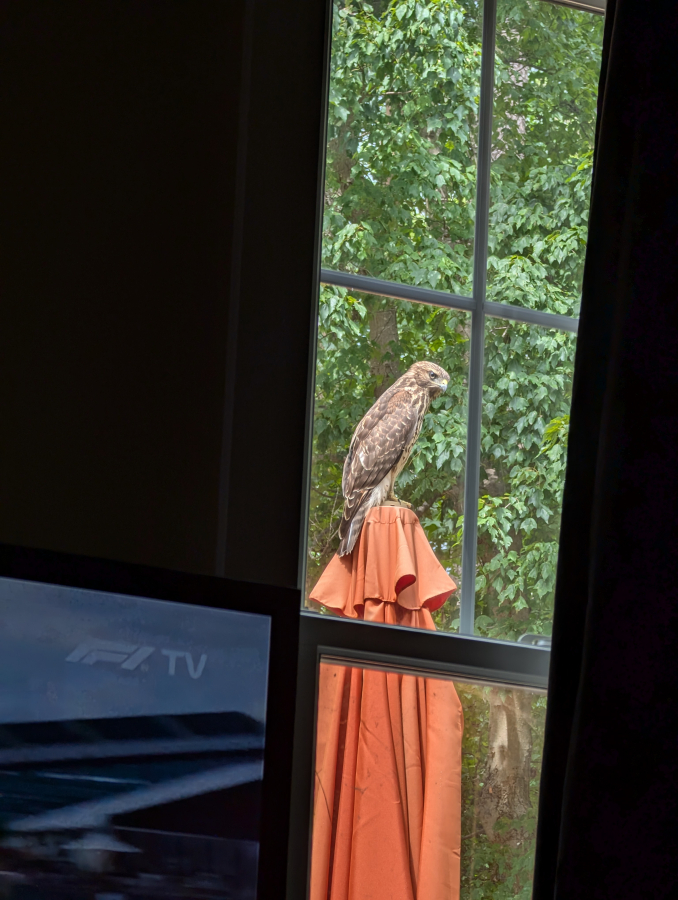
Caught this guy out on the porch hunting something while I was inside watching F1 that weekend.
I would personally go for the lighter "silver chain" to keep it as light as possible. Now in the "Lounge" upstairs, that is where I would use some darker tones for a more relaxed feel, possible accent wall to offset some color. Looks great though!
I would personally go for the lighter "silver chain" to keep it as light as possible. Now in the "Lounge" upstairs, that is where I would use some darker tones for a more relaxed feel, possible accent wall to offset some color. Looks great though!
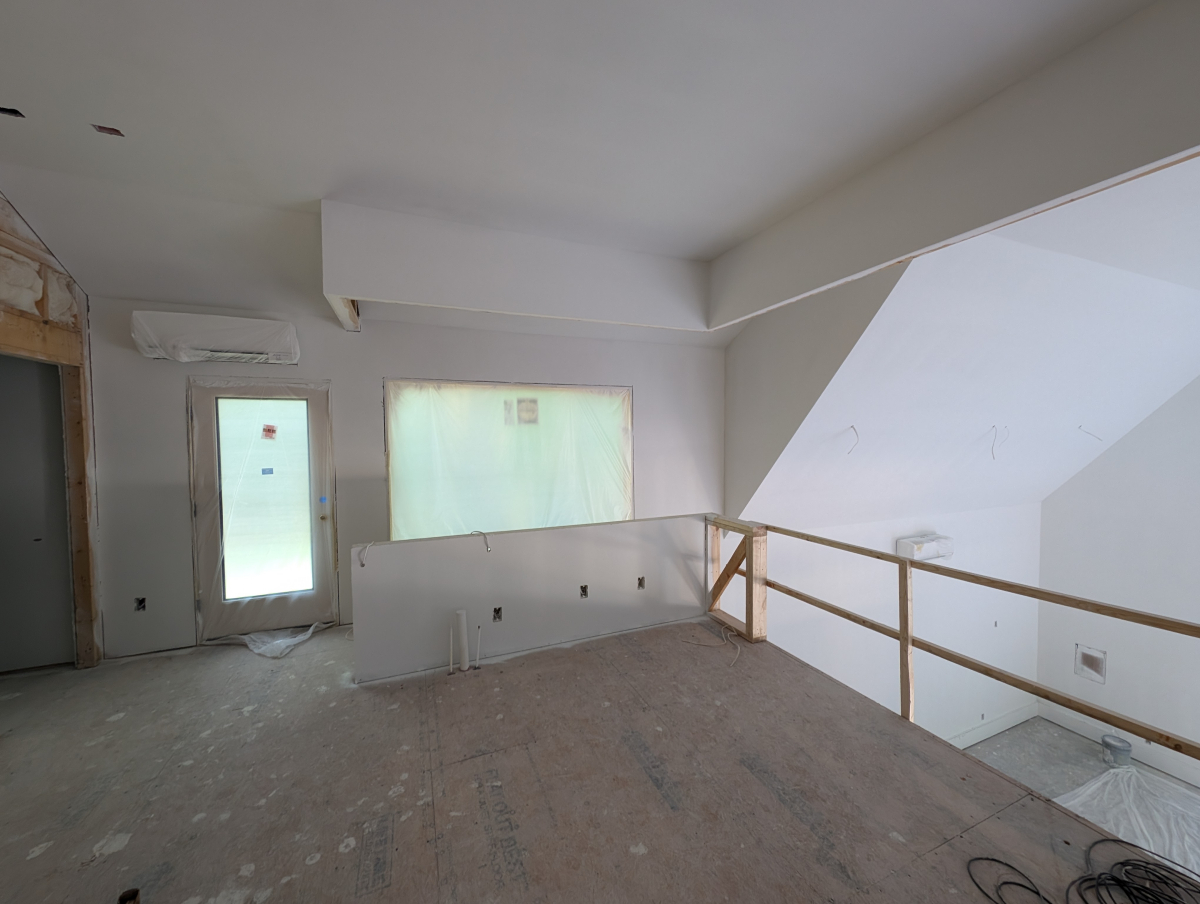
This is only the wall around the door will be painted in the loft as well as the 2ft wall coming down from the ceiling and then the ceiling.
The rest of the walls will either be glass or the wood I pictured in the samples photo earlier. With the glass going right to the edge in most instances I was thinking it made the most sense to keep the same colors inside and outside of the loft.
My suggestion doesn't change. Pick a darker color that complements the wood and make sure you have a fuckload of lights in that room.
I have very little light planned for that room. There will be 3 pendants that come up the stairs and will provide light through the glass wall, two recessed 4in cans over the wet bar, a fan light, and a large hanging pendant by the short glass wall that will hang over that side of the couch since a floor lamp would likely be in the way. Lastly, I might have a table lamp on the end table between the sofa and the single chair. Now that I typed all of that out maybe there will be a decent amount of light up there if it is wanted.
The garage bays on the otherhand will have a ton of light. The storage bay will have about 24k lumen and the working bay will have 136k lumen.
With the primer done, they came and started getting underway with the interior trim so they could start the painting afterward.
I'm not completely sure I like home the trim was done around the door where the block meets the door frame but also not sure how else it can be done either.
The plan is to paint the trim where the framed wall meets the drywall that was glued to the block white as well as the drywall below it. Depending on the slop it is 8.5-11in tall so it won't be much more different than 10in baseboard in a house with 10ft+ ceilings so I think it makes the most sense as far as looks go.
I also brought the SwissTrax samples back out. I'm not sure if I want to go with an all gray setup or if I want a pop of color on the floor.
Over the weekend we got a ton of rain. Not as bad as some areas but enough to cause issues again for the first time in a while. Clearly need to get the builder to put a rush on getting the gutter work done to at least get that water sent to the back of the property. We received about 4in of rain in a 36hr period between Saturday even to Sunday night.
First storm Saturday we got 2.25in in 2hrs.
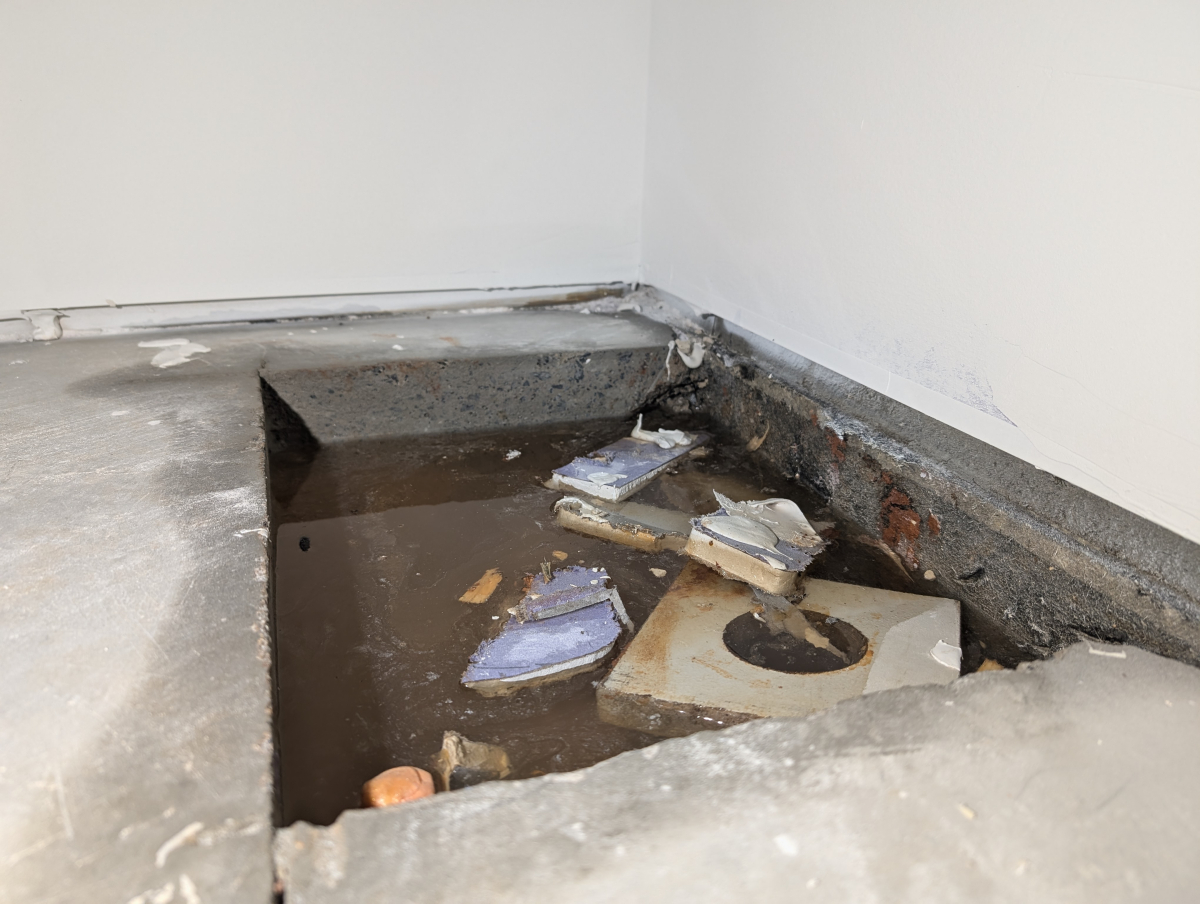
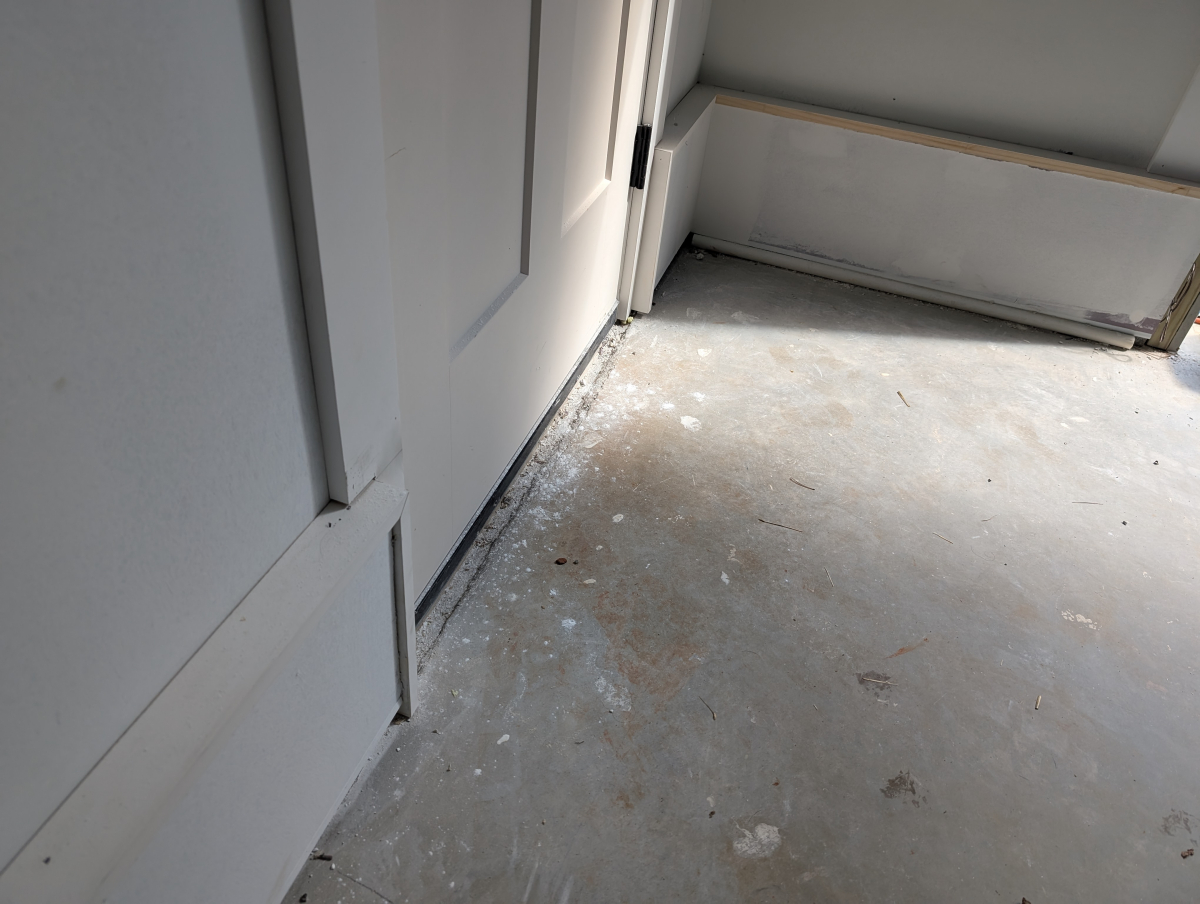
This water is coming up between the slab and the block wall where the expansion foam is. Hopefully, this won't be much of an issue once the gutters are on and the driveway drains are in funneling a ton of water out to the back of the property. However, if my math is correct on the sqft footprint of the roof of just the back half of that garage bay + the 12ft of land slopping towards the block wall right now there was roughly 870+ gallons of water funneled towards that back wall at the time.
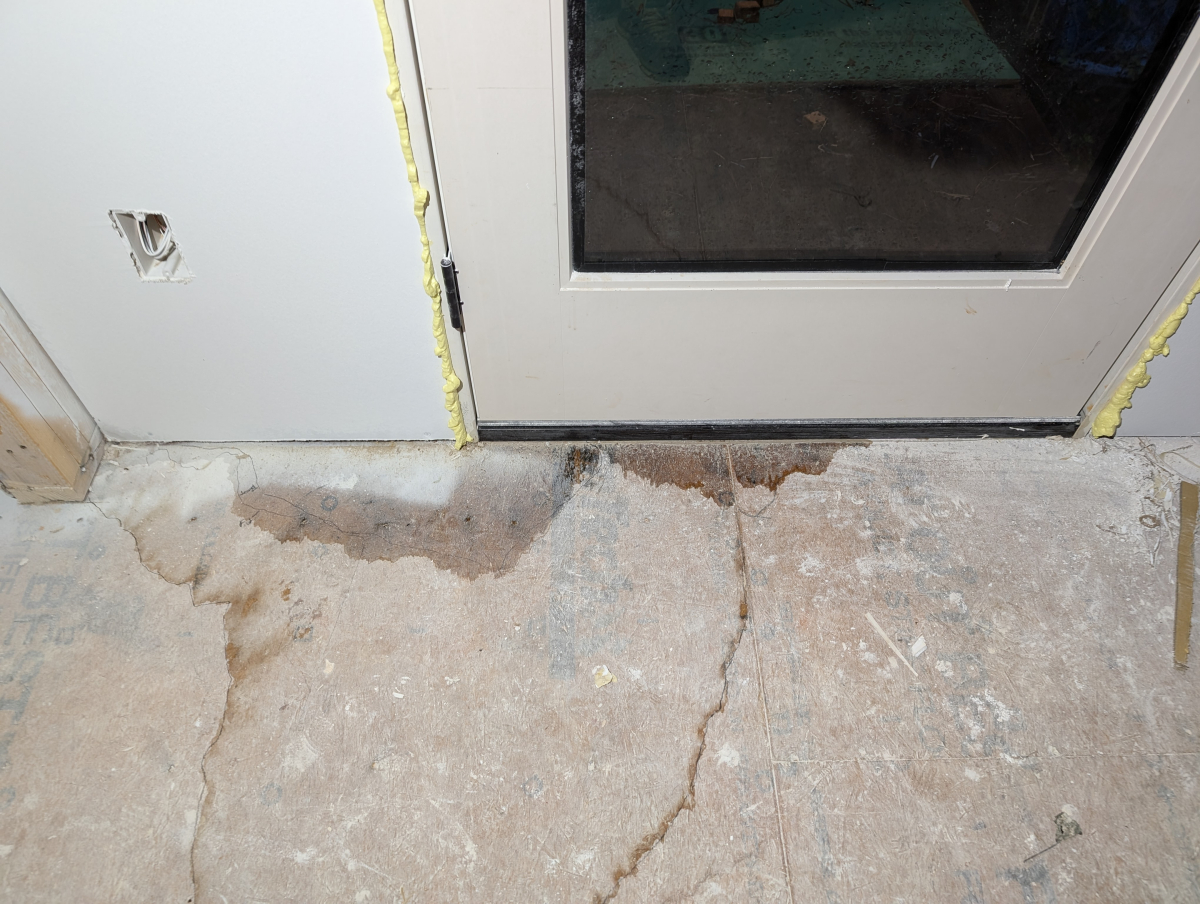
Sunday morning I also noticed this. Not 100% sure where the water is coming from but it appears it might be the hole in the exterior wall for the door light as well as maybe the door install was not flashed right. I tried to fix the door seal and caulked the hole in the wall the wire comes through. It had already been caulked but I think when the siding or painters were working they pushed on it hard enough to tear the caulk or weather seal foam as I can't really tell since it was on the inside from the back of the sheeting.
Water depth from the car tire in the earlier pictures.
Sunday evening we got round 2. Not quite as much this time. Still managed to get about 1.5in in a 3hr period.
The ground just couldn't take anymore as I rarely have standing water of this level in this area.
More trails. At least I know my garage drains towards the door for sure. However, the crack on the bottom left of the picture has never been wet in any storm so far so clearly the vapor barrier under the slab is not doing its job or can't with this amount of water.
The access they cut in the slab to make a plumbing change shows clearly there is a ton of water coming up below the slab.
We didn't get as much rain this time but after having caulked that hole and also attempting to adjust the door deal the amount of water than came in was much less but none the less still there. I now want to have to builder open up the wall cause if indeed that hole for the wire was the main culprit then the insulation is definitely wet inside and needs replaced.
Last edited by CCColtsicehockey; 07-22-2024 at 12:00 PM.
Rather find this out now, than when everything is finished! Hopefully it is a slight set back that will be fixed quickly.
Also, the trim pieces above the garage door look out of place to me. Any reason why you/they took them up to the ceiling? The door trim as well is a weird one. Not sure how you would work around that one though.
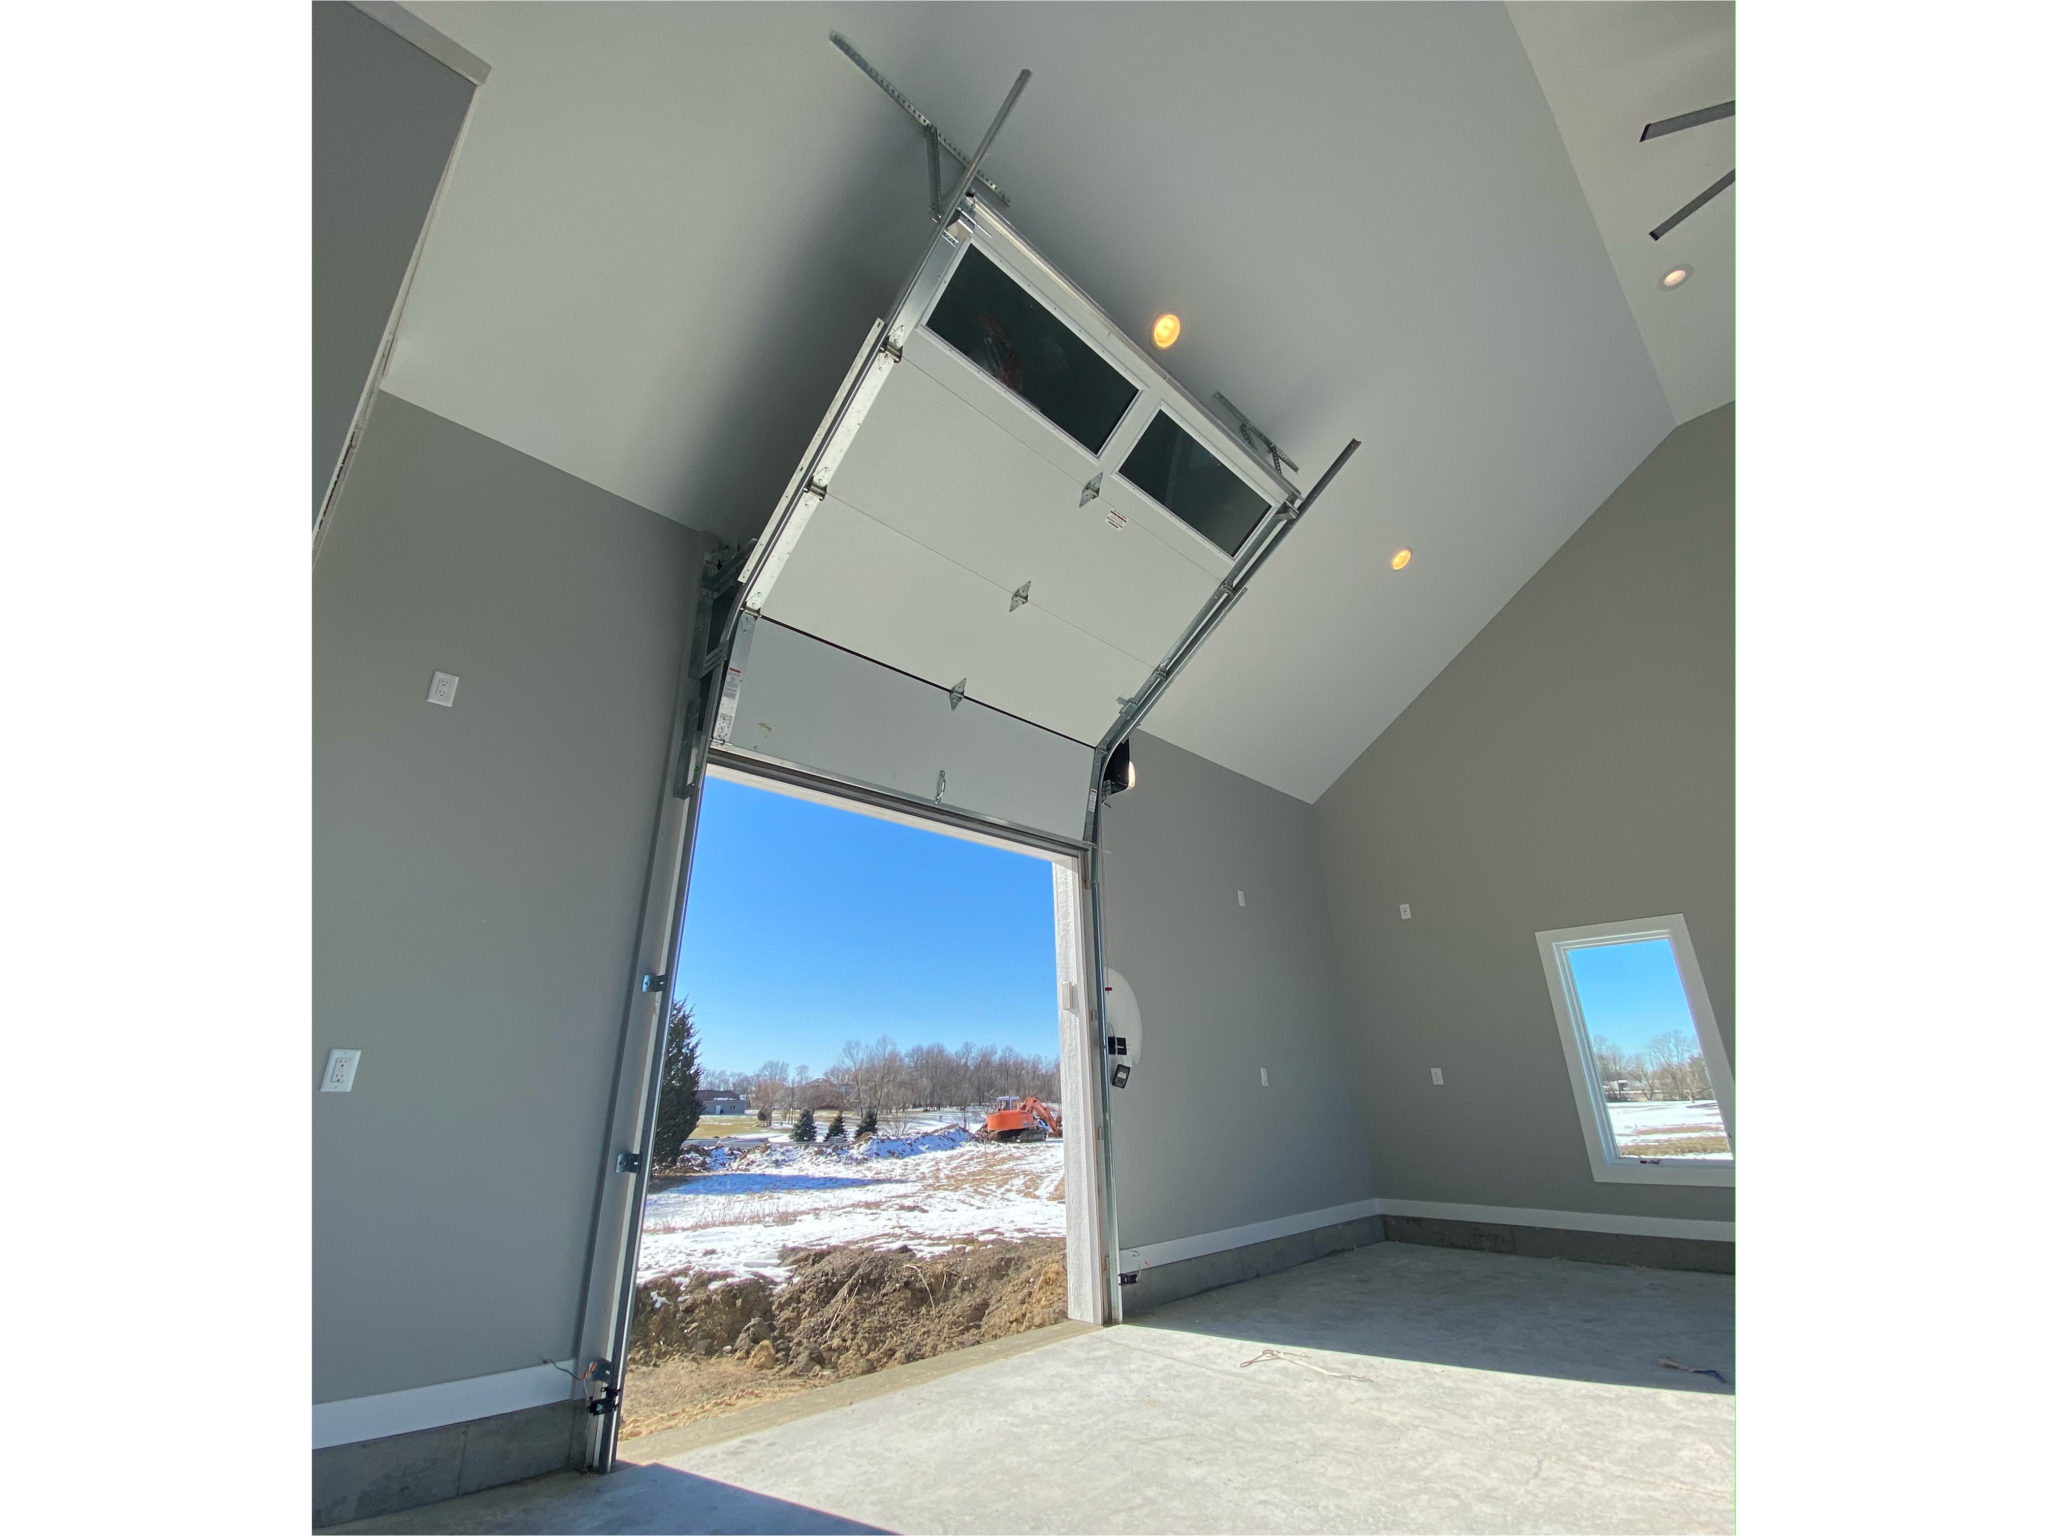
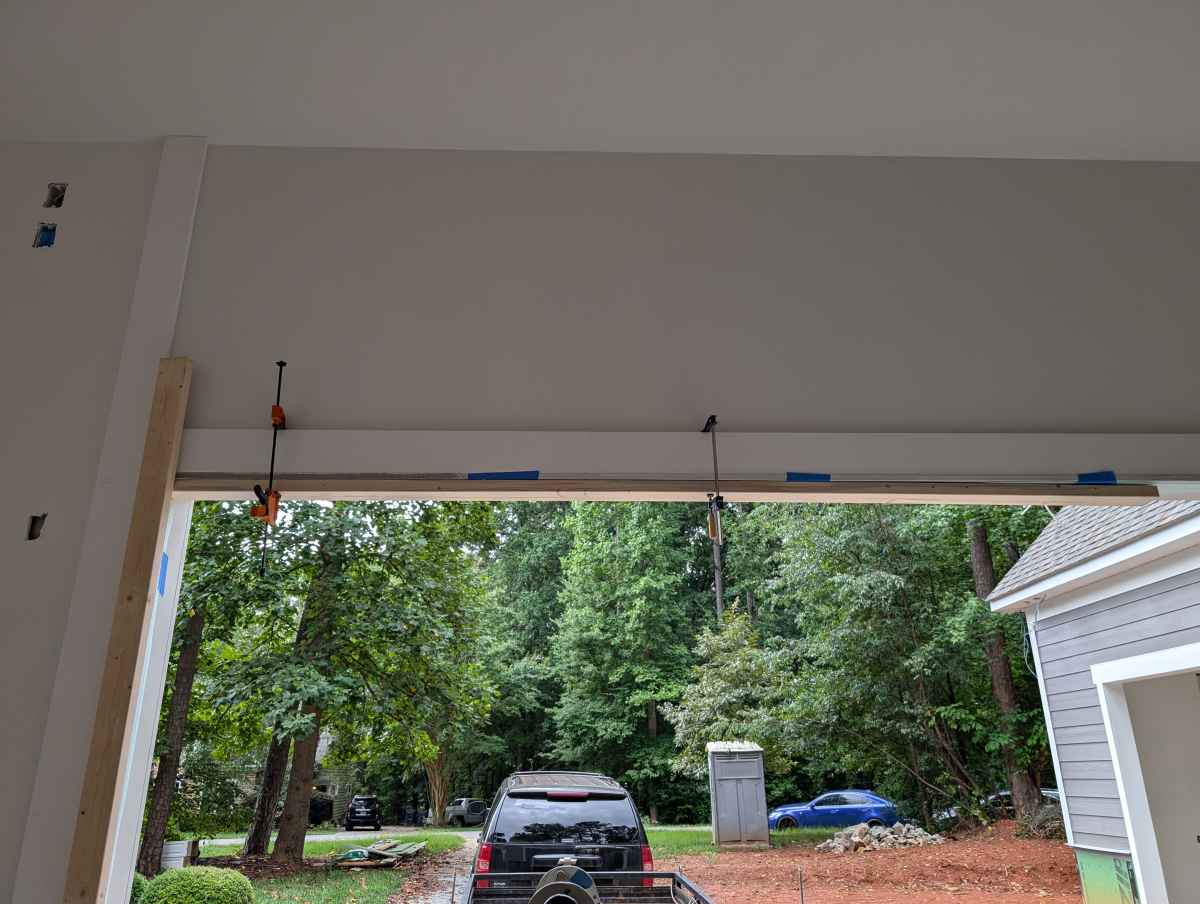
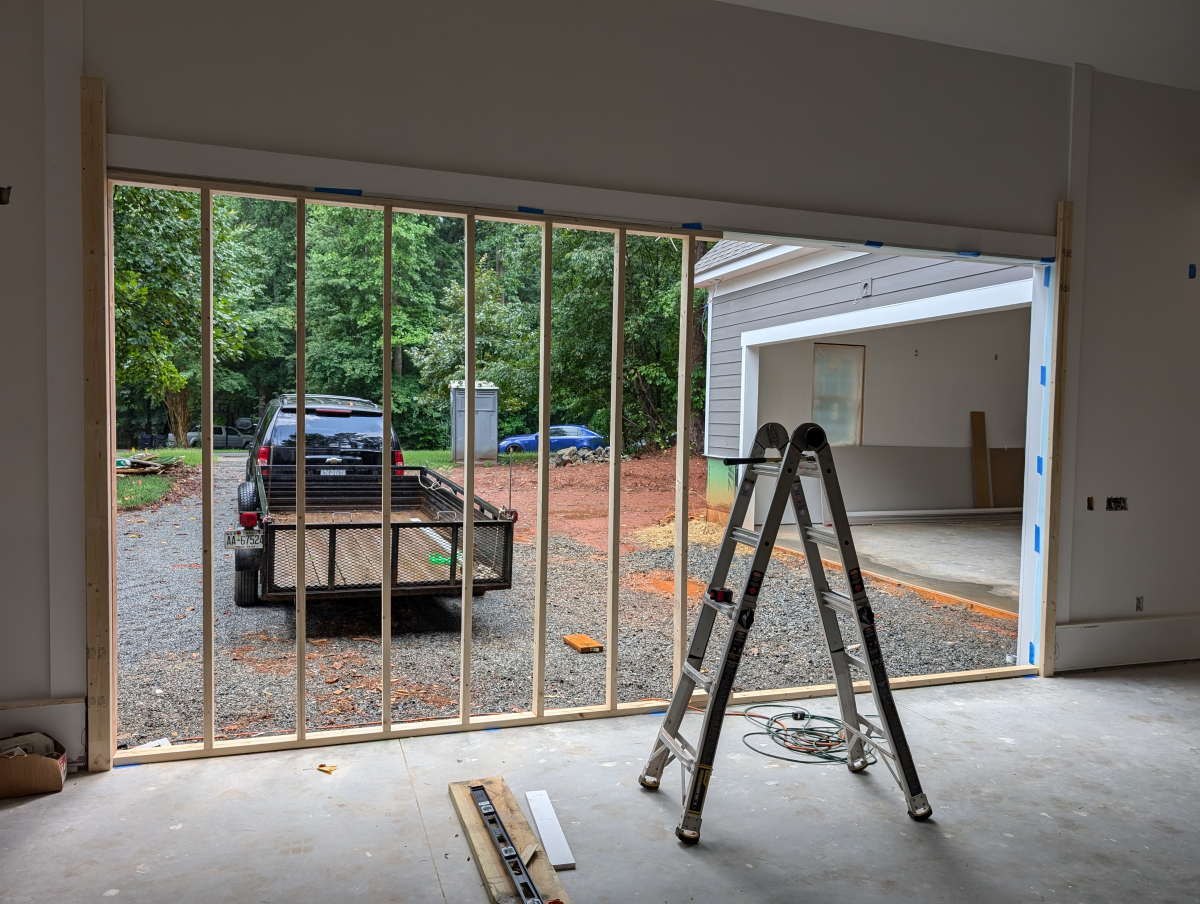
The garage door trim is also the goal posts for mounting the garage door track to. That is why it extends to the ceiling. 4ft 3in will be on the vertical when the door is up and then 4ft 6in will be on the ceiling slope since the door track will hug the ceiling and only stick out 9-12in from the wall.
I have tried to work other ideas for that person door through my head this weekend and I can't figure out another option as odd as it looks.
I didn't even think about the way your doors will open for head room in there. Makes sense now!
It should look similar to this. This picture is one of the few I have found where it appears they color matched the inside of the doors to the wall ceiling color which I am hoping to do as well.
Post a picture of the man door at the same angle as the one you did for the water leak on the upstairs door. I want to see what it looks like a little closer and at a different angle.
Post a picture of the man door at the same angle as the one you did for the water leak on the upstairs door. I want to see what it looks like a little closer and at a different angle.
That is crazy the amount of water coming in and going under the slab, hope you can get that figured out/fixed ASAP
Originally Posted by CCColtsicehockey
I'm not completely sure I like home the trim was done around the door where the block meets the door frame but also not sure how else it can be done either.
Will also add that having a solid vapor barrier under the slab is also hugely important and is code in many states. For our house there's gravel, french drains, and a vapor barrier under the slab. All the french drains route to a sump pit with a pump to get the water out. There's then a pipe external to the house that travels under the yard all the way out to the wetlands behind our house to carry the water from the sump pump away from the house.
Will also add that having a solid vapor barrier under the slab is also hugely important and is code in many states. For our house there's gravel, french drains, and a vapor barrier under the slab. All the french drains route to a sump pit with a pump to get the water out. There's then a pipe external to the house that travels under the yard all the way out to the wetlands behind our house to carry the water from the sump pump away from the house.
So there was a vapor barrier put down. Then some conduit needed to be added so they cut it and taped it when finished. I am assuming the tape failed so now we don't have a completely solid vapor barrier. I do not have a french drain under the slab though. That back wall will get one though when final grading is completed and the retaining wall at the grade transition is installed.
I am not sure if this would clean it up a bit but you could possibly extend the bottom trim to the door. On the hinge side you may have to cut it at an angle to allow the door to swing further than 90�. I think with that, it would look less funny? IDK, thoughts?
I am not sure if this would clean it up a bit but you could possibly extend the bottom trim to the door. On the hinge side you may have to cut it at an angle to allow the door to swing further than 90�. I think with that, it would look less funny? IDK, thoughts?
I would love to do that. The issue is what is behind that is 8in deep cinderblock with drywall glued to it and a load bearing 2x6 wall on top of it. Not really something you can just trim down. You idea is exactly what I would have liked to have seen. After thought but the door opening in the block should have been left extra wide the size of the trim so it could have been framed in with 2x6s width wise like your drawling shows. Basically its the fact of using a builder to build a finished garage that isn't a designer also that does foresee these things as maybe has never built something like this before. There is a few more places like this as well that after it is finished hopefully will be an after thought to me but bug the shit out of the perfectionist in me.
A little more progress was made yesterday. All but two windows are now trimmed out. The rest should be done tomorrow. We were two windows short on 1x4 and it has been raining the last two days so not great conditions to pick up 1x4x16.
All of the wall trim, window/door trim, and wall covering is screwed on for easy if I ever need to pull it to run new wires in the shop area.
The walls are finished with 1x2 at the top as I didn't want the baseboard at the bottom to interfere with cabinets and benches.
They also started on the repair of this area of drywall. It was really poorly done first go around so cut pieces out 6in all the way around and made new pieces to slid in behind the mini split
We have decided to build two temporary wall sections in the garage door openings to keep things moving. I am going to build those out this weekend so that we can get the power on and start conditioning the space over the next two weeks before doing the final touchup mud, caulking, and paint.
I would love to do that. The issue is what is behind that is 8in deep cinderblock with drywall glued to it and a load bearing 2x6 wall on top of it. Not really something you can just trim down. You idea is exactly what I would have liked to have seen. After thought but the door opening in the block should have been left extra wide the size of the trim so it could have been framed in with 2x6s width wise like your drawling shows. Basically its the fact of using a builder to build a finished garage that isn't a designer also that does foresee these things as maybe has never built something like this before. There is a few more places like this as well that after it is finished hopefully will be an after thought to me but bug the shit out of the perfectionist in me.
I understand the block foundation that is covered up. Is there a chance you could double up on the drywall where the trim section is to "fake" the look?
I understand the block foundation that is covered up. Is there a chance you could double up on the drywall where the trim section is to "fake" the look?
That could work. I would worry that it gets to deep and would it cause issues with the door opening on the hinge side.
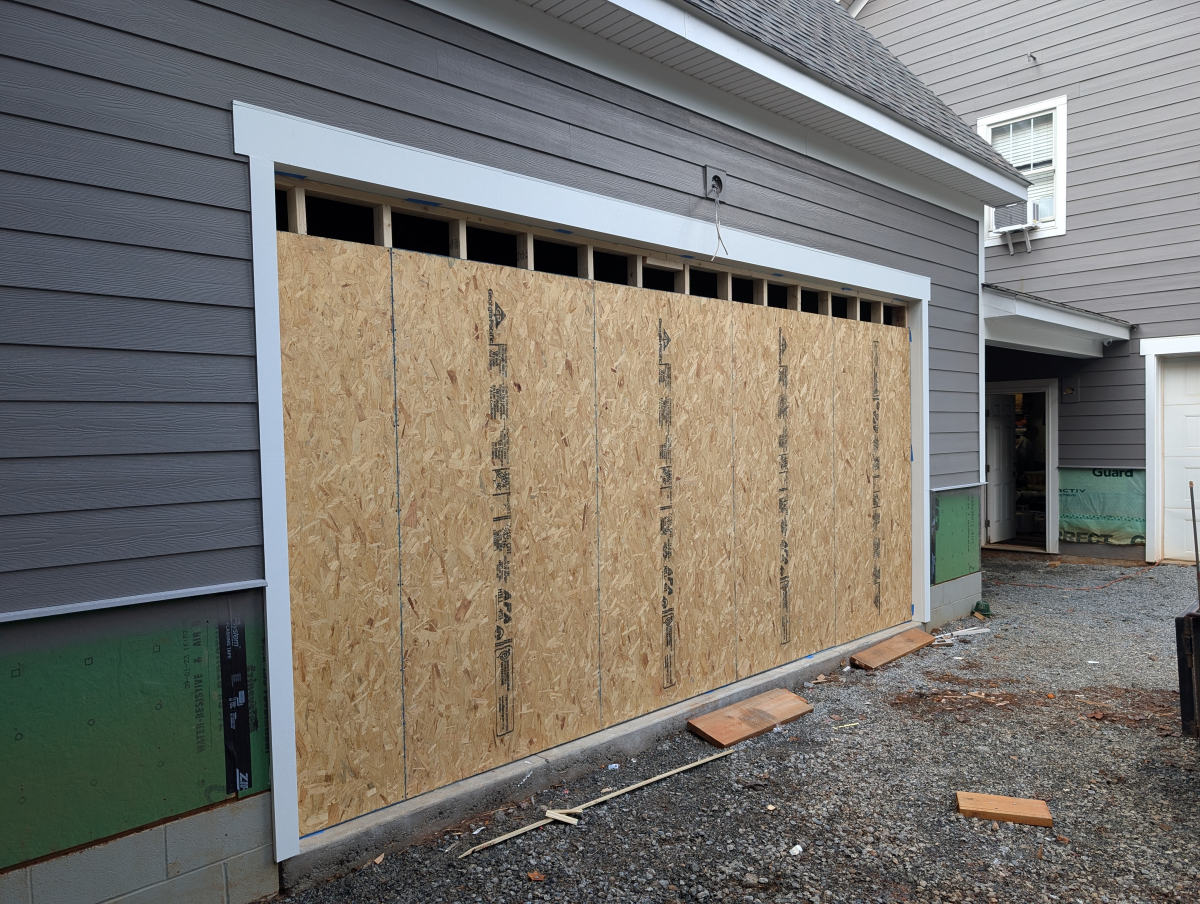
It was a busy weekend. Put up the two temporary walls.
Needed 21 2x14s per wall
The entire wall is pressure fit except on each side two 2x4 connecting them to the goal posts. Clamps made working by myself surprisingly easy.
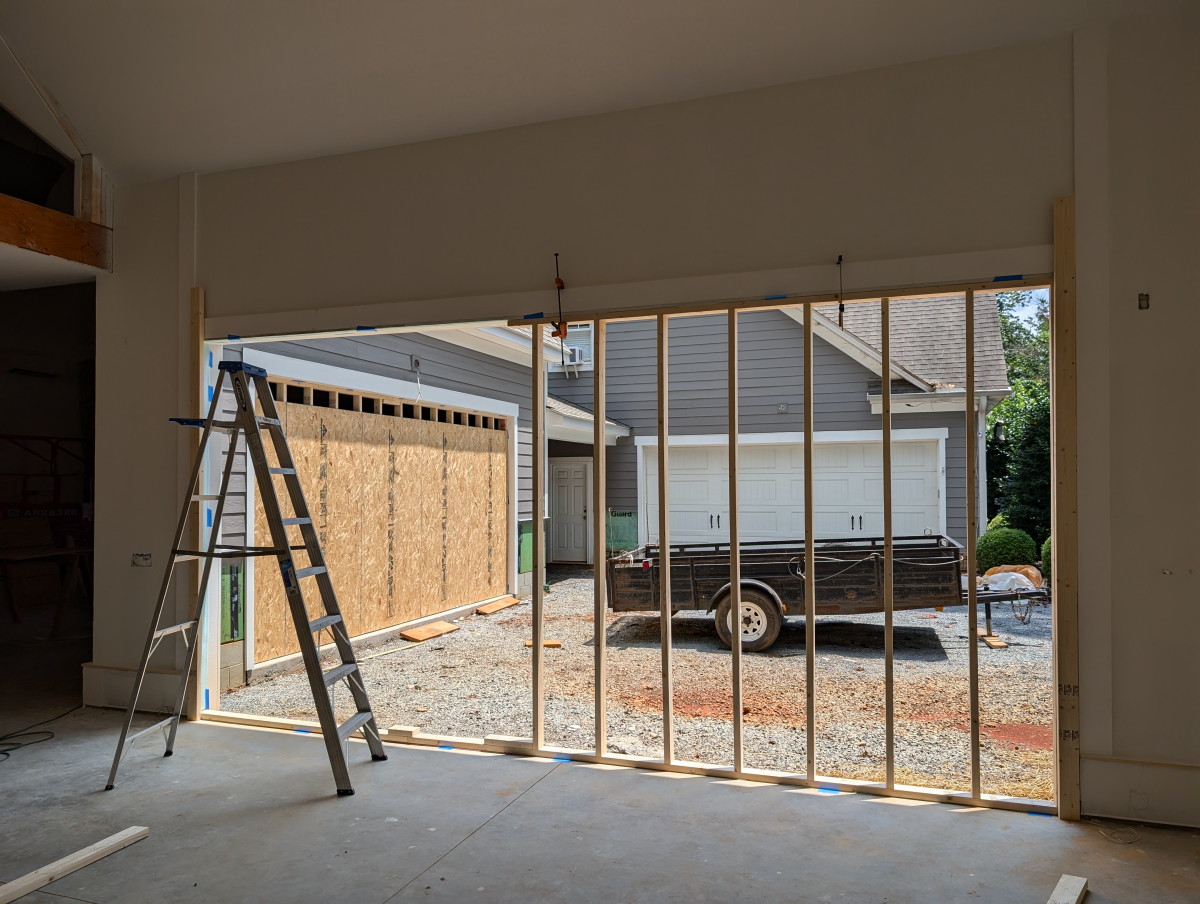
Knocked out the first one to this point on Friday. Left the top section open as I wanted to simulate roughly how much light I will have with the garage door windows.
This picture is a pretty good representation. Maybe a tad bit more light than was actually there but plenty of light to move around during the day.
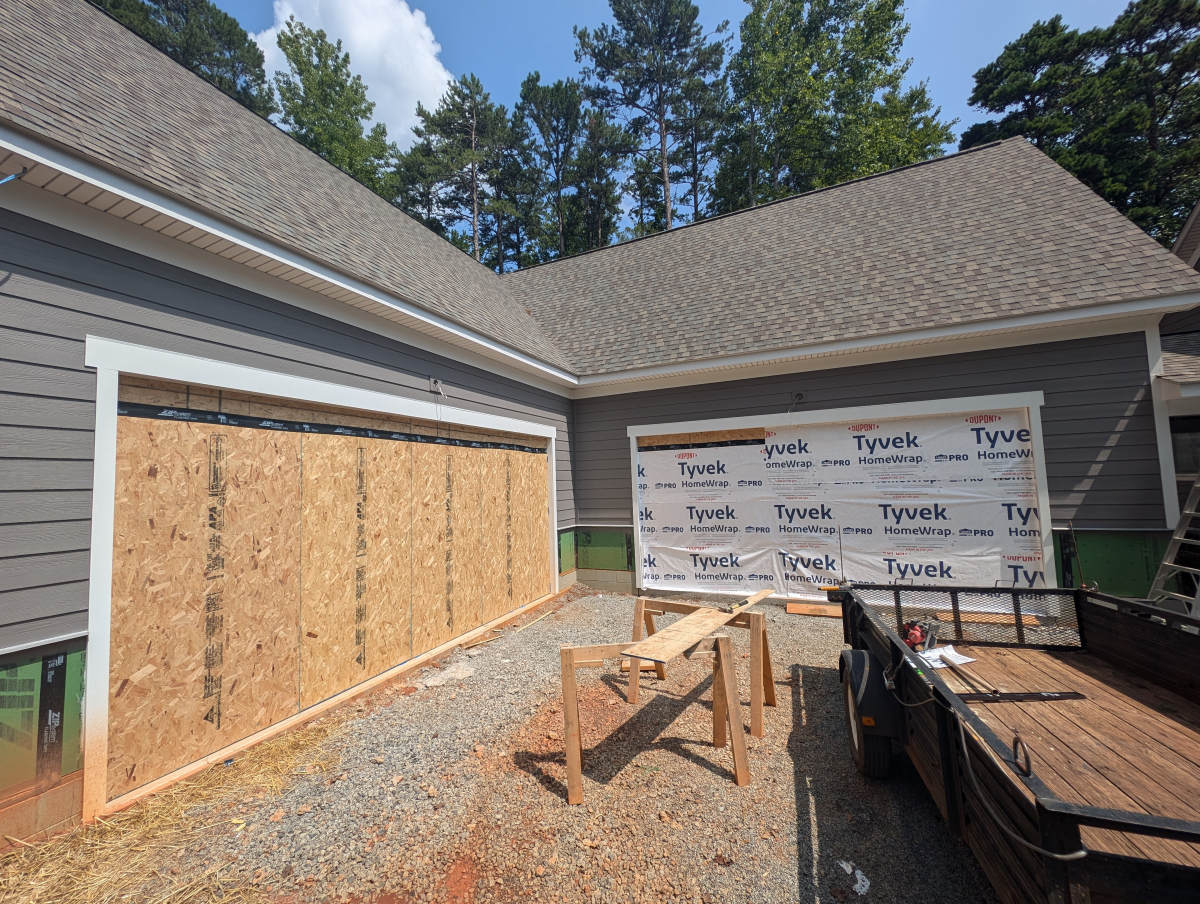
Knocked out the other wall on Saturday.
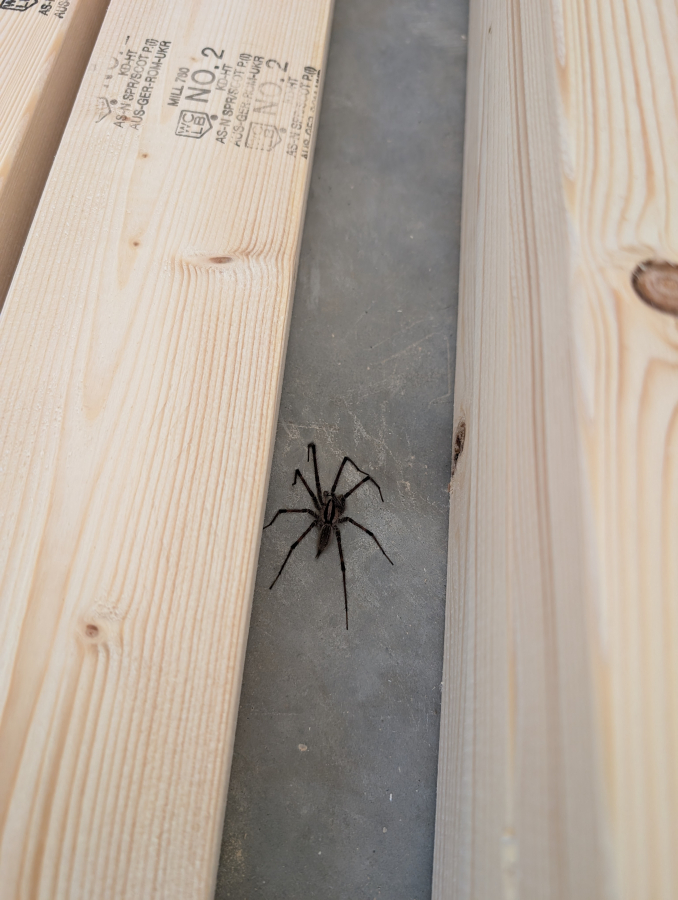
This guy was hiding in the wood pile that morning. Completely harmless Carolina Wolf Spider.
Both walls were finished and left for the day to simulate light in the entire garage with the garage doors closed.
Another picture shows the light in the garage side that doesn't have any windows but the garage door and light from other windows filtering over. Plenty of light.
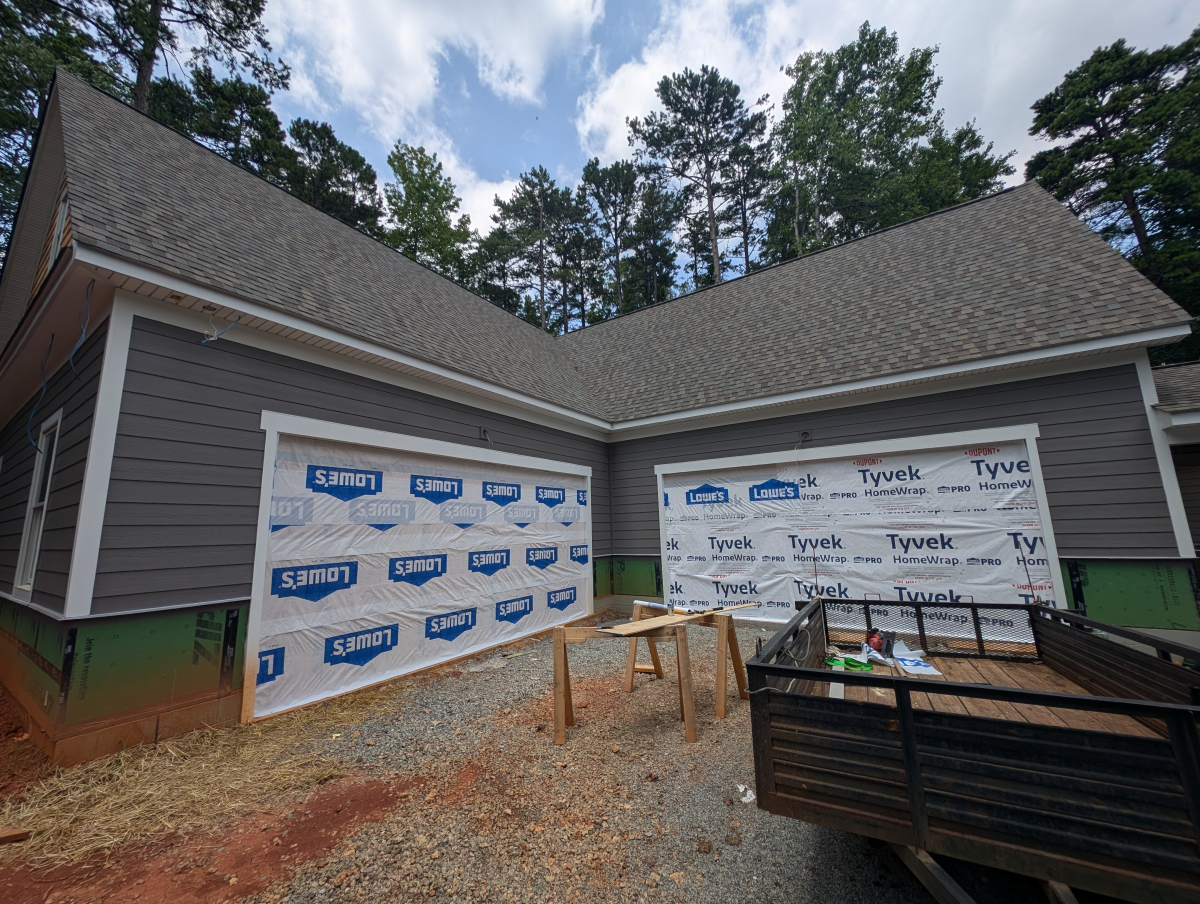
Finished up the walls on Sunday. Had some Tyvek left from the house repair and then went with the cheap Lowe's branded stuff since this is temporary. The Lowe's stuff feels like a terrible product. I would not actually want to use it on a house compared to how much more solid the Tyvek feels. But for this, it is plenty being that at most these will be in place for 60 days.
Used the ceiling fan wiring to install some temporary lights for the next couple of weeks.
With the walls primer white right now these things are seriously bright with just one light. Makes me think maybe the darker of the two paint colors isn't completely off the table.
I also started testing two stain colors for the cedar shake. I am currently leaning towards the right color since I think it brings some warmth to the color palette with the brownish gray. It also seems to show the wood colors through better than the other color. Going to paint them both on a larger piece of scrap next though.

 07-02-2024 | 10:18 AM