When you click on links to various merchants on this site and make a purchase, this can result in this site earning a commission. Affiliate programs and affiliations include, but are not limited to, the eBay Partner Network.
Just got a new toy for my truck, stepping up my electric game. Time to clean up the wires and engine bay and make everything nice and neat. Can't wait!
I went with the HD panel over the touchscreen because I'm going to do more of a stealth install, plus a lot of people have reported lag issues with the touch screen. Plus I like the ability to have firm pushes on the switches when I need them.
This will be my project next week while I'm off, hoping to get everything cleaned up and wired. Hoping it's worth the 800 bucks I spent
It replaces the need for relays and all the extra wiring for all of my lights and accessories. The whole system is MOSFET so it eliminates relays all together. One simple clean location to run all my accessory wires, super excited if you can't tell! lol
I won't shit on it, but I don't understand the need.
I bet it'll look cool when it's done. When is install? Summer '20?
The point is to replace these switches which don't function that great, also I have limited space for more switches.
This panel will replace those switches and give me more switching options, including tying multiple switches/lights together and other features like bluetooth, etc.
Dude, when it comes to yourself, you have no sense of humour.
I bet it'll look cook when done...I just couldn't stomach $800 for it...
then again I'm not a big tech guy, I'm getting old enough to start telling
people to get off my lawn.
Spods are cool. I would totally get one if they weren't so Expensive (also nobody cares about xterras so you have to make your own place to mount it). It would save a bunch of time on wiring. It's such a neat Idea I can't believe they don't have a few competitors by now.
Spods are cool. I would totally get one if they weren't so Expensive (also nobody cares about xterras so you have to make your own place to mount it). It would save a bunch of time on wiring. It's such a neat Idea I can't believe they don't have a few competitors by now.
Yeah, my mount is going to be custom too. They make a mount for the SwitchPro switches but not for the sPod for my truck. Hoping I can custom mount it where those switch holes are... If not I will have to drill
In all sincerity...are there trails near you? Do you get to go put it through it's paces?
Not gonna lie... @ebelp has been modding his Jeep Wrangler and posting pics and
vids of local trails to him (N. NY)...fuck me dude, that looks like so much fun.
I helped my 4Runner buddy install a Switch Pro in his rig recently. Probably nearly identical install as your sPOD. He bought the Power Tray setup, which is a really nice mounting plate for the control unit, which you can also add bus trays and ground blocks that really clean up the wiring if you're adding a bunch of components to the sPOD/Switch Pro. Here's the DIY we followed:
He didn't want to drill any holes in the dash, so we actually mounted his button panel with velcro right over the oem washer fluid button area. Not sure about the sPOD, but the Switch Pro's button panel fits in that section perfectly. Let me know if you need any tips for the install.
Yeah I've already read all that, and I do have the PowerTray sitting right next to me in a box. Definitely wasn't going to drill into my fusebox to mount it
In all sincerity...are there trails near you? Do you get to go put it through it's paces?
Not gonna lie... @ebelp has been modding his Jeep Wrangler and posting pics and
vids of local trails to him (N. NY)...fuck me dude, that looks like so much fun.
There are trails, but not close to me. I've said since I bought this truck that it's my DD and I don't offroad much. I do take it up in the country on occasion and play on some trails or take it shooting at my buddy's farm, but not that often. I used to tent camp and go up into the national forests and stuff and take my first 4Runner up there, but haven't done that in years. Here's my first 4Runner (I've owned 3) up in the mountains camping back in the day. This was over 10 years ago...
Bro, my woman likes camping...but every time we do...it's mosquitos and oh did you hear that noise, check it out and deflating air mattresses
and the kids complaining. I'm like, shit...glamping next year.
Closest I get to camping anymore is the cabin where we go deer hunting. Gravity-fed water in a 330gal tank, residential gas stove converted to propane, 12 bunks, gravity-fed shower & an outhouse.
Took my Civic out there one year, gravel roads (in decent condition) from the highway to the camp, takes about 30 minutes if you're not in something with decent ground clearance. Oilfield trucks wear the road down where they drive, leaving a high spot in the middle; occasional scrapes on the exhaust, have to drive slightly to the side to put 2 wheels on the high center bit.
It's somewhere between roughing it & glamping, a bit more on the rough side, but much better than a tent, or the stone 'house' (more like a shed, no doors, 1 room, no windows, tin roof) we used to use.
Quick $5 update, the truck is prewired for the ambient light sensor, however it's only installed in the limited. So for 5 bucks I went ahead and bought one. This will enable the radio screen and GPS to auto-dim when the headlights are on. Here's the stock plug in the dash, just a wire harness plugged into a blank. (excuse my hairy ape hand)
Here's a little side by side of the sensor and the blank.
And the sensor installed, it sticks up a little bit higher but not even noticeable unless you knew it was there.
Yeah, it was a bit of a cost, but I researched a lot and something that I felt that I really need, also the cheap OEM style switches just are not that great so hopefully this is better. Also I have plans to tie switches together and other functions that will be useful
I got the modifry wiring harness for my S2000 radio...a combination of this or that does different stuff...
too bad I can never remember what they are. I'm like cool, song forward, mute, change input...
Good enough!
So they sensor dims when it's darker our vs lighter out to help with being able to see it? That's pretty cool,
especially for a few bucks.
Busy couple days... The heat index was over 100 which didn't help, plus since I can't use my garage I was battling the rain off and on as well. But here's some before pics of the engine bay.
Here's the old relays and the relay holder, this is where the sPod will be mounted replacing all of this clutter.
Here's the bundles of extra wires coiled up, all of this will be going away. This is one of the main reasons I wanted an sPod, was to clean up and simplify all this mess
And here's the positive battery terminal that has all the accessory wires running off of it.
After a lot of prep work, here is some (not all) of the wires and relays that I removed in preparation for the sPod unit, the picture doesn't do this pile justice
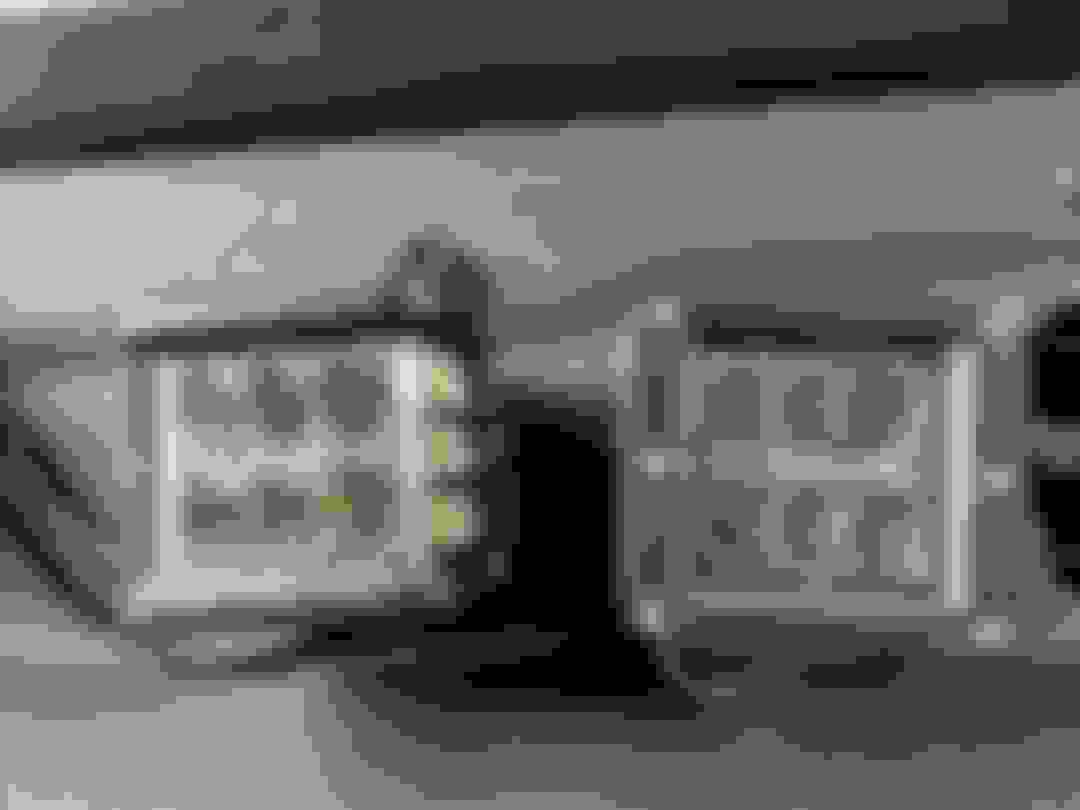
Another piece of this install was to swap out the old rusty (yes rust har har) Chinese 6 LED pods that I was running on the hood. I replaced them with a brand new set of side shooter LED pods
And here's the first LED pod installed
And here's a couple of side by sides of the old vs the new LED pods, I have had these sitting around for months and figured they would go in when I had to rewire everything anyway.
Another side by side, I like how these sit lower and are a bit lower profile than the last set.
And, then the rain came... This was a common theme... Of course I was working with electrical and wiring, so I couldn't take any chances and had to shut everything down.
And here is both pods installed, overall I love the look and I love how they offer a wider coverage of light which is one of the main reasons I bought them.
Another nice benefit of these pods was that they came with waterproof plug connectors, so I definitely wanted to use them.
And of course I had to test out my pods and wiring, this was ran just off the battery, but you can see the side shooting LEDs as well which cover way more of the side of the road.
While it was raining I also got the sPod out and mounted to the PowerTray and ready for install.
All that work was done on the third, I had hoped to work on the second and third, however with the heat index over 100 on the second I didn't do any work until the third. On the third I think I sweated through 3 shirts. GF took me out to dinner for my bday on the third, so I picked back up on the 4th, nice to have another day off. First task was to finish the wiring and splicing the 2 LED pod wires together.
In order to get the PowerTray installed and get all my wires routed correctly I had to remove the battery to have more room to work with.
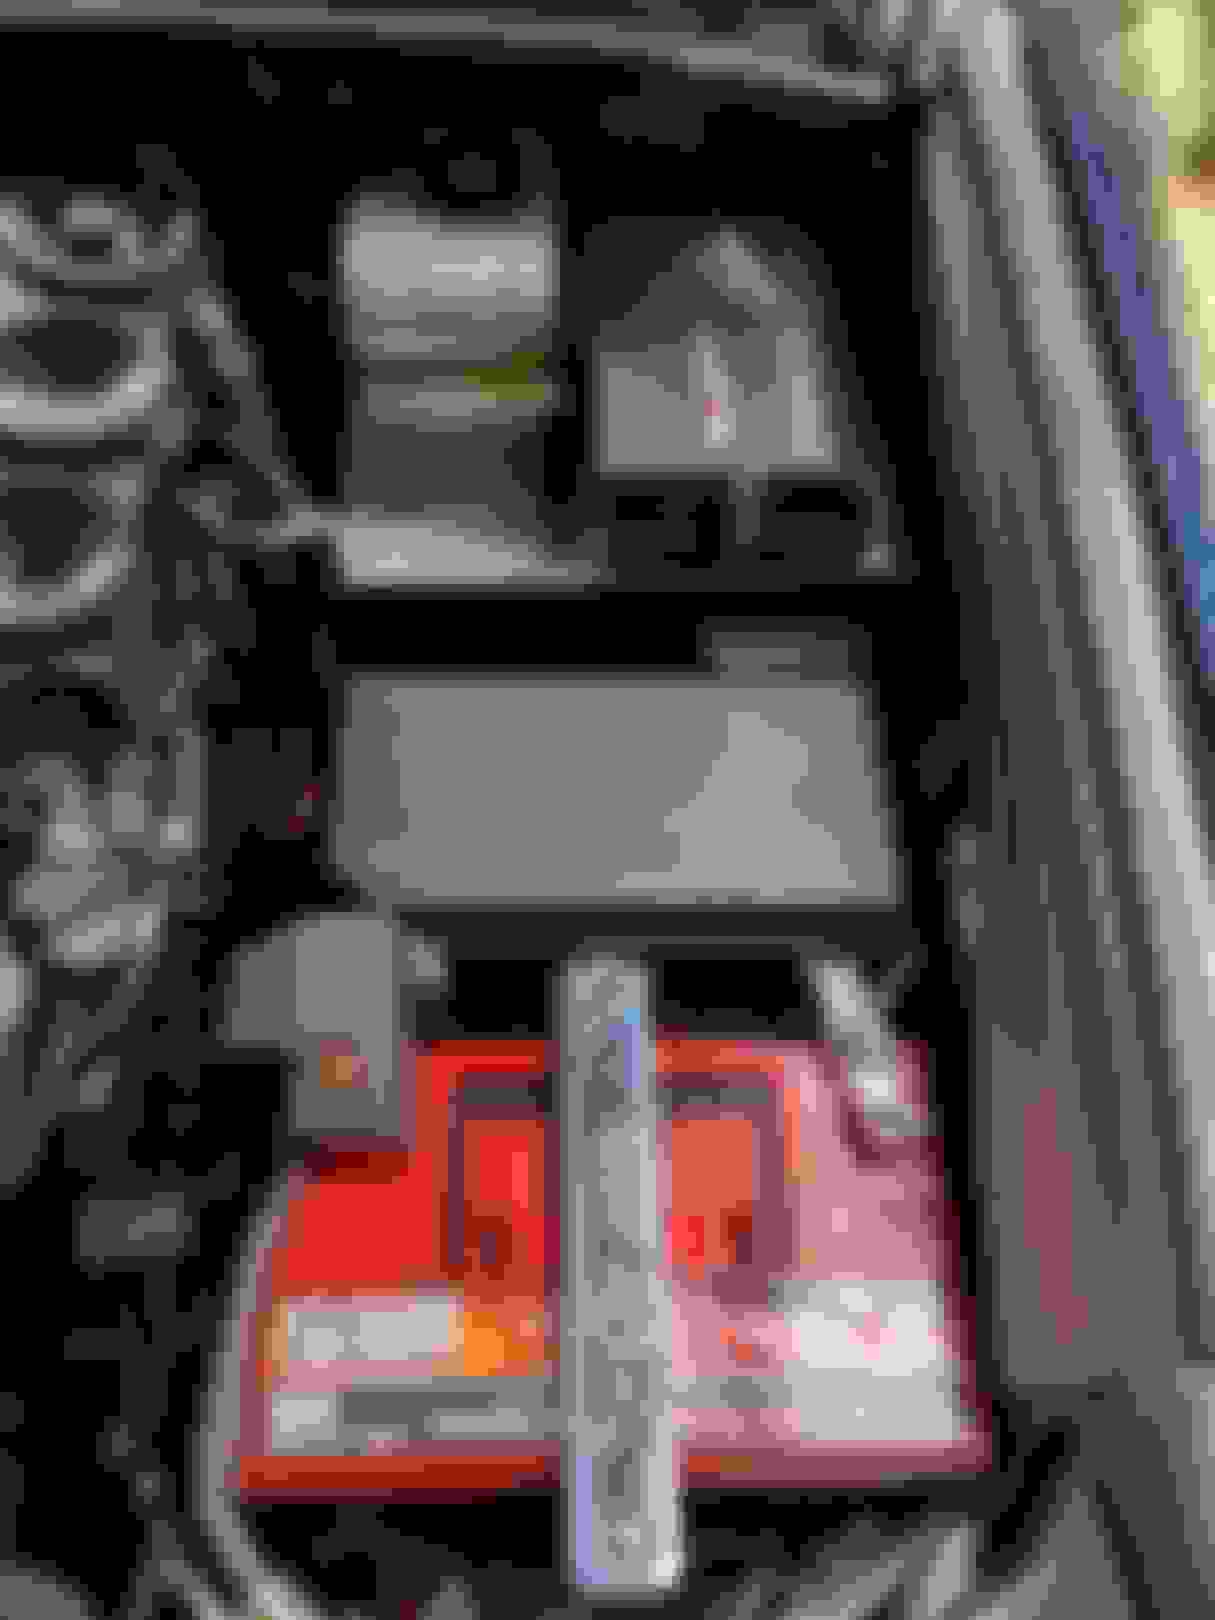
I also had to remove the fuse box lid in order to get more room to bolt down the PowerTray. Here it is, first time inside the car. The nice thing about this solution is it's an alternative to drilling and mounting to the lid of the fuse box and a nice clean solution using the empty space where I had all the relays and wires.
I was able to get the PowerTray mounted and bolted in with all 3 bolts including the lower support leg
And you guessed it.. more rain!
Since I had the fuse box uncovered I had to close the hood and wait out the rain storms again... You can see all the water on the hood cowling. I actually toweled off the hood and fenders before opening the hood in order to not drip water on the fuse box or engine bay.
After I got all the bolts tightened, which was not easy with my big ass hands, I started cutting and fishing all the wires through to the sPod unit. It was a lot of frustrating work up to this point, but then I started to see the benefit that I expected with the nice clean install and wire management. Here I fished the wires for the LED bar and LED pods up into the sPod, I had an extra 3 ft of slack or so on each wire that was then cut down.
I also will be using the 1 and 2 switches with the ignition control, so I cut my amber raptor light wire coming from the cabin and spliced it in for the ignition control. Here you can see the 2 LED wires all cut to length and installed to their switch positions, and the Cat5 cable installed as well.
And here's the unit all buttoned up for the time being. We had to go to my soon to be in-laws house for dinner so I had to wrap up for the night at this point.
When we got home, I cleaned up more wiring in the dash and reinstalled the battery. I didn't take any pics since it was dark and getting late, but I will post more pics once I get more things wrapped up. So close, but I'm already really happy with the progress. Looking forward to adding more accessories to this thing as well. It was a long hot 2 days, but I'm excited to have so much progress
Got another little performance mod installed since I had the battery unhooked. I got a URD MAF Calibrator which helps recalibrate the MAF sensor for aftermarket intakes and exhausts.
I got the plug and play version which comes prewired for the MAF sensor and the spark plug coil
I finally found a good use for the engine cover divots, they hold my round LED pod perfectly
As for mounting, I went ahead and ziptied it the rear engine bay wire bundle.
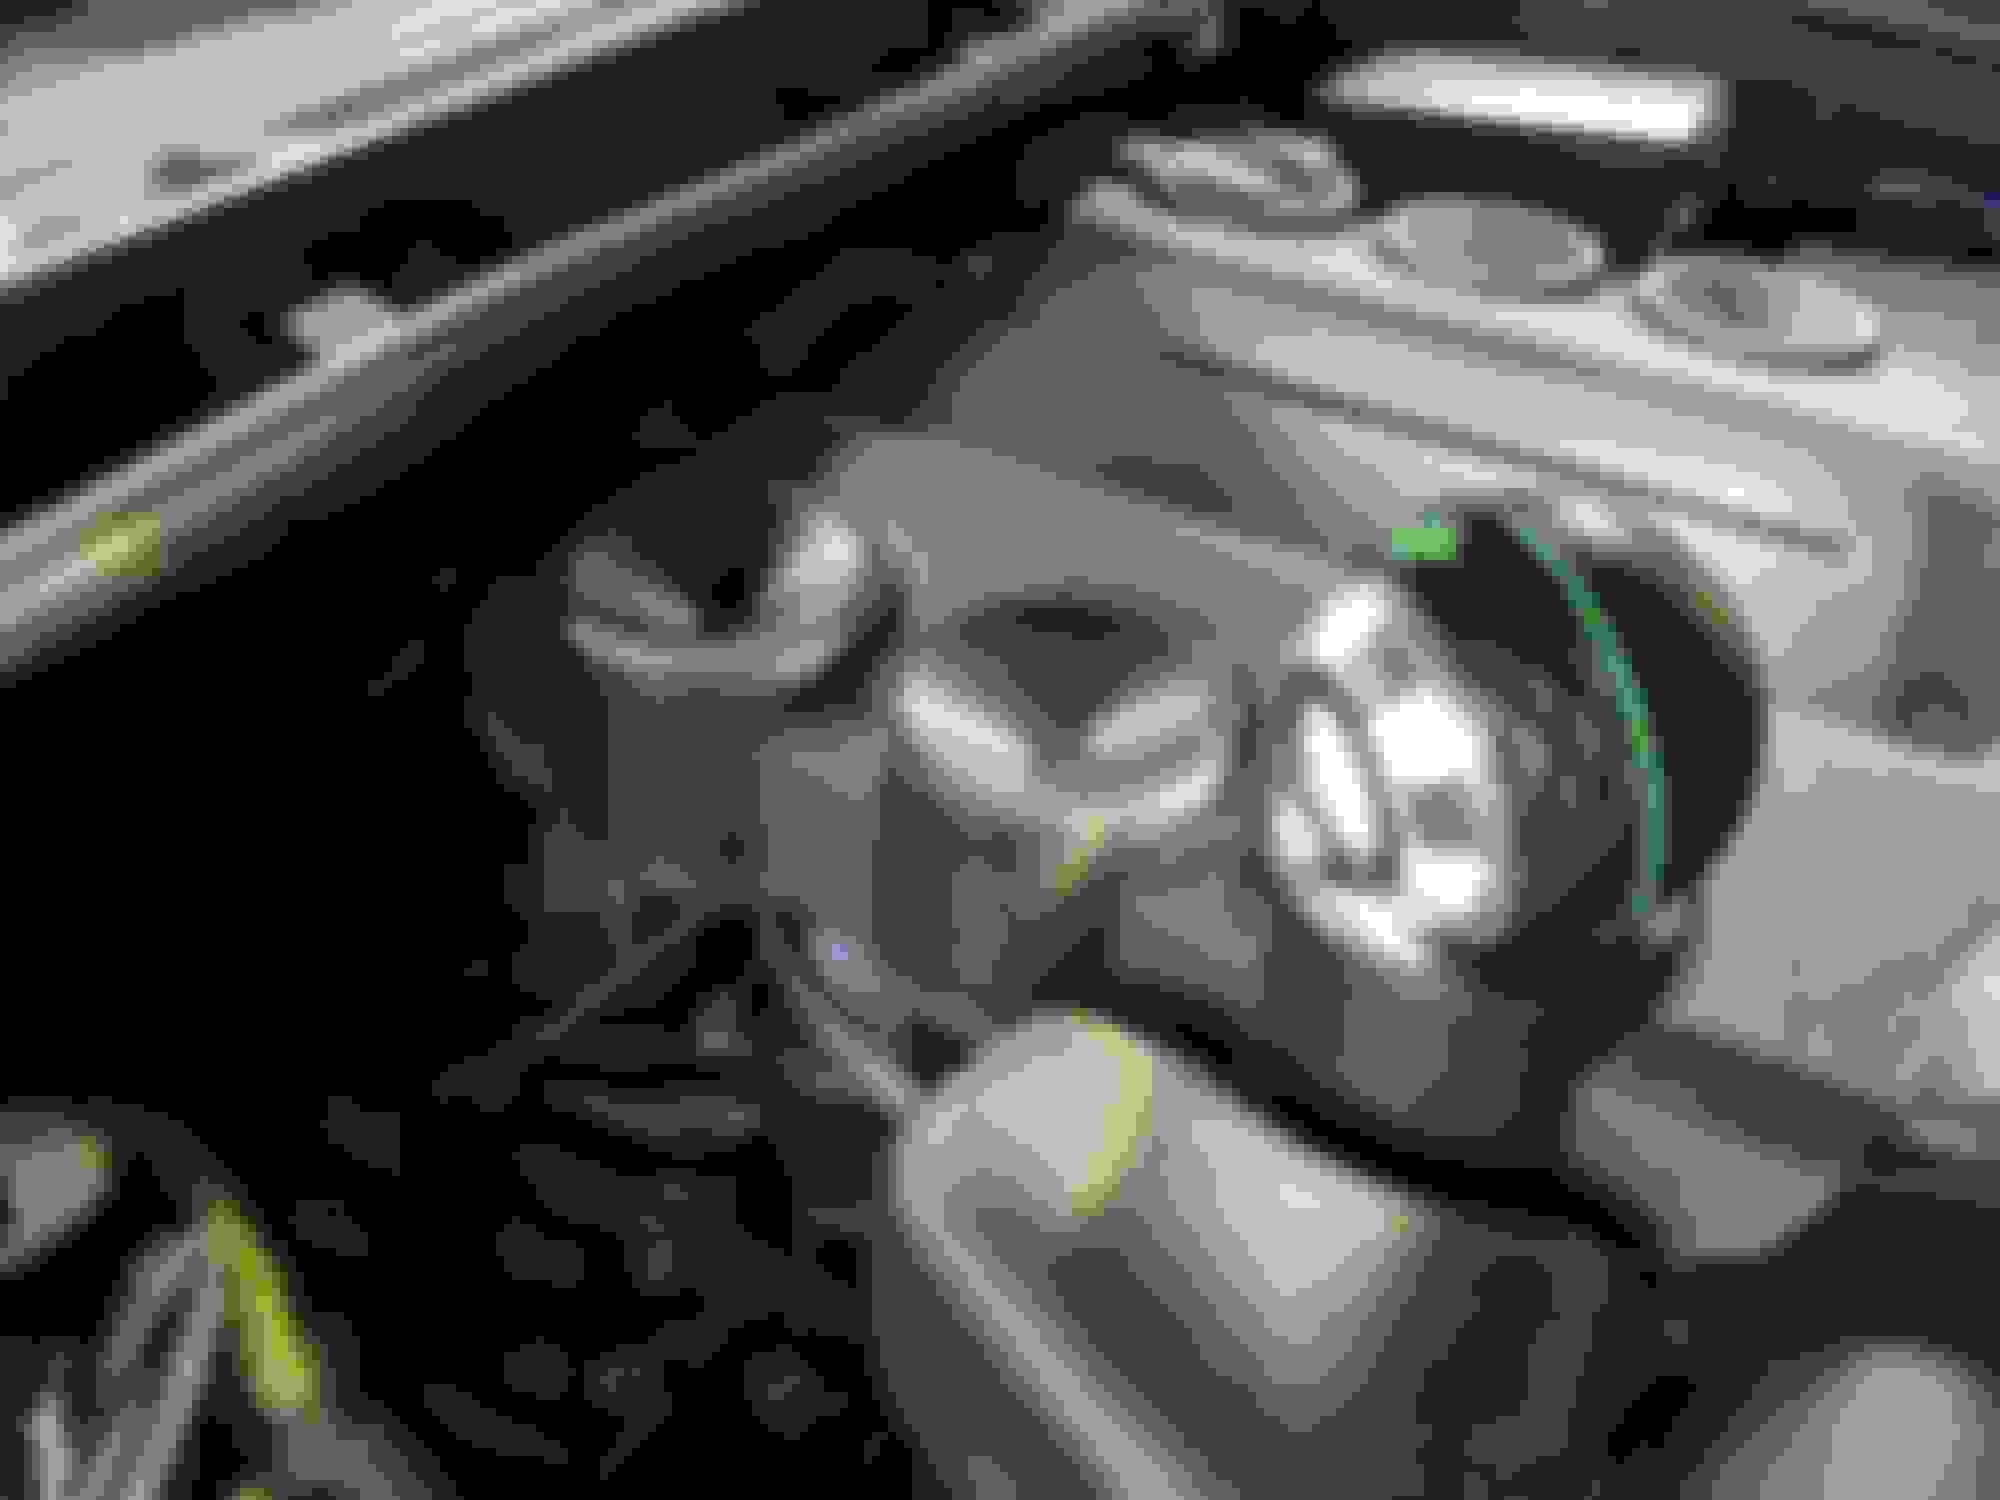
The second wire plugs into the middle cylinder ignition coil, I had trouble finding it at first because this big ass emissions sensor is over top of the middle coil.
Here's a look where the wires are run, I had already unplugged the MAF sensor wire and ignition coil wire.
Here's a better look at the ignition coil wire
Here you can see that it's labeled and pre-tuned for my AFE Magnum GT Intake
And here's the wires all plugged in and tied down.
Better look at the tied up wires, I made it as clean as I possibly could. Overall impressions so far are very good, it seems to have smoothed out the idle and the shifts. I only took 2 short drives so far, so I'm excited to see how it drives this week.
And here's the other side of the engine bay all buttoned up and clean.
I'm really happy with the look of the PowerTray and the sPod. I had been trying to buy the smaller sPod unit for about 6 months, but it's been out of stock, the manufacturer couldn't tell me when it would even be back in stock, but I'm plenty happy with the larger sPod unit. I think it looks great and really cleans up the wires and mess.
Here's the engine bay all cleaned up with everything tied up and buttoned down. Looking clean and tidy!
More pics to come, I've been fighting the rain all day
Went out to finish the work on the truck yesterday.... And to keep with the theme of the week it was raining
Since I had the dash torn out and have been adding new mods like crazy, I figured why not another one? I picked up a ScanGauge to better track my MPG's and various metrics better with all the changes I've been making.
I got a 3D Printed mount made so it mounted very nicely.
Plug and play and fired right up, super simple mod.
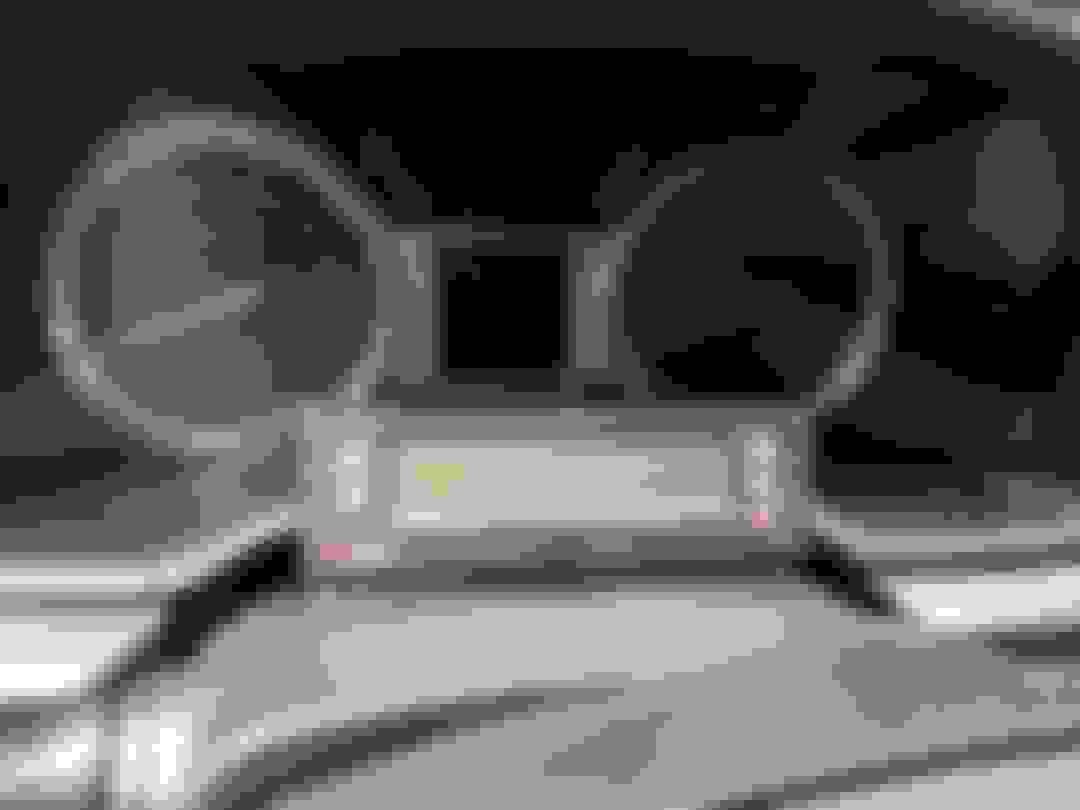
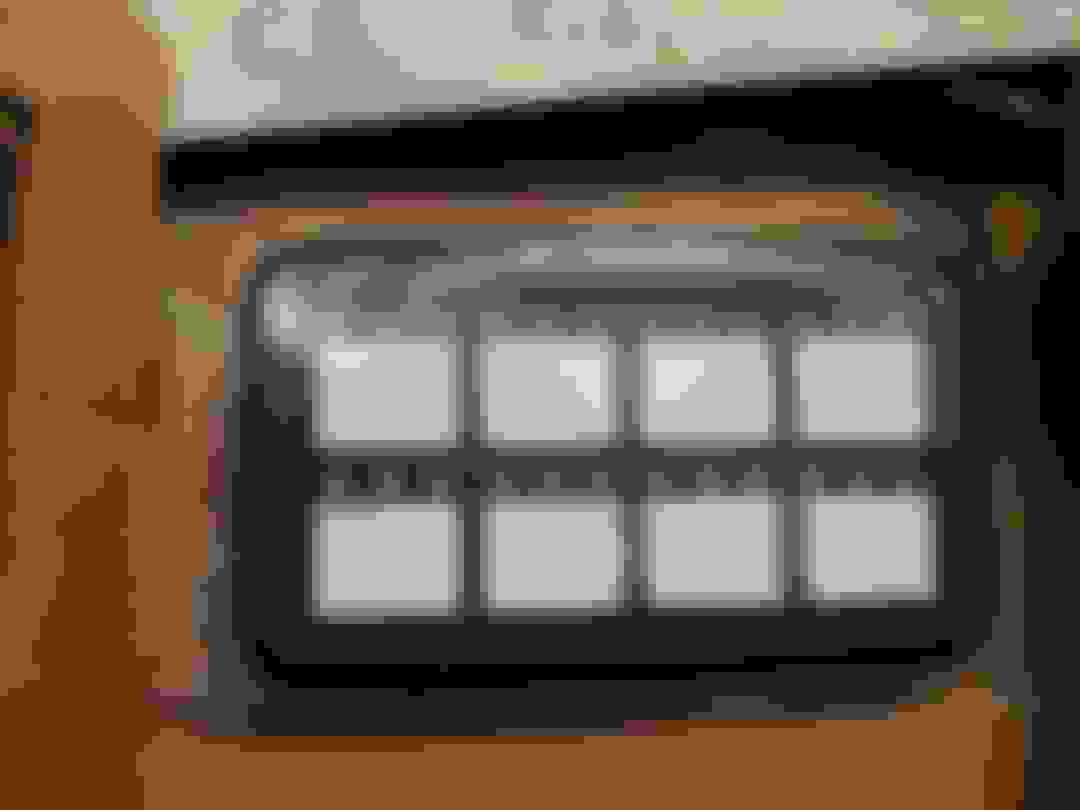
Next up was mounting the HD switch panel. I initially went with some 3M double sided tape, will probably upgrade to some stronger tape down the road.
I had plans to build a custom bracket through the dash panel, however the screws that are on the back of the panel aren't long enough to reach through the switch tunnels.
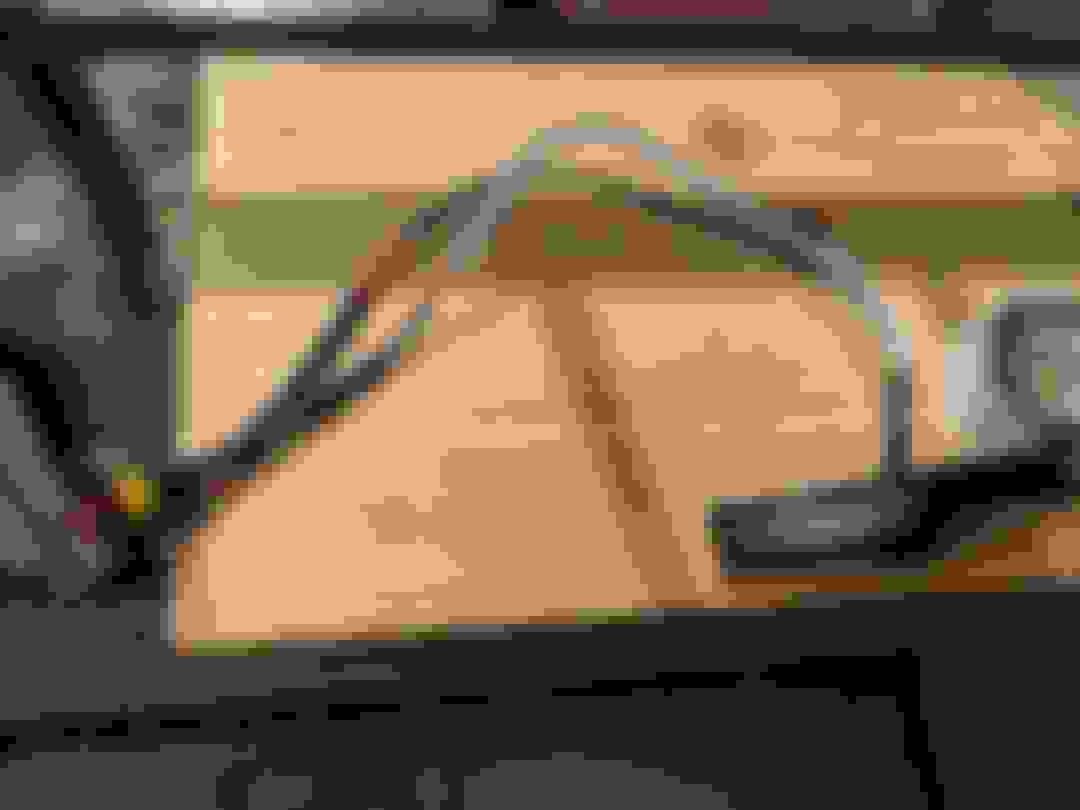
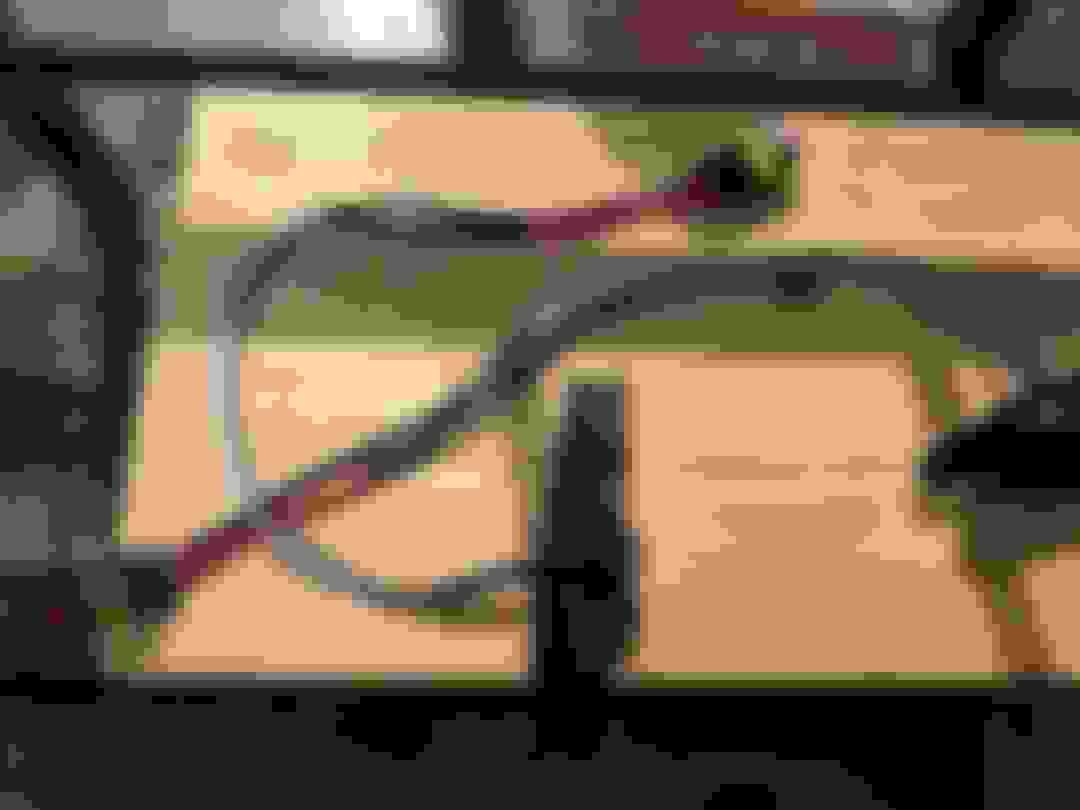
The cat 5 cable was way longer than I needed so I tied that up back behind the dash and out of the way of the BCM and remote start units.
I ran the wire out of the switch ports, and ready for install.
And here's the switch pad all mounted up temporarily at least.
And here's my cabin upgrades together, looking nice and clean
So you know I had to fire this thing up and see how it works. These 2 buttons are wired for my light bar and LED pods, ironically the same positions I had as my stock switches.
And with the switches on, boom, let there be light! New light pods working
The LED bar also fired right up as well!
I still have some more work with the switch panel to do, but the rain kept starting up again so I had limited time. A while back, the guy who made these 3D printed amber lights came out with a version 2.0, and I bought them as soon as they became available. He had plastidipped the screws on the front black and I never was a big fan of the look. The 2.0 version have screws in the back and look way cleaner. Here's the old version 1.0 lights before I removed them, you can see the black finish on the screws is fading and peeling.
Here's the back side of the brackets, and yes, that is our favorite thing... rust
Here's a side by side of the old v1.0 on the left and new v2.0 version on the right, both with the smoked amber lights.
Here's the old lights all removed.
Something else I've wanted to do was add waterproof quick disconnects for when I need to remove the bumper, so I've had these laying around for a while to go with the new lights.
Here's the lights all soldered up and heat shrinked, ready to go. I used the male ends because they were small enough that I could slide the backing plate over the ends and screw them together.
I chopped up my wiring harness and soldered in the new female quick connect sockets. This will hopefully be the last time I have to modify this harness.
And here's the female ends all soldered in.
I wired these into the sPod, I didn't get any pictures because it was raining and I had to hurry up and get them crimped and screwed down without getting water on the circuit board. I wasn't able to get the ignition control working so these come on when the ignition is on yet, but that will come after some more research.
Overall though, I'm very happy with the sPod and all the additions and modifications I made this past week. The URD MAF calibrator also makes a very noticeable improvement in throttle response and shifting, I'm excited to drive this thing for a few days and see how it drives under various conditions.
It's not crooked, it's as straight as it's going to be. The PowerTray is a tad slanted but that was the only way I could get my big ass hands under it to bolt it to the fender and to run wires. It's mainly just the angle of the pic that makes it look crooked


 I've been updating in the CL forum daily


 I'm like cool, song forward, mute, change input...