When you click on links to various merchants on this site and make a purchase, this can result in this site earning a commission. Affiliate programs and affiliations include, but are not limited to, the eBay Partner Network.
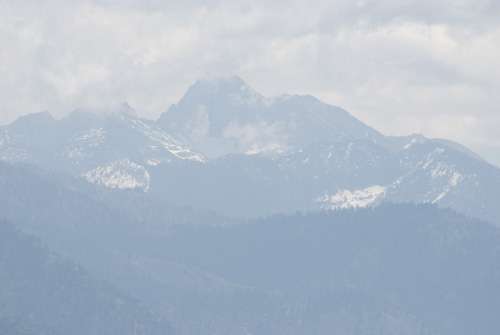
Here are a couple examples of some post processing that I usually use. It's nothing too extreme or complicated, I just mess with the curves/levels, and use the "selective color" tool a lot.
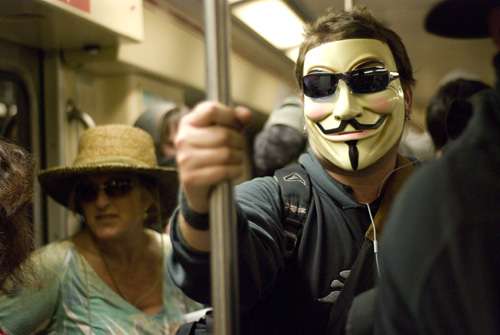
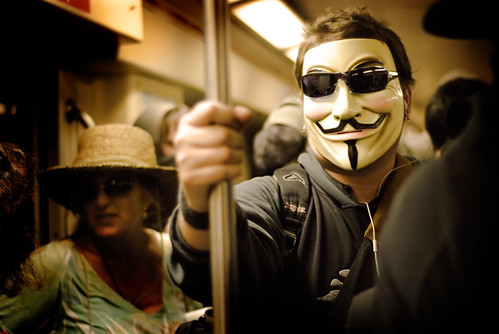
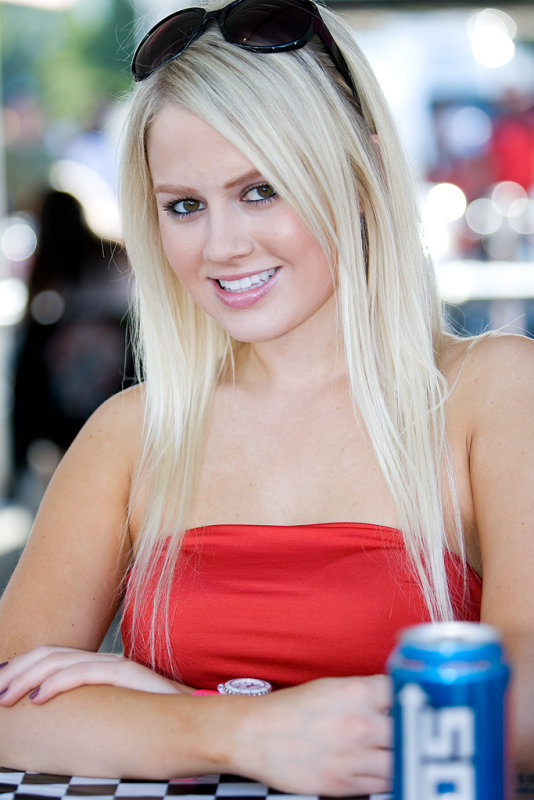
so took some pics of models at a car show recently in raw, and decided to edit in raw rather than converting to jpg and editing that
anyways here are 2 i took
exposurewise these were mostly SOOC, maybe a slight exposure adjustment (no more than 1/3 stop) and some levels and curves. ohh and added some USM.
Camera Make: Canon
Camera Model: Canon EOS-1D Mark II N
Image Date: 2009:07:25 18:40:53
Flash Used: Yes (Manual)
Focal Length: 90.0mm
CCD Width: 5.60mm
Exposure Time: 0.0031 s (1/320)
Aperture: f/2.8
ISO equiv: 100
White Balance: Auto
Metering Mode: Matrix
Exposure: Manual
Exposure Mode: Manual
Camera Make: Canon
Camera Model: Canon EOS-1D Mark II N
Image Date: 2009:07:25 18:37:11
Flash Used: Yes (Manual)
Focal Length: 70.0mm
CCD Width: 5.60mm
Exposure Time: 0.0031 s (1/320)
Aperture: f/2.8
ISO equiv: 100
White Balance: Auto
Metering Mode: Matrix
Exposure: Manual
Exposure Mode: Manual
Last edited by Mizouse; Jul 30, 2009 at 02:49 AM.
Reason: didnt actually take pictures of cars LOL
I created this for people who need a little help from other members with a certain photo. Do not ask to photoshop your car for rims or anything. Just for people who need help with cropping, exposure and etc.
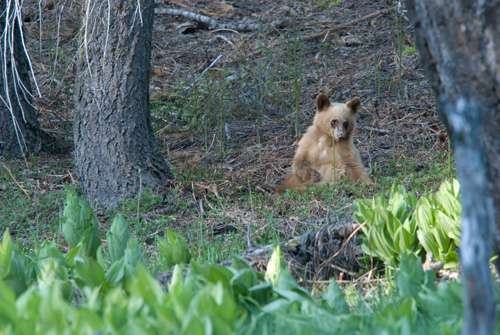
Originally Posted by MattB07TL
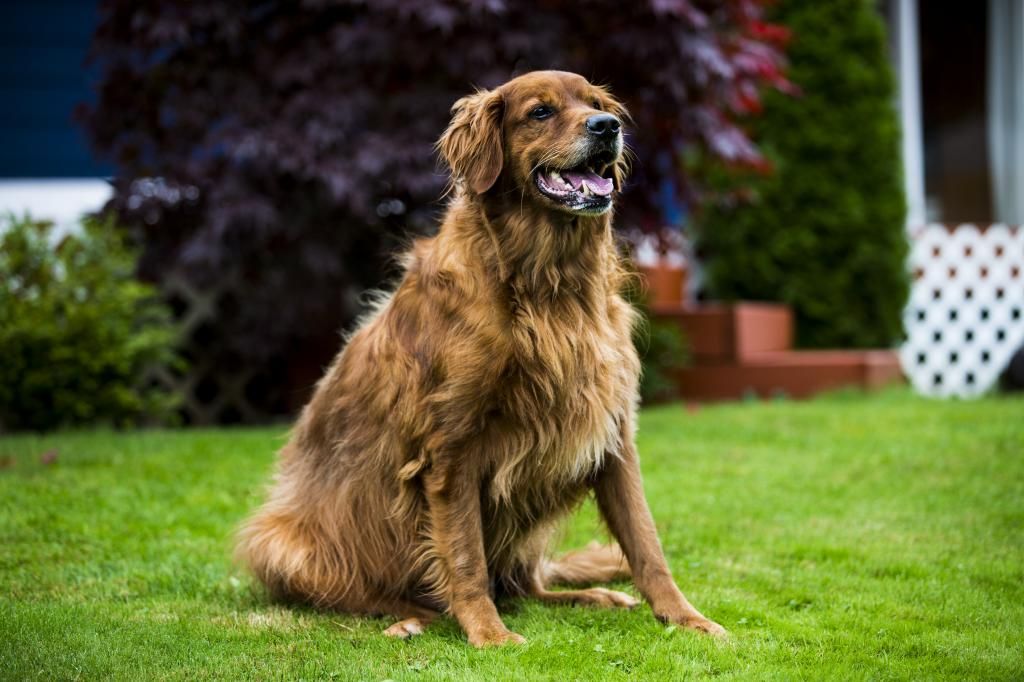
Would like a little CC on this good or bad, was thinking of having this printed for Christmas for my father in law since his dog means everything to him. You guys feel this is printable or try to re shoot it?
Last edited by asianspec; Nov 23, 2013 at 05:12 PM.
Cropping was one of the things I was going to recommend, but which is why I also wanted to see the original as I wanted to see how the picture was originally framed.
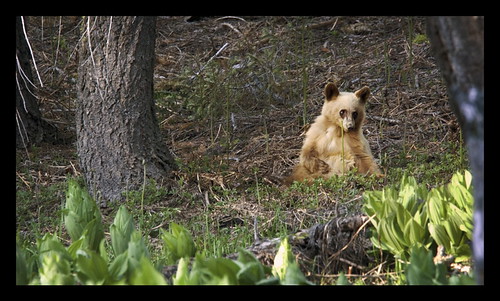
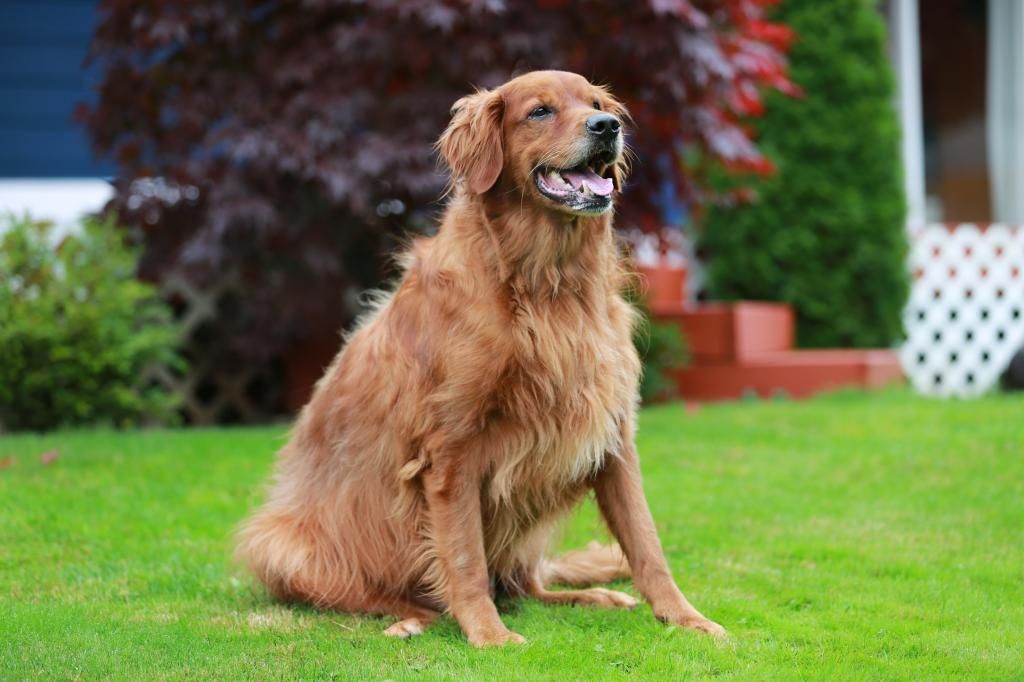
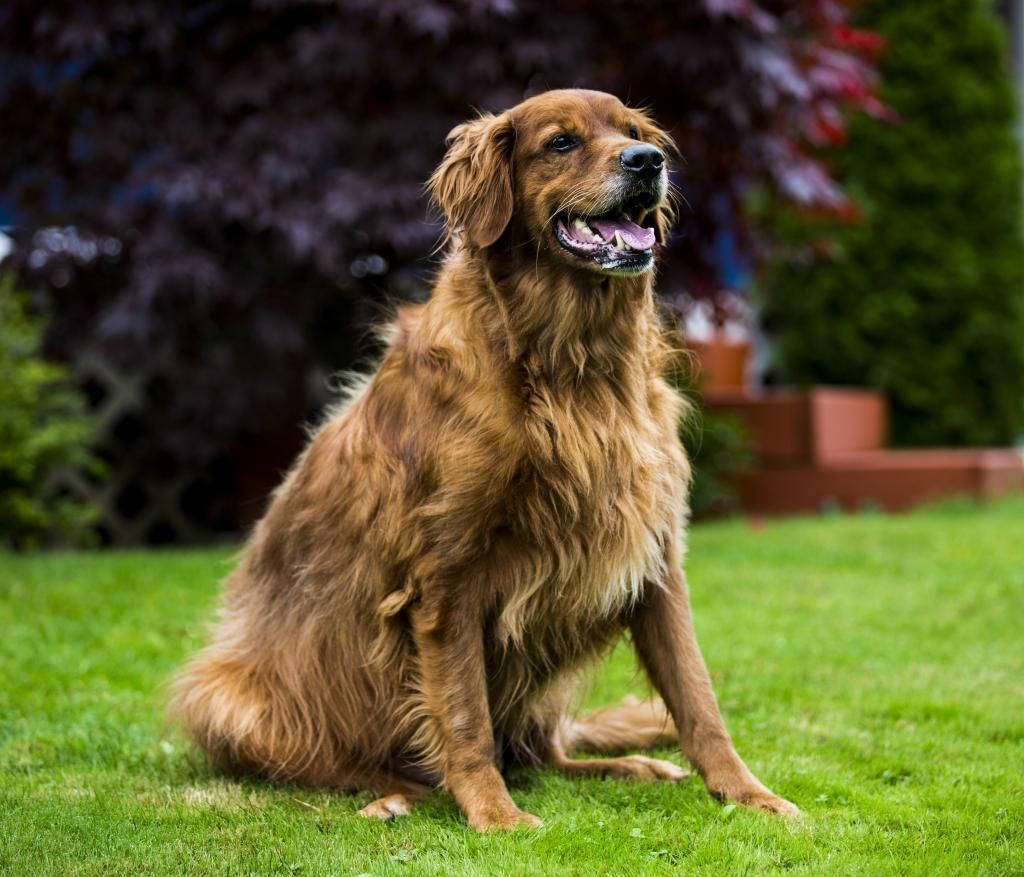
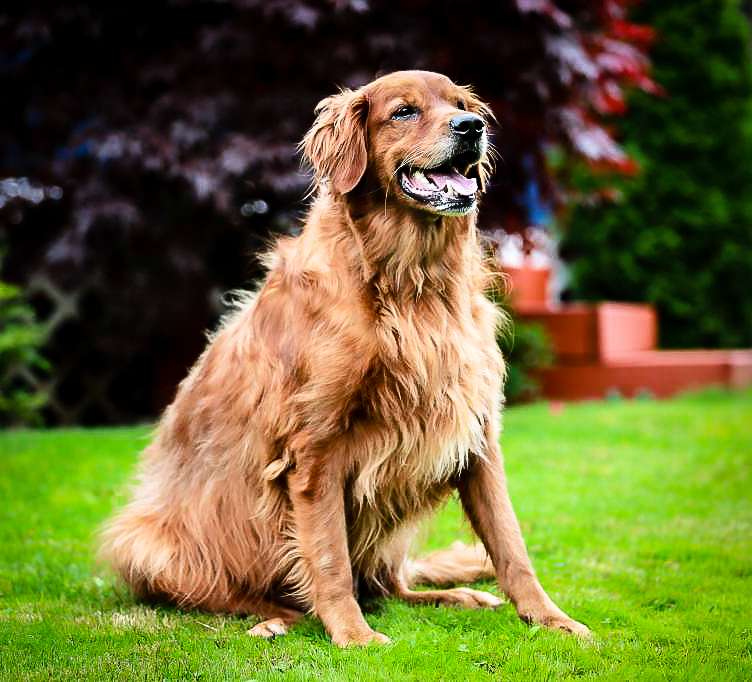
I hope you don't mind, but I took a stab at editing the original you posted in LR5 ...
I wanted to use the healing Spot Removal tool to remove the red staircase as I find that to be distracting as well, but couldn't achieve it without it looking pixelated and mismatching, but with the RAW file I'm sure you could achieve it much better than I could.
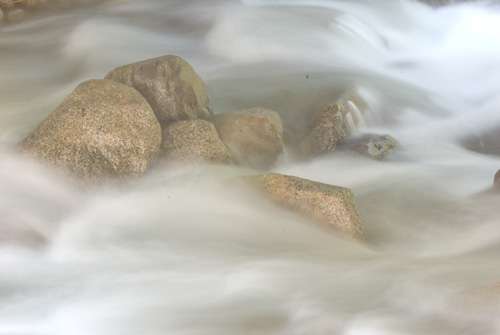
I have a photo and there are several distinct areas that I would like to treat differently.
In the picture, there is an area I wanted to be more vibrant, so I created a single exposure HDR of the image. The HDR is toned so that the distinct area appears as desired, but the remainder of the HDR image is too "hot" for my taste.
I opened both the original image and the HDR image in CS3 and placed each one on its own layer.
Then, I added a layer mask to the HDR layer and revealed only the distinct area I wanted to show as more saturated.
Problem is, I have another area that I need to treat differently (hue, saturation, levels) and I don't know if I need to create a separate layer with a mask for EACH different manipulation (hue, saturation, levels), or if I can do them all in one, or if I can do them all in the same layer as the HDR mask.
Me personally i do most of my enhancements if any in LR. Its kinda complicated imo in PS. At least in LR, you can paint specifically what part you want more saturation,exposure,etc.
Me personally i do most of my enhancements if any in LR. Its kinda complicated imo in PS. At least in LR, you can paint specifically what part you want more saturation,exposure,etc.
Now you are just showing off...
I said I only have LR1.4 so no localized adjustment...
Problem is, I have another area that I need to treat differently (hue, saturation, levels) and I don't know if I need to create a separate layer with a mask for EACH different manipulation (hue, saturation, levels), or if I can do them all in one, or if I can do them all in the same layer as the HDR mask.
Ideas?
if I'm reading this right, an easy way to take care of this specific area would be with Photoshop CS3 - make a feathered selection of it and then do whatever edits you want - for hue and saturation you can use Image->Adjustments->Hue/Saturation and do some pretty fine-tuned adjusting in there. For Levels you can use curves or dodge/burn.


 ), Photoshop CS3, Photomatix