
Burak's Audio Install .


Thread Starter
Intermediate
Joined: Nov 2008
Posts: 47
Likes: 0
Burak's Audio Install .
Hello All,
After spending almost 2 weeks I finally finished my install. I have read almost all custom audio instal threads here and added a little bit of my knowledge and I am extremely happy with the result. I would like to tahnk everyone for their contributions to this great site.
Here is the components of my system,
Front Components : Image Dynamics CTX65 CS
Rear Coaxials : Polk MOMO MMC 650
Subwoofer : Alpine Type R 12"
Amp for the speakers Alpine PDX-4.100
Sub Amp :Alpine PDX-1.600
RF 360.2 Sound processor
Knuconcepts amp wiring kit and speaker wires
I started my project with building a custom enclosure for the subwoofer. This was a very time consuming project since I have never done anything like this before (except repairing motorcycle fairing, but this is littler different)
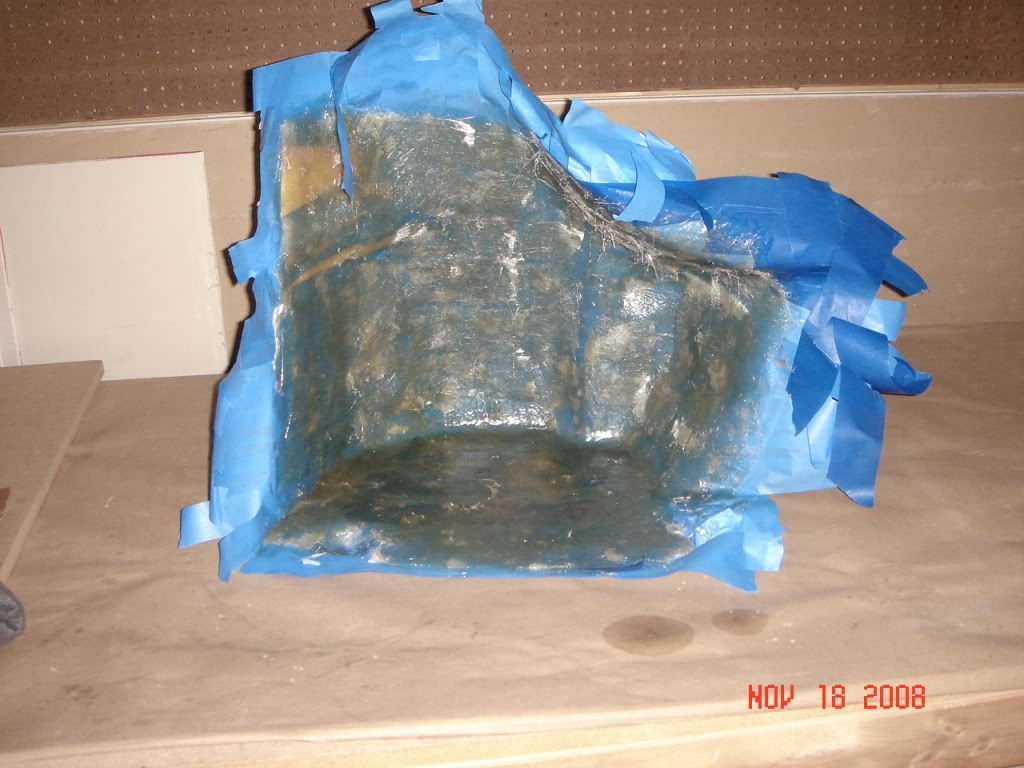
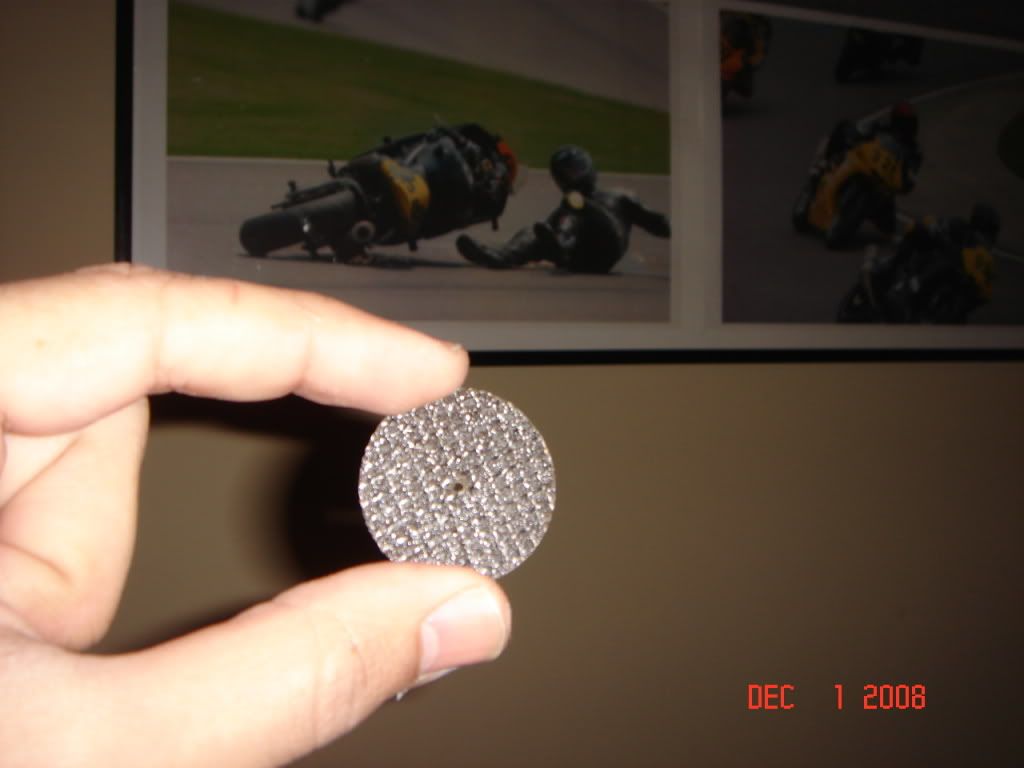
First I taped the corner of the trunk with painters tape(3 layers) then added a layer of resin then fiberglass mat. After 2 layers this is what I ended up with.
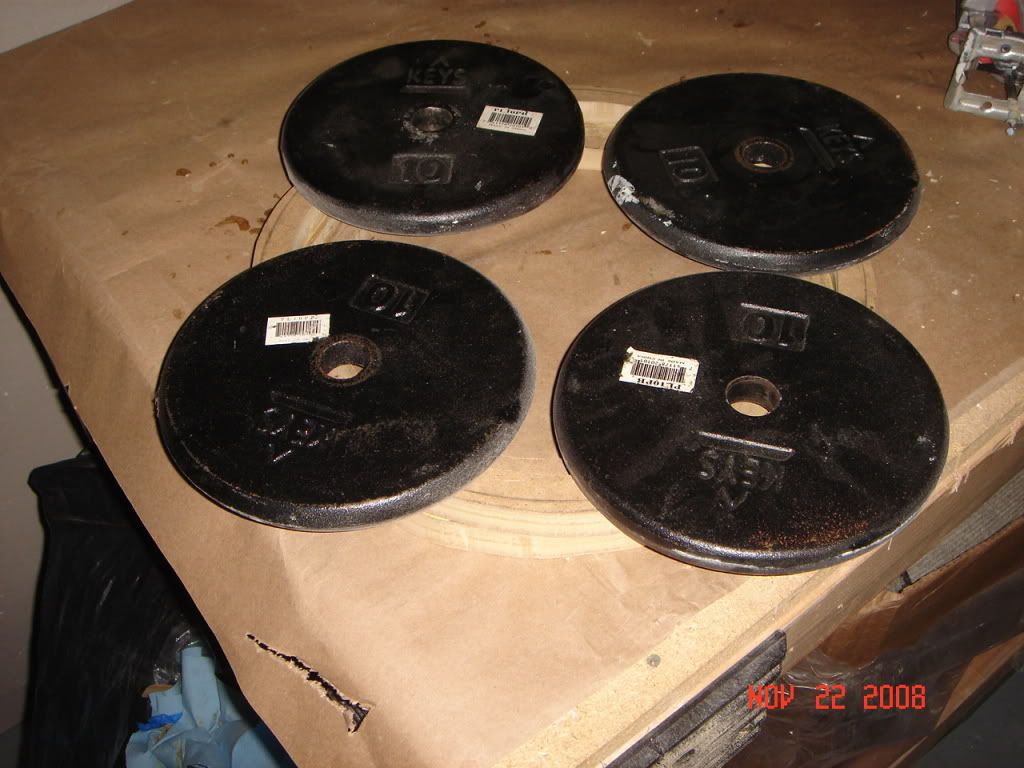
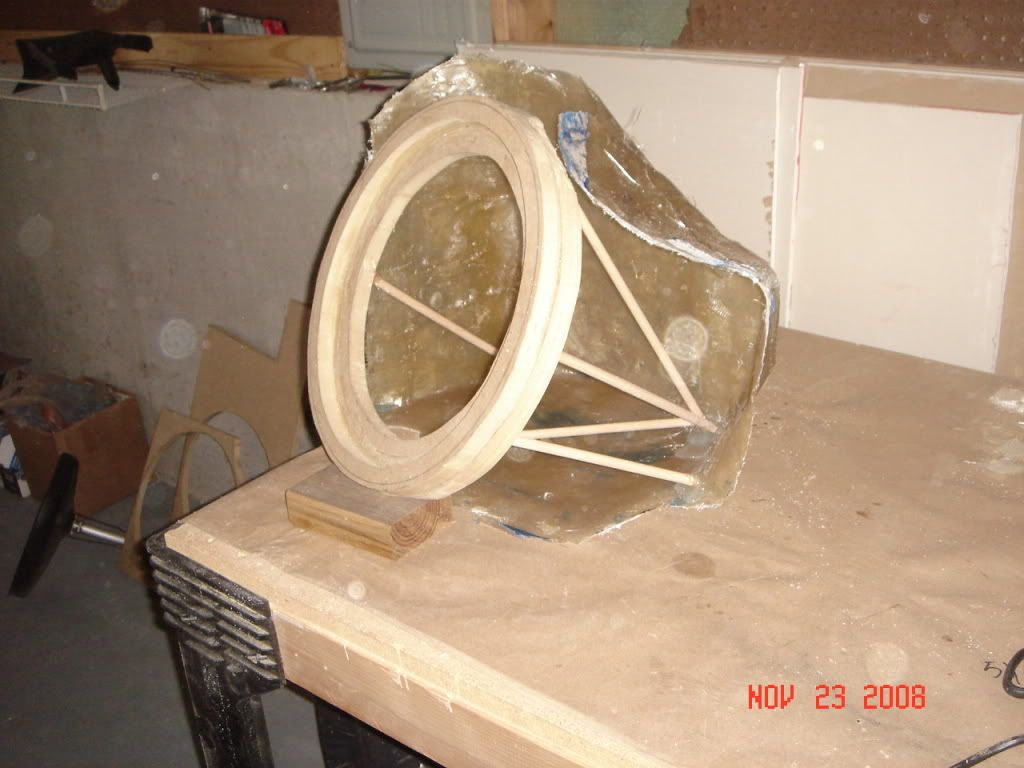
I put a couple of more layers of resin and mat to reach the thickness I wanted. Then I started to cut the rings for the subwoofer. I wanted to the countersunk look, so I cut 2 different size of rings;
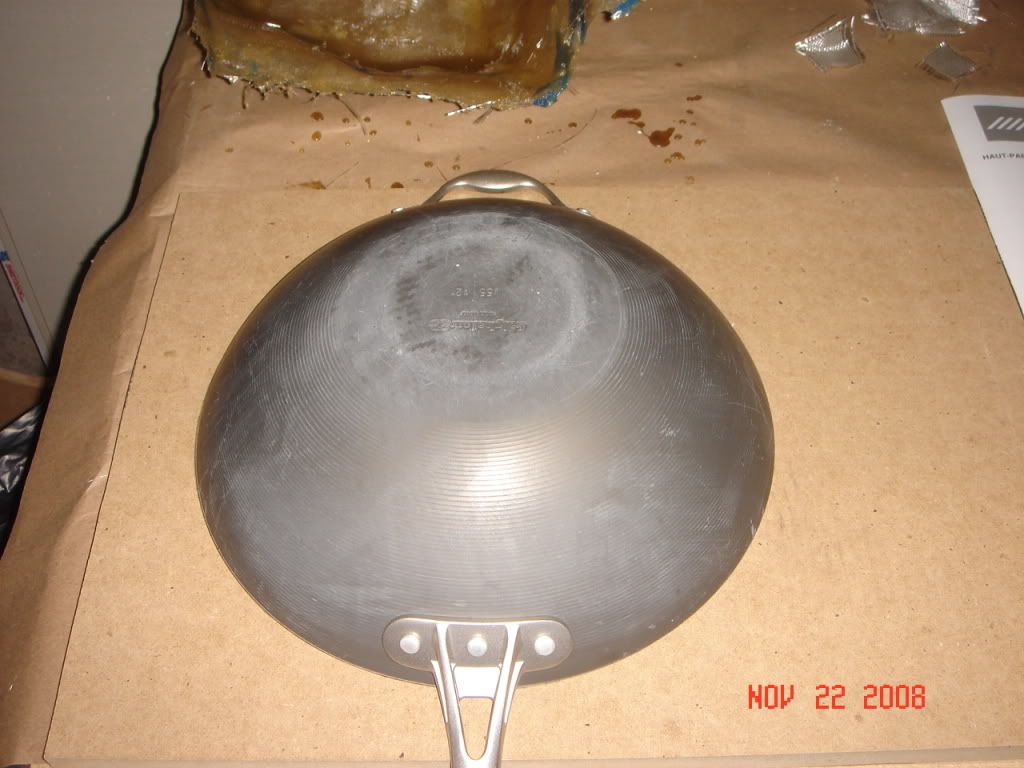
since I lost th actual cardboard rings that came with the woofer, I had to be creative and used a pan (wife still does not know) to get the appropriate size of ring.
glued 2 rings together with liquid nail and let it dry overnight.
used dowels and hot glue gun to give the rings the aim I wanted
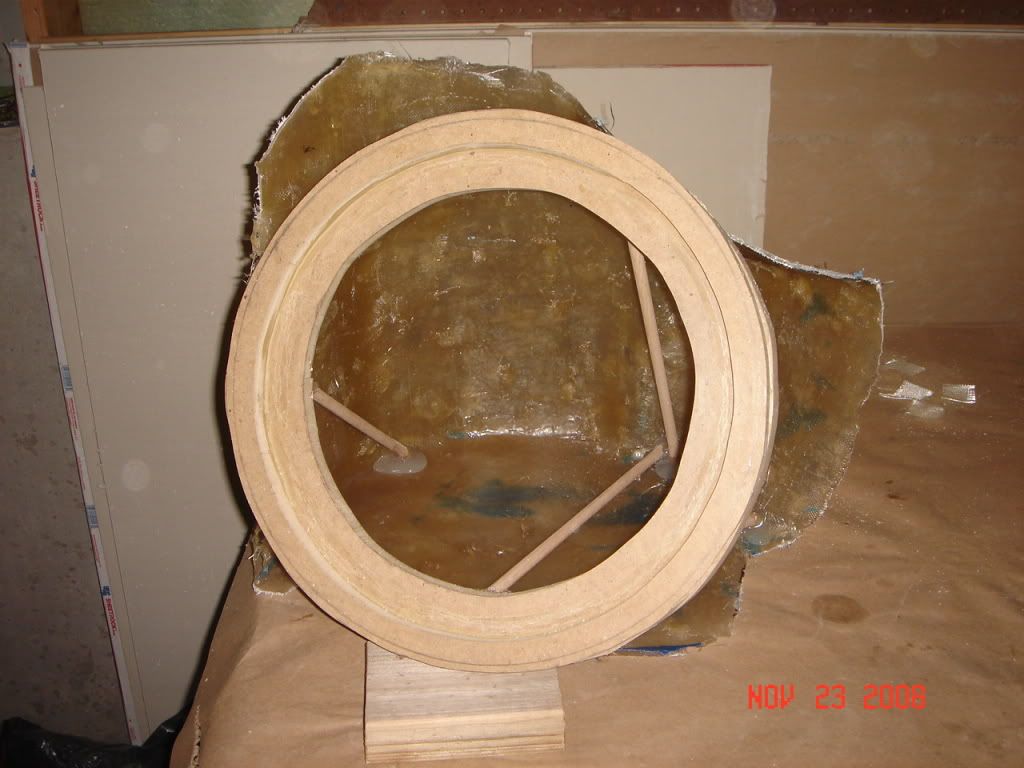
side view
used a fleece and 3m spray glue to attach the fiberglass to the rings, then cover the fleece with 4 layers of resin and fiberglass mat.
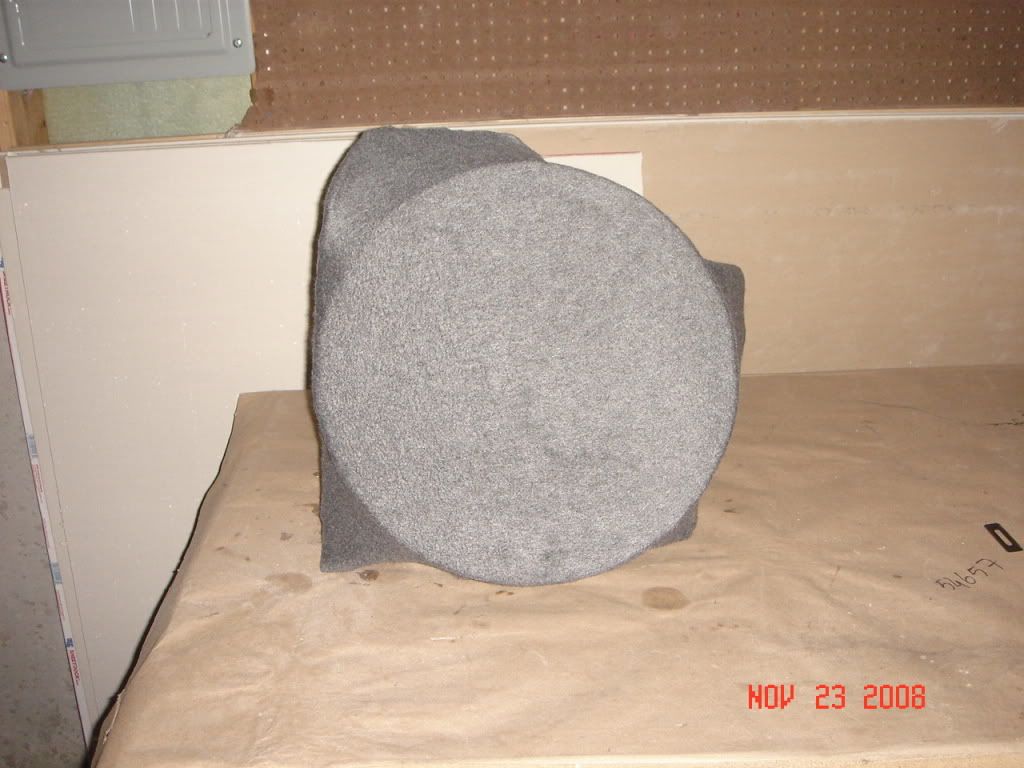
measured the inside space for the correct cubic ft.
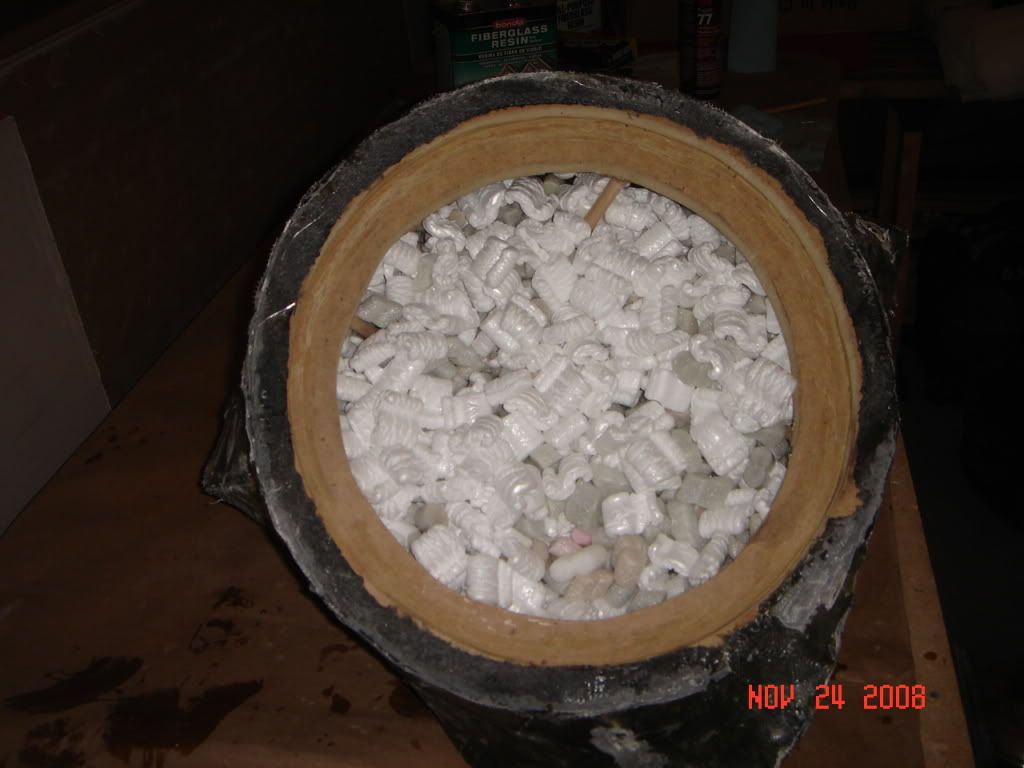
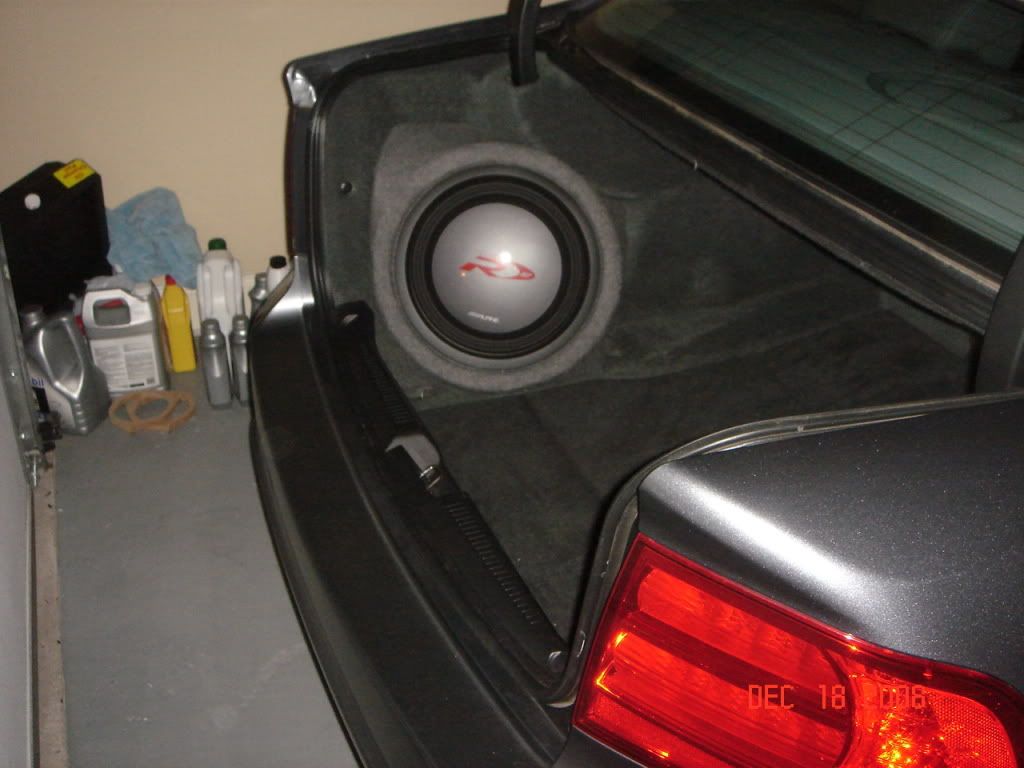
here is the final product. after completing this and seeing how much of a work it is, now I know why UNCALD4 charges $380 for this )) it was a lot of work but I had fun.
After spending almost 2 weeks I finally finished my install. I have read almost all custom audio instal threads here and added a little bit of my knowledge and I am extremely happy with the result. I would like to tahnk everyone for their contributions to this great site.
Here is the components of my system,
Front Components : Image Dynamics CTX65 CS
Rear Coaxials : Polk MOMO MMC 650
Subwoofer : Alpine Type R 12"
Amp for the speakers Alpine PDX-4.100
Sub Amp :Alpine PDX-1.600
RF 360.2 Sound processor
Knuconcepts amp wiring kit and speaker wires
I started my project with building a custom enclosure for the subwoofer. This was a very time consuming project since I have never done anything like this before (except repairing motorcycle fairing, but this is littler different)
First I taped the corner of the trunk with painters tape(3 layers) then added a layer of resin then fiberglass mat. After 2 layers this is what I ended up with.
I put a couple of more layers of resin and mat to reach the thickness I wanted. Then I started to cut the rings for the subwoofer. I wanted to the countersunk look, so I cut 2 different size of rings;
since I lost th actual cardboard rings that came with the woofer, I had to be creative and used a pan (wife still does not know) to get the appropriate size of ring.
glued 2 rings together with liquid nail and let it dry overnight.
used dowels and hot glue gun to give the rings the aim I wanted
side view
used a fleece and 3m spray glue to attach the fiberglass to the rings, then cover the fleece with 4 layers of resin and fiberglass mat.
measured the inside space for the correct cubic ft.
here is the final product. after completing this and seeing how much of a work it is, now I know why UNCALD4 charges $380 for this
)) it was a lot of work but I had fun.
Thread Starter
Intermediate
Joined: Nov 2008
Posts: 47
Likes: 0
front speakers
After reading what everone did for the front speaker wires, I decided to do it right and not to tap into the factory wires. Hopefully the pictures below will help others to get an idea of what I did. I used 12 guage speaker wires for the fronts and rears.
As you know the door on the ACURA TL has a big plastic connector and there is no room around it to run a speaker wire. Drilling into the plastic piece was not an option for me (i know some others did) as the wire i used was too thick to do it. Here is what I did
First, i disconnected the white plastic connector and cut a half circle for the speaker wire to fit in.
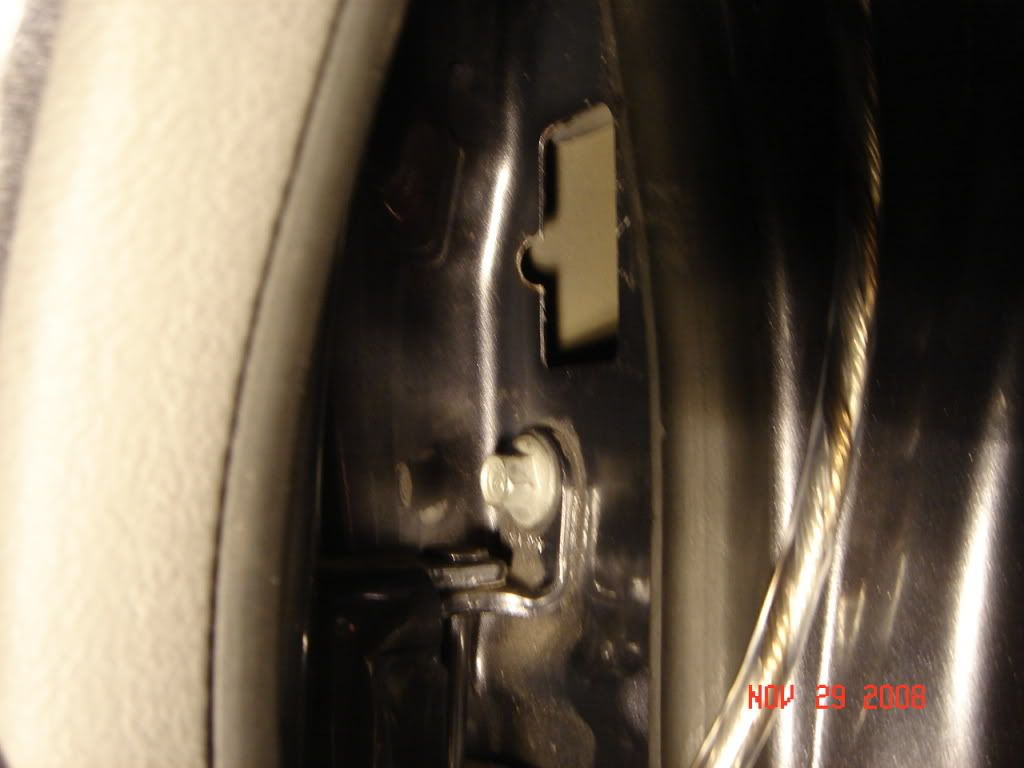
I used a rubber grommet for protection and a piece of mind.
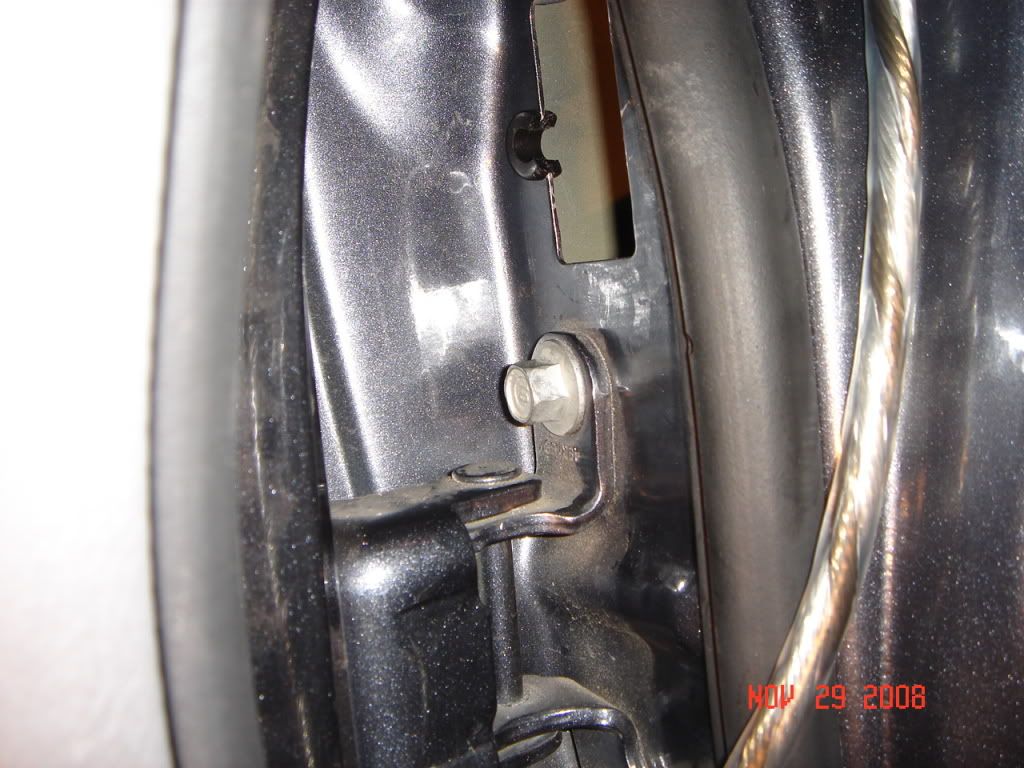
plastic connector in its place
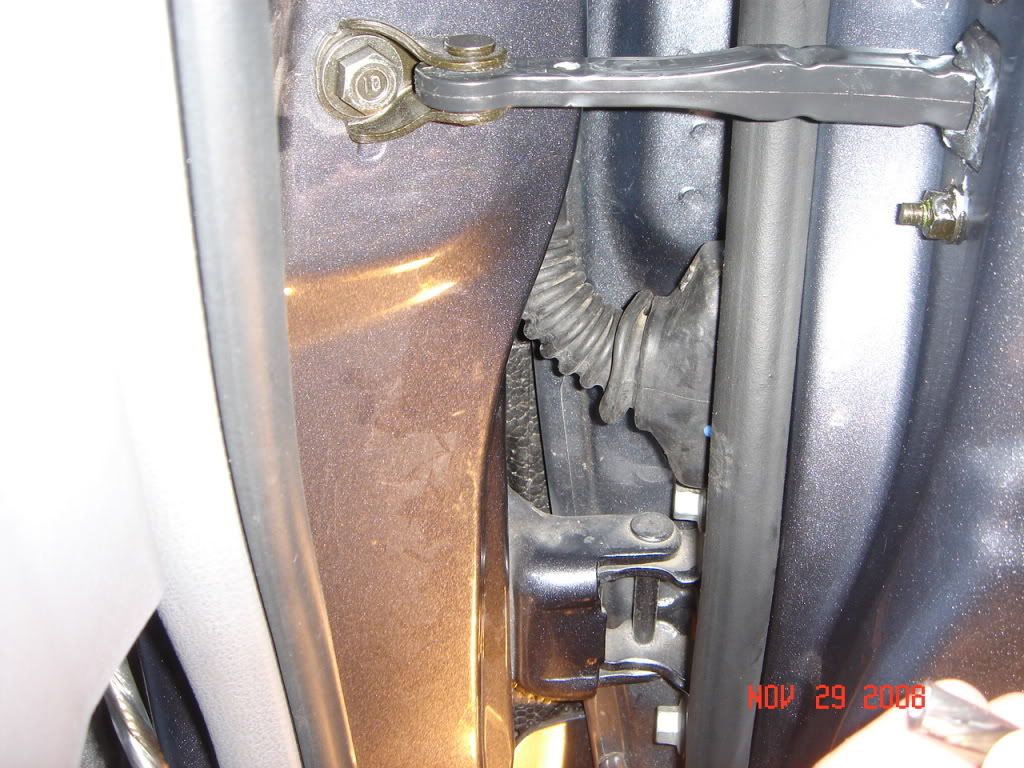
finished product, the speaker wire is inside the rubber piece . I made a little whole on the back side of it for the speaker cable to go inside the door .
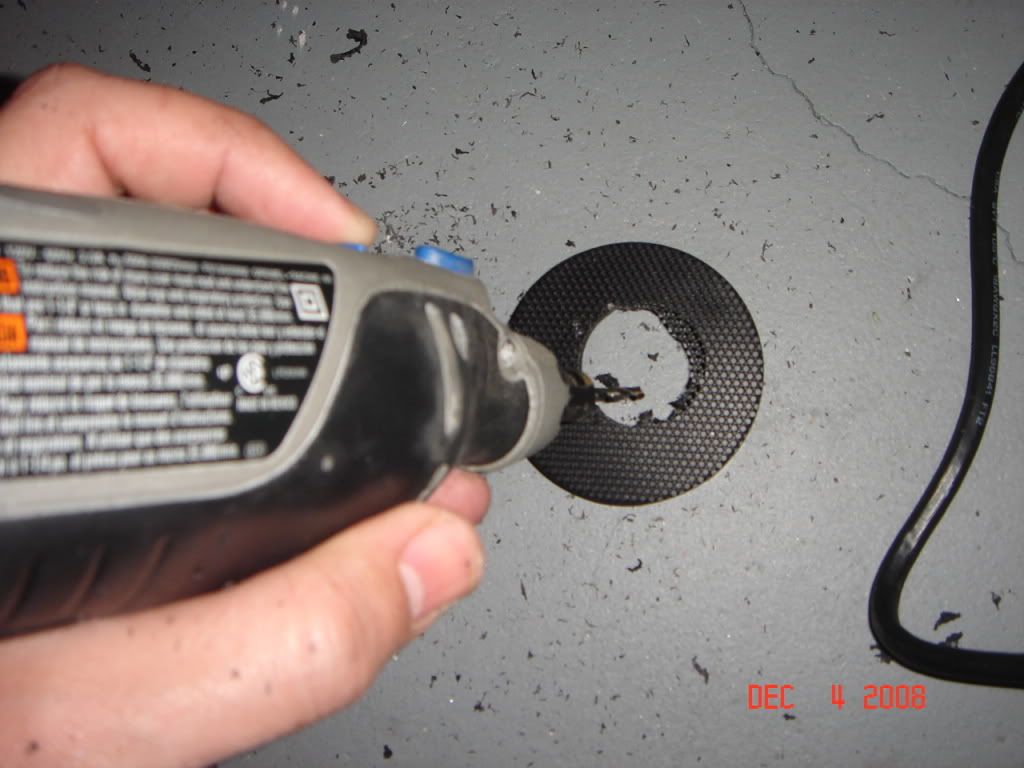
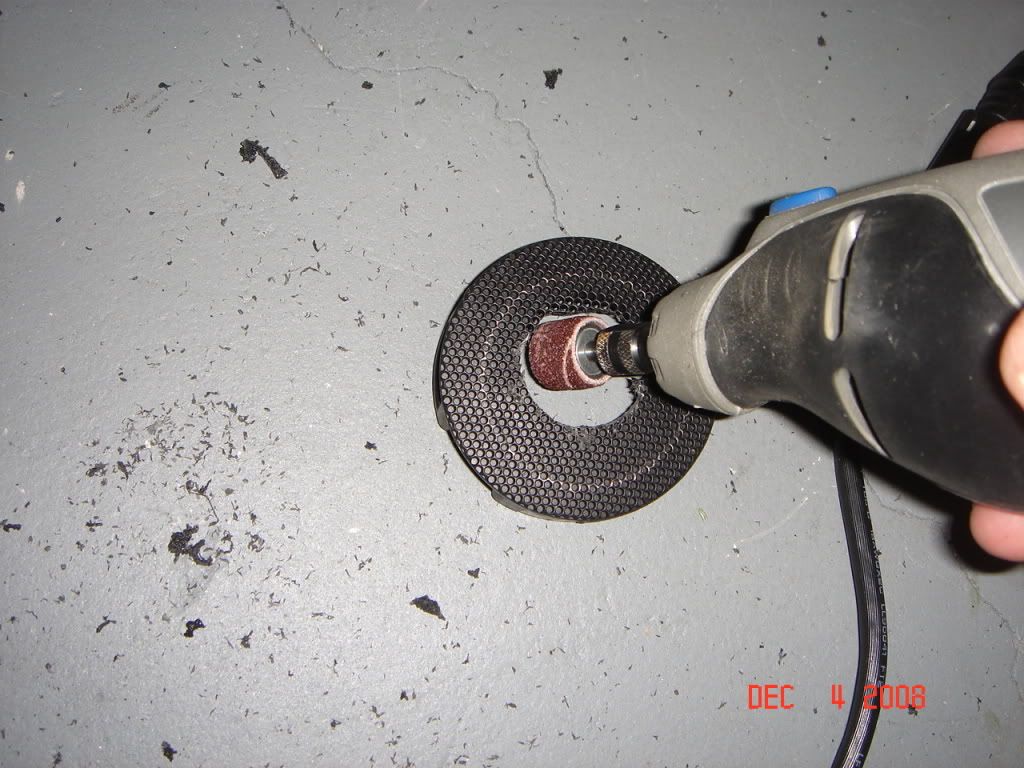
I had to cut the doors a little bit to fit Image dynamics components, here is the pictures of the tools I used,
little wheel for the dremel tool to make bigger hole on the door

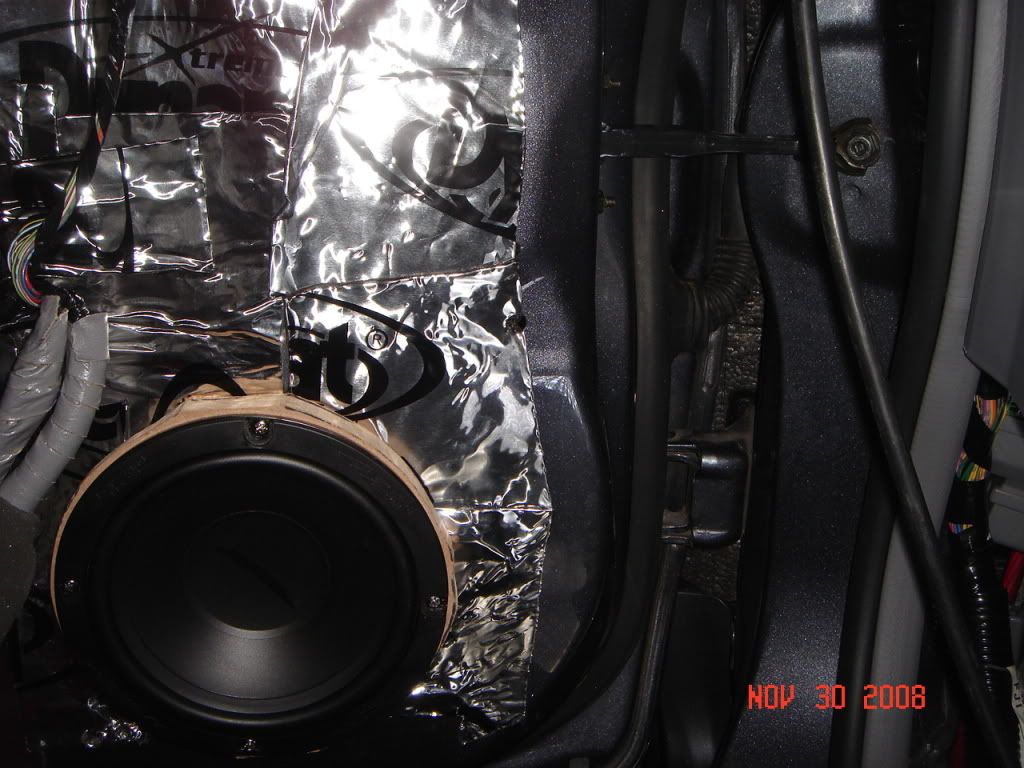
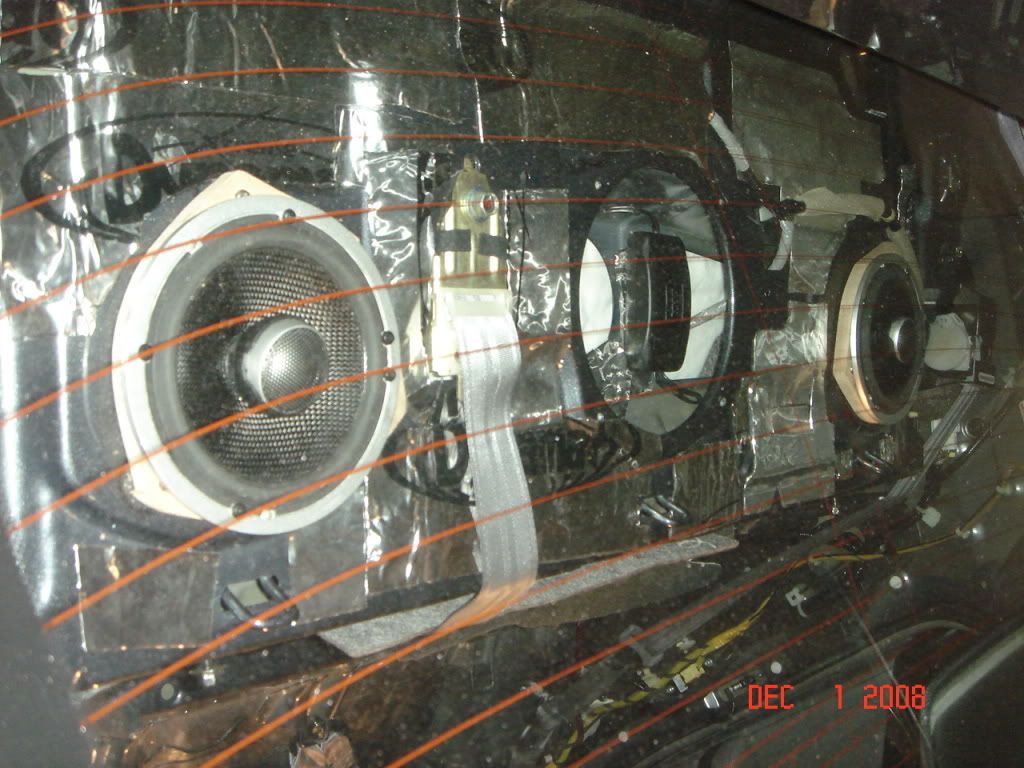
doors dynomatted and ready for installation
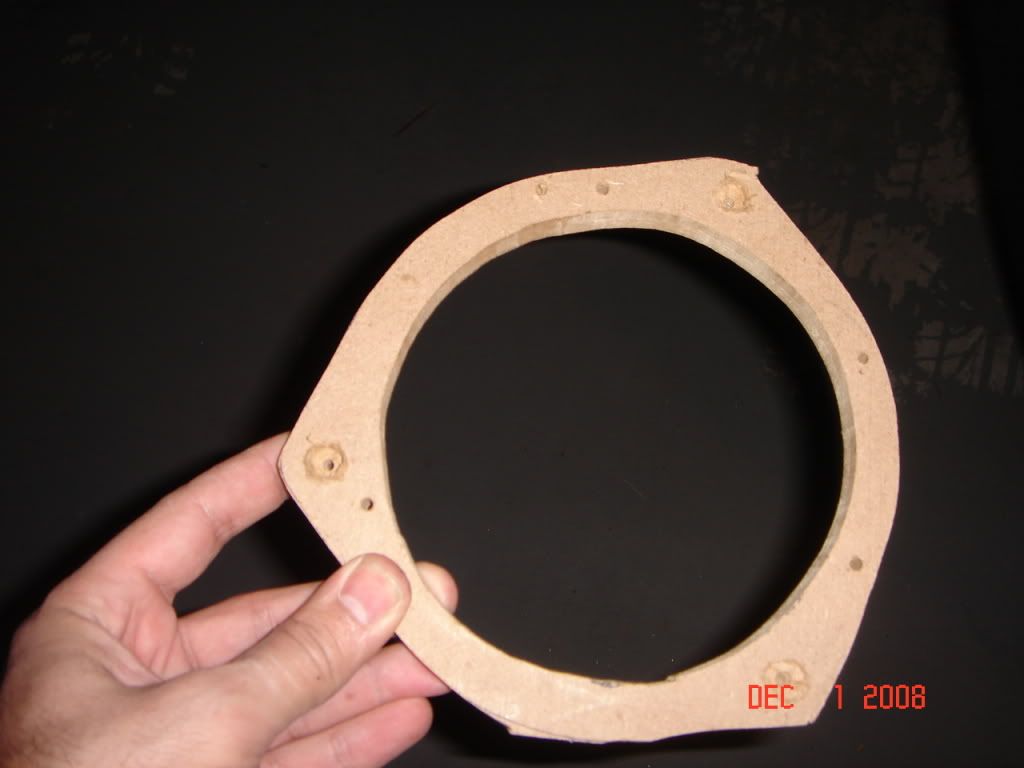
I used half inch MDF ring for the speakers for better fit
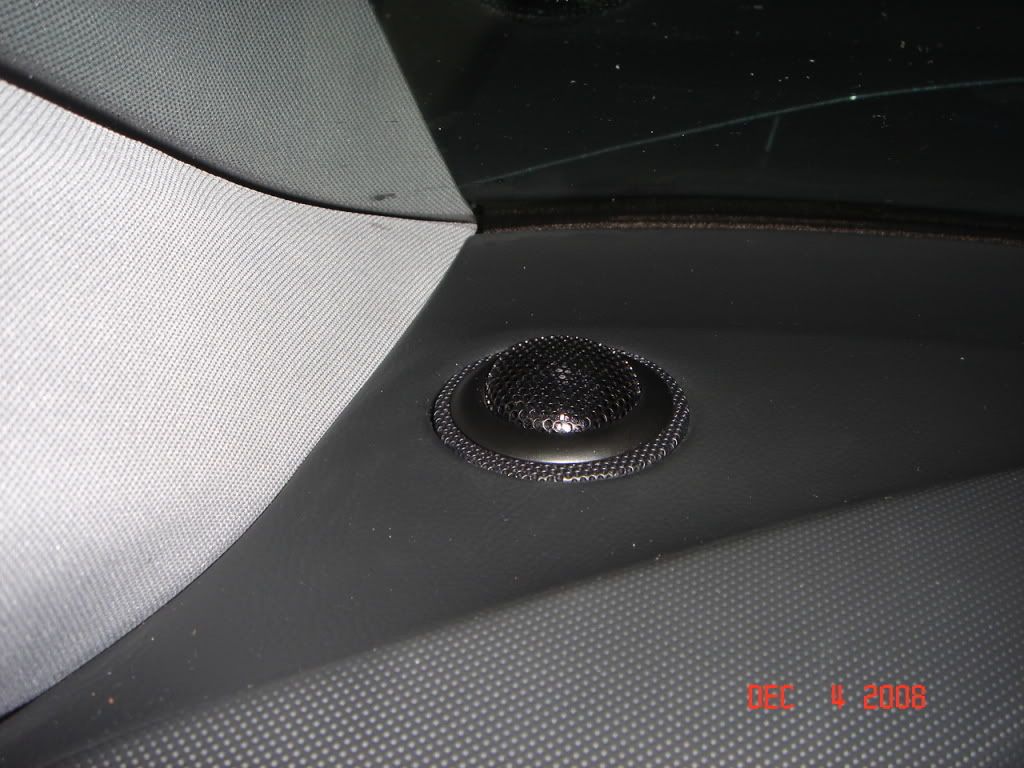
here is install for the tweeters, I hope the pics will explain it all.
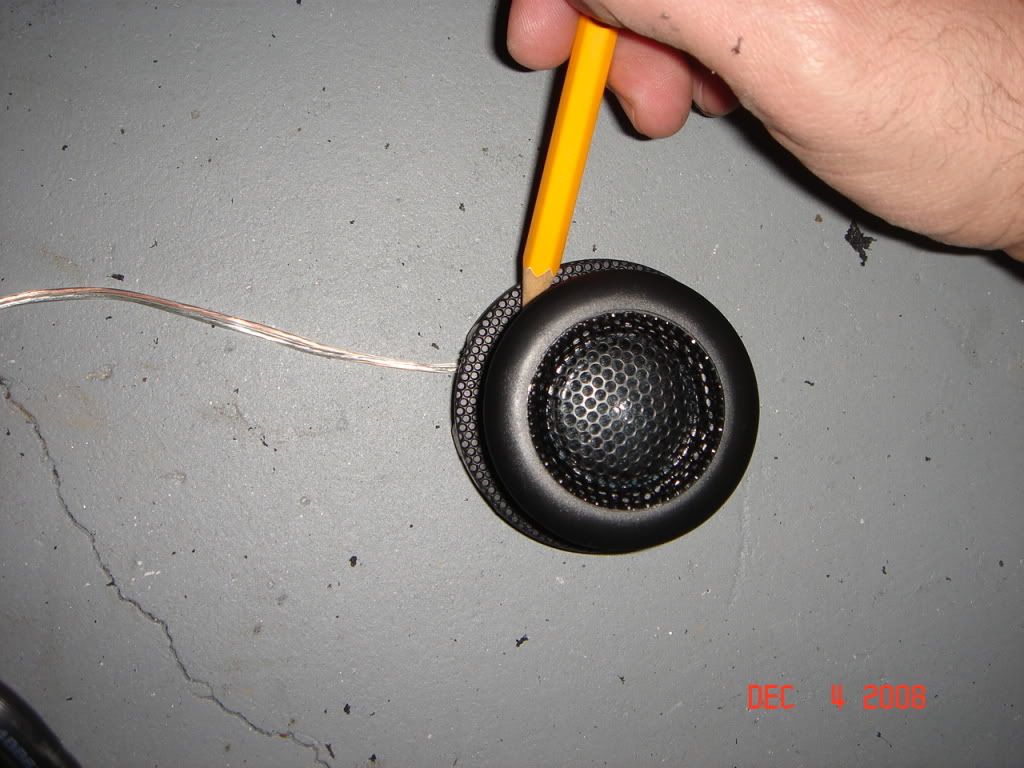
final look
As you know the door on the ACURA TL has a big plastic connector and there is no room around it to run a speaker wire. Drilling into the plastic piece was not an option for me (i know some others did) as the wire i used was too thick to do it. Here is what I did
First, i disconnected the white plastic connector and cut a half circle for the speaker wire to fit in.
I used a rubber grommet for protection and a piece of mind.
plastic connector in its place
finished product, the speaker wire is inside the rubber piece . I made a little whole on the back side of it for the speaker cable to go inside the door .
I had to cut the doors a little bit to fit Image dynamics components, here is the pictures of the tools I used,
little wheel for the dremel tool to make bigger hole on the door
doors dynomatted and ready for installation
I used half inch MDF ring for the speakers for better fit
here is install for the tweeters, I hope the pics will explain it all.
final look
Thread Starter
Intermediate
Joined: Nov 2008
Posts: 47
Likes: 0
rear speakers
I dynomatted the rear deck and installed the polk momos. First, i cut mdf rings but they were two thick, so the rear deck did not go in its place with them. I got rid of them and I used 3m tape so the metal does not touch metal and screw all the speakers in it s place. Making a whole for the speakers were not easy as there wasn't enough room for the drill to fit in. I purchased a piece (8 "long and can be bent, I am not what it is called) for the drill and attached the drill bit and made the necessary holes.
Here are the pics
do not use them it will not clear
I took the speaker rings off, I used 3 m tapes and hide the crossovers in the rear deck (these crossovers are not adjustable and have no functionality)
Here are the pics
do not use them it will not clear
I took the speaker rings off, I used 3 m tapes and hide the crossovers in the rear deck (these crossovers are not adjustable and have no functionality)
Trending Topics
Thread Starter
Intermediate
Joined: Nov 2008
Posts: 47
Likes: 0
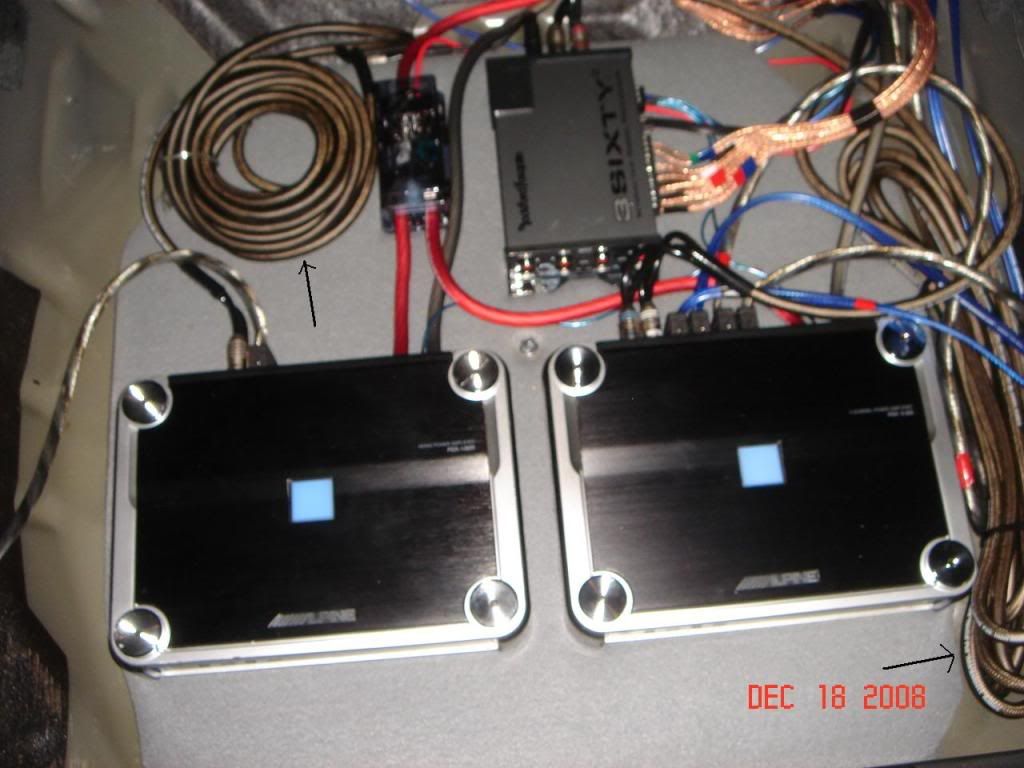
Amp rack and 3 sixty.2 install
I used the spare tire area for my amps, I am in the process of building a plexi glass cover for the amps and the 3sixty.2 for a better look.
I cut a half and inch MDF for my amp rack and covered with some type of fabric - foam mixture. I used a screw where you mont the spare tire to stable te amp rack. I am going to get rid of the long RCA s and get short ones and will install a small fan for better air circulation.
I cut a half and inch MDF for my amp rack and covered with some type of fabric - foam mixture. I used a screw where you mont the spare tire to stable te amp rack. I am going to get rid of the long RCA s and get short ones and will install a small fan for better air circulation.
Thread Starter
Intermediate
Joined: Nov 2008
Posts: 47
Likes: 0
Thread Starter
Intermediate
Joined: Nov 2008
Posts: 47
Likes: 0

Thread Starter
Intermediate
Joined: Nov 2008
Posts: 47
Likes: 0
they are very good but I still need tons of adjusting to do on this system. For now, my amp gain settings are at minimum and I only spend an hour to tune the system using 3sixty.2.
Very nice job on the install. I felt like I was watching my own install all over again. Remarkably similar process aside from the fiberglass enclosure.
I've spent hour after hour tuning my sound with the 3Sixty.2. It gets really addicting!
I've spent hour after hour tuning my sound with the 3Sixty.2. It gets really addicting!

Thread
Thread Starter
Forum
Replies
Last Post
BoricuaTL
Car Parts for Sale
138
Apr 8, 2016 01:08 PM
Pegon95
3G TL Audio, Bluetooth, Electronics & Navigation
4
Sep 15, 2015 01:54 PM
DiamondJoeQuimby
Car Parts for Sale
1
Sep 10, 2015 11:40 AM