Burak's Audio Install .
 12-20-2008, 05:12 PM
#1
Intermediate
Thread Starter

Join Date: Nov 2008
Age: 48
Posts: 47
Likes: 0
Received 0 Likes
on
0 Posts
Burak's Audio Install .
Hello All,
After spending almost 2 weeks I finally finished my install. I have read almost all custom audio instal threads here and added a little bit of my knowledge and I am extremely happy with the result. I would like to tahnk everyone for their contributions to this great site.
Here is the components of my system,
Front Components : Image Dynamics CTX65 CS
Rear Coaxials : Polk MOMO MMC 650
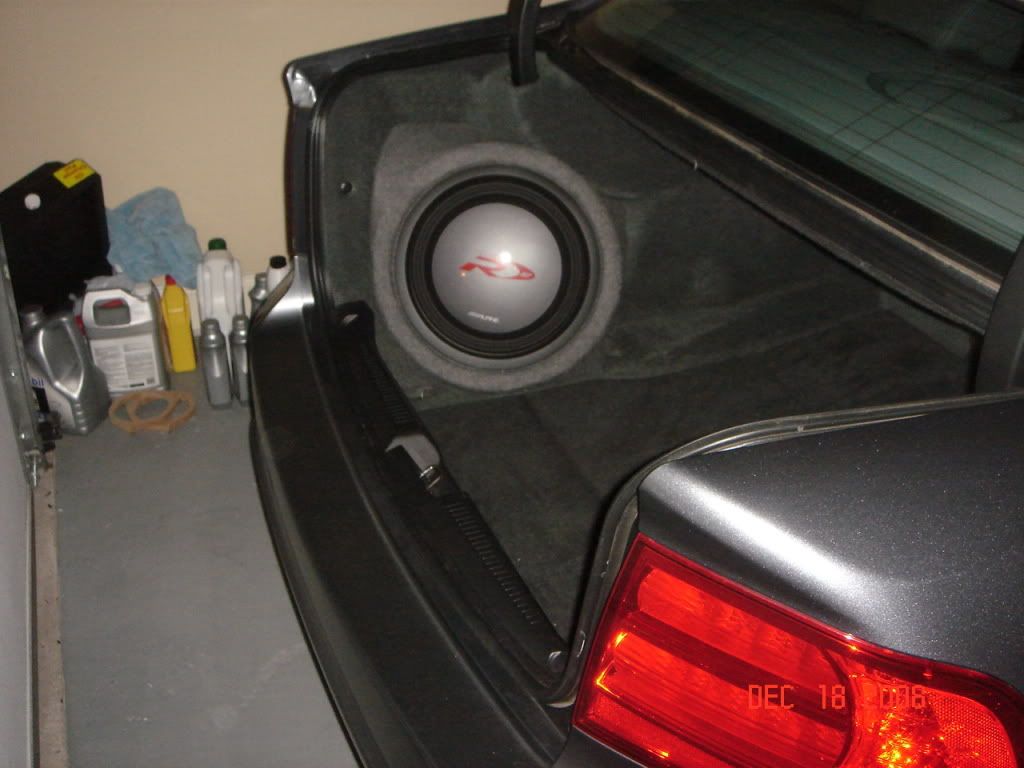
Subwoofer : Alpine Type R 12"
Amp for the speakers Alpine PDX-4.100
Sub Amp :Alpine PDX-1.600
RF 360.2 Sound processor
Knuconcepts amp wiring kit and speaker wires
I started my project with building a custom enclosure for the subwoofer. This was a very time consuming project since I have never done anything like this before (except repairing motorcycle fairing, but this is littler different)
First I taped the corner of the trunk with painters tape(3 layers) then added a layer of resin then fiberglass mat. After 2 layers this is what I ended up with.
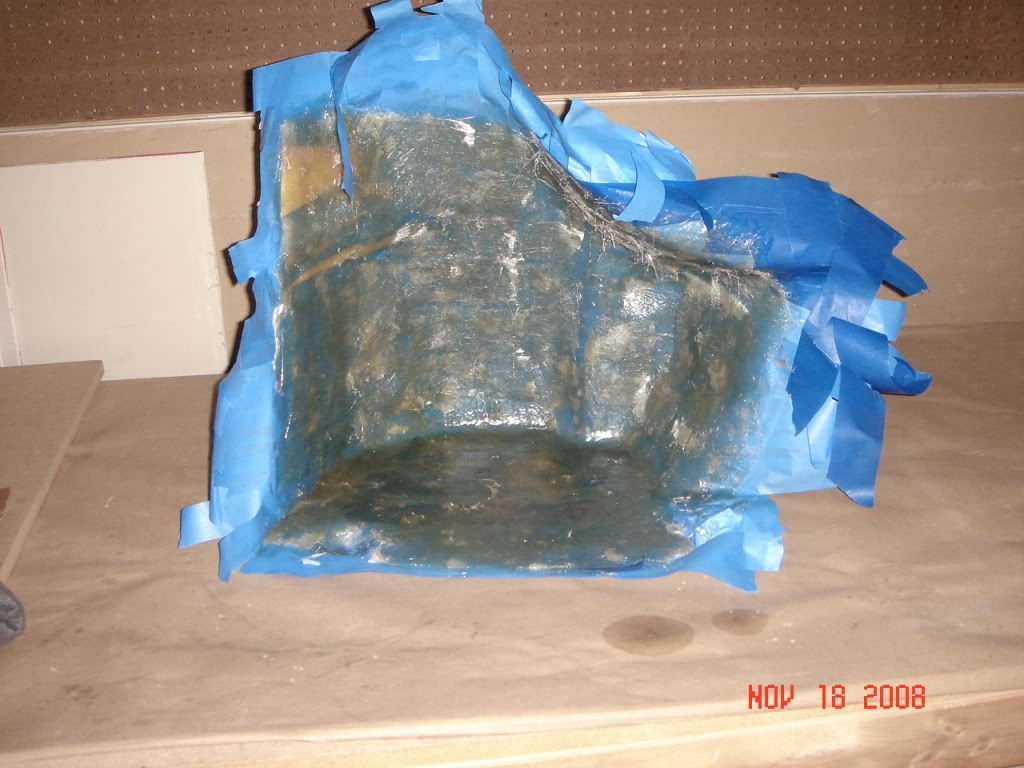
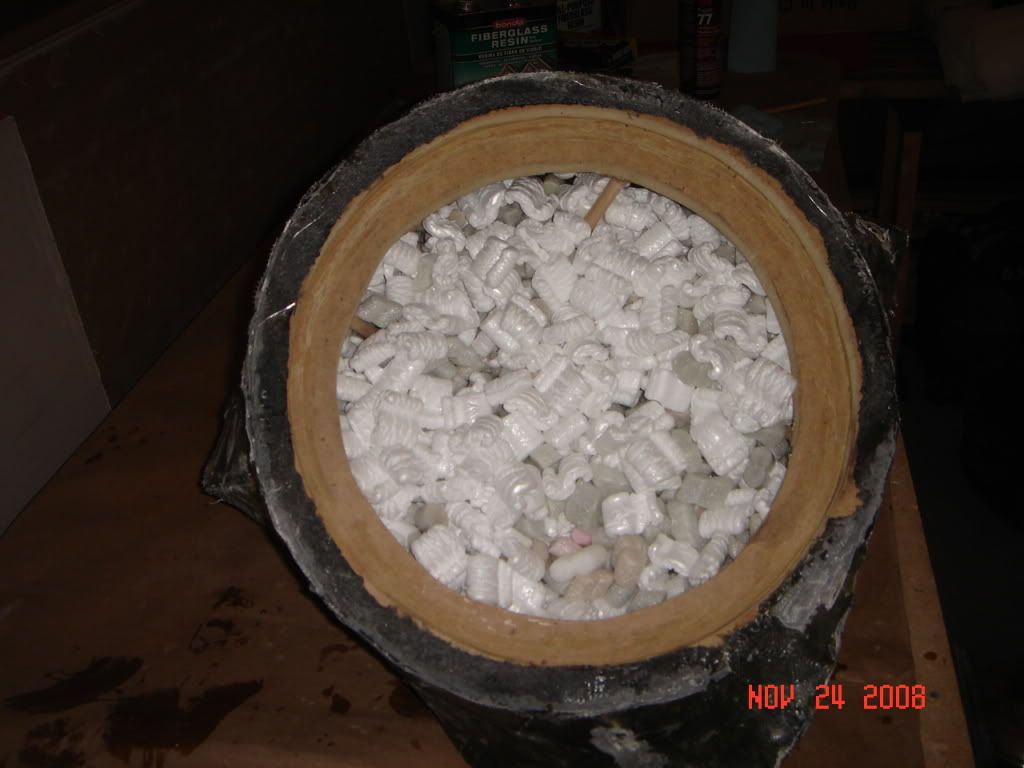
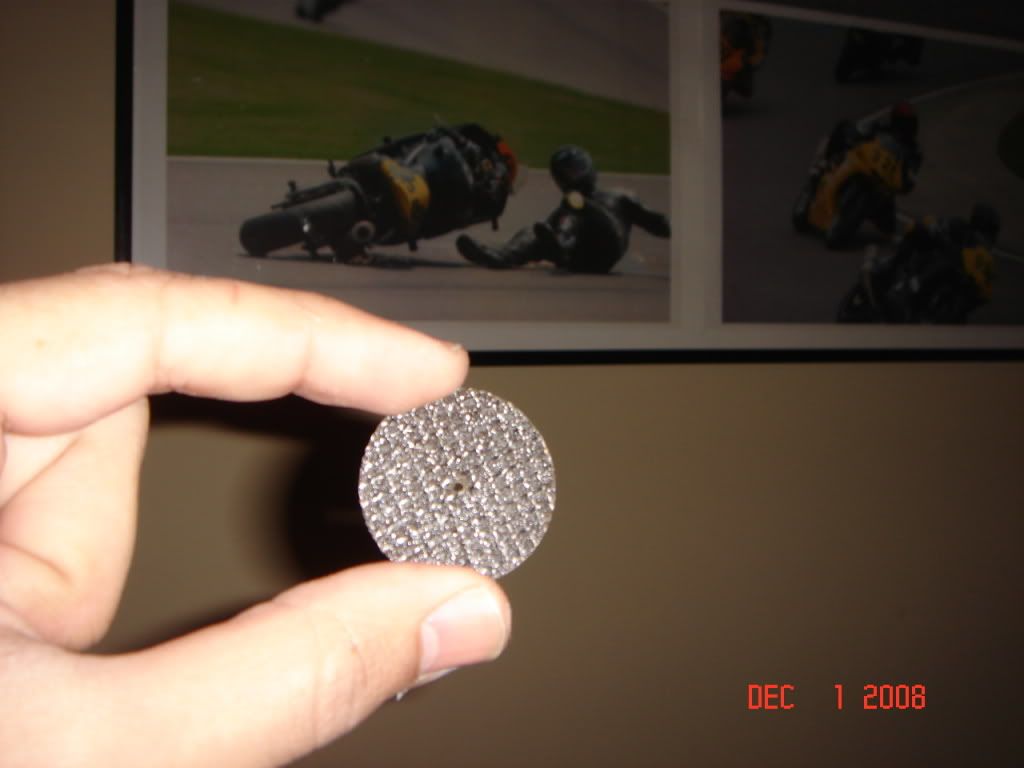
I put a couple of more layers of resin and mat to reach the thickness I wanted. Then I started to cut the rings for the subwoofer. I wanted to the countersunk look, so I cut 2 different size of rings;
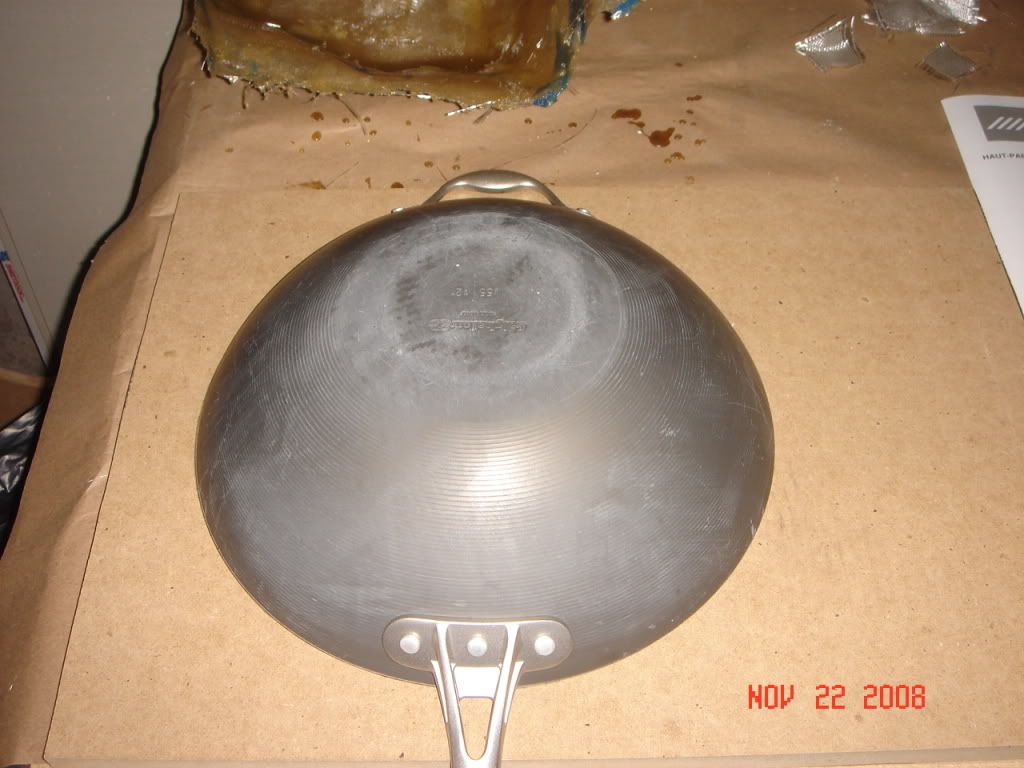
since I lost th actual cardboard rings that came with the woofer, I had to be creative and used a pan (wife still does not know) to get the appropriate size of ring.
glued 2 rings together with liquid nail and let it dry overnight.
used dowels and hot glue gun to give the rings the aim I wanted
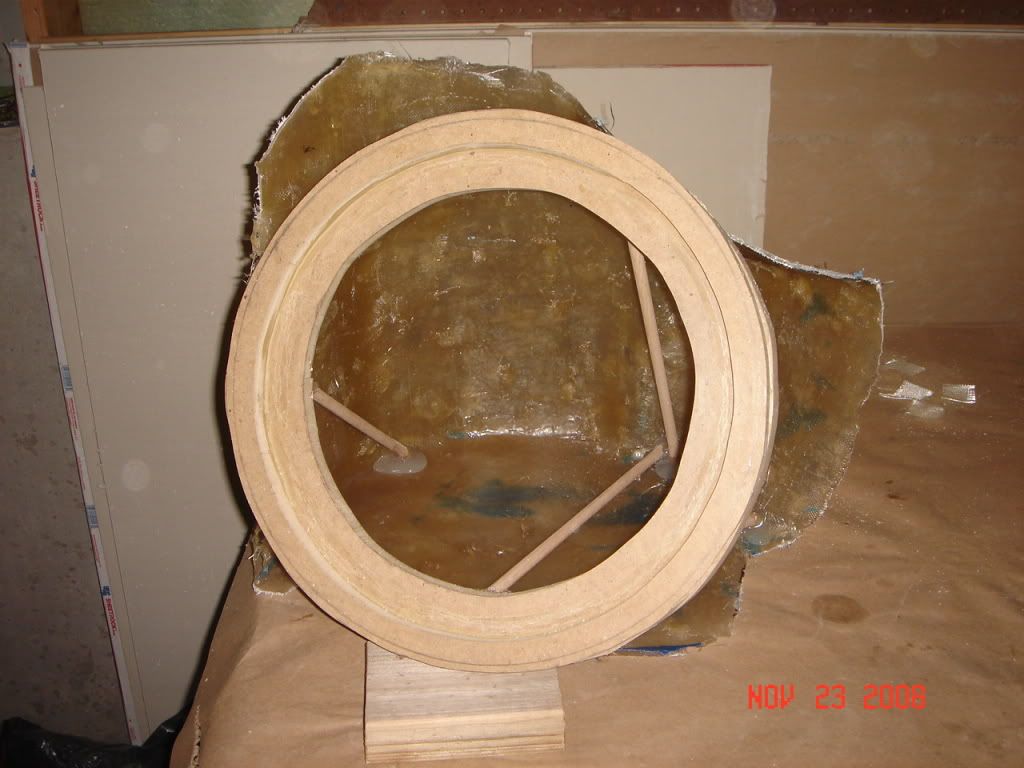
side view
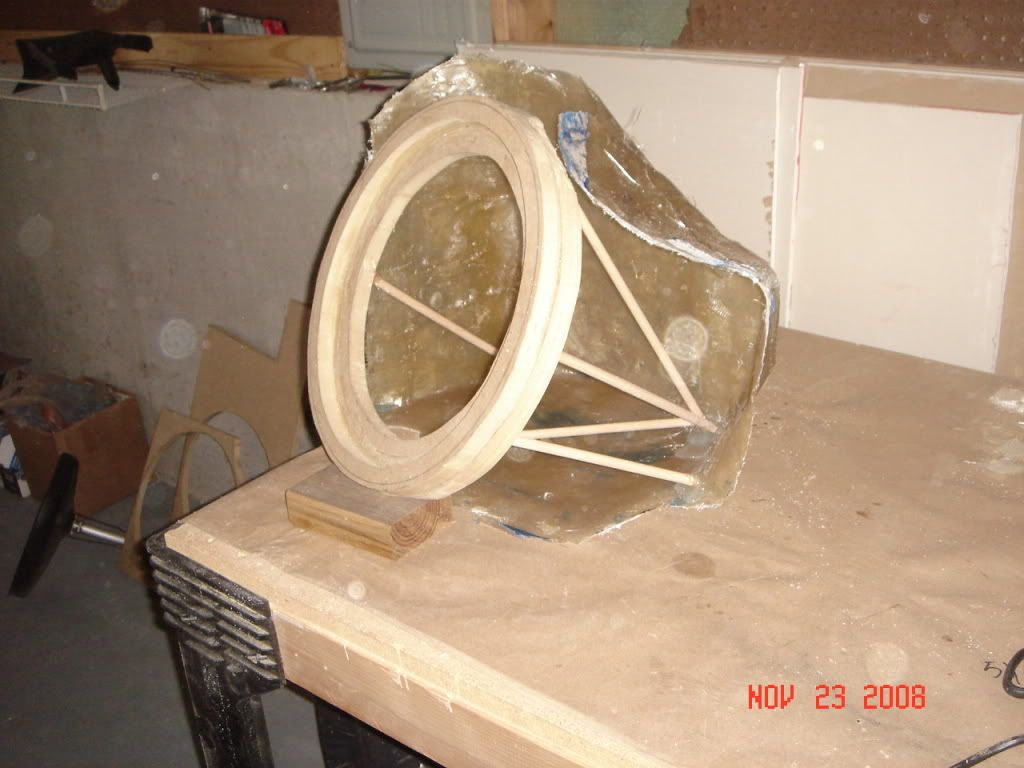
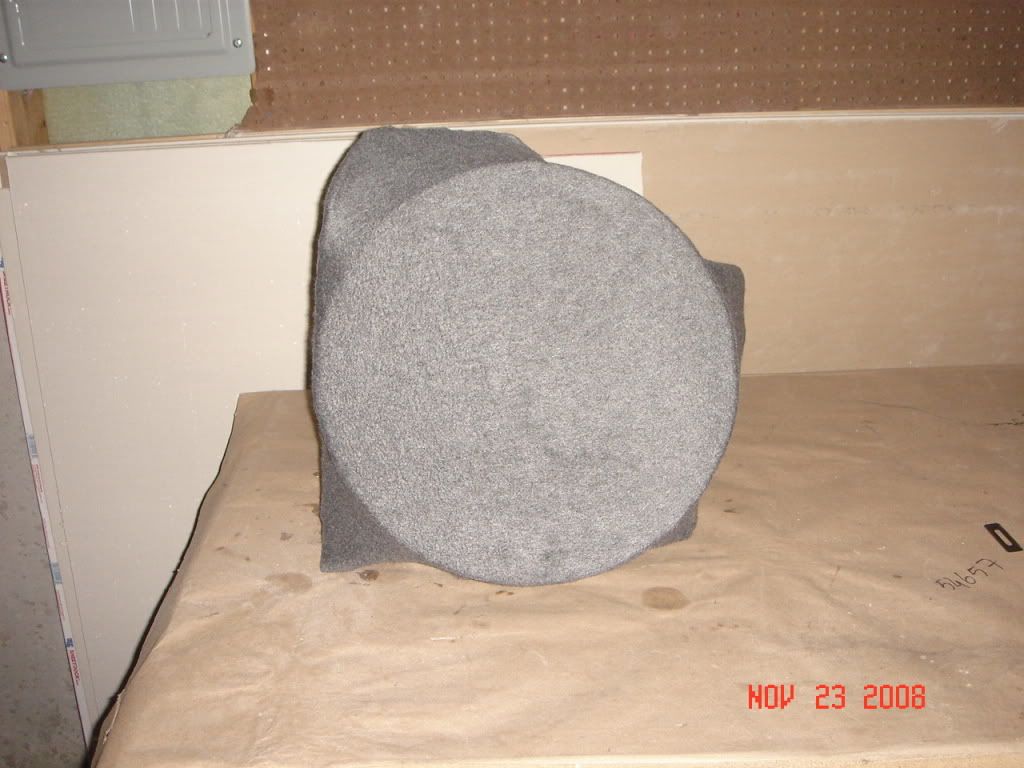
used a fleece and 3m spray glue to attach the fiberglass to the rings, then cover the fleece with 4 layers of resin and fiberglass mat.
measured the inside space for the correct cubic ft.
here is the final product. after completing this and seeing how much of a work it is, now I know why UNCALD4 charges $380 for this )) it was a lot of work but I had fun.
After spending almost 2 weeks I finally finished my install. I have read almost all custom audio instal threads here and added a little bit of my knowledge and I am extremely happy with the result. I would like to tahnk everyone for their contributions to this great site.
Here is the components of my system,
Front Components : Image Dynamics CTX65 CS
Rear Coaxials : Polk MOMO MMC 650
Subwoofer : Alpine Type R 12"
Amp for the speakers Alpine PDX-4.100
Sub Amp :Alpine PDX-1.600
RF 360.2 Sound processor
Knuconcepts amp wiring kit and speaker wires
I started my project with building a custom enclosure for the subwoofer. This was a very time consuming project since I have never done anything like this before (except repairing motorcycle fairing, but this is littler different)
First I taped the corner of the trunk with painters tape(3 layers) then added a layer of resin then fiberglass mat. After 2 layers this is what I ended up with.
I put a couple of more layers of resin and mat to reach the thickness I wanted. Then I started to cut the rings for the subwoofer. I wanted to the countersunk look, so I cut 2 different size of rings;
since I lost th actual cardboard rings that came with the woofer, I had to be creative and used a pan (wife still does not know) to get the appropriate size of ring.
glued 2 rings together with liquid nail and let it dry overnight.
used dowels and hot glue gun to give the rings the aim I wanted
side view
used a fleece and 3m spray glue to attach the fiberglass to the rings, then cover the fleece with 4 layers of resin and fiberglass mat.
measured the inside space for the correct cubic ft.
here is the final product. after completing this and seeing how much of a work it is, now I know why UNCALD4 charges $380 for this
)) it was a lot of work but I had fun.
 12-20-2008, 05:35 PM
#4
Intermediate
Thread Starter
Join Date: Nov 2008
Age: 48
Posts: 47
Likes: 0
Received 0 Likes
on
0 Posts
front speakers
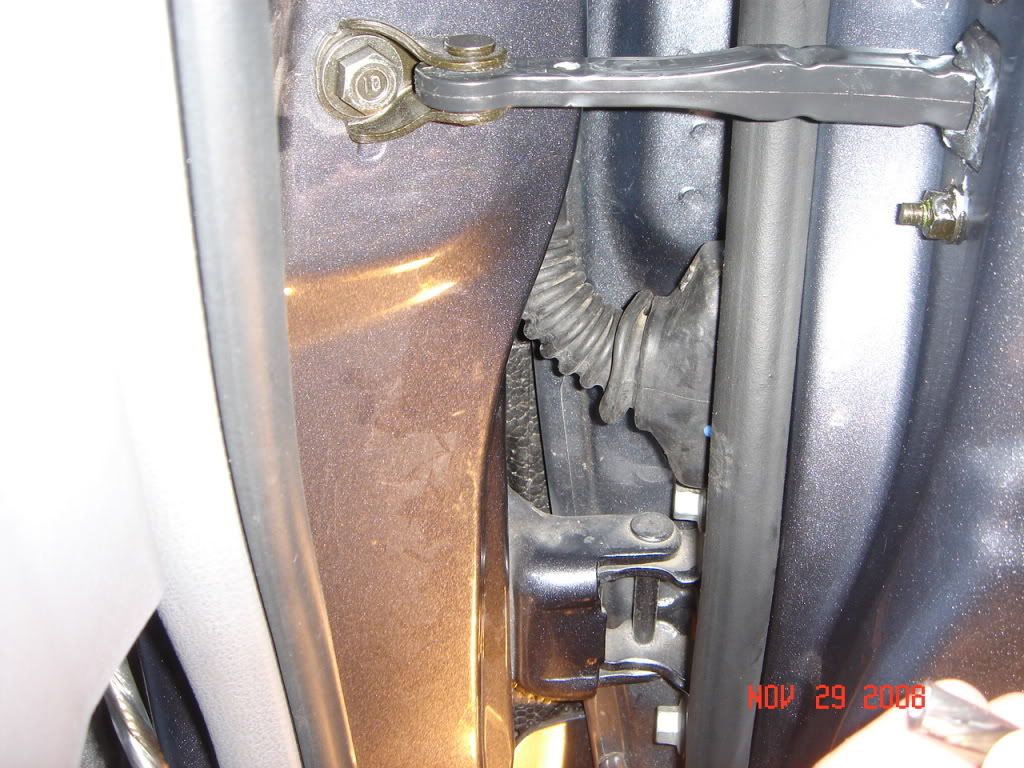
After reading what everone did for the front speaker wires, I decided to do it right and not to tap into the factory wires. Hopefully the pictures below will help others to get an idea of what I did. I used 12 guage speaker wires for the fronts and rears.
As you know the door on the ACURA TL has a big plastic connector and there is no room around it to run a speaker wire. Drilling into the plastic piece was not an option for me (i know some others did) as the wire i used was too thick to do it. Here is what I did
First, i disconnected the white plastic connector and cut a half circle for the speaker wire to fit in.
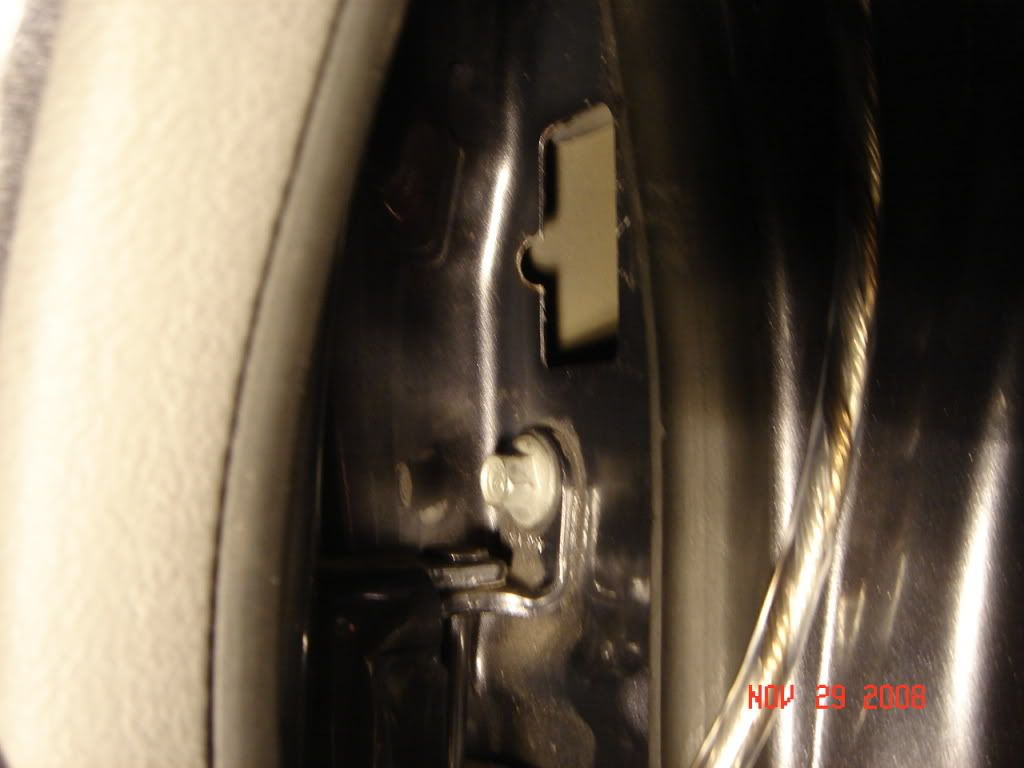
I used a rubber grommet for protection and a piece of mind.
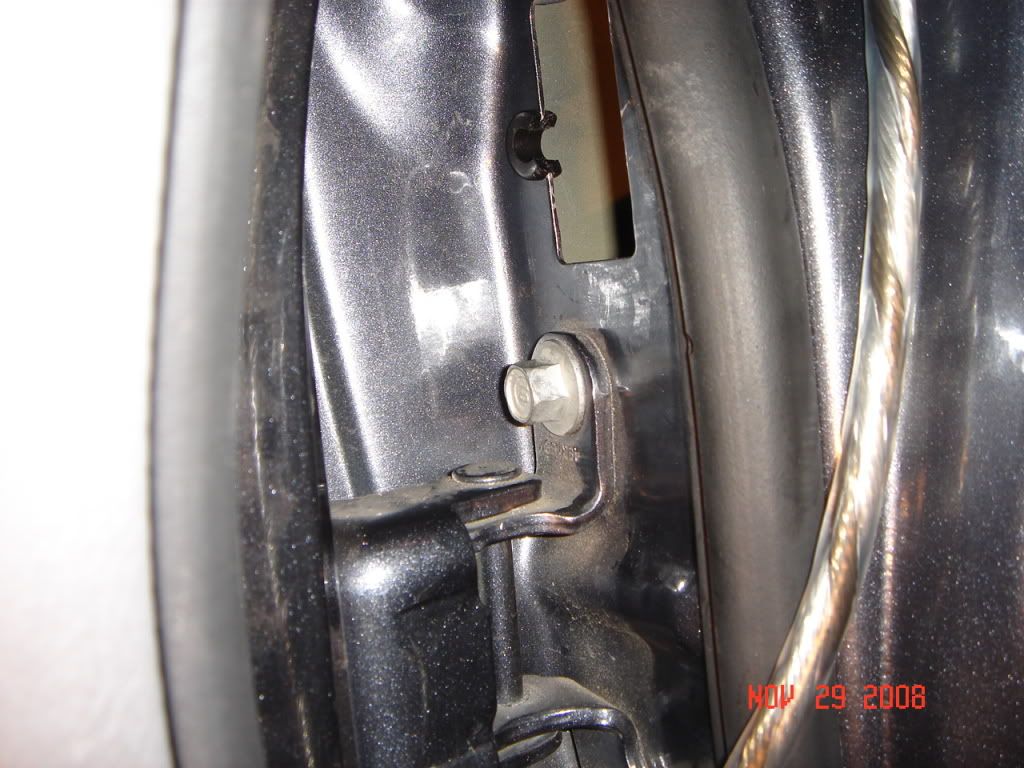
plastic connector in its place
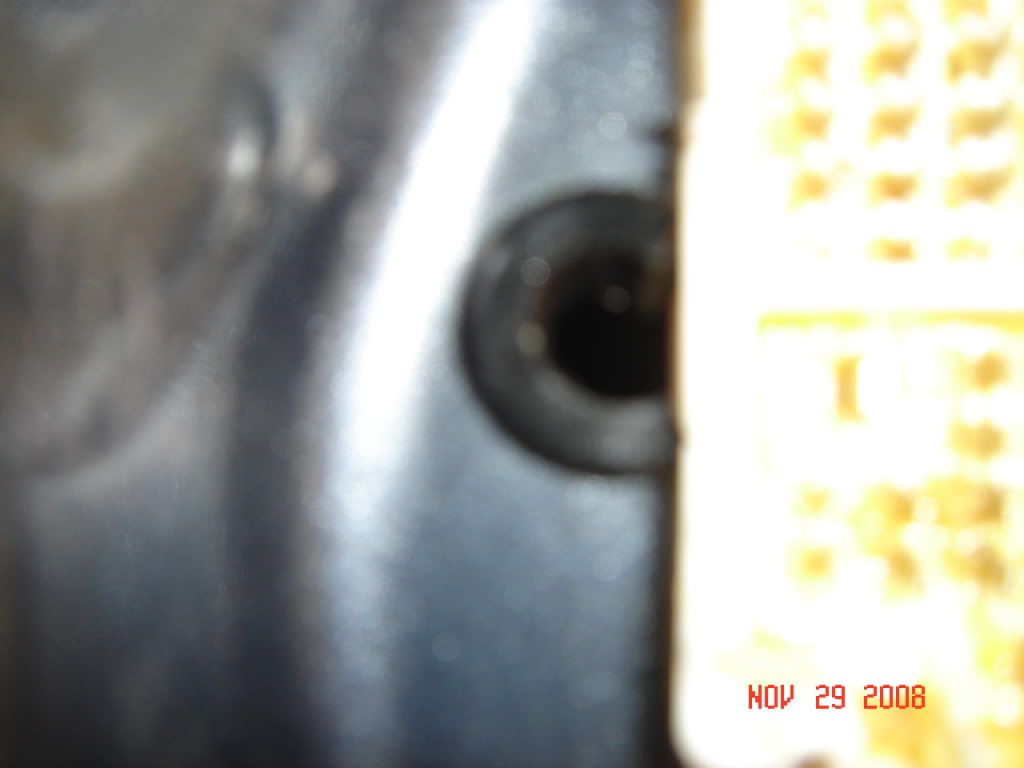
finished product, the speaker wire is inside the rubber piece . I made a little whole on the back side of it for the speaker cable to go inside the door .
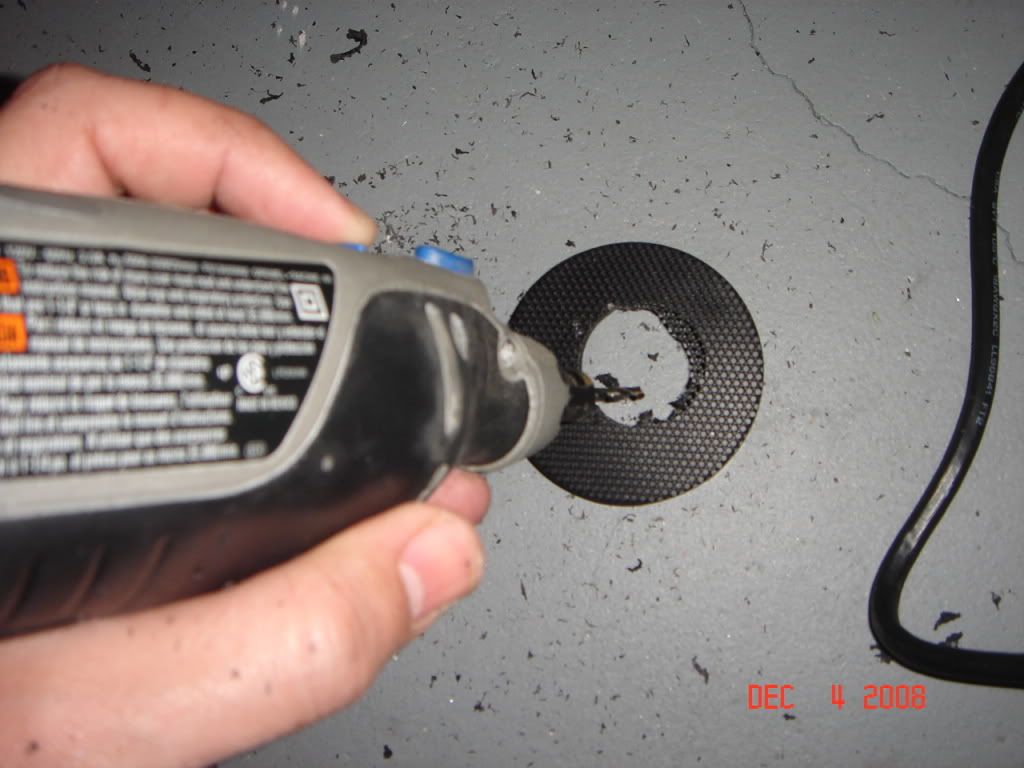
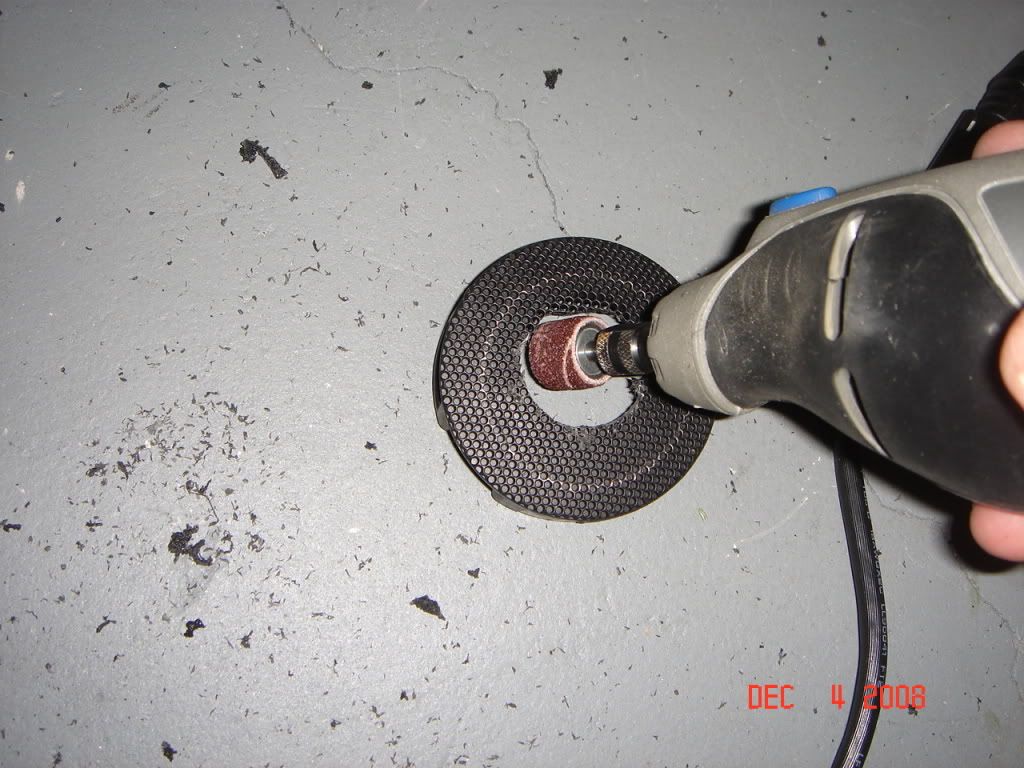
I had to cut the doors a little bit to fit Image dynamics components, here is the pictures of the tools I used,
little wheel for the dremel tool to make bigger hole on the door

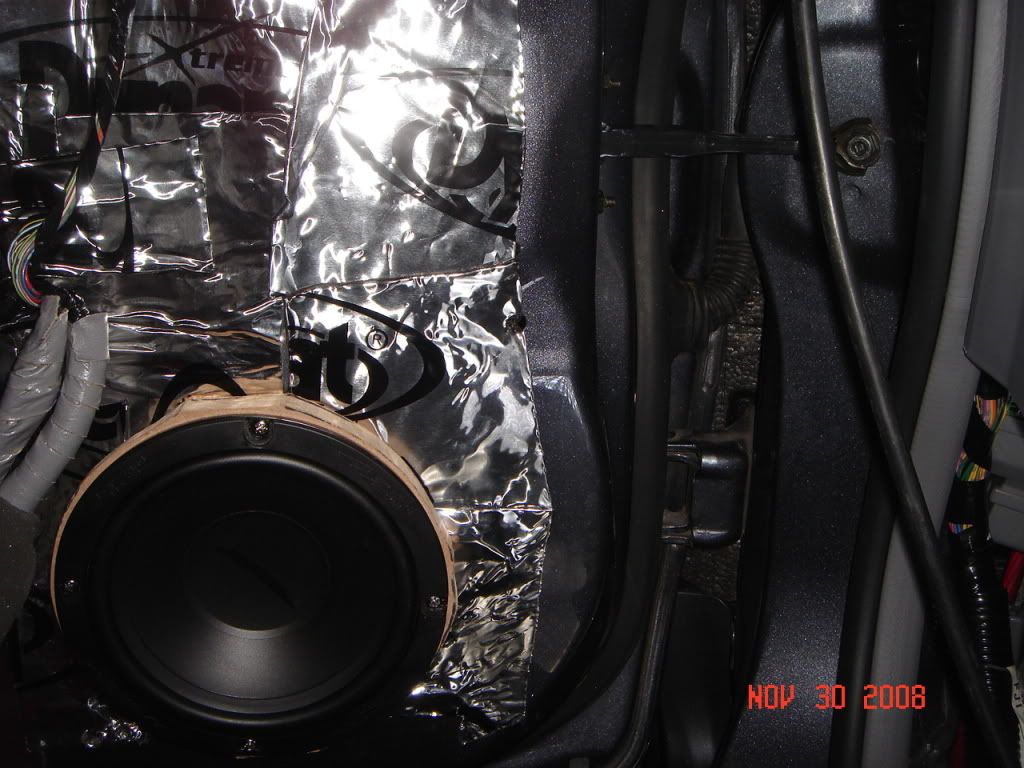
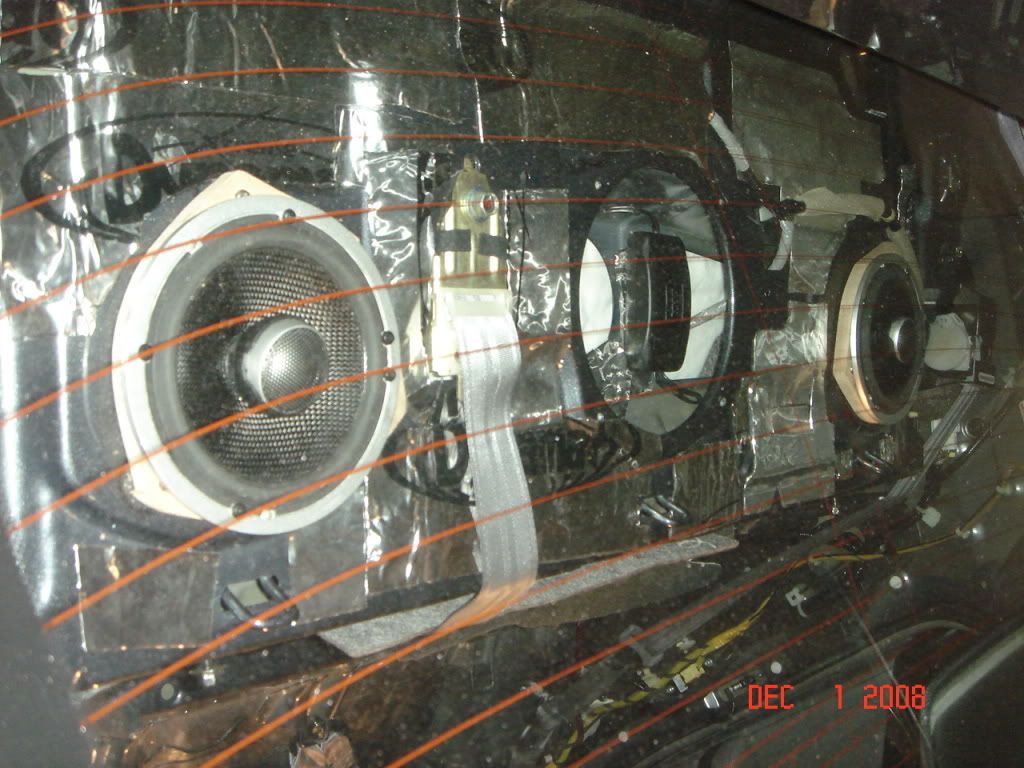
doors dynomatted and ready for installation
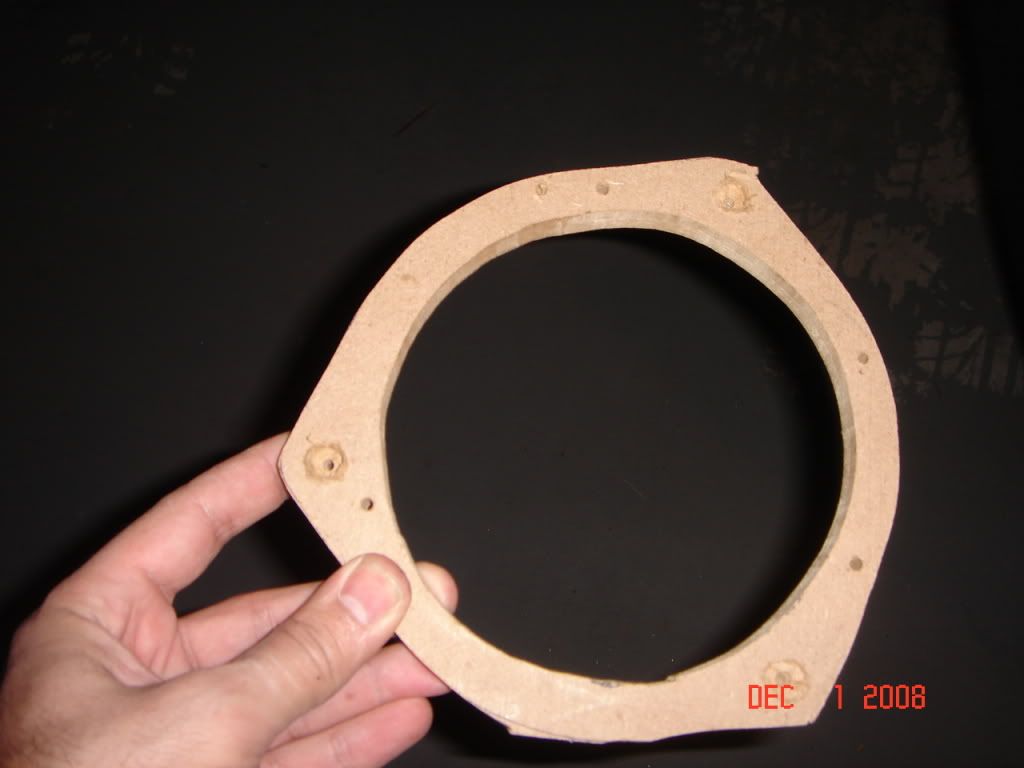
I used half inch MDF ring for the speakers for better fit
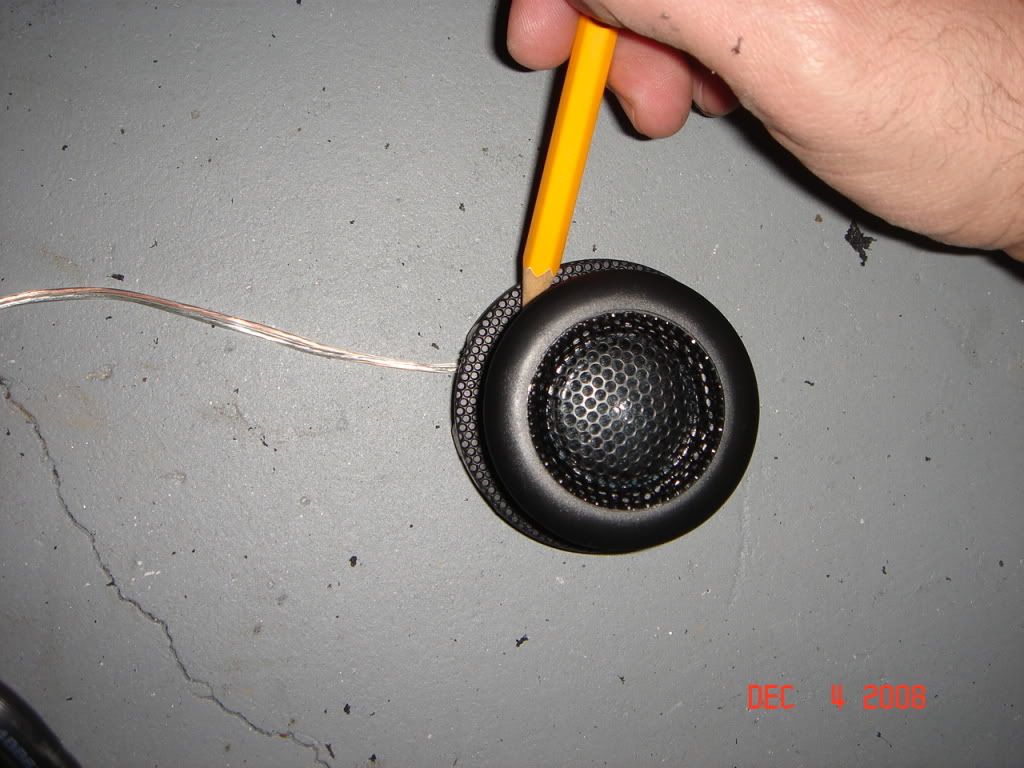
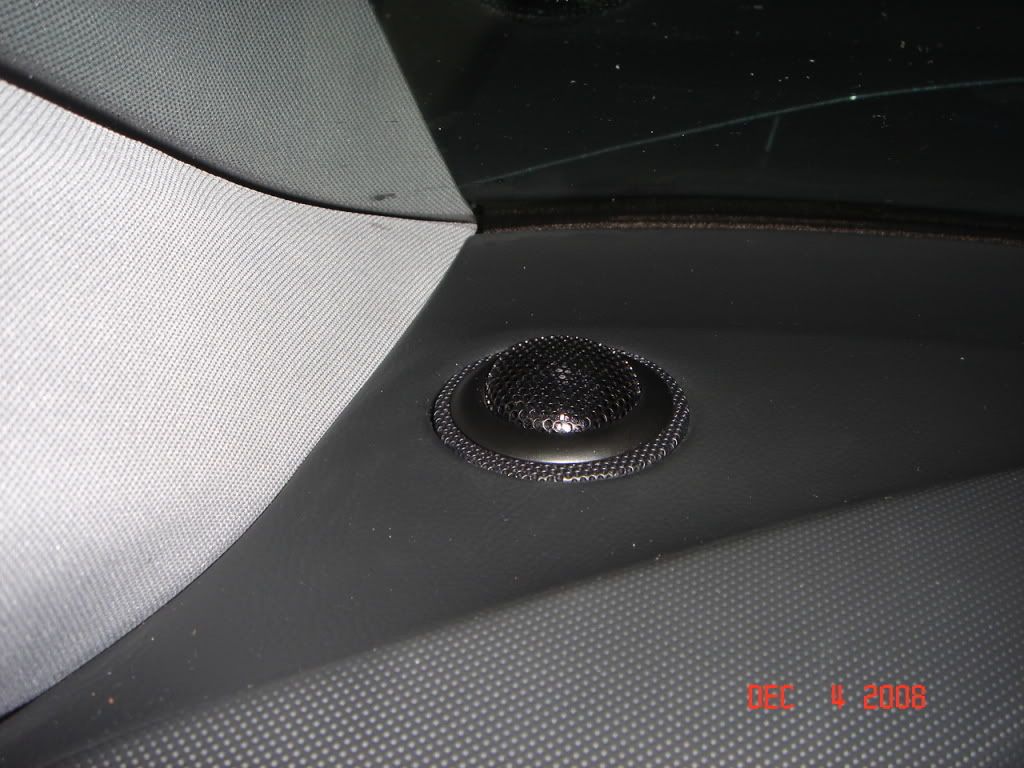
here is install for the tweeters, I hope the pics will explain it all.
final look
As you know the door on the ACURA TL has a big plastic connector and there is no room around it to run a speaker wire. Drilling into the plastic piece was not an option for me (i know some others did) as the wire i used was too thick to do it. Here is what I did
First, i disconnected the white plastic connector and cut a half circle for the speaker wire to fit in.
I used a rubber grommet for protection and a piece of mind.
plastic connector in its place
finished product, the speaker wire is inside the rubber piece . I made a little whole on the back side of it for the speaker cable to go inside the door .
I had to cut the doors a little bit to fit Image dynamics components, here is the pictures of the tools I used,
little wheel for the dremel tool to make bigger hole on the door
doors dynomatted and ready for installation
I used half inch MDF ring for the speakers for better fit
here is install for the tweeters, I hope the pics will explain it all.
final look
12-20-2008, 05:47 PM
#5
Intermediate
Thread Starter
Join Date: Nov 2008
Age: 48
Posts: 47
Likes: 0
Received 0 Likes
on
0 Posts
rear speakers
I dynomatted the rear deck and installed the polk momos. First, i cut mdf rings but they were two thick, so the rear deck did not go in its place with them. I got rid of them and I used 3m tape so the metal does not touch metal and screw all the speakers in it s place. Making a whole for the speakers were not easy as there wasn't enough room for the drill to fit in. I purchased a piece (8 "long and can be bent, I am not what it is called) for the drill and attached the drill bit and made the necessary holes.
Here are the pics
do not use them it will not clear
I took the speaker rings off, I used 3 m tapes and hide the crossovers in the rear deck (these crossovers are not adjustable and have no functionality)
Here are the pics
do not use them it will not clear
I took the speaker rings off, I used 3 m tapes and hide the crossovers in the rear deck (these crossovers are not adjustable and have no functionality)
12-20-2008, 05:53 PM
#7
200,000 mile club
Join Date: Jul 2007
Location: Charlotte, NC
Age: 49
Posts: 1,774
Likes: 0
Received 35 Likes
on
15 Posts
Nice job man. How are those front components sounding? I heard they will hit pretty hard with a lot of punch for a 6.5 inch woffer and have great highs. Where did you buy them?
Trending Topics
12-20-2008, 05:54 PM
#8
Intermediate
Thread Starter
Join Date: Nov 2008
Age: 48
Posts: 47
Likes: 0
Received 0 Likes
on
0 Posts
Amp rack and 3 sixty.2 install
I used the spare tire area for my amps, I am in the process of building a plexi glass cover for the amps and the 3sixty.2 for a better look.
I cut a half and inch MDF for my amp rack and covered with some type of fabric - foam mixture. I used a screw where you mont the spare tire to stable te amp rack. I am going to get rid of the long RCA s and get short ones and will install a small fan for better air circulation.
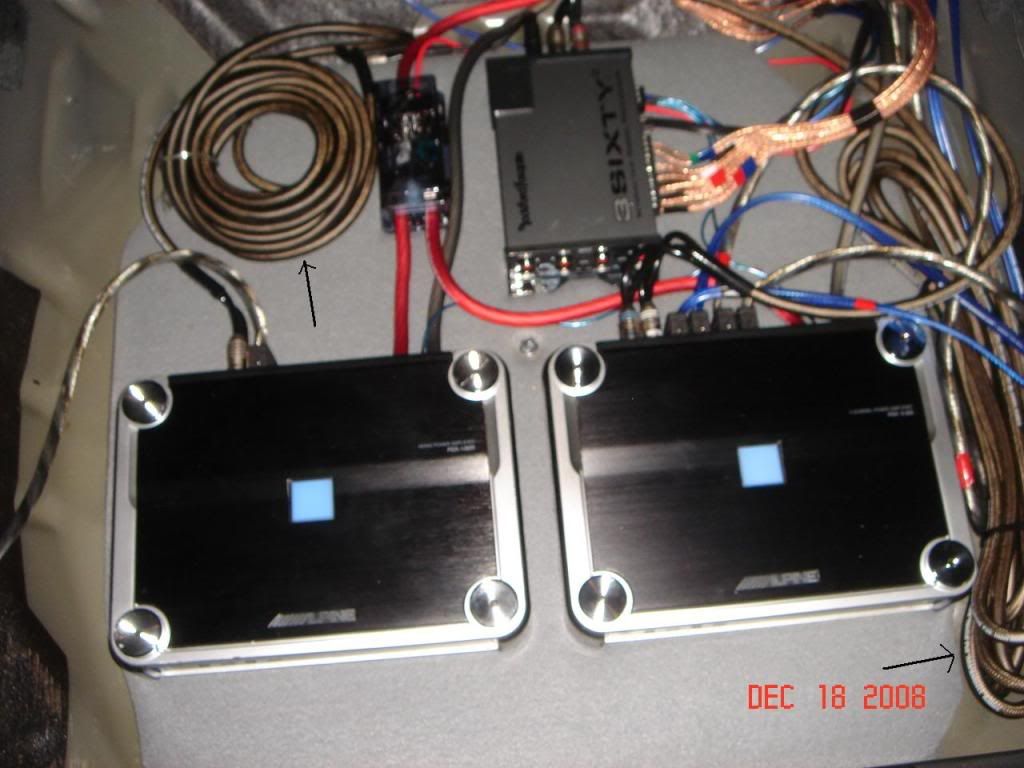
I cut a half and inch MDF for my amp rack and covered with some type of fabric - foam mixture. I used a screw where you mont the spare tire to stable te amp rack. I am going to get rid of the long RCA s and get short ones and will install a small fan for better air circulation.
12-20-2008, 06:01 PM
#9
Intermediate
Thread Starter
Join Date: Nov 2008
Age: 48
Posts: 47
Likes: 0
Received 0 Likes
on
0 Posts
12-20-2008, 06:04 PM
#11
Intermediate
Thread Starter
Join Date: Nov 2008
Age: 48
Posts: 47
Likes: 0
Received 0 Likes
on
0 Posts
 12-20-2008, 06:06 PM
#12
Intermediate
Thread Starter
Join Date: Nov 2008
Age: 48
Posts: 47
Likes: 0
Received 0 Likes
on
0 Posts
they are very good but I still need tons of adjusting to do on this system. For now, my amp gain settings are at minimum and I only spend an hour to tune the system using 3sixty.2.

Thread
Thread Starter
Forum
Replies
Last Post
BoricuaTL
Car Parts for Sale
138
04-08-2016 01:08 PM
Pegon95
3G TL Audio, Bluetooth, Electronics & Navigation
4
09-15-2015 01:54 PM
DiamondJoeQuimby
Car Parts for Sale
1
09-10-2015 11:40 AM