


DIY - Clear headlights and Paint HID Ring.

DIY - Clear headlights and Paint HID Ring.
Well I have been reading and reading post on doing this, I have been debating with myself for a week whether or not I should attempt to even mess with the headlights. So I asked my lovely wifes opinion and she said i should go for it. SO Anyways here is my Custom Headlight Job.
First your Going to have to remove the bumper. DIY-> https://acurazine.com/forums/showthread.php?t=169101

Setup a nice clean workstation.

After I removed my bumper I realized my intake bracket broke. So duck tape temporarily till I get it re welded, Luckily I work for the company that makes the wonderful stuff.

Remove your headlight

I baked my headlights in the oven @ 190 degrees for 10 minutes and they came apart just fine. NO Preheat Necessary.

You need some heat resistant gloves, make sure they are clean or new, and a small screwdriver to get started.

I laid alluminum foil over the wife's cutting board to prepare for light when it leaves the oven.

Once I pulled out the headlight I bent all taps back and then started from the corner closest to the fog light and pulled from there. Take your time, try not to let the Glue get inside the housing or lens.

Once it cooled I used latex gloves to handle lens to prevent fingerprints.

Fuel to keep me going

Pulled the lens apart and the housing. There is a screw hodling the orange part in and a screw holding the chrome housing in place. turn signal housing is held in by a ball joint, pry easy don't break it.


FrogTaped the HID ring because you need to paint the triangle piece the same color as the housing.

Take screw out and Break off the Chrome tabs on the back of the Turn signal lens to remove that ugly thing.


Chrome piece will be loose, so i used this epoxy that smelled like Skunk BUTT but it worked very well.


Both Headlights removed

Lunch time

I used VHT engine metallic to paint my lens chrome housing.


And Blue VHT engine enamel for the HID ring


After 7 light coats, and paint was dry it was time to put everything back together.
Using Black high temp RTV I filled the groove in the housing to prepare for the lens.
Squeezed the lens back on in the reverse order it came out.
Heated it back up in the oven to softened the leftover OEM glue so I could get the lens back perfectly centered.
Then I used clamps to hold it all together till it cooled and the RTV dried.

After it dried I put the headlight back on the people mover.


And repeated all steps for passenger Light.

All Done, and all flush and aligned.


I love it myself, and my wife loves it also.
I did this by myself and with the help of PPLAPW, and Maddizm for posting DIY's. Thank you guys.
Taking my time and a 90 minute break for lunch and drying times, the entire project took me 6 hours from start to cleaned up.
Gotta Love Acurazine.com!
What do you guys and gals think?
First your Going to have to remove the bumper. DIY-> https://acurazine.com/forums/showthread.php?t=169101
Setup a nice clean workstation.
After I removed my bumper I realized my intake bracket broke. So duck tape temporarily till I get it re welded, Luckily I work for the company that makes the wonderful stuff.
Remove your headlight
I baked my headlights in the oven @ 190 degrees for 10 minutes and they came apart just fine. NO Preheat Necessary.
You need some heat resistant gloves, make sure they are clean or new, and a small screwdriver to get started.
I laid alluminum foil over the wife's cutting board to prepare for light when it leaves the oven.
Once I pulled out the headlight I bent all taps back and then started from the corner closest to the fog light and pulled from there. Take your time, try not to let the Glue get inside the housing or lens.
Once it cooled I used latex gloves to handle lens to prevent fingerprints.
Fuel to keep me going
Pulled the lens apart and the housing. There is a screw hodling the orange part in and a screw holding the chrome housing in place. turn signal housing is held in by a ball joint, pry easy don't break it.
FrogTaped the HID ring because you need to paint the triangle piece the same color as the housing.
Take screw out and Break off the Chrome tabs on the back of the Turn signal lens to remove that ugly thing.
Chrome piece will be loose, so i used this epoxy that smelled like Skunk BUTT
but it worked very well.Both Headlights removed
Lunch time
I used VHT engine metallic to paint my lens chrome housing.
And Blue VHT engine enamel for the HID ring
After 7 light coats, and paint was dry it was time to put everything back together.
Using Black high temp RTV I filled the groove in the housing to prepare for the lens.
Squeezed the lens back on in the reverse order it came out.
Heated it back up in the oven to softened the leftover OEM glue so I could get the lens back perfectly centered.
Then I used clamps to hold it all together till it cooled and the RTV dried.
After it dried I put the headlight back on the people mover.
And repeated all steps for passenger Light.
All Done, and all flush and aligned.
I love it myself, and my wife loves it also.
I did this by myself and with the help of PPLAPW, and Maddizm for posting DIY's. Thank you guys.
Taking my time and a 90 minute break for lunch and drying times, the entire project took me 6 hours from start to cleaned up.
Gotta Love Acurazine.com!
What do you guys and gals think?


FrogTaped the HID ring because you need to paint the triangle piece the same color as the housing.
The "triangle" isn't even visible when everything is together.
Nice DIY OP.
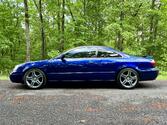


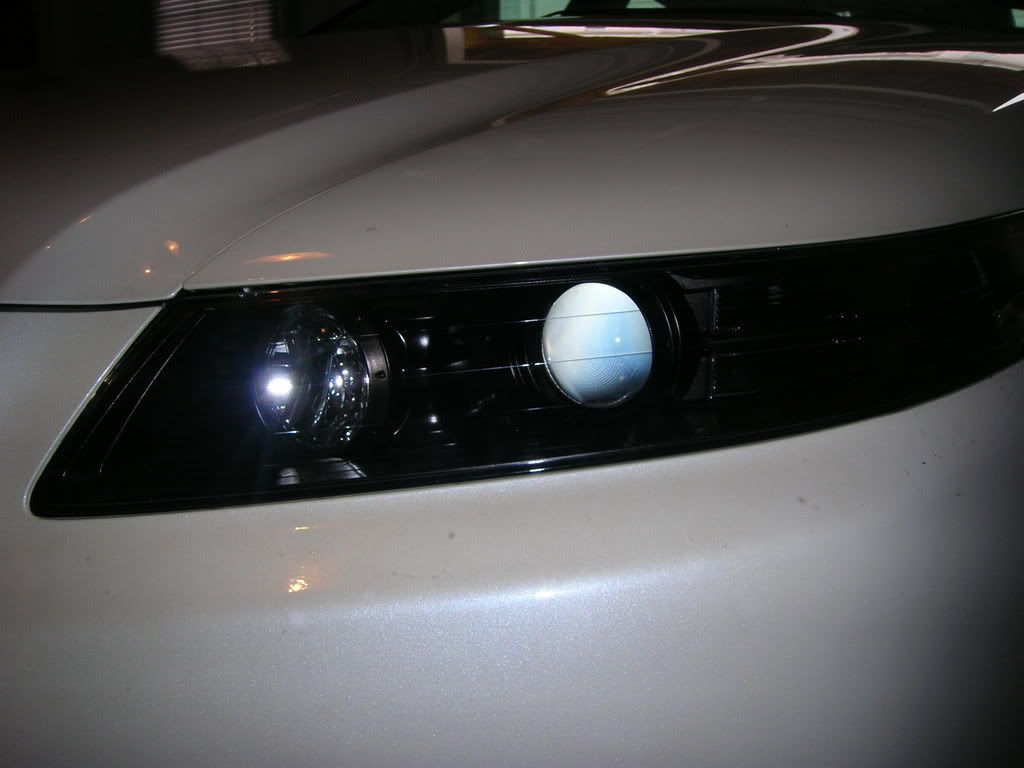
Trending Topics
talmadgeryan great job man. Those headlamps look great. Looking at the side marker/turn signals the light seems pretty dull. Are the turn signals more in person?
Also, did you ever consider not putting the chrome strip that came off the amber diffuser? I tried mine both ways, and I personally thought it looked better without the chrome strip.
Not to thread jack, but here's what mine look like without the chrome strip. One thing I wish I would have done though, was paint the area circled in red.

Those headlamps look great. Looking at the side marker/turn signals the light seems pretty dull. Are the turn signals more in person?Also, did you ever consider not putting the chrome strip that came off the amber diffuser? I tried mine both ways, and I personally thought it looked better without the chrome strip.
Not to thread jack, but here's what mine look like without the chrome strip. One thing I wish I would have done though, was paint the area circled in red.
Last edited by crbnfbr; Oct 22, 2012 at 12:26 AM.


talmadgeryan great job man. Those headlamps look great. Looking at the side marker/turn signals the light seems pretty dull. Are the turn signals more in person?
Also, did you ever consider not putting the chrome strip that came off the amber diffuser? I tried mine both ways, and I personally thought it looked better without the chrome strip.
Not to thread jack, but here's what mine look like without the chrome strip. One thing I wish I would have done though, was paint the area circled in red.
Those headlamps look great. Looking at the side marker/turn signals the light seems pretty dull. Are the turn signals more in person?Also, did you ever consider not putting the chrome strip that came off the amber diffuser? I tried mine both ways, and I personally thought it looked better without the chrome strip.
Not to thread jack, but here's what mine look like without the chrome strip. One thing I wish I would have done though, was paint the area circled in red.
Your lights look good, I like the chrome strip though.
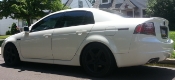
Looks good, I'm gonna do mine this weekend too, I'm thinking all the trim I'll do satin black and I'm gonna leave the amber part out and put a chrome bulb in, but probably not gonna paint the inside there black and leave it chrome. Also have some ZRW's and Morimoto 5000k's on the way.
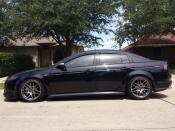
good job, but I hope you realized you just killed the output of your parking and turn signal lights by painting the chrome piece behind it. That chrome behind the turn signal area is meant to help reflect the turn signal light and make it brighter. Since you painted that chrome now it will look dim during the day and even less bright at night compared to a TL headlight with the chrome still in place..
Looks good, I'm gonna do mine this weekend too, I'm thinking all the trim I'll do satin black and I'm gonna leave the amber part out and put a chrome bulb in, but probably not gonna paint the inside there black and leave it chrome. Also have some ZRW's and Morimoto 5000k's on the way.
good job, but I hope you realized you just killed the output of your parking and turn signal lights by painting the chrome piece behind it. That chrome behind the turn signal area is meant to help reflect the turn signal light and make it brighter. Since you painted that chrome now it will look dim during the day and even less bright at night compared to a TL headlight with the chrome still in place..




 . I can't stand those things.
lol, yeah NC is about the worst for crazy drivers. especially Charlotte, catastrophic events happen when there is rain or snow. hate that third brake too.
http://www.uniquestyleracing.com/20042008-20042008.html
They also have cleared headlamps, type-s angel eye headlights, and what I really want the, all clear tail lamps. The clear diffusers are pretty pricey though at $120, but they fit the 04-06 headlamps.
If I remember correctly they're also a vendor here at acurazine.
They also have cleared headlamps, type-s angel eye headlights, and what I really want the, all clear tail lamps. The clear diffusers are pretty pricey though at $120, but they fit the 04-06 headlamps.
If I remember correctly they're also a vendor here at acurazine.
Last edited by crbnfbr; Oct 23, 2012 at 02:52 PM.
http://www.uniquestyleracing.com/20042008-20042008.html
They also have cleared headlamps, type-s angel eye headlights, and what I really want the, all clear tail lamps. The clear diffusers are pretty pricey though at $120, but they fit the 04-06 headlamps.
If I remember correctly they're also a vendor here at acurazine.
They also have cleared headlamps, type-s angel eye headlights, and what I really want the, all clear tail lamps. The clear diffusers are pretty pricey though at $120, but they fit the 04-06 headlamps.
If I remember correctly they're also a vendor here at acurazine.
Btw, if you can find a Type-S diffuser, that will fit the 04-06 headlights. The diffusers are all interchangable.
Thanks for that info about thr USR clear diffusers. I didn't realize they needed trimming, but they wouldn't really work on my car anway since I cut out the thin horizontal strip.
Does anybody know how good the Depo clear headlamps are? Particularly the lense, and cutoff. Because, I was approached at a gas station by a guy wanting fo buy mine, and then I figurer I could get the clear Depo's and black them out.
Does anybody know how good the Depo clear headlamps are? Particularly the lense, and cutoff. Because, I was approached at a gas station by a guy wanting fo buy mine, and then I figurer I could get the clear Depo's and black them out.

Maybe I can't read but you removed the orange diffuser and have none in there now correct?
If so it looks great and how does the does it blink now is it less concentrated in one part of the light?
If so it looks great and how does the does it blink now is it less concentrated in one part of the light?
 . I have no diffuser at all or the thin horizontal strip that went through the middle of the diffuser. The turn signals are great from the from but especially from the side since I didn't paint the curved chrome piece that I wish I would have. I used to have the chrome bulbs that blink amber, but they were just too dull for me. So, I got some "rainbow" amber bulbs.
Yes that is correct. You see the bulb now. Its kinda ugly, but i just ordered led switchbacks. The stock bulb glows a dingy orange for the running light and a brighter light yellow for the turn signal. It still shines good. Just not the color i want.
The typical rule of thumb is that if you clear your headlights, you would need to upgrade the turn signal bulbs.
The turn signal bulbs are actually pale white yellow and the colour amber is given off the orange diffuser. Take that orange diffuser out and... bye bye orange signal output.
LEDs are the solution.
The turn signal bulbs are actually pale white yellow and the colour amber is given off the orange diffuser. Take that orange diffuser out and... bye bye orange signal output.
LEDs are the solution.

 .
.


Got around to doing mine today, I was gonna leave the chorme strip in (but painted black) but wound up breaking it on the second headlight I opened so I took it out of the other one.


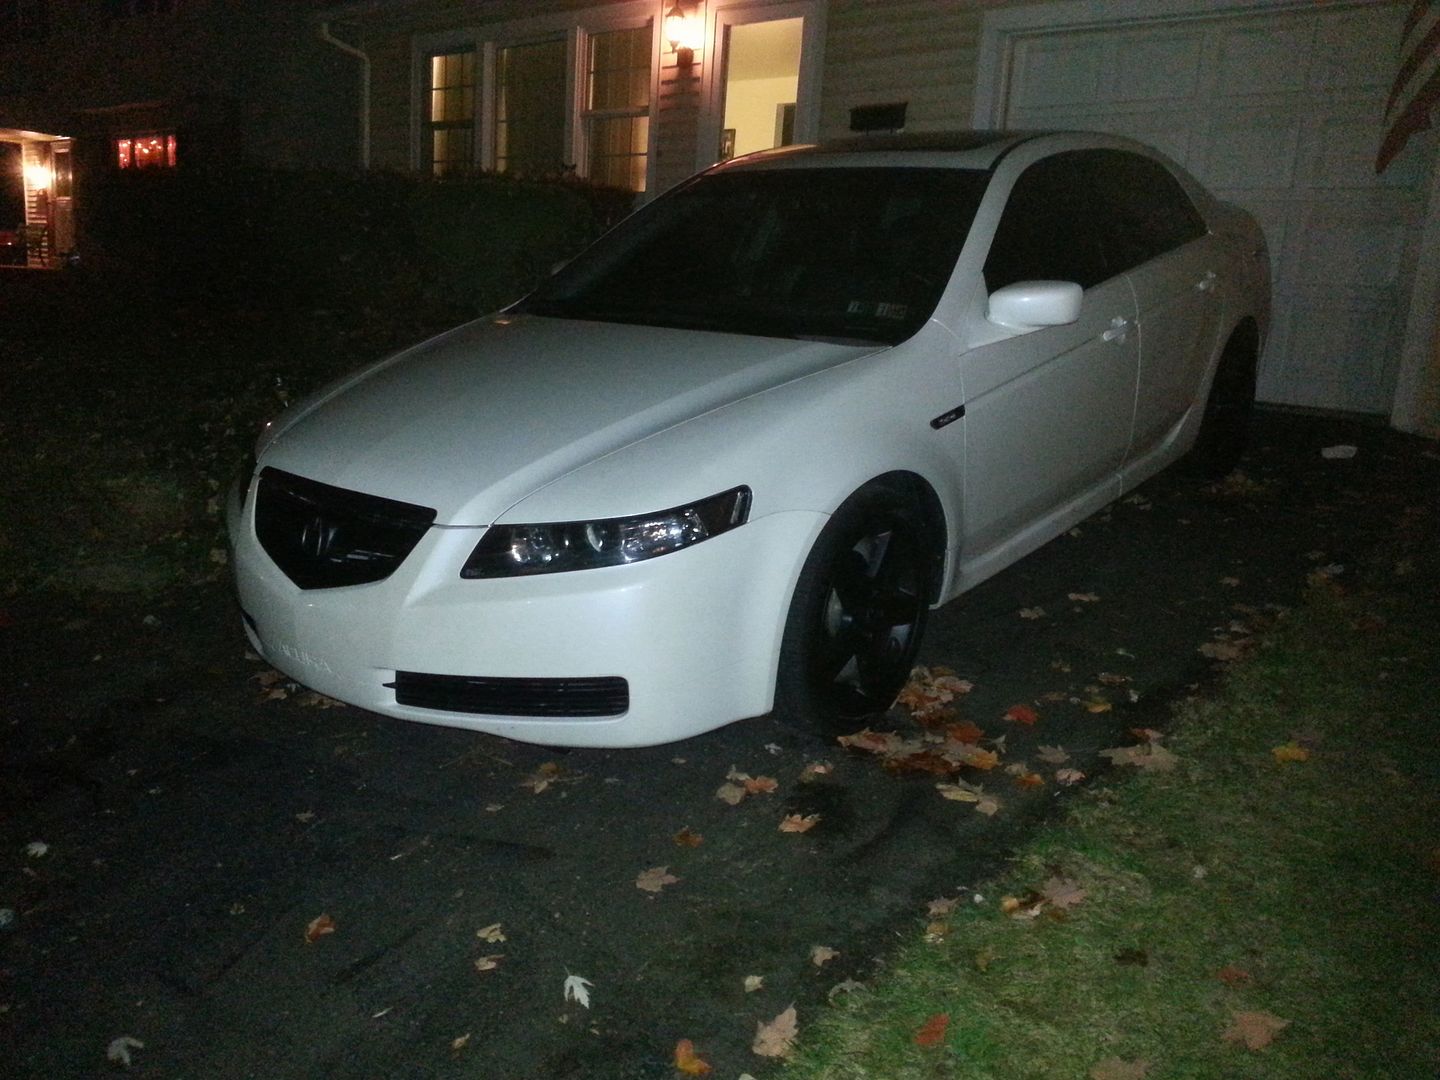
So happy to not have that ugly amber POS in there! The black on the front makes the whole housing look darker, happy with that. The ZKW's didn't make as much as an inprovement as I would have hoped, I had did a retrofit before and used clear TSX lenses (2.5" instead of 3" like ours) and the cutoff was insanely better.
So happy to not have that ugly amber POS in there! The black on the front makes the whole housing look darker, happy with that. The ZKW's didn't make as much as an inprovement as I would have hoped, I had did a retrofit before and used clear TSX lenses (2.5" instead of 3" like ours) and the cutoff was insanely better.

on a scale being 1- replace a wiper blade and 10- replace head gasket, i would say this is a solid 4, i would rate making a custom sub box out of fiberglass a 5. if that gives you any idea on the difficulty.
Got around to doing mine today, I was gonna leave the chorme strip in (but painted black) but wound up breaking it on the second headlight I opened so I took it out of the other one.
So happy to not have that ugly amber POS in there! The black on the front makes the whole housing look darker, happy with that. The ZKW's didn't make as much as an inprovement as I would have hoped, I had did a retrofit before and used clear TSX lenses (2.5" instead of 3" like ours) and the cutoff was insanely better.
So happy to not have that ugly amber POS in there! The black on the front makes the whole housing look darker, happy with that. The ZKW's didn't make as much as an inprovement as I would have hoped, I had did a retrofit before and used clear TSX lenses (2.5" instead of 3" like ours) and the cutoff was insanely better.
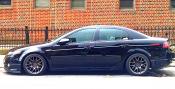
Thanks, I wouldn't bother reopening them for just that, maybe if you wanna do a lens upgrade down the road give it a try. I really had no intention of going without the strip, I had already painted the first one, then the second one I had trouble getting the amber off, and it bent a little then snapped.
Burning Brakes
Joined: Sep 2012
Posts: 1,167
Likes: 282
From: Mississauga, ON
Thank you, This is first time I have ever attempted to mess with headlights. It wasn't hard at all it just takes allot of patience and time. I would make sure you allow yourself 8 hours time to do this. going, don't get in a rush.
on a scale being 1- replace a wiper blade and 10- replace head gasket, i would say this is a solid 4, i would rate making a custom sub box out of fiberglass a 5. if that gives you any idea on the difficulty.
on a scale being 1- replace a wiper blade and 10- replace head gasket, i would say this is a solid 4, i would rate making a custom sub box out of fiberglass a 5. if that gives you any idea on the difficulty.