
Never Been...
 09-23-2011, 12:49 PM
#1
ROTAREDOM
Thread Starter
Never Been...
Just got it today! More to come...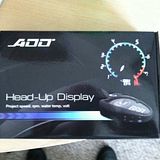
 09-23-2011, 12:55 PM
#2
woo sweet
this would be an AMAZING addition to the tsx if you got it to work, i always wanted a HUD
and please, if you can, do a DETAILED diy, dont do one of those things where people take a before and after pic and call it a day
if its work, i wanna do it!
this would be an AMAZING addition to the tsx if you got it to work, i always wanted a HUD
and please, if you can, do a DETAILED diy, dont do one of those things where people take a before and after pic and call it a day
if its work, i wanna do it!
The following 2 users liked this post by KillerG:
saucy (09-23-2011),
TSXKid2010 (09-23-2011)

 09-23-2011, 01:30 PM
#7
Goodbye.
I thought he was gonna write "kissed" like in the movie and then tell us a story with pictures of how his TSX got him his first kiss in a parking lot of a sports arena.
Quite disappointed.
Quite disappointed.
Trending Topics

 09-23-2011, 01:32 PM
#9
ROTAREDOM
Thread Starter
Never been... Wiz khalifa. And it's never been... Done on cu2. As far as I know
09-23-2011, 02:43 PM
#10
"Never been laid... but i got this aftermarket HUD"


 09-23-2011, 02:57 PM
#15
ROTAREDOM
Thread Starter
09-23-2011, 05:59 PM
#17
ROTAREDOM
Thread Starter
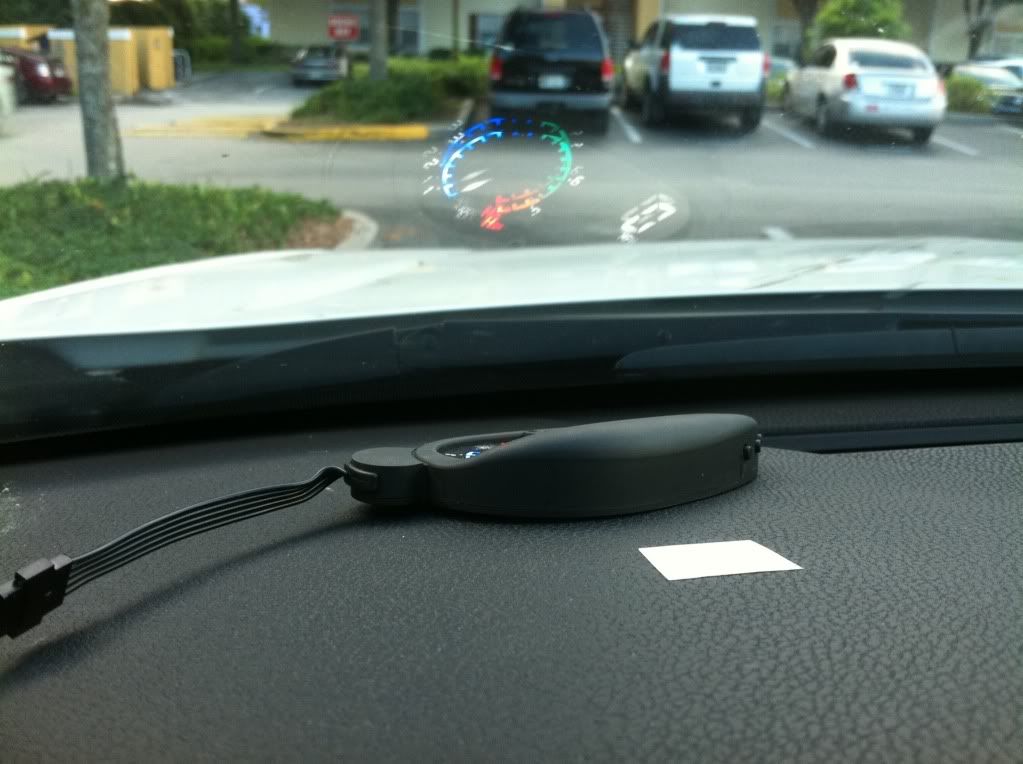
Not finished yet, still trying to position correctly and customize settings, but this is what it looks like. Full DIY and lots of pics and videos coming in the next few days.

09-23-2011, 06:32 PM
#19
First impression? is it awesome? worth it? gimmicky? will it impress or is it tacky?
09-23-2011, 06:53 PM
#20

looks really cool. from what i found, there are two varieties. one which requires professional install(100 bucks) and no professional install(160 bucks) i dont see any other differences. OP did you get it from amazon? also available in km instead of mph
http://www.amazon.com/Head-Display-S...f=pd_sbs_auto2
http://www.amazon.com/Head-Display-S...f=pd_sbs_auto2
09-23-2011, 07:12 PM
#22
ROTAREDOM
Thread Starter
First impression... I'm definitely getting laid now! Very bright even in daylight. Easily visible, all functions work. Plug and play easy as shit. I bought mine from eBay for $160, still working on positioning but it's storming really bad so I'm drinking instead and goin to finish this weekend. Wait for the videos though... Went for a quick run and it was pretty awesome!
09-23-2011, 07:50 PM
#23
im excited.
09-23-2011, 08:02 PM
#24
takin care of Business in
iTrader: (5)
Join Date: Jan 2008
Location: Kansas City, MO
Age: 40
Posts: 30,994
Received 4,732 Likes
on
4,064 Posts
holy shit that does look awesome....
how tough was the install ?
how tough was the install ?
09-23-2011, 08:21 PM
#25
ROTAREDOM
Thread Starter
^ plug and play.. no worries brahhhhh I'll write a DIY when I figure out the positioning.
09-23-2011, 09:16 PM
#26
takin care of Business in
iTrader: (5)
Join Date: Jan 2008
Location: Kansas City, MO
Age: 40
Posts: 30,994
Received 4,732 Likes
on
4,064 Posts
^^^ DIY and some more pictuaaaazzzzz....
09-23-2011, 11:15 PM
#28
09-24-2011, 10:41 AM
#33
ROTAREDOM
Thread Starter
Alright so here is the DIY as promised. Videos and night shots coming soon.
So this is everything out of the package. Everything plugs together quite simply.

Now plug it into your OBD II port, underneath the steering wheel to the left. It is clearly visible. Your HUD will turn on now and light up. This is where you shit your pants from awesomeness . By the way your car should be turned on while you do this install. (Otherwise your HUD doesn't light up) Next thing you want to do is find a place where you want your HUD. I originally had it directly in the middle of my line of vision but I ended up installing it slightly to the right for 2 reasons: 1: You want your HUD to be low on your windshield so you can see the road and depending on your driving style (hand position on the wheel, how low or high you sit, the height of your steering wheel etc...) it may be difficult to see the display when you have your hands on the wheel) 2: It was annoyingly difficult the get the entire display in the windshield when it was directly in front of you. When it is slightly to the right there is a flat surface set it on and can be seen more easily. Also I noticed when I was driving I naturally look slightly to the right anyways( Obviously cause the driver is on the left) So once you have it where you want take a piece of tape and mark where you want it.
Get some 3M tape (they provide you with two strips, but most likely you will need more than 2 because you have to offset the height to see it completely) and mount the HUD where you marked it.
Next step, apply the tinted strip where you see the projection. IDK if it was just me but I found it kinda difficult to get the right position of strip because when you apply it the position which it is projected changes when you lean all the back in your seat.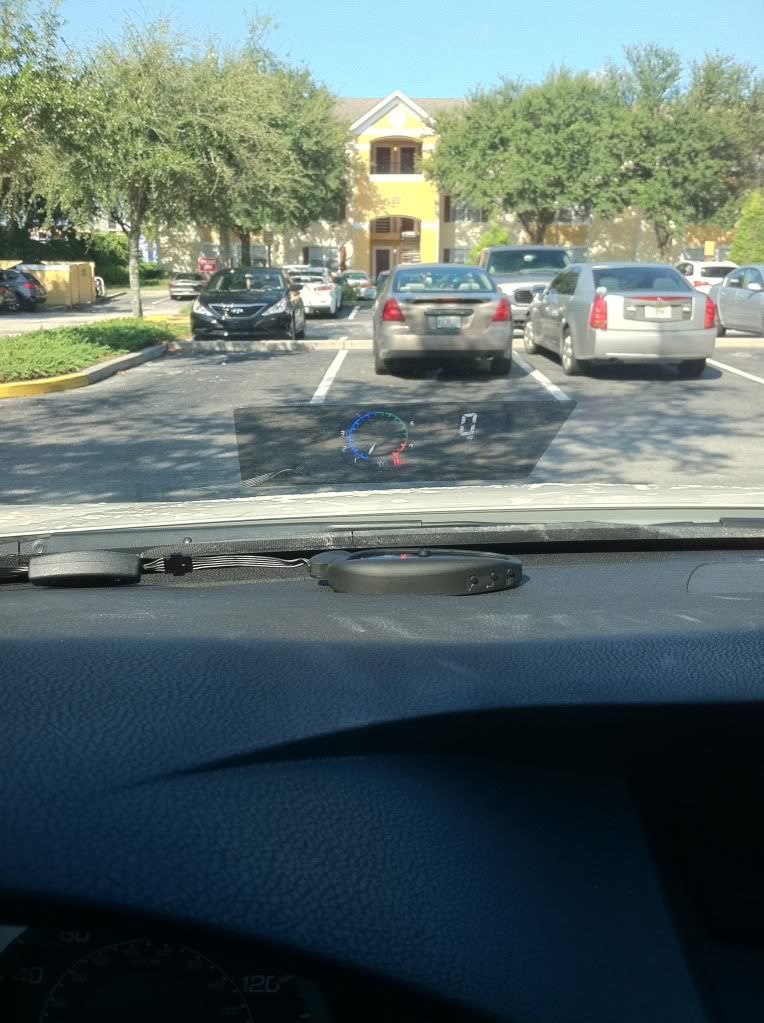
GOOOODD, you finally got it right after 10 attempts. Now lets hide the excessive length of wire. just kinda shove it in (thats what she said) to the side, pretty easy I know.

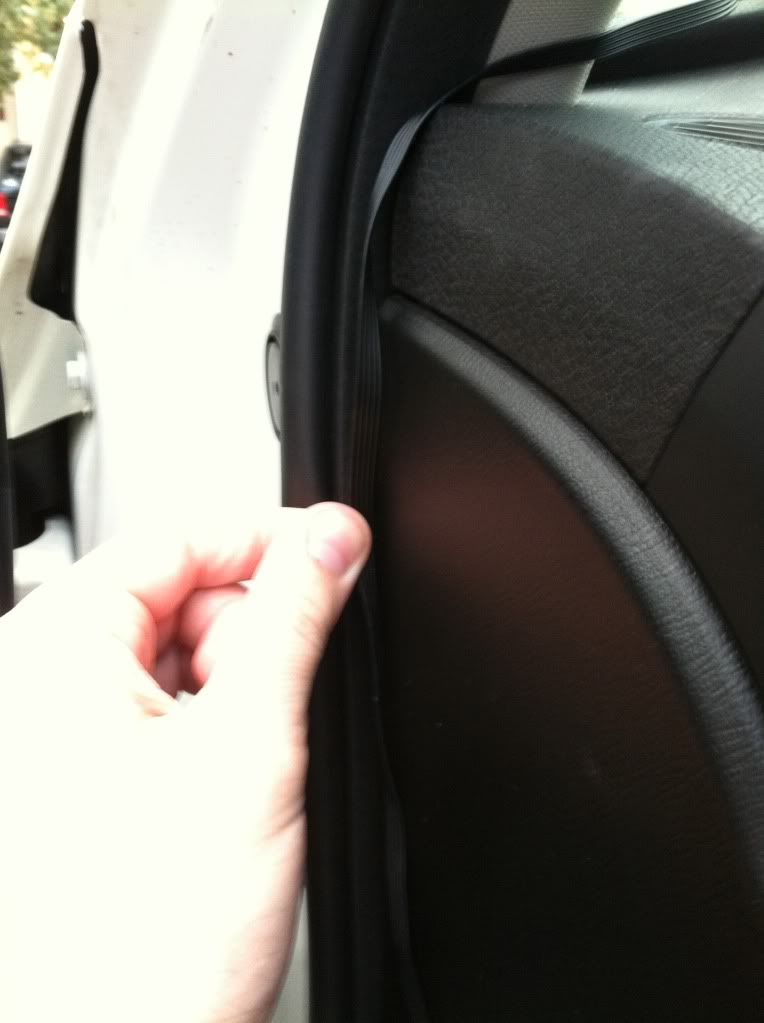
Do some more shoving by the door.
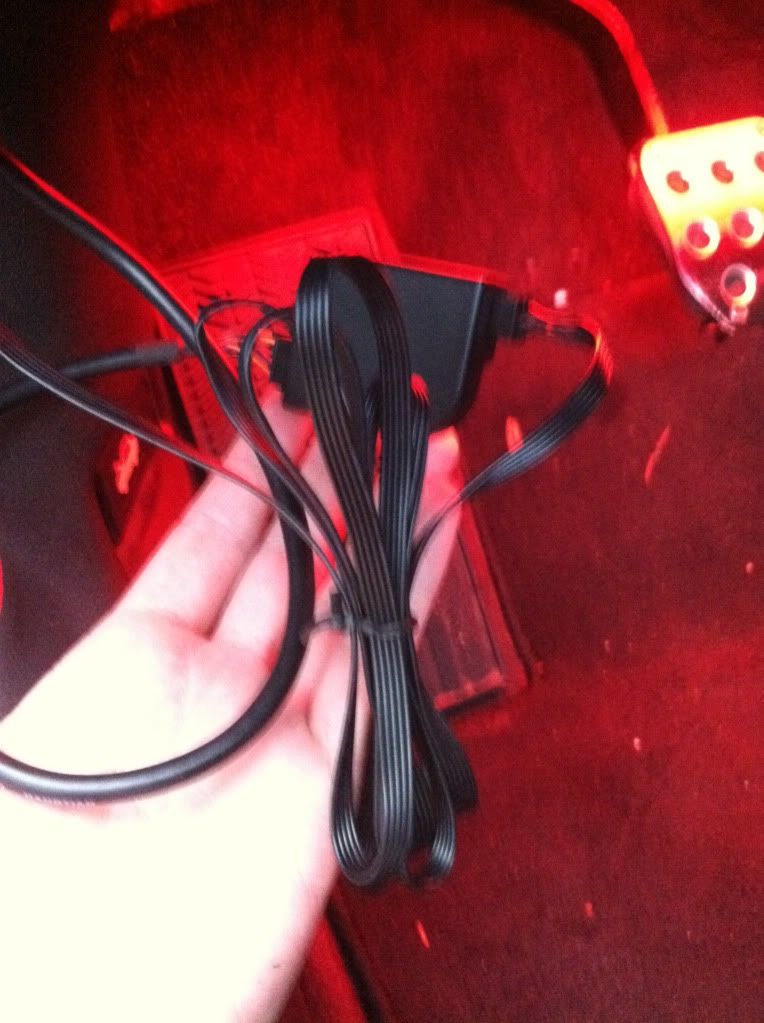
Tie wrap your wires together like this.
Lets do some more shoving. Shove the wires underneath the steering wheel column.

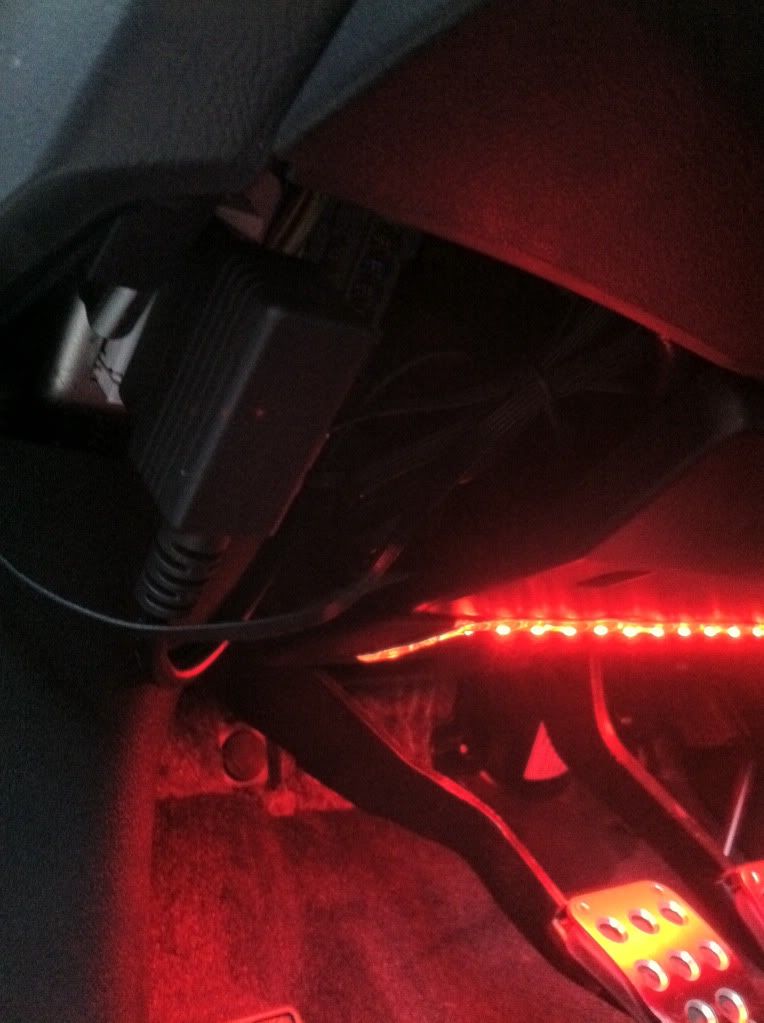
You can see where it is plugged into the OBD II port here^^ and this is what it will look like. FINISHED. Enjoy the badassss HUD.
So this is everything out of the package. Everything plugs together quite simply.
Now plug it into your OBD II port, underneath the steering wheel to the left. It is clearly visible. Your HUD will turn on now and light up. This is where you shit your pants from awesomeness
. By the way your car should be turned on while you do this install. (Otherwise your HUD doesn't light up) Next thing you want to do is find a place where you want your HUD. I originally had it directly in the middle of my line of vision but I ended up installing it slightly to the right for 2 reasons: 1: You want your HUD to be low on your windshield so you can see the road and depending on your driving style (hand position on the wheel, how low or high you sit, the height of your steering wheel etc...) it may be difficult to see the display when you have your hands on the wheel) 2: It was annoyingly difficult the get the entire display in the windshield when it was directly in front of you. When it is slightly to the right there is a flat surface set it on and can be seen more easily. Also I noticed when I was driving I naturally look slightly to the right anyways( Obviously cause the driver is on the left) So once you have it where you want take a piece of tape and mark where you want it.Get some 3M tape (they provide you with two strips, but most likely you will need more than 2 because you have to offset the height to see it completely) and mount the HUD where you marked it.
Next step, apply the tinted strip where you see the projection. IDK if it was just me but I found it kinda difficult to get the right position of strip because when you apply it the position which it is projected changes when you lean all the back in your seat.
GOOOODD, you finally got it right after 10 attempts. Now lets hide the excessive length of wire. just kinda shove it in (thats what she said) to the side, pretty easy I know.
Do some more shoving by the door.
Tie wrap your wires together like this.
Lets do some more shoving. Shove the wires underneath the steering wheel column.
You can see where it is plugged into the OBD II port here^^ and this is what it will look like. FINISHED. Enjoy the badassss HUD.
 definitely a cool gadget for a car
09-24-2011, 12:14 PM
definitely a cool gadget for a car
09-24-2011, 12:14 PM
#35
thats pretty cool!
09-24-2011, 01:11 PM
#37
i will most likely do this too once i back home to my car! bookmarked on amazon already
09-24-2011, 09:09 PM
#39
takin care of Business in
iTrader: (5)
Join Date: Jan 2008
Location: Kansas City, MO
Age: 40
Posts: 30,994
Received 4,732 Likes
on
4,064 Posts
my odbii port is occupied 