
lexan fog light fix and painted fog lights-DIY
 10-30-2008, 07:58 PM
#1
lexan fog light fix and painted fog lights-DIY
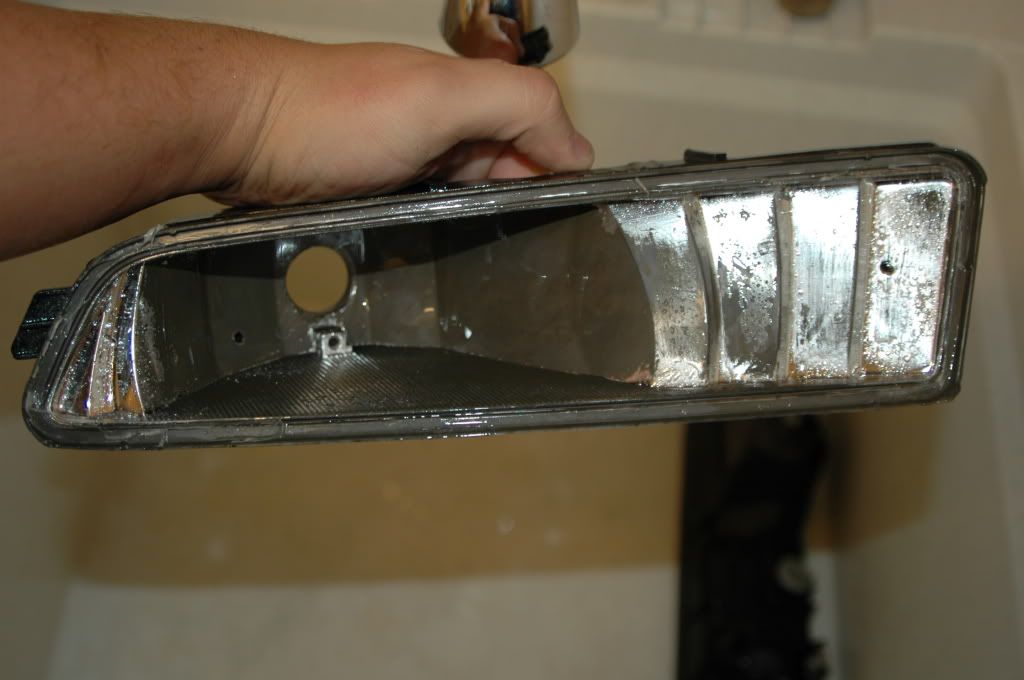
one of my fog lights was punctured and had moisture, then it started to corrode the chrome, got some time to finally fix the problem.
1. take off bumper
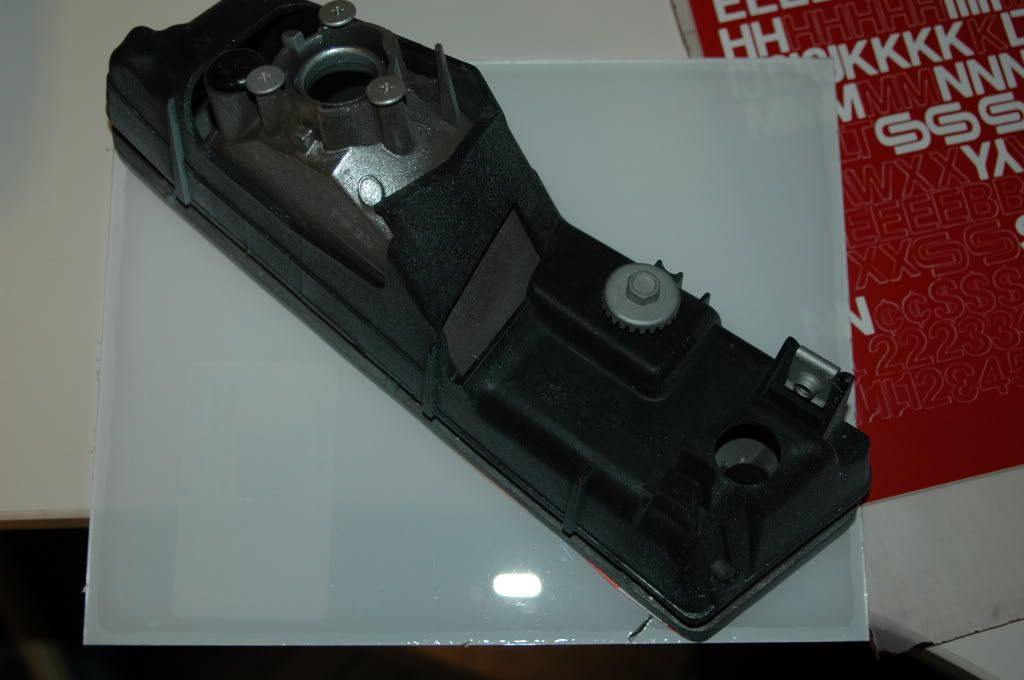
2. unhook fog light and take it out
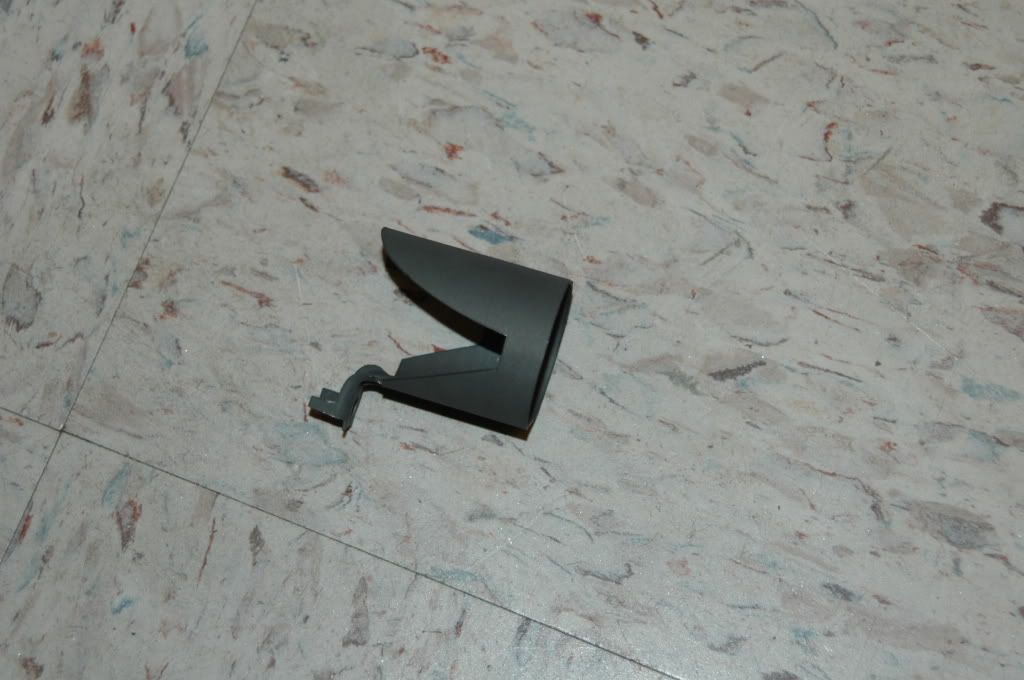
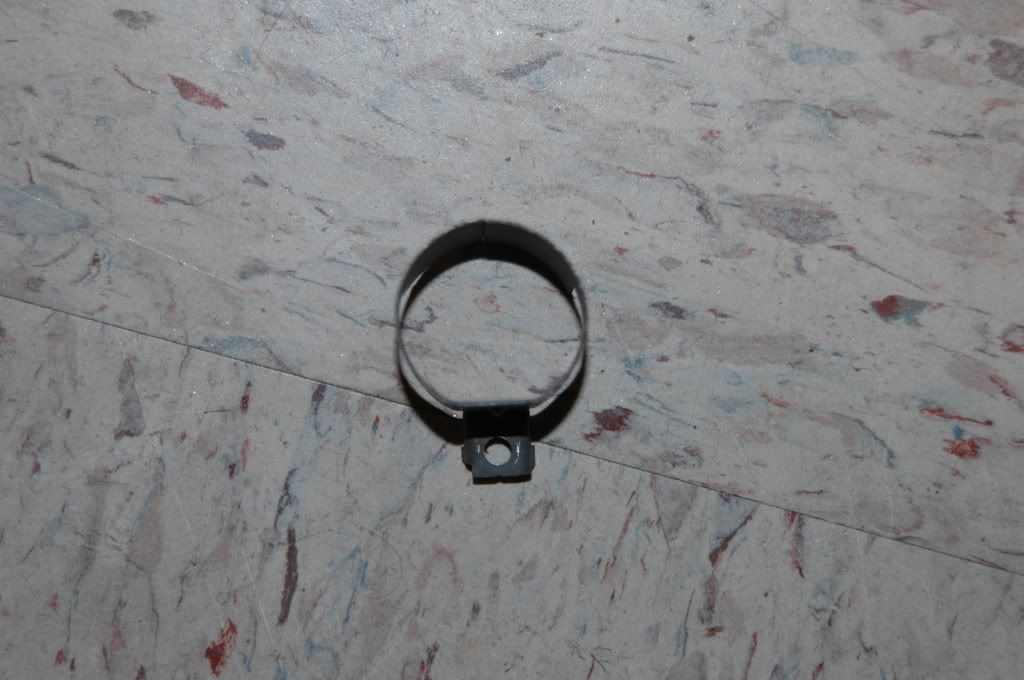
3. unscrew a 10mm bolt under the fog light and squeeze a clip and push out the fog light.
4. put the fog light in the over at 250deg. for about 15-20 min.
5. put some safety glasses on and some gloves (fog lights will be warm, and protect your hands for glass), pry with a screw driver on the edge of the fog light lens. it will start to crack apart.
6. take out the glare cover by unscrewing a philips screw
7. i went to Walmart and got some Air Craft Paint Remover (tried about 5 different paint removers and didnt work)
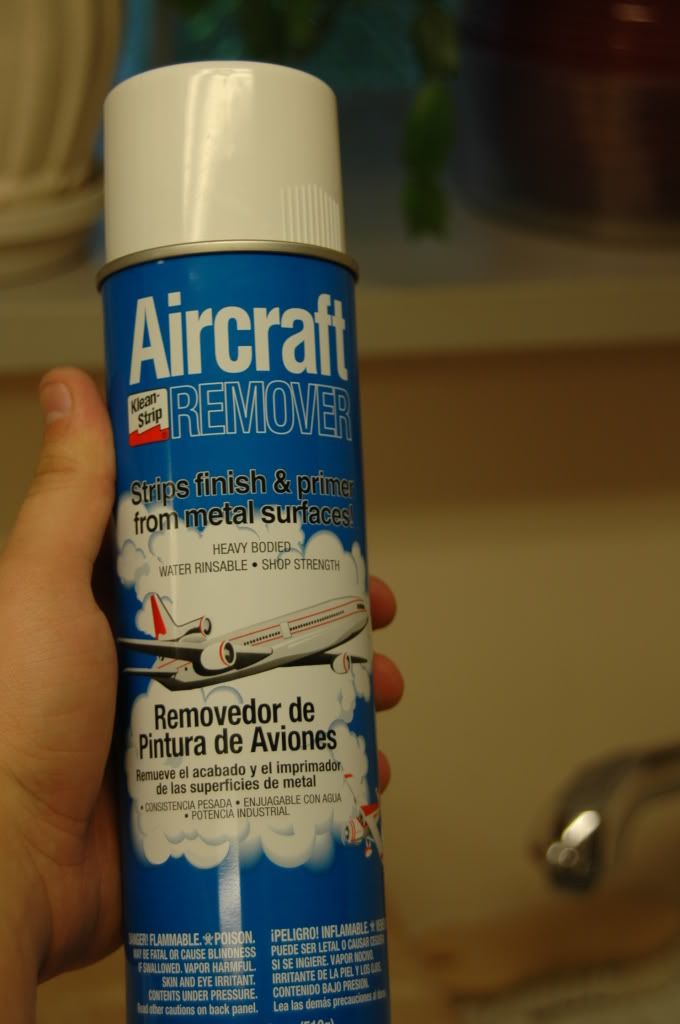
8. spray it on the fog light (make sure u read the caution part on the can). repeat as necessary.
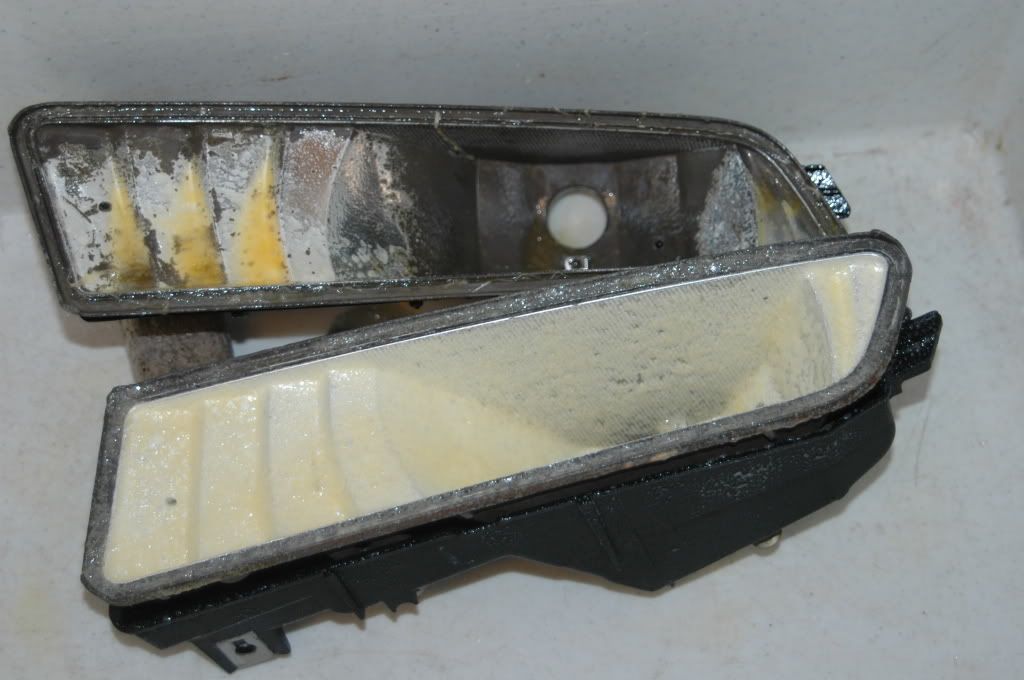
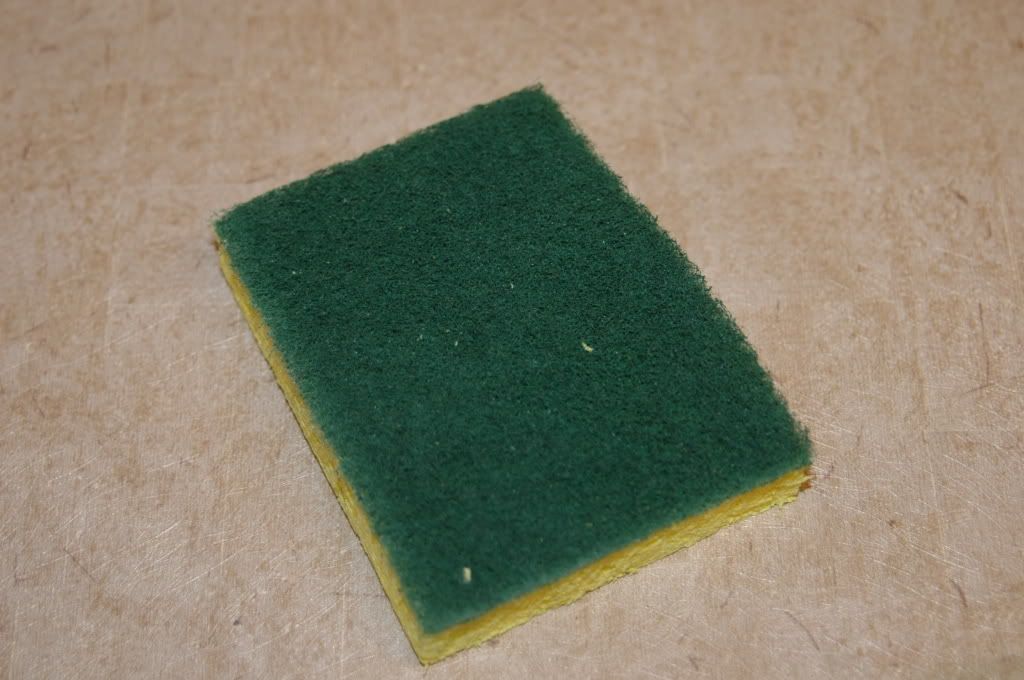
after one coat of air craft remover
9. get a scotch pad and sand it down a bit
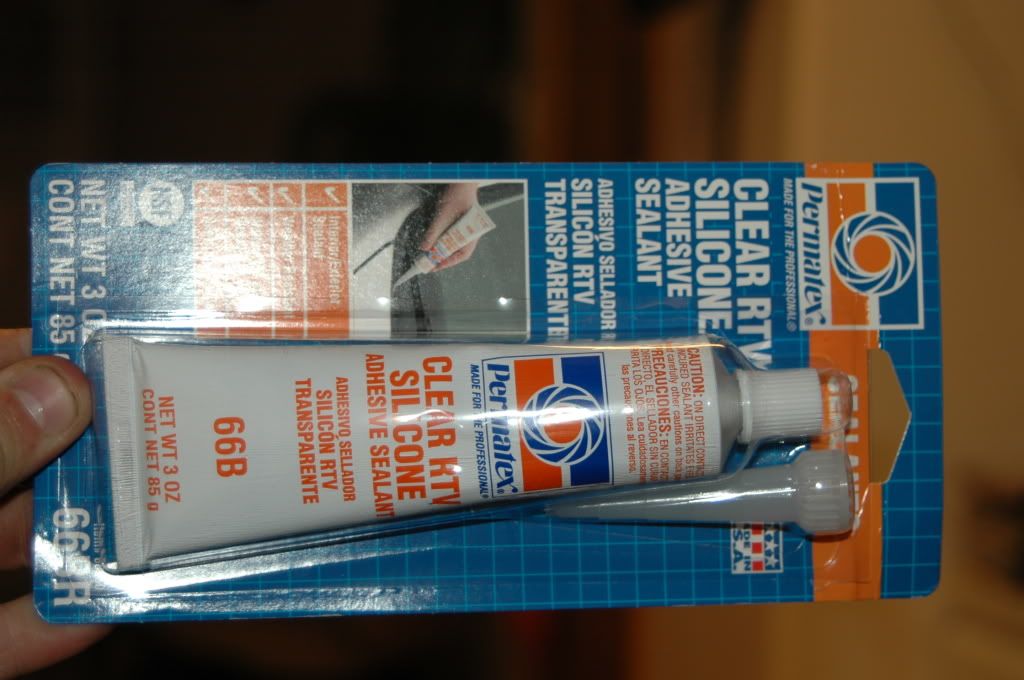
before-
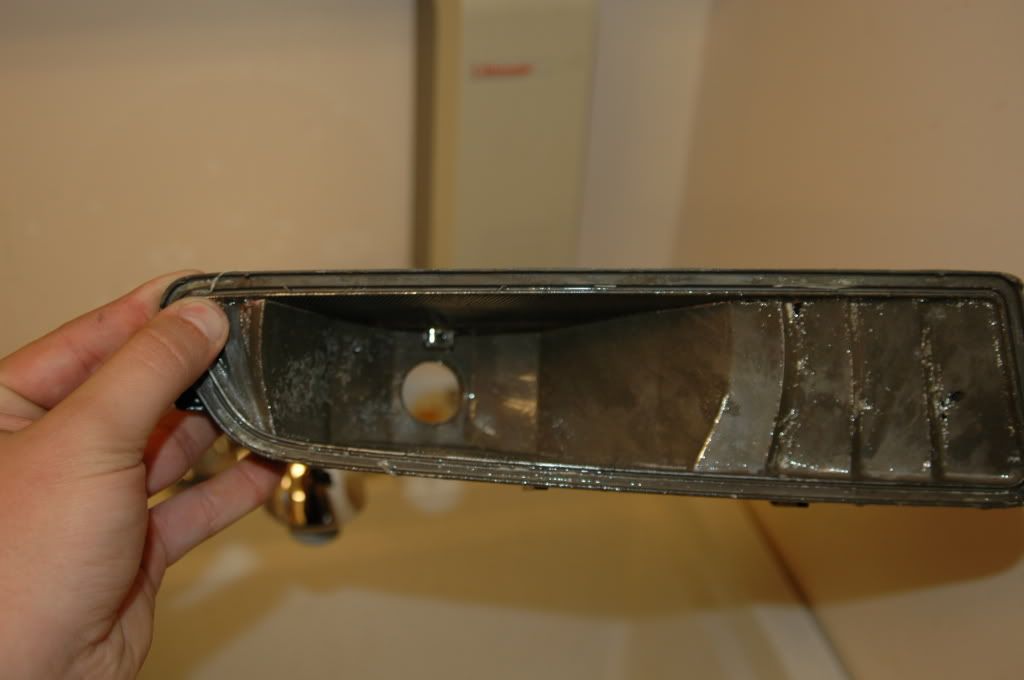
after-
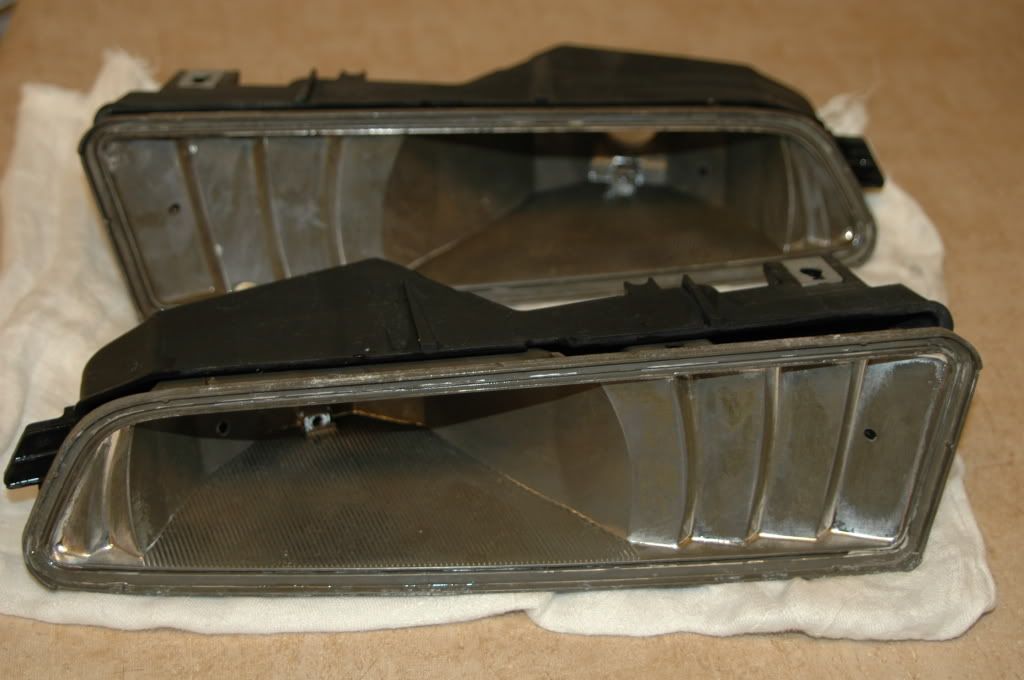
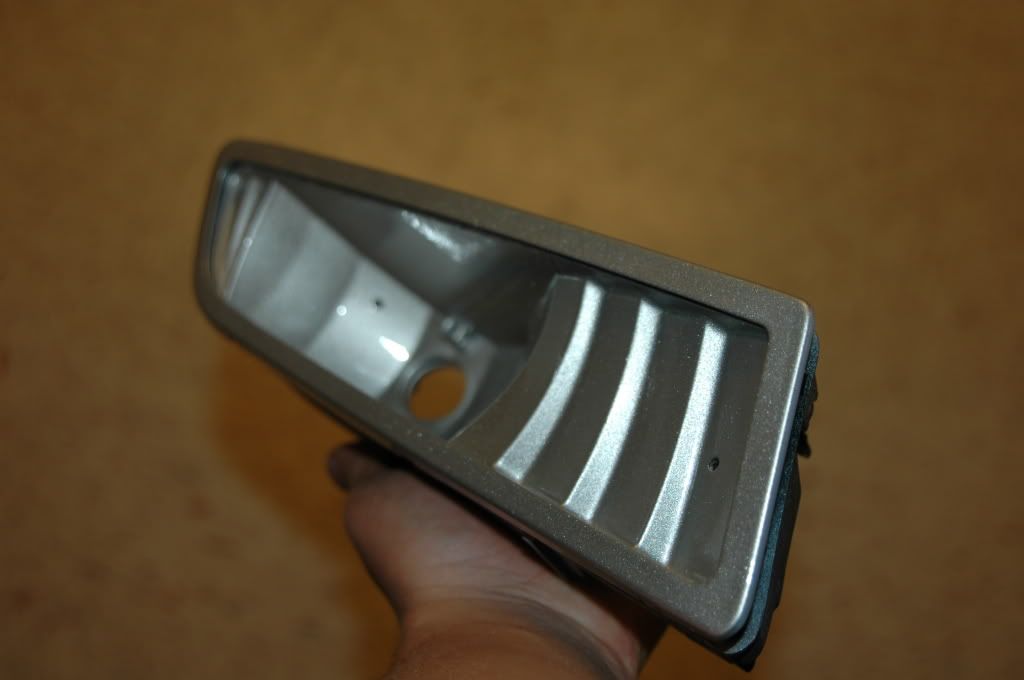
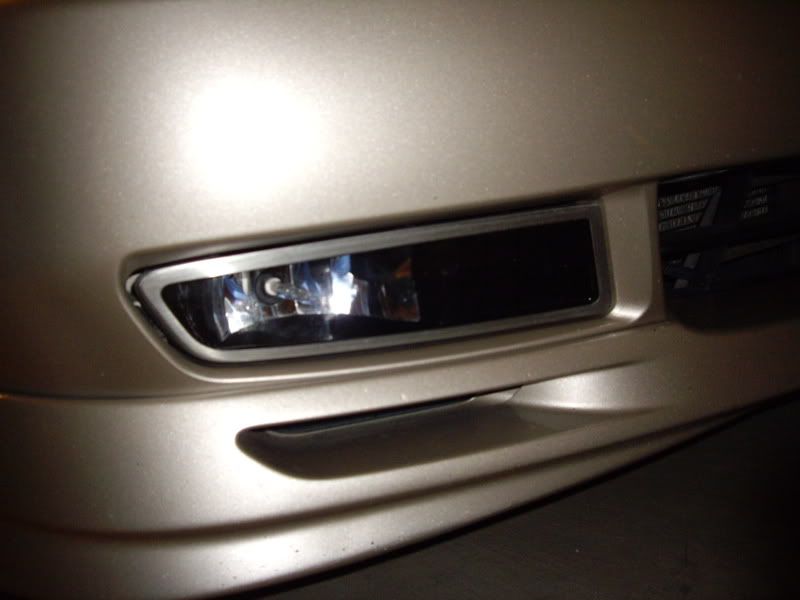
10. let dry and start painting. fog light covers painted
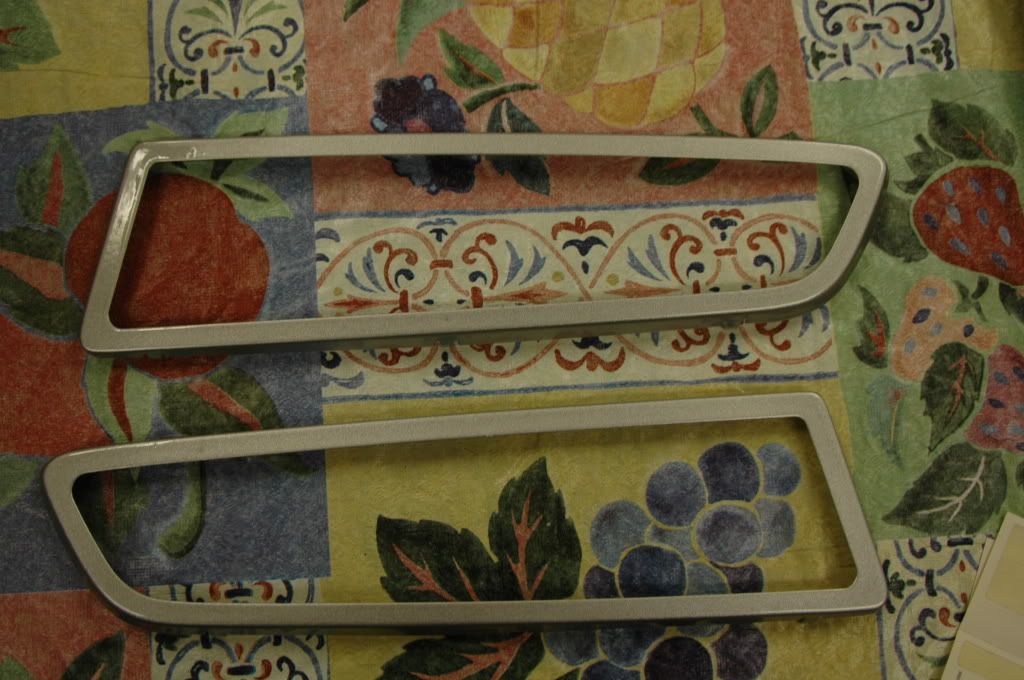
11. fog lights painted
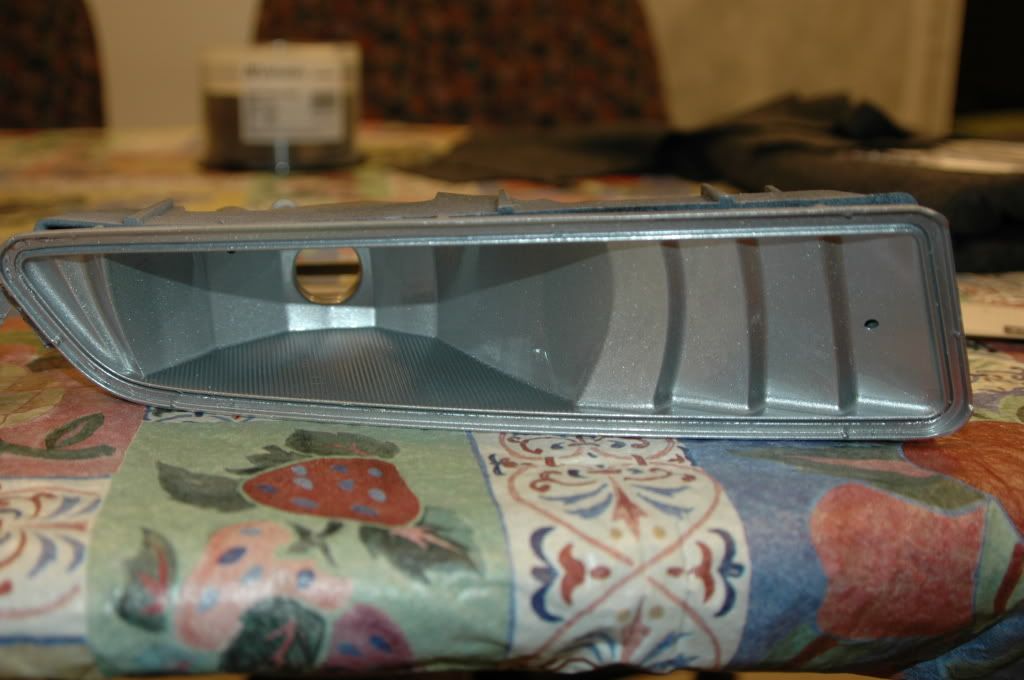
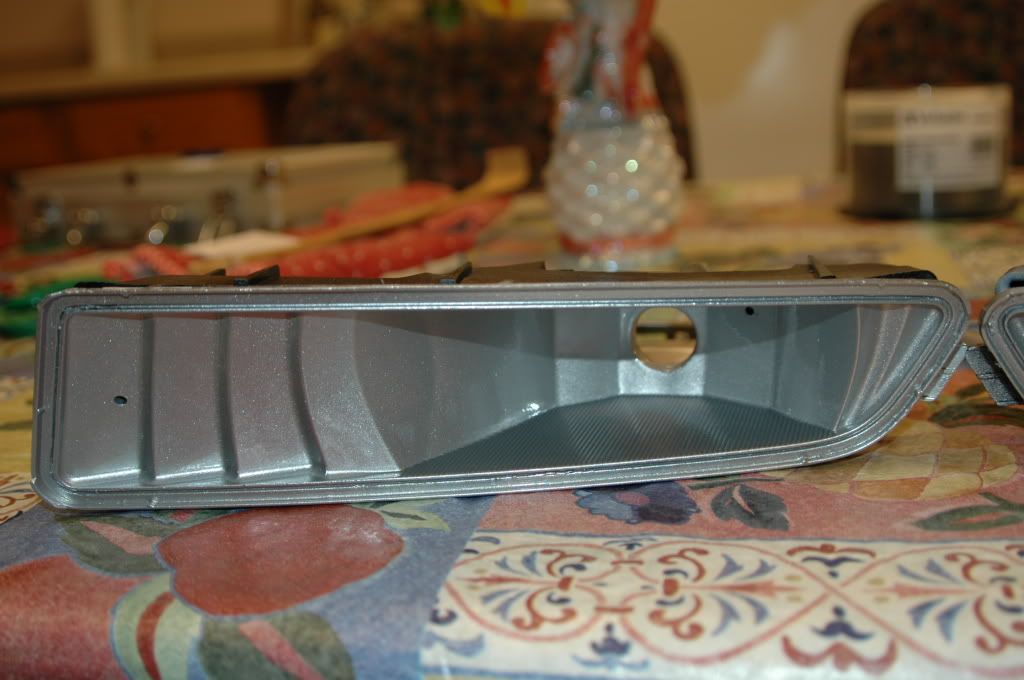
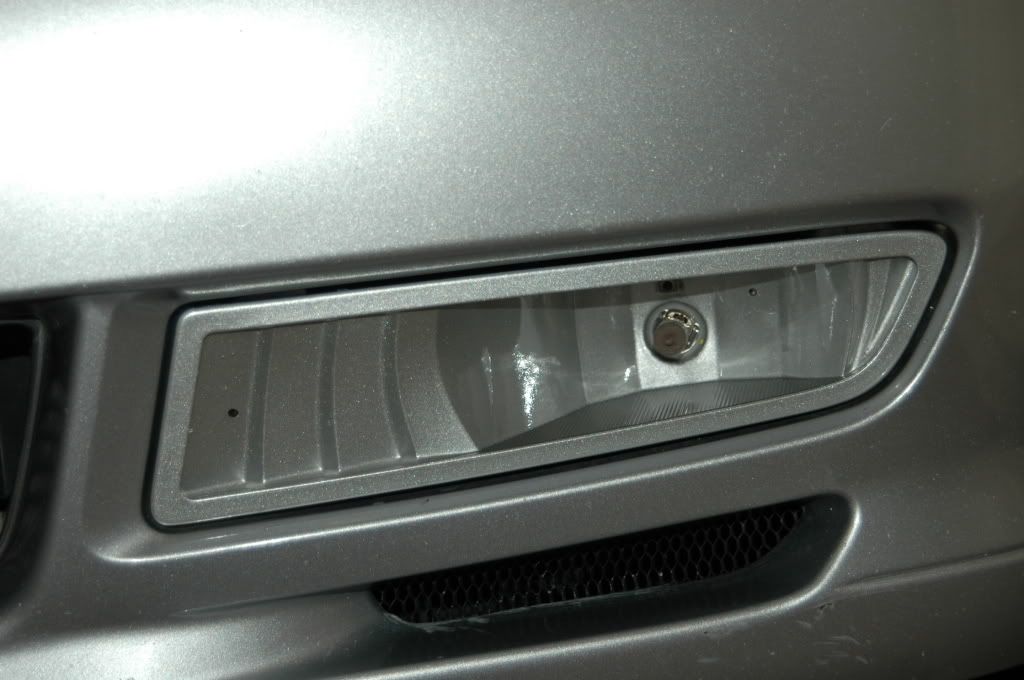
12. place fog light on lexan glass and trace around fog light.

13. keep cutting until u get a good fit.
14. mount eveything up and check fit.

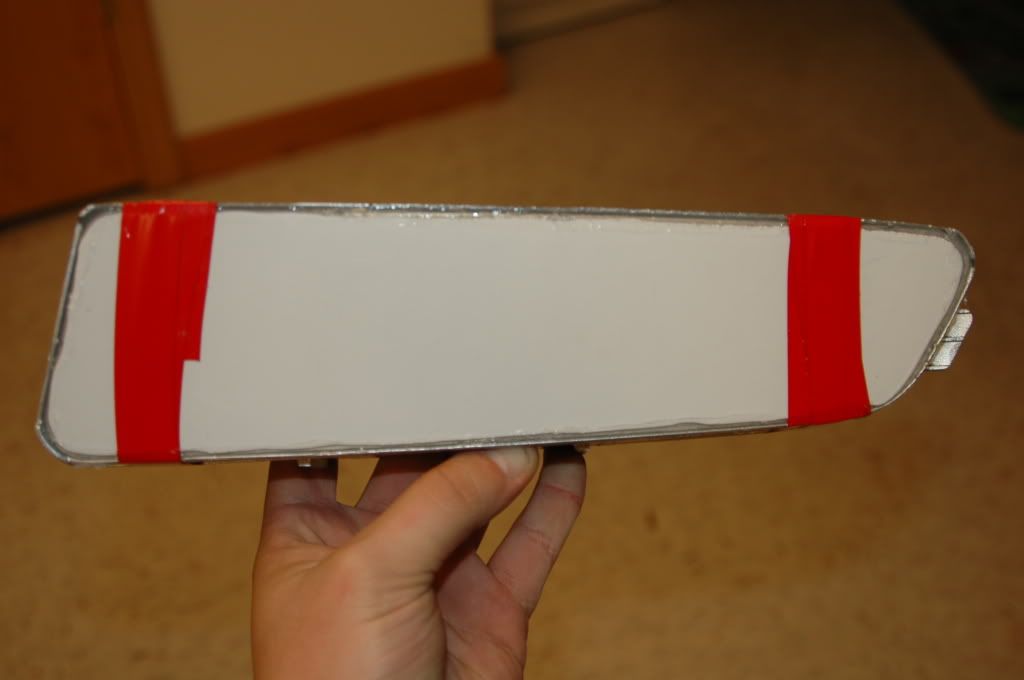
15.now u could either put the glare shield back in or leave it out. i left it out
16.get some silicone glue and put some around the edge of the fog light, dont put too much or it will squeeze out and look ugly. put some electrical tape on the corners to hold it down.
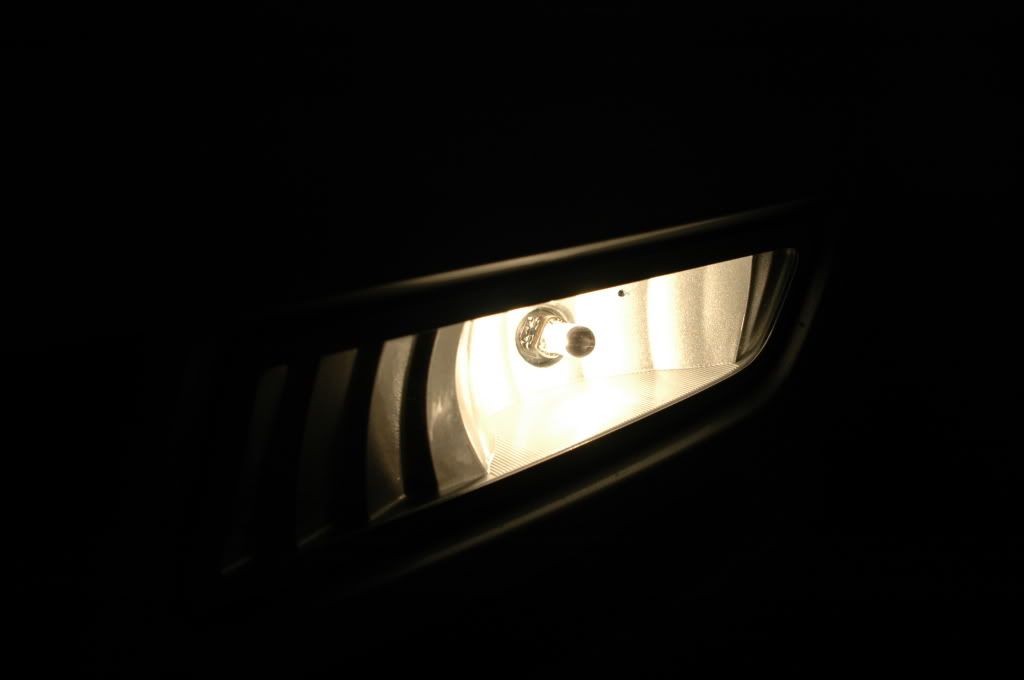
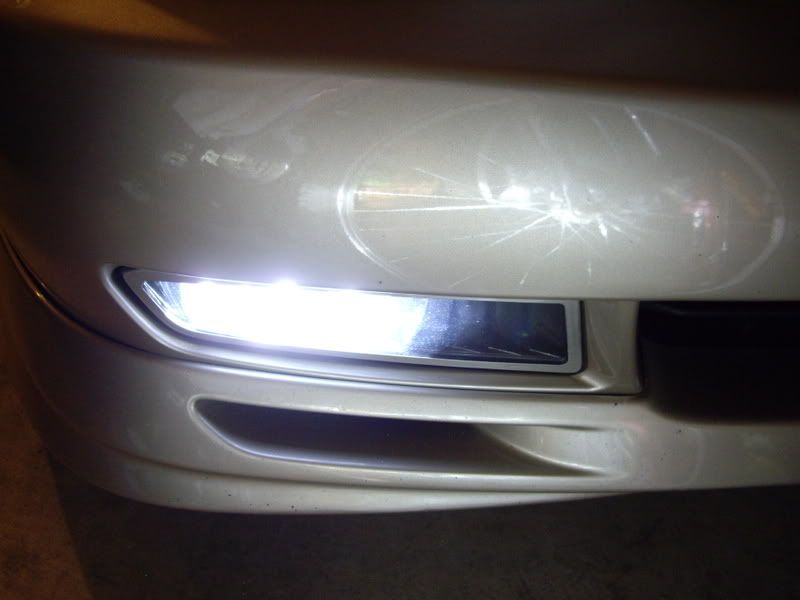
17.all done
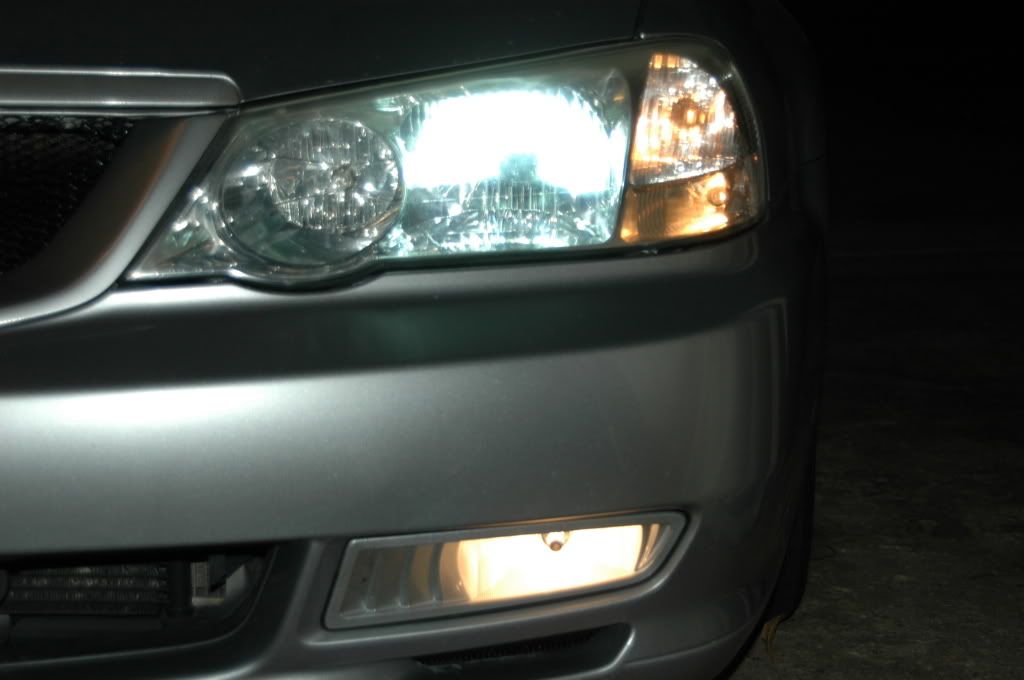
18. install fog light
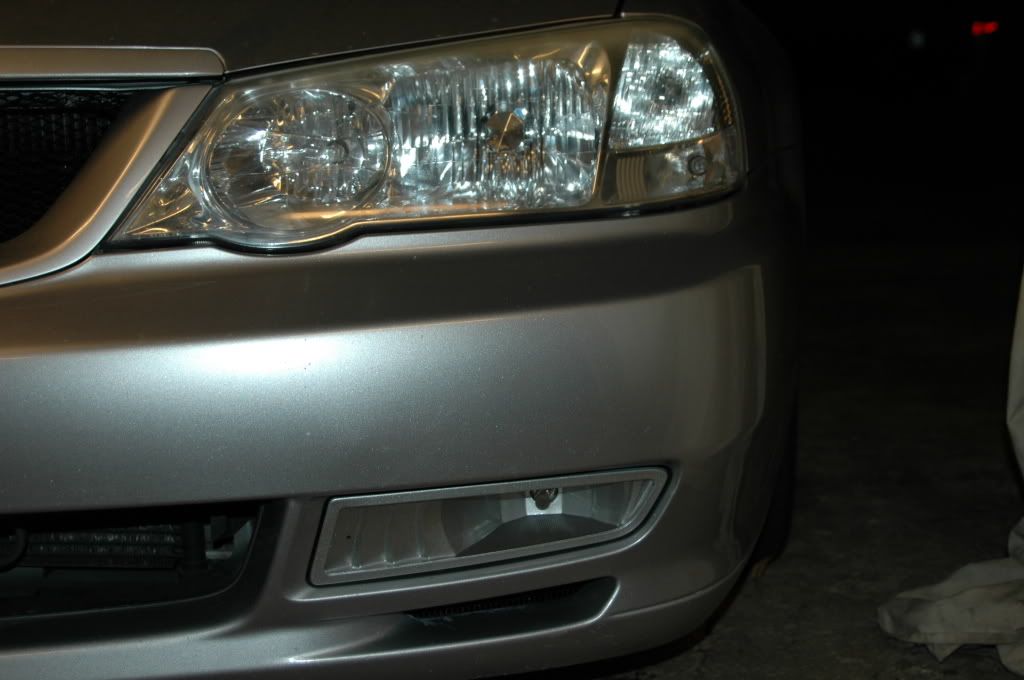
19. stand back and look at your hard work
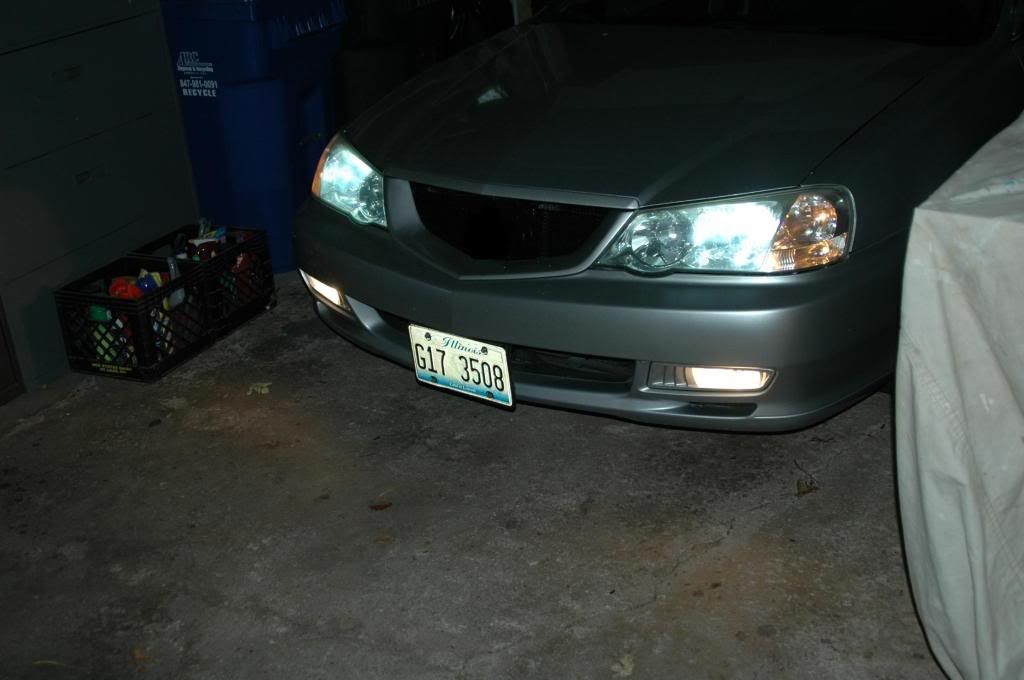
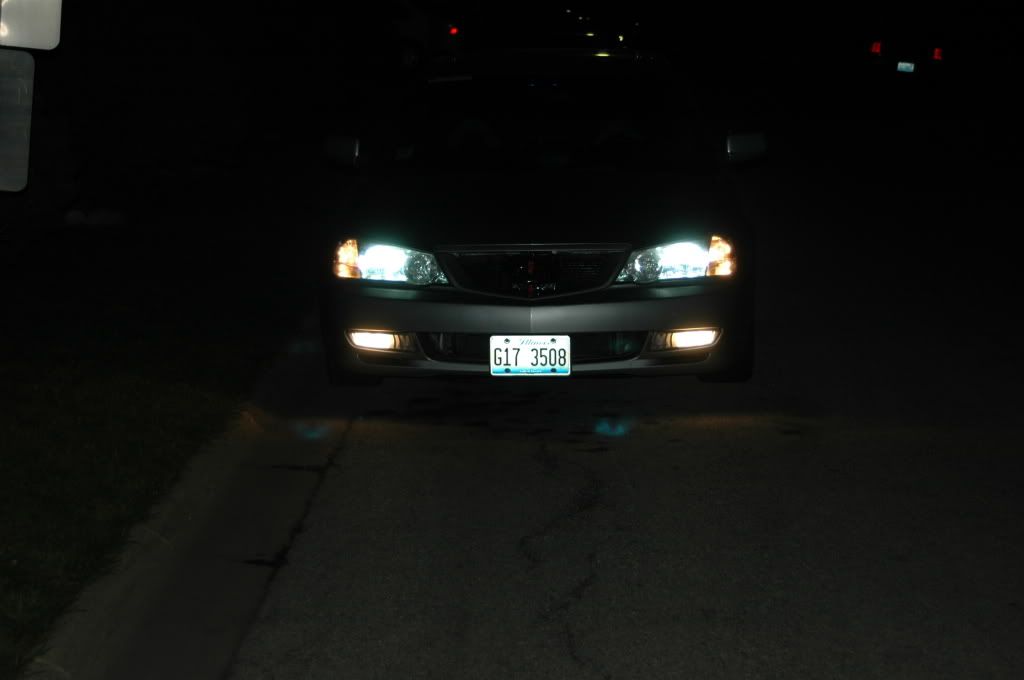
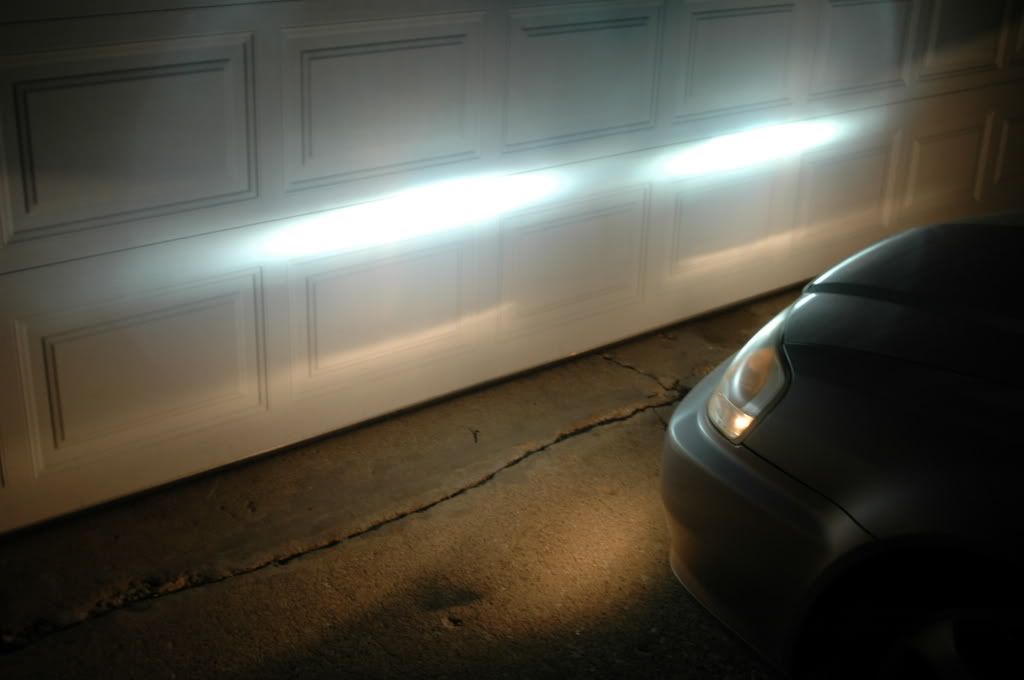
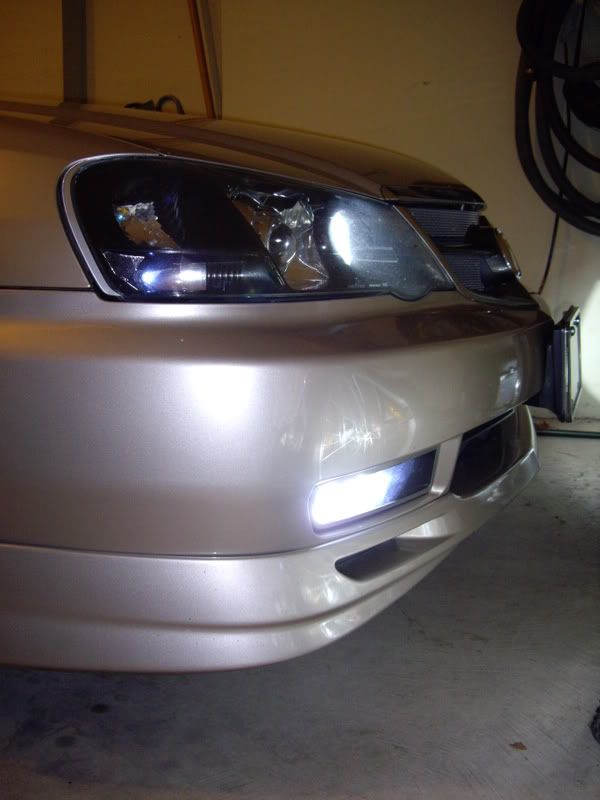
how it looks when im parked in front of my garage
20. adjust fog lights if need.
i left the fog light on for about 30min to see if the silicone was going to get hot and start melting. all was and i
and i  its going to stay that way
1. take off bumper
2. unhook fog light and take it out
3. unscrew a 10mm bolt under the fog light and squeeze a clip and push out the fog light.
4. put the fog light in the over at 250deg. for about 15-20 min.
5. put some safety glasses on and some gloves (fog lights will be warm, and protect your hands for glass), pry with a screw driver on the edge of the fog light lens. it will start to crack apart.
6. take out the glare cover by unscrewing a philips screw
7. i went to Walmart and got some Air Craft Paint Remover (tried about 5 different paint removers and didnt work)
8. spray it on the fog light (make sure u read the caution part on the can). repeat as necessary.
after one coat of air craft remover
9. get a scotch pad and sand it down a bit
before-
after-
10. let dry and start painting. fog light covers painted
11. fog lights painted
12. place fog light on lexan glass and trace around fog light.
13. keep cutting until u get a good fit.
14. mount eveything up and check fit.
15.now u could either put the glare shield back in or leave it out. i left it out
16.get some silicone glue and put some around the edge of the fog light, dont put too much or it will squeeze out and look ugly. put some electrical tape on the corners to hold it down.
17.all done
18. install fog light
19. stand back and look at your hard work
how it looks when im parked in front of my garage
20. adjust fog lights if need.
i left the fog light on for about 30min to see if the silicone was going to get hot and start melting. all was
and i its going to stay that way


 10-30-2008, 10:18 PM
#7
Very nice as well Volly. Not to sidetrack the thread... I was about to say I want to colour co-ordinate my foglights too like y'all are doing, but I'm looking at some shots of the A-Spec and can't tell... are the A-spec foglight frames body colour too? If so, that saves me one mod I'll have to do! 
Trending Topics
10-30-2008, 10:36 PM
#9
Yeah, I've got an 02 NGM TL like Volly as well and mine are the same... just wondering what the A-Spec has tho since I know it's got some unique changes.
I'll have to eventually fix up my passenger side fog light before I sell this car off (I have the same problem you had)... but I think I'll just order one off ebay instead... just easier and simpler that way...
Still, I'm very much loving what I see with your mod...
I'll have to eventually fix up my passenger side fog light before I sell this car off (I have the same problem you had)... but I think I'll just order one off ebay instead... just easier and simpler that way...
Still, I'm very much loving what I see with your mod...
10-30-2008, 10:51 PM
#13
Ackniculous One
Join Date: Jun 2003
Location: ATL Shawwwwtyyyy
Age: 50
Posts: 3,100
Likes: 0
Received 8 Likes
on
7 Posts
^^good point, i have hid fogs as well and brightness isn't an issue. I would like to seal off the glare shield to block the straight on light to reduce glare, but perhaps getting hi temp ceramic paint on the tip of the bulb would help...like the oem 9006 halogens have
10-31-2008, 09:01 AM
#15
New ride...Acura MDX 2013
Nice work, props to you .
But just so ya know, you don't have to remove the entire bumper to get the fog housings out, just raise the front of the car and get an extension on your ratchet, there is a cut out in the underside of the bumper to allow access to the 10mm bolt that holds the fog housing in place, and pull out from the large side of the housing.
.But just so ya know, you don't have to remove the entire bumper to get the fog housings out, just raise the front of the car and get an extension on your ratchet, there is a cut out in the underside of the bumper to allow access to the 10mm bolt that holds the fog housing in place, and pull out from the large side of the housing.
10-31-2008, 09:16 AM
#16
Nice work, props to you .
But just so ya know, you don't have to remove the entire bumper to get the fog housings out, just raise the front of the car and get an extension on your ratchet, there is a cut out in the underside of the bumper to allow access to the 10mm bolt that holds the fog housing in place, and pull out from the large side of the housing.
.But just so ya know, you don't have to remove the entire bumper to get the fog housings out, just raise the front of the car and get an extension on your ratchet, there is a cut out in the underside of the bumper to allow access to the 10mm bolt that holds the fog housing in place, and pull out from the large side of the housing.

 10-31-2008, 03:15 PM
#18
Instructor

Join Date: Mar 2005
Age: 58
Posts: 156
Likes: 0
Received 0 Likes
on
0 Posts
Lexan lens
Like AMgala said make shure you get the right lexan. I bought replacement lexan lenses from a guy at ebay. I have Hoen xenon match in my fogs and they started to melt the glass right in front of the bulb. I asked him what the deal was and he said send it back and i will replace it. I bought need fogs instead housing and all. I didnt know there are different lexan as far as temp.resistance.
12-05-2008, 07:17 PM
#21
the hardest part was trying to find a chemical to remove the chrome. after i found something that would remove the chrome about a day. had to let the paint dry and while it was drying i started to cut the lexan, than later that night glue it and let it sit for over night and put it on the car in the morning.
 12-08-2008, 08:39 AM
#24
why did you take off your front bumper again?? And by you painting the inner part of your fogs just reduces the output of the light, and fogs really do help, so that would be a no-no for me by all means, the more light output i can get is the better for me for driving and I would say for any other driver. I only use my 3K F0Gs reguardless time of day....its YELLOW F0Gs squad for us out here in Queens........and BK too well for my set.
Last edited by JDM Inspired; 12-08-2008 at 08:43 AM.
 12-08-2008, 08:50 AM
#27
the stickers not sure, but to create a new thread to post pics, click in photography and you will see create new thread on the top, and if you want a new user name, you just need to create one.
12-08-2008, 10:15 AM
#28
why did you take off your front bumper again?? And by you painting the inner part of your fogs just reduces the output of the light, and fogs really do help, so that would be a no-no for me by all means, the more light output i can get is the better for me for driving and I would say for any other driver. I only use my 3K F0Gs reguardless time of day....its YELLOW F0Gs squad for us out here in Queens........and BK too well for my set.
most people use the fogs for show, i use em for show, theres never any fog here where i live so who cares
12-08-2008, 01:34 PM
#29
donate $20 for the charity drive and youll get 2 , not sure of the color options tho
12-08-2008, 01:37 PM
#30
why did you take off your front bumper again?? And by you painting the inner part of your fogs just reduces the output of the light, and fogs really do help, so that would be a no-no for me by all means, the more light output i can get is the better for me for driving and I would say for any other driver. I only use my 3K F0Gs reguardless time of day....its YELLOW F0Gs squad for us out here in Queens........and BK too well for my set.
o and your new fogs are gonna crack soon anyway and your just going to have to be buying new ones over and over again, in the long run ur going to spend a lot on fogs.
havent had any problems with my fogs, and lexan is stronger than glass.
01-04-2009, 04:29 PM
#31
Advanced
Join Date: Aug 2008
Location: VA
Age: 42
Posts: 55
Likes: 0
Received 0 Likes
on
0 Posts
i just did mine today. i gotta admit, this thread helped out a whole bunch! thanks alot rajca for a great write up. btw, i used chrome paint instead of silver. the pics. make the chrome look flat. but it looks better in person. i did 3 coats of primer and 3 of the chrome. oh and i got some silicon on the outside of the lens. no biggie...
[IMG] [/IMG]


[IMG]
[/IMG]
 01-05-2009, 04:48 AM
#34
i got the lexan glass from home depot and cut it with a roto zip. you could also sure a dremal if u want, just takes longer. since i did the project i have no cracks, no yellowing, and the lexan glass lookes just as good as the first day i put it in.
01-05-2009, 11:12 PM
#35
USDM -> JDM
Join Date: Nov 2005
Location: Bellevue, WA
Age: 35
Posts: 2,286
Likes: 0
Received 6 Likes
on
6 Posts
hmm... alright. i'll head down to home depot sometime this week to see what they have.. thanks man.. oh, btw, how much did it cost for the lexan glass? around 20?
 01-30-2009, 12:41 PM
#40
What your problem is?
I did the same thing and noticed that my fogs stared to fog up a bit.....really irritating... but when the lights are on, it is not that noticeable. I think it is the Duplicolor Chrome that did it....