When you click on links to various merchants on this site and make a purchase, this can result in this site earning a commission. Affiliate programs and affiliations include, but are not limited to, the eBay Partner Network.
But yea I need the low. But these came in un expected and we're too good to pass up. I can deal with the not low as long as I can outpace other people :P
and I kinda want to clean up the engine bay.
did an entire steering fluid flush. OH! I forgot to upload that! My steering fluid froze up last winter and DE activated my power steering for a few days. As soon as it for warm I flushed it out. And I want to put some nice clean coolant and filtered water in.
Man you will shit yourself (No offense intended) when you put the Headers... The Extra oomp in power is insane..
With all your currents mods you are probably looking at 215-220whp.
Hey Guys! Still working away at my car, but I'm doing light mods for now because I want, no NEED to drop my car
But In the mean time, Something has happened to my favorite mod.
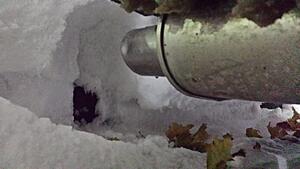
I actually took my Apexi's off over the winter so that they would not be affected by the crazy winters we have over here.
Was too excited and left them on until the first big snowfall:
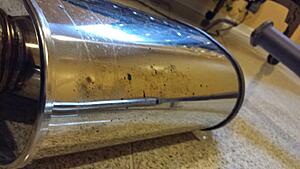
So I took them off and stored them in my cool, finished, dry and super clean, after I washed and cleaned them up a bit.
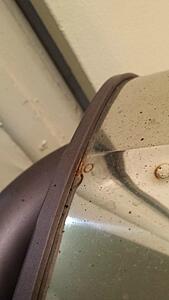
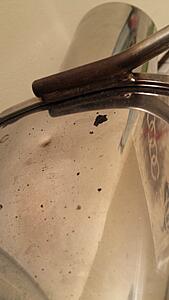
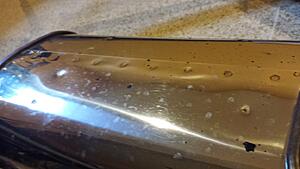
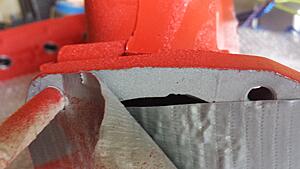
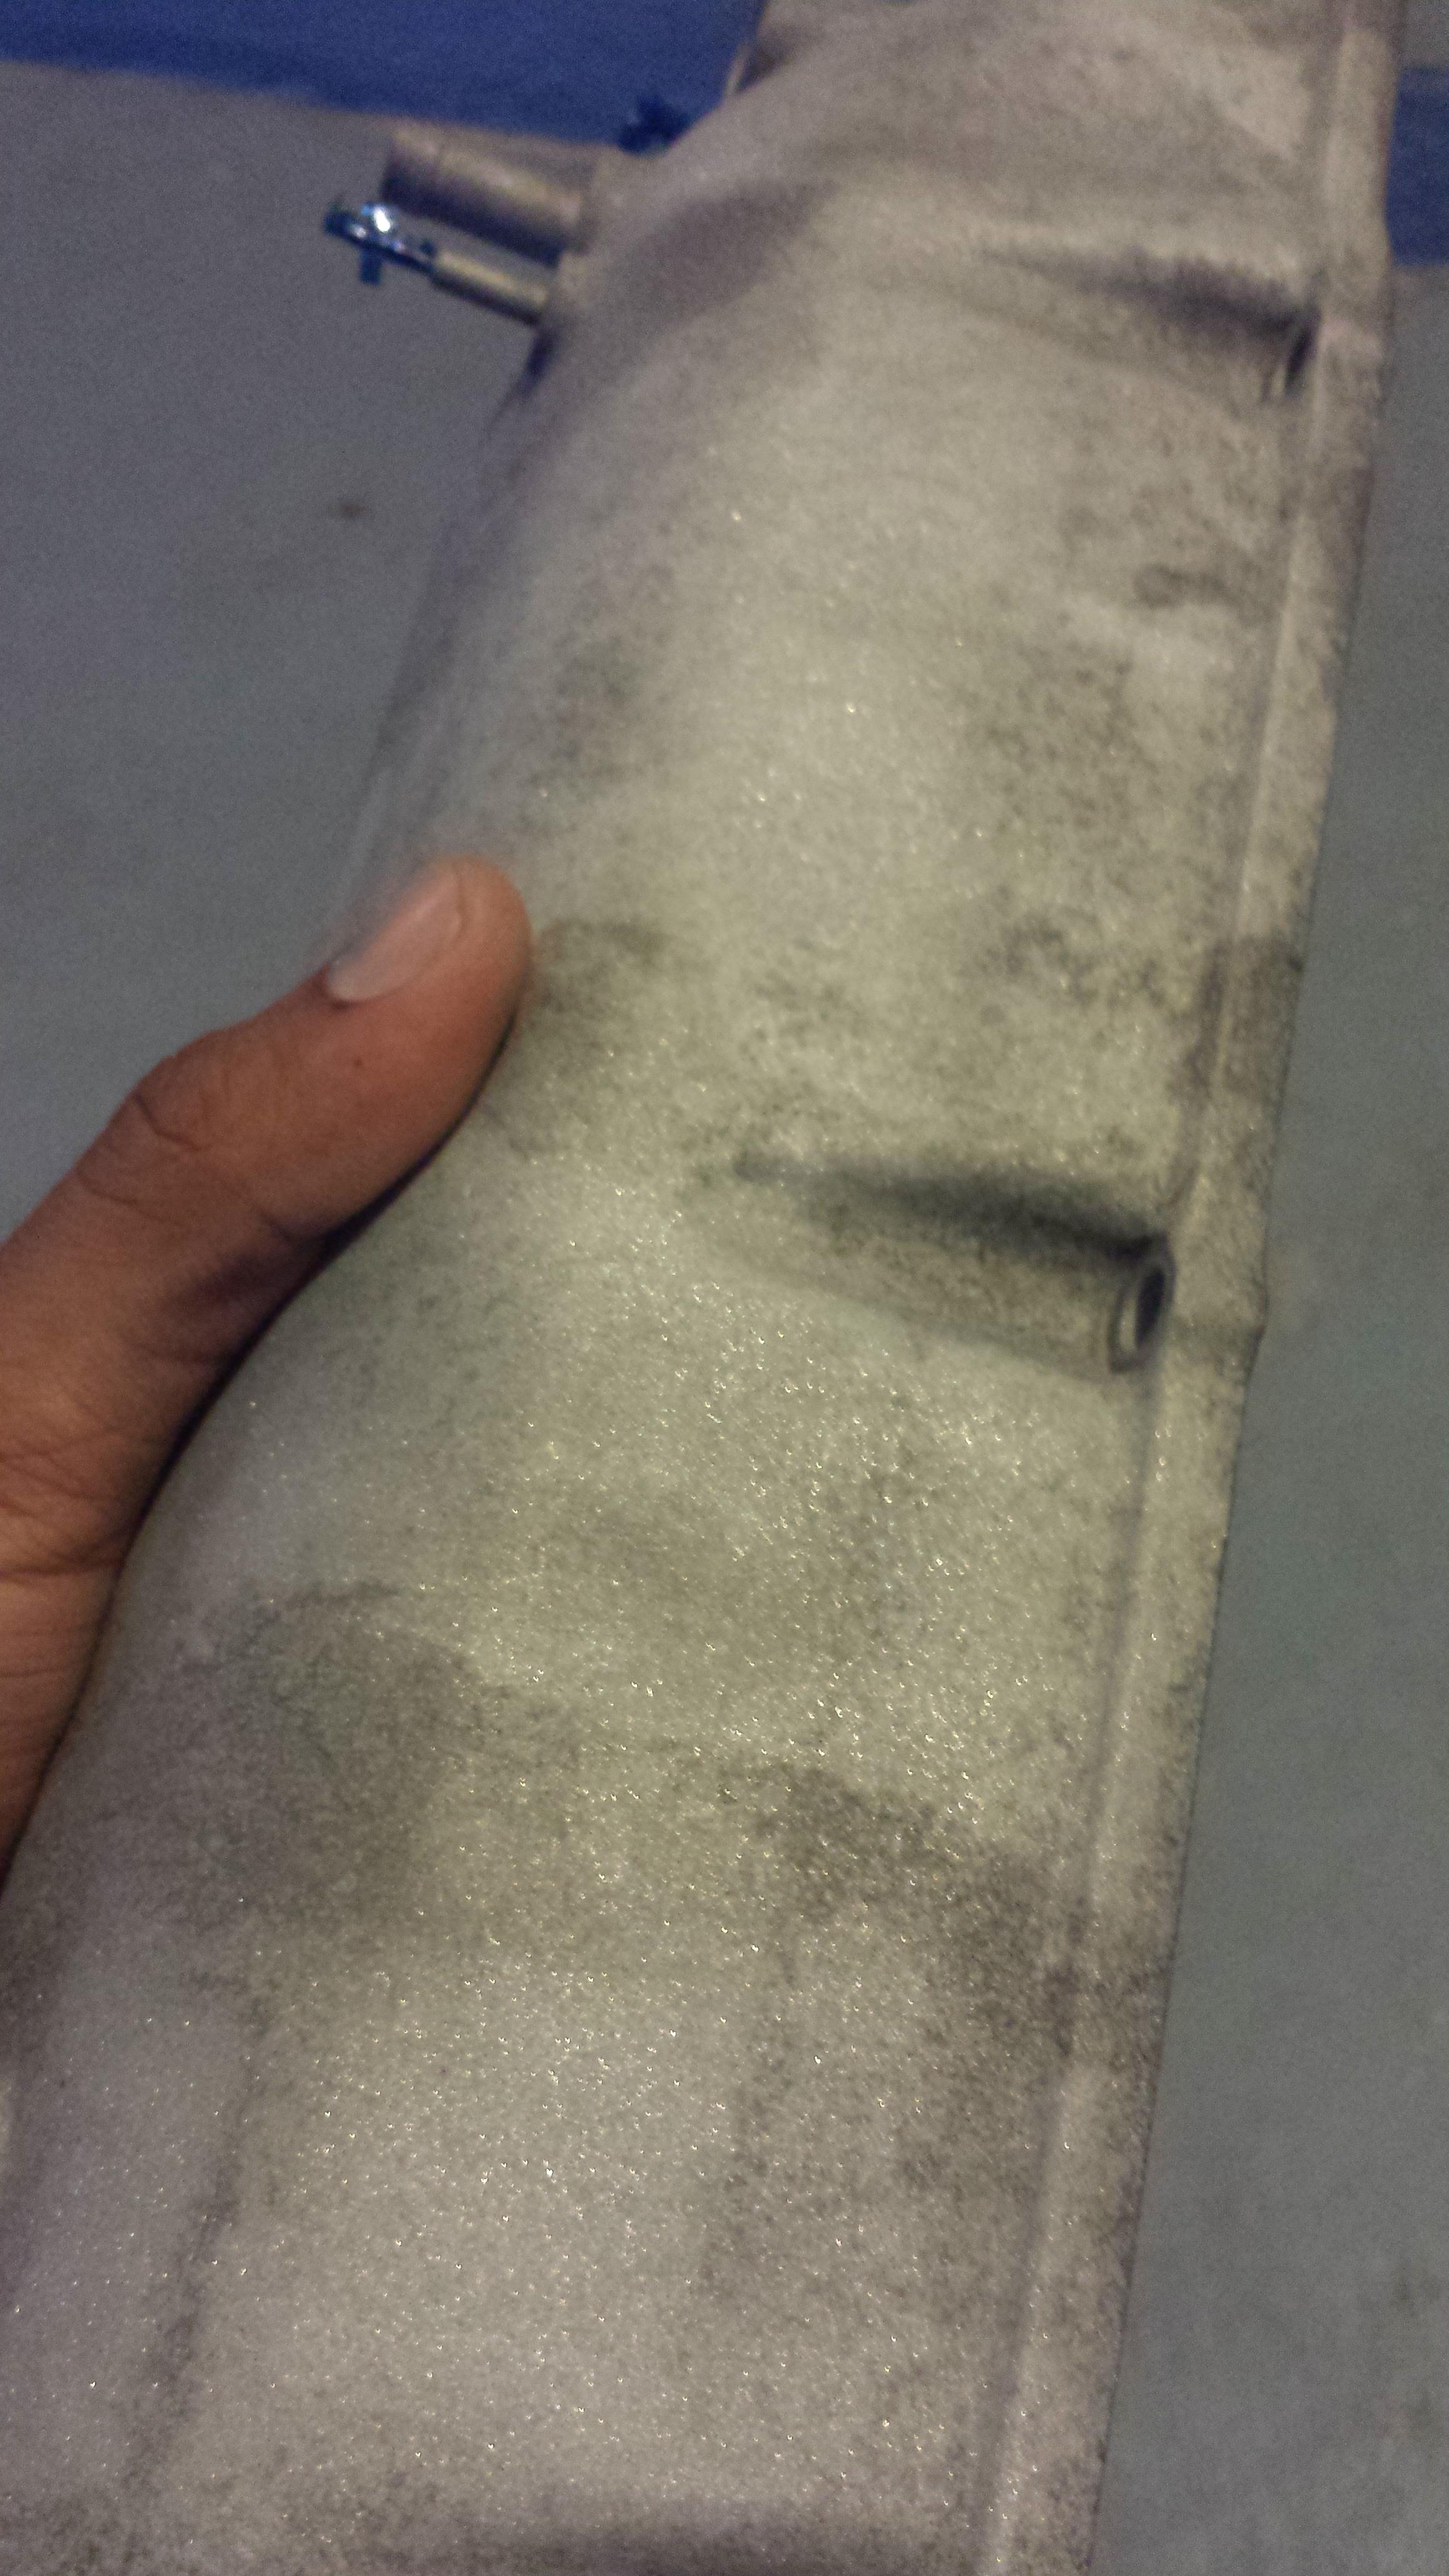
When I took them off this spring to put them back on I noticed that they had begun to show signs of some rust as you can see here:
And there were even some wear marks where the edges meet.
I feel like this shouldn't happen to such a product like this that has the Stainless Steel that it does and especially not as something that I take such good care of like this.
For now I applied some Stainless Steel polish and protectant and got a bit of the dots from the road off.
I called Apexi and left a claim on their website (but didnt get a follow up, or confirmation email (Are they still living in their prime of the 90's and not send confirmation emails?)) showing these pics and even a link to this thread.
But later on I did get a call from a rep named Eric? that said that they were looking into the claim and that they sent the request to Japan. But that was way in the early spring (~March) and now its in the middle of summer and I have yet to hear anything back.
So, while I wait to hear back from them, is there anything that you guys think I would be able to do about this? Or has anyone else with the Apexi's had a rusting issue like this?
OUCH..... Main reason why I never seemed to pull the plug on a 1K Catback. Hope that buffs out man but I wouldn't worry that much... In any case nobody will notice once installed.
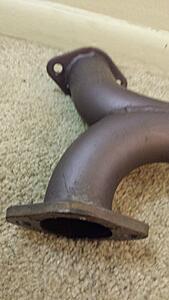
Anyone correct me if I'm wrong but it doesn't really make sense to me to have stainless mufflers when they're under the car. If I were to dress up any part of my exhaust it'd be headers and muffler tips.
But sorry I haven't posted in my thread in a year. But I guess we are gonna have a recap of what I have been up to! Look forward to it this weekend!
Most of my activity has been on the Facebook TL page, you guys should feel free to join! Pretty good environment and has some good group (Even though I end up giving diagnosis and other help most of the time :P )
As someone once said 'Old age should burn and rage against the dying of the light'
Life has had its ups and downs, but TL is always right where I left her. So I thought why now show its age with some well deserved wrinkles?
So we begin!
I got some extra valve covers from my good friend 666Worker and got to sanding them down! I dont have any pictures of the paint stripping part, but I was able to take the valve covers and place them in my ceramic sink in the garage and spray it all down with Paint Stripper.
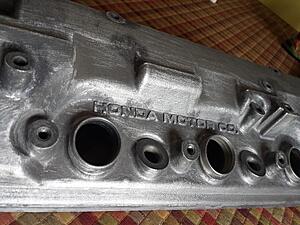
The stripper I used was great and got the paint off in the broad areas right away, and didnt affect the sink at all. So later I got the main front area's cleaned off and was able to go into the small sections in between the lettering was best done by just spraying it an leaving it until it was dry and then taking a brush to pull up all the dried and removed flakes. But some were pretty stubborn and then I ended up using a toothpick on them.
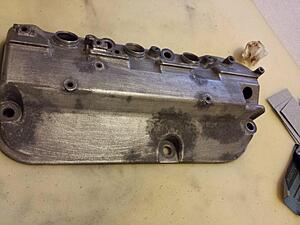
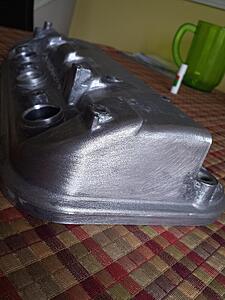
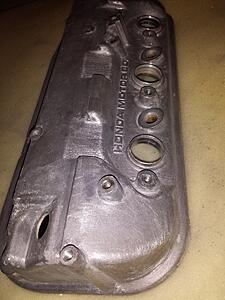
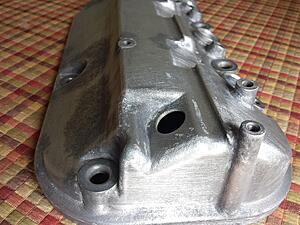
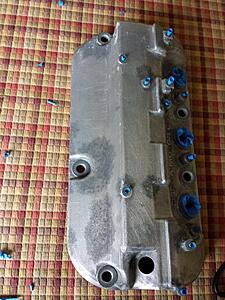
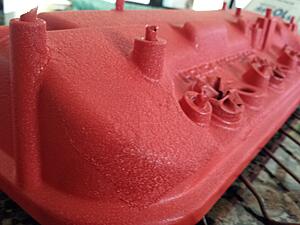
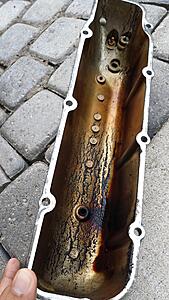
But anyway here it was during the sanding process:
The Dark spots were strange, it seemed like there was some metal erosion, but I was able to then sand it all down.
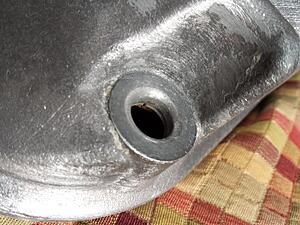
There were definitely some tight spots that took some extra time. But I was able to then get them with some patience.
This was the longest part by far, but with paint, prep work is very key!
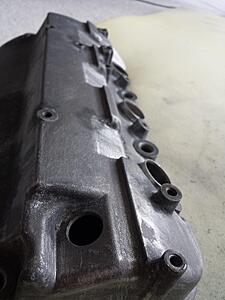
Then I didnt want it interfering with the actual function of the Valve covers so I had to tape things off.
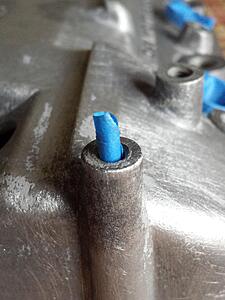
So I thought this was rather clever, I used tape and rolled it int cones and then I would put them into the holes for the lines and other equipment
It would just fit in at whatever width it needed and the seal wold be perfect!
Plus you could just cut the top of them if they got too in your way.
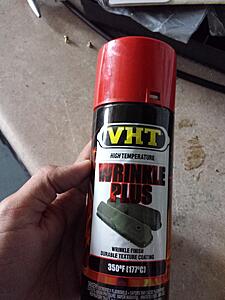
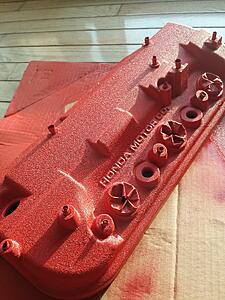
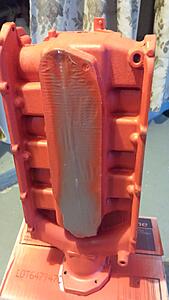
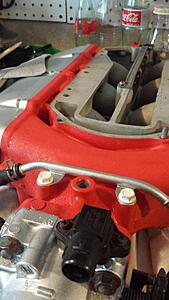
So then I ended up using some VHT Wrinkle red:
There are some different teqniques to the paint process, but the most recomended one is laying it down in thick coats, once vertically, once horizontally and then one at an angle. Then loop this process as necessary to get the look you want.
The issue here is that you wont really know the final true finished product until it is getting to be a bit dry.
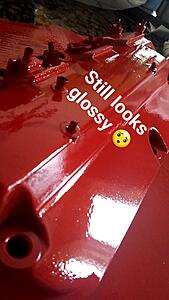
So after a few coats....
It may still have some sheen but dont worry yet.
You should be able to see them and correct them.
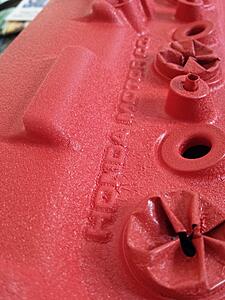
Like here I can see some tiger-striping.
This is usually from holding the can a bit too close. I think 2 Inches back would be able to fix this.
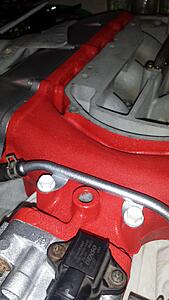
I was able to just use more layers, as I bought 3 cans just in case and had plenty to fix any errors by blending in some Runs that I was able to see
They are slight but the blending in later was able to fix it up quite a bit.
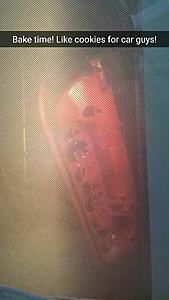
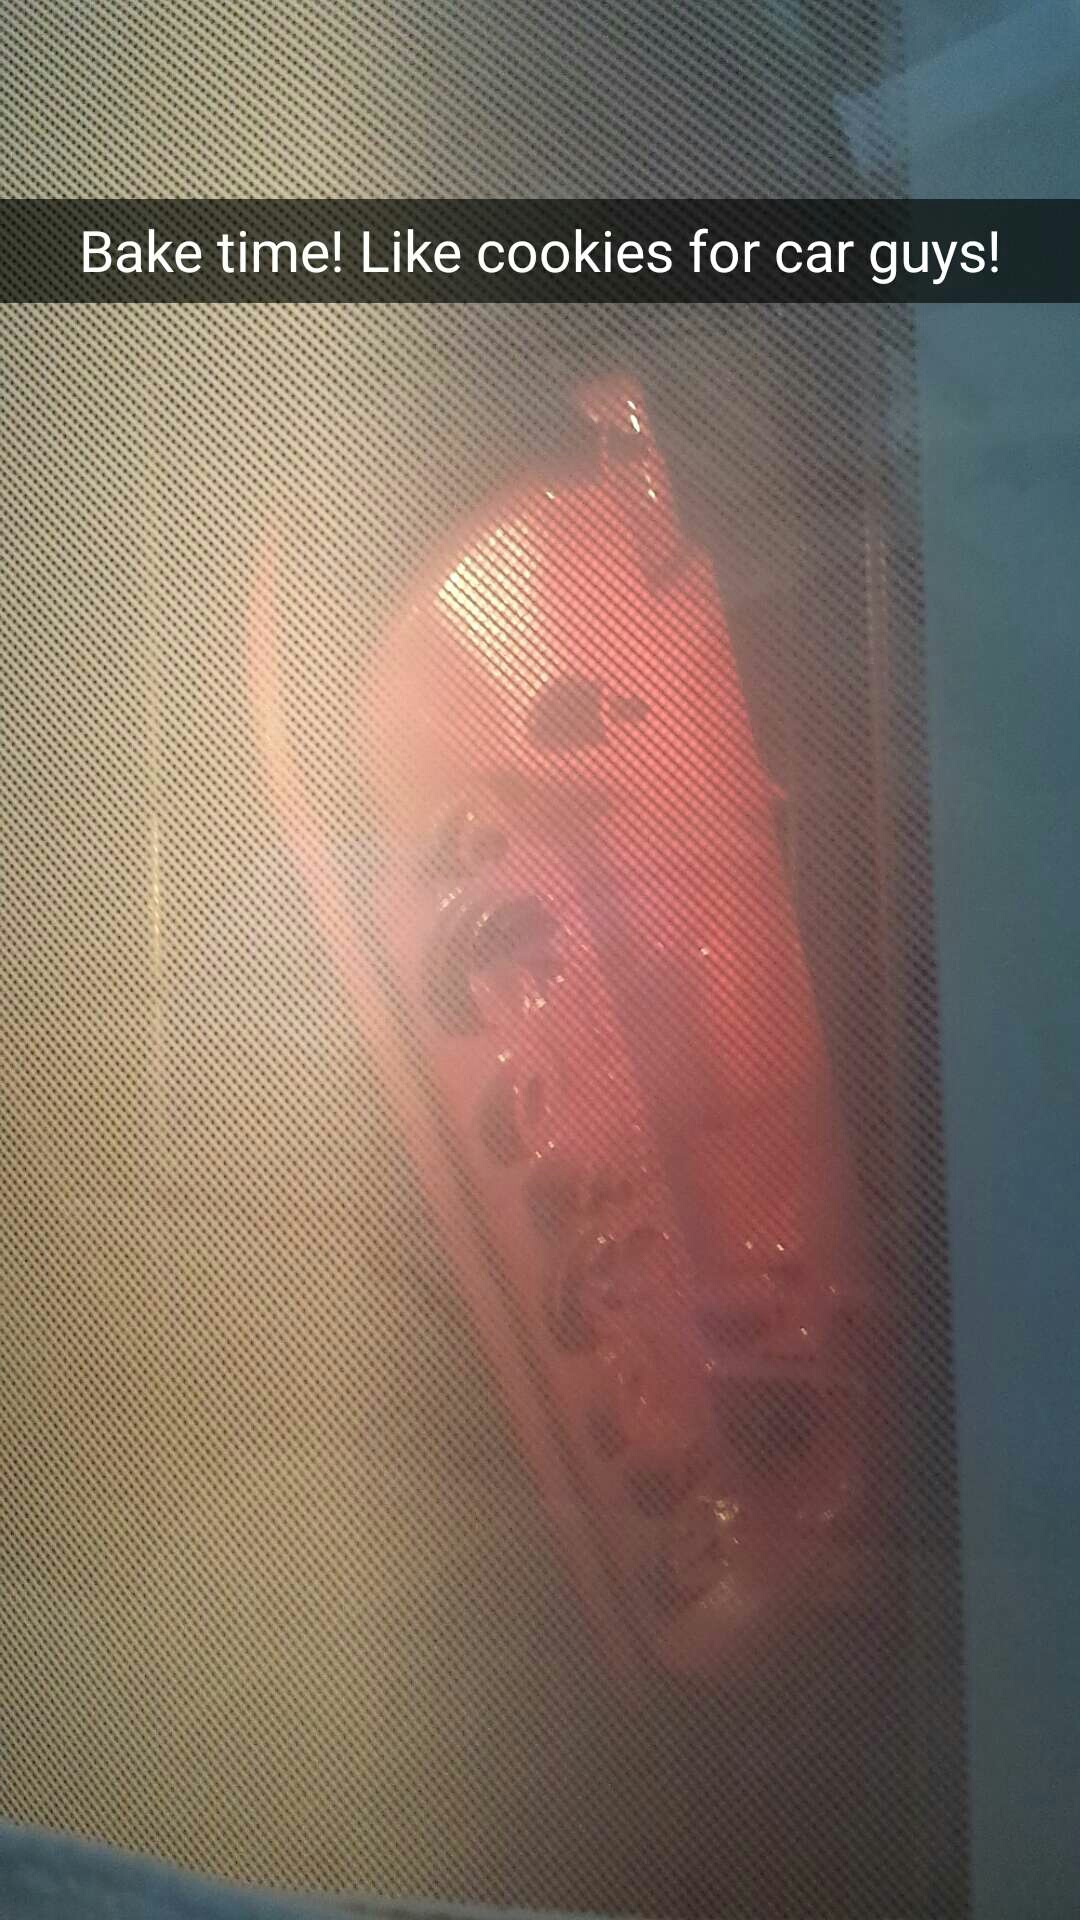
I was also baking this in my house, and yea, it definitely smells quite a bit and will stick to somethings as you bring it in and out of the garage.
It will also collect in some ridges so the battle between laying too much down and it collecting, and the end wrinkle result was a bit hard.
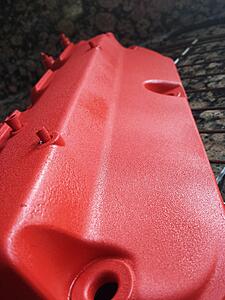
But it works out!
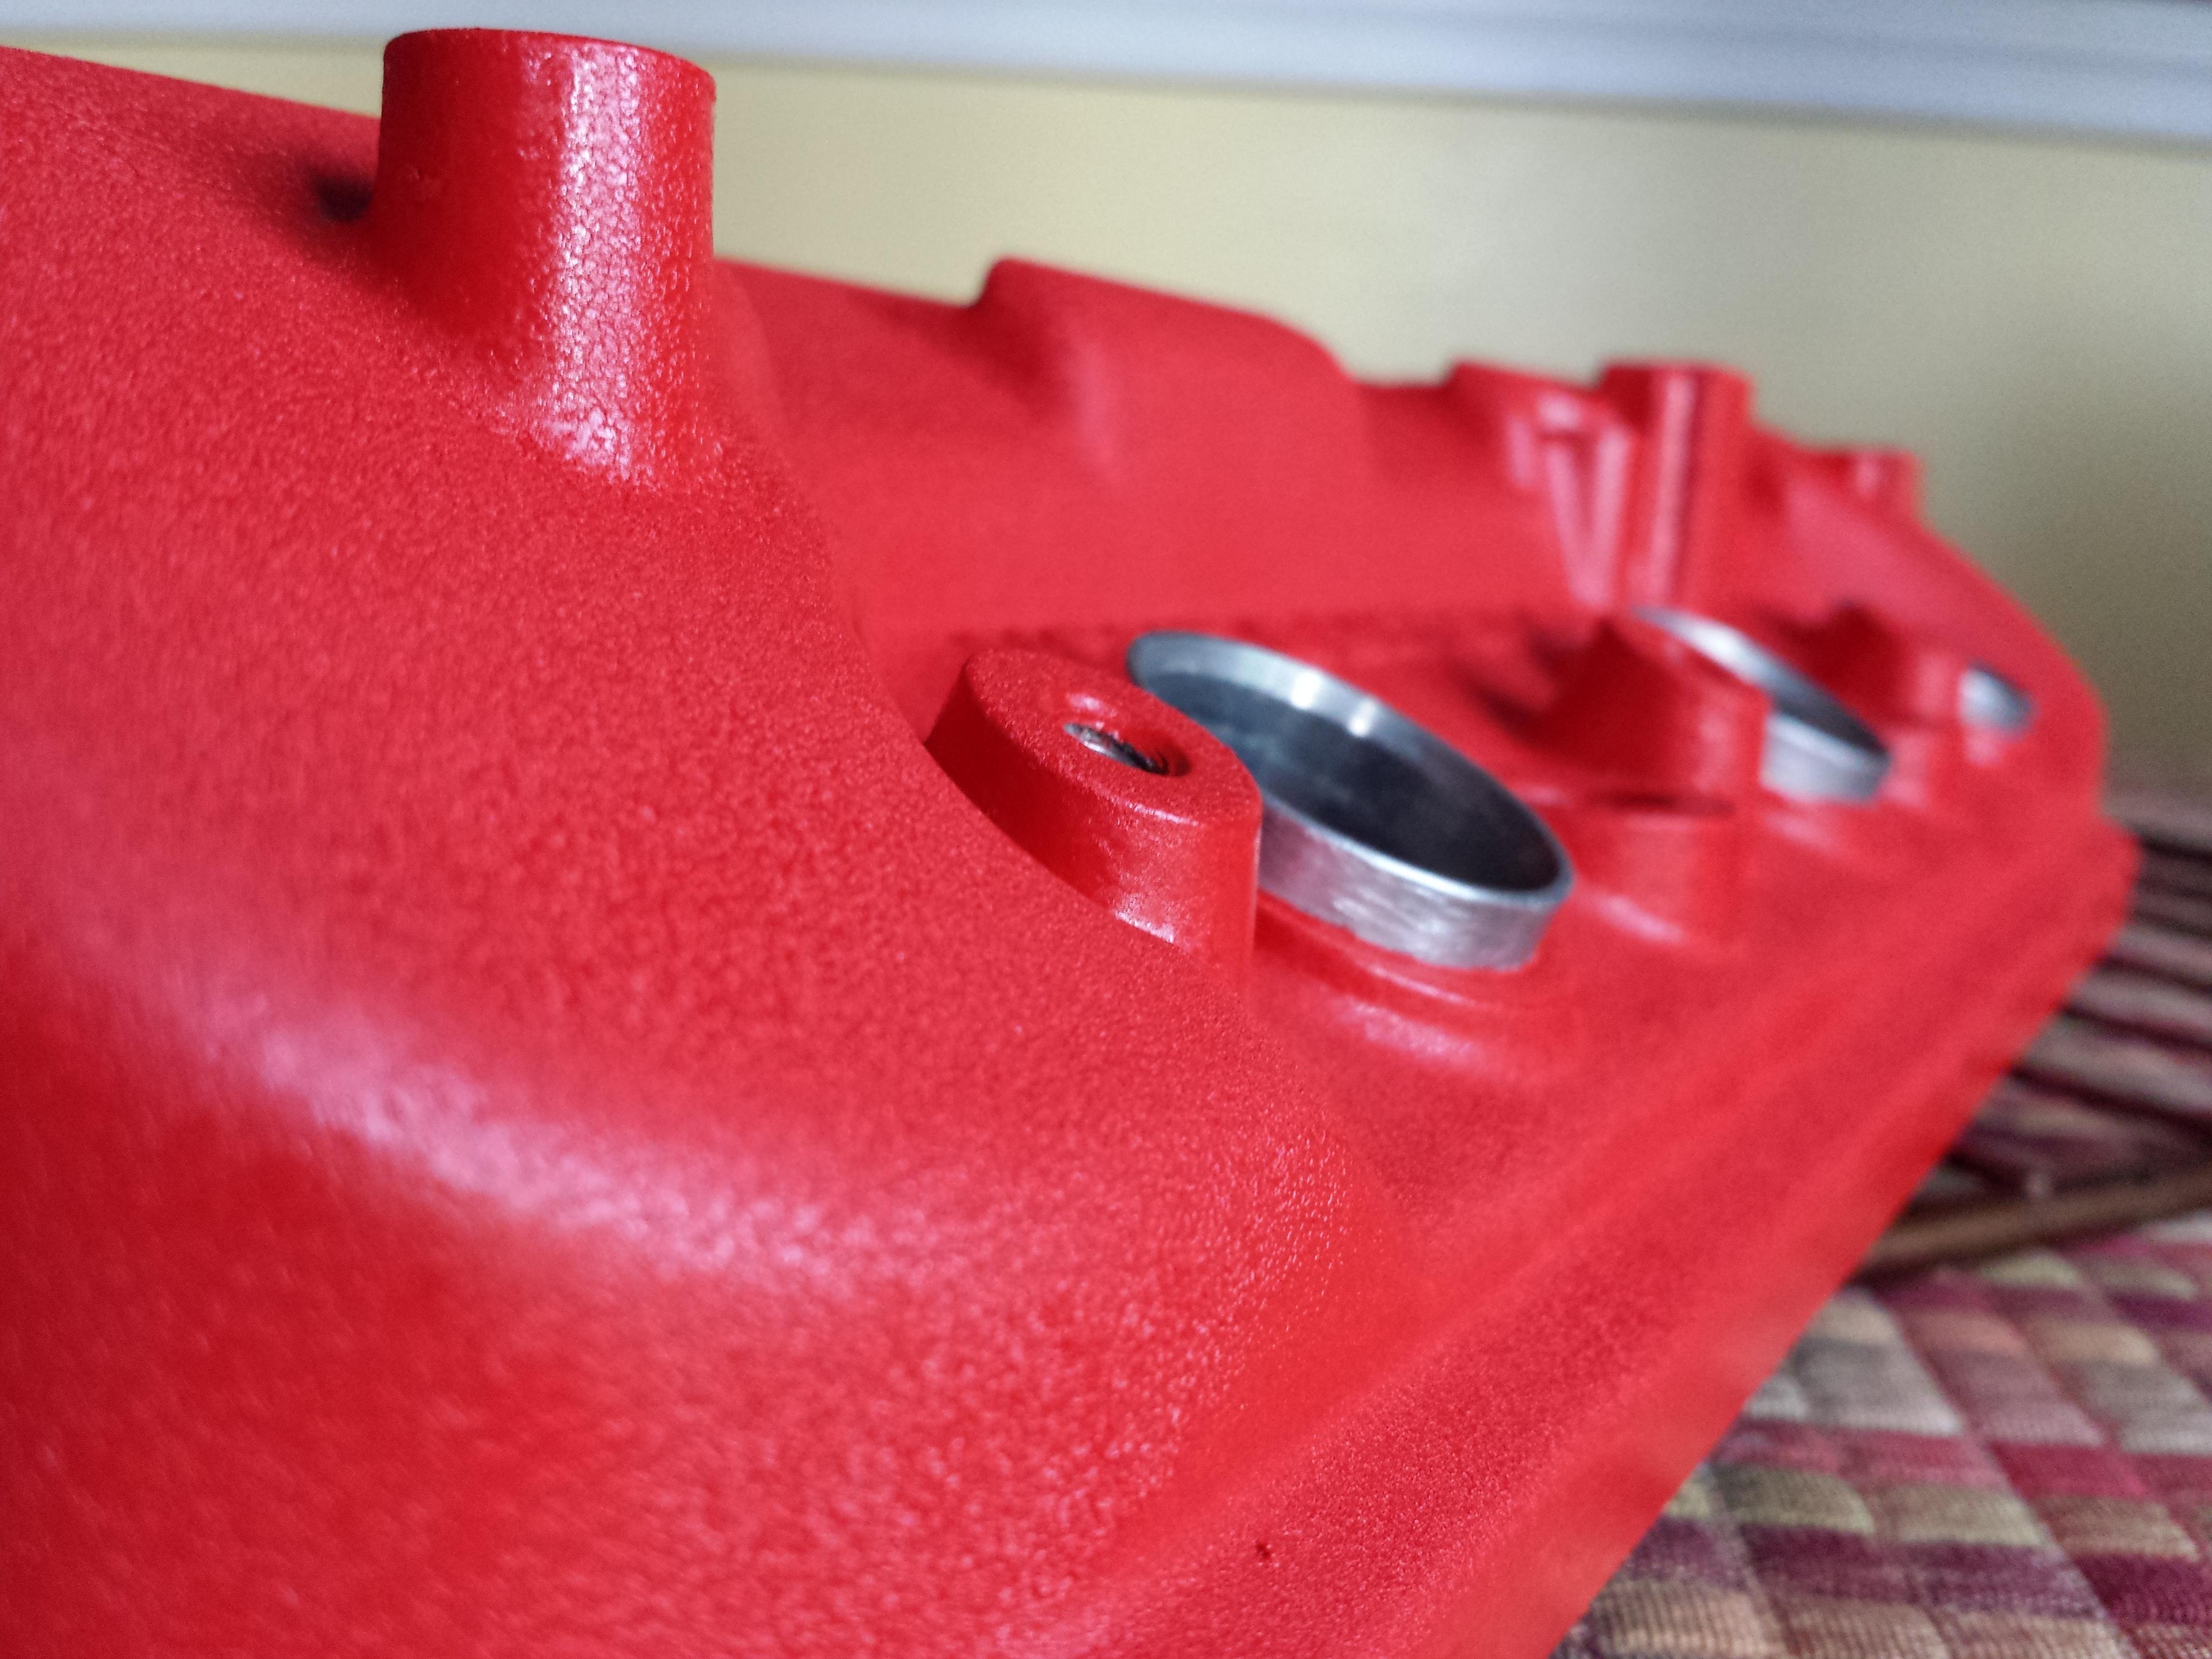
So very much!
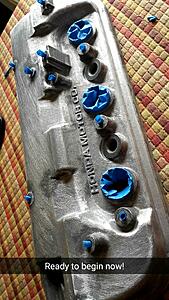
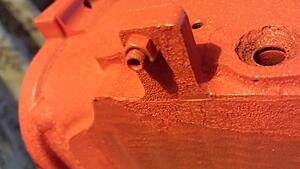
And pulling the tape cones out leaves the screws perfect!
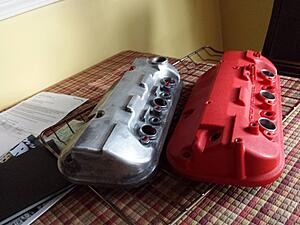
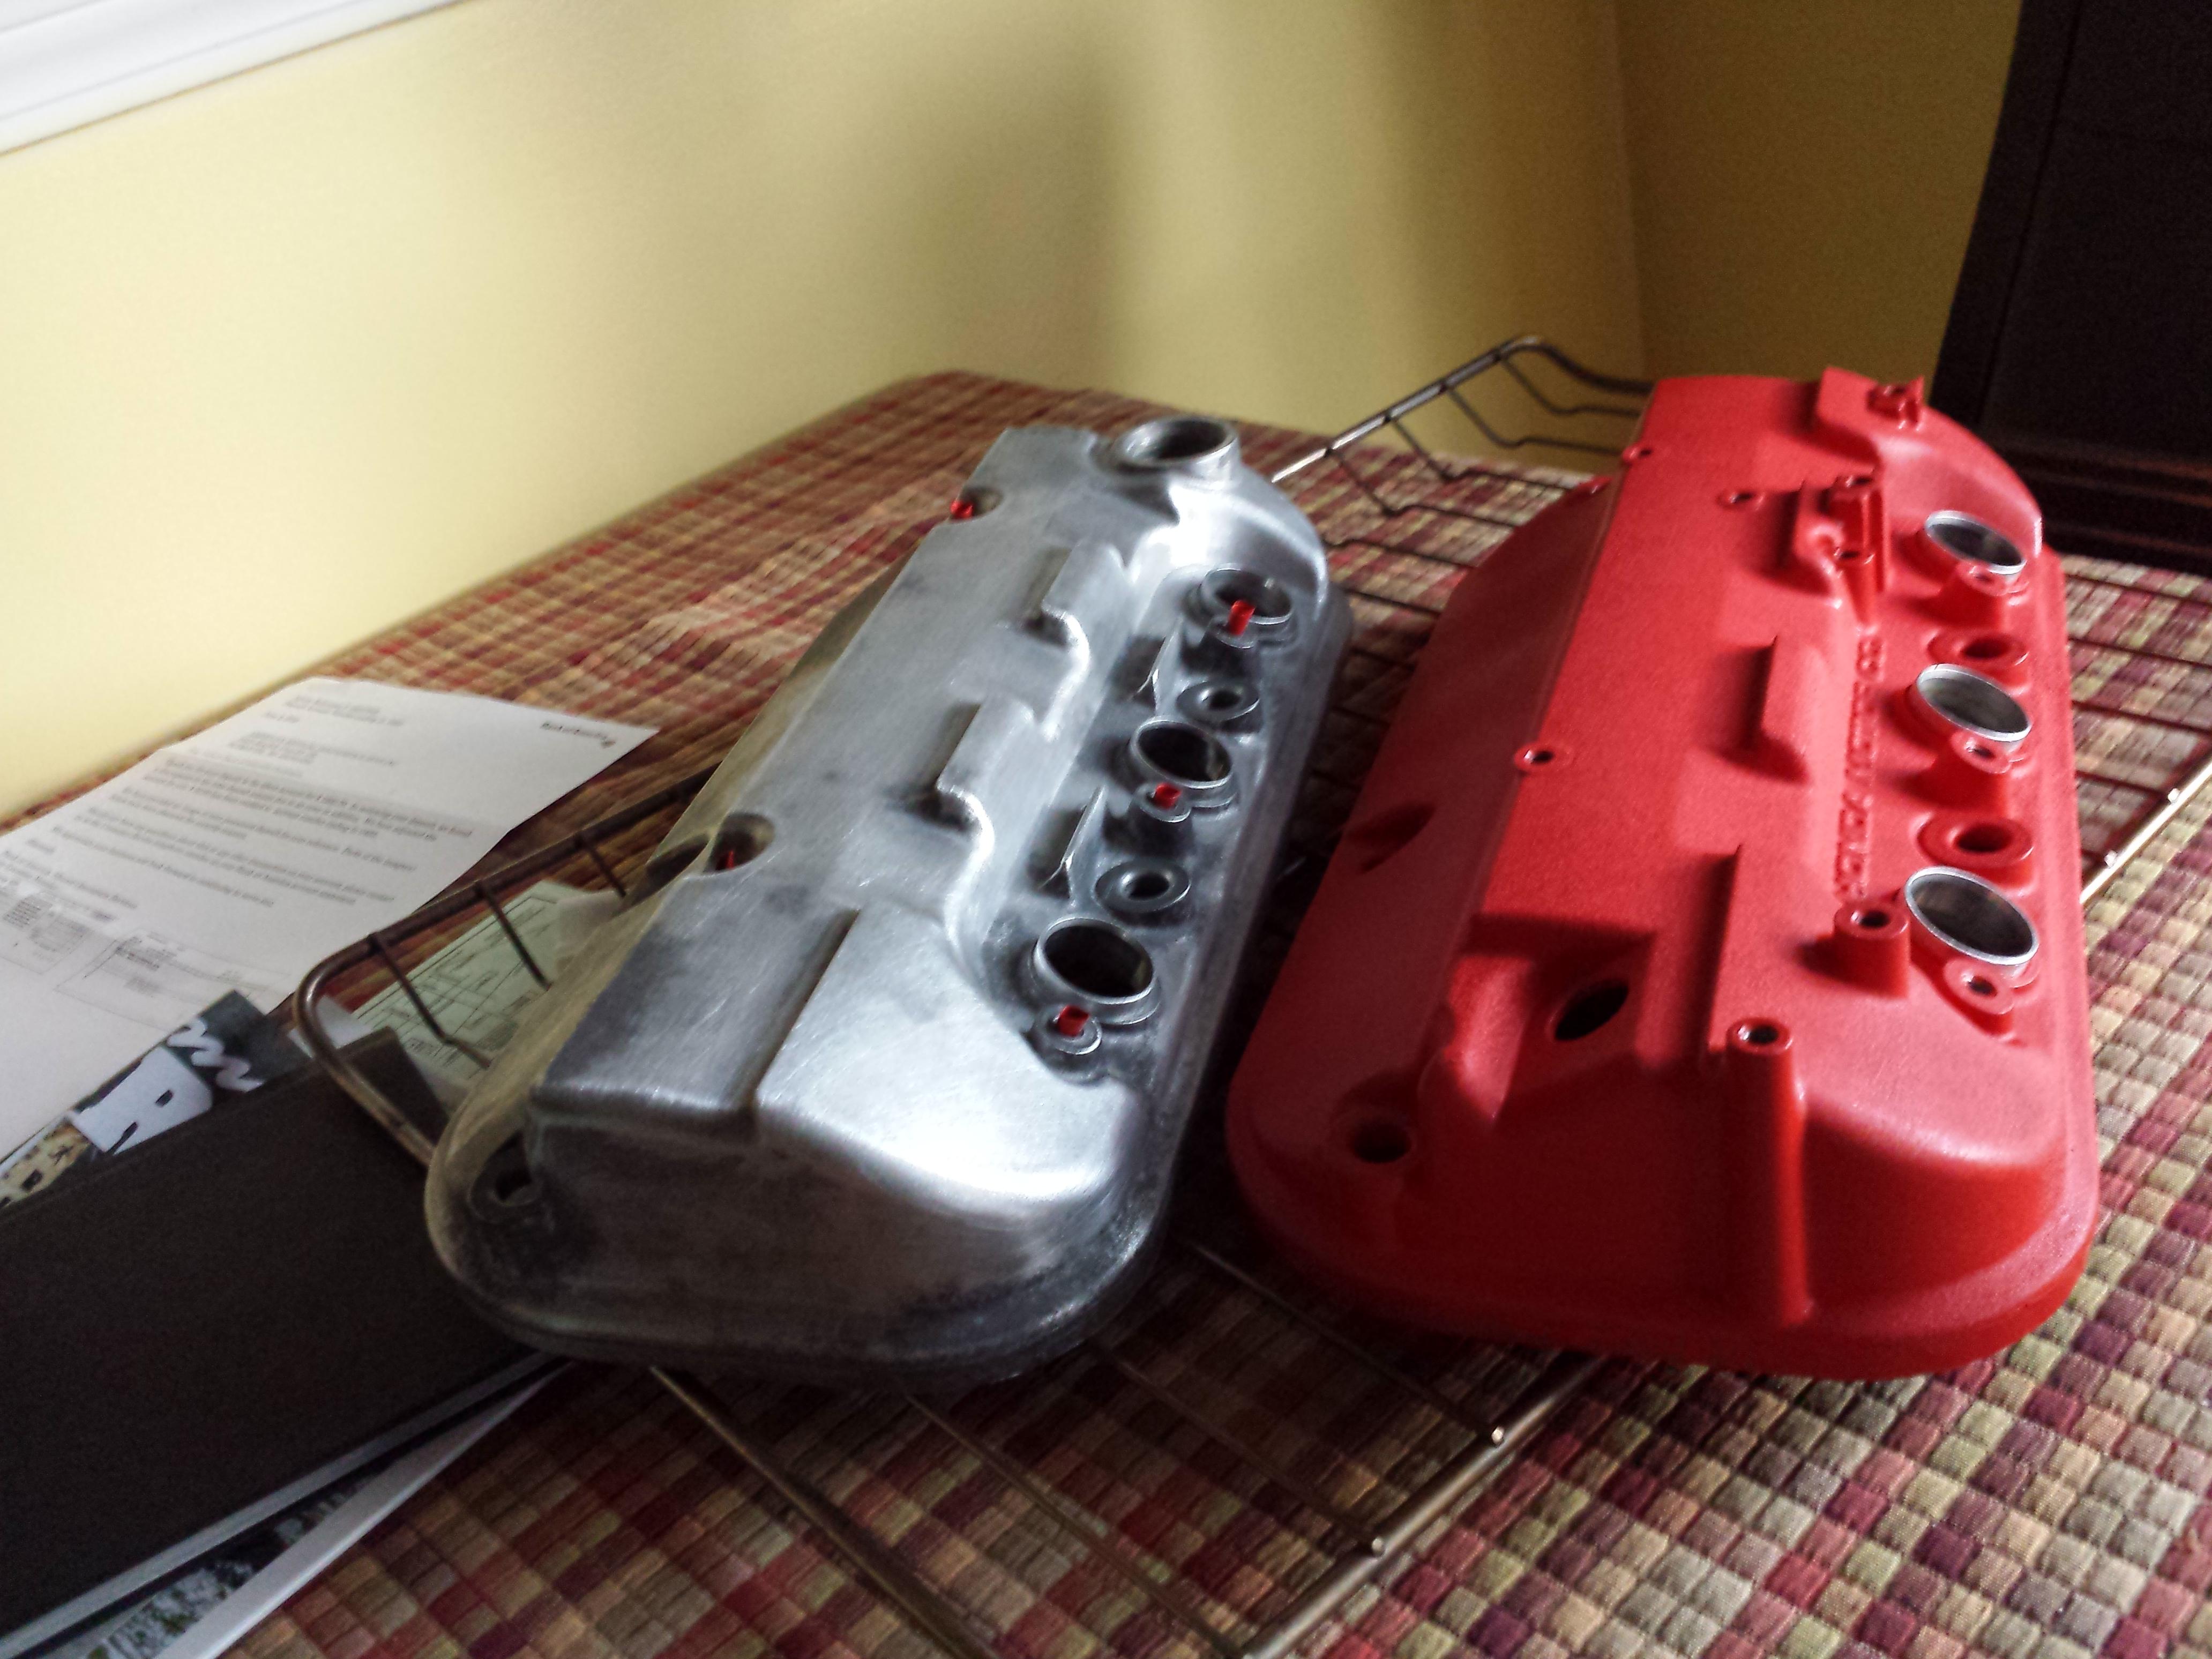
So I practices on the rear one and then applied my techniques to the front one. And they both came out great!
So, I didn't take pictures of the other item I was painting at the time but I did this one first. So the few pictures I have I'll put them up here.
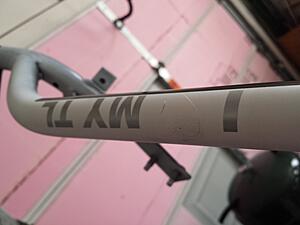
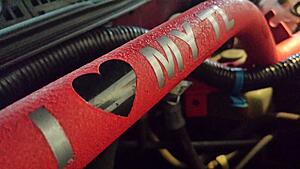
I removed the Front Strut bar and took out all of its connections and hug it in my garage. I also applied some ' I <3 MY TL ' stickers in a pretty specific order, I wanted the heart to be black, but I also wanted the letters to be different from the wrinkle coat, but I wasn't going to be too upset if they didn't turn out exactly how I wanted. So what I did was I put he heart sticker right on the cleaned OEM black paint of the strutbar, then I used some VHT High Temp Primer and then put the rest of the stickers on.
I have to say I am glad they turned out as I prepped for them to be.
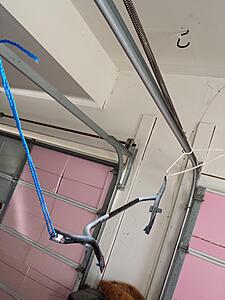
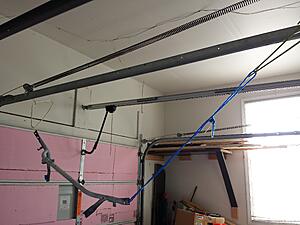
I ended up hanging it from my garage as I didnt really have a paint booth and didnt want to lay down this kind of piece on anything. So I taped off the screw's for the mounts and used my tape cones to fill in the holes for other things. And went to it!
A close up of how I did my sticker-ing. I used some tape to ensure that it would be in a straight line and visible from where I put it in. I did this before I pulled the strut bar out and laid down where the bottom should have been and then put my stickers on that line, after making sure I had enough primer for the hear I removed the tape, put the rest of the stickers on and then put some more primer on and then wrinkle coated it!
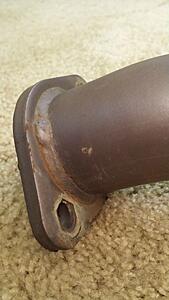
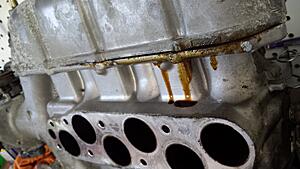
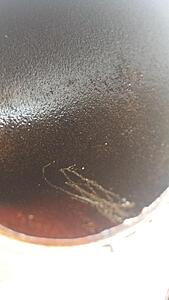
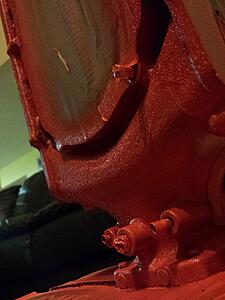
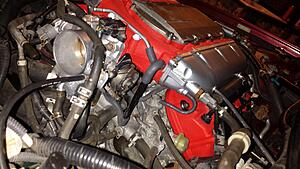
Gonna get a catch can next! This guy could have used it!
Oil all over the intake :P
Scraped it for like 2 seconds
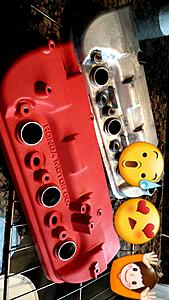
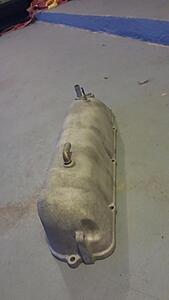
And after all the time I spent on getting the Valvecovers ready to paint I decided this would be one of those things that I didnt completely do at home, so I got them sandblasted!
Muuuucchhh easier lol!
So much of it was the same prep. This time I taped off the air channels and left it open to spray wherever.
Then I was able to put it on this box to stand and spray.
Then I was bringing it in and out carefully to bake it a bit in between coats.
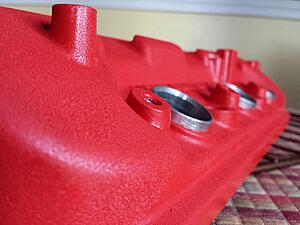
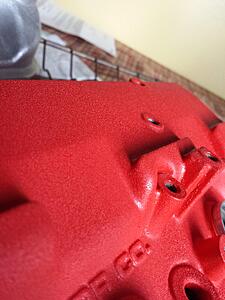
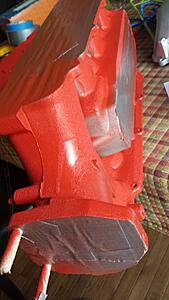
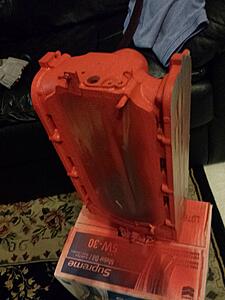
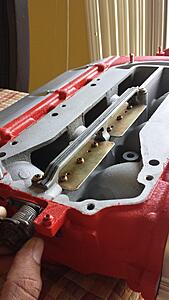
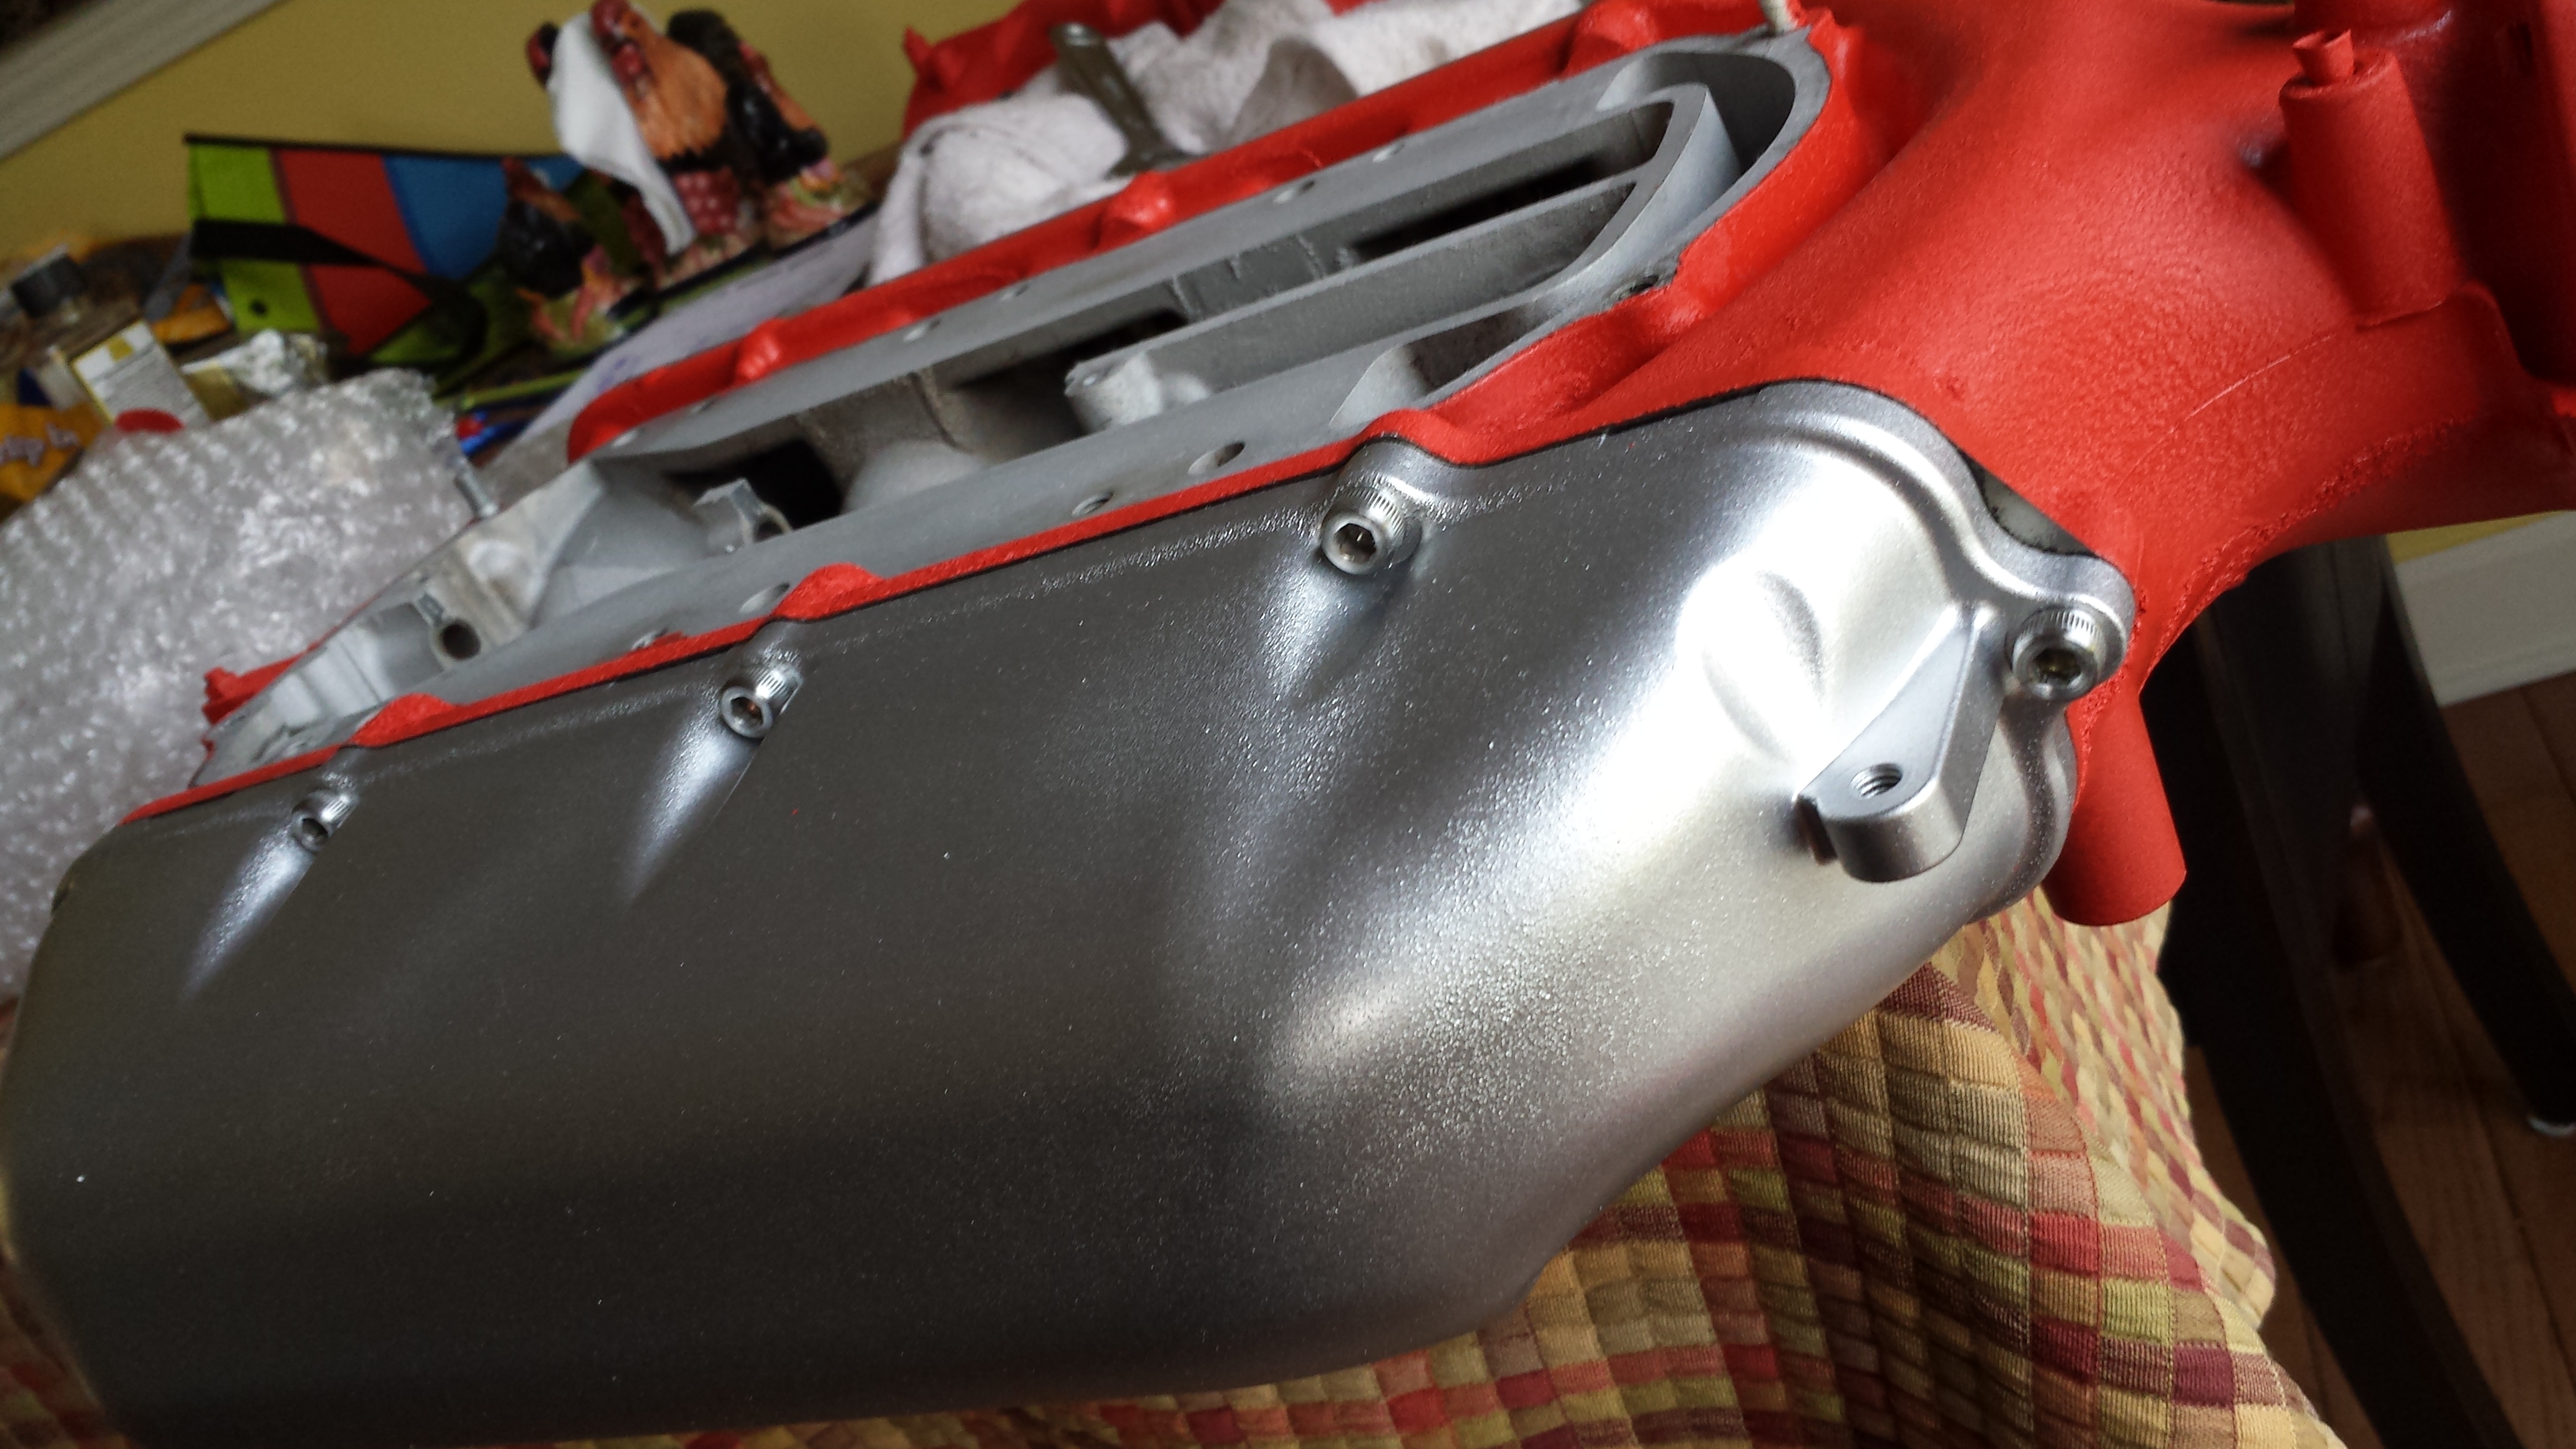
This was right after the first 2 coats:
This was after I finished all of the spraying and pulled the tape off:
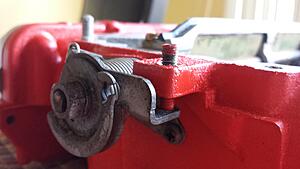
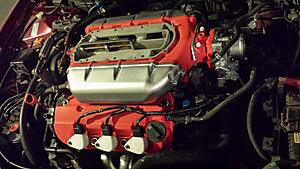
I pulled this mechanism off before I got it sandbasted then put it back, it was just soooo clean!
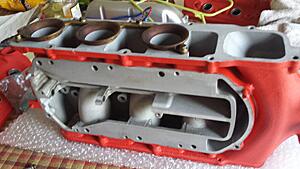
(I also pulled the intake bell end things)
I also pulled off the Throttle Body and painted that silver to match the side plenums.
Then I even panted that pipe that goes over the top and matched the white screws to the white coilpacks.
Man, seeing all of my old posts almost brings a tear to my eye. The TL has always been there, it has such a special place in my life. I even drafted and saved a long post I wanted to write a few years ago, but I havent been able to paste it anytime.
I have another car that has take the daily role, but I still love to see my TL everyday. I plan to fix it and bring it back to the glory it had. There had been quite alot done to over the years. The last few have been neglectful on the 'ol TL it sat for FAR too long, but it is time to bring it up again. Cant believe I am going to revive this 5+ year old thread!!
I love the 'zine and learned so much here. In order to support the site best should I buy from the Vendor https://www.acurapartsforless.com

 03-09-2015, 11:43 AM