
DIY for fuel pump?


Thread Starter
Advanced
Joined: Mar 2008
Posts: 53
Likes: 0
DIY for fuel pump?
is there an easy diy for fuel pump of 99 3.2tl? just got back from downtown acura and they told me there is a whack of stuff that needs fixing or replacing, including fuel pump...
this is a list of wonderful crap i need. (according to dt acura)
TRANSMISSION MOUNT - $69 + 1HR LABOUR
SIDE ENGIN MOUNT - $122 + 1HR LABOUR
FRONT ENGIN MOUNT - $350 + 1.5HR LABOUR
REAR BRAKE PADS AND ROTORS - $305 + 2HR LABOUR
FRONT BRAKE PADS AND ROTORS MACHINING - $75 + 2HR LABOUR
BOTH FRONT SWAY BAR BUSHINGS AND LINKS - $120 + 2HR LABOUR
CATALYTIC CONVERTER HEAT SHIELD - $85 + 1 HR LABOUR
BOTH REAR SWAY BAR LINKS - $100 + 1HR LABOUR
NOTE: FUEL PUMP IS VERY NOISY (REPLACEMENT RECOMMENDED)
what you guys think about pricing? all in cda btw.
but ya, if fuel pump is easy to do, please direct me to a diy...thanx

Pro
Joined: Nov 2004
Posts: 631
Likes: 4
From: Atlanta, GA
The 1st 8 things you mentioned I would do myself seeing as they are not hard. Now the fuel pump may be different though. Depends on if you have to drop the tank to get to it but most likely you'll have to remove the rear seat to get to it. I just don't know enough about TL's to know for sure yet but have enough experience with other cars to know thats pretty much the way it goes.
So try and do as much as possible yourself. Doing the 1st 8 things yourself will save you 10-11hrs in labor itself and should only require some basic handtools like a metric socket set, wrench and maybe a jack or ramps. The brakes may require a special tool but probably not expensive. With the money you save by doing the work yourself you can replace all pads and rotors instead of trying to get the fronts turned. It'll make the job go by faster for you also and then you can take those extra front rotors and get them turned at your convience.
D


Porkchop Sandwiches!
Joined: Nov 2007
Posts: 509
Likes: 3
From: Brooklyn / Stony Brook / Washington DC
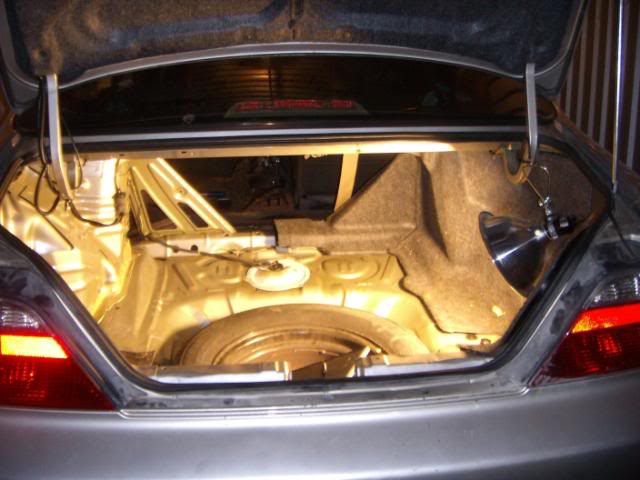
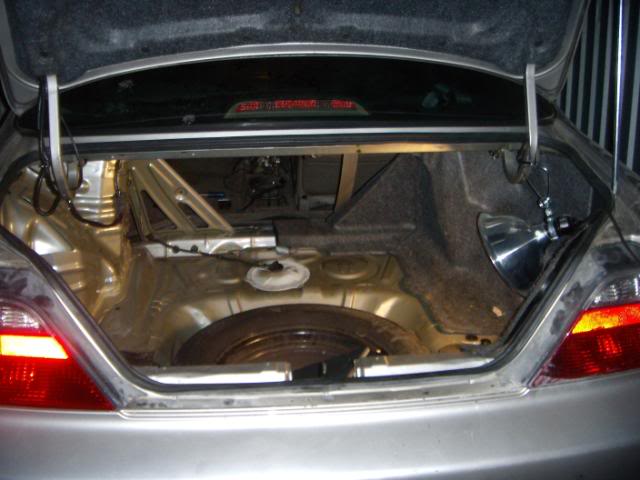
I looked up and it the fuel pump is accessible through the trunk. Its located behind a panel under the spare.
You have to depressurize the fuel system by loosening the fuel pulsation dampener. Shown here.
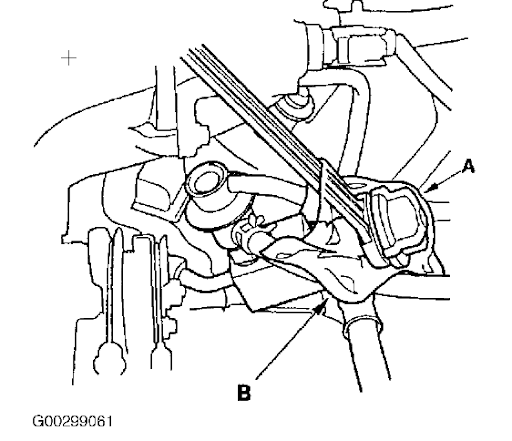
You put the wrench on A and place rag around B so no gas leaks onto your engine. You have to turn 1 full circle, and do it slowly.
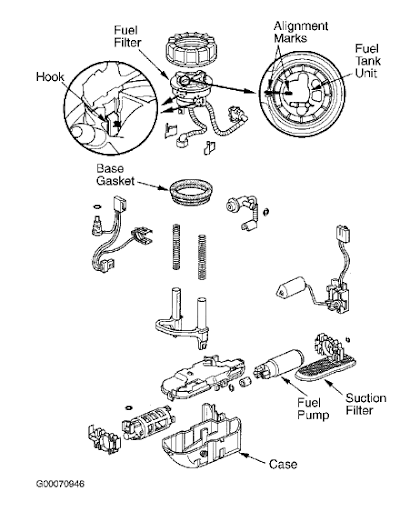
Basically the pump removal should be straight forward. Just take a look in your trunk. It comes out as a piece unit with the pump and filter assembly. According the the shop manual you must replace the gasket when changing.
Here are a couple of more pix of the fuel pump from my shop manual. Good luck.

If you decide to go throught with it take pix so we could make this a DIY.
You have to depressurize the fuel system by loosening the fuel pulsation dampener. Shown here.
You put the wrench on A and place rag around B so no gas leaks onto your engine. You have to turn 1 full circle, and do it slowly.
Basically the pump removal should be straight forward. Just take a look in your trunk. It comes out as a piece unit with the pump and filter assembly. According the the shop manual you must replace the gasket when changing.
Here are a couple of more pix of the fuel pump from my shop manual. Good luck.
If you decide to go throught with it take pix so we could make this a DIY.

Porkchop Sandwiches!
Joined: Nov 2007
Posts: 509
Likes: 3
From: Brooklyn / Stony Brook / Washington DC
thats all there really was. i use a program called mitchell on demand its not very verbose. either way you have all u need it shoudnt be hard to get to just takee out ur spare and check it out. ill post screen shots of the pages becuase it doesnt let u cut and paste when i get home but i basially paraphrased it in my last post. i say someone needs to digitize the service manual and post it for all of us. i got 5 on it and sixer of schlitz!
and yeah x2 on you getting F'd in the A on ur quote front and sidee mounts cost me about 300 with labor.
and yeah x2 on you getting F'd in the A on ur quote front and sidee mounts cost me about 300 with labor.
Trending Topics
Three Wheelin'
Joined: Jan 2008
Posts: 1,449
Likes: 1
From: Bay Area
It's cheaper to service a car here in the US then in Canada.
Your car is probably not worth having dealer rates on service anymore. However I can tell you, that down town Acura is of the best Acura dealers you'll deal with in southern ontario. You need to deal with the service Rep name Robert, I don't know if he's still working there. However he's the man you want to deal with if you go there.
Loaner cars need to be booked in advance, or at least they did years ago.
Porkchop Sandwiches!
Joined: Nov 2007
Posts: 509
Likes: 3
From: Brooklyn / Stony Brook / Washington DC
I dunno dealers charge insane amounts of dough for work here too, I got the mounts for around 200 but in a dealership they wouldve been probably closer to $300 maybe even $350. And it took roughly 1 1/2 for the work. The dealer would've probably charged $90 an hour here, i dunno how much they charge in CA. Local shops are the way to go IMHO as long as you find a good one where the mechanics know their shit.
HOPE THIS HELPS A LITTLE... FROM THE FUEL PUMP INSTALL FROM A TURBO DIY
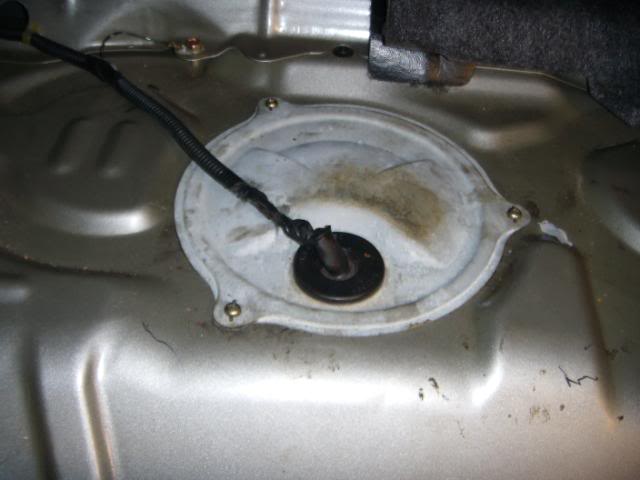
Alright, grab that work light folks and hop into your trunks to get high off of lovely fumes
Grab your assembly and the screws that hold it in place (there should be 8 of them)
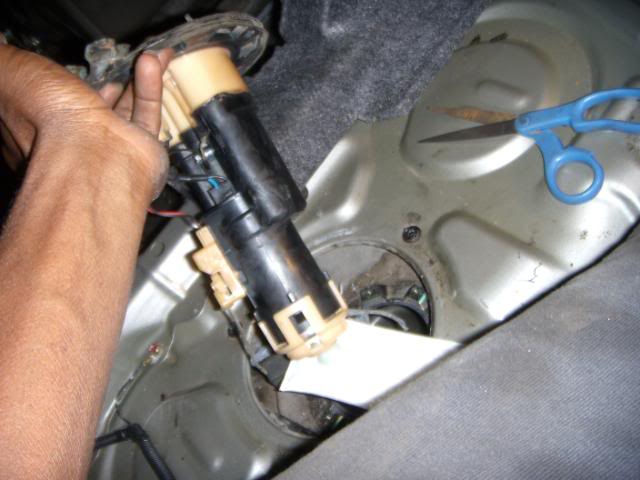
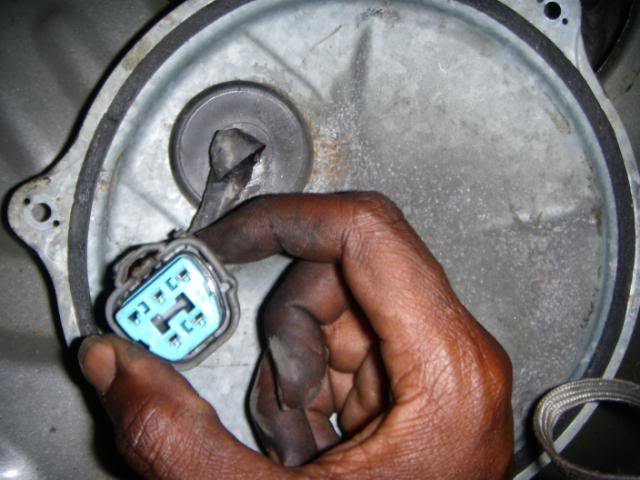
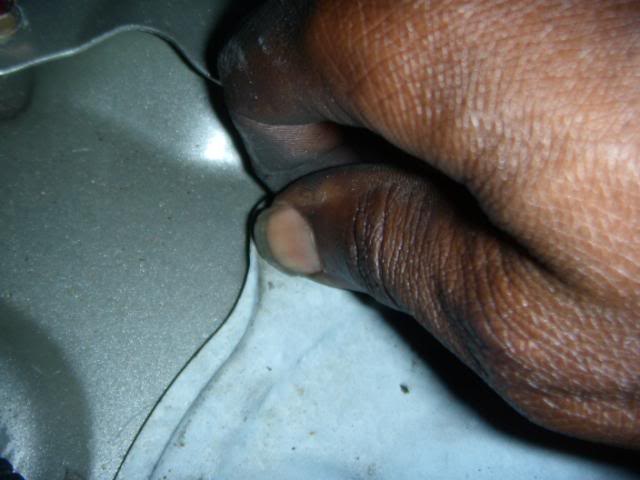
Watch out for that arm with the floating peice on it, you don't want to bend or damage that since it connects to your fuel gauge sending unit:
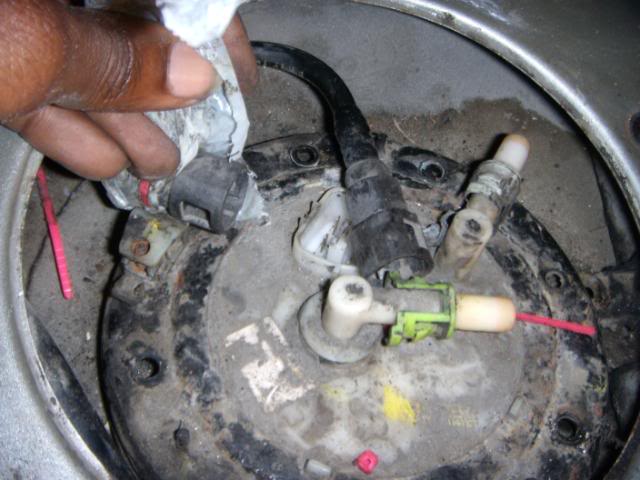
Remove the plastic covering you had on the quick connects:
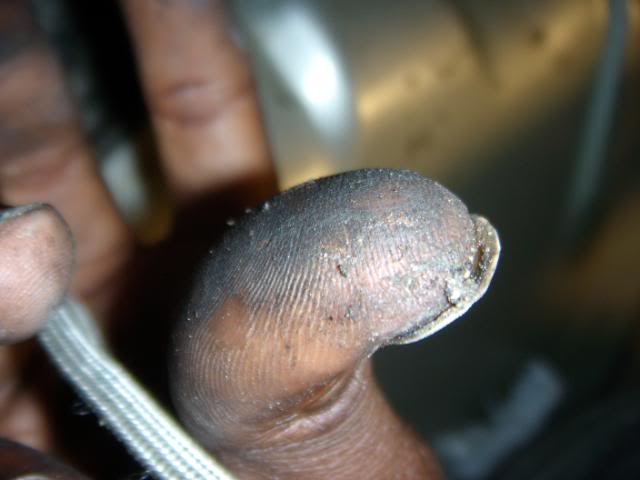
Align all of your holes you can put the screws in, you want to screw them in with your hands first, then screw them in with your hands some more with a socket, and then tighten them down. this is THE DIRTIEST part of the entire car surprisingly.

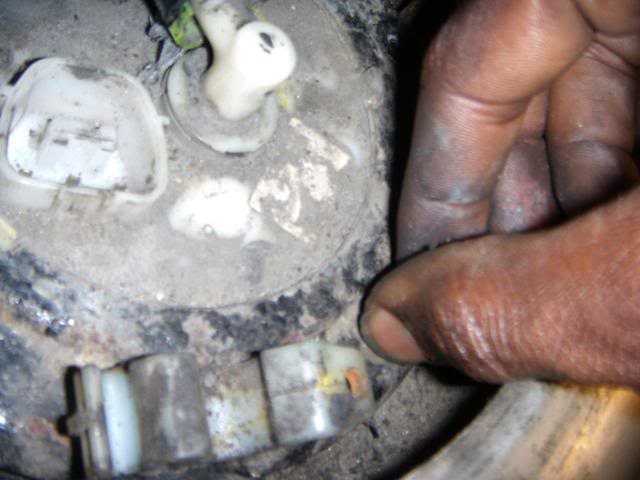
This grime is disgusting... ugh.
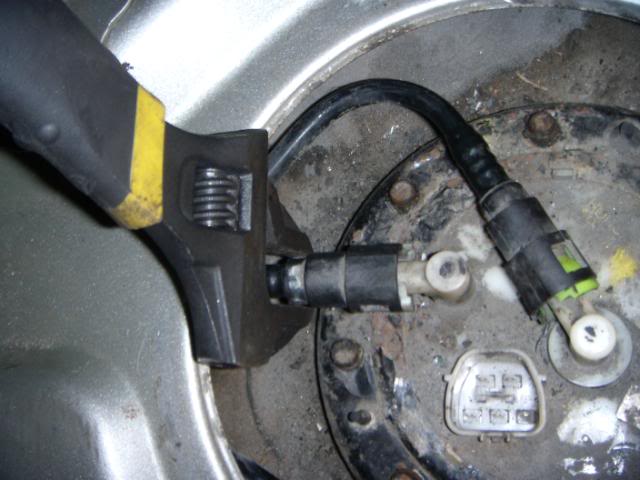
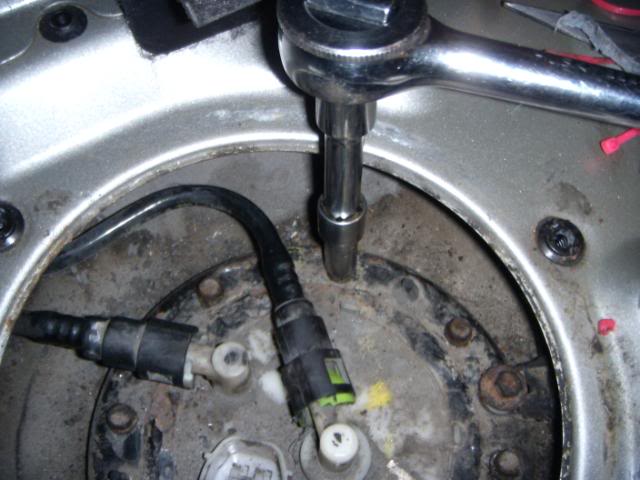
If you have trouble getting the quick connects back on, use adjustable wrench as leverage like I did. snapped on instantly.
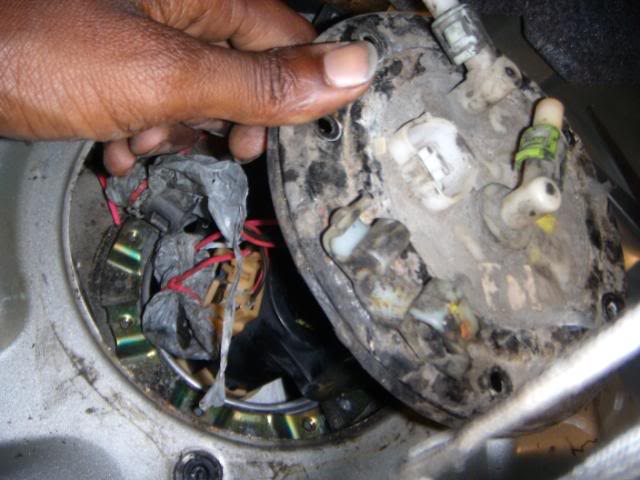
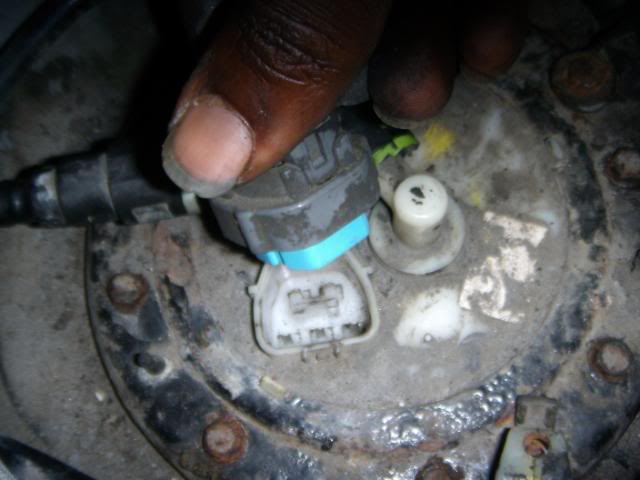
*** FYI: if you get lost and don't remember which way the assembly was positioned, the best thing to do is look at the connector that plugs into it, that gives you a perfect understanding on how the assembly was positioned:
Alright, now that the assembly is installed, plug in the harness:

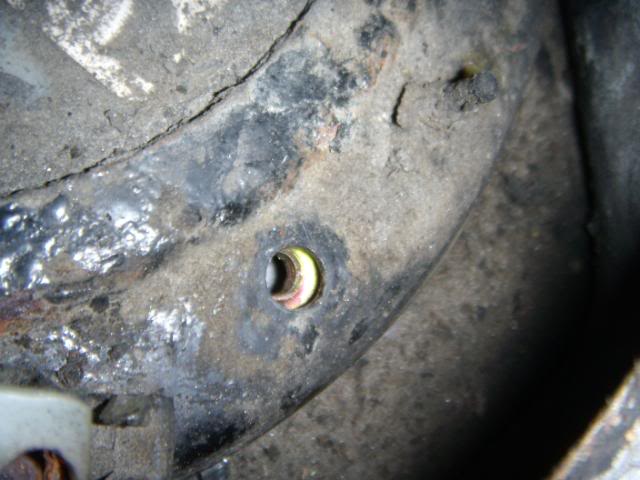
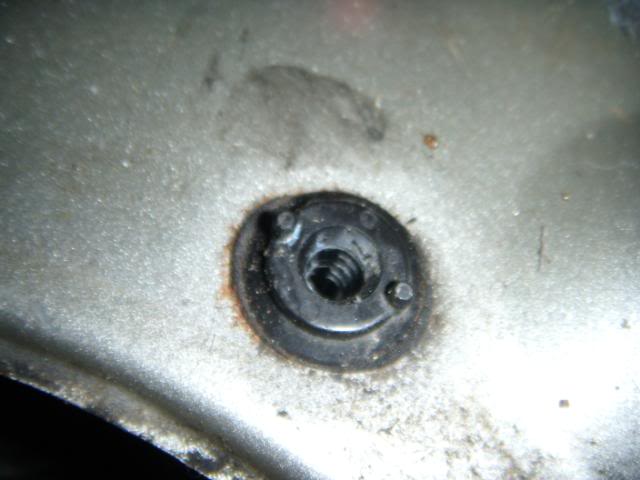
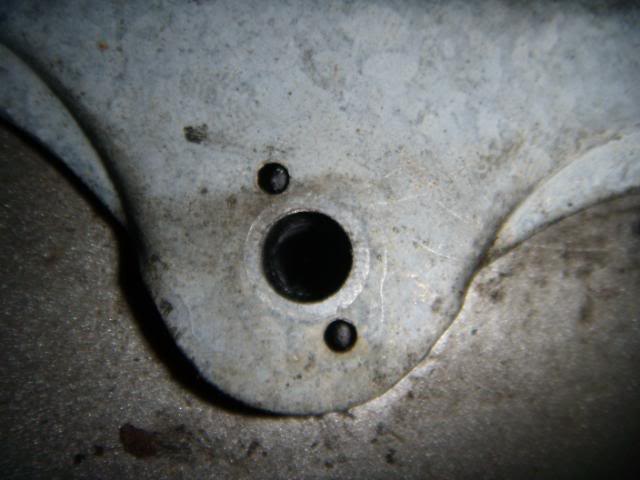
make sure all of the holes on the cover plate line up with the rubber gromments on teh floor before screwing in anything, you'll see each side has a pattern:
hand screw each screw then tighten:
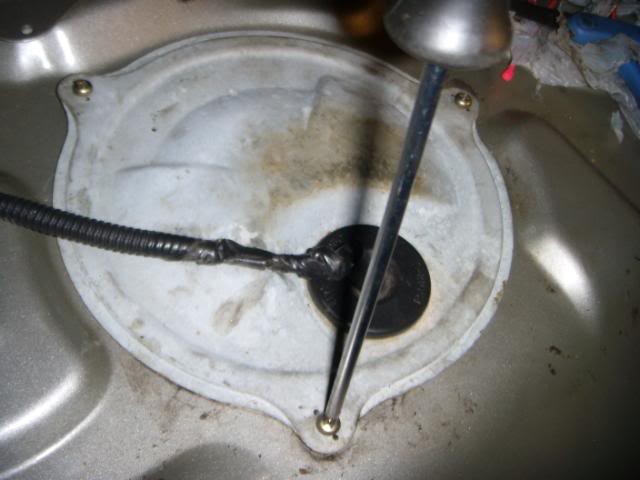
and....... you're done! CONGRATS!
Alright, grab that work light folks and hop into your trunks to get high off of lovely fumes
Grab your assembly and the screws that hold it in place (there should be 8 of them)
Watch out for that arm with the floating peice on it, you don't want to bend or damage that since it connects to your fuel gauge sending unit:
Remove the plastic covering you had on the quick connects:
Align all of your holes you can put the screws in, you want to screw them in with your hands first, then screw them in with your hands some more with a socket, and then tighten them down. this is THE DIRTIEST part of the entire car surprisingly.
This grime is disgusting... ugh.
If you have trouble getting the quick connects back on, use adjustable wrench as leverage like I did. snapped on instantly.
*** FYI: if you get lost and don't remember which way the assembly was positioned, the best thing to do is look at the connector that plugs into it, that gives you a perfect understanding on how the assembly was positioned:
Alright, now that the assembly is installed, plug in the harness:
make sure all of the holes on the cover plate line up with the rubber gromments on teh floor before screwing in anything, you'll see each side has a pattern:
hand screw each screw then tighten:
and....... you're done! CONGRATS!
Intermediate
Joined: May 2008
Posts: 39
Likes: 0
From: Vernon
I did this diy and was super easy! the only problem was that the gasket that came with the new pump didn't fit and had to be shaved down a bit.
btw, the first drawing from the manual looks nothing like the fuel pump set up!!!
btw, the first drawing from the manual looks nothing like the fuel pump set up!!!

10th Gear
Joined: Feb 2017
Posts: 11
Likes: 1
Did you buy both or just the pump?
I can't find both as an assembly.

Thread
Thread Starter
Forum
Replies
Last Post