How-To: Painted Grille Molding Swap
 07-24-2013, 10:38 PM
#1
How-To: Painted Grille Molding Swap
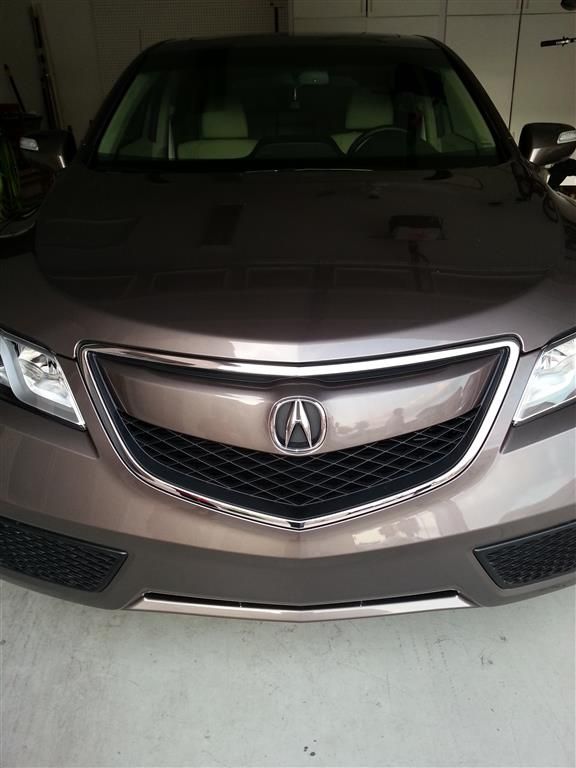
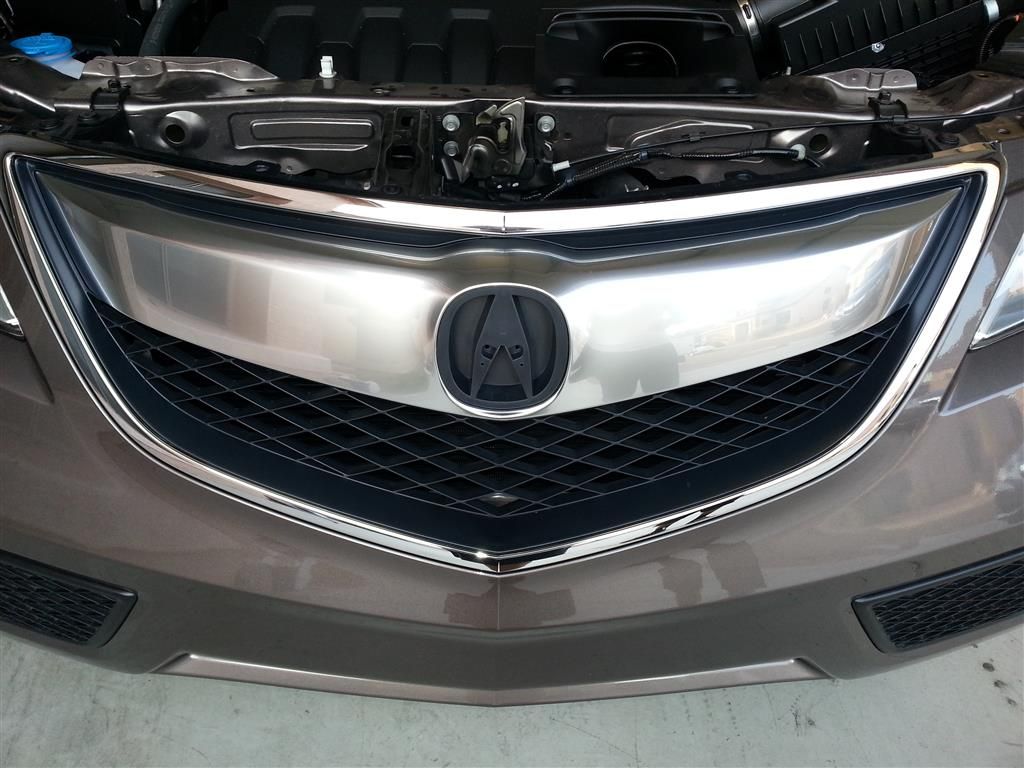
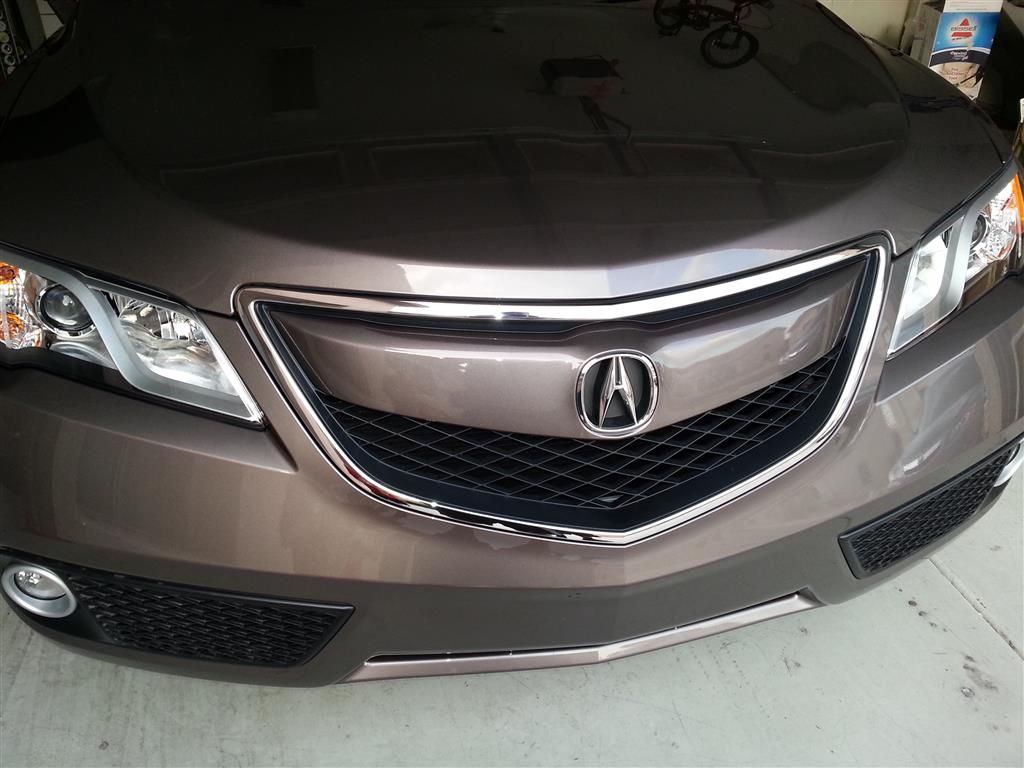
I changed my grille molding today to a painted version to match the rest of the vehicle.
The service manual says removing the grille requires bumper cover removal. Nonsense. This took me about an hour. (Since not everyone is of the same mechanical aptitude, I cannot be responsible for you breaking something on your car. Proceed at your own risk.)
Be careful not to drop any hardware down on to the splash shield. It's hard to get to that stuff because of the size of the shield and all the clips holding it in place.
Here are some part numbers, in case you lose or break something:
10 cover clips: 91505-S9A-003
2 emblem screws: 93903-422J0
6 molding screws: 71124-TX4-A01 (these are T20 Torx screws)
link for molding to be painted: 71122-TX4-A01
Tools I used:
2 small, flat screw drivers for removing the cover clips
short Philips for the emblem screws
short flat and a long flat screwdriver for the locking tabs
1/4-drive ratchet with a 1/4" socket for the
T20 bit
flashlight was handy, too.
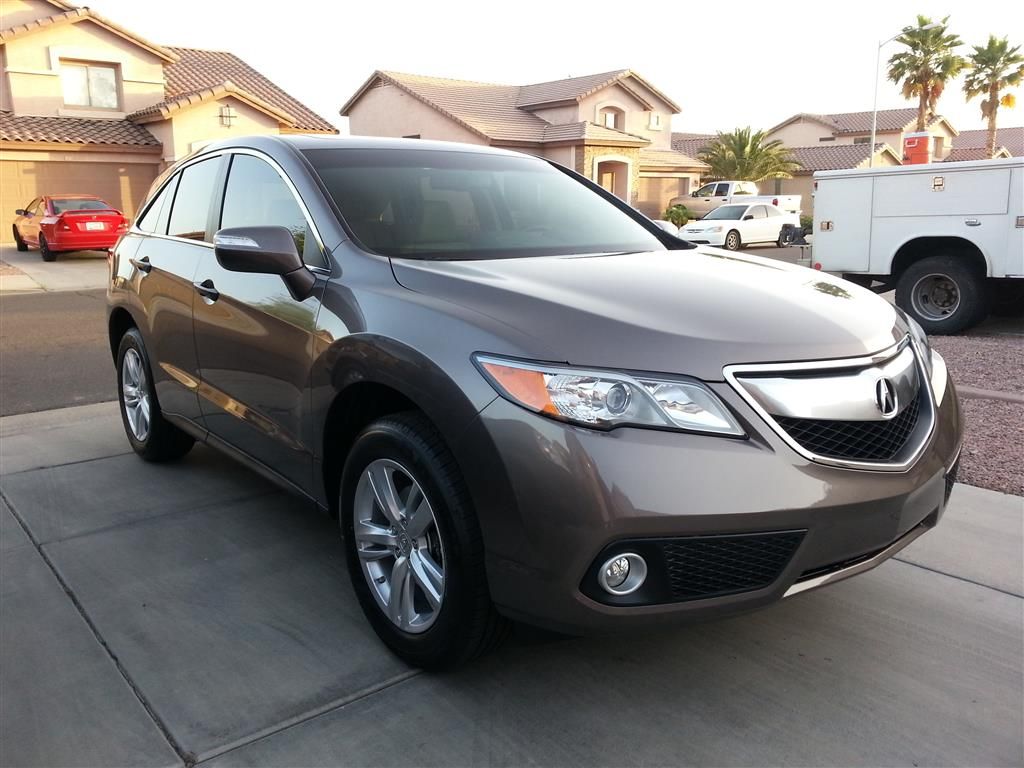
The day I brought it home:
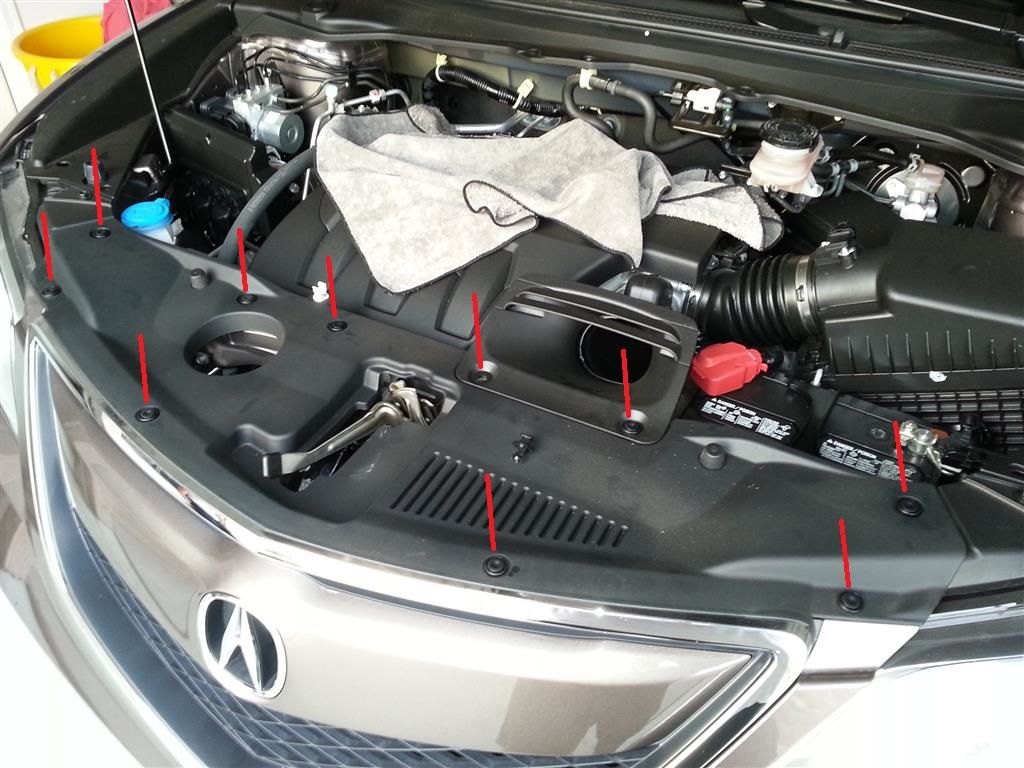
Remove these 10 clips:
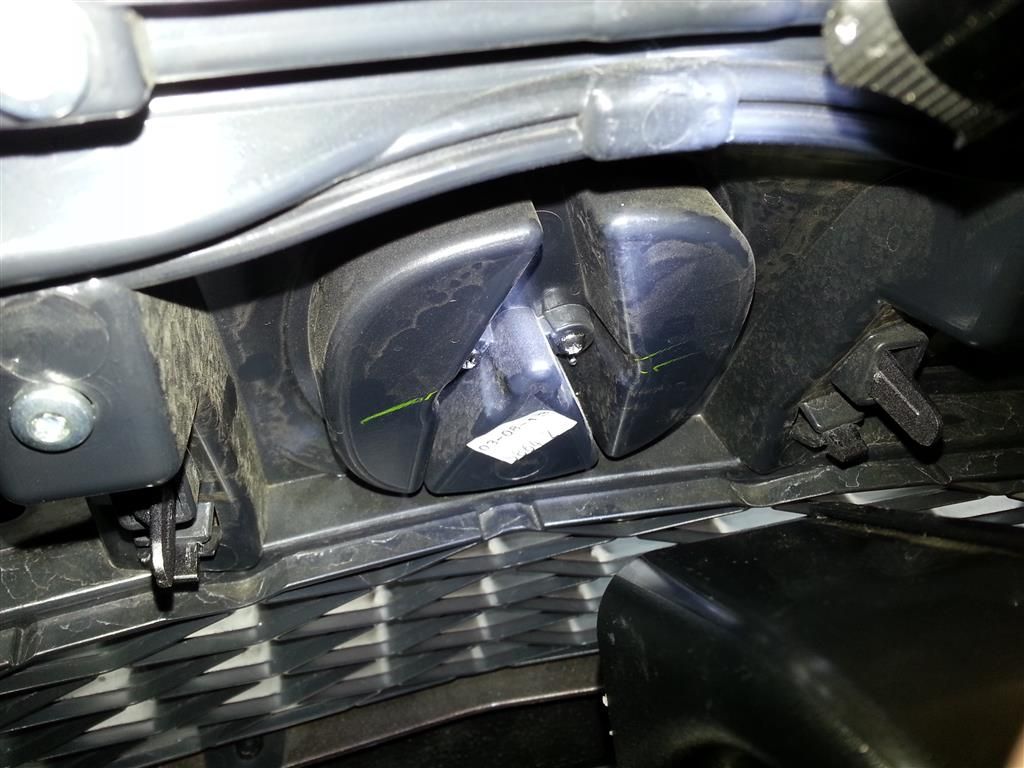
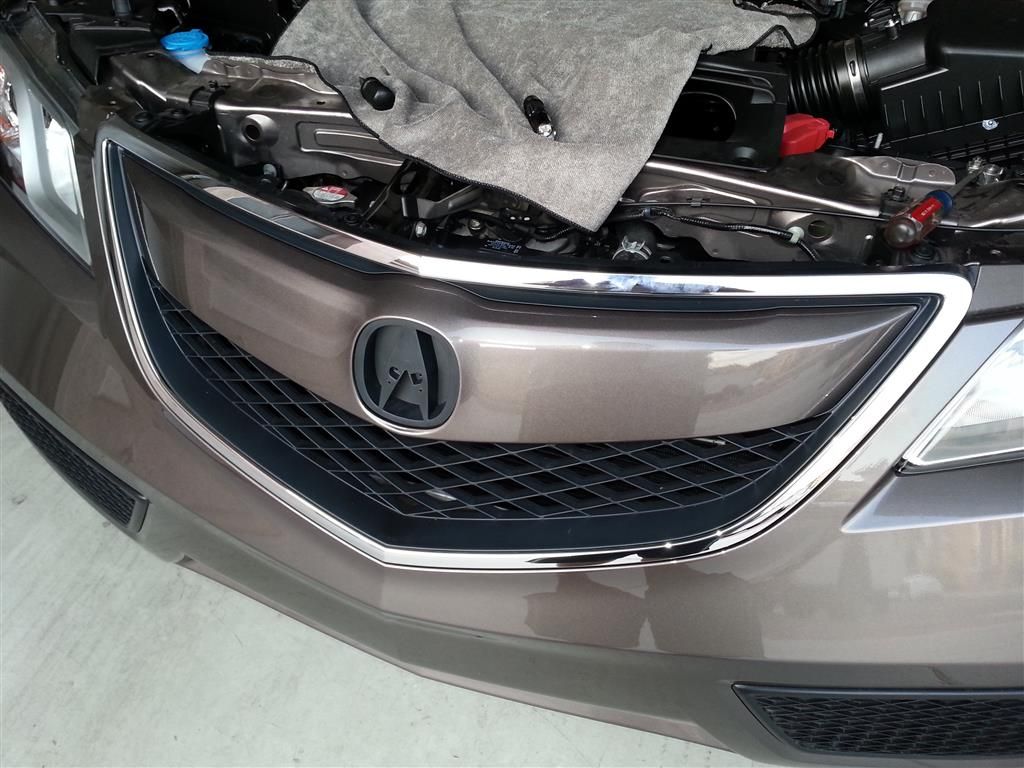
Then the emblem:
There are 6 screws (circled in red) that hold the molding to the grille. The s/m says 12, but I think the other 6 are for the outer chrome molding.
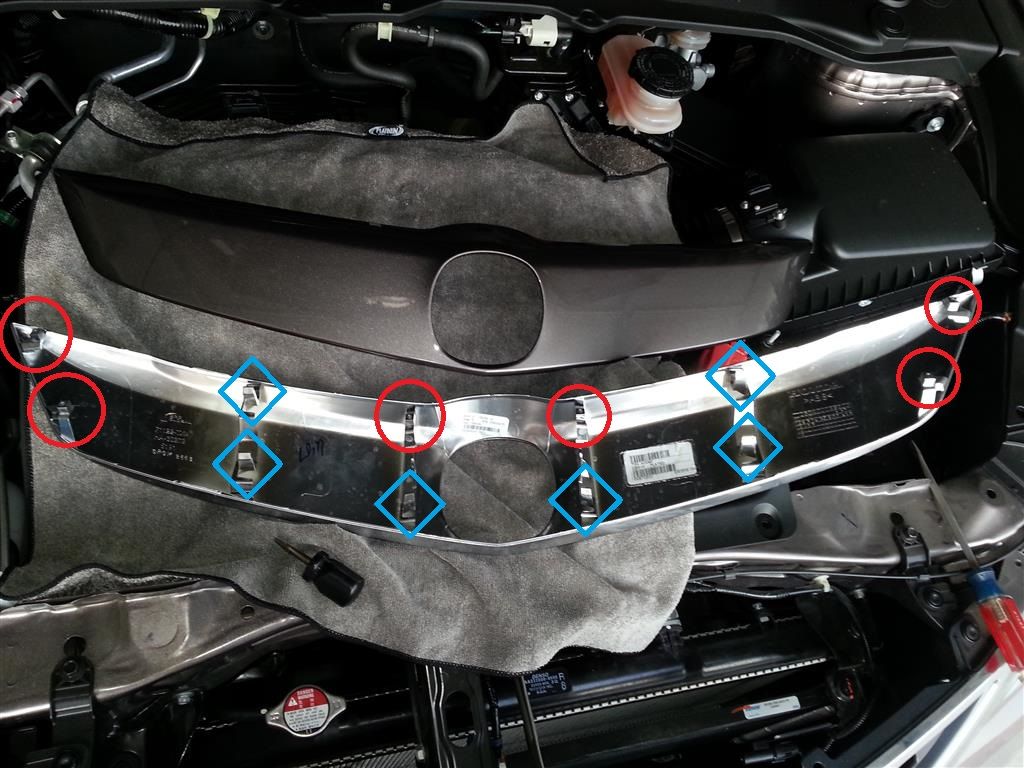
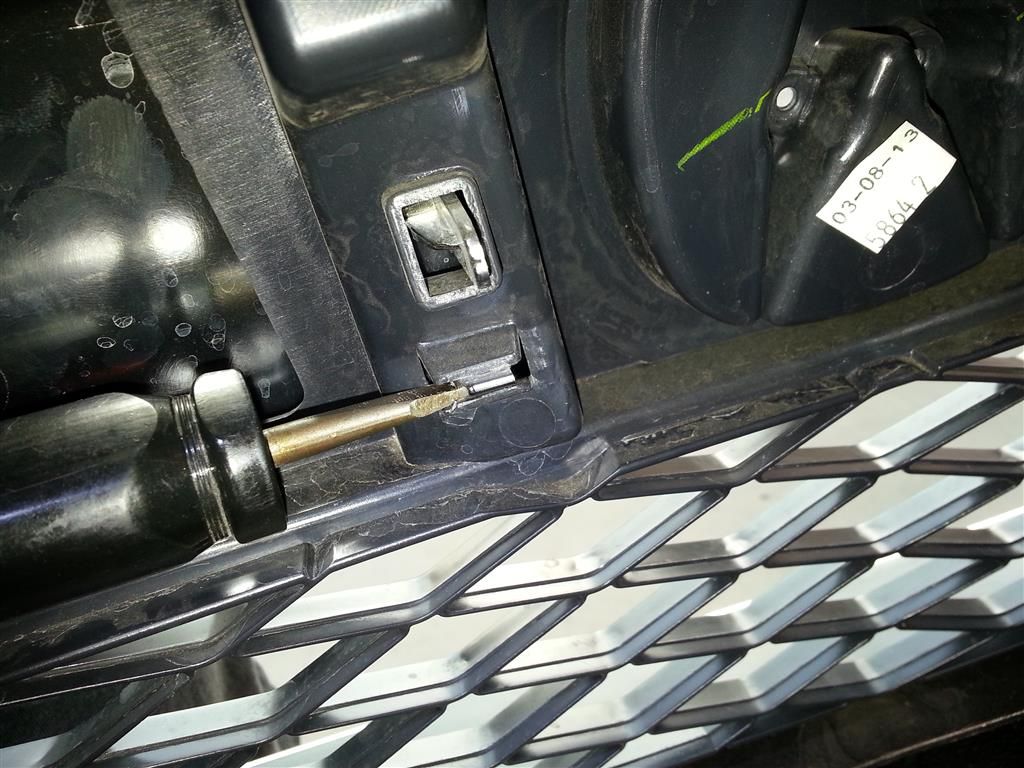
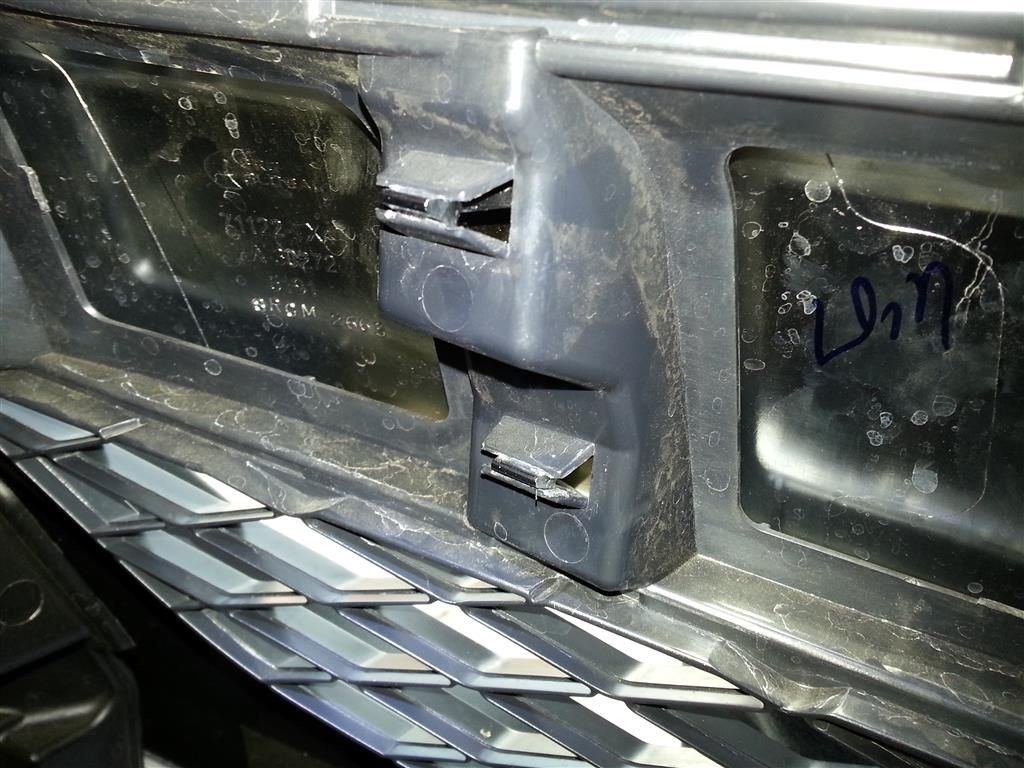
There are now just 6 tabs holding the molding on to the grille. I found it easiest to insert a large flat screwdriver between the molding tab and the bottom of the grille slot and GENTLY twist. There are openings in the grille where you can push out on the molding. Just get the tabs free on one side and move to the other side (the tabs are in the blue square in the previous image). Once the tabs are free, the molding comes straight out.
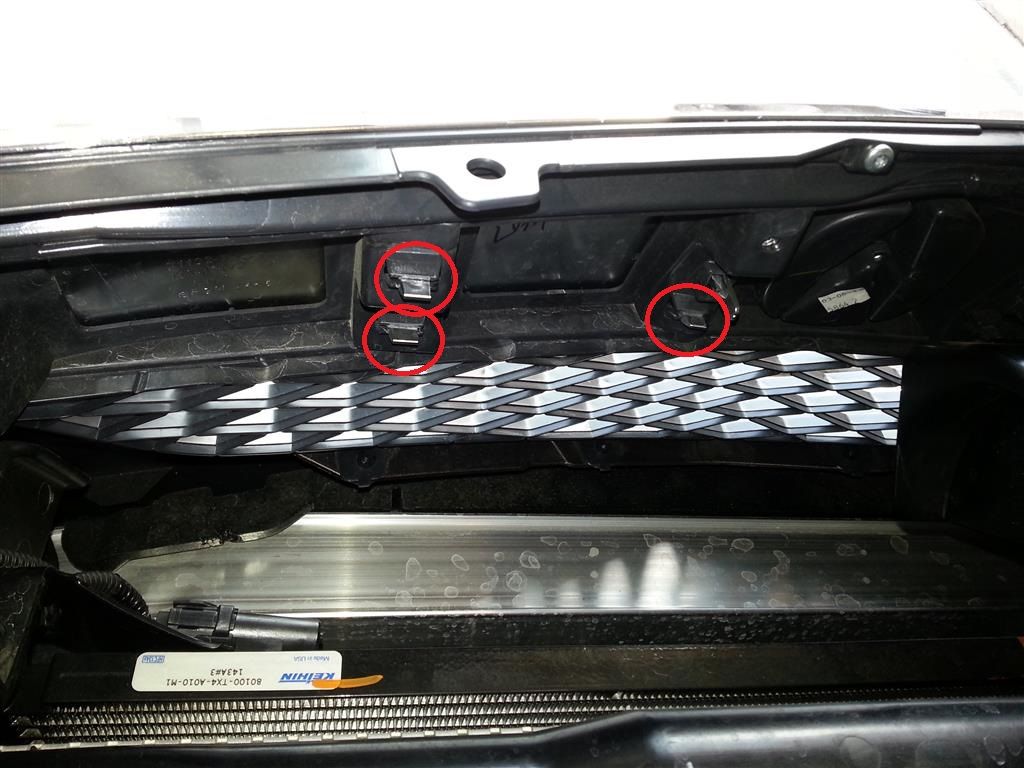
The new molding goes straight in, making sure the tabs engage the slots. Reinstall the 6 screws- DO NOT OVERTIGHTEN THESE. The plastic is not very thick and you don't want to ruin your freshly painted molding over a stupidly tight screw.
Reinstall the emblem. Replace your upper grille cover and 10 clips. Be sure to get the weird-looking intake on top of the cover. Clean and enjoy.

The service manual says removing the grille requires bumper cover removal. Nonsense. This took me about an hour. (Since not everyone is of the same mechanical aptitude, I cannot be responsible for you breaking something on your car. Proceed at your own risk.)
Be careful not to drop any hardware down on to the splash shield. It's hard to get to that stuff because of the size of the shield and all the clips holding it in place.
Here are some part numbers, in case you lose or break something:
10 cover clips: 91505-S9A-003
2 emblem screws: 93903-422J0
6 molding screws: 71124-TX4-A01 (these are T20 Torx screws)
link for molding to be painted: 71122-TX4-A01
Tools I used:
2 small, flat screw drivers for removing the cover clips
short Philips for the emblem screws
short flat and a long flat screwdriver for the locking tabs
1/4-drive ratchet with a 1/4" socket for the
T20 bit
flashlight was handy, too.
The day I brought it home:

Remove these 10 clips:

Then the emblem:


There are 6 screws (circled in red) that hold the molding to the grille. The s/m says 12, but I think the other 6 are for the outer chrome molding.

There are now just 6 tabs holding the molding on to the grille. I found it easiest to insert a large flat screwdriver between the molding tab and the bottom of the grille slot and GENTLY twist. There are openings in the grille where you can push out on the molding. Just get the tabs free on one side and move to the other side (the tabs are in the blue square in the previous image). Once the tabs are free, the molding comes straight out.


The new molding goes straight in, making sure the tabs engage the slots. Reinstall the 6 screws- DO NOT OVERTIGHTEN THESE. The plastic is not very thick and you don't want to ruin your freshly painted molding over a stupidly tight screw.

Reinstall the emblem. Replace your upper grille cover and 10 clips. Be sure to get the weird-looking intake on top of the cover. Clean and enjoy.


The following 9 users liked this post by dlee337:
calbearz24 (08-16-2015),
cmsnow (08-14-2013),
Dorsey (07-25-2013),
inotlate (10-17-2013),
Lucky13's (08-29-2020),
and 4 others liked this post.
 07-25-2013, 11:27 AM
#5
i know a guy who knows a guy, $50. he originally quoted a little more. seems there's a problem with the molding as it's not just painted. it's got a metal plating or coating on it that has to be etched before any paint can go on. extra step...
07-25-2013, 12:52 PM
#6
OG
lol nice. Looks great! Thanks for the quick response!

Trending Topics
 07-27-2013, 09:03 AM
#11
dc5: yeah, it probably wouldn't change the appearance much on your car. To me, it seems to not work well for black cars either.
GRDX: I'm not a fan of monotone cars. If he's happy with his car, as I am with mine, that's all that matters!
Dorsey: appreciate the kind comments. This was my first DIY thread.
GRDX: I'm not a fan of monotone cars. If he's happy with his car, as I am with mine, that's all that matters!
Dorsey: appreciate the kind comments. This was my first DIY thread.


 01-10-2014, 08:54 AM
#22

that looks great, I would do either body color or black to match the rest of the grille...
 02-20-2014, 05:05 PM
#24
just as a follow-up, my son plasti-dipped his ILX molding in black, hoping to make it blend in with the grille. his car is gray and i don't like it as much as a body-matched part would have looked, even in gray.


Thread
Thread Starter
Forum
Replies
Last Post
rp_guy
Member Cars for Sale
9
07-16-2017 07:33 AM