When you click on links to various merchants on this site and make a purchase, this can result in this site earning a commission. Affiliate programs and affiliations include, but are not limited to, the eBay Partner Network.
Hey guys! I lurk the forums, but I don't really post much and I figured I'd throw this mini-DIY on the forums.
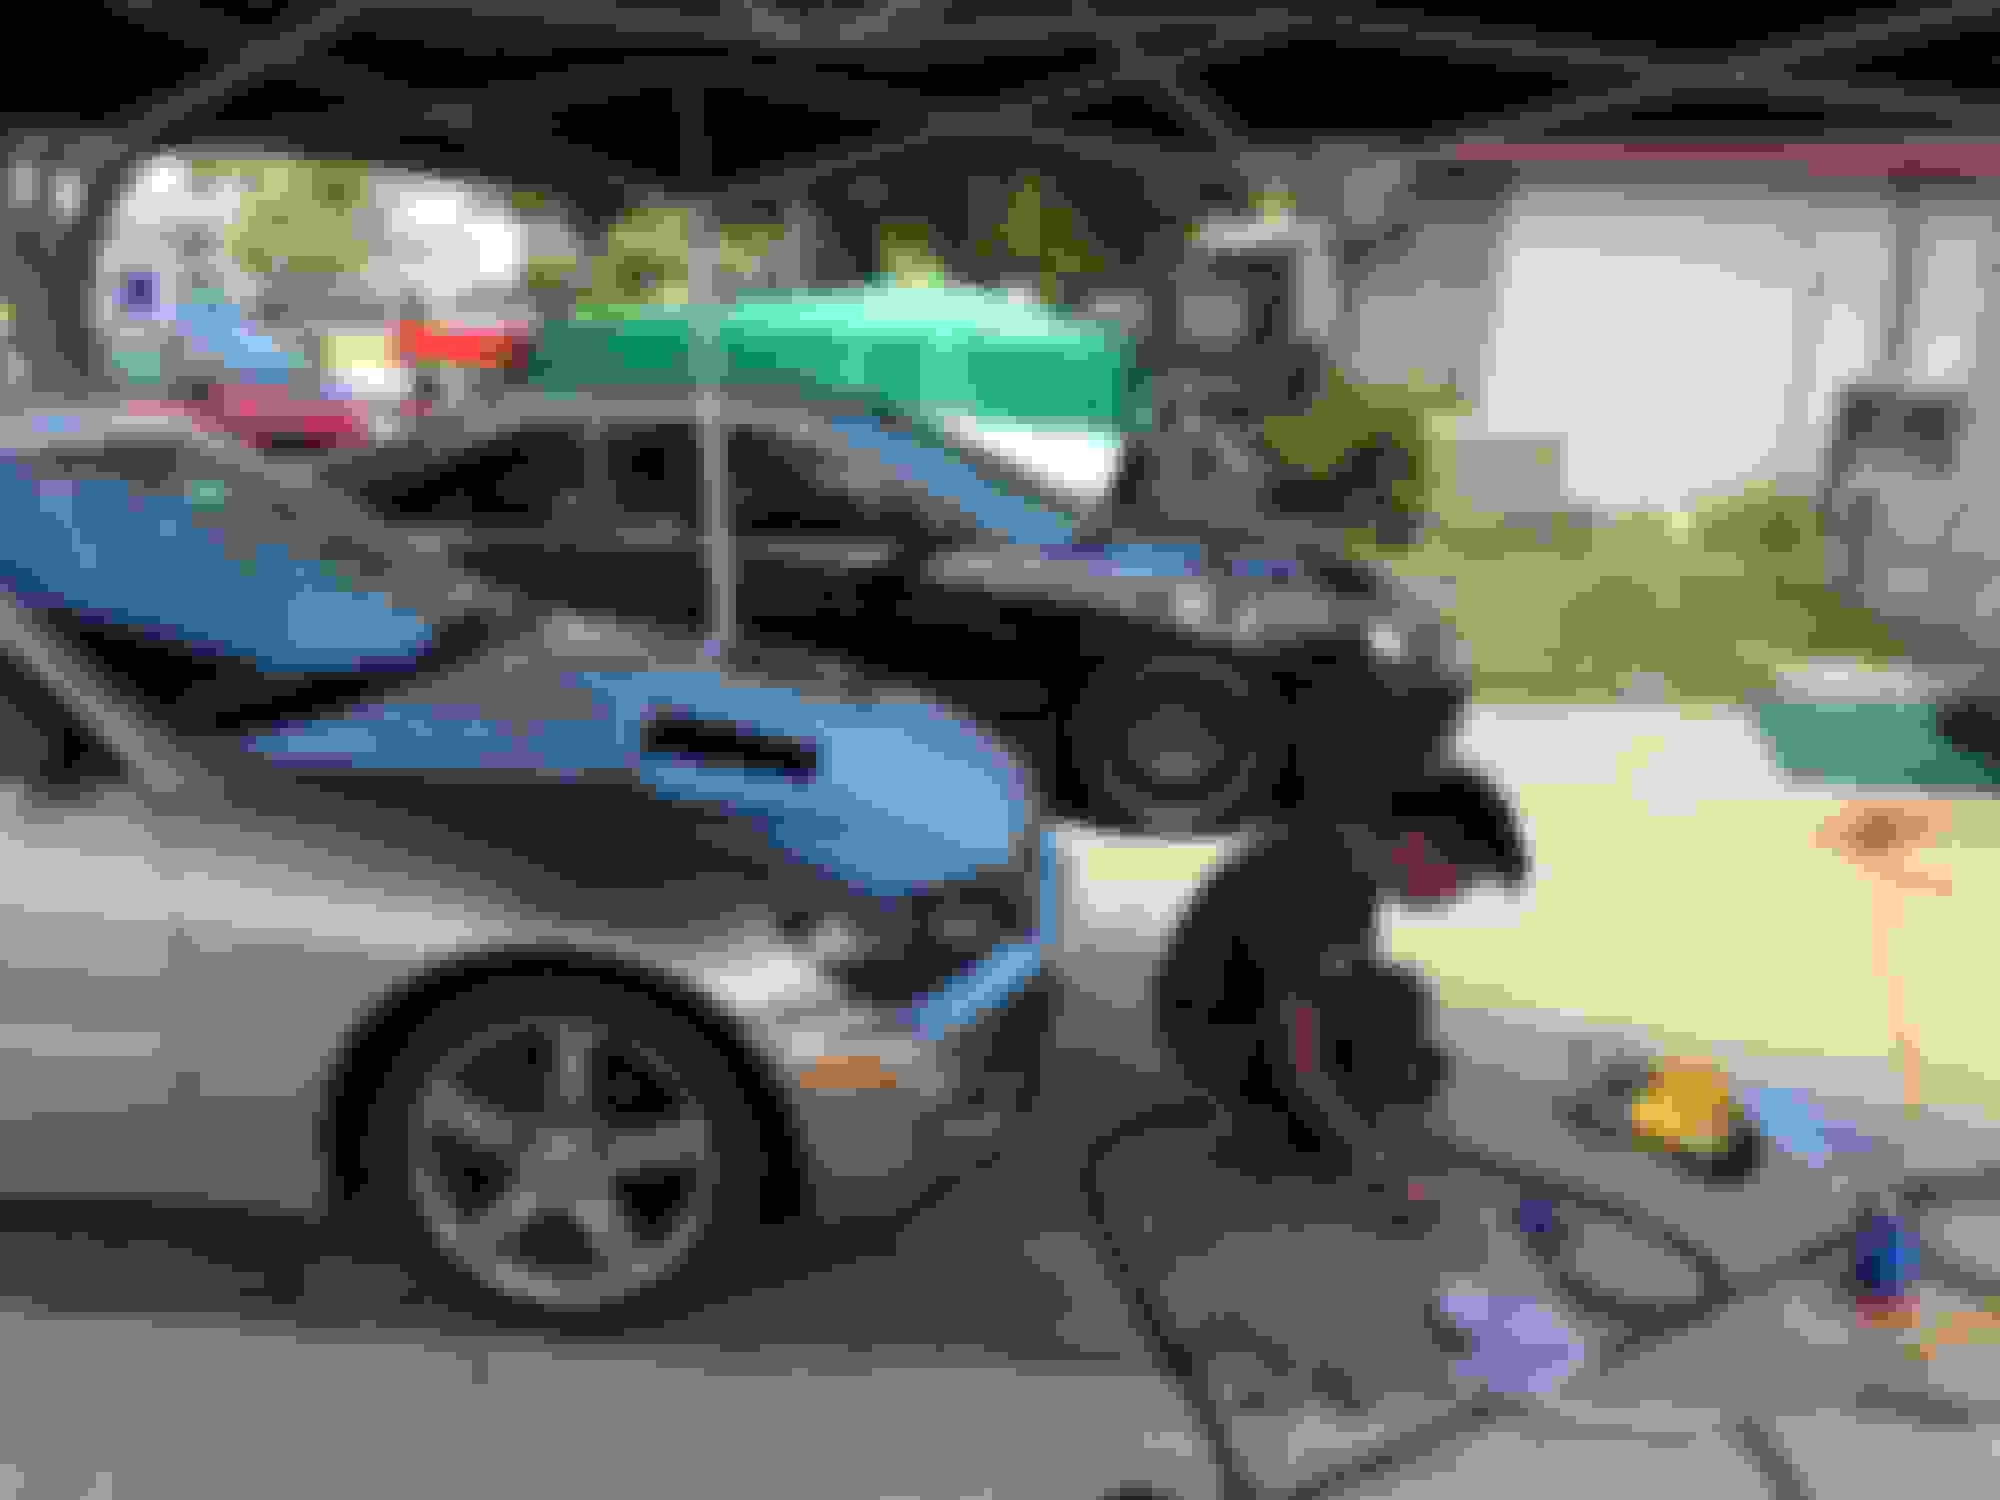
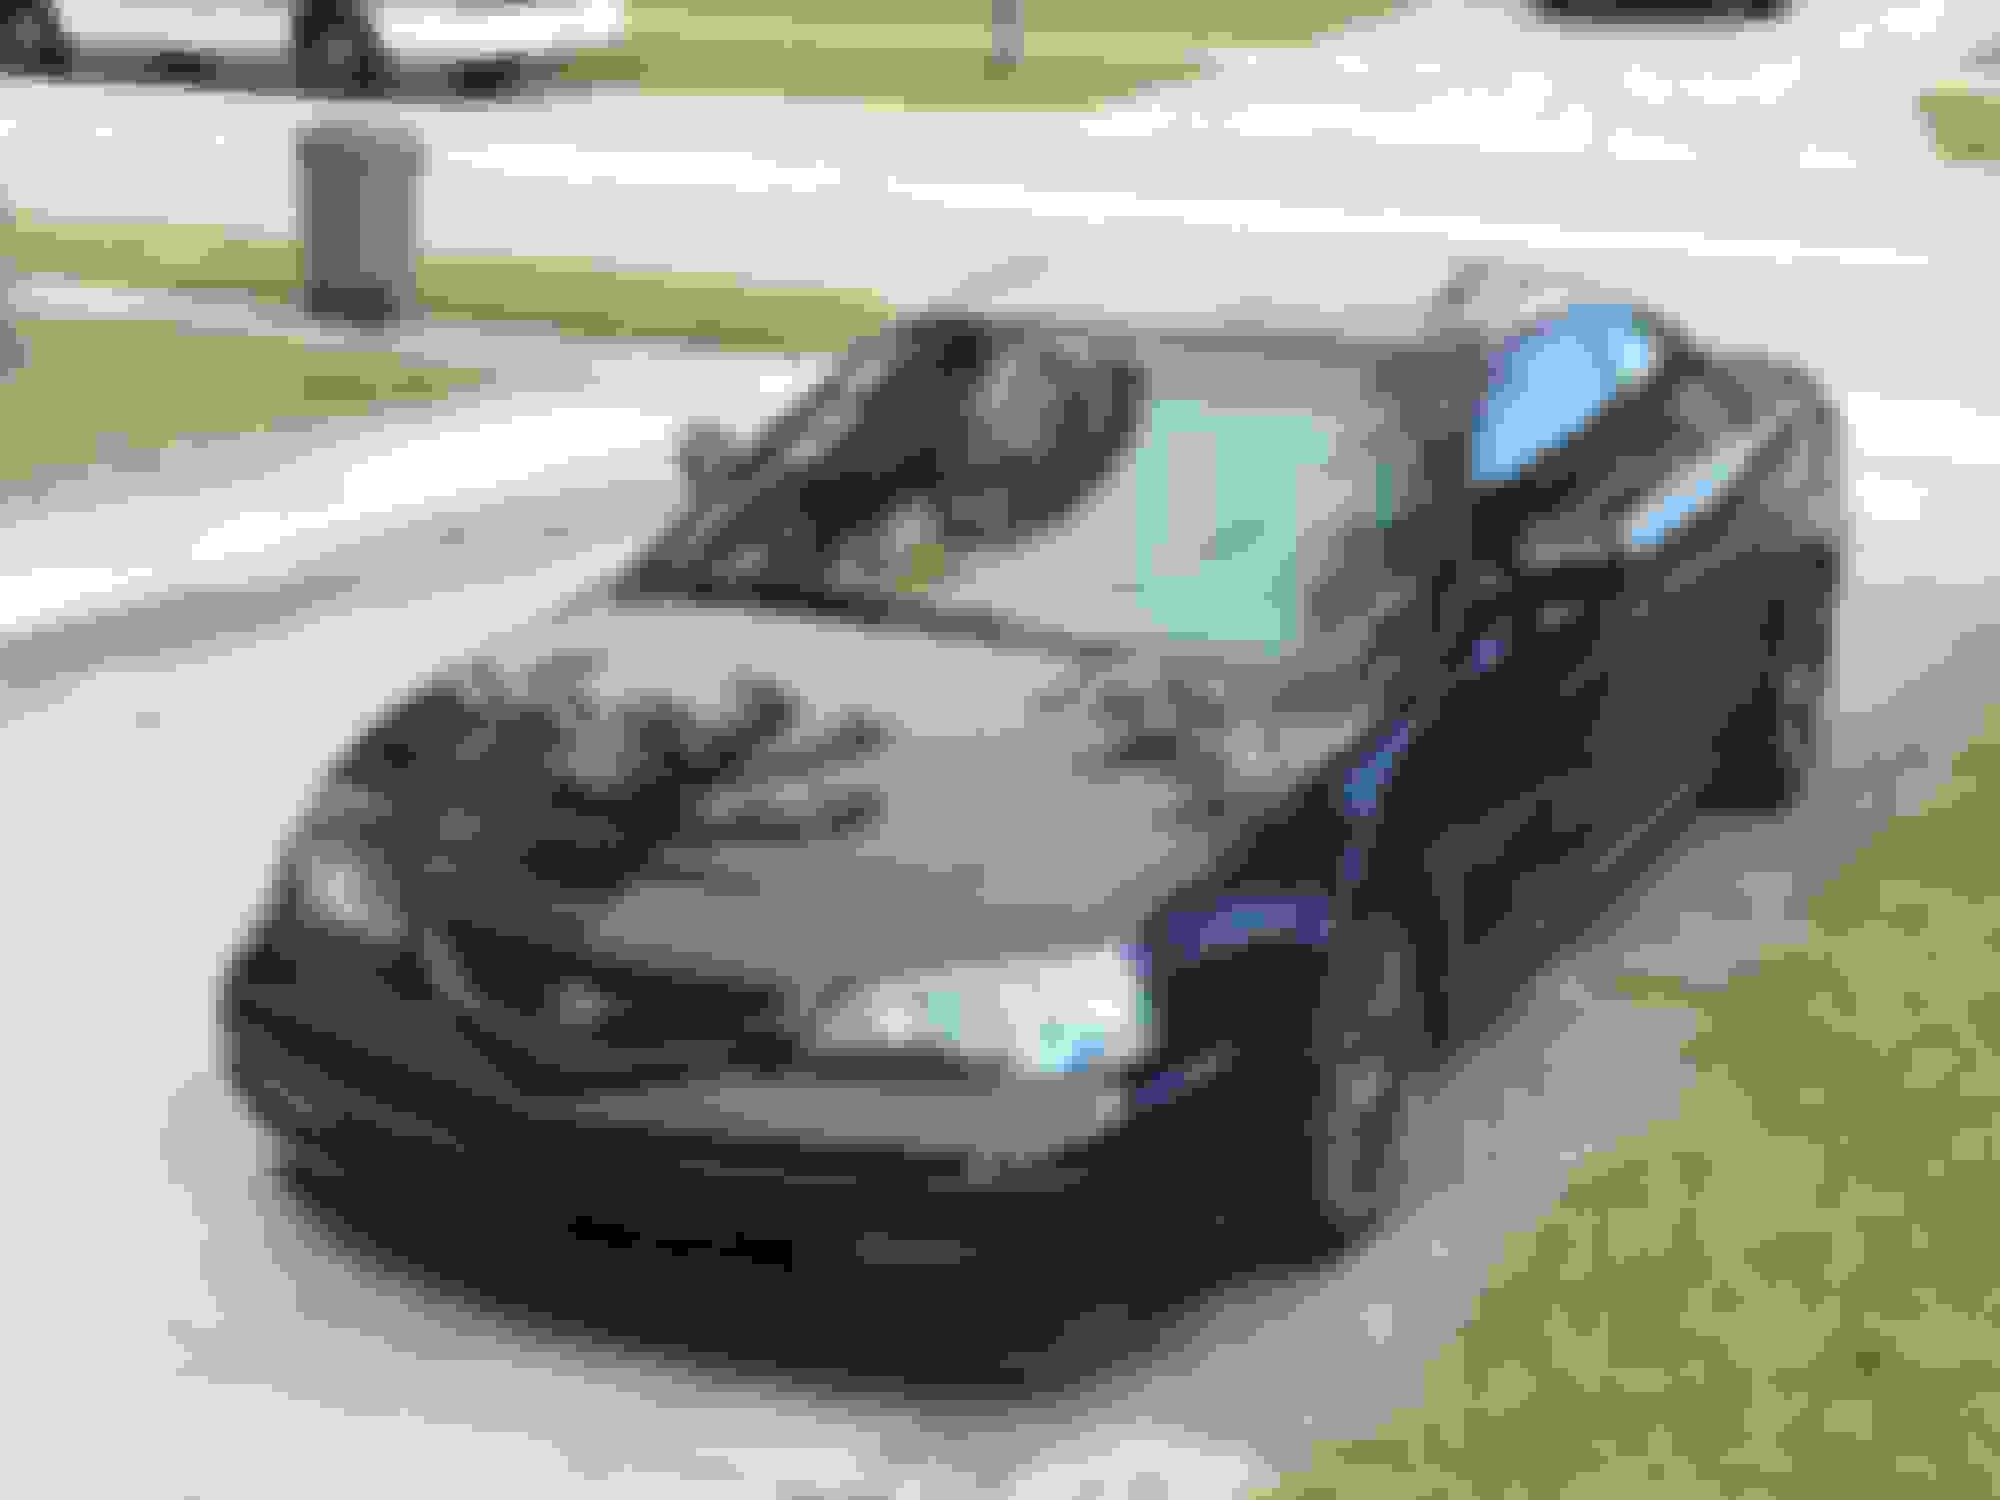
First off, I can't say that I'm starstruck with the results, but I honestly like how different it is. My biggest worries were the knock sensor and starter, but I bought a DEI Starter Cover for heat and it'll double as a water barrier - I guess. Also, before you ask, I only put them on one side because the battery and intake is on the opposing side. I very well could have done both but it seemed unnecessary and I was modeling the S2000 based hood vents using the skeleton bracing on the under side of the hood. After looking at S2000's with both sides done, I found it unappealing.
What you'll need:
- Angle Grinder or Dremel (in this case, I used both: angle grinder for long edges and dremel for corners)
- heavy duty cutting wheels
- sand paper
- Rust-fighting paint (Rustoleum) and a paint brush) *optional*
- Strong rubber tubing
- Aluminium mesh
- 3M Double-Sided Tape
Start by telling yourself that there is no going back. It's honestly pretty difficult to mess up.
1. Remove the hood using a 10mm ratchet on the two hinges. Use a flat head to pry the clip off of the hood struts (I felt no need for pictures here as this is common knowledge)
2. Lay down a large towel or blanket to lay your hood on to prevent denting or scratching.
3. Cover the top of the hood in painters tape to prevent flaking.
4. Begin cutting
Cut everything I guess right?
5. Reinstall your hood.
6. After you finish ruining your perfectly good hood, spray some black paint in the cap of your spray can and use a small paint brush to paint the raw metal. This will protect the metal from rusting.
7. After you finish that, (sorry for the lack of pictures here) cut your tubing in half (long ways) to make it like a finishing edge. Take the cut tubing and outline the edges of your cuts to give it a more complete look.
8. Cut your aluminium mesh using the sheets you cut out of your hood as a template. Make sure to make them slightly bigger so that they can stick. It might also be noted that this is a trial and error process to make them fit flush and perfect. I also painted mine gloss black as they came a bronze color.
9. Put your 3M on the underside of the hood surrounding the holes and put the mesh on the 3M. This doesn't necessarily have to be your final choice. There are definitely other ways to hold them there (bracketing and what not). But it's held for a few weeks now so it should be good.
10. You're done! Enjoy your super cool new wanna-be S2000! Honestly, you'll feel the heaps of heat that leave those holes after even making a short trip. I never got to test the temperature of the engine bay before and after but it looks cool and is functional so Wynaut.
Only reason to cut a hood is if you have a blower sticking out. If you were attempting to reduce engine temps, you'd be better off with an aluminum radiator and mugen cooling mods.
I got to say Morgaan you have a freaking clean CL!
Originally Posted by mattcl-s
I agree with scotty that's one proper looking CL very nice!
Thanks gentlemen!
Originally Posted by Trollolol
I sincerely hope nobody else does this.
Only reason to cut a hood is if you have a blower sticking out. If you were attempting to reduce engine temps, you'd be better off with an aluminum radiator and mugen cooling mods.
To each his own I guess. I planned on getting a Mishimoto soon anyways. This was also sort of a temporary mod to see how it would turn out since no one else had done it. I plan on getting a CF hood within the next few months.
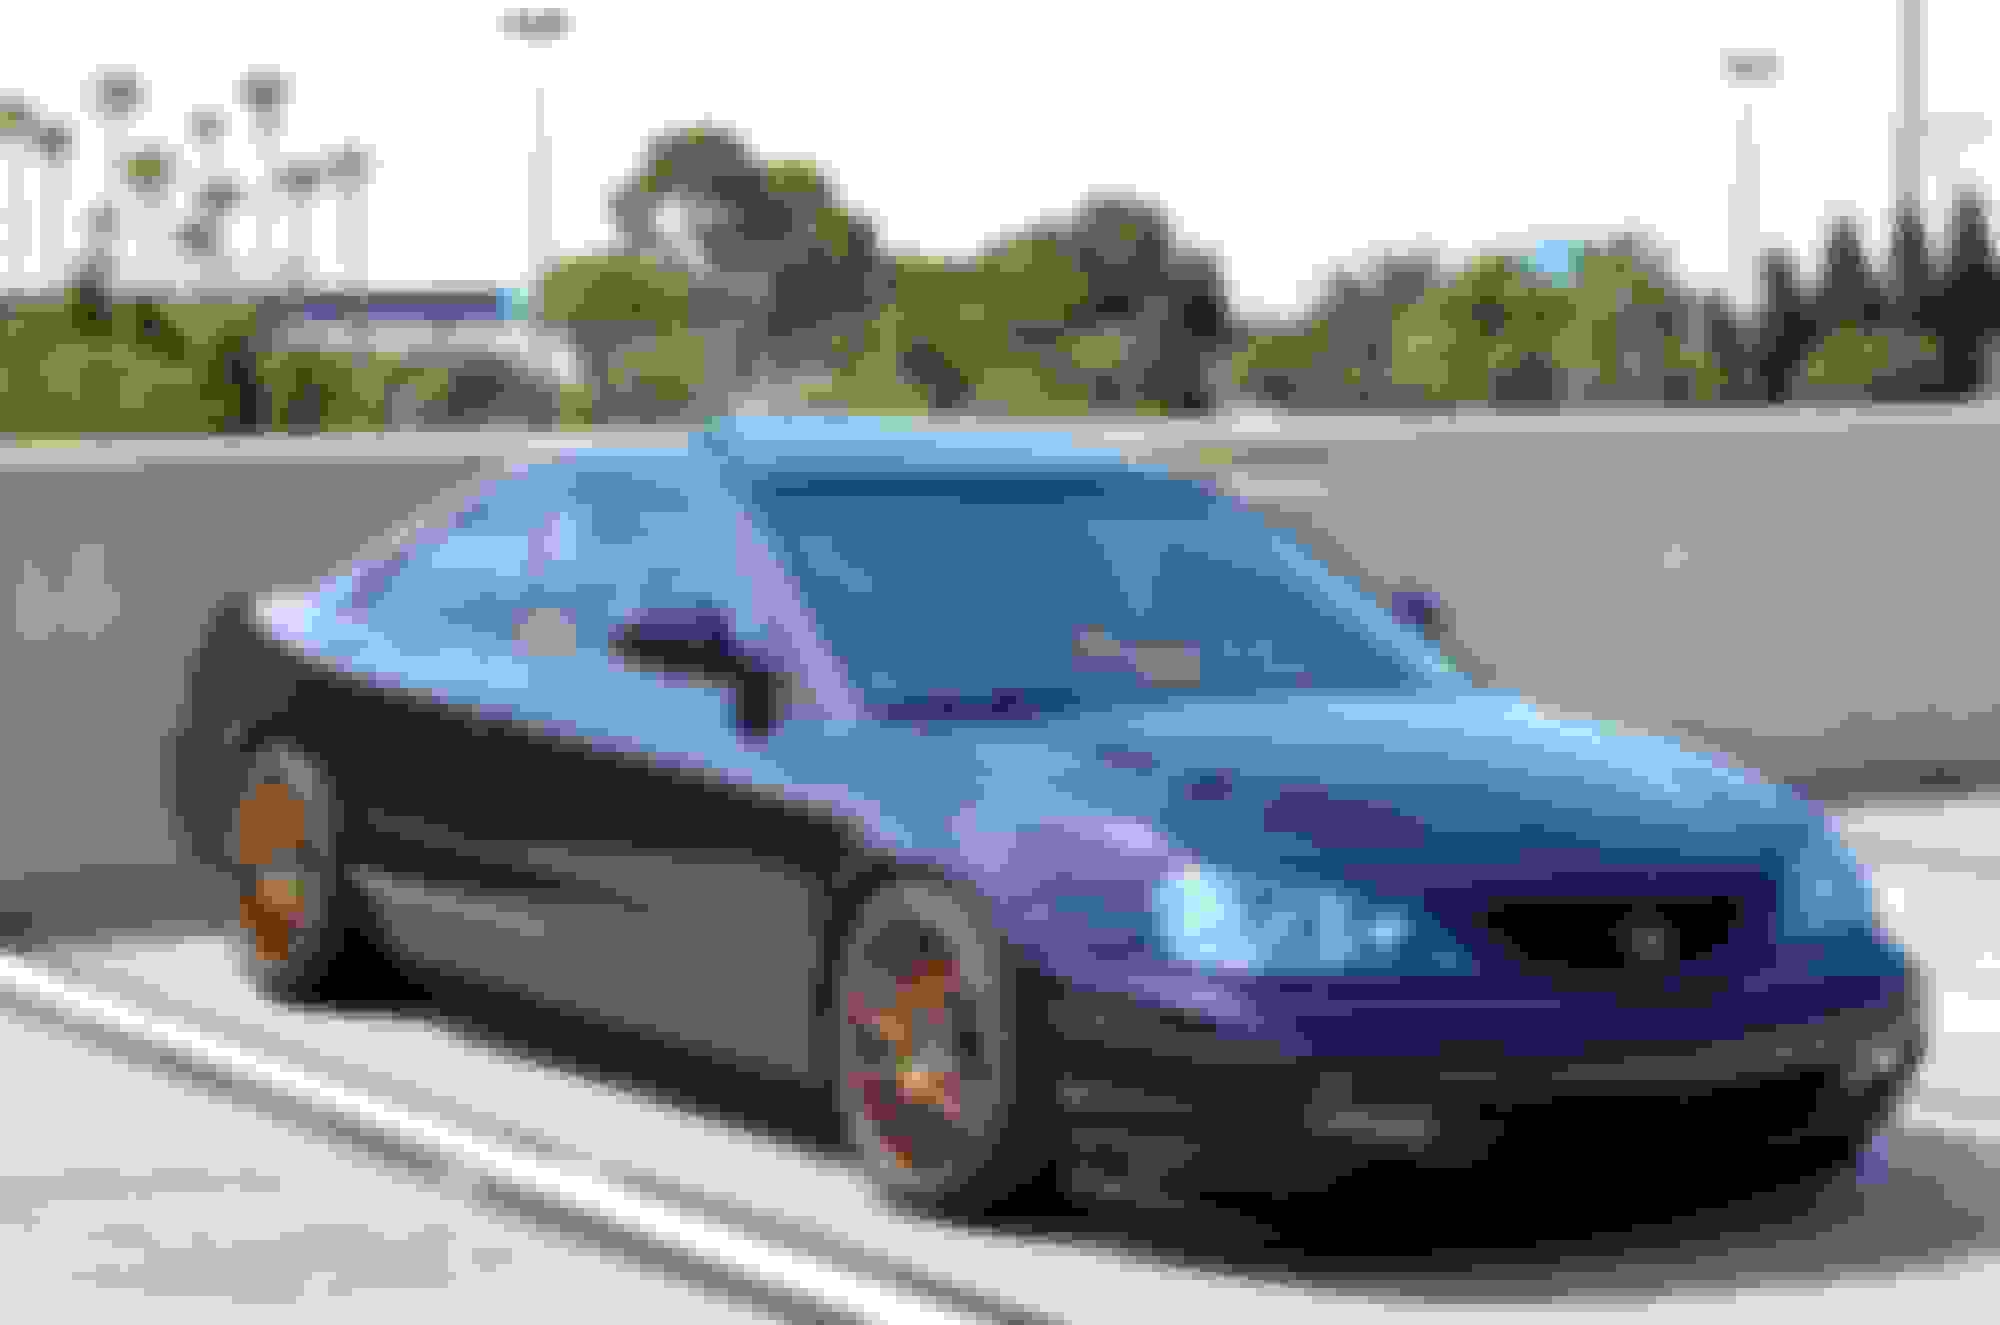
Looks .. interesting. Not my cup of tea, but I'd say it's more fitting than the IS300s hood
His came out surprisingly nice! He used a series of sheets of metal to make vents that flowed a lot better with the hood rather than the mesh. That way no water could go in.
My headlights want to be like yours when they grow up. Unfortunately I "had" to use my FX-R 3.0s in my girlfriend's car. But it might be a blessing in disguise as I've grown more fond of the TL bi-xenons, I think. What are yours?
Questions:
Have you noticed any increased wind noise at highway speeds?
Why did you do it to the accessory belt side and not the intake side? The intake would have to be changed up a bit to mate with the opening, but it's a start.
Either way, I don't think it looks bad. It takes away from the "luxury" look so many people here get a hard on for, but age is doing that already. And is that still the factory paint?
I used Morimoto D2R projectors from theretrofitsource.com along with some shrouds and halos from there, but the halos are unplugged due to going out.
No increased noise on the highway. Might be because it's on the accessory side, but I'm not sure. I didn't do it on the intake side because I'm running my intake into the inside of my bumper, almost touching the underside of the engine bay to prevent hydrolock. I have a block off plate that prevents any debri or anything getting into the engine bay from the intake hole. The battery is also there which isn't a huge deal, but I really didn't want anyone to see that haha.
I appreciate and respect that. I'm definitely not going for a luxury look. I thought about it - it bored me. Everyone does luxury car but I guess a car is what you make it. I'm throwing on some spacers and doing brake cooling ducts today if I get around to it. I just want it to be a track inspired daily that I might actually bring to the track one day if it's solid competition. Who knows Oh, and no it's not factory paint. I had it repainted just a year ago. I honestly would like to wrap it battle grey in the coming months but that's on the back burner.
Last edited by m_rgaan; 08-04-2015 at 09:21 AM.
Reason: added answer to paint question
I'm thinking about doing hood venting to help with cooling during track sessions. Will go a different route than this though.
Interested in the CF hood and trunk fitment. Did you go with VIS? Where did you order from?
Yeah I realized I'm not a huge fan of it either but I just wanted to try something new. Got my CF hood and trunk for a great deal and they both ViS. Only issue was that the hood was more Kevlar colored and the trunk is carbon color. Kinda annoys me but I couldn't pass up the deal. The ViS hood fits pretty well. Only issue was the grill fitment but like others have said, it just needs to be dremeled a little to fit. It also needs UV gel over it because ViS doesn't use the best clear coat. Weighs a ton less though and looks extra good.
I follow your build thread as much as a I can because it's so informative. I wanted to know if you were going to do brake cooling ducts anytime soon? I feel like that's something you would have done by now. I planned on reforming the holes in the bumper vents and then using the brake cooling duct hose that they use on airplanes. My dad gave me the name but I forgot it. I planned on doing a DIY whenever I got around to it but I've really halted my build progress because of work and school.
The kevlar/gold appearance seems to fit your cars color theme. I would probably paint it. Body color on sides and clear with gold flake in middle.
Any chance you have weight difference. Also interested in trunk fitment without trunk springs installed.
If I feel like Brake ducts are needed, then will add ducts. Doesn't seem necessary yet. My brakes did not fade at all.
Will post up some Brake Duct DIY I have kept track of for you when get time.
Need to find deal on a hood. Not sure have any more room to store more parts.
Have seen 2 cars at events this year have their CF hoods with hood pins fly up and smash their windshields. Easy to forget to latch them after opening hood to cool engine after every run/session. Don't want to make same mistake.
Last edited by brian6speed; 08-26-2015 at 06:17 AM.
 07-30-2015, 10:16 PM


 Kinda annoys me but I couldn't pass up the deal. The ViS hood fits pretty well. Only issue was the grill fitment but like others have said, it just needs to be dremeled a little to fit. It also needs UV gel over it because ViS doesn't use the best clear coat. Weighs a ton less though and looks extra good.

