
Finally Done!!
 05-25-2013, 01:15 PM
#1
Racer
Thread Starter
Finally Done!!
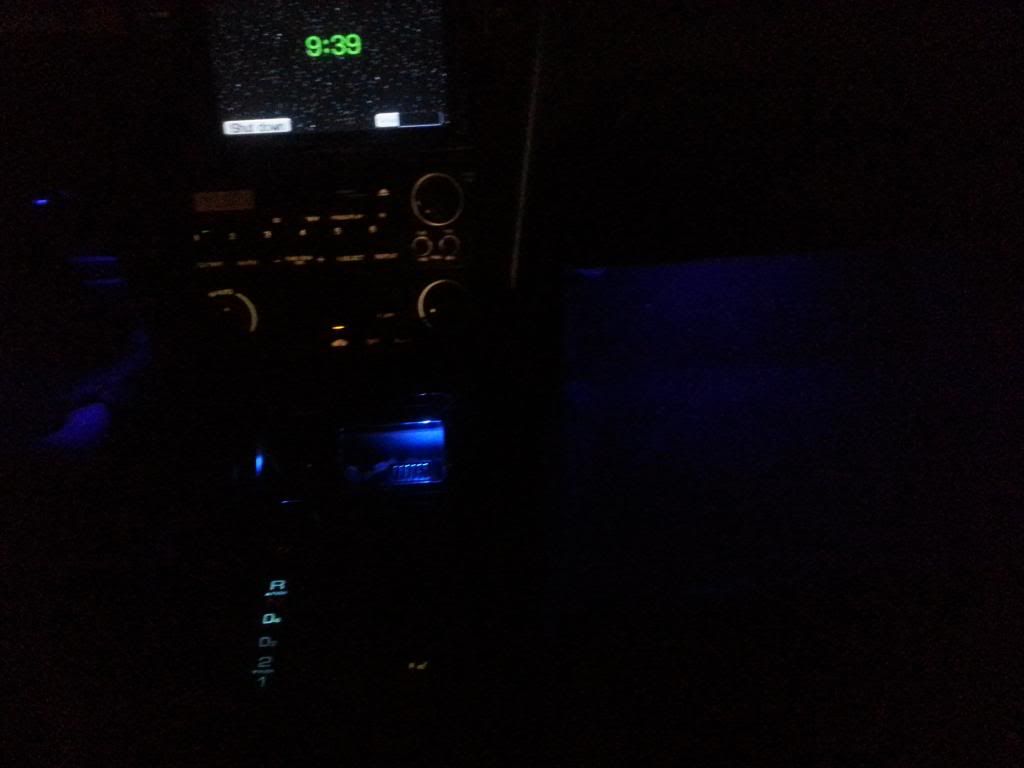
So after several months of miscellaneous repairs and little mods and stuff. Here's my finished product. Oh, and I just painted the roof and the trunk, too! The clear coat was looking pretty terrible, I wish I had taken picture before painting so there was a comparison. On top of these pics, I put in LED floor lights as well and did the LED instrument cluster replacement. I think the tint I have is like 50% or something not crazy dark, I like it though! So now that repairs are done, I just need to maybe find some stuff to make it better. Retrofit projector lights next, maybe? Lastly, I refinished the wheels, I took steel wool and sandpaper to them and put a couple of coats of clear coat, the aluminum looks much better!


 05-25-2013, 08:13 PM
#2
Moderator
iTrader: (3)
Super clean! Nicely done sir 
05-25-2013, 11:55 PM
#5
Racer
Thread Starter
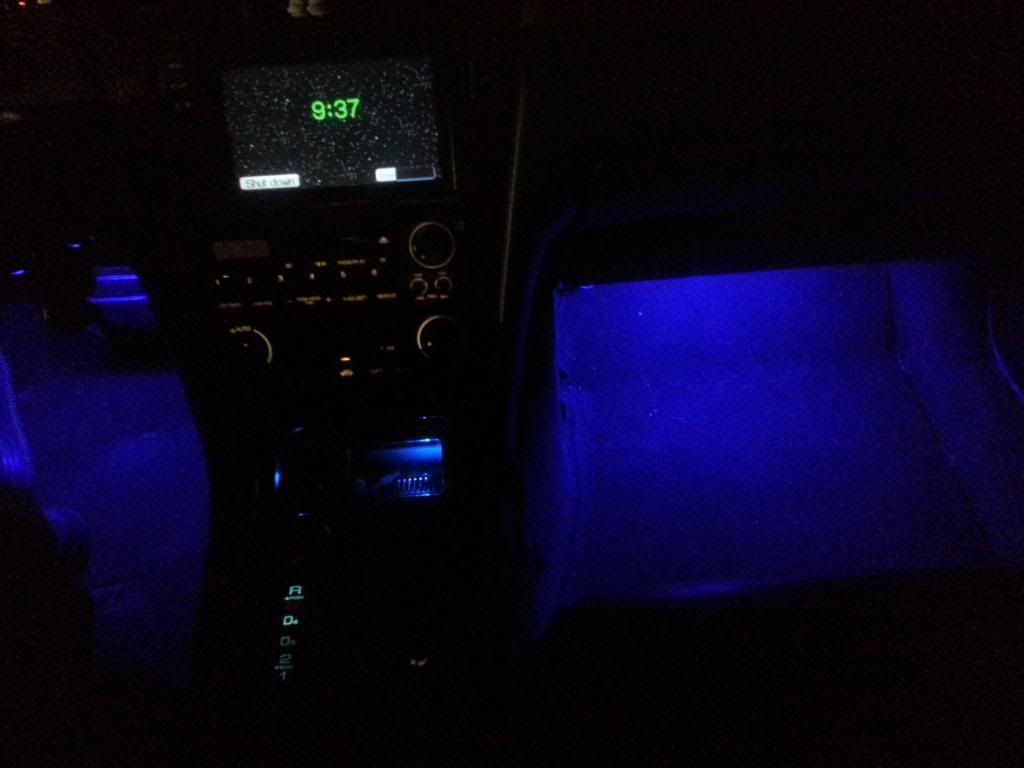
I did a little more digging around and was able to come up with a few more pictures! These I took around Christmas time, but I think these are definitely worth sharing. You can notice too how the roof doesn't look all the great in a couple of them. And yes, the antenna sticking out of the trunk is the antenna for my CB. I hide it away in the trunk now when I am not using it. Oh, and thanks everyone for the compliments! Personally I cannot believe that this car is 15 years old. I took a couple people to dinner the other day and they were asking "How old is your car? There's no way it's more than 5 years old!" and I replied that they should "try adding a one in front of it". It astounding how up with the time the car is.
Let me know when you do get them in! Which ones did you decide to go with? The Pepboys ones? And thanks for noticing the wheels, it's nice to know that a few hours worth of work went noticed! Now I REALLY wish I had before/after pictures of the wheels, because there were corrosion spots all over them.


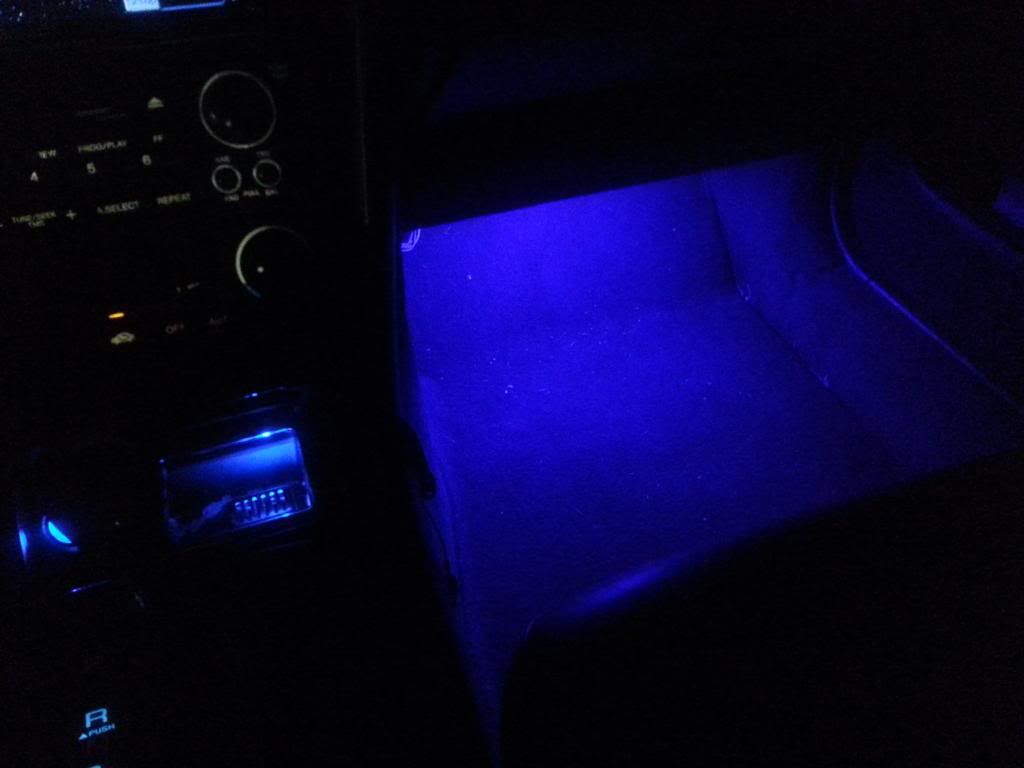
^This one is one of my favorites.


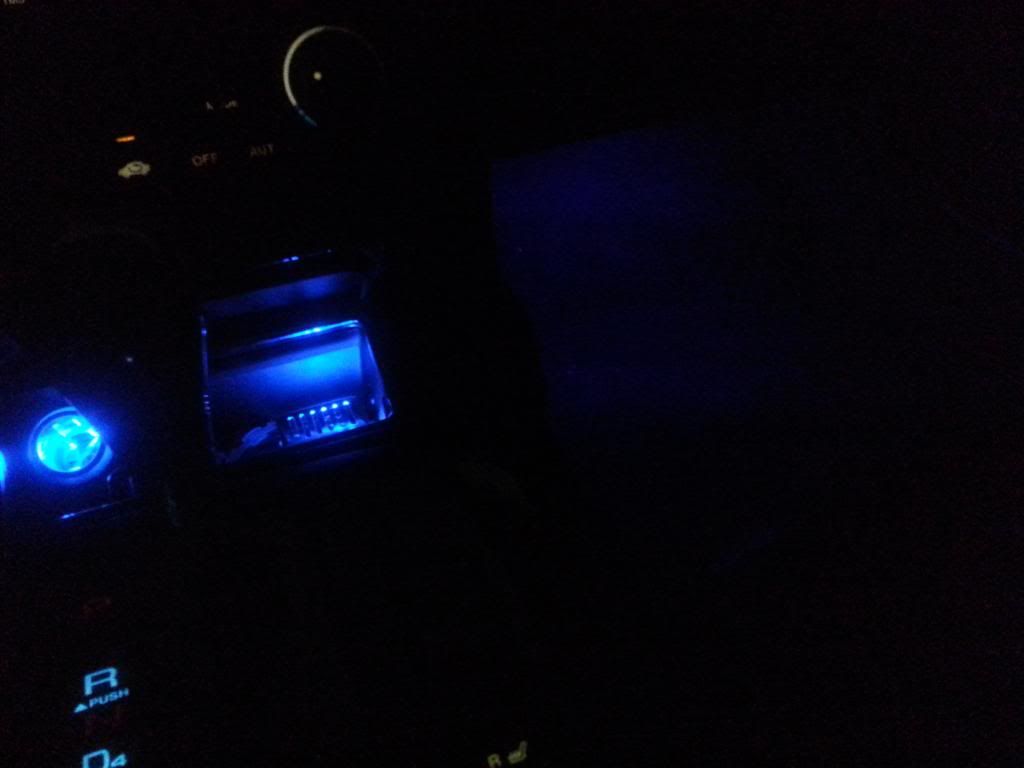
Pictures of the LED floor lights never come out well, so I used the flash to not only light up the interior, but also to show where the LED primarily shine, at night they are much more subtle.

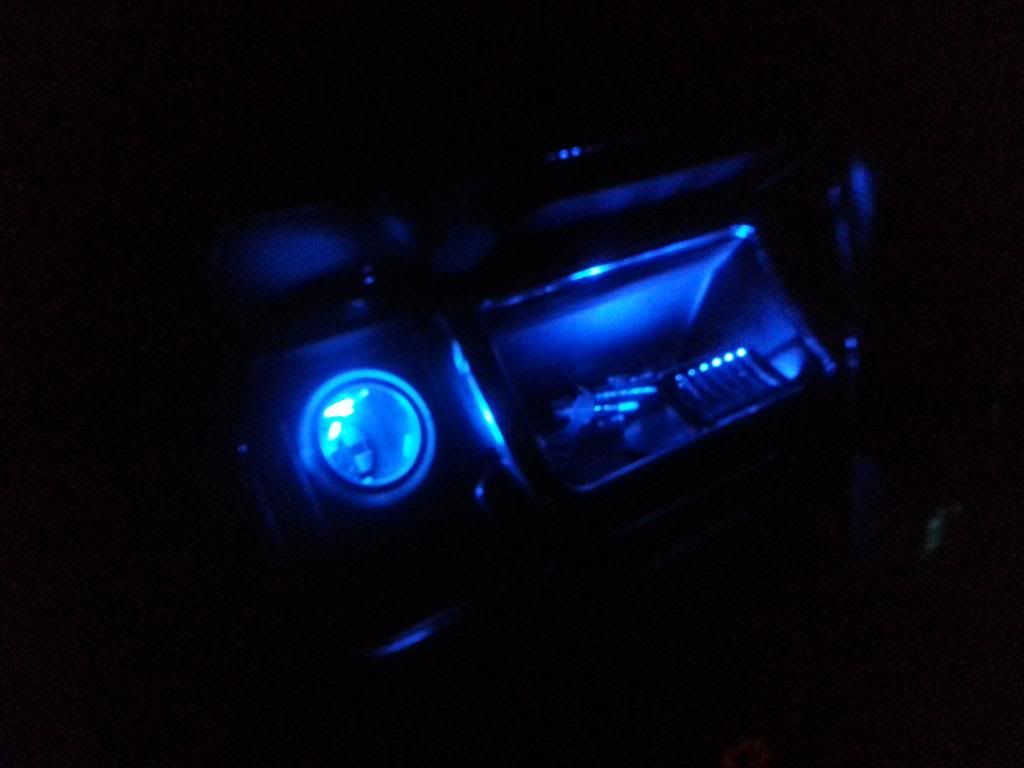
^This one is one of my favorites.
Pictures of the LED floor lights never come out well, so I used the flash to not only light up the interior, but also to show where the LED primarily shine, at night they are much more subtle.
Last edited by MyNameIsEarl; 05-26-2013 at 12:05 AM.
05-26-2013, 12:24 AM
#6
Racer
Thread Starter
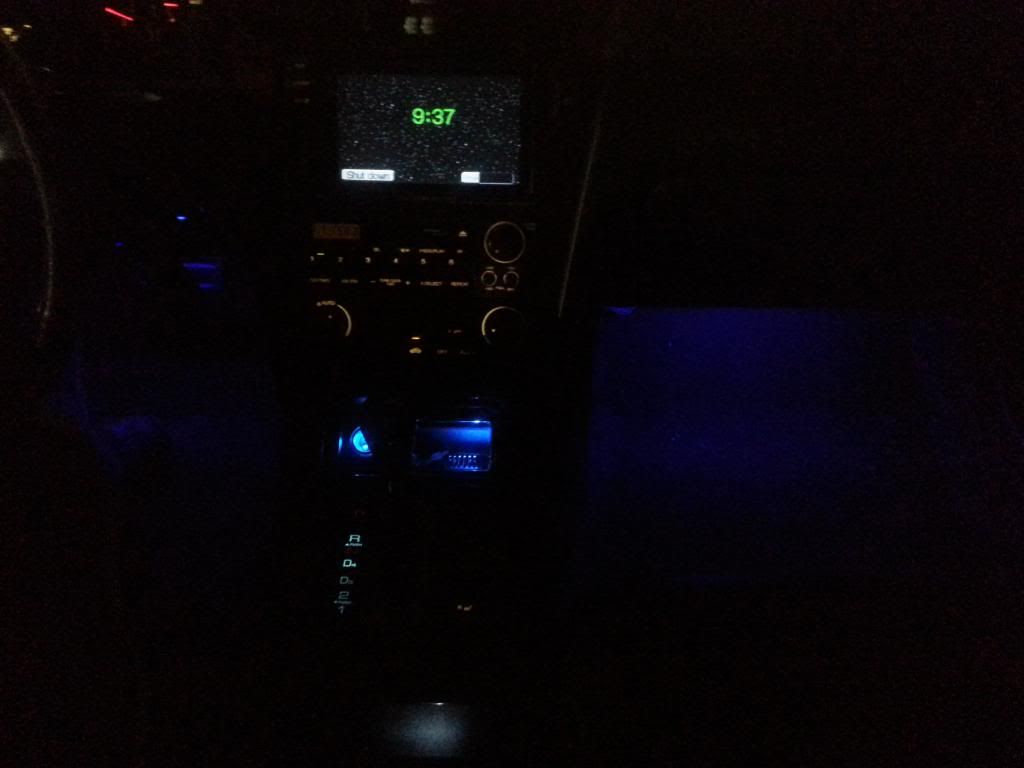
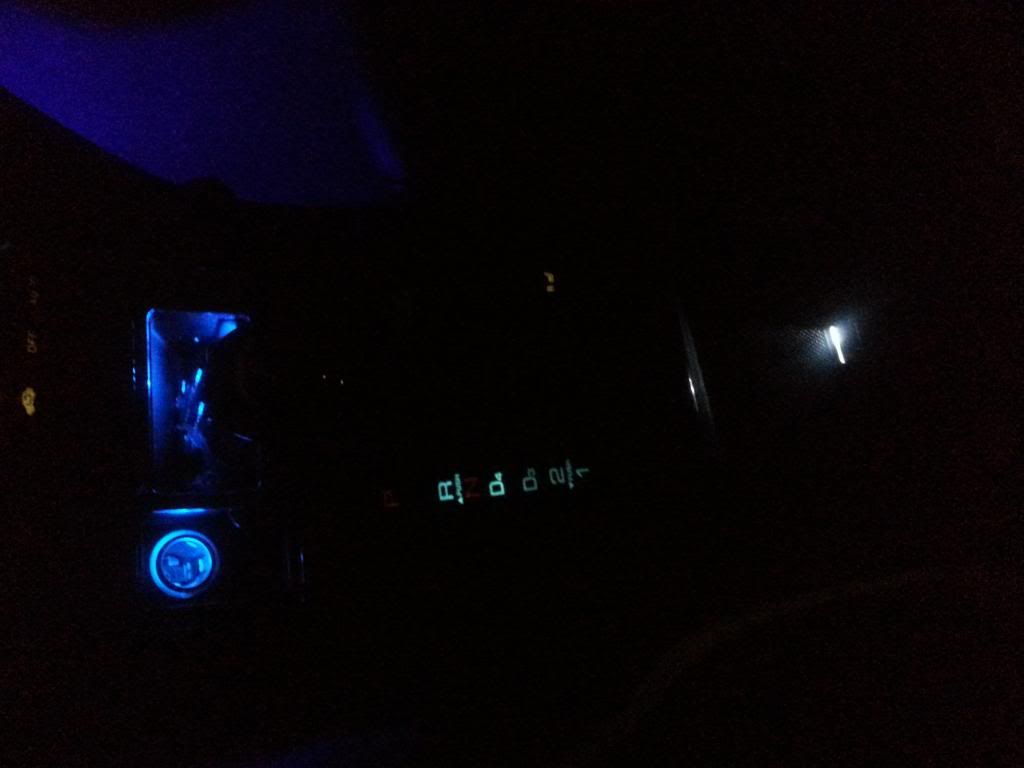
Okay, here are the last of the pictures, I promise! I installed this fire extinguisher in the trunk and it's actually in the perfect spot I'd just like to find a spot to fasten the emergency triangle to now... But, basically, the car was just itching to have a fire extinguisher put there. Then of course there is the instrument cluster, as well, for sure my favorite mod that I like to look at every time I drive the car.


05-28-2013, 01:41 PM
#7
SO I finally got my foot-well lights in! Although I'm probably gonna need to go to Radio-Shack to get some extra wire since I don't think I have enough to reach the back. My sun-visor LED's, and well as all my #74 and cluster lights are all on back-order, so I'll have to wait for them 
I'm happy I went for the white cluster bulbs, that sunny daylight pic of your cluster made up my mind. It looks really good!
Also do you have a linky for that exact fire extinguisher? Iv'e been meaning to get one but I wanted to find a good place to put it and I need the exact size so it will fit their like you have it. I was going to get one and band it to the A-Pillar (yea right... just kidding lol)....
BTW it looks like your tree lights are bright as hell lol. (or is it just the camera) O.O
Trending Topics
05-28-2013, 02:25 PM
#8
Racer
Thread Starter
I think this is the fire extinguisher I got.
http://www.oreillyauto.com/site/c/de...e+extinguisher
If not, just go to your local Oreilly Auto Parts or Auto Zone and pick up the 3 pound Kiddie Fire Extinguisher with mounting bracket. I just installed it with sheet metal screws, be careful how you put it in though.
Which floor lights are you getting?
And no, the tree lights are pretty dim actually the camera just makes them look way brighter.
What color are you doing for the vanity mirror lights?
05-28-2013, 06:03 PM
#9
I tried to get the Pep Boys ones you had but they didn't have them in stock and said they probably were not going to get any in in the immediate future. So I went with the V-Led's ones. I need to get some more wire to reach the back seats, however the front are done 
Ill post some pics when it gets dark.
For the vanity I'm getting 5K white.
Ill post some pics when it gets dark.
For the vanity I'm getting 5K white.
05-28-2013, 08:44 PM
#10

Hmm, so I got a problem...
I feel they are too bright.
There are 9 LED's and even covering all but 1 still projects too much light imo
(Sorry for the crappy picture, the Galaxy S4 is not living up to the night picture hype I'm afraid lol)
And here's a comparison; The left side has full LED's, the right side has only 1 LED uncovered...

Maybe I can install a dimmer switch so I can customize the light output.....
Last edited by Pro-Pilot; 05-28-2013 at 08:46 PM.
05-28-2013, 11:33 PM
#11
Racer
Thread Starter
Hmm. That's a tricky one. I would have maybe shopped around or gotten the adjustable ones shipped in somehow. But, I'm sure we can find a solution to your problem. What I would consider doing is through the use of a volt meter, you can find the voltage drop over the LEDs (it should be very small because LEDs do not consume a whole lot of power, we are talking mWatts here, or thousandths of a Watt) and then right after you do that, set the volt meter to measure current and find out how much current you having flowing though the wire. Then using V=IR (Voltage = Current X Resistance) you can find out what kind of resistance the LEDs are putting out. So from there, you can try to drop the voltage to the LEDs in half through the use of a resistor. Do you have the lights wired in series or in parallel? Because that's actually an important factor.
So if you want to put in a resistor this is what you have to do, basically. So let's say through one light you have 12 volts in (which you should because cars run on 12V systems) and you have 11 Volts out. If you want the voltage drop across the LEDs to be 0.5 Volts instead of the 1, which they are rated to operate on, then you need to find a way to decrease the voltage to the LEDs by 11.5 Volts. So using V=IR again (for the resistor this time) we can say we need voltage needs to be 11.5, I is the current you found earlier, because that is constant, and R is the resistance of the resistor you need to find/buy. Be careful though because P=IV (Power = Current X Voltage) and if your power is too high, that resistor will get hot! It could actually be a fire hazard, and it's not worth risking your car. So if you get something like P = 100W, that's way too much for it too handle. Always check to see what the resistor you will be using is rated for.
So, if you do not want to go this route, there is another thing you can try. You could try to maybe paint over the LED casing a little bit to make it more opaque, but I think that's kind of a jerry-rig fix for the solution.
I'd give this a read
http://www.lutron.com/en-US/resourcelibrary/362219.pdf
You could also install something like this in the car
It'd be pretty easy to do. But then you are left with the problem of finding a place to professionally install the dimmer switch and making it look good wherever you decide to put it. You could always hide it somewhere under the dash and just set the lights to what you want, put it back there, seal the dash up, and forget about it...
Let me know what you decide to do!
Last edited by MyNameIsEarl; 05-28-2013 at 11:36 PM.
05-29-2013, 12:01 AM
#13
Where do you find all these relevant items to my problems?? lol
Before I continue, I saw that you had a little blue device that you used to splice into the shift plate light-bulb wire. What was that??
Okay...
An interesting read indeed, now I definitely I understand the risks associated with providing the wrong resistor. I think I will go the simpler route and purchase that dimmer switch. Although it seems a bit bulky, I rather have the customization option than keeping a set brightness.
As far as the Pep Boys LED's, I looked at shipping some over to the store around me, but the total cost (shipping, handling etc...ridiculous) was outdoing the actual price of the lights. So I went with the strips. I know for a fact than most LED's sold at auto parts stores are going to be much dimmer than better ones you can buy online. In this case, dimmer is what I wanted...
Oh and I spliced into the cig light lightbulb wire and used a Y-Cable to separate the left side from the right side.
[EDIT]: I bought a wireless dimmer one; had great reviews so meh. delivery is 21 days so blah...
Last edited by Pro-Pilot; 05-29-2013 at 12:15 AM.
05-29-2013, 12:25 AM
#14
Racer
Thread Starter
The blue things are wire splicing connectors sometimes more commonly known as saddleback connectors.
Do you have a link to the wireless dimmer?
EDIT: And don't be afraid to use resistors. They are a useful and valuable tool. It you'd like to do the math you'd know for sure. The math wont lie, either. Because it will either be in the safety zone or not, so that way you would get a definitive answer of whether or not it's even a possibility.
Things you will need.
Grounding Crimps http://www.elecdirect.com/images/pag...eterminals.jpg
LED Lights
Switch (optional)
Wire Splicing Connectors http://www.gordonrichards.net/300zx/....connector.jpg
Grounding Crimps http://www.elecdirect.com/images/pag...eterminals.jpg
LED Lights
Switch (optional)
Wire Splicing Connectors http://www.gordonrichards.net/300zx/....connector.jpg
EDIT: And don't be afraid to use resistors. They are a useful and valuable tool. It you'd like to do the math you'd know for sure. The math wont lie, either. Because it will either be in the safety zone or not, so that way you would get a definitive answer of whether or not it's even a possibility.
Last edited by MyNameIsEarl; 05-29-2013 at 12:28 AM.
05-29-2013, 06:41 AM
#15
Okay, that's what I thought they were. They looked a little different in the pic so I got a little confused lol.
True, Ill do the math and let you know what I come up with.
True, Ill do the math and let you know what I come up with.
06-04-2013, 01:55 PM
#18
So I got the dimmer in today. For 7 bucks its not bad at all. It adjusts to almost infinity and it remembers what setting you had it on when you turn the car off. The only problem is its as big as a soap box. I managed to fit it behind the ashtray but I cant open it now (no big deal). I'm not sure where else to put it...maybe zip tie it under the drivers side dash?
Ill post pics later of the adjustment as well as my LED setup
Ill post pics later of the adjustment as well as my LED setup
06-04-2013, 05:40 PM
#19
Racer
Thread Starter
Did you do the back seats as well? Also, I think hiding it behind the radio and navigation and stuff would be a good idea. You just have to unbolt the frame that holds it all into the dash. That way you can open your ash tray.
06-05-2013, 12:11 PM
#20
Not yet, I needed some more wire so that will be here in a couple days. I was looking behind the radio and dash area but it looked a little complicated. Are the bolts the ones you see when you take out the ashtray and cig lighter and whatnot? There are 2 screws there that look like they hold in a large part of the hvac controls.
06-05-2013, 09:25 PM
#21
Racer
Thread Starter
There are two screws on top and two on bottom. You'll have to remove your center air conditioning fans. Once you do that, you'll see it's really not that complicated at all. Why did you choose to order wire rather than go to radio shack and pick some up? (if you don't mind me asking)
06-05-2013, 09:51 PM
#22
Okay, Ill take a look at it tomorrow if I can and do it then. If it doesn't fit back there, I guess ill put it up under the dash someplace.
As far as the wire, I actually have a whole spool of it. However, due to my bulbs that we talked about before still being back-ordered weeks after they were supposed to be availiable, they asked if I wanted any cheap freebies for my patience. The wire they have already have the dual plug connections so its easier just to use them for a cleaner install than making my own. Plus its free!! Can't beat that! lol
As far as the wire, I actually have a whole spool of it. However, due to my bulbs that we talked about before still being back-ordered weeks after they were supposed to be availiable, they asked if I wanted any cheap freebies for my patience. The wire they have already have the dual plug connections so its easier just to use them for a cleaner install than making my own. Plus its free!! Can't beat that! lol
06-24-2013, 12:12 PM
#23
So I finally got everything settled mostly the way I wanted to. The blue LED's in the front can now dim, and I installed a white LED inside the armrest so I can see in there at night. I also replcaed the shifter plate bulb and cup holder bulb to LED, as well as the cig lighter and ashtray. I also changed out the vanity bulbs to LED, and replaced the glovebox bulb to LED.
Here are a few crappy quality pics:
Here are a few crappy quality pics:


 06-24-2013, 04:05 PM
#24
Racer
Thread Starter
Looking good. Although with the gear selector does the light appear uniform in person? Because in the pictures it almost looks dark still in the lower number gears. That's why I just didn't keep the LED extras I used from the dash inside the selector. Where did you decide to end up hiding the dimmer box?
06-24-2013, 04:33 PM
#25
Actually I haven't even received the dash LED's yet (still on back-order apparently). The LED I used was a three-way firing LED, and yes it is a little dimmer on the edges. I might just put in a halogen bulb since it would distribute light better than an LED; haven't decided yet....
I put the box underneath the seat on a plate. That way I can slide the seat forward and back without worrying about anything.
I will be doing the rears once I get another set of LED's in, the 2nd set I purchased had a defective unit in it.
I put the box underneath the seat on a plate. That way I can slide the seat forward and back without worrying about anything
.I will be doing the rears once I get another set of LED's in, the 2nd set I purchased had a defective unit in it.
06-24-2013, 05:04 PM
#26
Three Wheelin'

Actually I haven't even received the dash LED's yet (still on back-order apparently). The LED I used was a three-way firing LED, and yes it is a little dimmer on the edges. I might just put in a halogen bulb since it would distribute light better than an LED; haven't decided yet....

Thread
Thread Starter
Forum
Replies
Last Post