When you click on links to various merchants on this site and make a purchase, this can result in this site earning a commission. Affiliate programs and affiliations include, but are not limited to, the eBay Partner Network.
So, I couldn’t find a write up on replacing the compressor, so I thought I would add this.
Lots of info on replacing the coil etc, but this was a super easy job with the right tools. I know I’ve seen dealer quotes as high as $1400. This was about $160 all together.
It’s not a bad job, start to finish was 3 hours, but to be fair, I didn’t replace the drier or condenser, which you should. Maybe I’ll do this again next year and do it properly. I was time and $$ limited this weekend. Rock Auto has a complete kit for about $260 with shipping.
The compressor itself isn’t expensive. $150 with a coupon from Advance Auto.
The tools you need are minimal.
Floor jack
Lights
Serpentine belt tool
10mm socket
12mm socket
10mm wrench (ratcheting)
12mm wrench (ratcheting)
3/8” Ratchet
3/8” stubby ratchet
3” extension
Pick
A/C Manifold gauges
Vacuum pump
Hook up your gauges, and empty any gas left in your system.
Close and remove them
Disconnect the battery
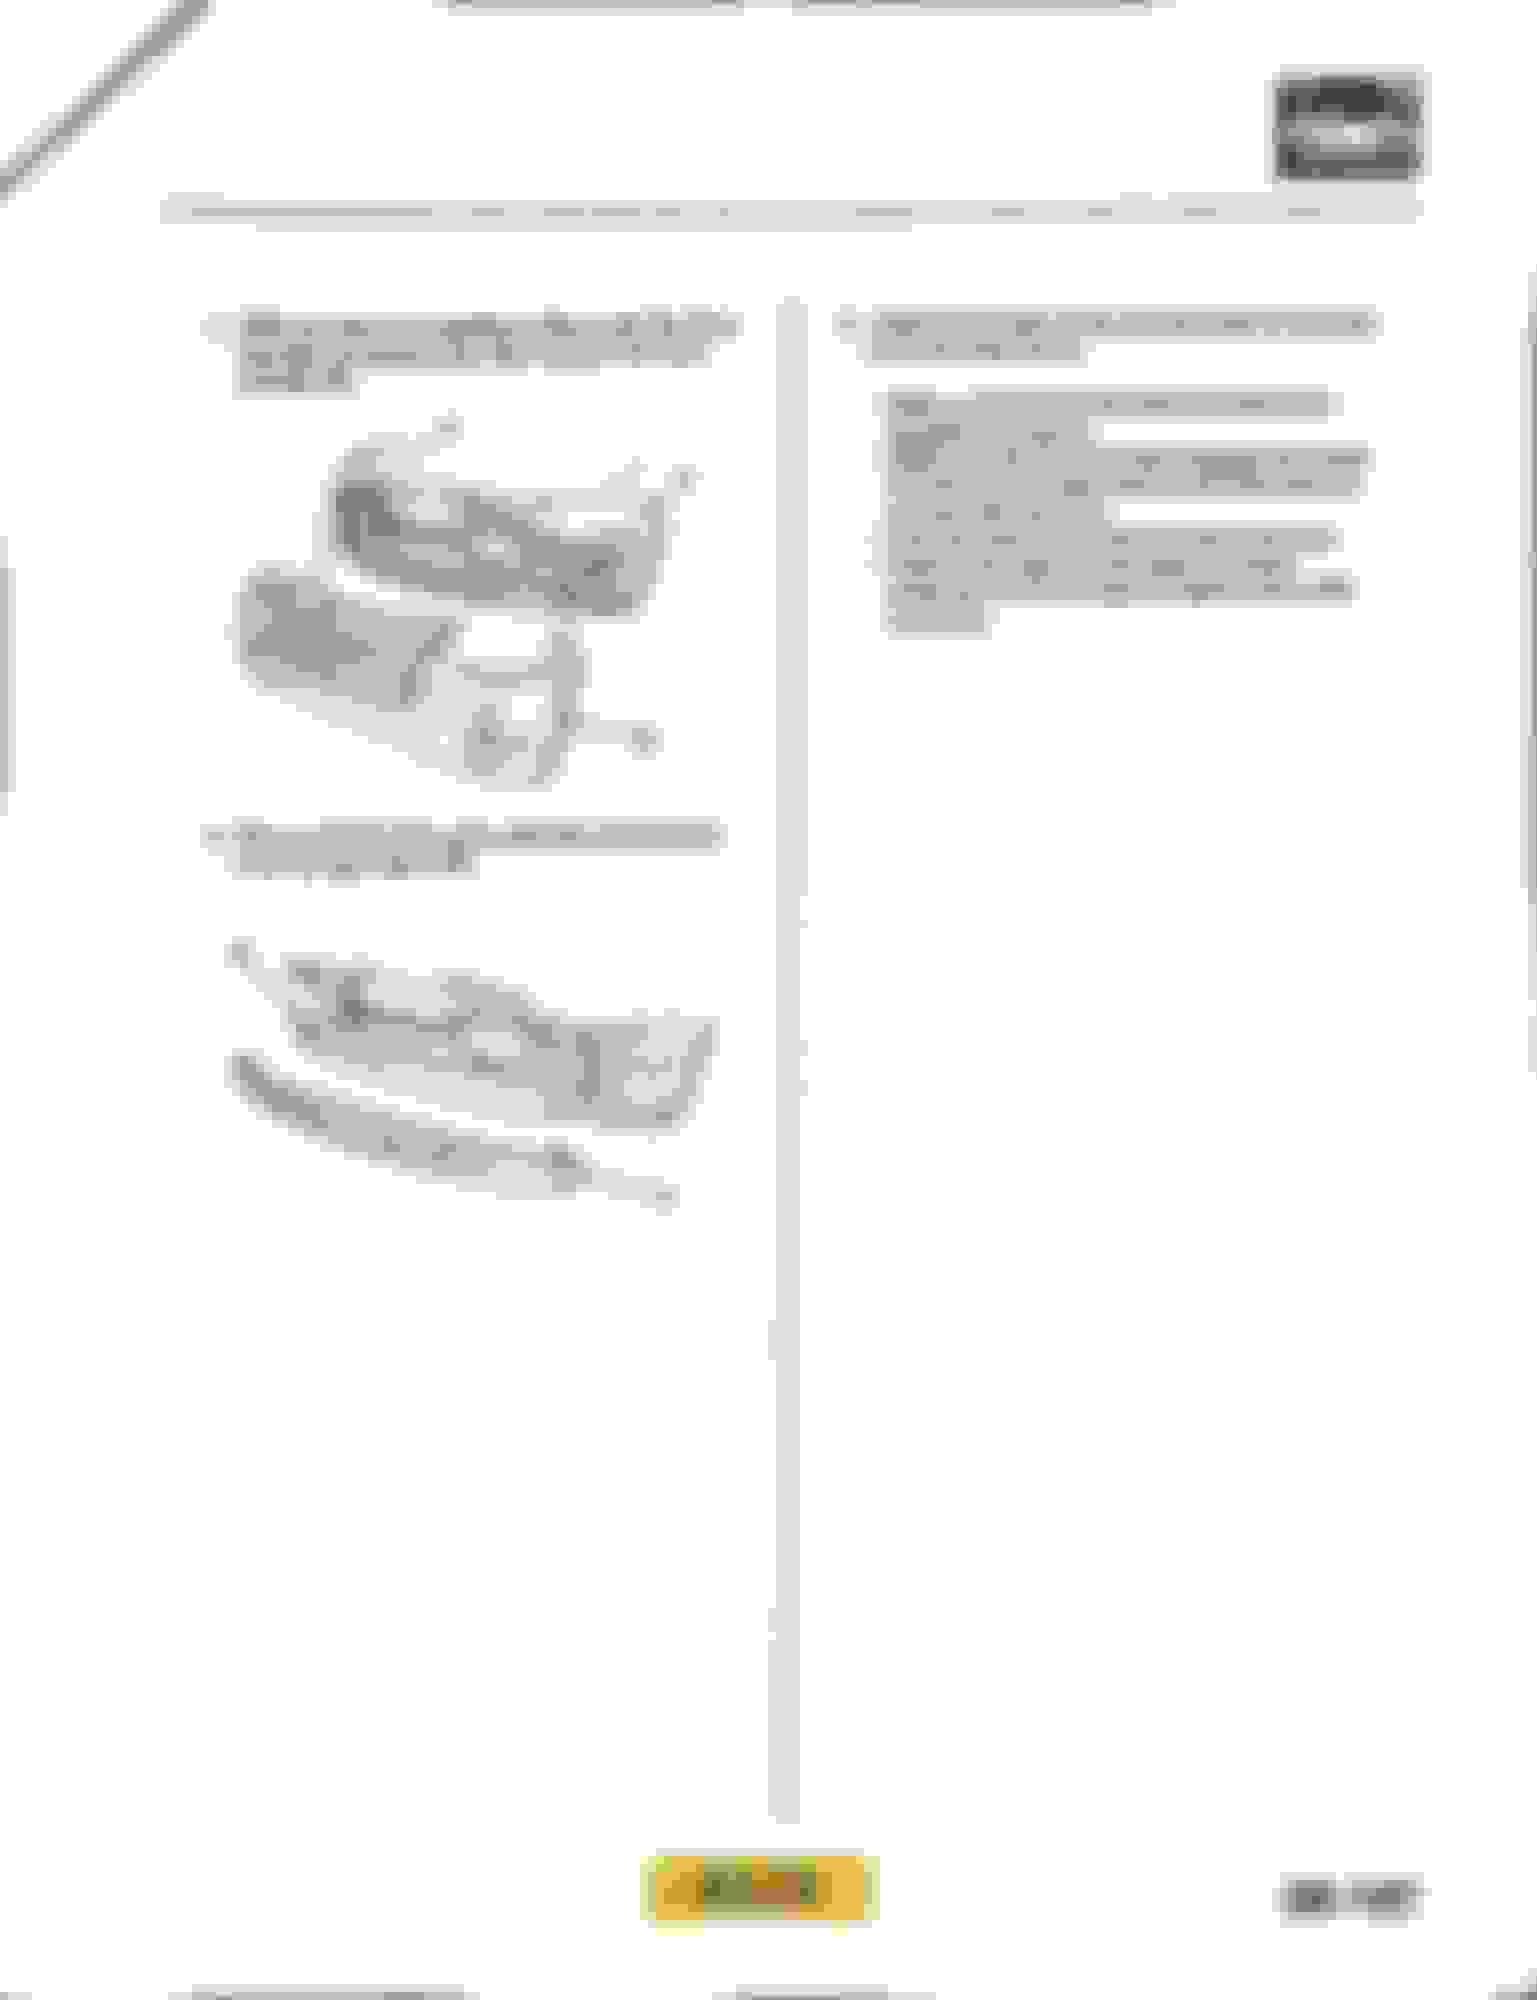
Remove the radiator overflow container Just move to the side
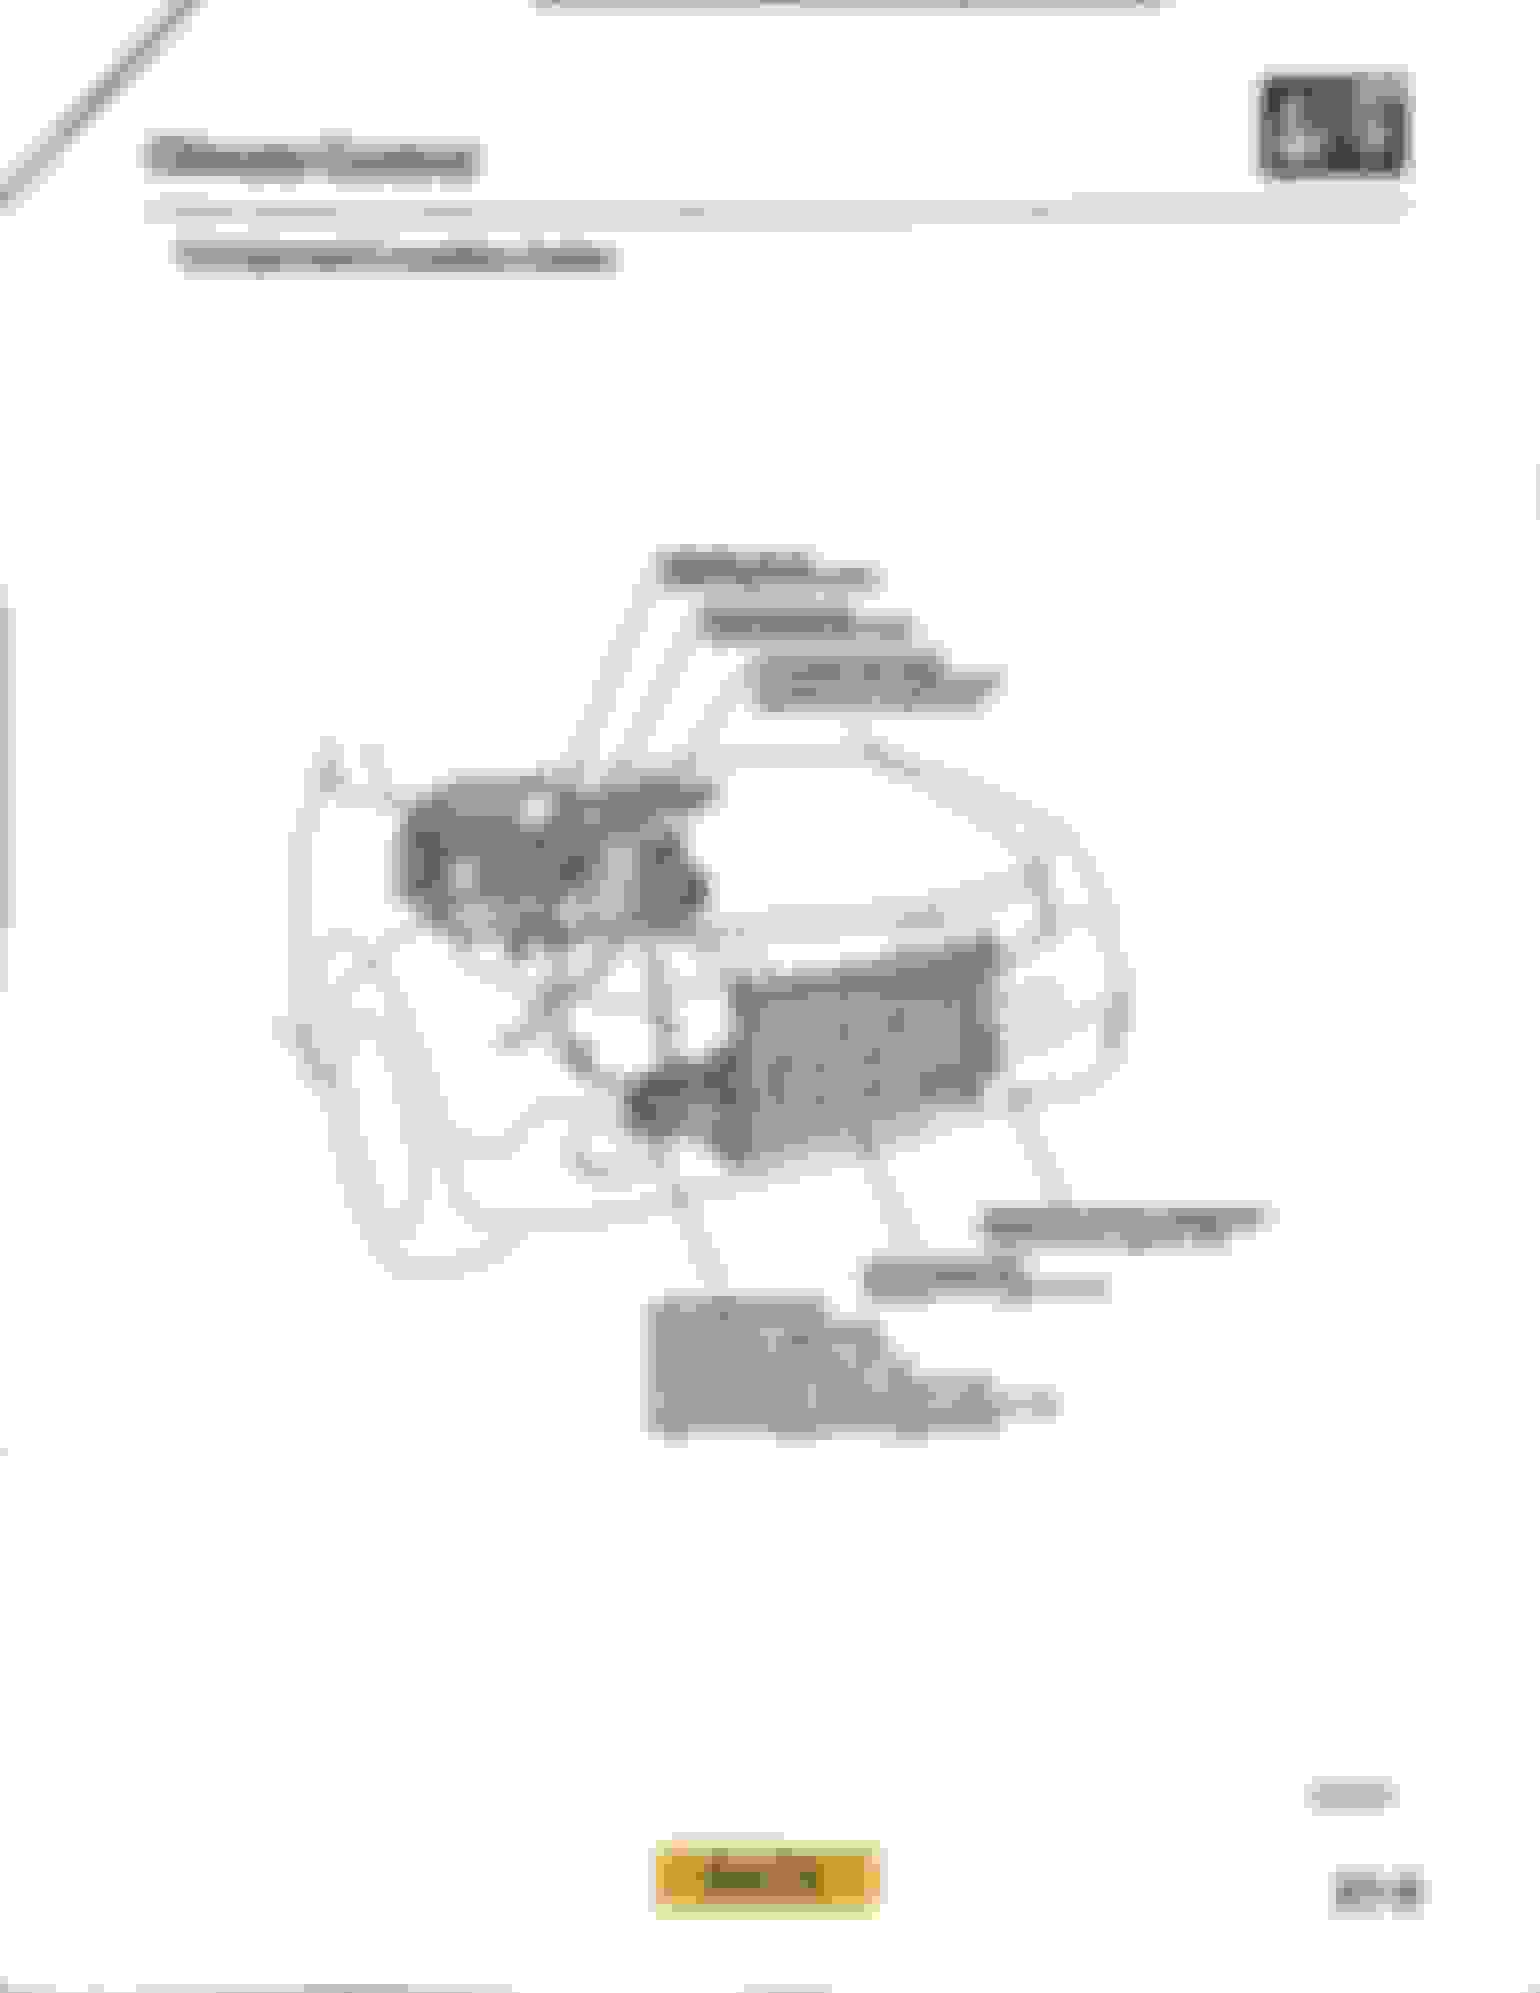
Remove the AC cooling fan. 10mm nuts and an electrical connector on the lower right side.
Release the tension on the serpentine belt. Using a purposeful tool makes this simple. Slide it off the alternator and AC pulleys.
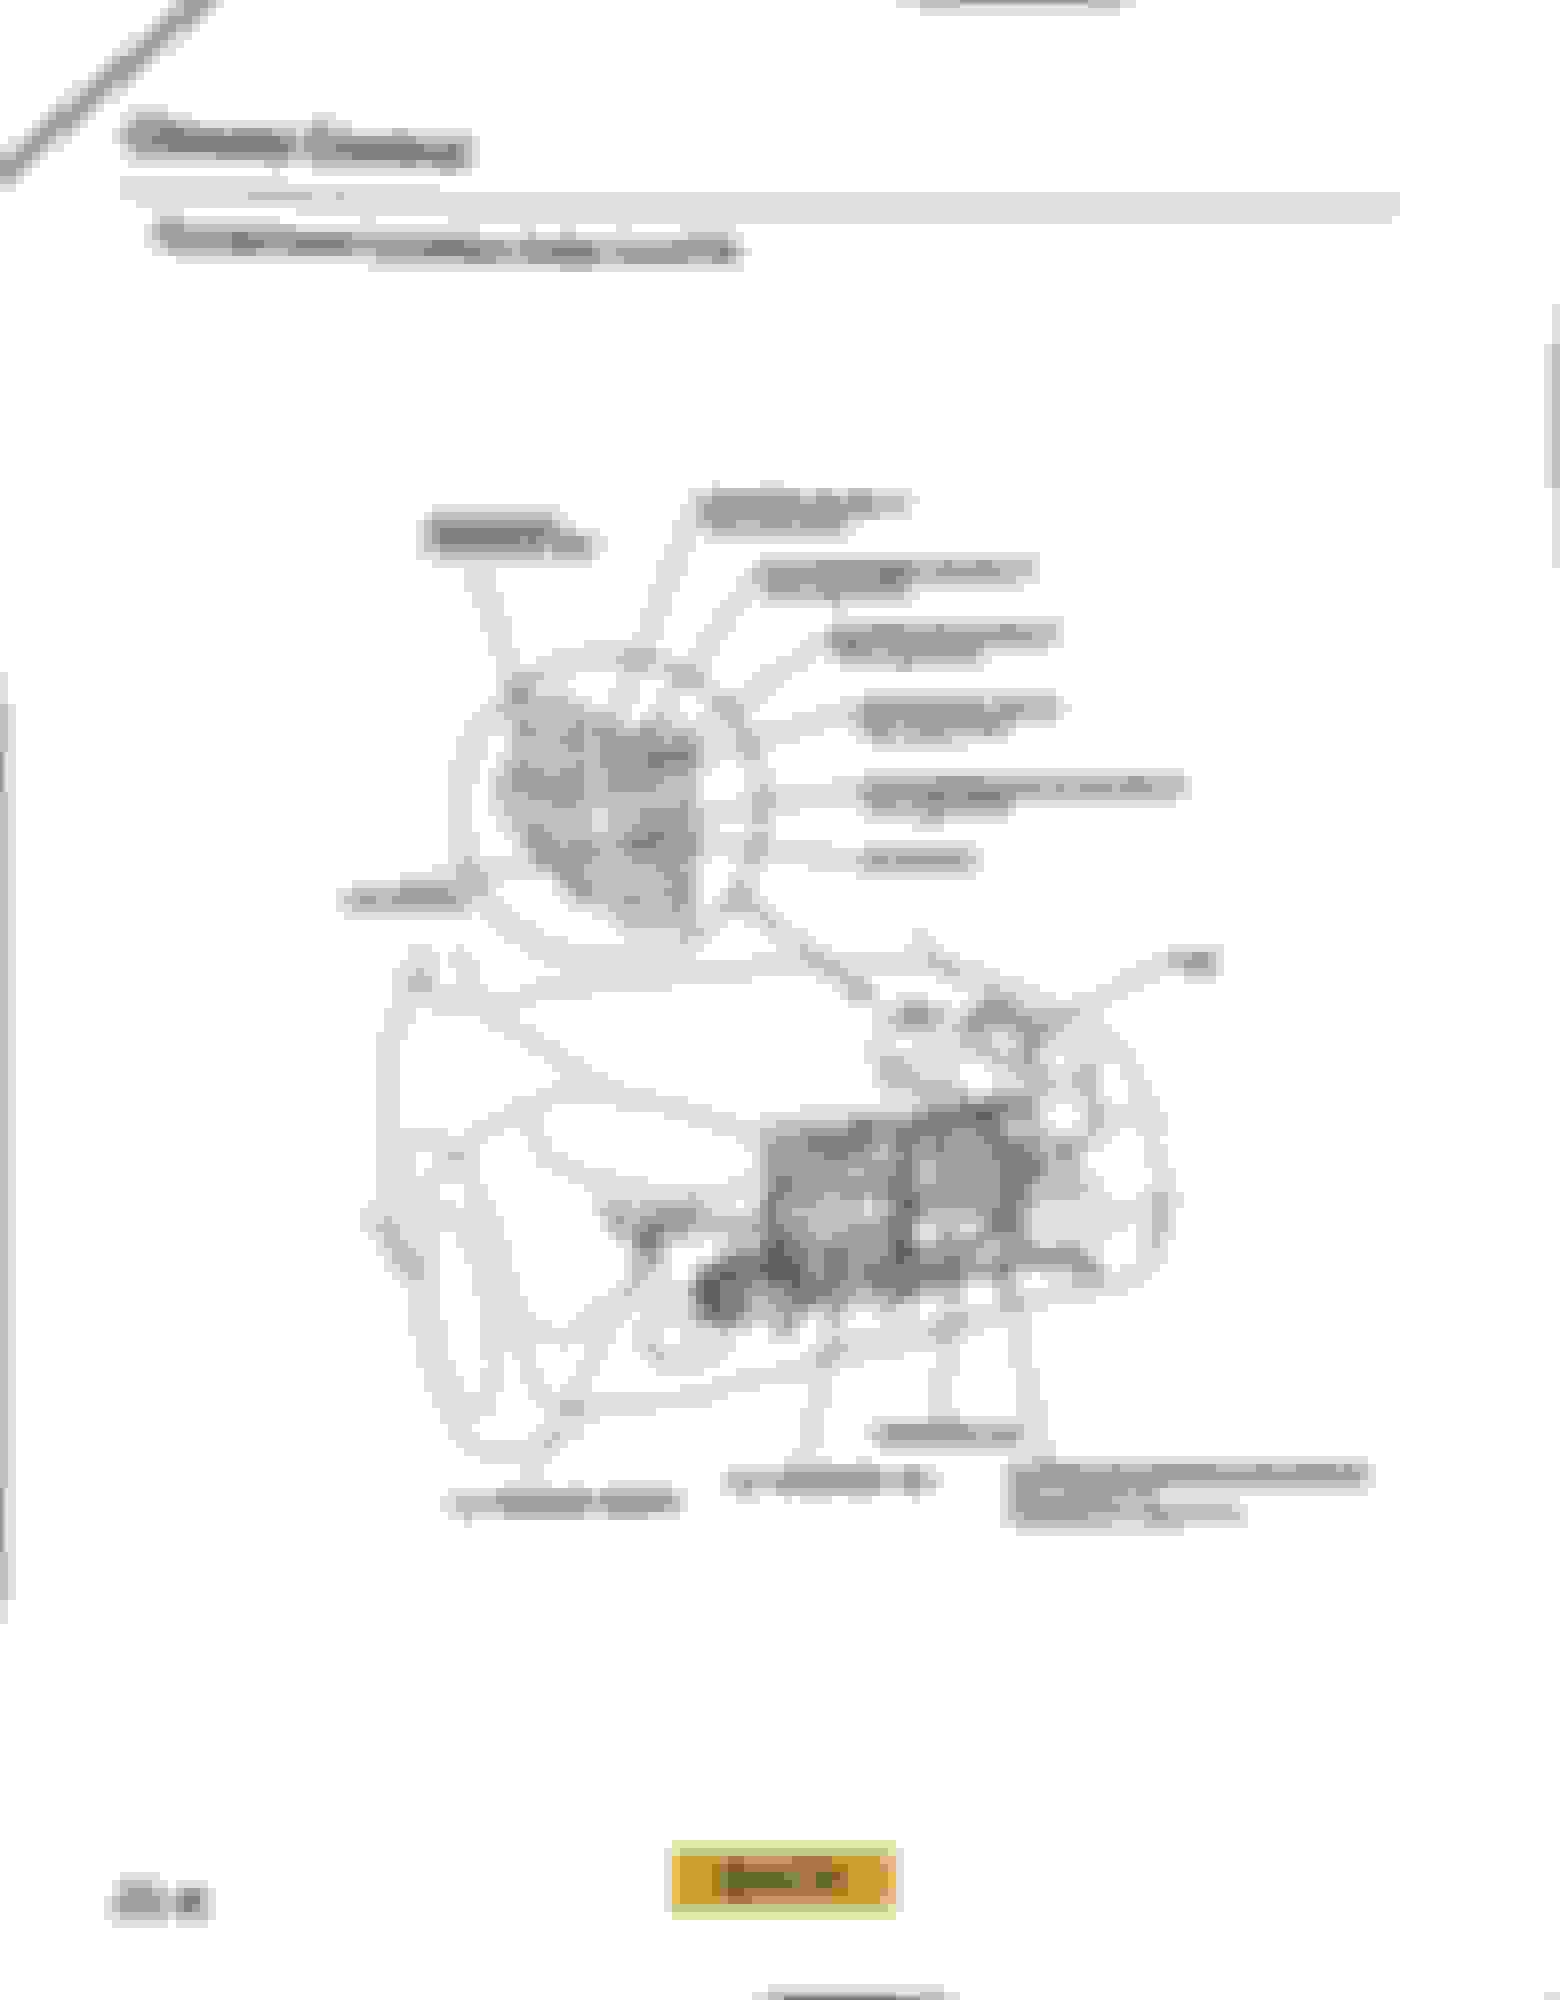
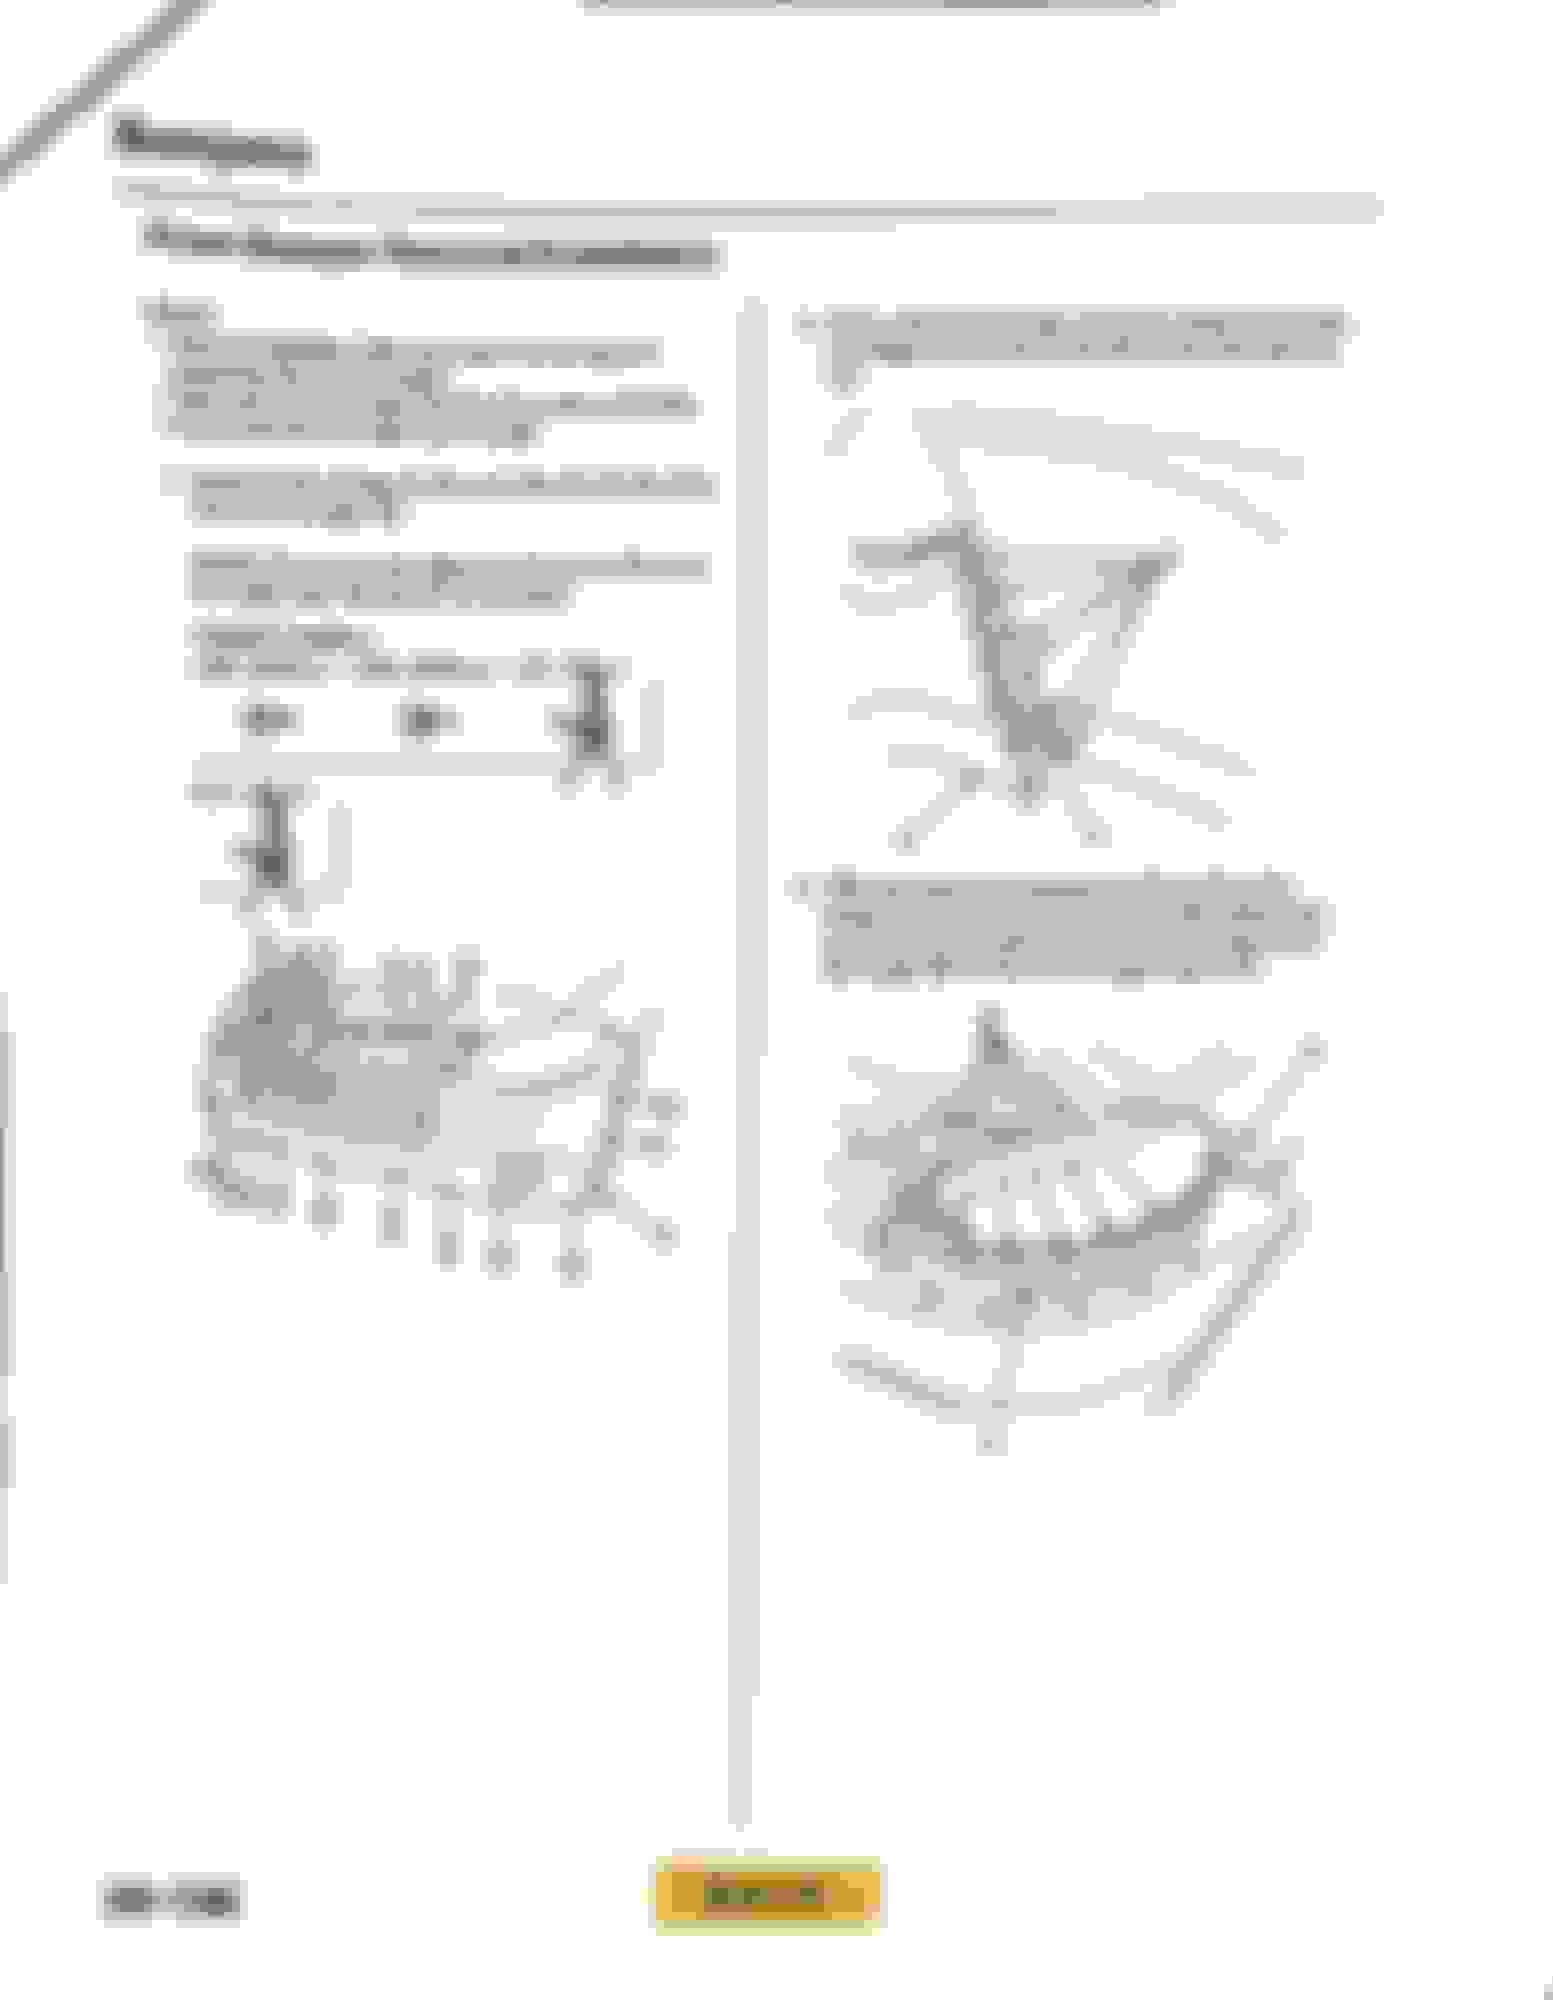
Remove the alternator. It’s straightforward. 3 10mm bolts, 1 electrical connector and a 10mm nut.
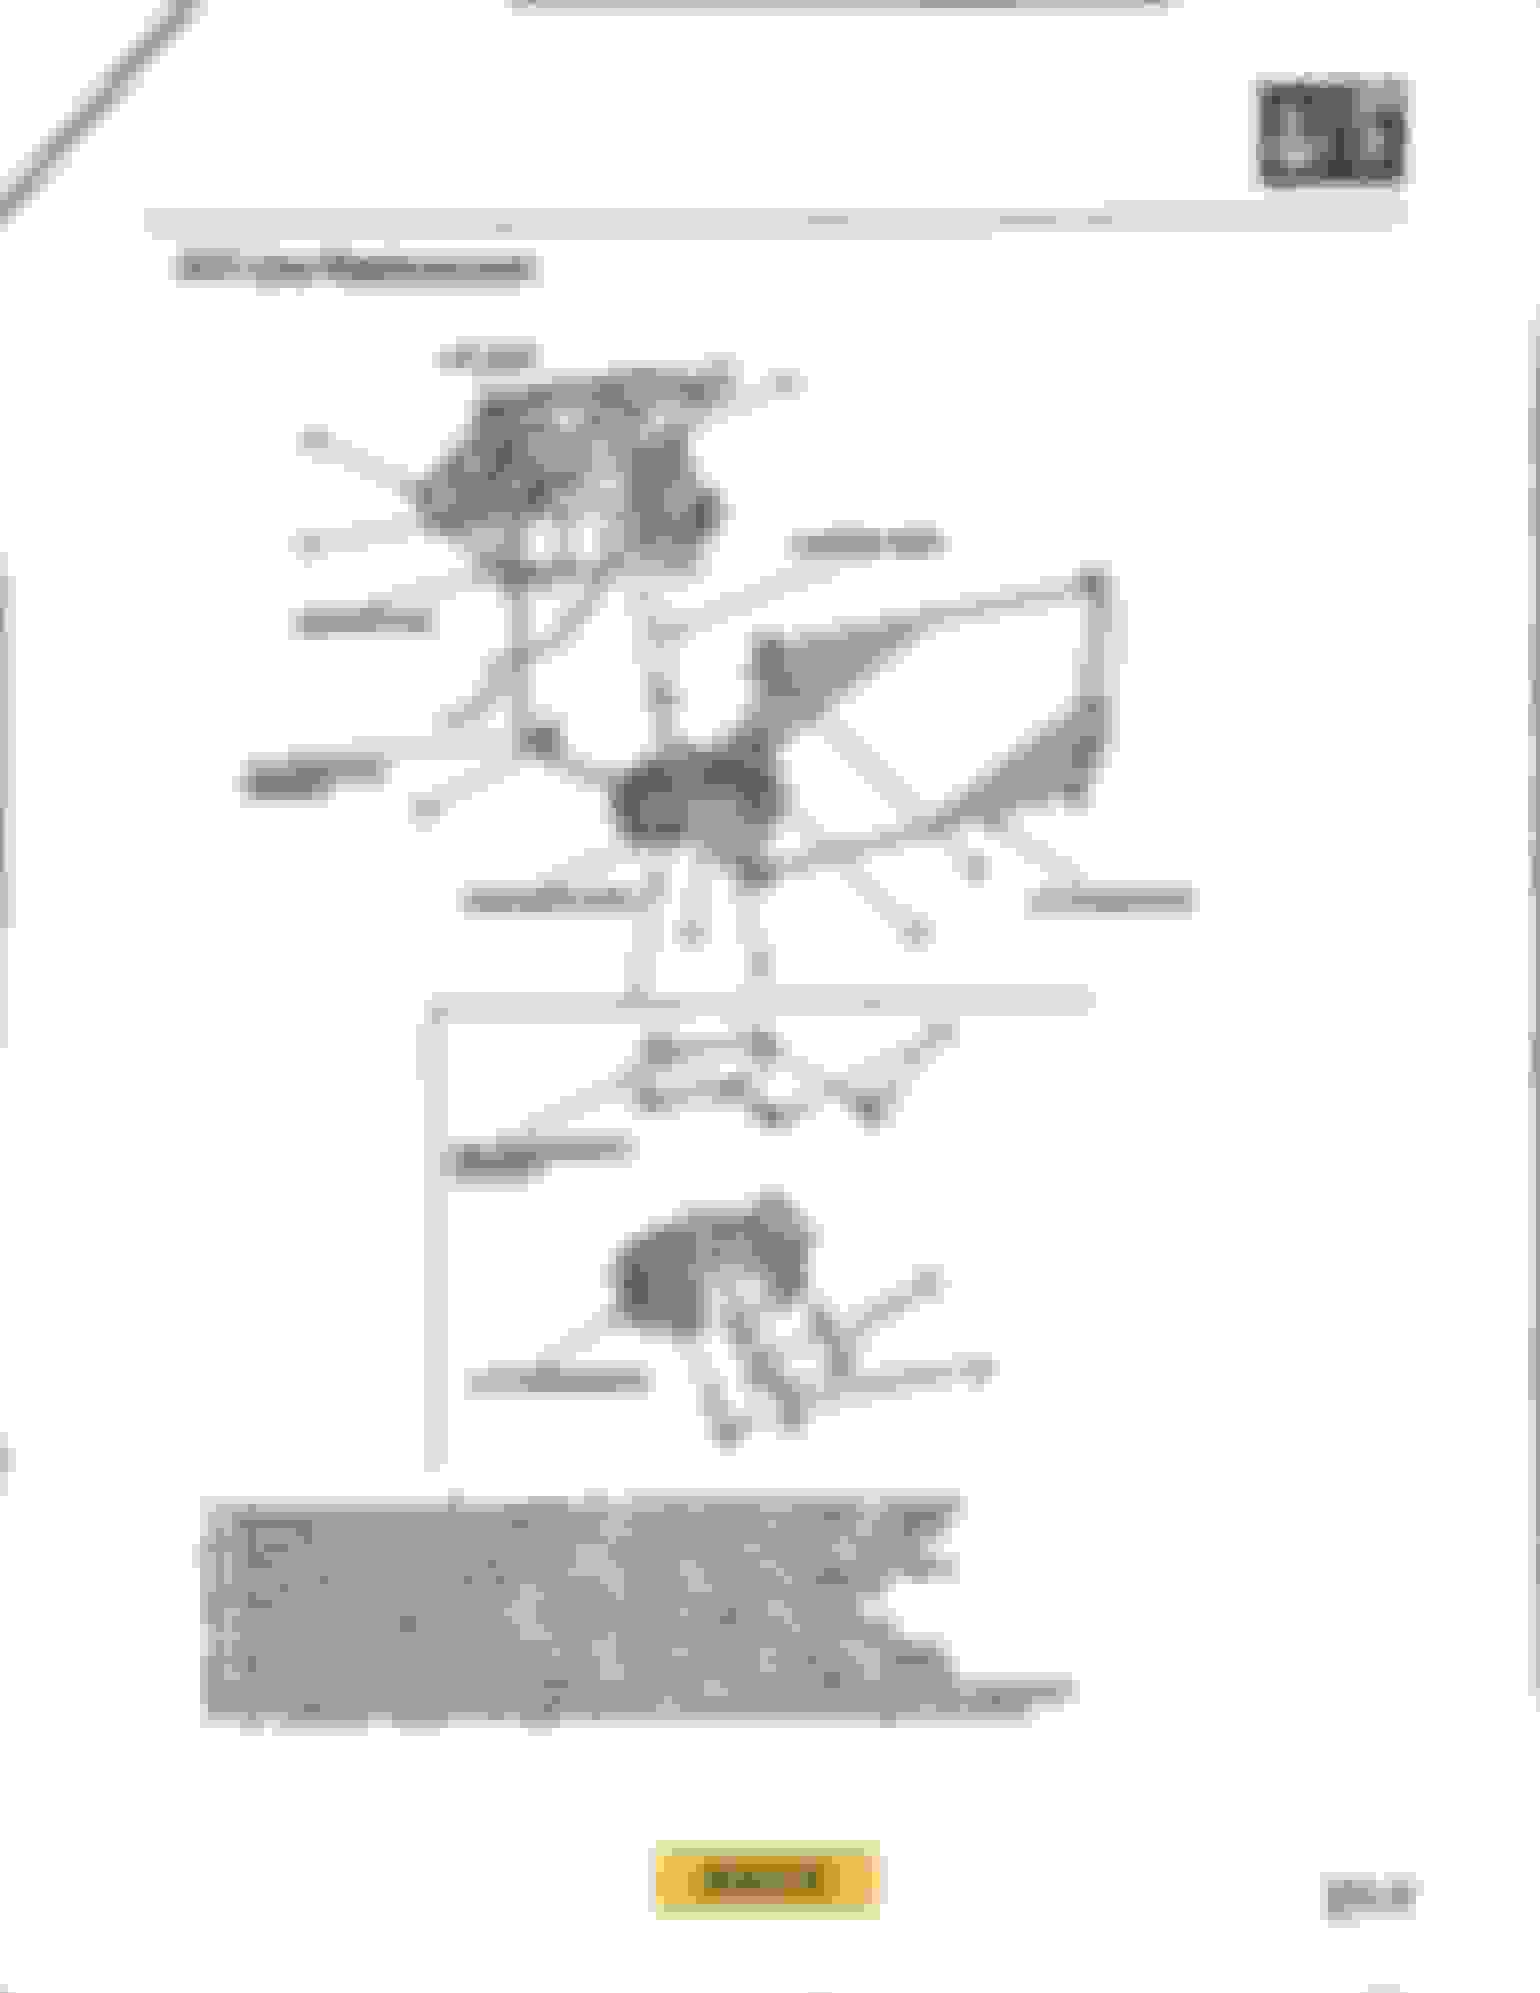
You can easily access the compressor at this point. There’s no reason to remove a tire or inner fender liner. Alternator. 3 bolts and it’s out. Much better room. You can remove the AC line on the left at this point.
Remove the front (low pressure) line 10mm nut. Put this in a baggie to prevent contamination.
Don’t remove the high pressure line yet.
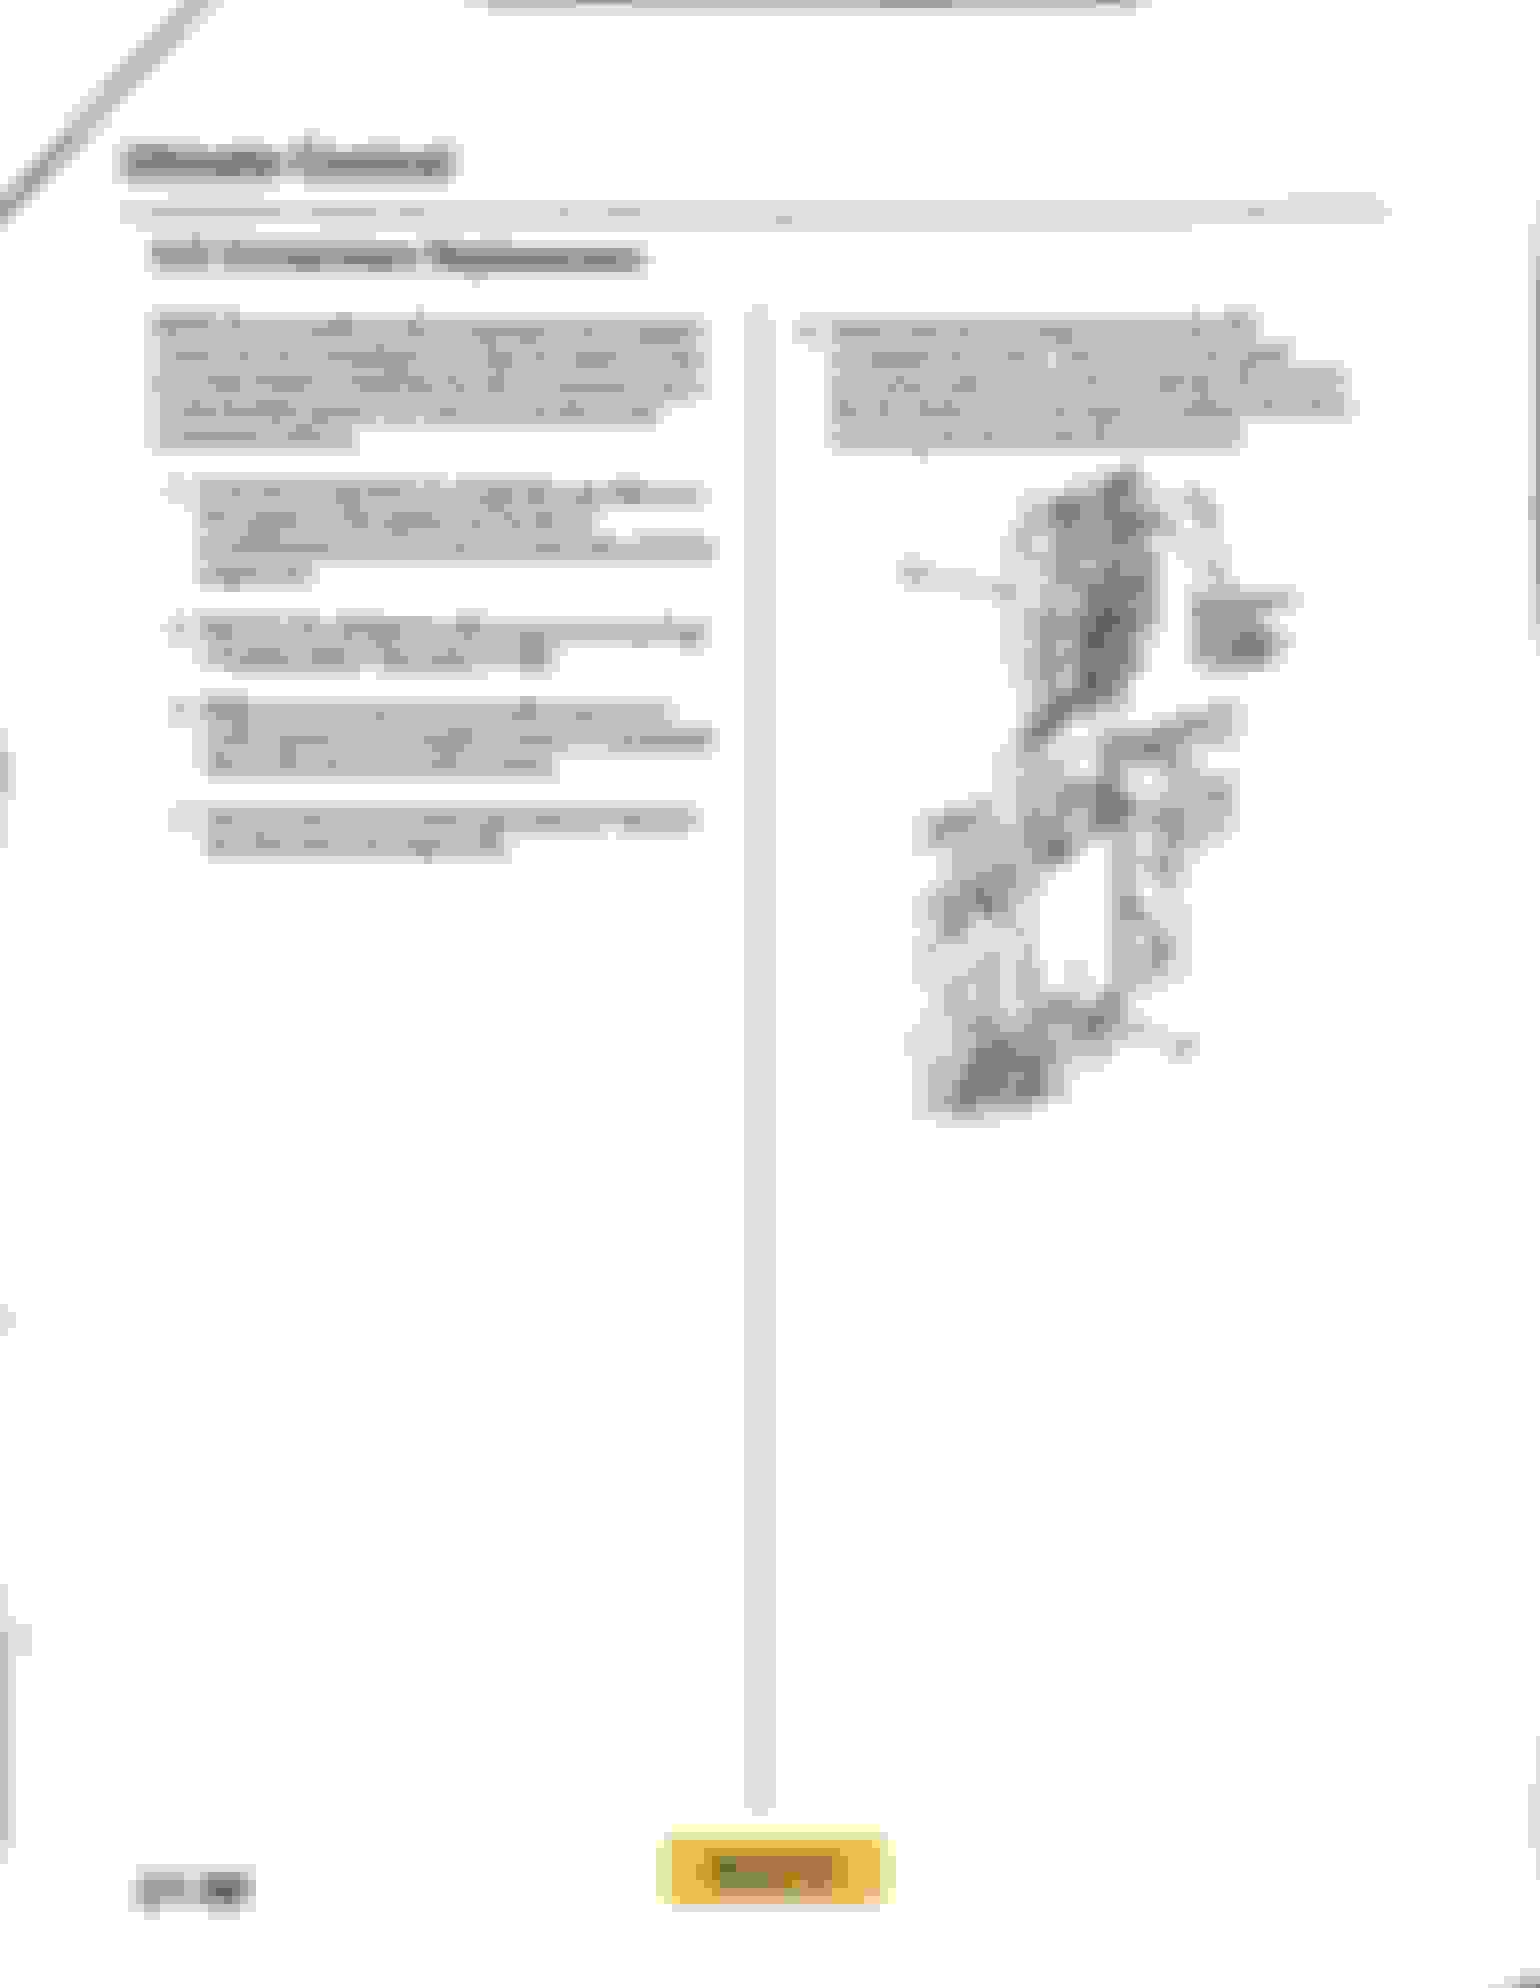
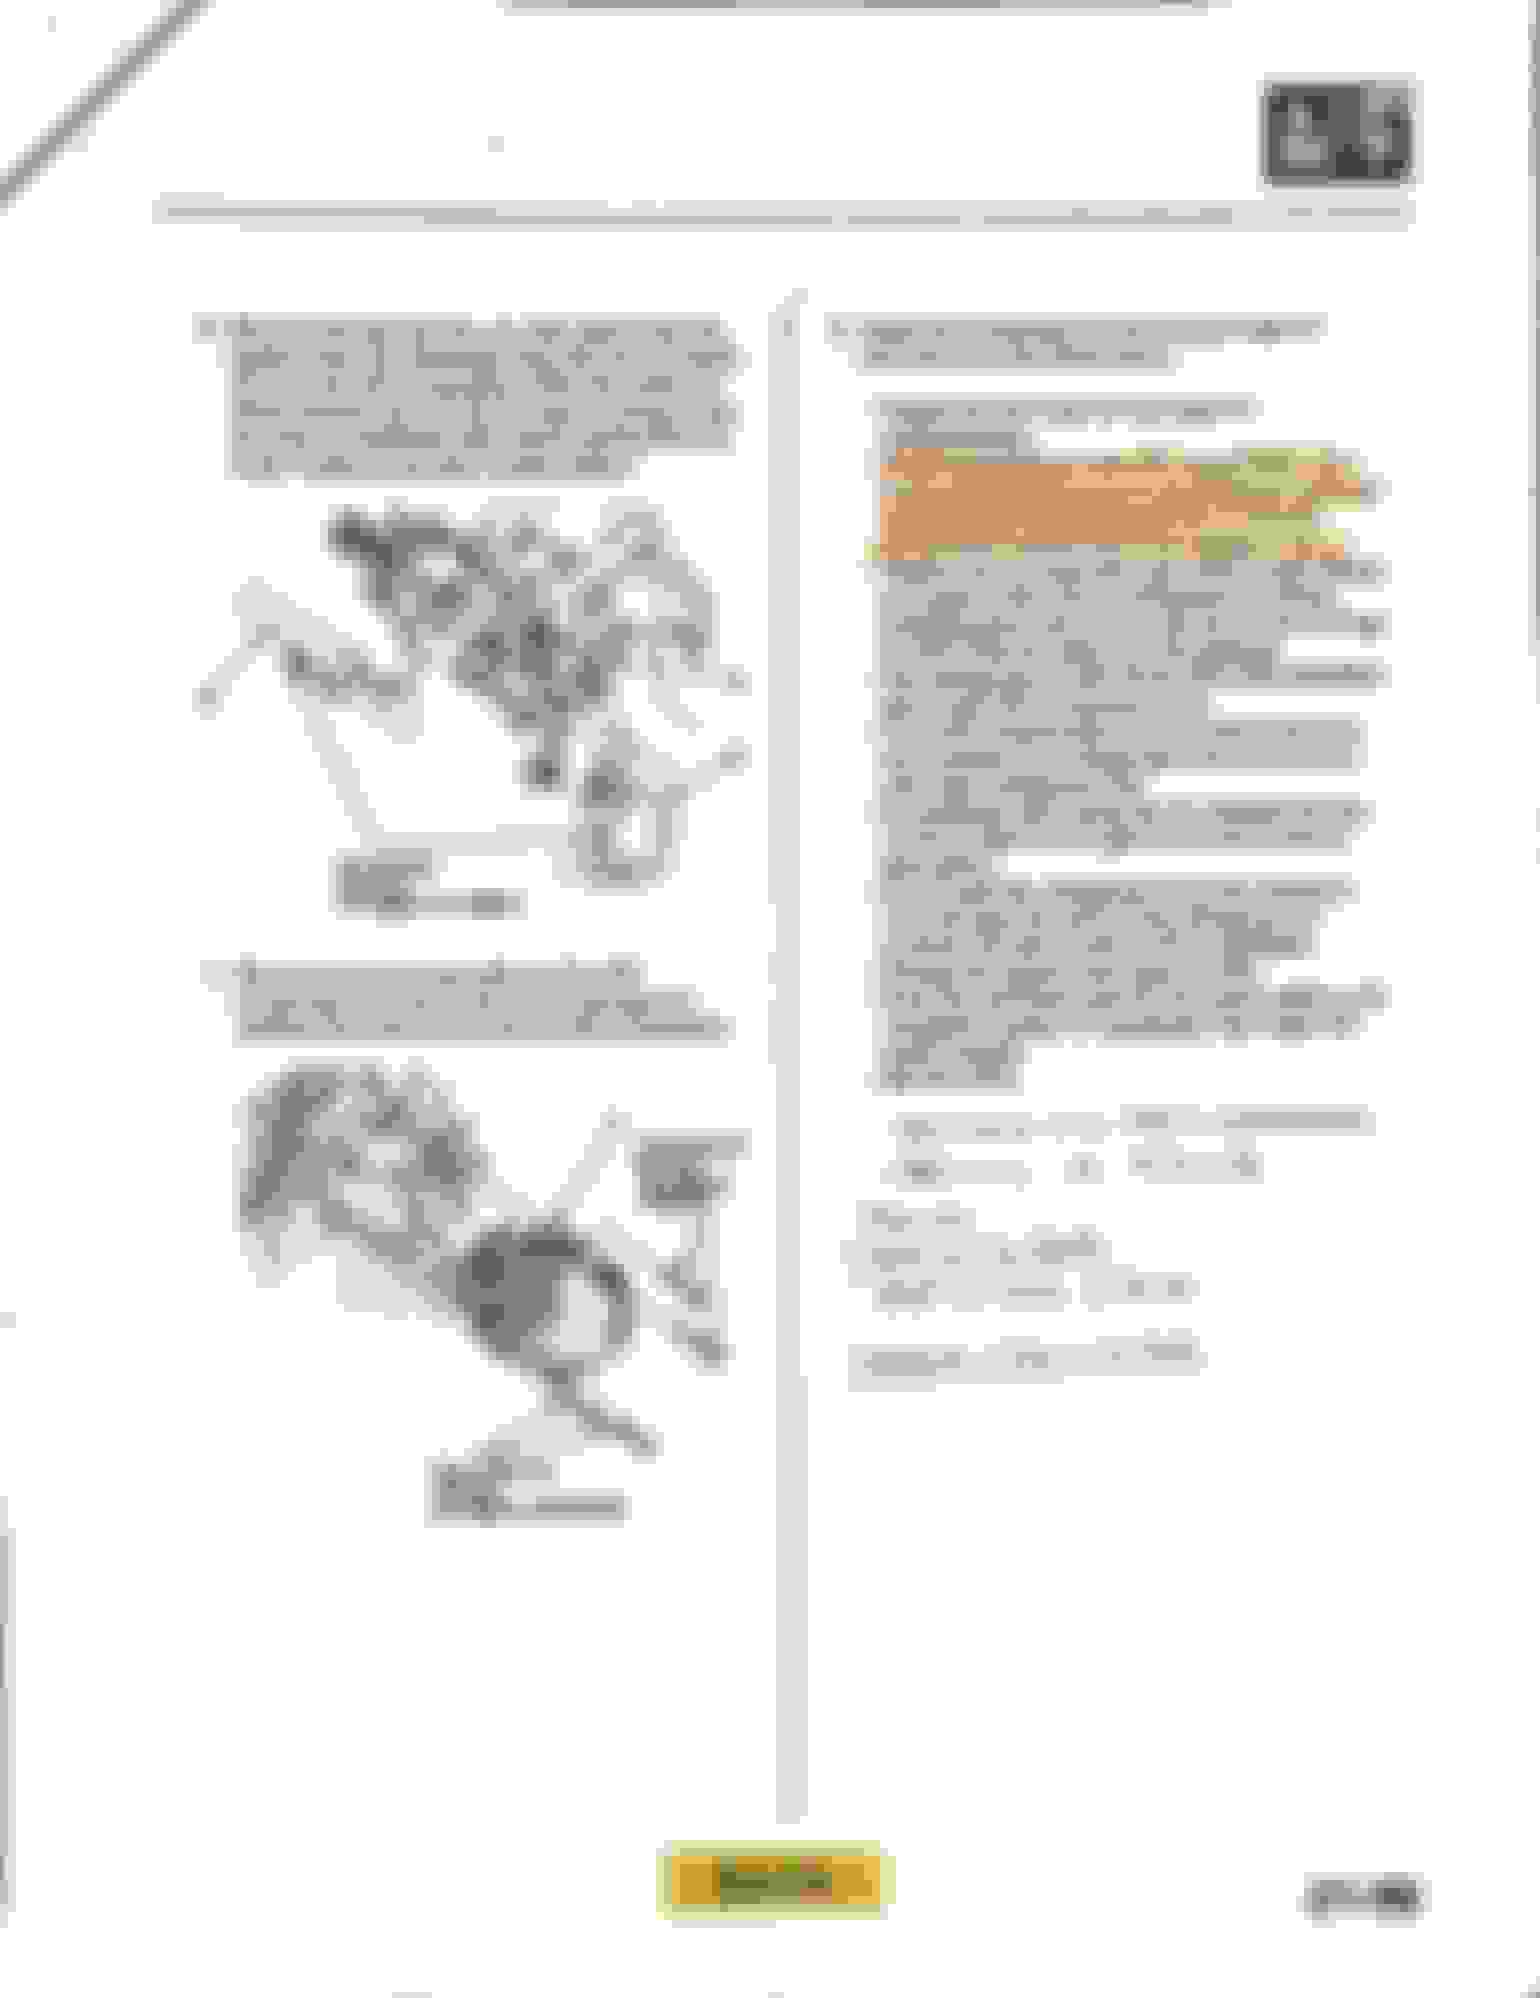
Remove the (4) 10mm bolts holing on the compressor. For the 2 on the bottom, you’ll need to jack up the car slightly to reach the bolts on the bottom. A ratcheting wrench really helps at this point. Bottom bolts Too bolts
Remove the compressor and turn on its side to remove the high side line at this point. Compressor on it’s side. Remove the high pressure line 10mm bolt. New and old
Installation is the reverse
Use the pic to replace the o-rings. My compressor came with new ones. Coat them in oil prior to installing.
The 2007 Acura 134a capacity is 15.9 oz. 2 twelve ounce cans ( $4.99 ea).
The oil capacity is PAG -46 6.5oz
My compressor came pre filled with 3.0 oz, so I didn’t add any more.
The notes from the FSM say” if you’re installing a new AC compressor you must calculate the amount of refrigerant oil to be removed from it.” This was aftermarket, so I just did the math. ( see pic)
Once everything is bolted back together, attach your AC gauges and a vacuum pump to the charge port. Open up all connections and turn on the pump.
Let the pump run at least 10-15 minutes.
After 20, I turned it off, and let the system sit for another 10 to check for leaks.
Close all your valves, disconnect the vacuum pump, and attach your first can of 134a.
Start your car, turn on the AC.
Open ONLY the low side ports.
Open the 134a and watch your gauges.
Mine filled to about 42 PSI, after a can and a half.
Close every thing up and you should be good to go.
I performed a dynamic test after that and everything was within specs.
Followup
1 week later and the system is still blowing cold and holding pressure.
Now to fix that P2263 problem..... and yes, I've already replaced the Turbo Variable flow Eye Bolt. Got the cuts on my thumb to prove it
I just updated the P2263 Issue. I had a Mechanic look at it and he was able to diagnose and repair in under 2 hours!
He posted the repair video to his YourTube channel. Pine Hollow Auto Diagnostics. Check him out!
 07-18-2020, 07:56 PM