
DIY: Rust Removal (60pic)

Thread Starter
One custom CL
Joined: Nov 2003
Posts: 4,381
Likes: 34
From: Crooklyn, NY :x
DIY: Rust Removal (60pic)
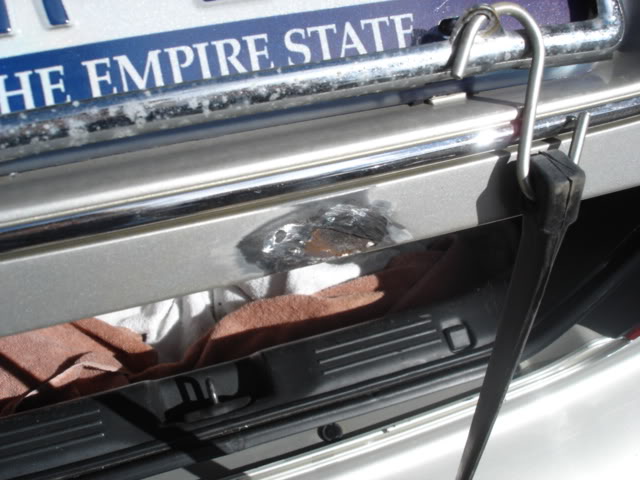
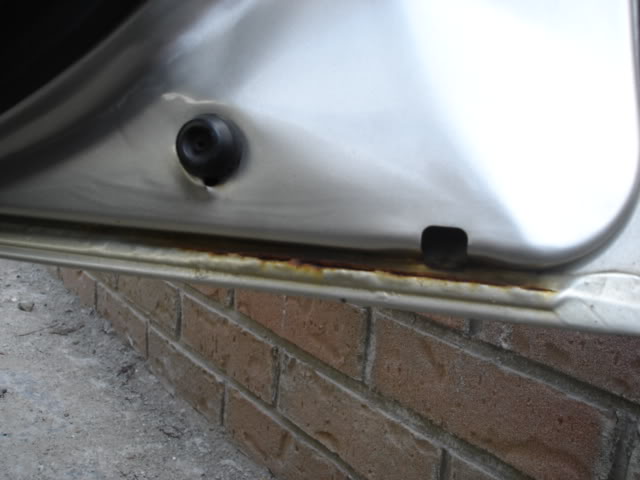
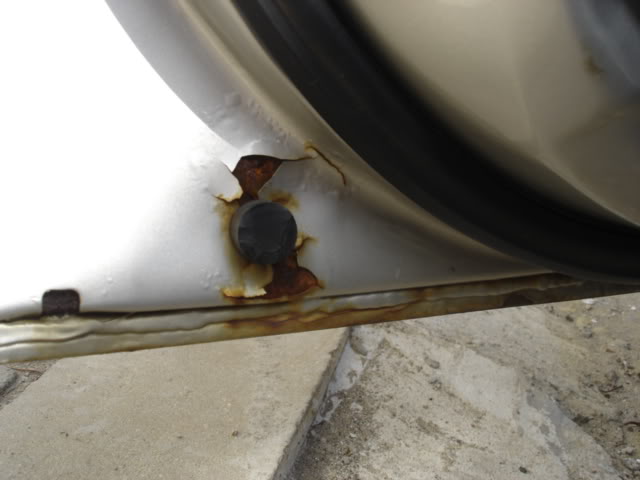
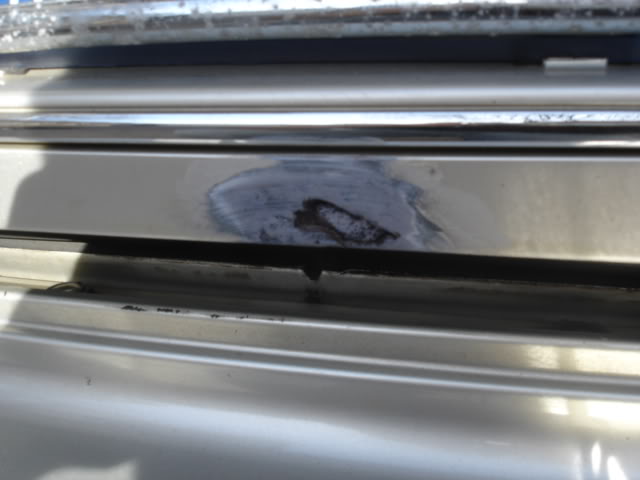
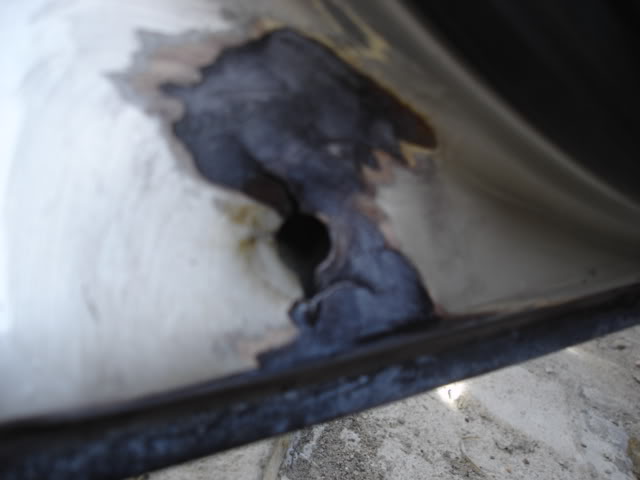
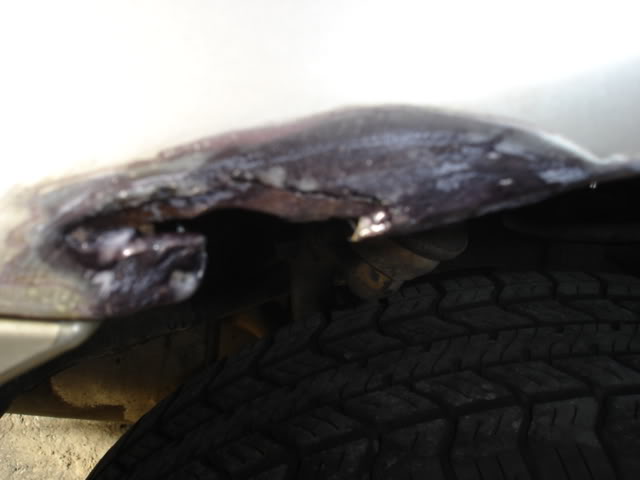
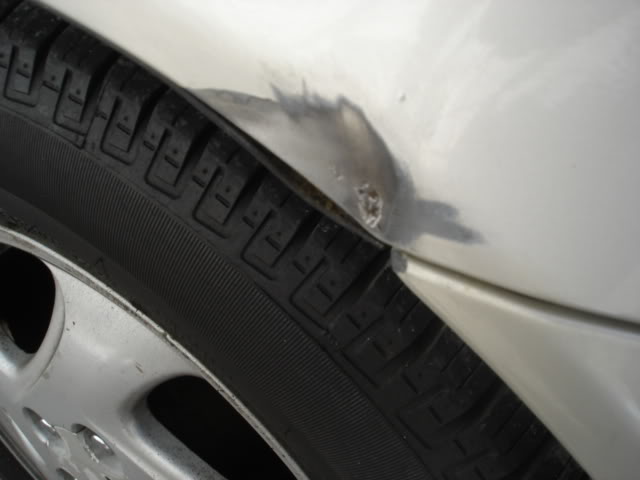
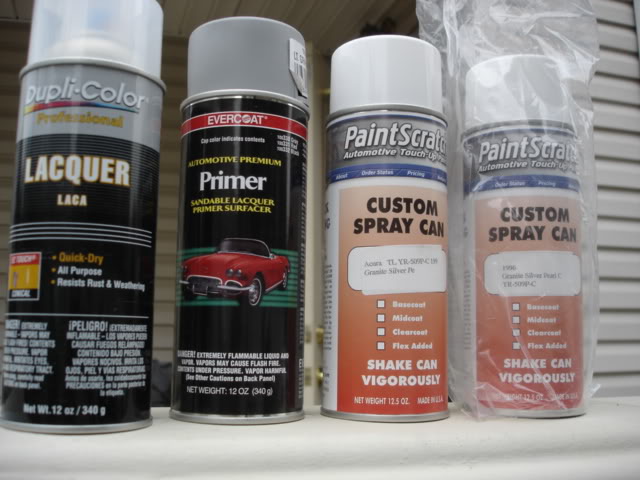
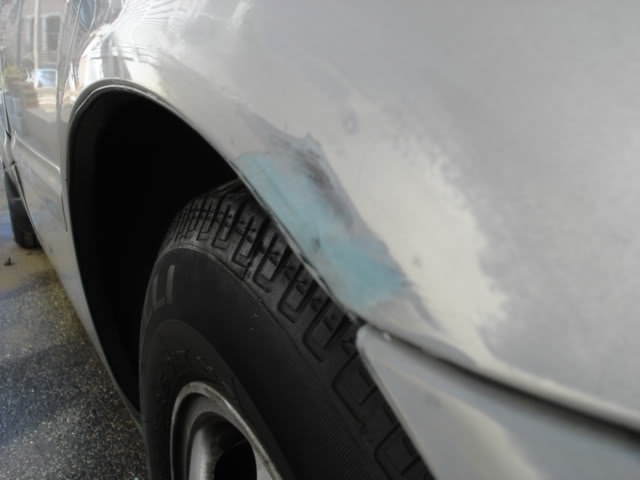
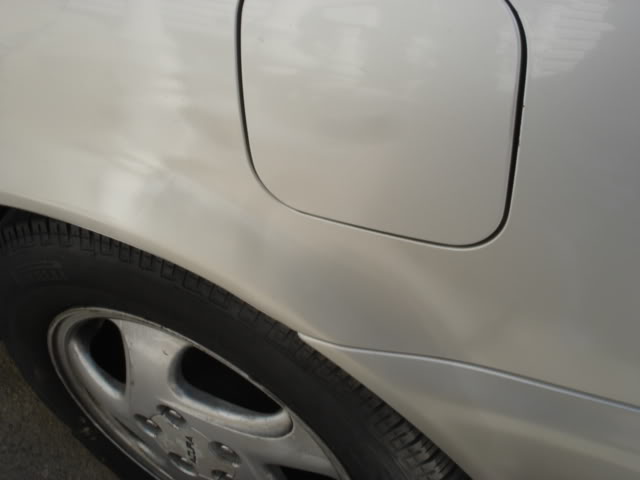
As promised, I took the initiation to take care of the rust spots on my father's 96 3.2TL. Rust was present on doors, trunk and rear fenders. The whole process took me about 2 days due to dry/cure times. All materials and paint from www.paintscratch.com ran for less then $100. In the end I am more then happy with the results. I'm an amateur at this, which goes to say that anyone can do this if you don't feel like paint body shops arms and legs.
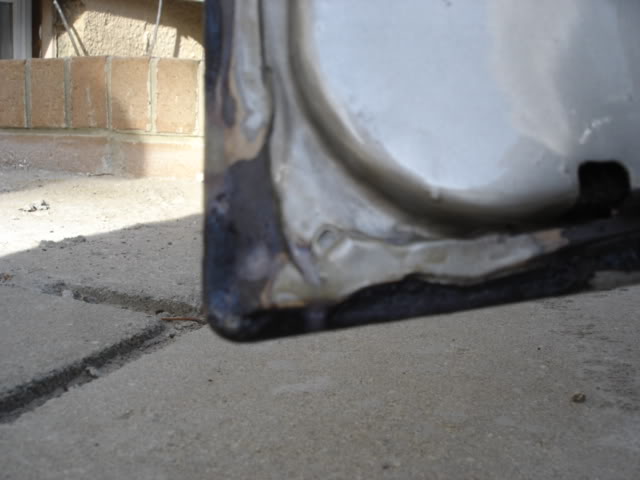
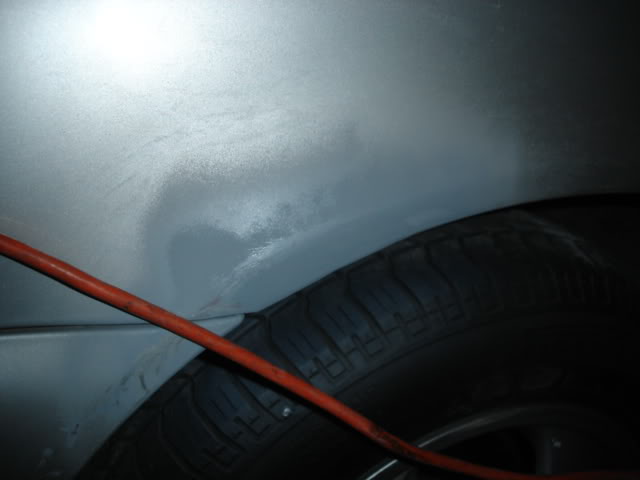
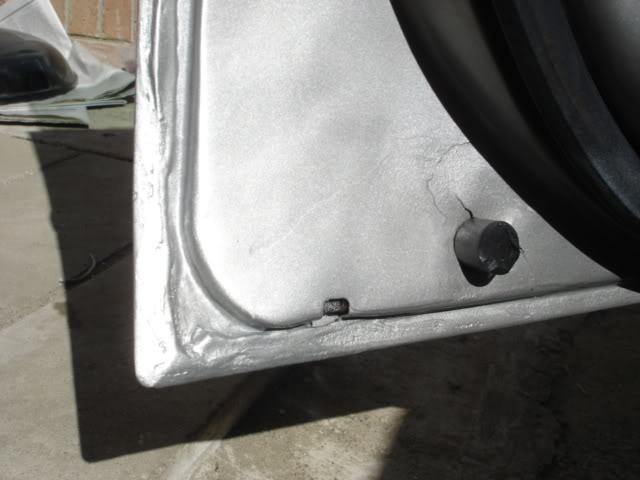
I started by putting a wire brush blade on the grinder and grinding away all the rust.

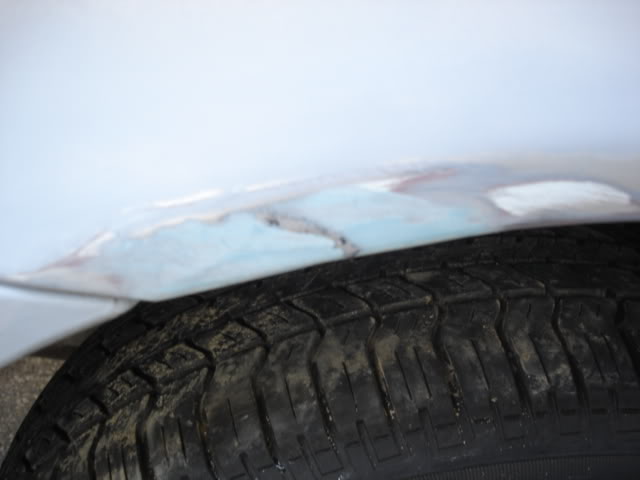
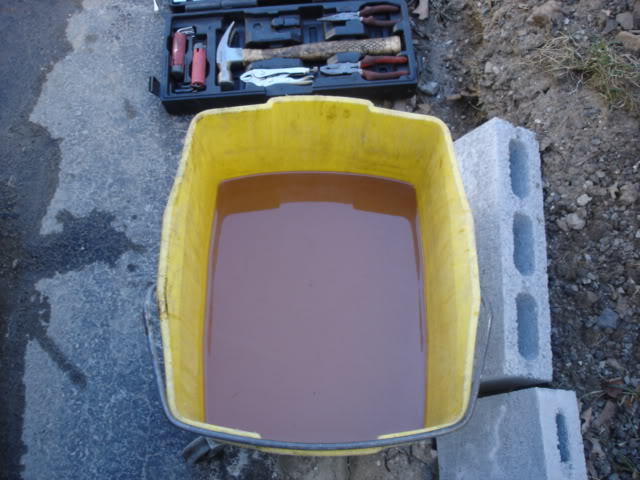
I then proceeded with the rust treatment.
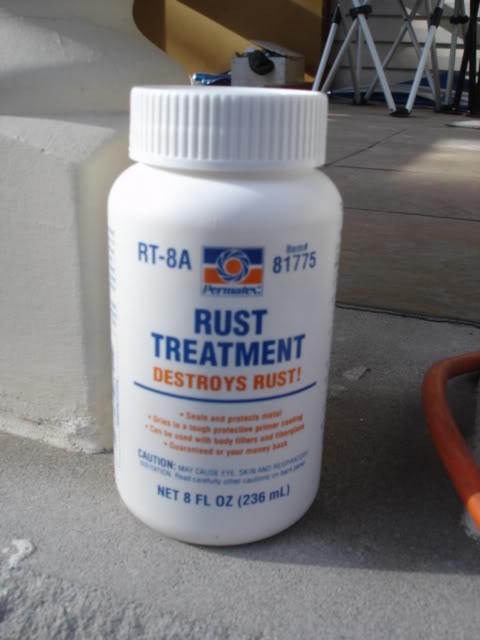
After 2 applications of the treatment the metal turns black. The treatment also serves as a good primer.


Allow 24 hours for proper drying.
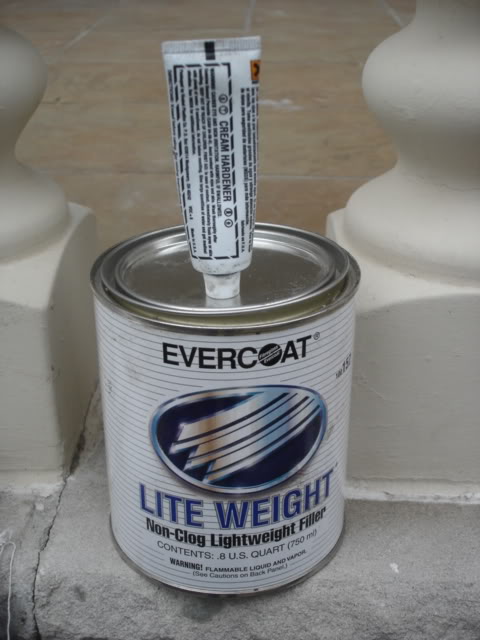
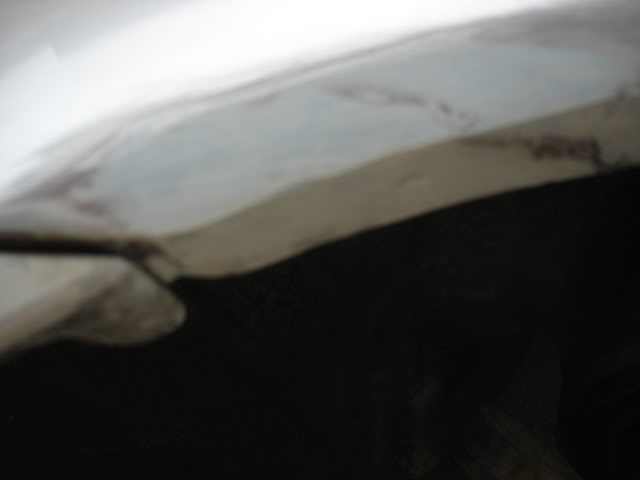
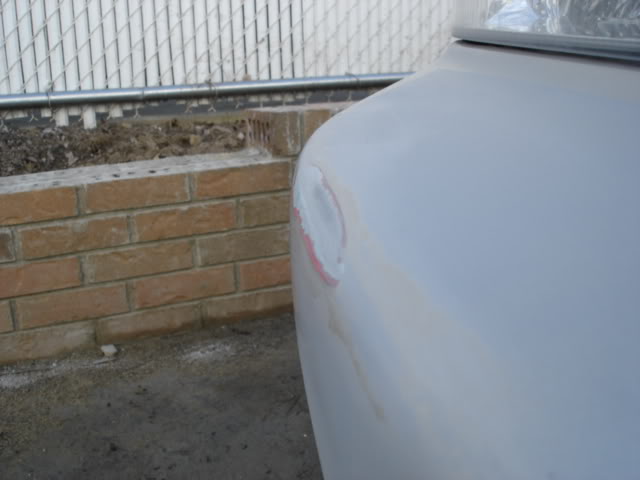
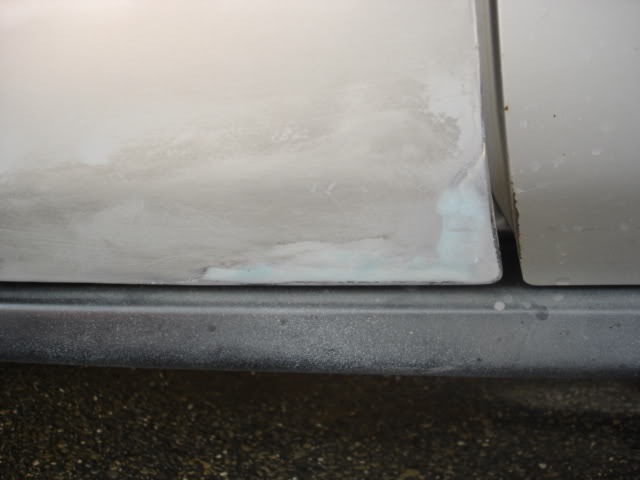
The next day I started filling and sanding with 100 grid paper to desired shape.

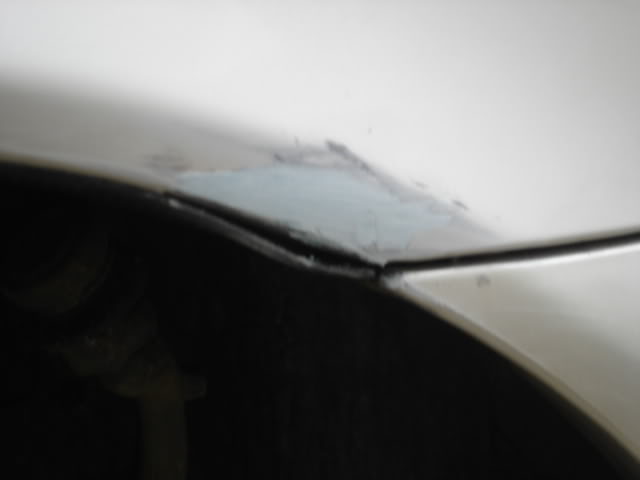
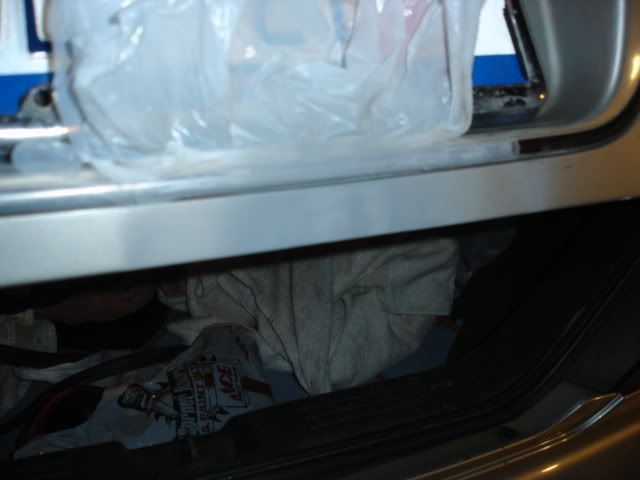
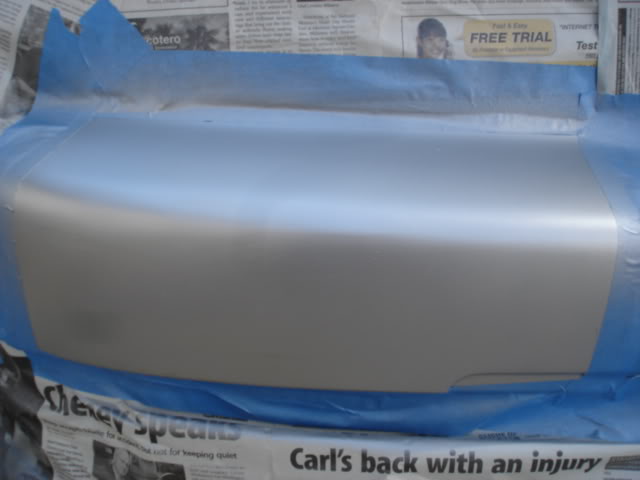
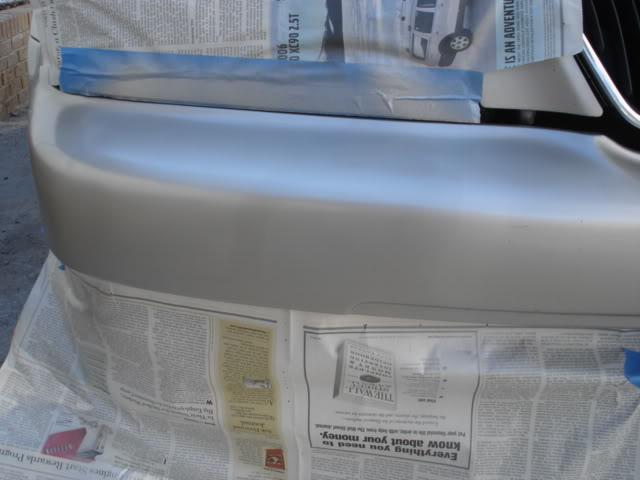
Prepping for priming. Blue tape newspapers. Leave only small area uncovered. I didn't do that but will explain later why its best to do so. Do not prime what doesn't need priming. Shake the can well and spray 8-10 inches away. Don't make your coats heavy because you will be creating more work for yourself.
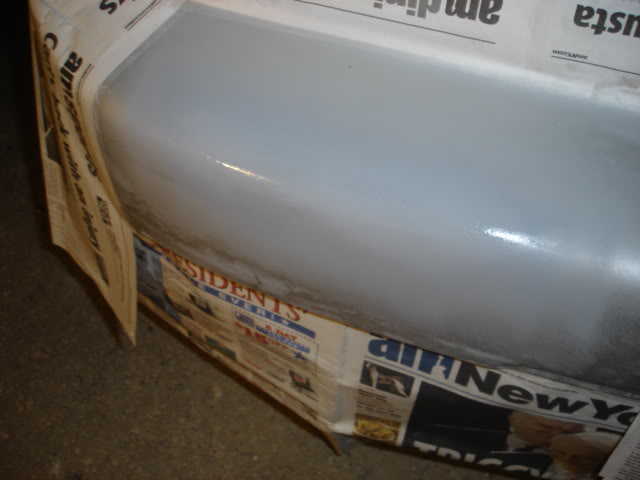
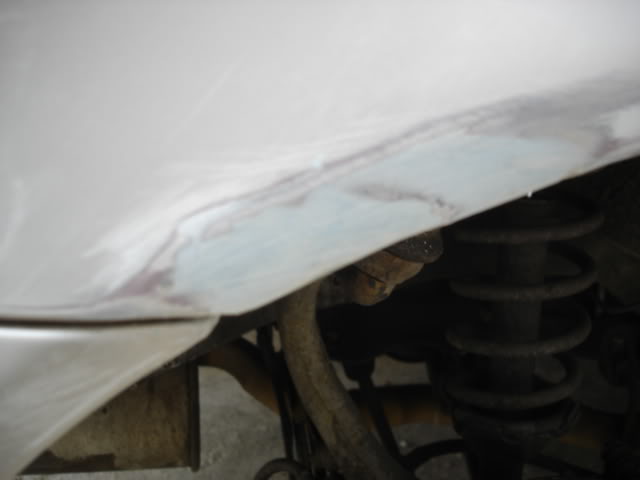
Wet sanded primer with 800 grid sand paper. You could primer again after but I chose not to.
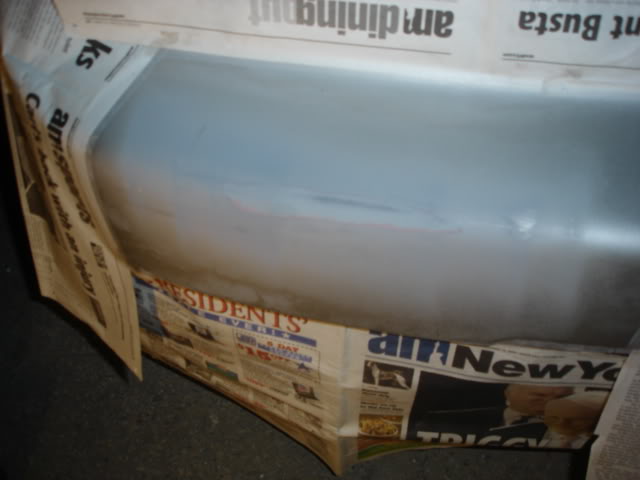
When painting, make sure you wear latex gloves and a doc mask. Shake can very well to get an even color and spray 10 inches away. Thin coats. Repeat process until fully covered. In between coats, you can wet sand with 1000 grid sandpaper but its imperative that you do not do the final coat.

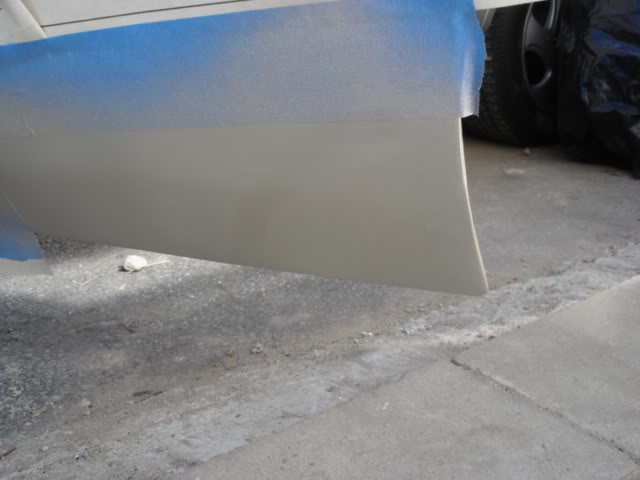
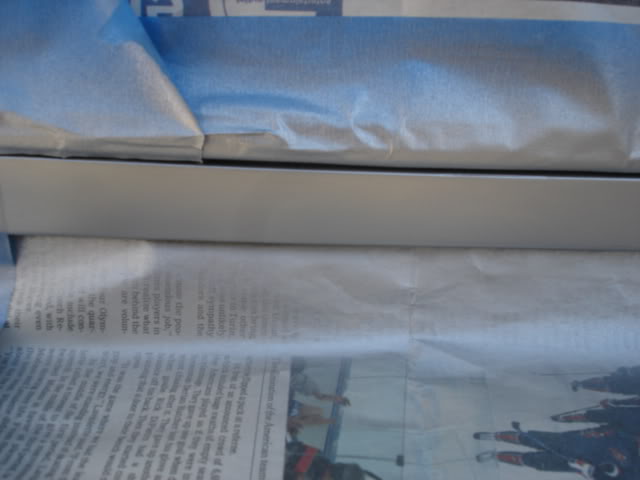

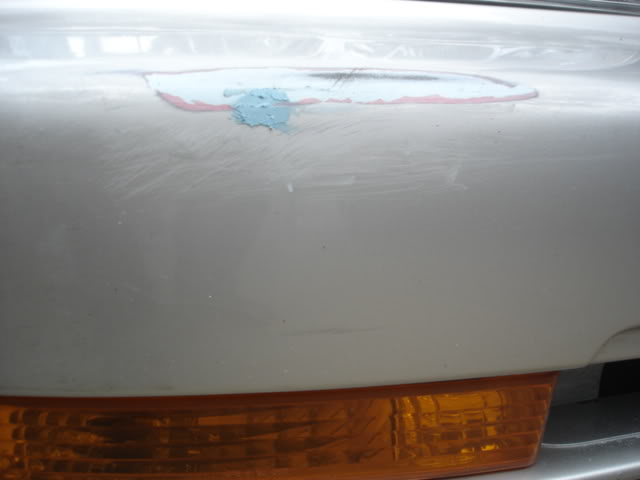
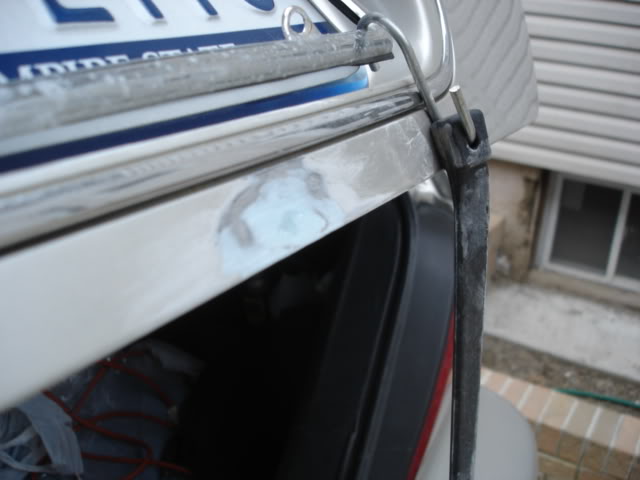
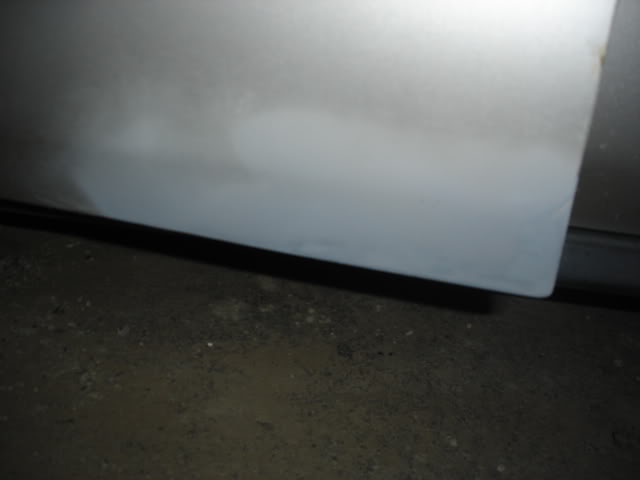
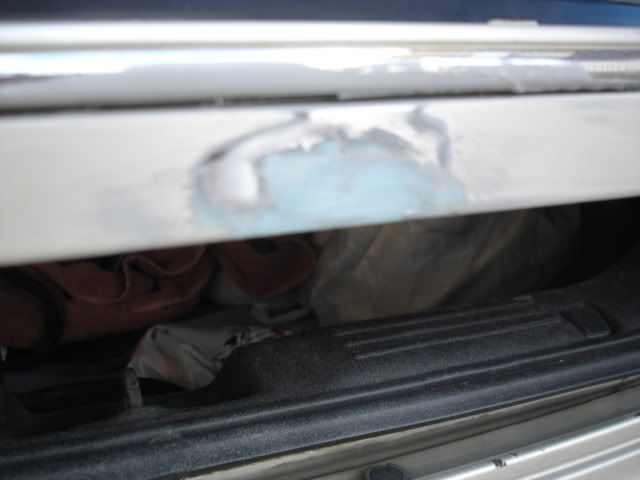
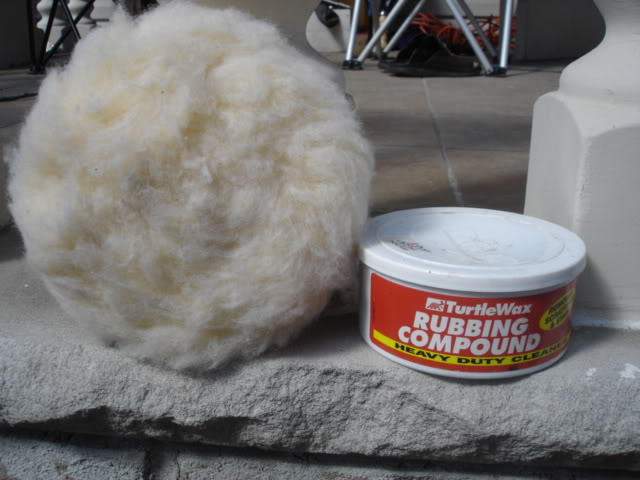
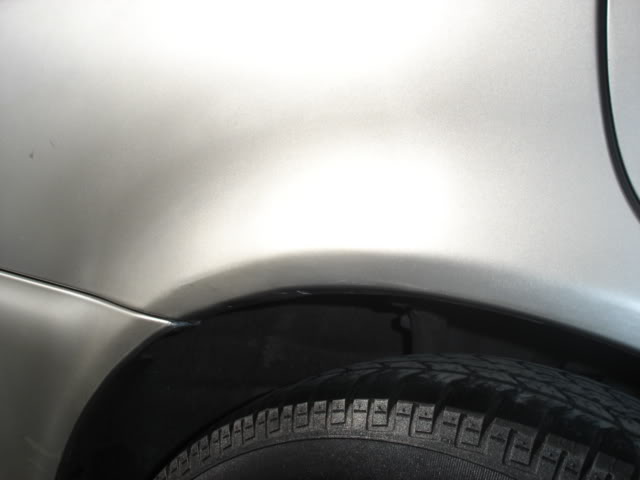
After the paint dried, I applied 4 or 5 coats of clear coat. Here comes the trick and my earlier mistake I made. Even though the color was matched to the vin, it will never be identical. After you remove the newspapers and the tape you will see the lines on where the tape was placed. In my case the color was a tiny bit darker. I used rubbing compound to rub away the rained lines.
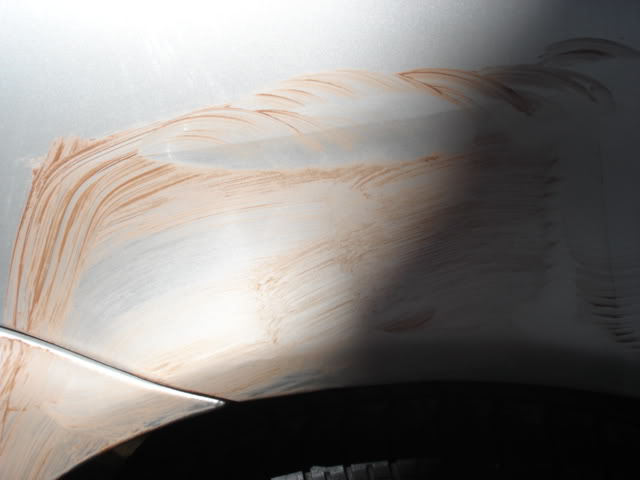
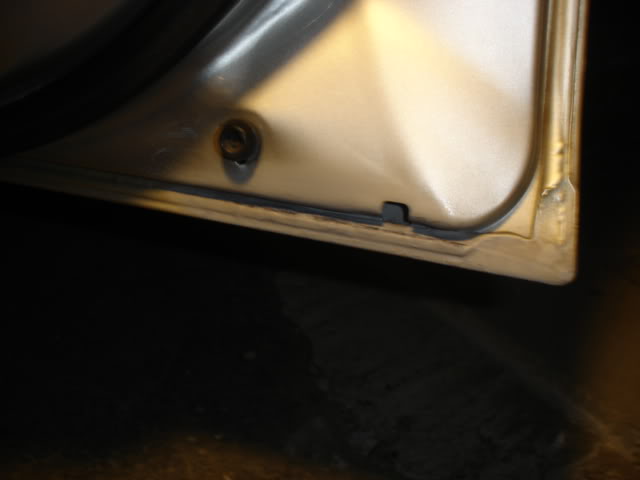
Line is visible in this pic.
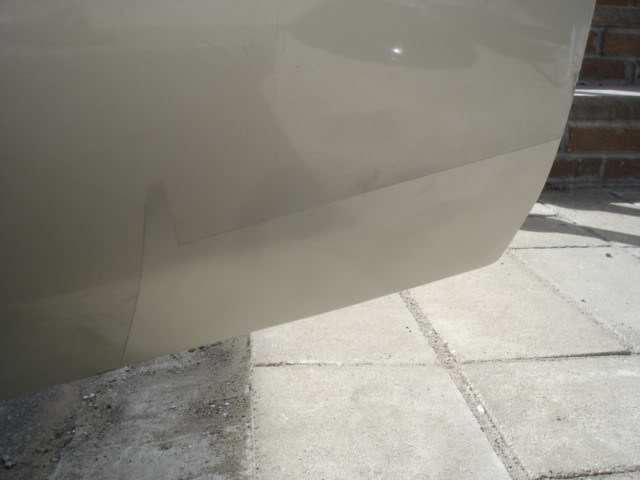
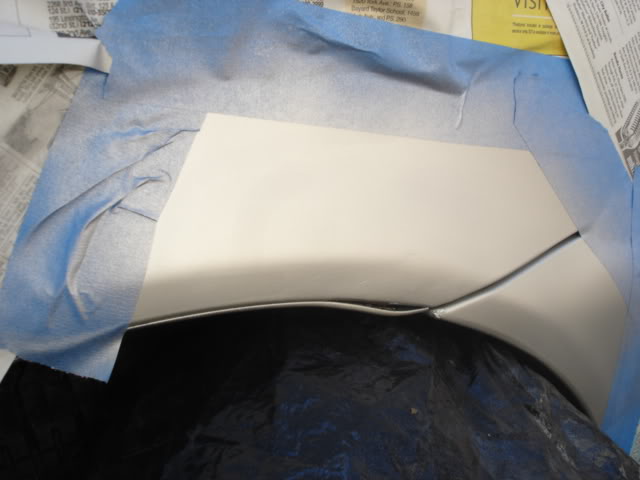
After rubbing away lines, I gently gave it light coat around the already painted area to create a mist affect so paint difference would be less visible. My mistake earlier was that I left myself too big of an area to prime and paint that when I needed to make the paints match it was harder. It will also depends on where you are painting and what color.
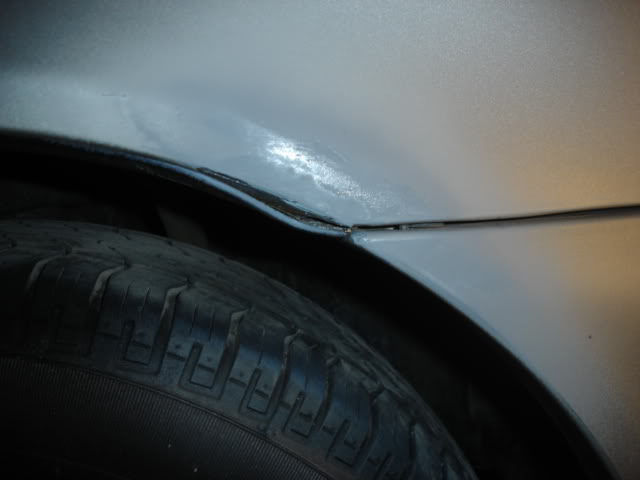
I applied a few more coats of clear coat.
In the end it came out better then I ever thought.

If I missed any small detail I apologize in advance.
Have fun.
I started by putting a wire brush blade on the grinder and grinding away all the rust.
I then proceeded with the rust treatment.
After 2 applications of the treatment the metal turns black. The treatment also serves as a good primer.
Allow 24 hours for proper drying.
The next day I started filling and sanding with 100 grid paper to desired shape.
Prepping for priming. Blue tape newspapers. Leave only small area uncovered. I didn't do that but will explain later why its best to do so. Do not prime what doesn't need priming. Shake the can well and spray 8-10 inches away. Don't make your coats heavy because you will be creating more work for yourself.
Wet sanded primer with 800 grid sand paper. You could primer again after but I chose not to.
When painting, make sure you wear latex gloves and a doc mask. Shake can very well to get an even color and spray 10 inches away. Thin coats. Repeat process until fully covered. In between coats, you can wet sand with 1000 grid sandpaper but its imperative that you do not do the final coat.
After the paint dried, I applied 4 or 5 coats of clear coat. Here comes the trick and my earlier mistake I made. Even though the color was matched to the vin, it will never be identical. After you remove the newspapers and the tape you will see the lines on where the tape was placed. In my case the color was a tiny bit darker. I used rubbing compound to rub away the rained lines.
Line is visible in this pic.
After rubbing away lines, I gently gave it light coat around the already painted area to create a mist affect so paint difference would be less visible. My mistake earlier was that I left myself too big of an area to prime and paint that when I needed to make the paints match it was harder. It will also depends on where you are painting and what color.
I applied a few more coats of clear coat.
In the end it came out better then I ever thought.
If I missed any small detail I apologize in advance.
Have fun.


Trending Topics

 ...i dont even wanna know what mine looks like
Pro
Joined: Jul 2003
Posts: 732
Likes: 0
From: Shediac, N.B. Canada
Originally Posted by $peed])emon
good....
i did something like that but the rust just came back....kinda annoying...
i did something like that but the rust just came back....kinda annoying...


Advanced
Joined: Sep 2004
Posts: 60
Likes: 0
From: burbs of chicago
First off, it looks like you did a decent job with the finish work. Nice job.
Its your method of rust repair that I take issue with. This is the wrong way to do rust repair. This type of repair is temporary, and will lead to more rust in the future. Its never okay to fill holes with bondo, filler whatever. Its not designed to do what it was used for. Even if you did totally eliminate the rust and stop it in its tracks, it would be back. Reason is filler absorbs water from the air, and the back side of the repair deteriorates. Viola, more rust.
Also, if you DO decide to tackle this yourself don't be afraid to cut out all the rusty metal. Get a grinder with a cutoff wheel, whatever. Just get it cut out completely.
You can get another piece of sheet metal and get it shaped by bending to roughly the contour of the old part. If you cannot weld, have someone do it for you. It won't cost an arm and a leg if you do all the finish work.
Make sure the metal is seam welded, not just tacked every 1" or so. If its tacked, the filler will crack again.
This basically leaves all the steps seen above. This is the correct way to fix rust. It will give a long lasting repair.
Problem with covering up rust, it comes back, and usually worse.
SupraMan, I am not posting this to rain on your parade. Please don't take offense. It just concerned me that so many people were considering doing this.
I got dicked over by a bodyshop years ago, and have learned to do almost everything myself so it won't happen again. The did a repair like shown in the photos and it came back with a vengance after a year or two
Evan
Biggest tip for anyone who is serious about their car, learn to weld. Its the most useful car related skill I have.
1st Gear
Joined: Oct 2007
Posts: 1
Likes: 0
In addition to what 240z4u said, I can tell you from experince that rust is car cancer. The only way to really get rid of it is to cut it out.
Even after you have, unless you treat the metal, repainted the car(not just primer) and make sure it's really well sealed, It will come back.
There are a lot of people who will take their car down to metal, and then spray it with some primer and leave it that way. That's a BAD idea. Primer acts like a sponge, it soaks up water and bring that moisture back down to the metal. Priming isnt a bad thing, but leaving it that way is. After you prime the car, paint it, dont just leave it.
What your problem is?
Joined: Feb 2004
Posts: 4,811
Likes: 5
From: Houston, TX
First off, it looks like you did a decent job with the finish work. Nice job.
Its your method of rust repair that I take issue with. This is the wrong way to do rust repair. This type of repair is temporary, and will lead to more rust in the future. Its never okay to fill holes with bondo, filler whatever. Its not designed to do what it was used for. Even if you did totally eliminate the rust and stop it in its tracks, it would be back. Reason is filler absorbs water from the air, and the back side of the repair deteriorates. Viola, more rust.
Also, if you DO decide to tackle this yourself don't be afraid to cut out all the rusty metal. Get a grinder with a cutoff wheel, whatever. Just get it cut out completely.
You can get another piece of sheet metal and get it shaped by bending to roughly the contour of the old part. If you cannot weld, have someone do it for you. It won't cost an arm and a leg if you do all the finish work.
Make sure the metal is seam welded, not just tacked every 1" or so. If its tacked, the filler will crack again.
This basically leaves all the steps seen above. This is the correct way to fix rust. It will give a long lasting repair.
Problem with covering up rust, it comes back, and usually worse.
SupraMan, I am not posting this to rain on your parade. Please don't take offense. It just concerned me that so many people were considering doing this.
I got dicked over by a bodyshop years ago, and have learned to do almost everything myself so it won't happen again. The did a repair like shown in the photos and it came back with a vengance after a year or two
Evan
Biggest tip for anyone who is serious about their car, learn to weld. Its the most useful car related skill I have.
Its your method of rust repair that I take issue with. This is the wrong way to do rust repair. This type of repair is temporary, and will lead to more rust in the future. Its never okay to fill holes with bondo, filler whatever. Its not designed to do what it was used for. Even if you did totally eliminate the rust and stop it in its tracks, it would be back. Reason is filler absorbs water from the air, and the back side of the repair deteriorates. Viola, more rust.
Also, if you DO decide to tackle this yourself don't be afraid to cut out all the rusty metal. Get a grinder with a cutoff wheel, whatever. Just get it cut out completely.
You can get another piece of sheet metal and get it shaped by bending to roughly the contour of the old part. If you cannot weld, have someone do it for you. It won't cost an arm and a leg if you do all the finish work.
Make sure the metal is seam welded, not just tacked every 1" or so. If its tacked, the filler will crack again.
This basically leaves all the steps seen above. This is the correct way to fix rust. It will give a long lasting repair.
Problem with covering up rust, it comes back, and usually worse.
SupraMan, I am not posting this to rain on your parade. Please don't take offense. It just concerned me that so many people were considering doing this.
I got dicked over by a bodyshop years ago, and have learned to do almost everything myself so it won't happen again. The did a repair like shown in the photos and it came back with a vengance after a year or two
Evan
Biggest tip for anyone who is serious about their car, learn to weld. Its the most useful car related skill I have.
Advanced
Joined: Jun 2008
Posts: 98
Likes: 0
From: columbia, South Carolina
overall this isnt a bad DIY write up. Of course the fix is only temporary but spending a little over a hundred dollars beats at least prob a grand to fix it by a profesional.
There are a couple flaws in everybodys comments... cutting it out isnt always the best way to get rid of rust, sometimes having and area media blasted is a better alternative as long as the rust hasnt eaten any holes. I just dont recomend to newbs or amateurs alike to start cutting out panels and welding them back up on automotive sheetmetal. It takes lots of practice to weld sheetmetal without warping a large area around where your welding. Plus some of these problematic areas you wouldnt be able to just cut out like in the inner shell of the door.
To keep rust from coming back all rust needs to be removed from the metal or neutralized, the metal then needs to be sprayed with an etching primer folowed by a good 2 part eurethane primer. sealer then can be sprayed followed by color then clear.
Body filler(bondo is a name brand and a low grade) is sometimes needed to fill in small pitts or after a panel is welded in.. but should never be used to fill in holes except for a cheap DIY fix. yes primers are porous and have tiny holes in them that will allow moisture down in it
Last edited by s10httnswtchs; Feb 23, 2009 at 11:39 PM.


Thread
Thread Starter
Forum
Replies
Last Post
CL-S progression 01
Car Parts for Sale
65
Jan 26, 2016 04:15 PM
lanechanger
Member Cars for Sale
4
Oct 13, 2015 10:56 AM