When you click on links to various merchants on this site and make a purchase, this can result in this site earning a commission. Affiliate programs and affiliations include, but are not limited to, the eBay Partner Network.
F-004: SAVE MONEY! How to replace door latch actuator motors!!!!
After reading several threads and using some valuable information I decided to take a slightly different and a significantly economical approach to my actuator problem by changing the actuator motors instead of spending a fortune on each actuator. At the time I completed this task each motor cost only $7.50
To start with here are the links I looked at for the door trim removal, etc.:
IMPORTANT: If you look at the third thread above PLEASE PLEASE PLEASE do not try to pry that nylon bushing and the rod away from the door handle, it is both a pain in the butt and is hard to find that bushing right away. Instead, you can slide the actuator downward and the rod will slide off of the actuator. No worries, you will be able to slide it back on there.
To remove the three screws that attaches the actuator to the door by the door latch I strongly recommend using an impact driver, otherwise you will strip them. Here is what I used:
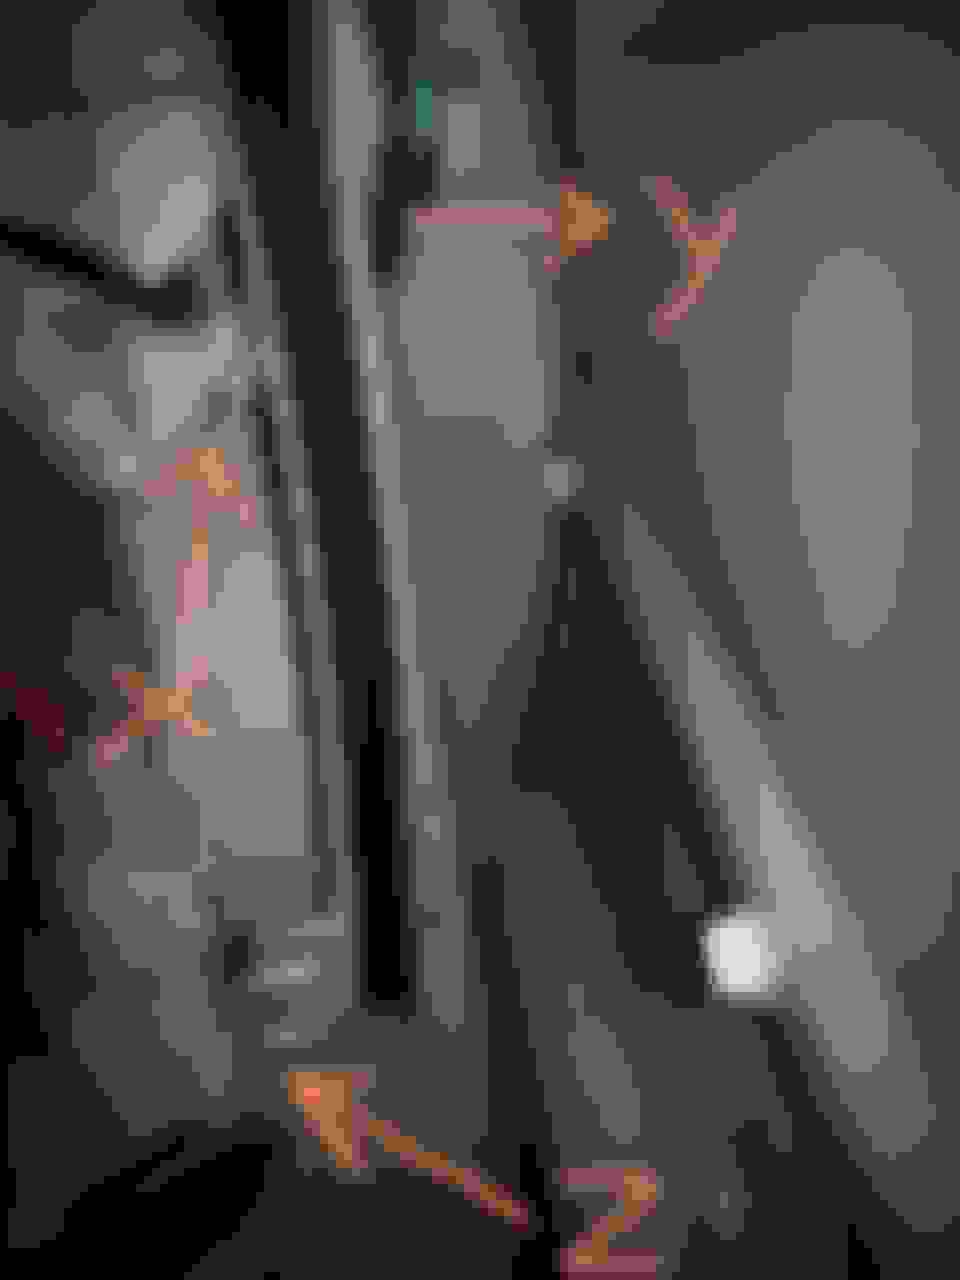
Before you remove all the screws to detach the actuator, and if working on the driver door, I recommend pulling the blue main control cable off first. (See the image below as well as the last image).
If you remove the bottom screw (Z) you can move the window rail out of your way. It won't get loose but you can stretch it w/o braking it to have some room if you don't want to remove it completely. To take the blue cable out, first pull the white wings/tabs (X), away from the actuator, then, pull the black neck (Y) away to snap it off.
Again, look at above image, you can slide the actuator downward and under the window rail and the rod will slide off of the actuator. Installation is in reverse order, no worries.
This is the driver side back door actuator showing the bottom of the actuator and the door handle rod that can be separated by pulling the actuator down.
First, remove those 5 screws.
Then, remove this screw hiding under the sticky pads.
Turn it over to remove the last screw in the back.
See above, this is the top part, I found it easier to start from this end. Open it slowly by prying them open one by one.
Hole A at the bottom should be pushed to the right by default, if not carefully push it, then the black long cables at top left of the image for the lock unlock mechanism( A and B) should be pushed in to the right as shown so they mate easily when you are done to close it.
MOST IMPORTANT PART YOU NEED TO ORDER IS THE MOTOR: http://www.ebay.com/itm/111198111739?_trksid=p2060353.m2749.l2649&var=410670129581&ssPageName=STRK%3AMEBIDX%3AIT , there are options so you need to choose: Flat Shaft - 20mm Long Length
Mabuchi is the original brand but not offered anywhere I looked so this one is Nichibo brand, which is an exact fit, and it seems like the same quality for $7.50
With a help of the small screwdriver carefully pry those metal connectors upward to detach from the motor.
I think the lack of white grease on the cogwheel contributed greatly to the failure of the motor due to added burden on the motor. Notice the flat shafts on the motors, align them before sliding the white piece back on the new motor shaft.
I was generous using white grease on moving parts that might feel little too much for some of you. I just didn't want it to go dry again since I don't know when I am going to open it back up again, hopefully not soon!!!
Arrow A: This is the latch part that door handle rod slides off of to get it out, so the rod needs to slide back through this hole, but before you install it back make sure that white plastic ring is still on it although it is not a crucial part, it helps eliminate friction when you pull the door handle.<br/>
Arrow B: this is the only difference between the driver's door actuator and the other three as the driver's door controls the other doors as well. To take it out, first pull the white wings/tabs, in my right hand, away from the actuator, then, pull the black neck away to snap it off. Before you try to plug it back in there, make sure the metal flat head on the right is aligned with the orange piece in the hole inside the actuator on the left.
IMPORTANT Before you install the actuator back in the door you should attach the power cables on it to see if it works the way it should. Even before that, you should check it manually by locking the latch mechanism (see image below) by pushing it to the "close position" and to the "locked position" using a screwdriver than trying to unlock it by pulling on to the latch release cable (try them, one is lock/unlock and the other one is the spring action (latch release) cable).
First push closes and the second push locks the door. Pulling the latch release cable should unlock it all the way every time you try it.
Hope it helps, let me know if you have any questions!
!!!I forgot to mention that my RL is 2008 model, and again the actuator motor shaft has the Flat Shaft - 20mm Long Length. If you open up your lock assembly and find out something different please let us know the specifics that people with the same model RL can order the right motor type. Thanks
Thanks for the great DIY and all the pics. I did this over the weekend on both back doors and front passenger door. 2009 RL has the same 20mm flat shaft motors. I ordered them off EBay directly from the link that is posted above.
Dealer quoted me $400 per door and I ended up spending $20 on three motors and $3 on the grease at auto parts store.
Locks all work now and "dying cat" sound is completely gone. It took me 2 hours for the first (back) door but right at an hour for each of the next 2 doors. I would add that on the back doors, I had to take the bolt and spacer completely out of the window guide. I had to replace this bolt and spacer by feel (can't see it to line it up) but not too complicated. Front door was much easier, more space to work, I only loosened this window guide bolt.
I have one issue that maybe someone can't help me resolve. Front passenger door handle will not unlock the door by grabbing the inside of the handle. Also, the small led light in the handle no longer works. Ironically, I am able to lock the door by touching the dimple on the handle.
My instinct was that by the end of the project, I must of had too many Coronas and forgot to plug something back together. I removed the panel again and checked....looks like everything is plugged in. I only noticed this because when I lock all doors there is not beep notifying doors locked.
All the doors lock but no beep. I can, however, once again open all windows and sunroof from key fob. A much missed option this summer.
So, im hoping to tap into the vast wealth of knowledge on this forum once again. Any advice?
Again, thanks for the great write up. If anyone having the actuator issue, pull the trigger and do this project yourself.
The car will not beep unless all access points are secured. If the hood, trunk, or any door is not completely closed, a Honda will not beep (not all Hondas have the hood sensor). Double check everything is securely closed first. If that doesn't fix it, then one of your door switches that senses a closed door isn't functioning properly.
If you'll pardon a stupid question, what symptom is caused by faulty door latch actuator motors?
I'm familiar with (and my car has suffered from) the infamous moisture-sensitive door-lock sensor detailed in a recent thread (and lots of previous ones), but what's the result of this problem, and is it a common problem with our RLs?
From what I've read, the locks will start to sound like a dying cat and then stop locking all together. It's not so much common to the RL, but rather Hondas or all cars in general.
From what I've read, the locks will start to sound like a dying cat and then stop locking all together. It's not so much common to the RL, but rather Hondas or all cars in general.
Thanks 007. All points secured and no beep. Too hot to work in the garage but I will remove and dive back in once we get some relief from the humidity. I have clearly created this issue myself. Before removing everything to work on the actuator the led in the door handle worked. It no longer works and the handle will lock if I touch the dimple but won't unlock if I reach inside the handle. I can't recall more than one plug inside the door and I know for sure that I reconnected this plug. Everything went so smooth until this...
Kudos to the OP and others for the help on repairing my actuators! Thanks a bunch!!
09RL: I'm having a similar issue to you, I think, with my front passenger door.
What works: inside/outside handles open door. Electrical inside lock/unlock switch functions properly -- have tested dozens of times to make sure the big white gear in the actuator makes several complete rotations. Key fob will lock/unlock door. The outside dimple will lock all doors. Mechanical door lock switch moves freely/normally.
What doesn't work: Front passenger door handle will not unlock the door by grabbing the inside of the handle (? did it ever though ?). However, I have no blue light on the outside handle (haven't looked around for other "missing" lights on the door). I cannot unlock the car from the passenger side handle. I cannot set the alarm, even though all doors are locked/closed. Any advice? I'm assuming that I didn't get an electrical connection re-seated properly.
FWIW, I repaired both front door actuators. The driver's side door appears to fully functional though.
Thank youhagialper. Following your instructions enabled me to do this job much easier. And, the URL to the Ebay site to buy the replacement motor was especially helpful.
Having just completed the job on a 2005 Acura RL, here are a few tips that others may find helpful:
To remove the rod coming down from the door handle, first remove the three screws at the door edge, and the one Phillips screw holding the actuator on the inside. Then reach into the door cavity and grasp the metal hinge on the bottom of the actuator and pull it downward to disengage the rod.
To remove the cable at the bottom of the actuator, first remove the 10mm hex head screw securing the window bar near the bottom of door, push the bar back slightly and slide the lock mechanism toward the opening to be able to see better how to remove it. Then pull the white plastic tabs away to unsnap the cable..
After installing the replacement motor, before reconnecting the two halves of the actuator, push in fully on the two cable wires.
When reassembling, slide the actuator back under the window rod and slide the rod into the hinge's hole before connecting the four screws. After connecting the screws, reach in and plug the cable back into the actuator.
 06-13-2015, 10:45 PM


 If you look at the third thread above PLEASE PLEASE PLEASE do not try to pry that nylon bushing and the rod away from the door handle, it is both a pain in the butt and is hard to find that bushing right away. Instead, you can slide the actuator downward and the rod will slide off of the actuator. No worries, you will be able to slide it back on there.