Acura: How to Replace Starter
If you have lights and power to everything else, but your car just won't start, the issue is likely a bad starter. Here's how to replace it.
This article applies to the Acura TL, MDX, V6 RDX, and V6 TSX.
A big symptom indicating that things aren't well with your starter is when you have power everywhere else, but your car won't start and you might hear a slight clicking noise when you turn your key. If your lights dim but the engine does start, then it is likely that your battery is low on juice and needs to be charged or replaced. If your car won't start but your battery is good, give your stater a slight, but firm, whack with a hammer. If it starts up, then your starter is on the way out the door and you need to replace it ASAP because this hammer trick only has so many uses.
That trick may only work once, and you just used it. Starting after a whack is an indicator that the brushes are going back inside the starter. You can get a rebuilt starter relatively inexpensively, or get a new one, or rebuild yours. If you are going to do the work yourself, you'll save enough cash that you should consider just replacing yours with a new one. The cost savings over labor will pay for itself on a new one with a warranty. Replacing your starter is not a difficult job at all; you can get it done in less than an hour and be extremely happy with the job you did yourself, as well as the savings that came along with it.

Materials Needed
- Hydraulic floor jack
- Jack stands
- Ratchet and socket set with 12, 17 mm sockets
- 12 mm ratcheting wrench (optional and optimal)
- Long handled ratchet and / or breaker bar
- New starter
Step 1 – Pop hood, disconnect battery
When you lift the hood of your Acura, you'll see your battery cover on the right hand side. Unless, of course, you no longer have a cover for your battery. This cover just clips in place, so no tools are needed to pop it right off and set it aside. Use a small wrench or pliers to loosen the terminal posts on your battery and disconnect it. You'll want to disconnect both the positive and the negative terminals because you are taking it out.
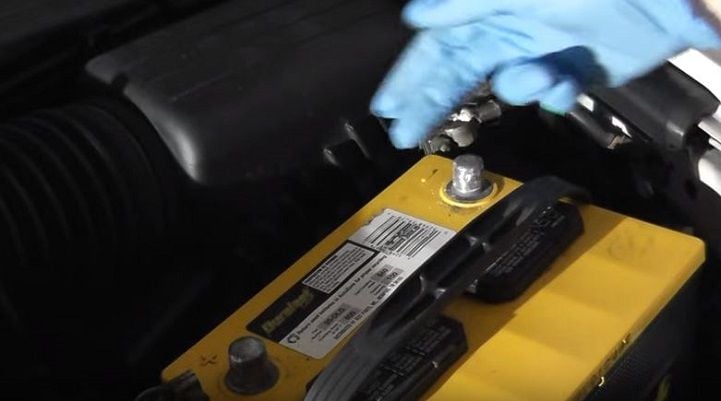
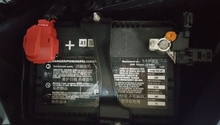
Step 2 – Remove battery and tray
With the terminals popped off, the battery can be lifted out. This will expose the tray that it sits on. Inspect the tray for rust and other weaknesses. You may want to consider replacing this tray if it's in really bad shape. There are four small bolts in each corner of this tray that need to be removed. This is actually the most difficult part of this entire job because what comes next is a bit of a pain. You will need to crawl under the front end of your car, and this likely means jacking it up. Use a hydraulic floor jack and place on jack stands in the appropriate and approved positions.
There is a skid cover under the front bumper that runs along the entire length of the front of the car. There are a couple of plastic rivets that need to be popped out. Try to carefully remove these so you can re-use them; otherwise, you may want to get a couple replacements to be safe. Once this cover is removed (you only need to take off the right hand side), you will have access to the lower bolt that needs to be removed. The last bolt will be accessed from above, but it is still below the level of the tray and the space is pretty tight.
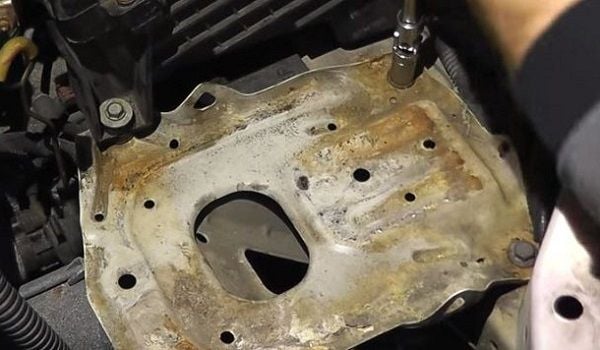
Figure 2. Remove the battery and the battery tray. 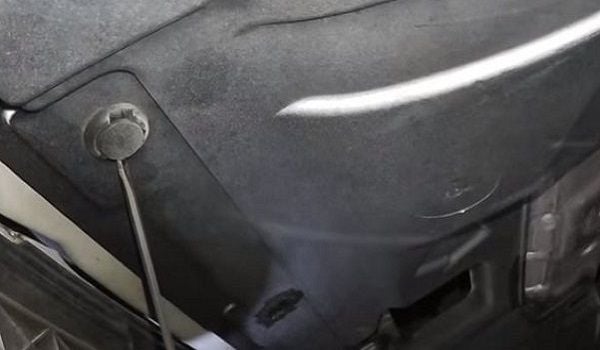
Figure 3. Remove the plastic rivets to get the skid plate or bra to come down on the right side under the battery tray. 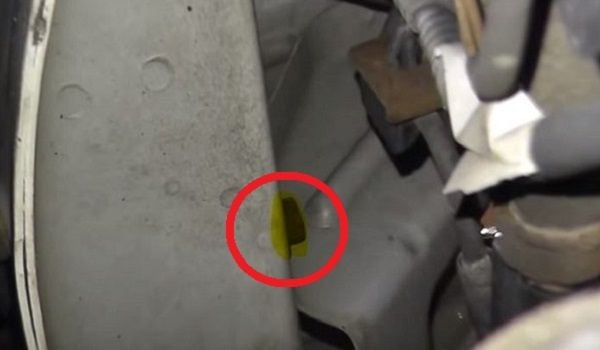
Figure 4. A ratcheting wrench is a great tool to use to get the underside bolt removed for the battery tray. 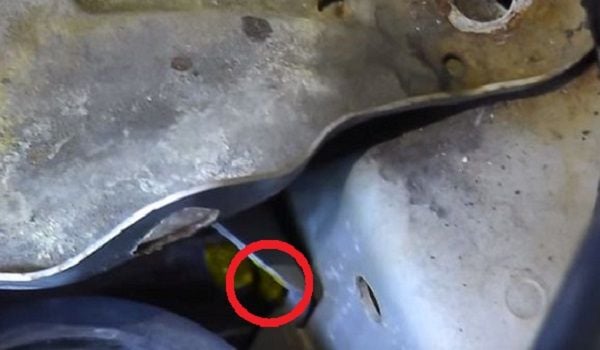
Figure 5. Last battery tray bolt that needs to be removed.
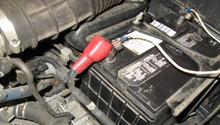
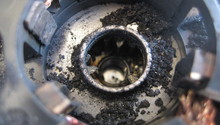
Step 3 – Remove battery terminals from starter
With the battery tray removed, you'll see the starter just below it and to the left. If you follow the positive battery terminal down, you will see that it terminates at the starter. There is a plastic harness that keeps the terminal cable safely tucked out of harm's way; that will pull straight off its post with no tools needed. There is a little tab that secures it to the post. You need to push up on the tab while pulling the clip straight out towards the grille of the car. When that is removed, pull up on the rubber boot to expose the 12mm bolt that mounts the positive terminal to the starter. An offset wrench works perfectly to remove this bolt. Set the positive terminal cable to the side.
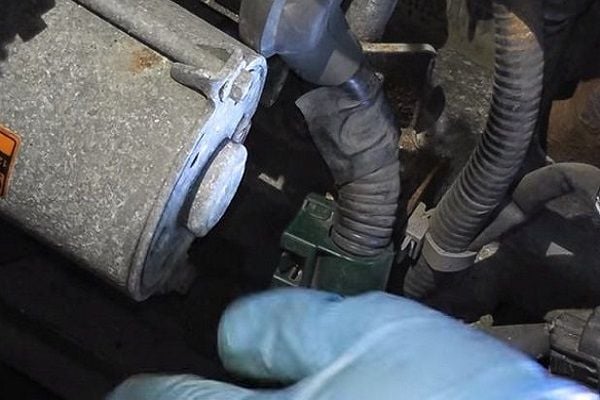
Figure 6. Push up on this little tab while pulling the clip straight out. 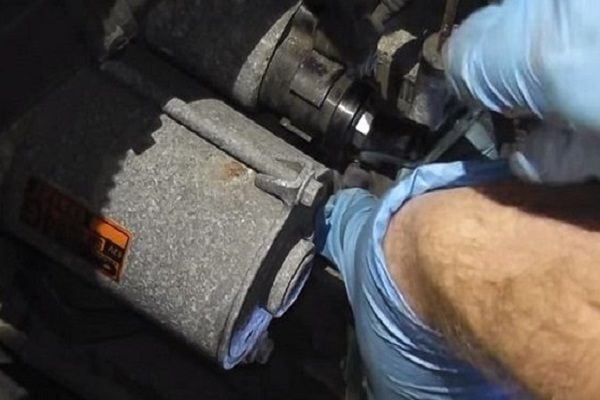
Figure 7. Lift up the rubber boot to get access to the 12mm bolt to remove the positive cable.
Step 4 – Remove starter
Removing the starter is pretty straightforward.
- There is a small plug-in connector just above and to the right of where the positive terminal mounts to the starter.
- Pull this plug straight off. No tools needed.
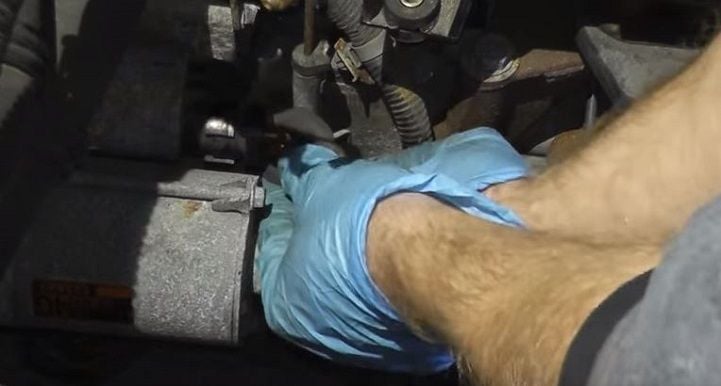
- There is an upper 17mm mounting bolt. It is partially blocked by the upper radiator hose. It is to the top right of the starter in the area where the positive terminal was mounted.
- A long 17mm box wrench behind the upper radiator hose can be used, or a long handled ratchet and a long extension can be used.
- There is also a lower 17mm mounting bolt on the bottom left of the starter that can be reached from under the car, or above with a really long handled ratchet or breaker bar. Remove this bolt; it is in there very tightly.
- Pull the starter straight out to the right.
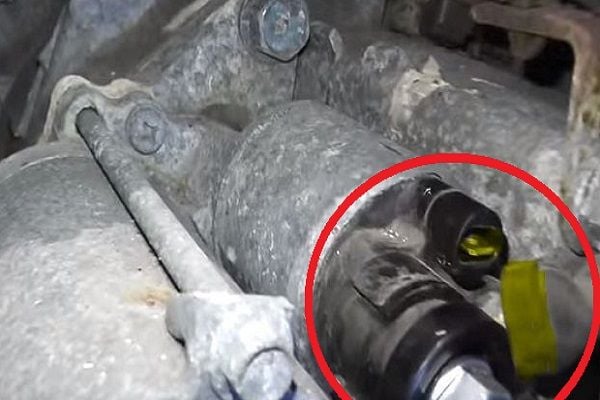
Figure 8. Pop this plug off its post. No tools needed. 
Figure 9. Use a long box wrench behind the upper radiator hose to get to this 17mm mounting bolt. 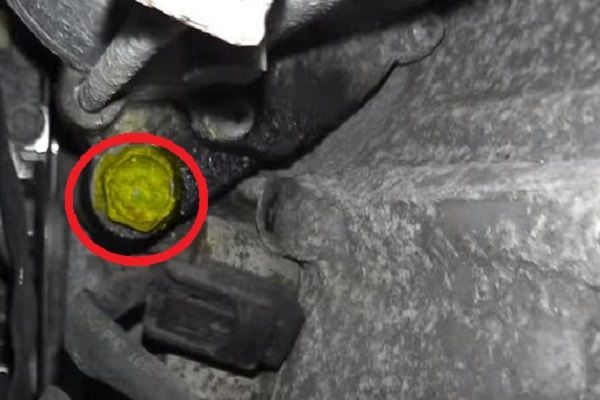
Figure 10. This lower 17mm mounting bolt is best had from under the car, unless you have a long handled breaker bar and can hit it from above.
Step 5 – Install replacement starter
Installation is very simple, as you will basically reverse your steps.
- Slide the new starter into position.
- Insert the bottom bolt, just get it started.
- Insert the upper bolt, just get it started.
- Hand tighten the lower, then the upper; make sure they are tight, but there is no torque spec needed.
- Replace the small plug.
- Replace the positive terminal and tighten the 12mm bolt.
- Replace the plastic connector onto the post.
- Replace the battery tray.
- Replace the skid skirt under the bumper.
- Reinstall the battery and both terminals, and replace the battery cover if you still have yours.
- Start her up and take her for a ride.
Featured Video: Acura TL Starter Replacement
Related Discussions
- 05' TL Won't Start, Anything Else Besides the Starter? - AcuraZine.com
- Starter Problem - AcuraZine.com
- 04' Manual/Starter Recommendations - AcuraZine.com
- Car Won't Start, Just Hear a Clicking Noise - AcuraZine.com
- Weird Starting Behavior - AcuraZine.com