LOG IN
REGISTER
Forums
AcuraZine
New Member Introductions
AcuraZine Member Help, Support & Suggestions Area
AcuraZine Articles
Black Market
Marketplace
Sponsored Sales & Group Buys
AcuraZine Model Community
1G ADX (2025-)
6G TLX (2021+)
5G TLX (2015-2020)
4G TL (2009-2014)
4G MDX (2022+)
3G TL (2004-2008)
3G RLX (2013+)
3G RDX (2019+)
3G MDX (2014-2020)
ILX
2G TSX (2009-2014)
2G TL (1999-2003)
2G RL (2005-2012)
2G RDX (2013-2018)
2G NSX (2017+)
1/2G MDX (2001-2013)
2G CL (2001-2003)
ZDX
1G TSX (2004-2008)
1G TL (1996-1998)
1G RL (1996-2004)
1G RDX (2007-2012)
1G NSX (1990-2005)
1G MDX (2001-2006)
1G CL (1997-1999)
Integra
Special Interest
Car Talk
Automotive News
Motorsports News
Audio, Video, Electronics & Navigation
Wash & Wax
AcuraZine's Hall of Fame
AcuraZine's Car of the Month Showcase
Regional Forums
Regions
Marketplace
Vendor Directory
Become a Vendor
New Posts
Tools
Car Payment Calculator
Tire Rim Calculator
Vin Decoder
Recalls
Technical Service Bulletins (TSBs)
Members List
Live Feed
How-Tos
Gallery
View Dark Mode
Please register or login to enable Dark Mode.
Log In
Register
Threads
Google
Threads
Posts
Advanced
Dark Mode
Please register or login to enable Dark Mode.
Log In
Forgot your Password?
By logging into your account, you agree to our
Terms of Use
and
Privacy Policy
, and to the use of cookies as described therein.
or
Login with Google
Login with Facebook
Recent
Commented
Albums
My Pictures
Acura TL Builder's Photos
View Profile
Sort:
Most Recent
Most Recent
Most Comments
Albums
Photos
0
2019/05/19 20:19:25
Acura TL B
0
2019/05/19 20:19:17
Acura TL B
0
2019/05/19 20:19:07
Acura TL B
0
2019/05/19 17:31:07
Acura TL B
0
2019/05/16 18:14:17
Acura TL B
0
2019/05/16 11:46:25
Acura TL B
0
2019/05/16 11:46:19
Acura TL B
0
2019/03/18 11:39:37
Acura TL B
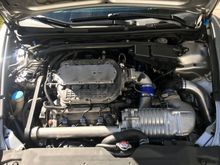
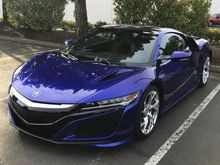
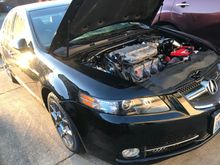
Drives better than ever.
0
2019/03/17 20:52:31
Acura TL B
0
2019/03/17 20:52:22
Acura TL B
0
2019/03/17 20:52:13
Acura TL B
0
2019/03/17 20:52:04
Acura TL B
0
2019/03/17 20:51:55
Acura TL B
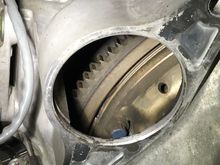
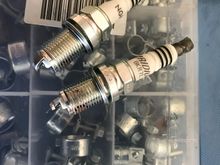
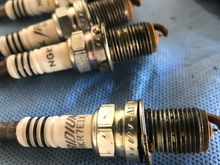
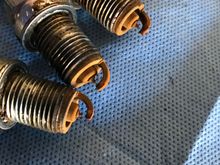
Fouled?
0
2019/03/17 20:51:47
Acura TL B
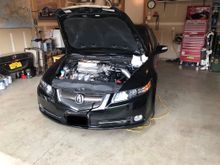
Remember when I just bought this?
0
2019/03/17 20:51:37
Acura TL B
0
2019/03/17 20:51:26
Acura TL B
0
2019/03/17 20:51:17
Acura TL B
0
2019/03/17 20:51:06
Acura TL B
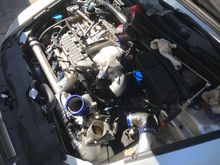
I drove to cars and coffee Saturday morning with fouled plugs.
0
2019/03/17 20:50:59
Acura TL B
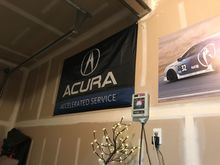
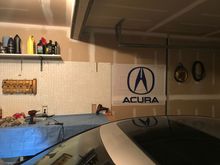
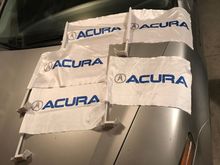
Acura flags
0
2019/03/09 17:36:32
Acura TL B
0
2019/03/09 17:36:24
Acura TL B
0
2019/03/09 17:36:16
Acura TL B
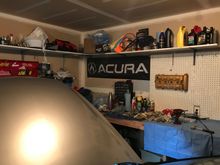
Doing spring cleaning
0
2019/03/09 17:36:07
Acura TL B
0
2019/03/09 15:26:13
Acura TL B
0
2019/03/09 15:26:06
Acura TL B
0
2019/03/09 15:25:59
Acura TL B
0
2019/03/09 15:25:50
Acura TL B
0
2019/03/09 15:25:41
Acura TL B
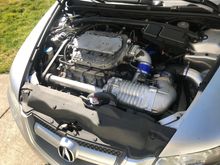
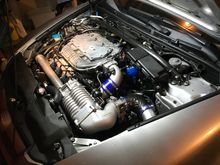
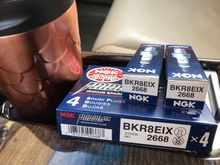
x6 2-step colder plugs gapped to .23 for the Rotrex TLS 6MT.
0
2019/03/09 13:35:27
Acura TL B
Going to rock these at events this summer.
0
2019/03/09 13:35:18
Acura TL B
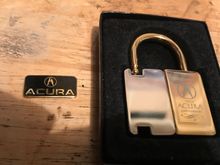
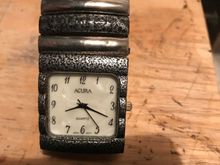
10 year employee gift and left side is an Acur golf ball marker.
0
2019/03/09 13:35:10
Acura TL B
Bought an Acura watch for my wife.
0
2019/03/09 13:35:01
Acura TL B
0
2019/03/09 13:34:54
Acura TL B
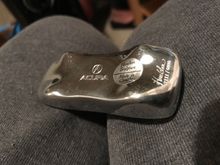
Limited edition Acura TL sculpture. #2111/6000
0
2019/03/09 13:34:45
Acura TL B
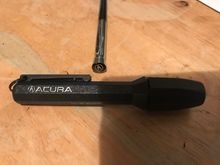
flashlight and pen.
0
2019/03/09 13:34:38
Acura TL B
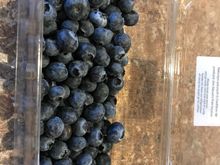
This is what my race fuel is made of.
0
2019/03/09 13:31:24
Acura TL B
Inspiration poster
0
2019/03/09 13:31:15
Acura TL B
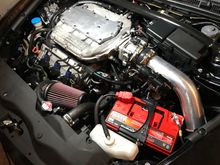
Installed oddessy military grade dry cell battery to match the red Type-S theme.
0
2019/03/09 13:31:07
Acura TL B
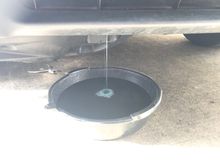
Changed that radiator fluid in the MDX.
0
2019/03/09 13:30:58
Acura TL B
0
2019/03/09 13:24:59
Acura TL B
First
Page
39 of 70
Last
Go To
Page
1
...
37
38
39
40
41
...
70
39 of 70
Go To
GO
Go to page
of 70
pages
1
...
37
38
39
40
41
...
70