
Wes_R x NSX (56 pics)
 03-12-2009, 07:28 PM
#1
Racer
Thread Starter

Wes_R x NSX (56 pics)
Here is a write up on one of my childhood fantasies, the Acura NSX.
Basically a polishing job with a little but not so little interior job (no shampooing of the carpet cause the owner wanted to do it himself).
Now excuse the weird picture gaps inbetween processes because me being a big excited idiot forgot to charge my camera battery so I was working off of 1 bar of life then doing a quick charge to take pics then back to charging. I know it's bad for the battery but it will never happen again I promise plus I believe I remember reading somewhere I can charge the battery anytime, but I rather not risk it anyway.
So here we go, not very educational but hopefully you can catch some tips, product reviews, or just enjoy the show. Also the owner had just recently purchased this NSX so some of the neglect you are about to see is not his fault.
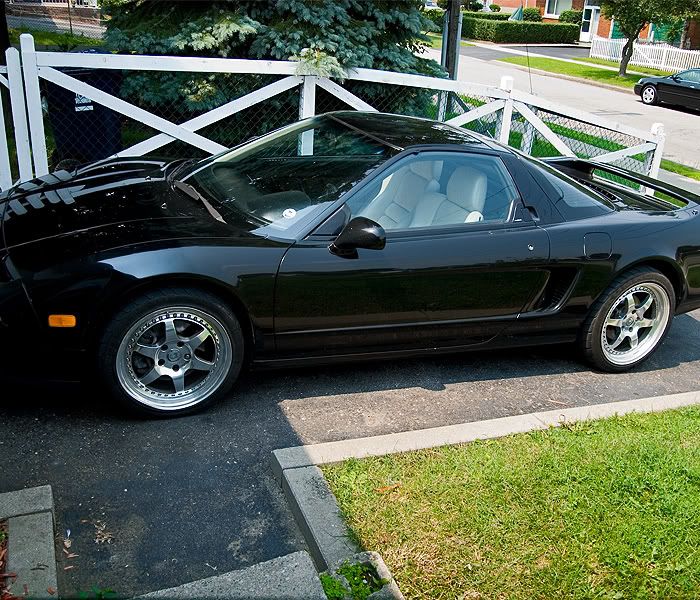
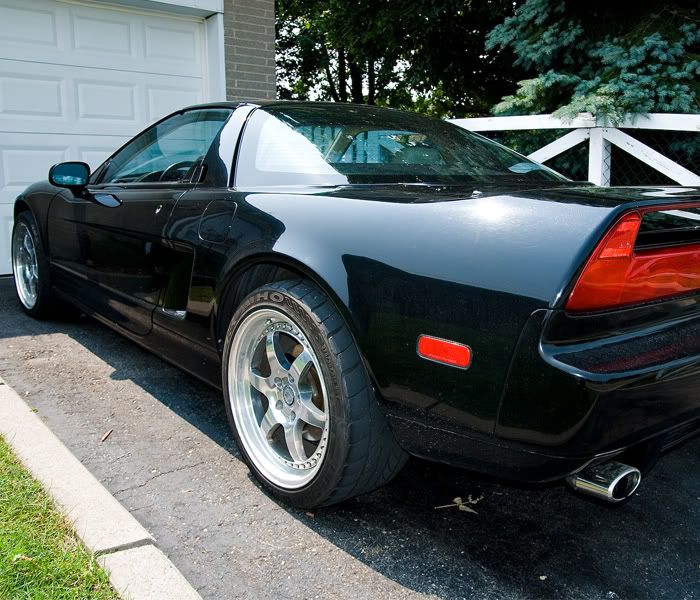
The Japanese Legend
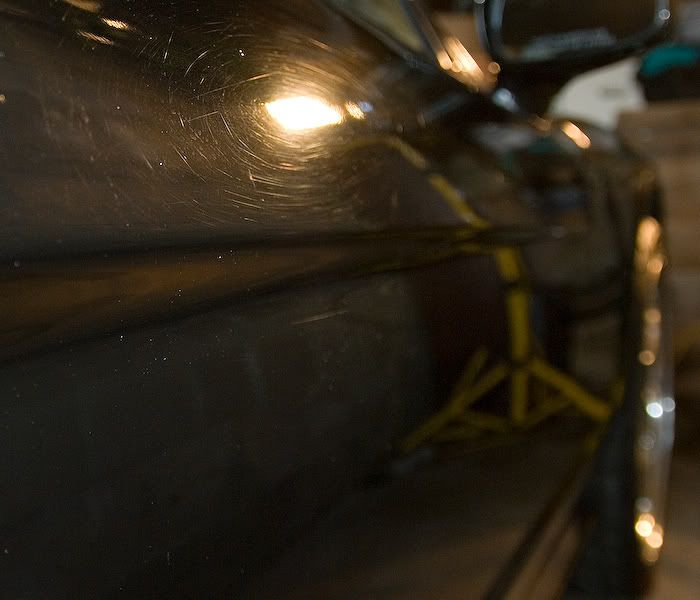
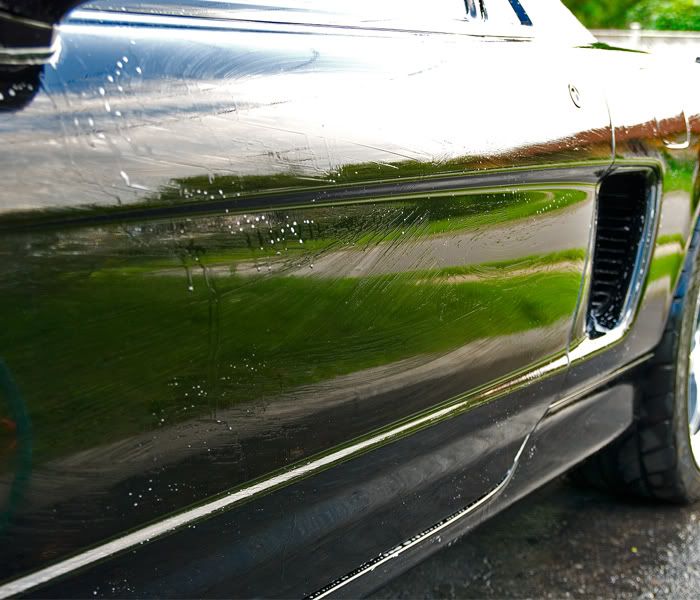
The swirls, spider webbing, etc
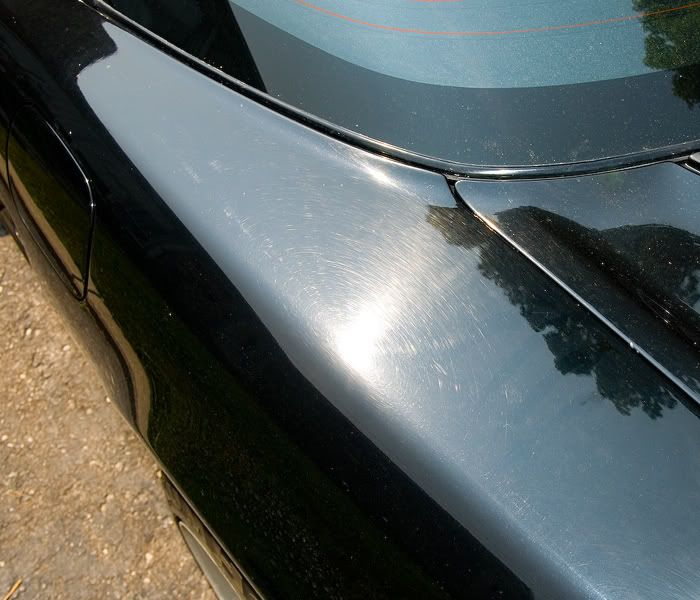
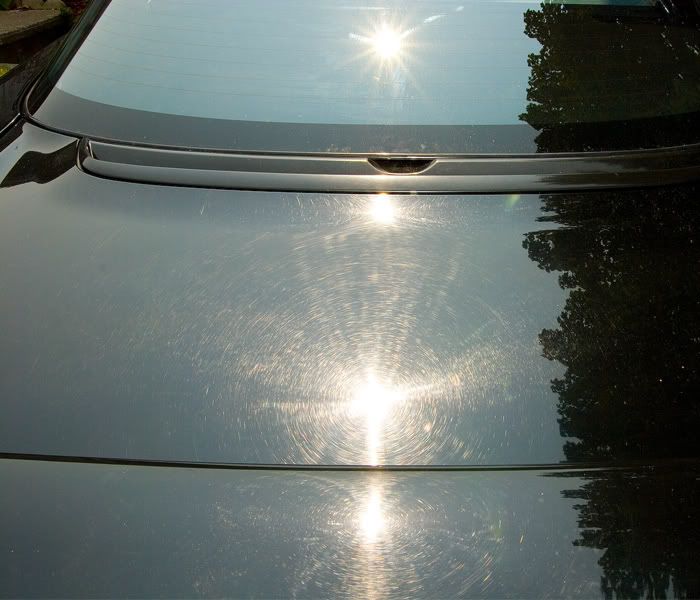
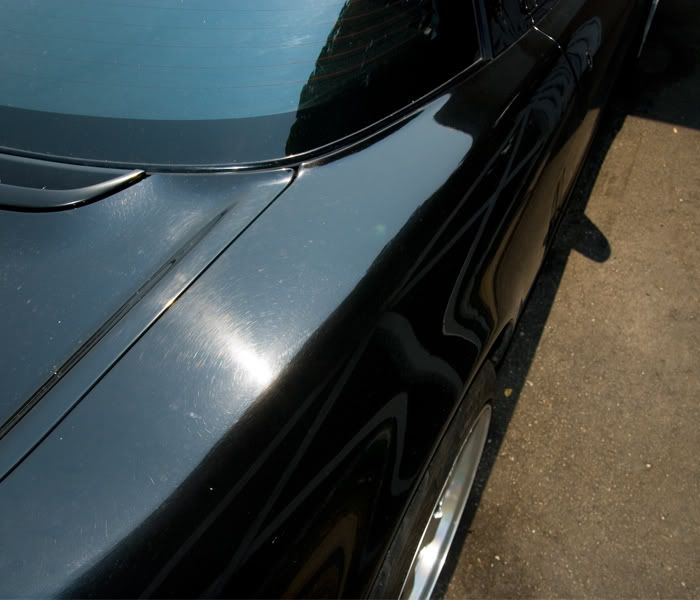
I honestly don't think it had ever been polished in it's life.
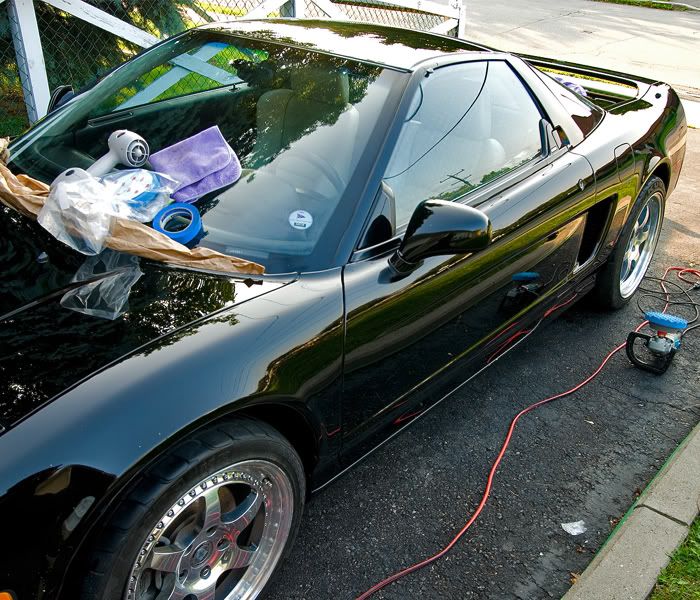
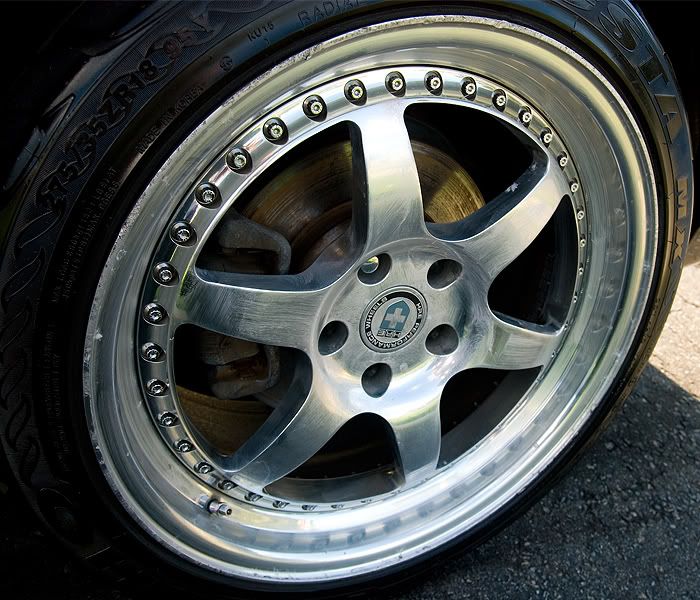
So now on to the routine starting with the wheels
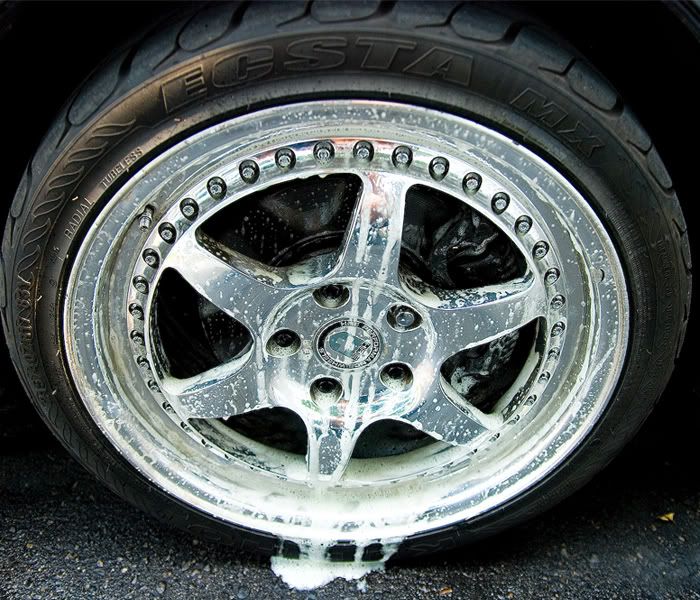
Soaking with p21s wheel gel cleaner
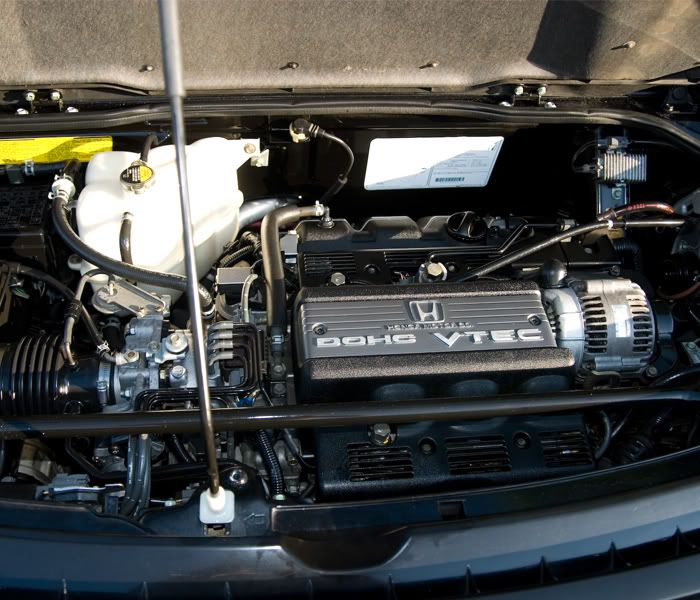
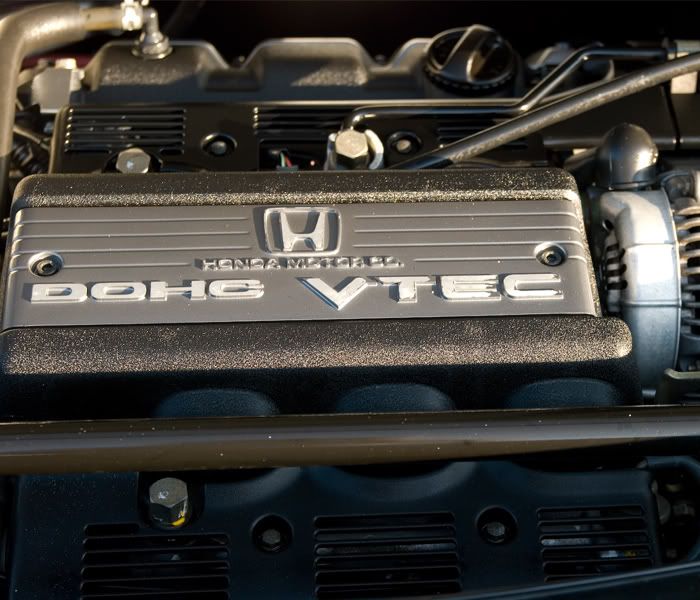
Then on to the engine with some basic before and afters
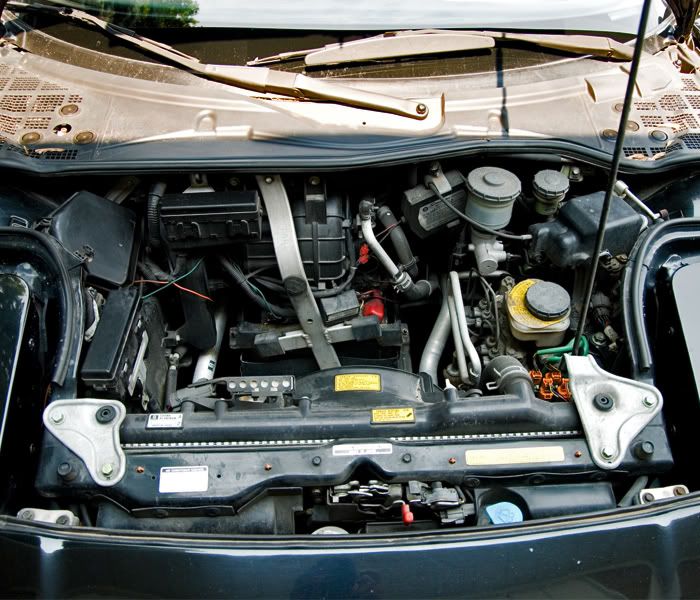
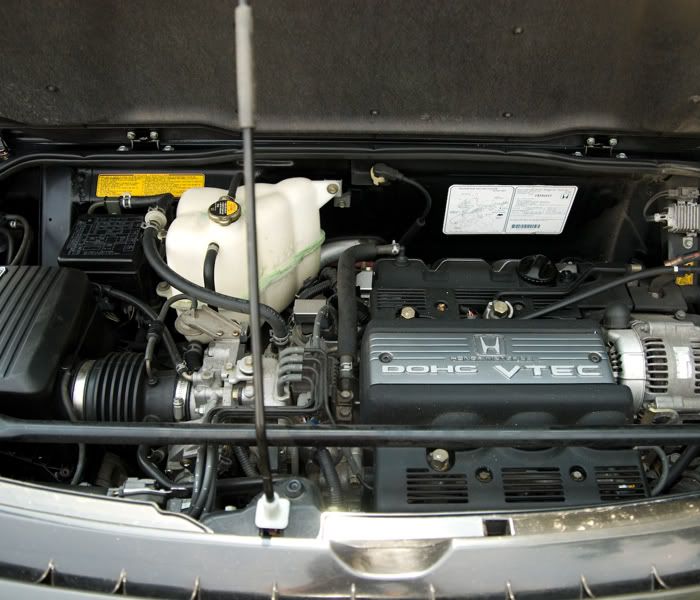
before
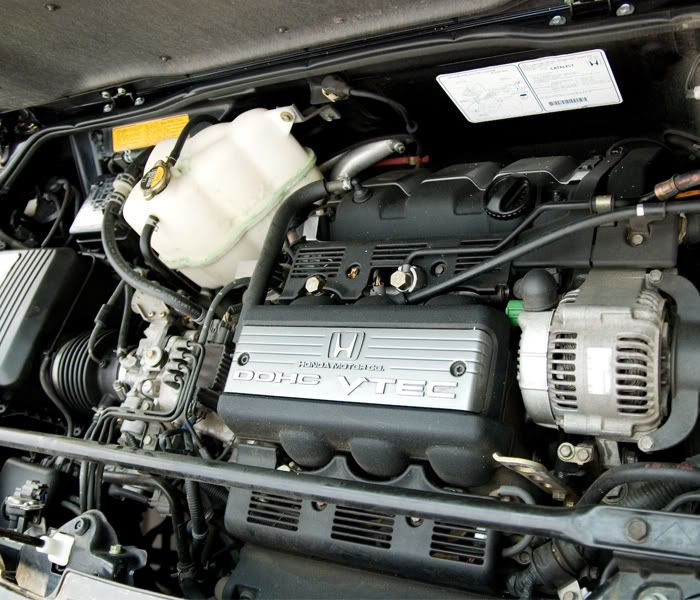
after
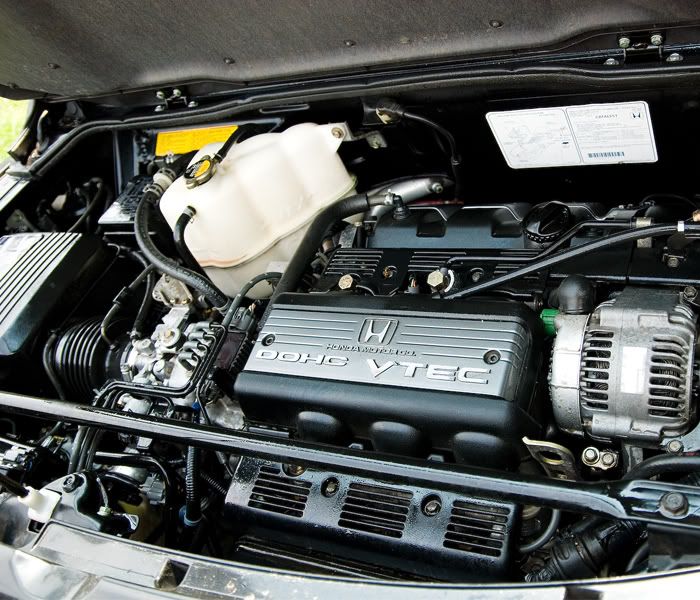
some more afters but taken at a later time
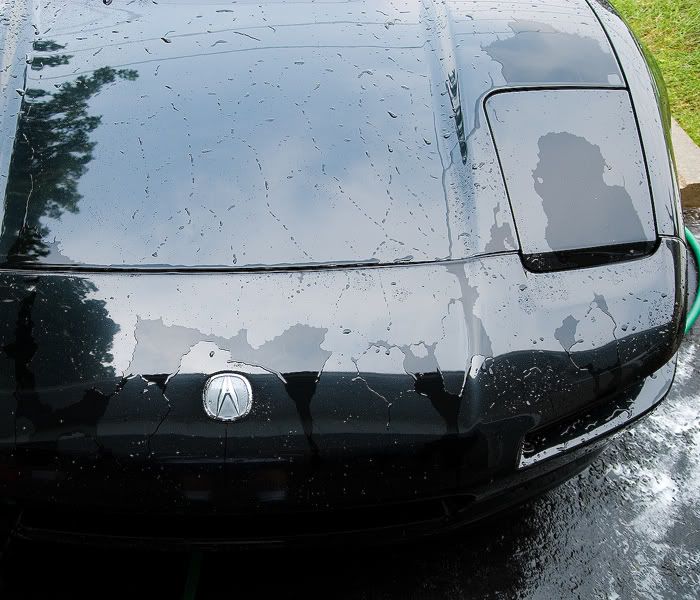
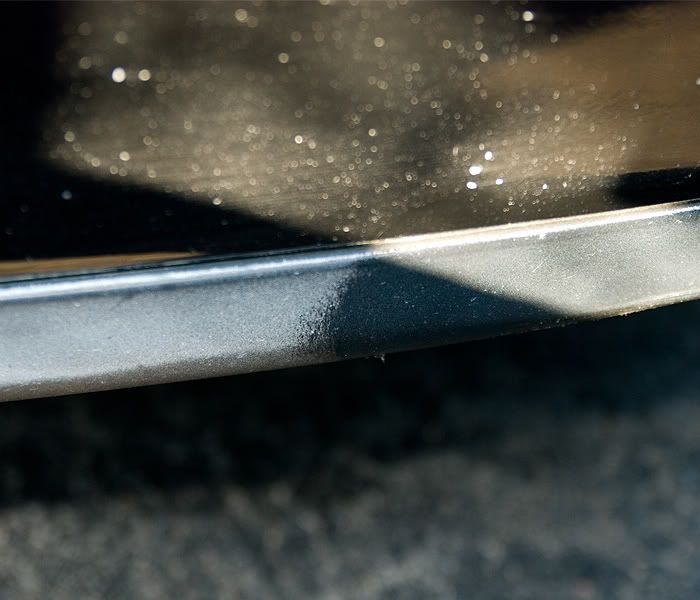
Onto the washing
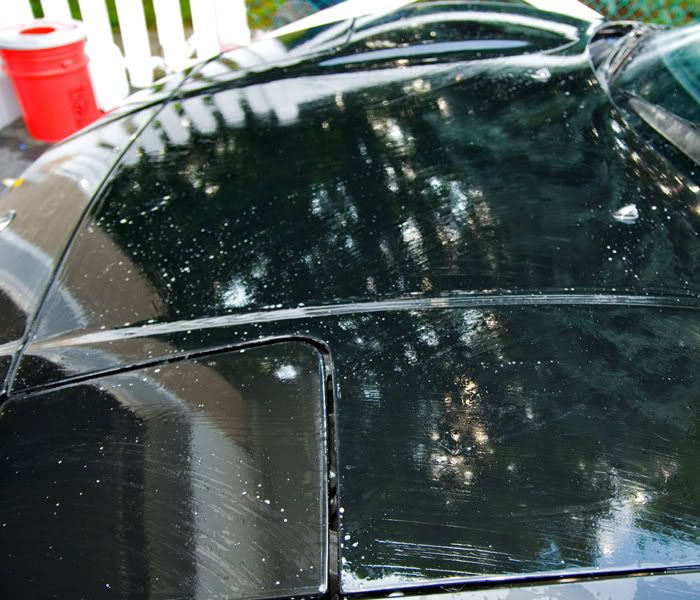
After rinsing the car down you could see in certain parts that the water was sheeting, which is a sign of no protection(wax, sealant).
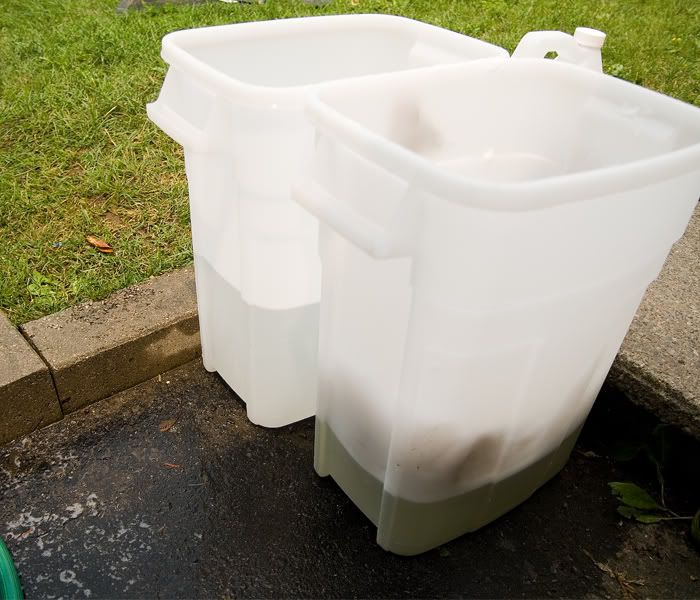
Two bucket method
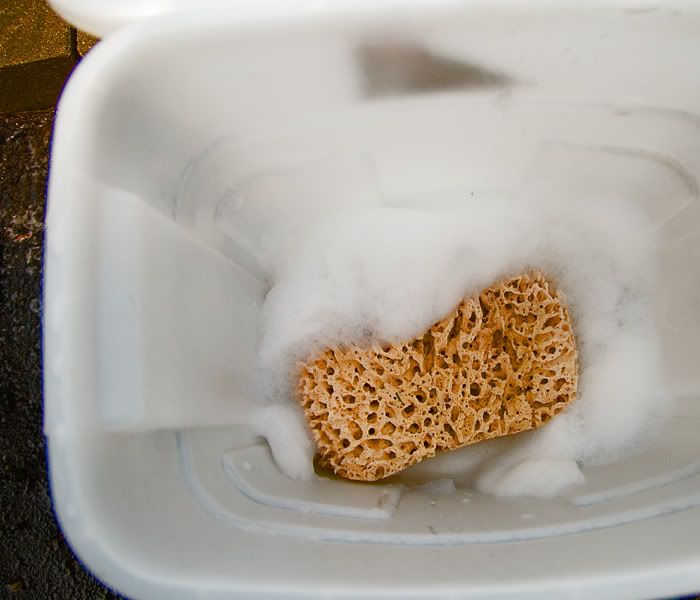
Sea Sponge trying it's best in this Scarface hot tub bubble bath impersonation
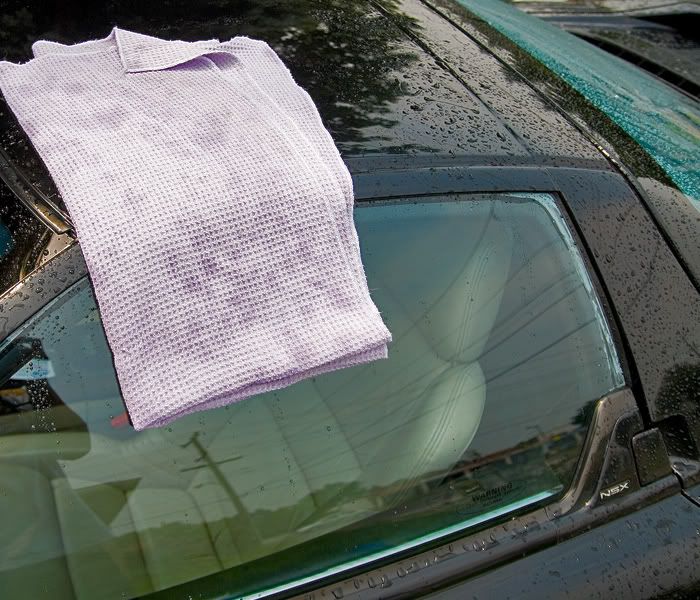
Dried off with the waffle weave towel which is way better then a chamois because of the speed, softness, etc
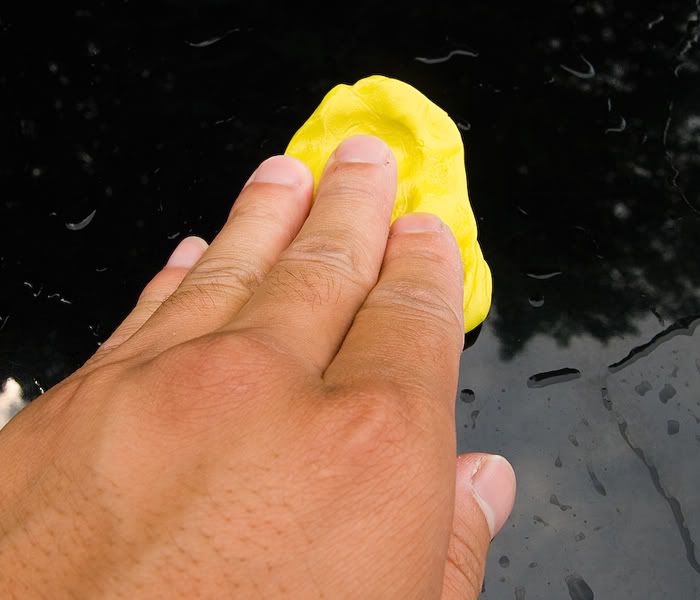
Started claying with Riccardo Clay and clay lube being Meguiars Last Touch cut 50/50 with water.
After just the roof

Rinsed off the car then dried it off again with the waffle weave towel
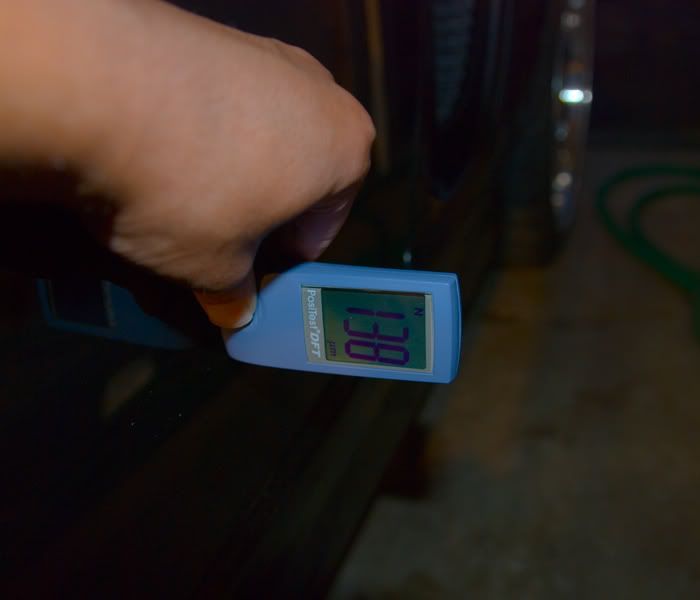
Measured the paint in microns to look for any low spots and if anything was repainted
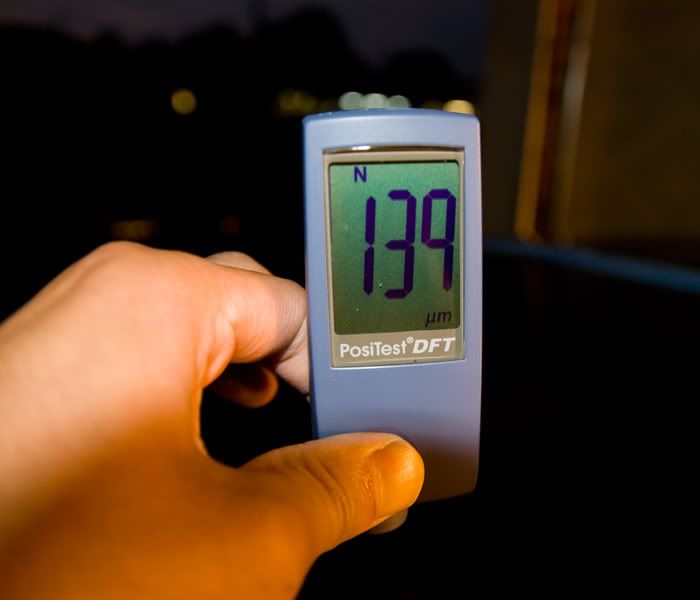
It turns out the two rear quarter panels were repainted(generally OEM is around 100-130 microns in my experience)
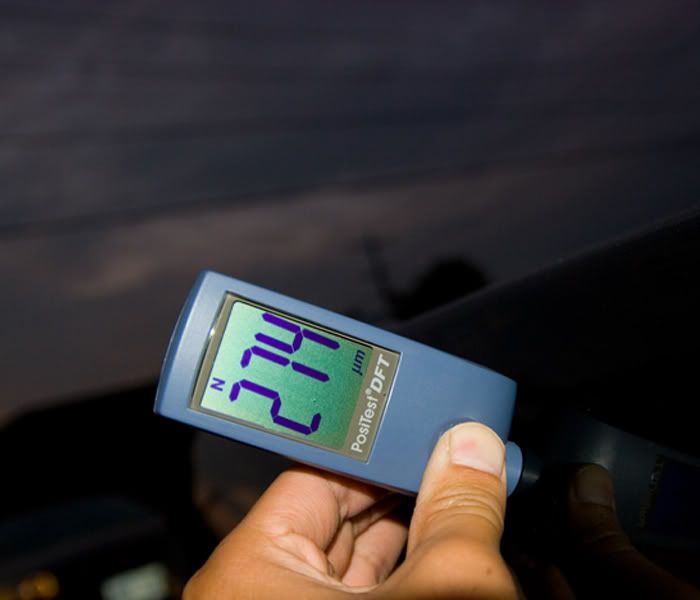
And I guess the trunk blended in

But the rest of the car was pretty much OEM
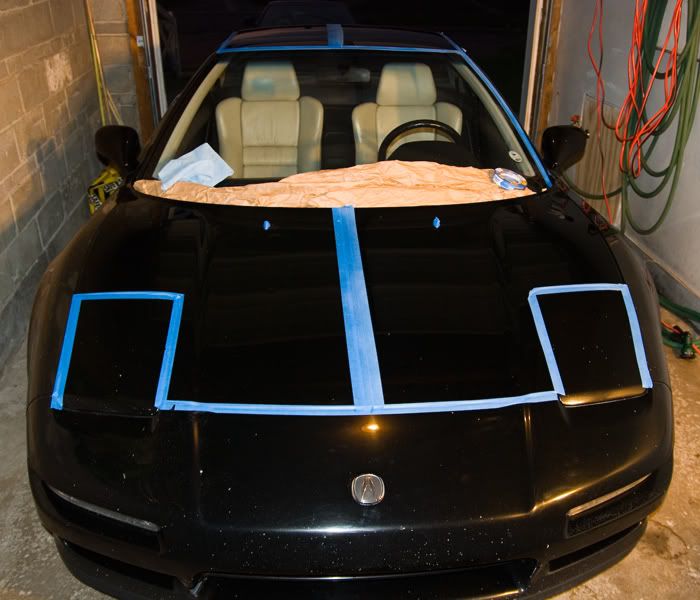
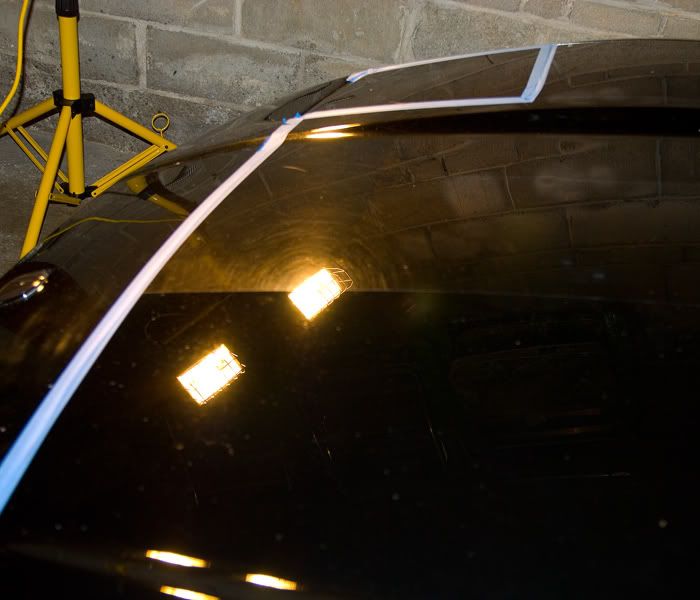
Masked up the car which is very important. I'm not finished in this pic though by the way
Started polishing with the rotary and Presta Chroma Polish, 5.5 inch Orange Lake Country pad, and the Makita.
Technique being the Zenith Point Technique.
Spreading at 900 RPM
Breaking down at 1200 RPM
And polishing until clear at 1500 RPM
Then back down the scale to 1200RPM
Then finishing at 1000 RPM
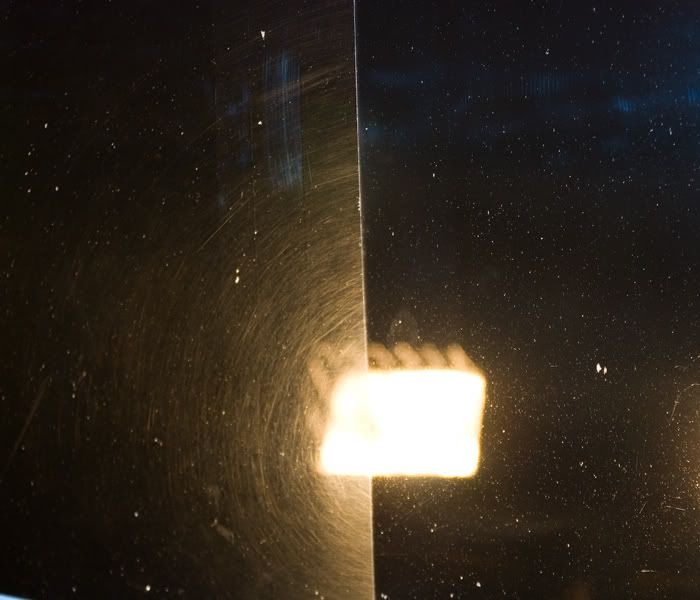
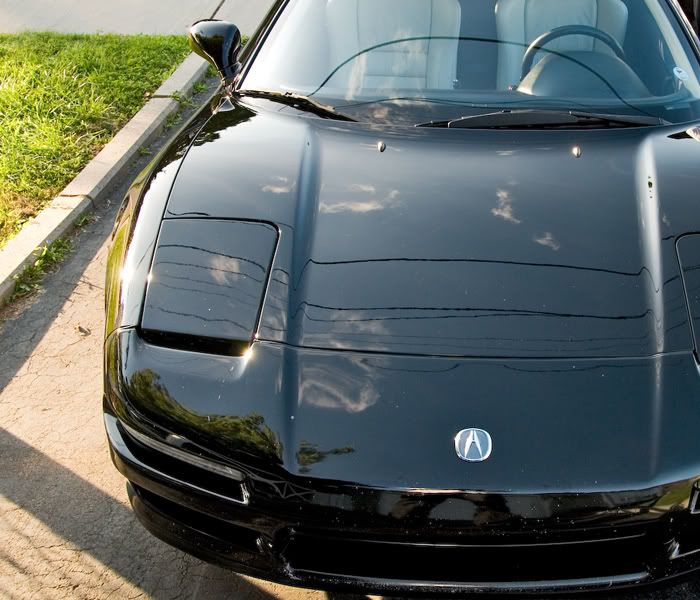
Here is the hood polished but the headlight not

A 50/50 shot
A bigger view
Drivers side finished
Passengers side to go
Just wanted to throw in this pic cause I though it looked cool. Notice how many orange pads I got out. I learned from Picus(great Toronto detailer some of you guys may know) that a brand new clean pads cuts better then just brushing it off, so I generally use at least a new pad per panel sometimes even two.
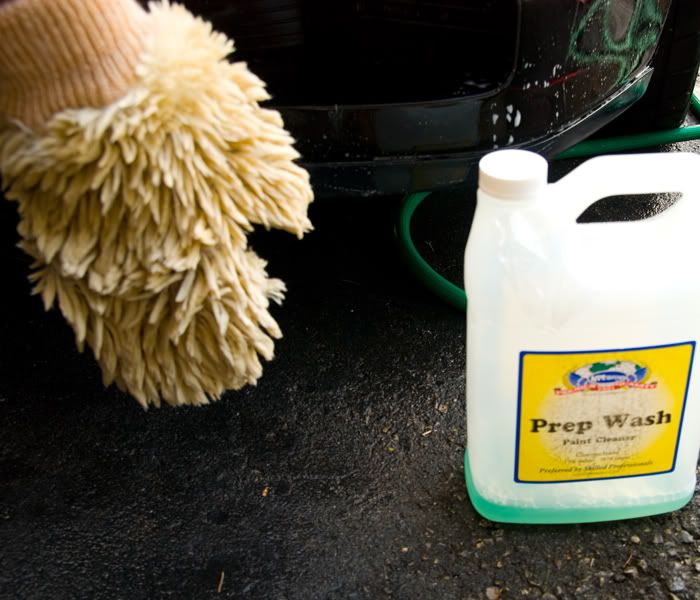
So anyways with the cutting stage done I washed off the car with Hi Temp Prep wash and a very soft Lambs Wool Mitt. The Prep Wash is great for eating up the polishing dust and oils and makes the caked up parts easier to remove. (Another tip from Picus)
Now rinsed that off and dried up. Started the refining/burnishing polish with a new product and pad to try out which was 3M Ultrafina and the 3M Blue Pad on the Rotary with the 3M Gray Foam Backing Plate which is a softer foam then the yellow which is great for finishing.
Personally I like the Ultrafina better then Menzerna P085RD because it is so much easier to wipe off and is great to work with on the Rotary. Some people have said that PO85RD leaves a better finish and I have both so I will do a comparison but the Ultrafina finish is AMAZING.
Poorboys Wheel Sealant on the rims, honestly I have been hearing about people just putting on Zaino Z2 on the rims so after I'm done with my PB I'm gonna give that a shot cause that sounds pretty cool.
I also did Black Wow on the rubber trims. Here is a 50/50
Put on Danase Wet Glaze with the Porter Cable and a Lake Country Black Pad.

Wiped that off and then put on some Swissvax Smargrd
Then onto the interior, honestly no pics at all pretty much, just wanted to get it done.
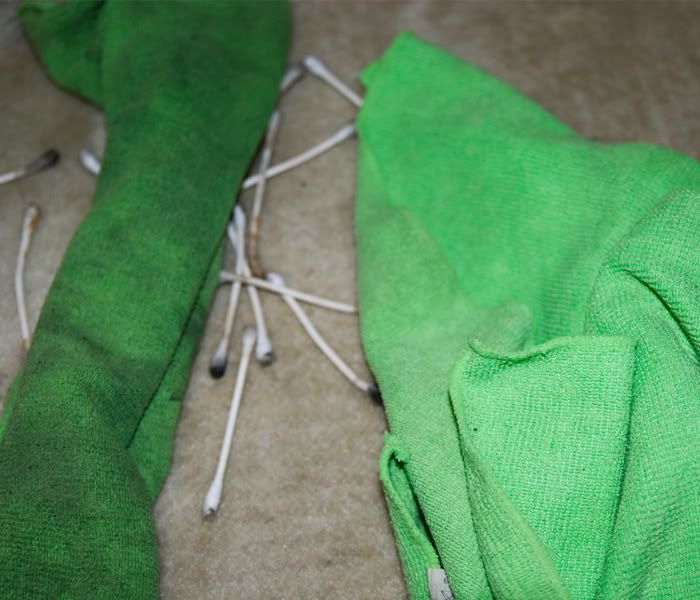
Basically what I did was a vacuum, q-tipped some tight spots, brushed some dust and tight spots, all purpose cleaner wipe down, Gliptone Leather Clean and Condition, 303 Aerospace Dressing and dry wipe down, Stoners Invisible Glass cleaned the windows.
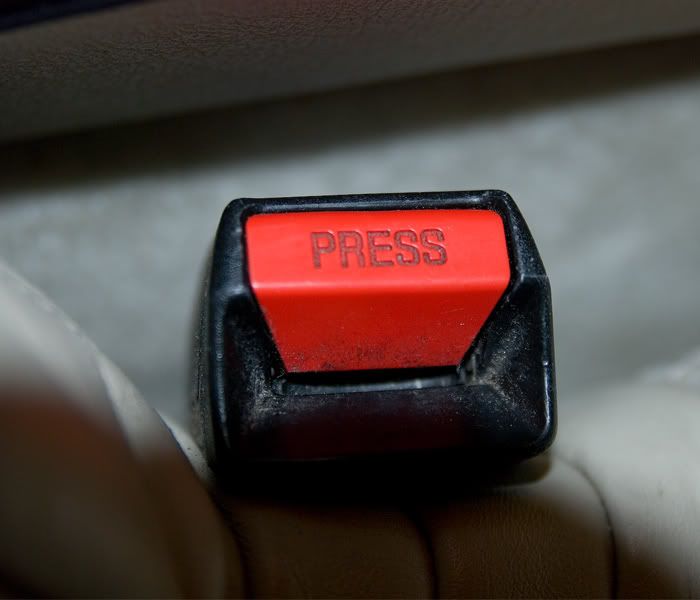
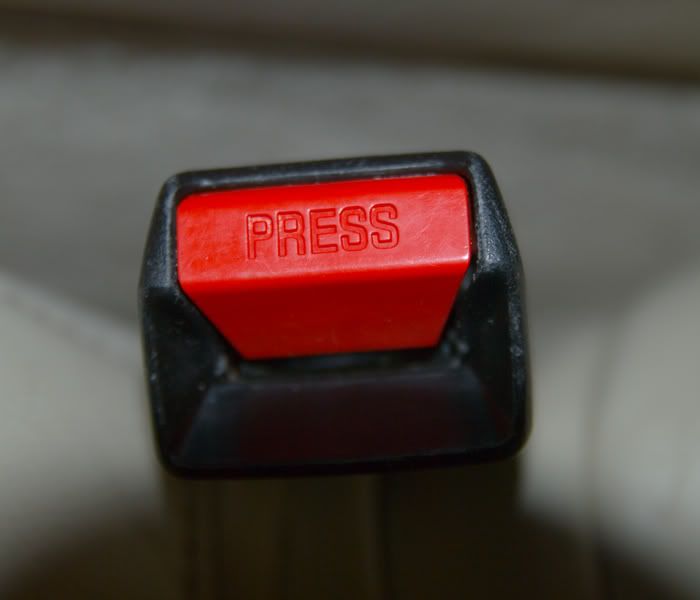
Here is a cool before and after pic of the seat belt button.
Before
After
The aftermath
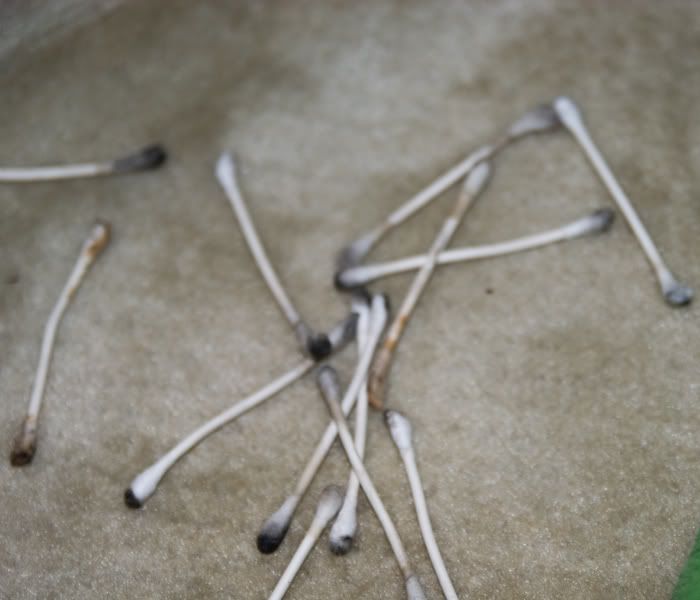
The used microfibre on the left after wiping off the seats with all purpose cleaner and a unused microfibre on the right.
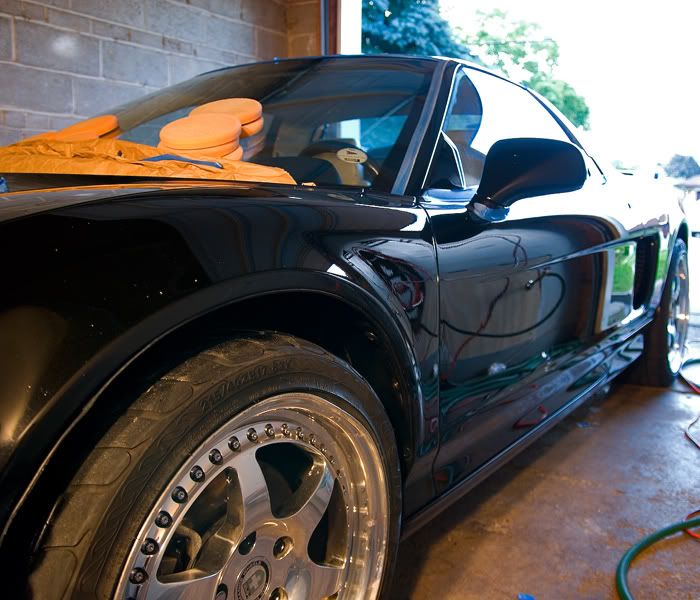
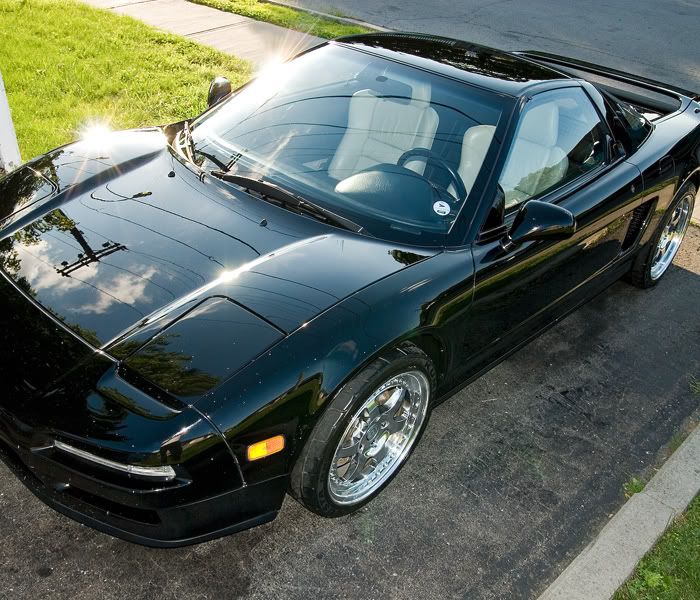
Anyways wiped off the wax and now onto the eye candy.
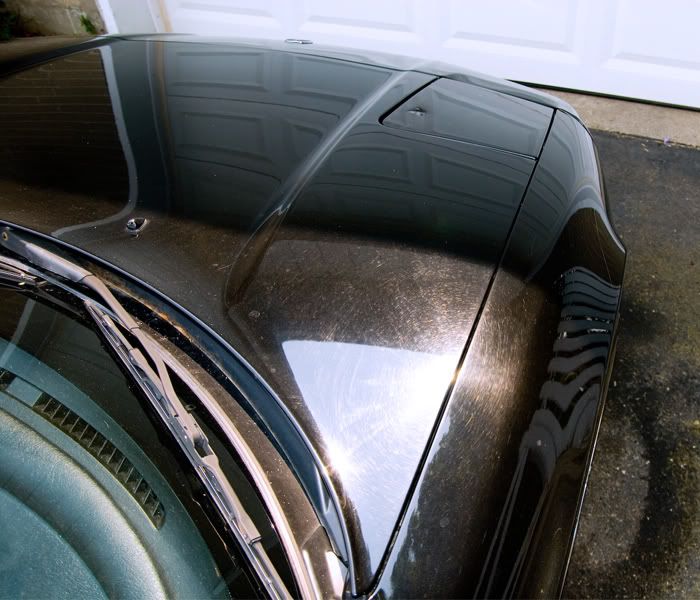
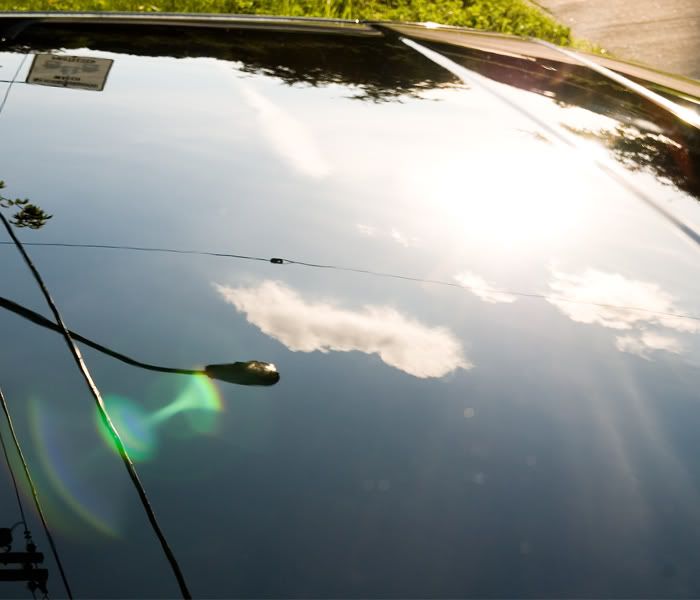
Me trying to get some cloud reflection shots.
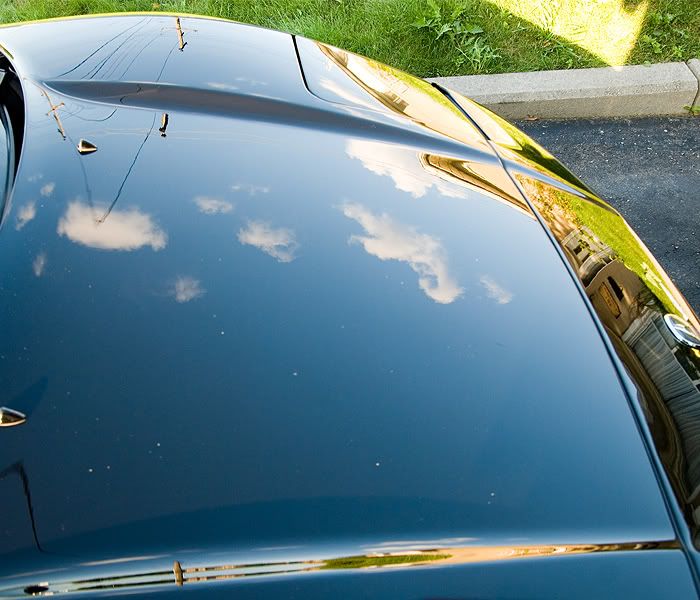
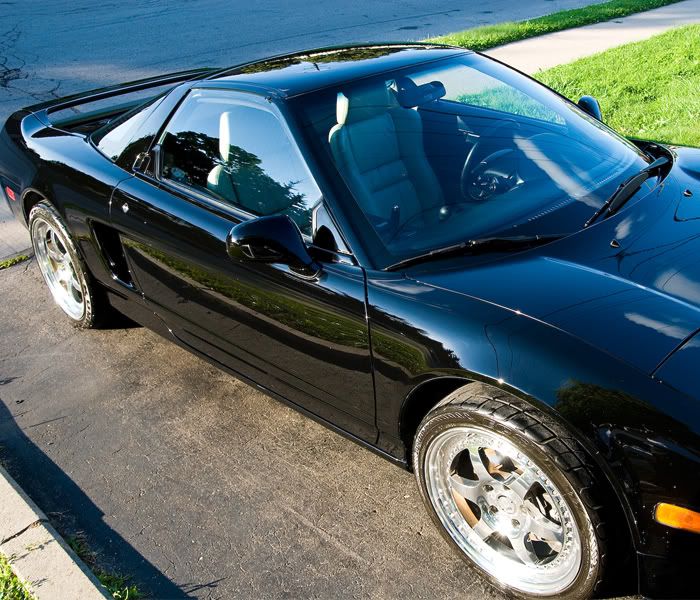
I love this shot

When I saw this shot I swear I had an epiphany and I heard a choir going...
"aaaahhhhhhhh"
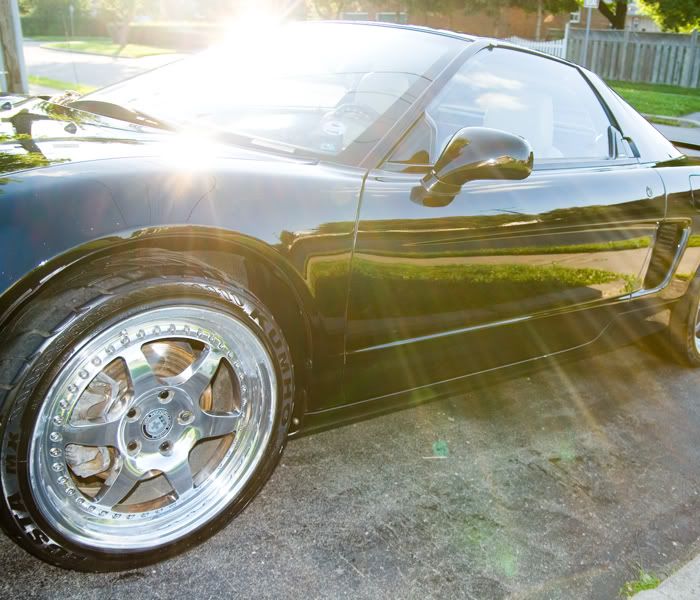
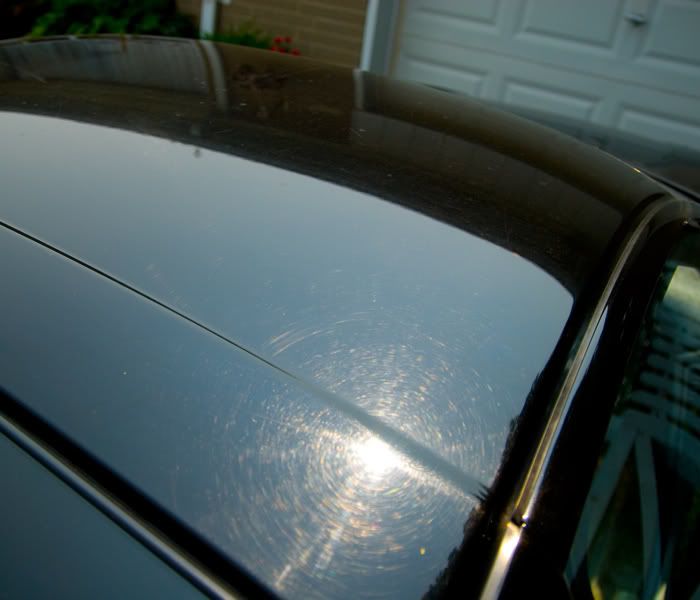
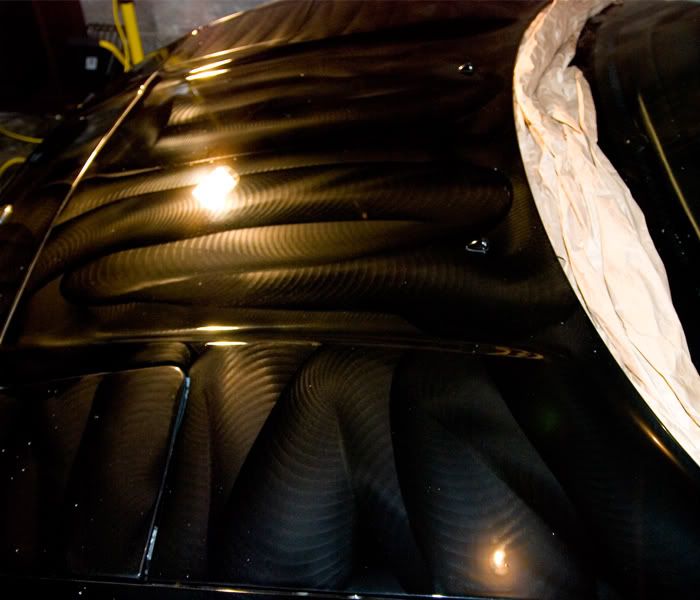
Nice reflection shot

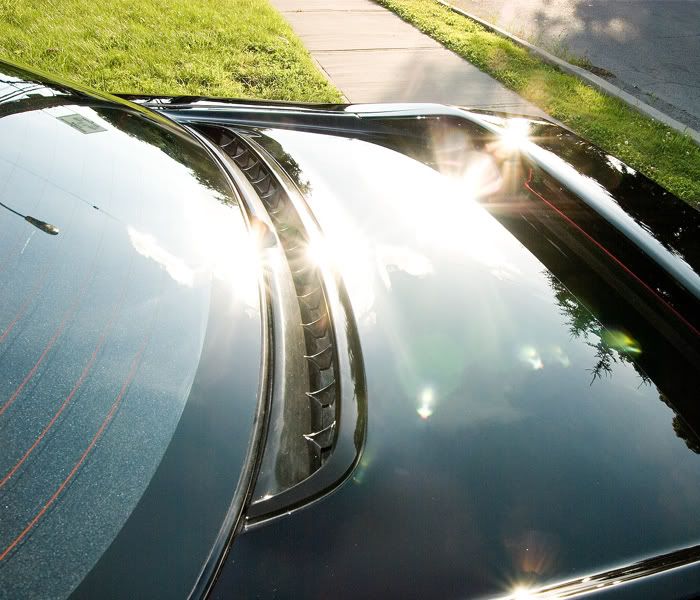
Remember how the trunk and roof looked before in the sun, now they look amazing.
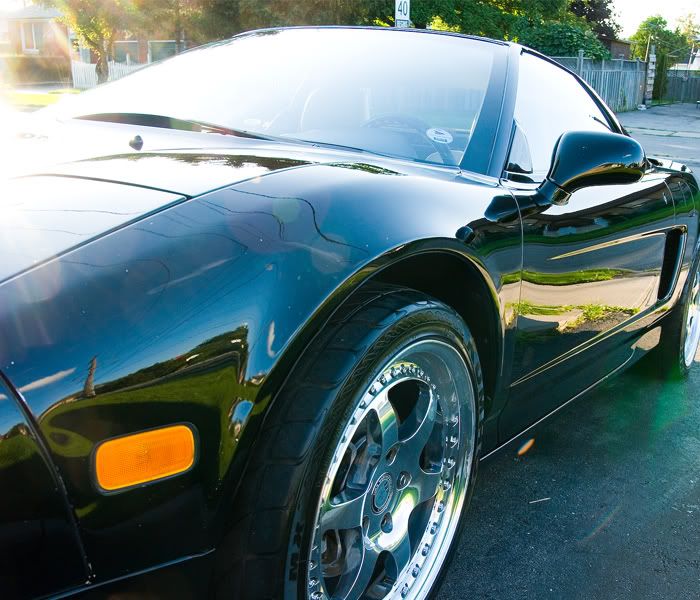
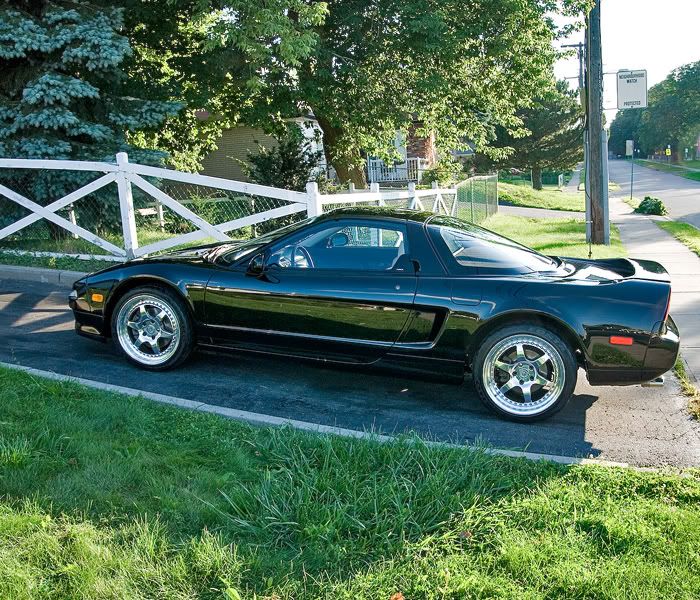
And the parting money shot.
First a big thank you to the owner for giving me the opportunity to work on this classic and a thank you to you guys for reading.
I am sorry about how this one turned out especially on this car but I promise my next NSX I will be more detailed.
As usual the good, the bad, and the ugly is more then welcome.
Cheers,
Wes
Basically a polishing job with a little but not so little interior job (no shampooing of the carpet cause the owner wanted to do it himself).
Now excuse the weird picture gaps inbetween processes because me being a big excited idiot forgot to charge my camera battery so I was working off of 1 bar of life then doing a quick charge to take pics then back to charging. I know it's bad for the battery but it will never happen again I promise plus I believe I remember reading somewhere I can charge the battery anytime, but I rather not risk it anyway.
So here we go, not very educational but hopefully you can catch some tips, product reviews, or just enjoy the show. Also the owner had just recently purchased this NSX so some of the neglect you are about to see is not his fault.
The Japanese Legend
The swirls, spider webbing, etc
I honestly don't think it had ever been polished in it's life.
So now on to the routine starting with the wheels
Soaking with p21s wheel gel cleaner
Then on to the engine with some basic before and afters
before
after
some more afters but taken at a later time
Onto the washing
After rinsing the car down you could see in certain parts that the water was sheeting, which is a sign of no protection(wax, sealant).
Two bucket method
Sea Sponge trying it's best in this Scarface hot tub bubble bath impersonation
Dried off with the waffle weave towel which is way better then a chamois because of the speed, softness, etc
Started claying with Riccardo Clay and clay lube being Meguiars Last Touch cut 50/50 with water.
After just the roof
Rinsed off the car then dried it off again with the waffle weave towel
Measured the paint in microns to look for any low spots and if anything was repainted
It turns out the two rear quarter panels were repainted(generally OEM is around 100-130 microns in my experience)
And I guess the trunk blended in
But the rest of the car was pretty much OEM
Masked up the car which is very important. I'm not finished in this pic though by the way
Started polishing with the rotary and Presta Chroma Polish, 5.5 inch Orange Lake Country pad, and the Makita.
Technique being the Zenith Point Technique.
Spreading at 900 RPM
Breaking down at 1200 RPM
And polishing until clear at 1500 RPM
Then back down the scale to 1200RPM
Then finishing at 1000 RPM
Here is the hood polished but the headlight not
A 50/50 shot
A bigger view
Drivers side finished
Passengers side to go
Just wanted to throw in this pic cause I though it looked cool. Notice how many orange pads I got out. I learned from Picus(great Toronto detailer some of you guys may know) that a brand new clean pads cuts better then just brushing it off, so I generally use at least a new pad per panel sometimes even two.
So anyways with the cutting stage done I washed off the car with Hi Temp Prep wash and a very soft Lambs Wool Mitt. The Prep Wash is great for eating up the polishing dust and oils and makes the caked up parts easier to remove. (Another tip from Picus)
Now rinsed that off and dried up. Started the refining/burnishing polish with a new product and pad to try out which was 3M Ultrafina and the 3M Blue Pad on the Rotary with the 3M Gray Foam Backing Plate which is a softer foam then the yellow which is great for finishing.
Personally I like the Ultrafina better then Menzerna P085RD because it is so much easier to wipe off and is great to work with on the Rotary. Some people have said that PO85RD leaves a better finish and I have both so I will do a comparison but the Ultrafina finish is AMAZING.
Poorboys Wheel Sealant on the rims, honestly I have been hearing about people just putting on Zaino Z2 on the rims so after I'm done with my PB I'm gonna give that a shot cause that sounds pretty cool.
I also did Black Wow on the rubber trims. Here is a 50/50
Put on Danase Wet Glaze with the Porter Cable and a Lake Country Black Pad.
Wiped that off and then put on some Swissvax Smargrd
Then onto the interior, honestly no pics at all pretty much, just wanted to get it done.
Basically what I did was a vacuum, q-tipped some tight spots, brushed some dust and tight spots, all purpose cleaner wipe down, Gliptone Leather Clean and Condition, 303 Aerospace Dressing and dry wipe down, Stoners Invisible Glass cleaned the windows.
Here is a cool before and after pic of the seat belt button.
Before
After
The aftermath
The used microfibre on the left after wiping off the seats with all purpose cleaner and a unused microfibre on the right.
Anyways wiped off the wax and now onto the eye candy.
Me trying to get some cloud reflection shots.
I love this shot
When I saw this shot I swear I had an epiphany and I heard a choir going...
"aaaahhhhhhhh"
Nice reflection shot
Remember how the trunk and roof looked before in the sun, now they look amazing.
And the parting money shot.
First a big thank you to the owner for giving me the opportunity to work on this classic and a thank you to you guys for reading.
I am sorry about how this one turned out especially on this car but I promise my next NSX I will be more detailed.
As usual the good, the bad, and the ugly is more then welcome.
Cheers,
Wes

 03-12-2009, 09:37 PM
#3
Team Owner
iTrader: (2)
Join Date: Jan 2008
Location: Kansas City, MO (Overland Park, KS)
Posts: 36,545
Received 6,470 Likes
on
5,162 Posts
Wes...WOW, there's no need to apologize. Great detailing job. Excellent pictures and fun to read as well as look at.
Trending Topics

 03-15-2009, 04:30 AM
#12
Racer
Thread Starter
Thanks alot man.
I'm glad you enjoyed reading it, I still feel I could've done better though.
For sure, I believe I have another NSX coming up next Monday. But we'll see.

Thanks bro.
Yeah the original owner should've at least gotten a clear bra.

I'm glad you liked it my CL brotha.
I'm trying, always room to improve.
Yeah that was the plan to get it polished then repaint the front end or vice versa.
For sure, I believe I have another NSX coming up next Monday. But we'll see.
Thanks bro.
I'm glad you liked it my CL brotha.
I'm trying, always room to improve.
Yeah that was the plan to get it polished then repaint the front end or vice versa.


 03-16-2009, 01:53 PM
#17
Senior Moderator
Regional Coordinator
(Mid-Atlantic)
Regional Coordinator
(Mid-Atlantic)
iTrader: (6)
great detail, beautiful car
 03-21-2009, 10:09 PM
#22
Racer
Thread Starter
I can't wait either.
Thanks, and I agree.
Thanks bro, can't wait to work on your car either, hopefully everything is ok with your icebox now too.
Thanks Conan
especially coming from someone who knows how crazy this work can get it means alot. . I love the paint depth gauge and it's actually ruby tipped not a laser, pretty cool huh.
Sorry for the late replies been pretty busy and I am real tired.
Cheers guys.

 wow didnt know it was that much lol
04-09-2009, 10:19 PM
wow didnt know it was that much lol
04-09-2009, 10:19 PM
#27
Racer
Thread Starter
. I got some more on the way!Yeah man I just finished a TL that took me 17hrs, you can't expect to just pay small money for that kind of time.
It definitely isn't cheap, but look at it this way it is cheaper then a repaint and just a 2 Step will generally get your paint up to 95% perfected or more depending on what condition the paint is in to begin with.
04-13-2009, 12:18 AM
#28
Racer
iTrader: (2)
Join Date: Nov 2004
Location: Toronto
Posts: 402
Likes: 0
Received 0 Likes
on
0 Posts
WOW very professionally done, Wes. It was a pleasure to get to get to learn from at the meet. Good focus on the minor details, you even spotted the seatbelt being dirty!
Thankfully you're a local, I may potentially need your help soon as my car also needs paint correction
Thankfully you're a local, I may potentially need your help soon as my car also needs paint correction


Thread
Thread Starter
Forum
Replies
Last Post
MrHeeltoe
1G TSX Tires, Wheels, & Suspension
20
02-23-2023 01:54 PM
emailnatec
5G TLX Tires, Wheels & Suspension
29
09-28-2018 04:27 PM
MrHeeltoe
2G TSX Tires, Wheels & Suspension
3
09-29-2015 10:43 PM
MrHeeltoe
3G TL Tires, Wheels & Suspension
0
09-28-2015 05:43 PM