2007 Porsche 911 Turbo, Detail + Correction
 10-11-2011, 12:37 PM
#1
Pro
Thread Starter
2007 Porsche 911 Turbo, Detail + Correction
Another write-up by my buddy, we spent our long weekend correcting a beast .
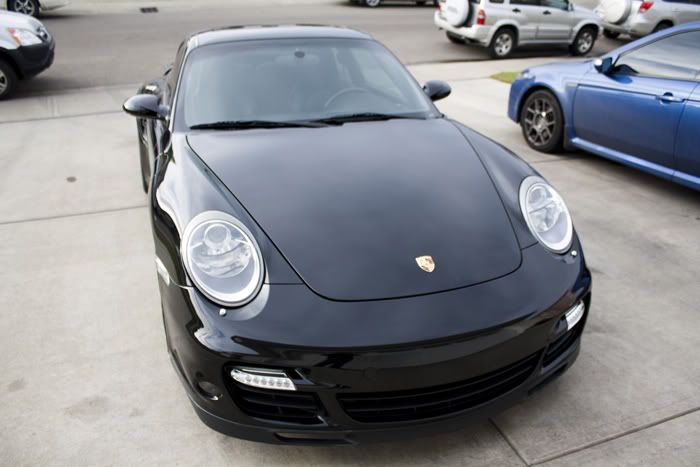
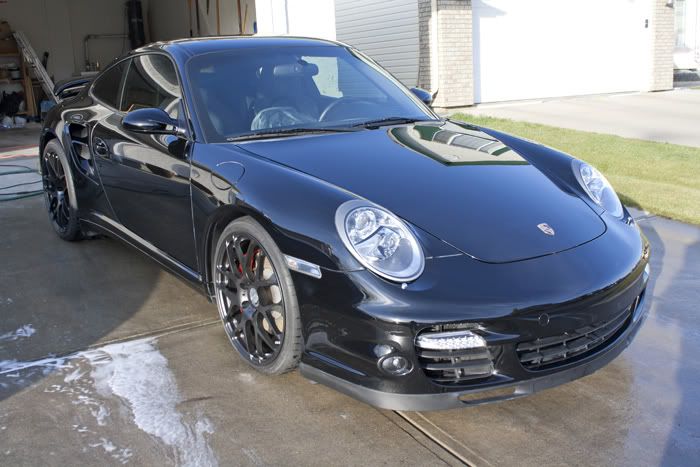
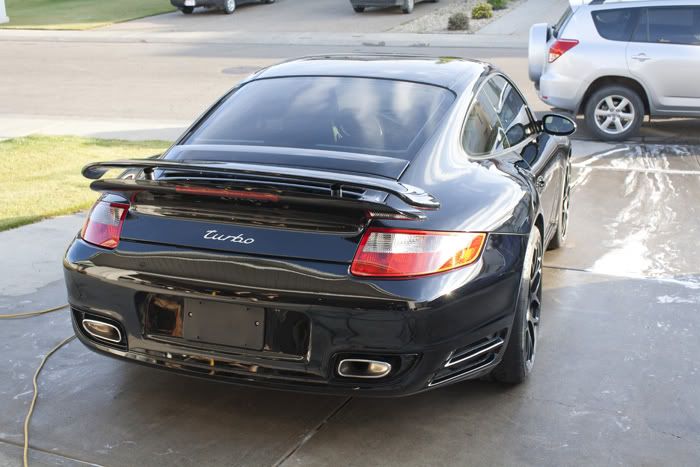
Hello again! So after our last detail Vince and I were going to call it a season for detailing as the days are getting shorter and it's getting closer to single digit temperatures here in Edmonton. However an individual contacted me just a couple of days ago who just purchased a 2007 Black 911 Turbo which required some work. Obviously this was too good an offer to pass up, so we spend two days breathing some life back into this beauty.
The Subject:
Total time: 21 Hours over 2 days
This vehicle was a tricky one to work on. As I will later discuss, the original paint is Porsche's medium hardness single stage black, however a few panels were repainted with rock hard clear coat that proved to be difficult to say the least.
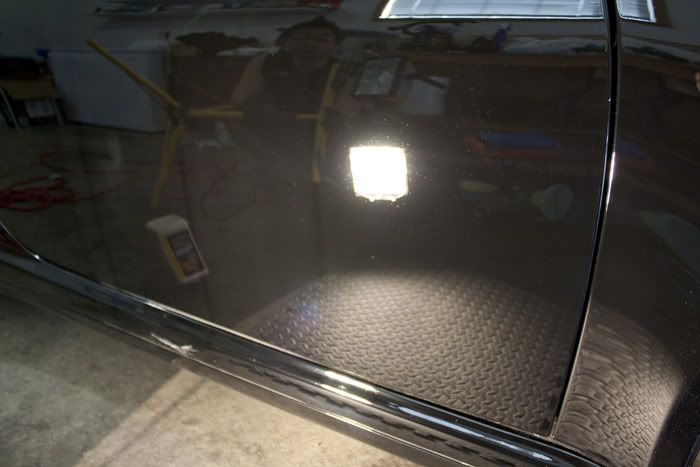
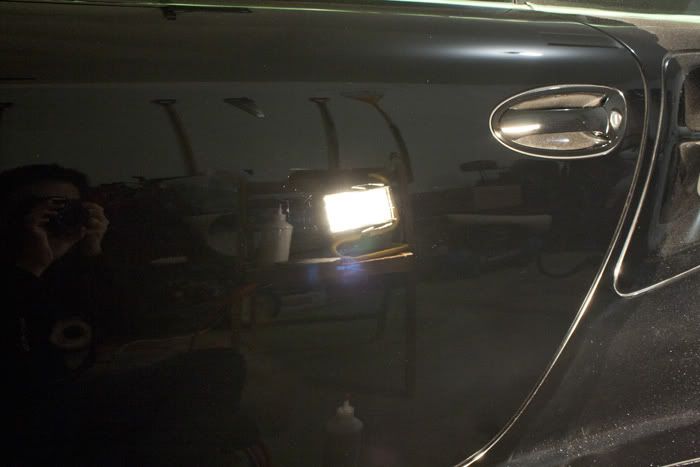
A quick look:
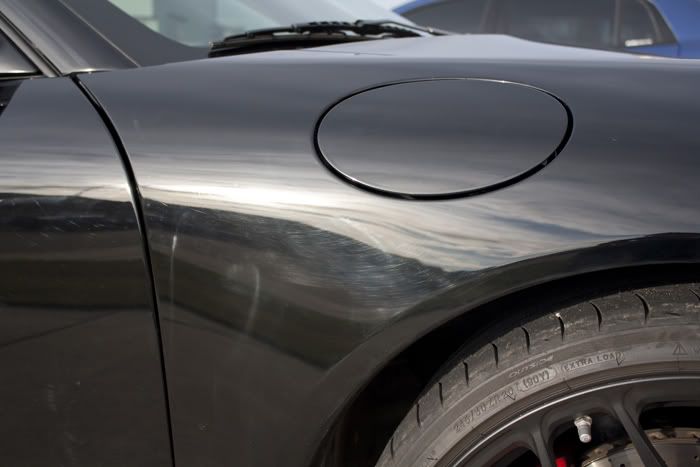
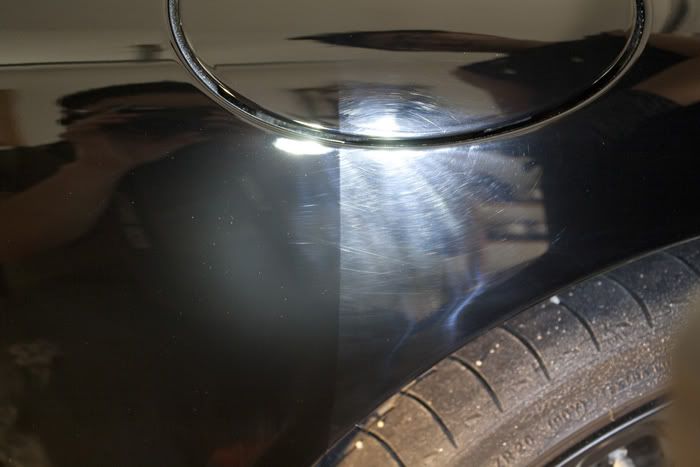
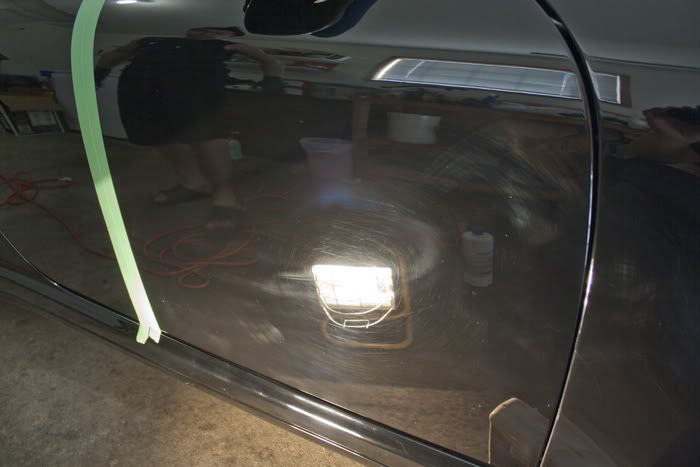
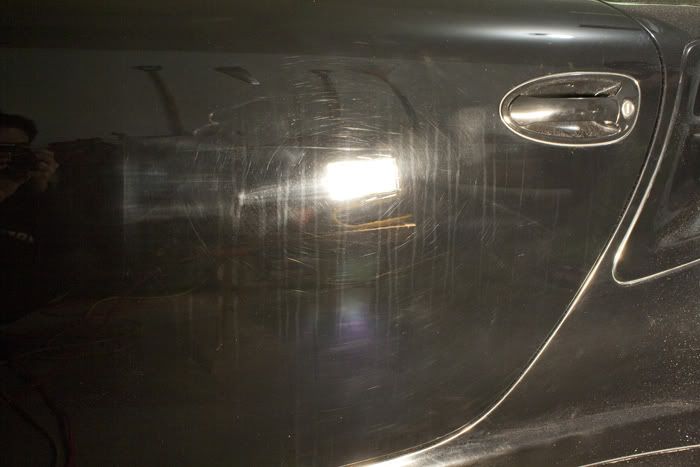
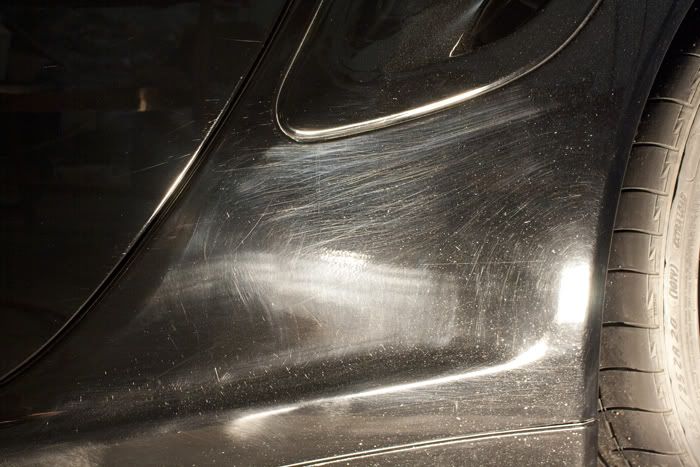
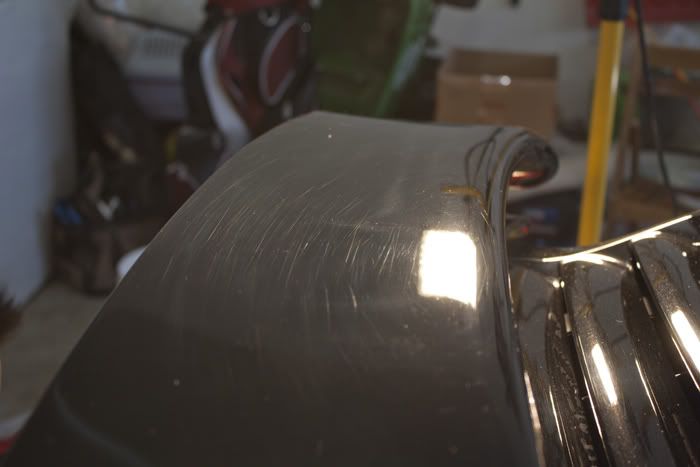
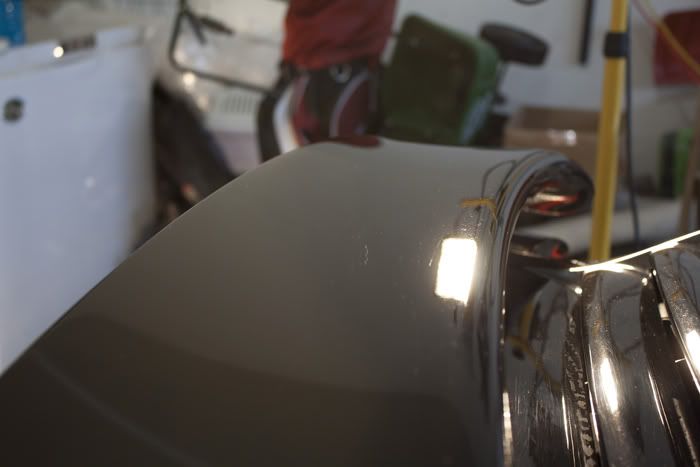
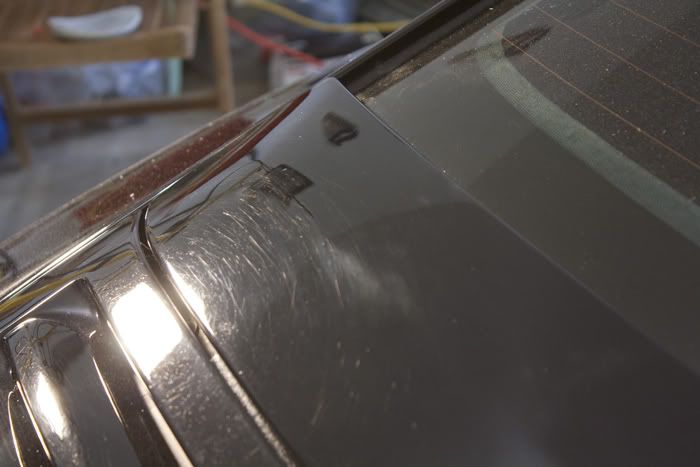
Deep marring:

Holograms:
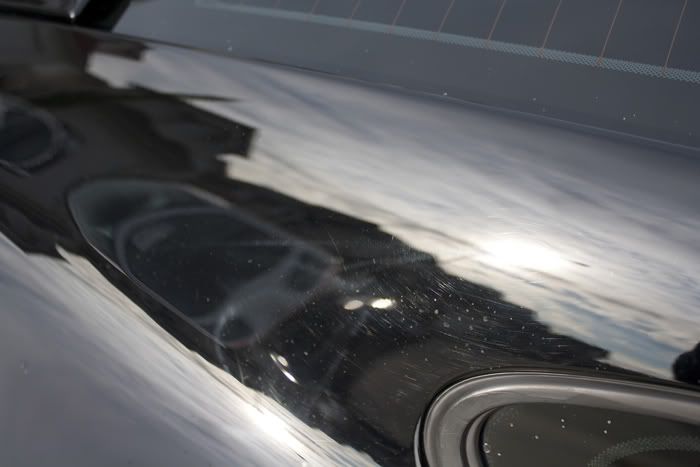
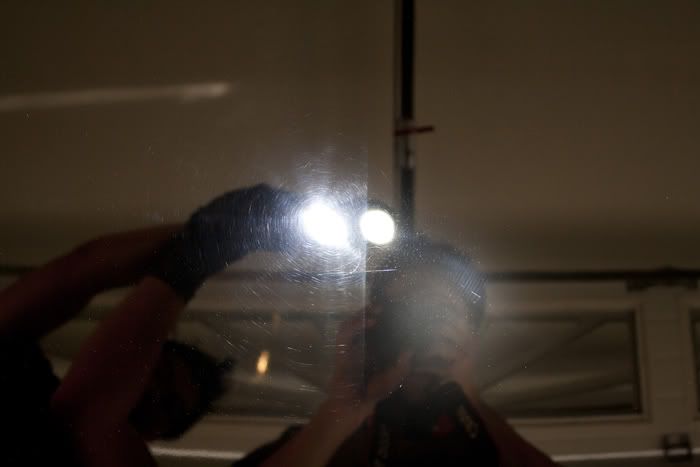
The majority of the panels contained heavy holograms indicating a past improper detail.
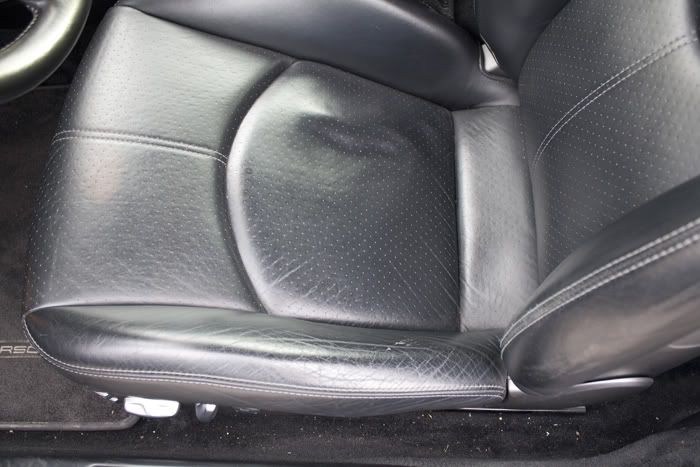
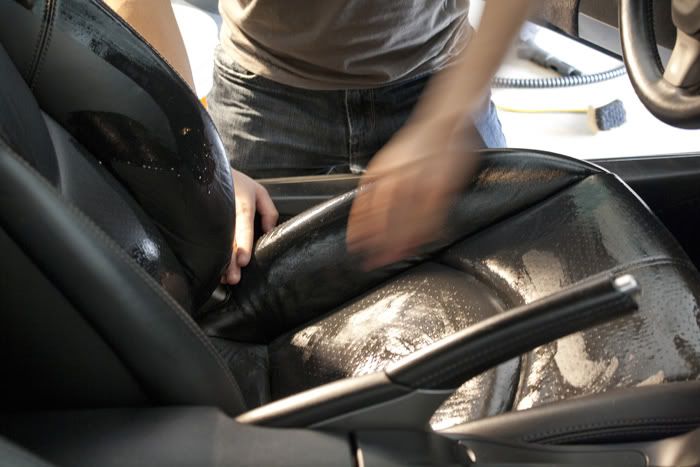
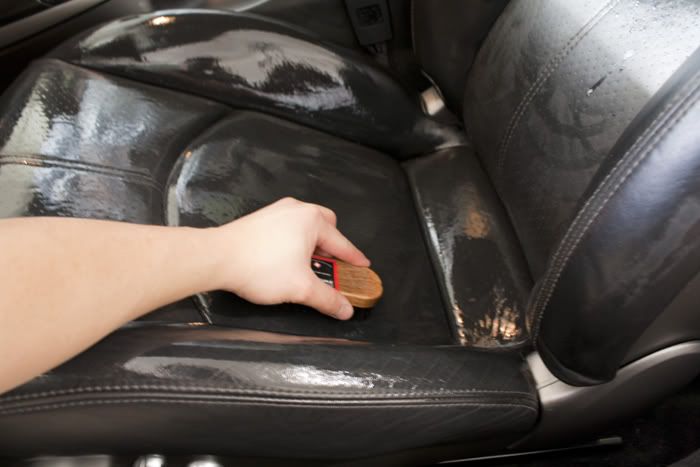
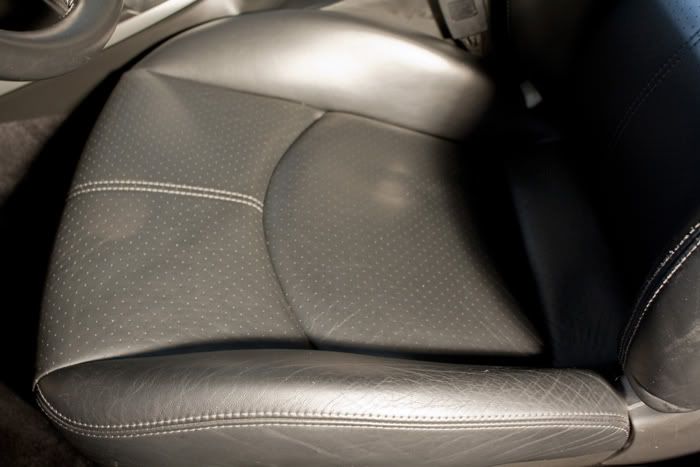
Seats were oily and will be treated with Leatherique:

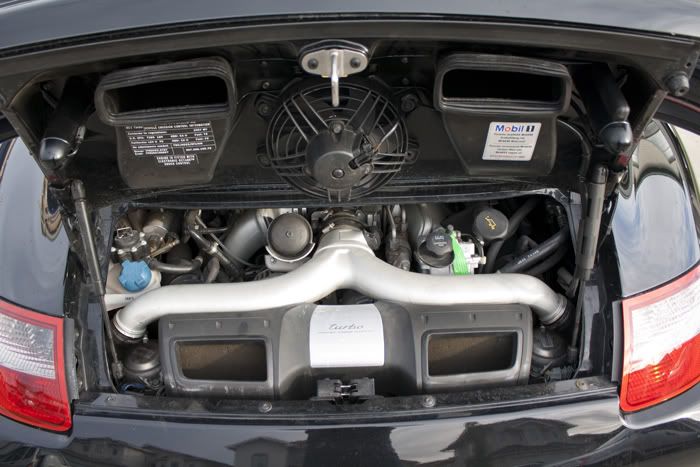
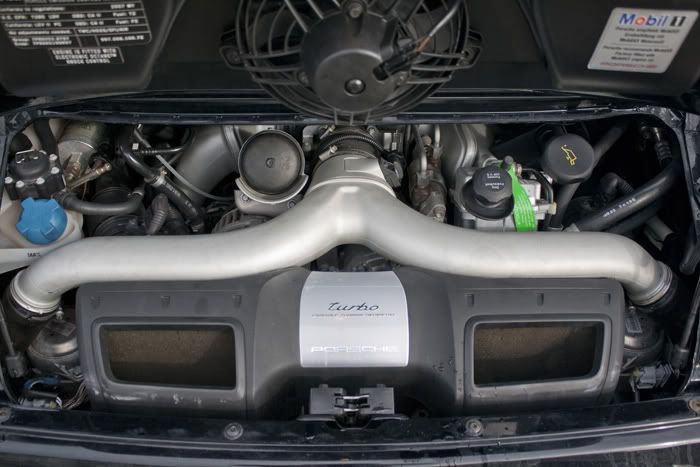
Engine bay was so-so:
Lets begin:
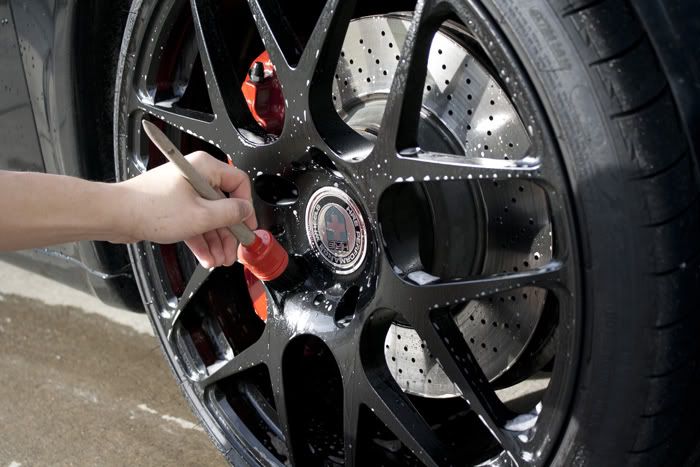
The wheels were coated and as a result, we opted for the gentle Griot's Wheel cleaner:
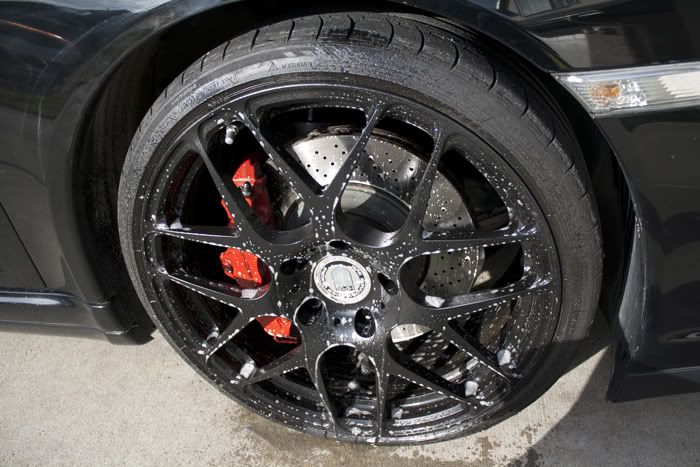
No aggressive brushes here, a set of these 20' HRE wheels are worth almost double my daily driven vehicle, so you bet we used extreme care.
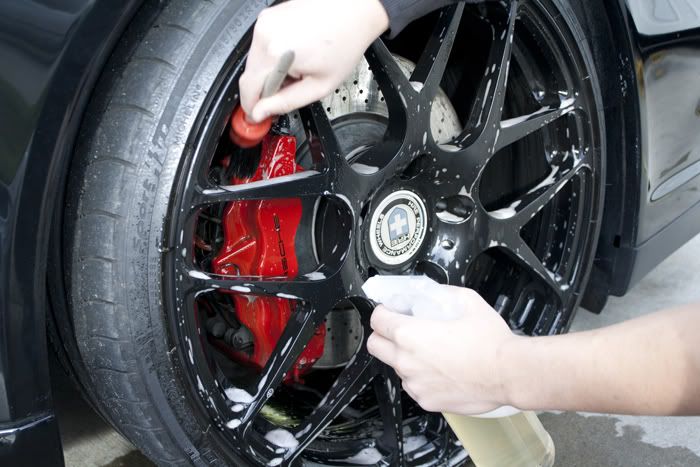
EZ Detailing brush was used for the inner barrels:
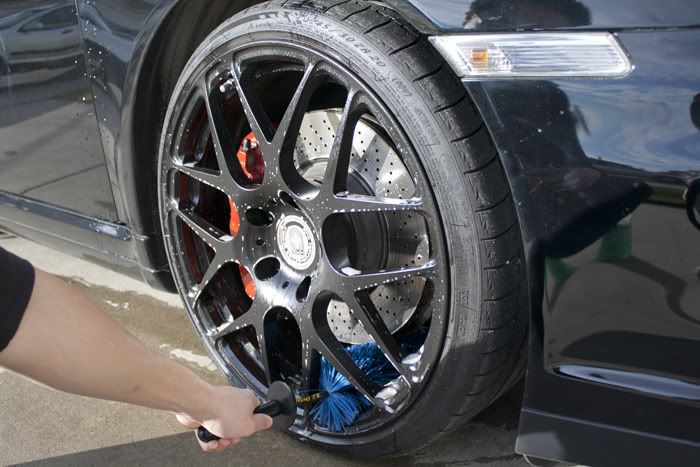
Swissvax brush was used for the face of the wheels:
Can't forget about those calipers, Meguiars D103 was used:
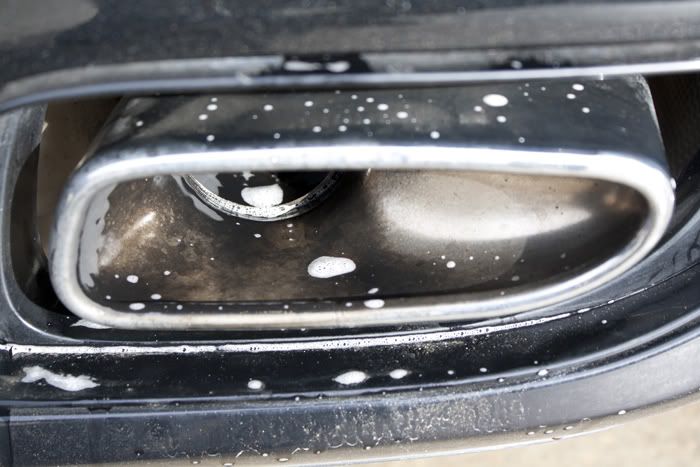
Vince used 0000 steel wool and CG Grime Reaper at 5:1 for the exhaust tips:
Before:
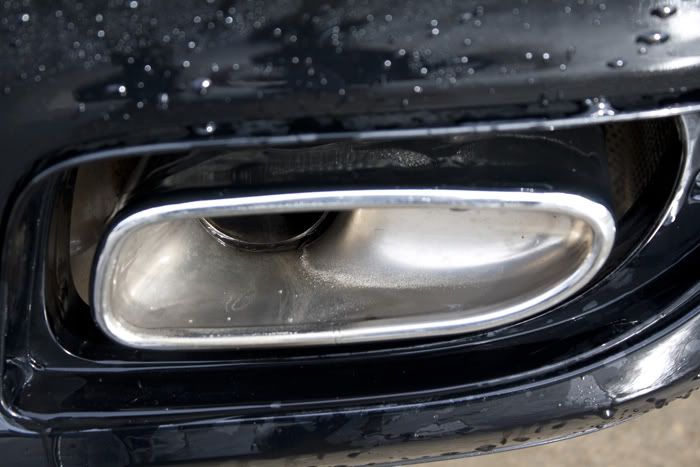
After:
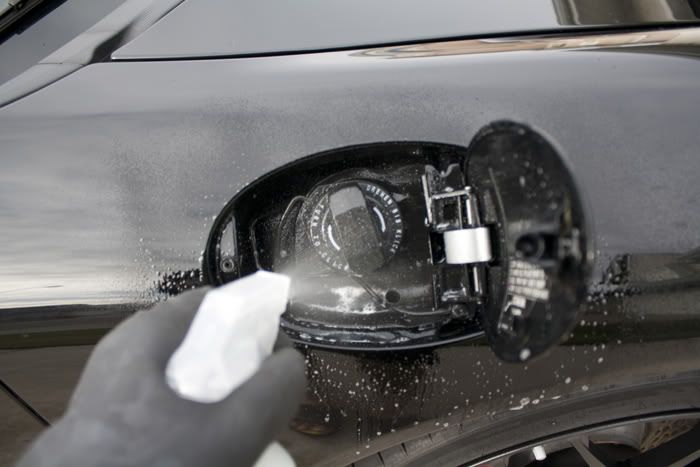
Einzett Blitz was used for misc cleaning:
I cleaned the engine bay with Meguiars D103:
Trunk trim was cleaned with D103:
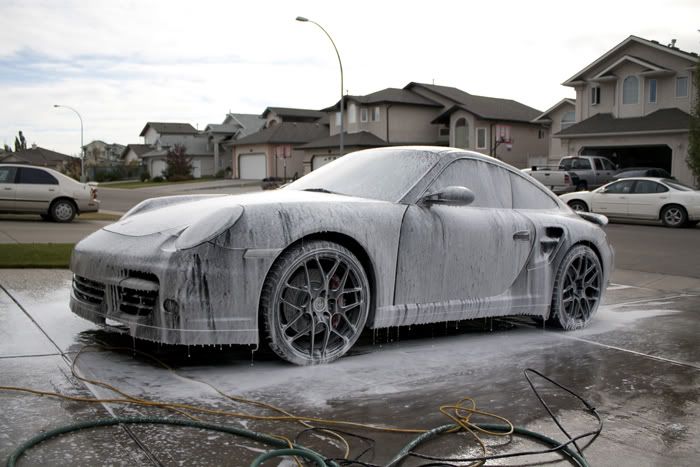
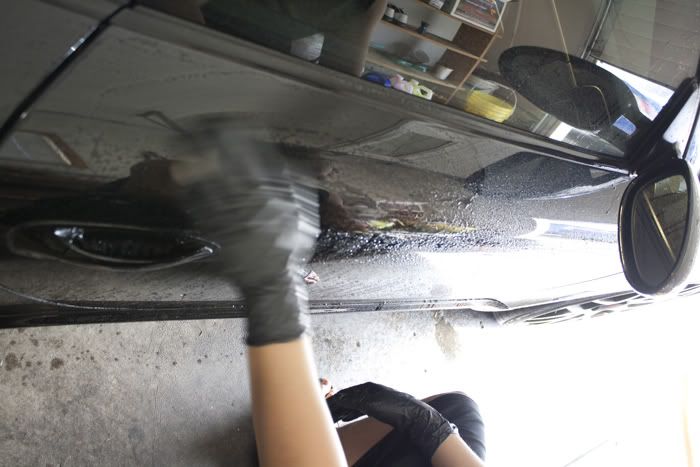
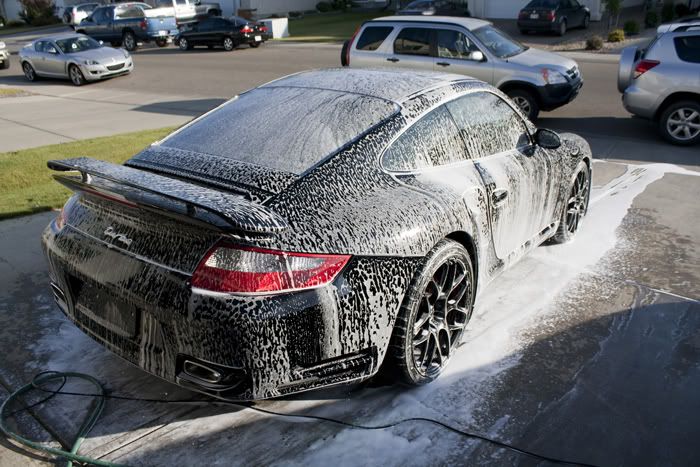
Next the vehicle was foamed using straight CG Citrus Wash n Gloss:
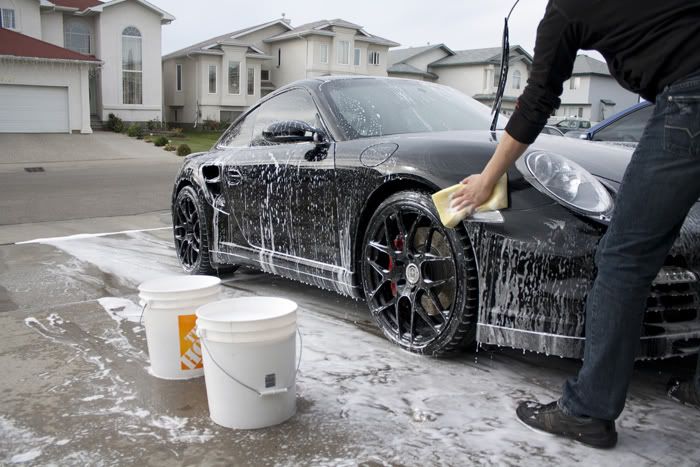
Washed using the 2 bucket method and CG Citrus W.G:
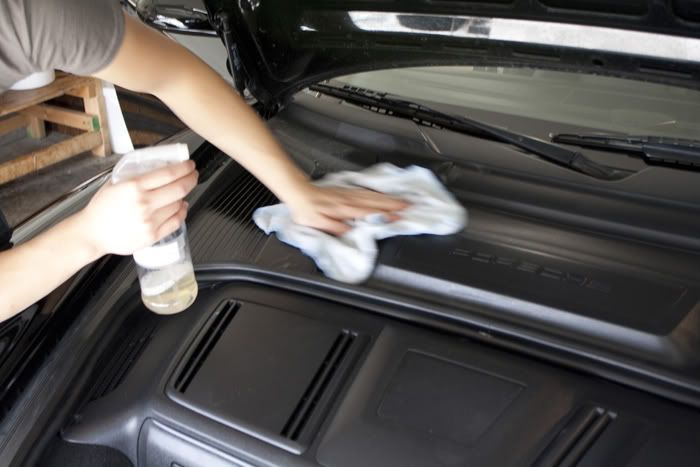
Next we moved onto the interior:
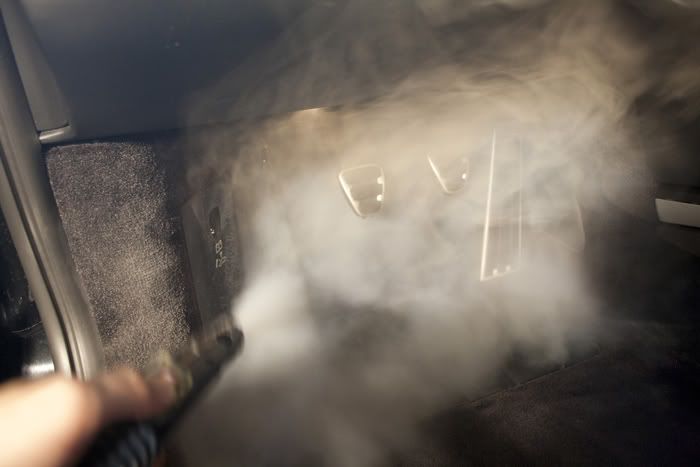
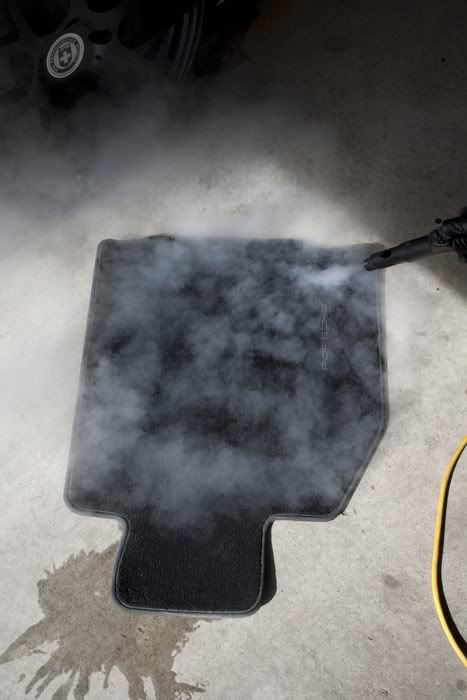
Pedals, floor matts, carpets were steamed and cleaned with Meguiar's D103:
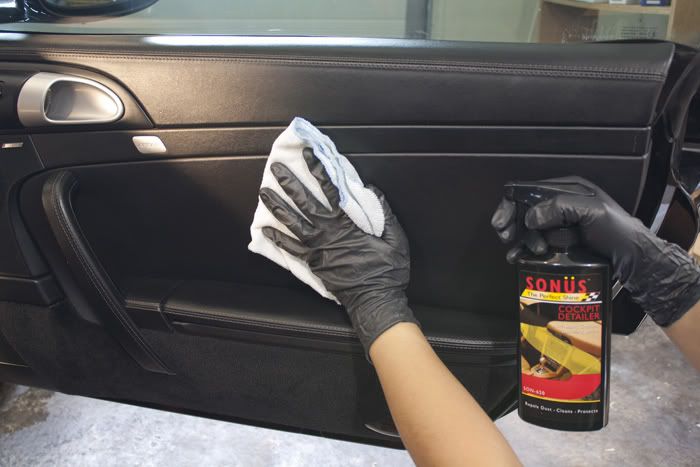
Sonus Cockpit Cleaner was used for the interior wipedown:
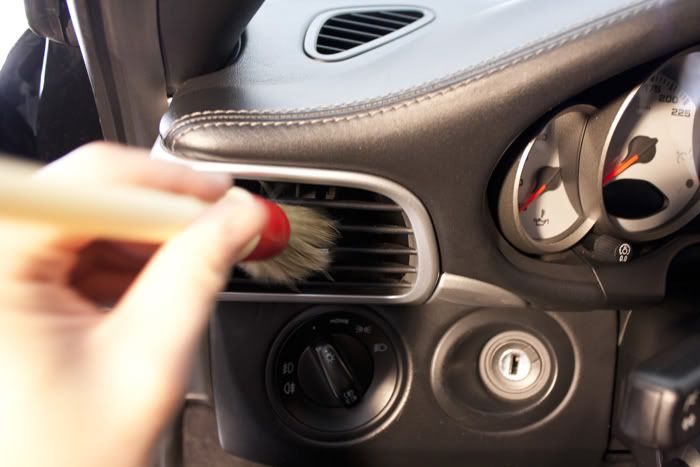
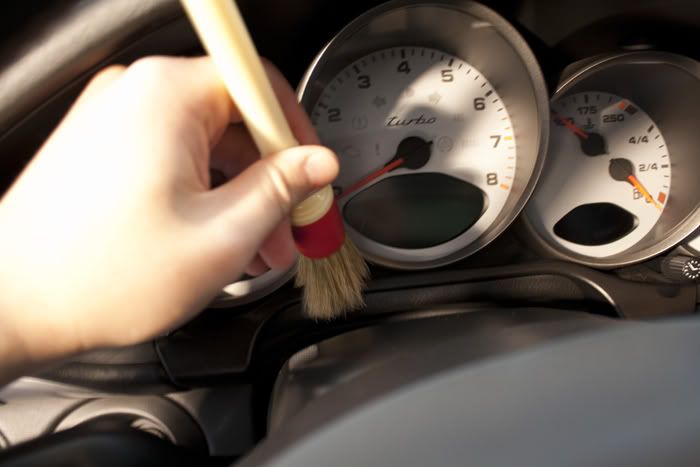
I used a raceglaze brush to clean the air vents and all crevices:
I then began on the leatherique treatment for the leather, beginning with the application of Leatherique Rejuvenator Oil on the seats:
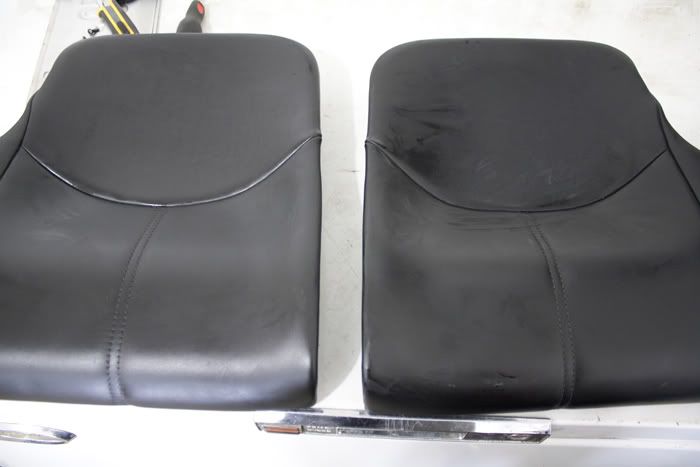
Rear seats removed for treatment:
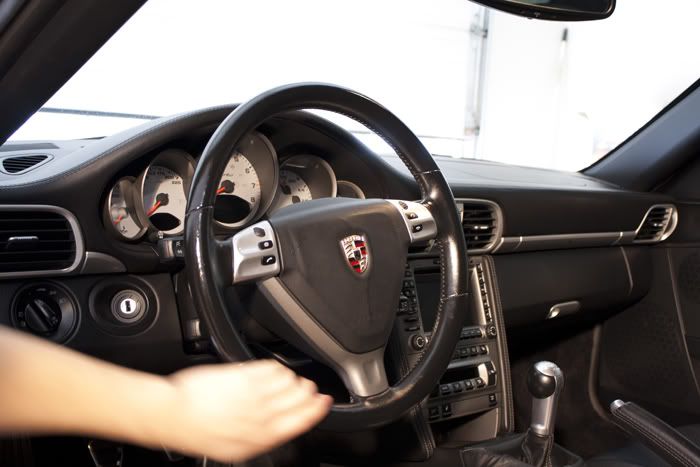
Can't forget about the steering wheel:
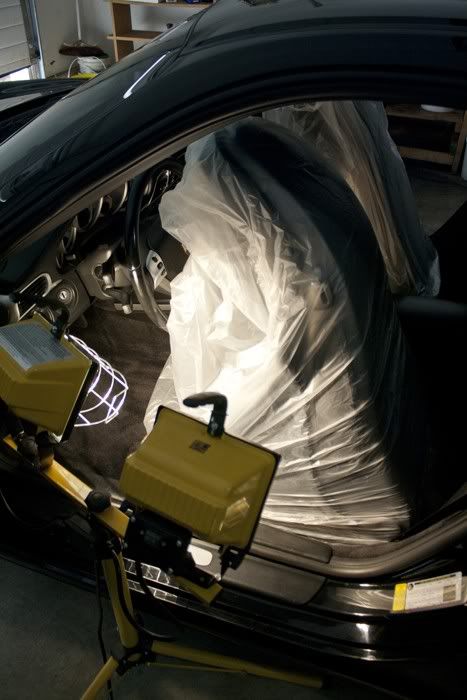
I wrapped the seats in a plastic bag and applied the halogen lamp's heat whenever possible to create a "steaming" effect since Leatherique works best with heat:
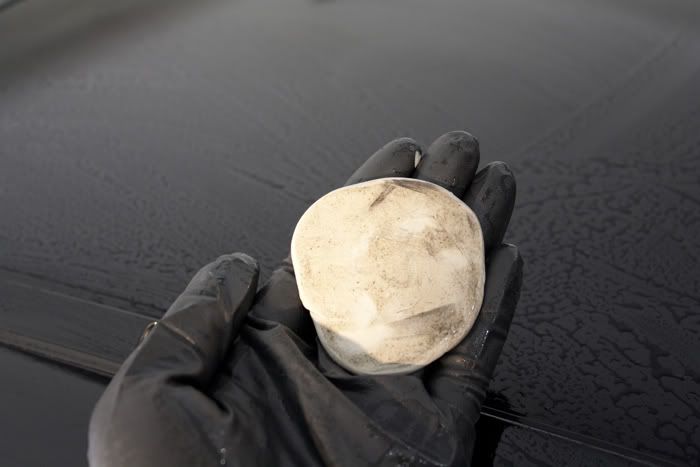
Vince began claying the vehicle, which proved to be relatively contaminant free:
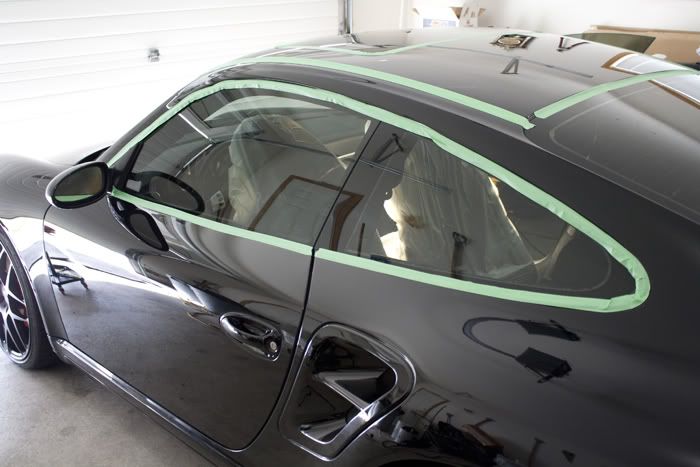
All taped up:
The Test:
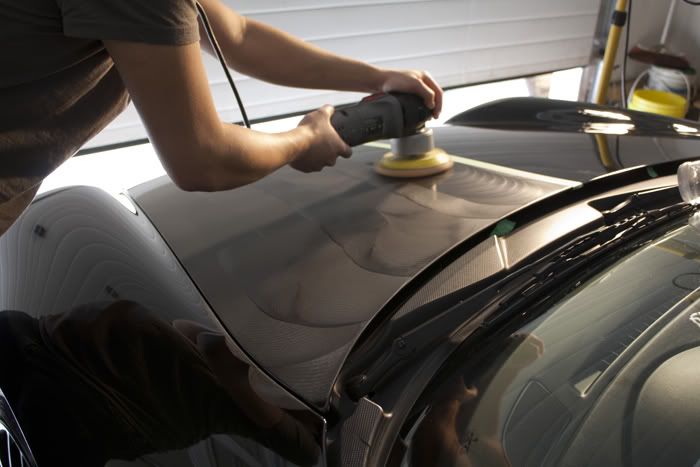
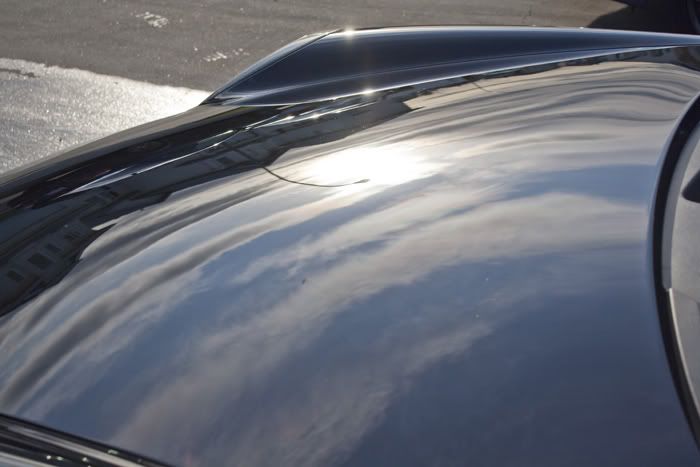
As I mentioned earlier, this vehicle is easily one of the trickiest corrections we have done yet. The factory's single stage black was extremely difficult to finish down (in addition, some panels were RID infested), and 4 major panels have been repainted with 2 stage paint whose clear coat was rock hard. As a result, Surbuf and M105 was used on the repainted panels and finished with M205 on LC White pads. The factory paint saw a mix of GTechniq P1 on LC Orange or Surbuf and M105 for the compounding stage, and was refined by M205 on LC White, and finished off with LC Black on Menzerna's P085RD.
50/50 of the hood:
Rear quarter panel 50/50:
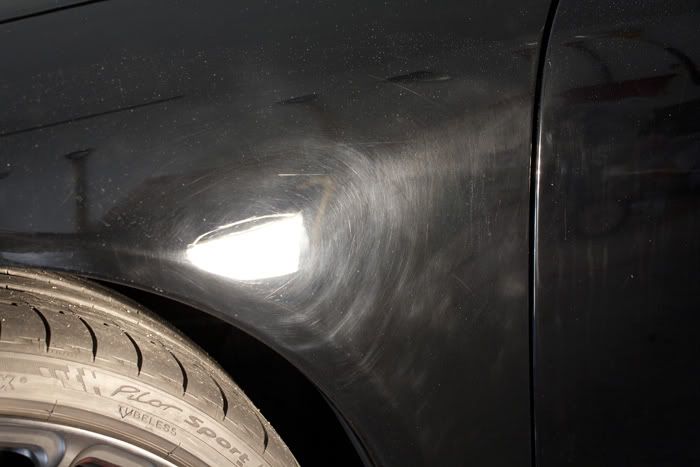
Front quarter panel before:
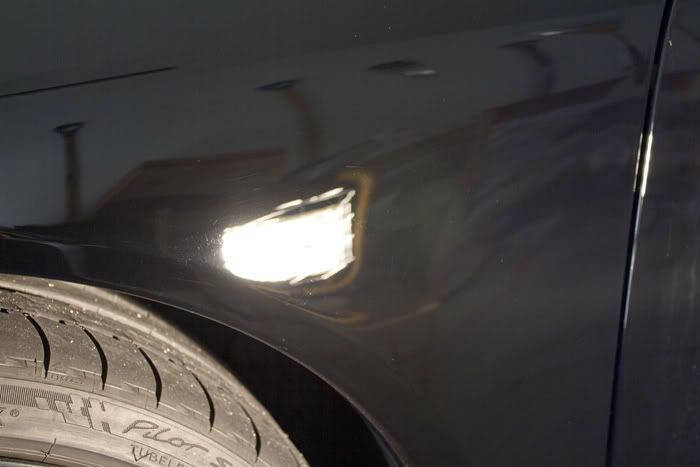
After:
Driver's door before:
After:
Passenger door before:

After:
Before:
After:
Lower quarter panels before (here is an example were only a maximum of 70% correction was possible):
After:

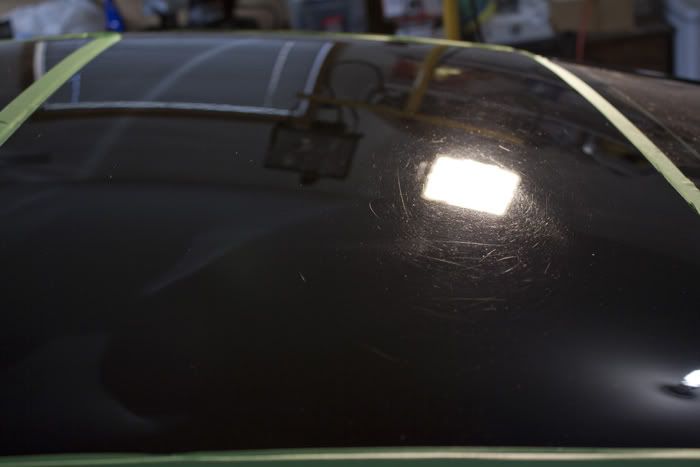
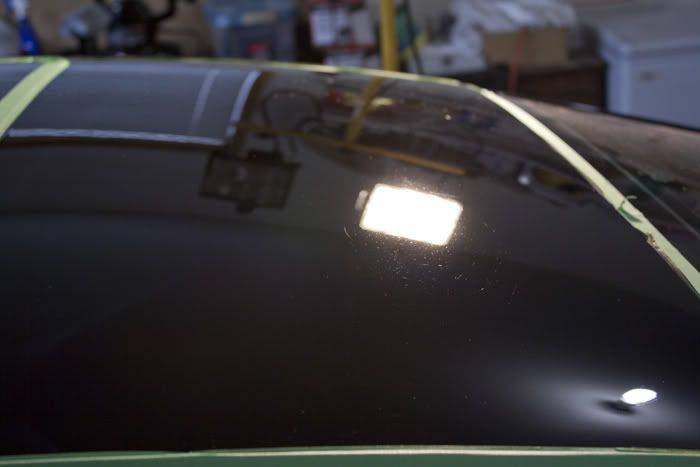
Roof before:
After:
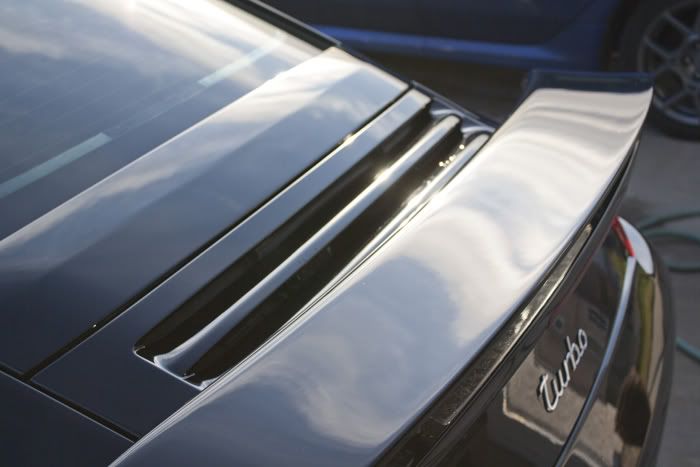
Spoiler before:
After:
Before:
After:

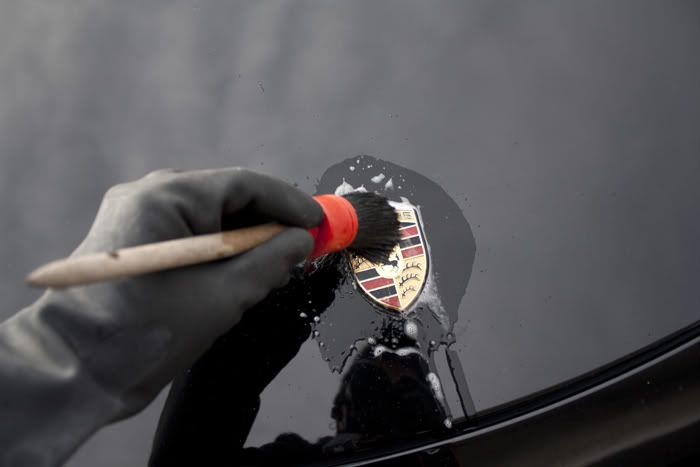
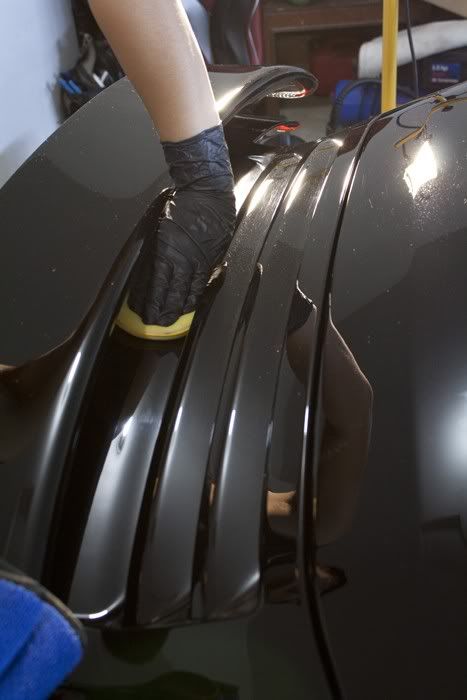
A lot of spot polishing was required for this vehicle:

And hand polishing:
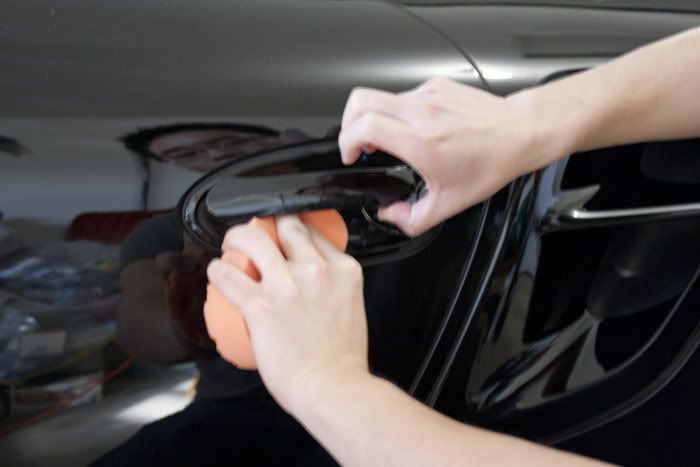
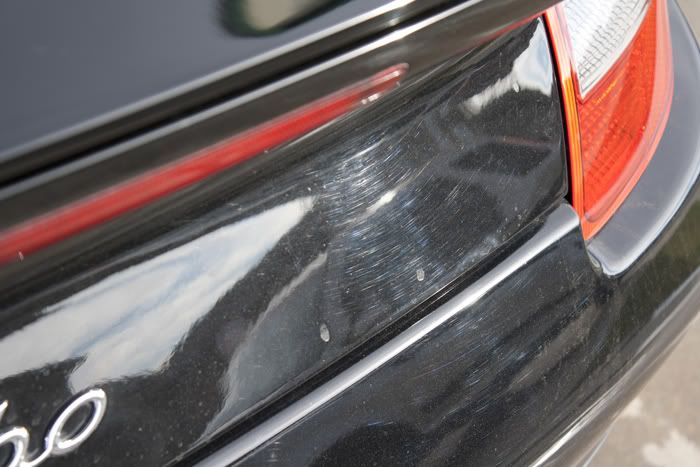
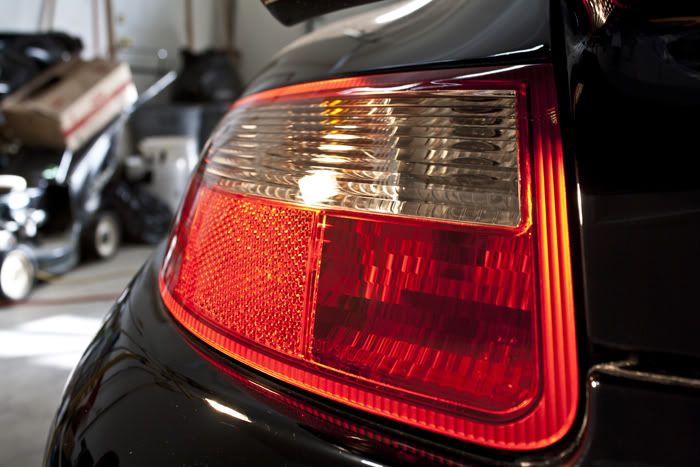
Tailights needed some work:
Before:
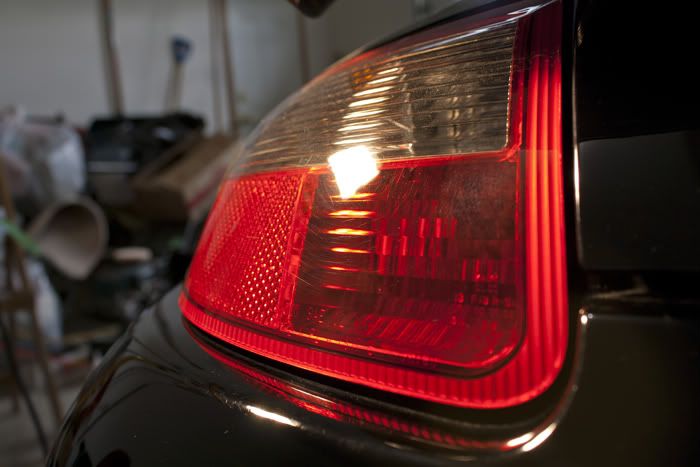
After:
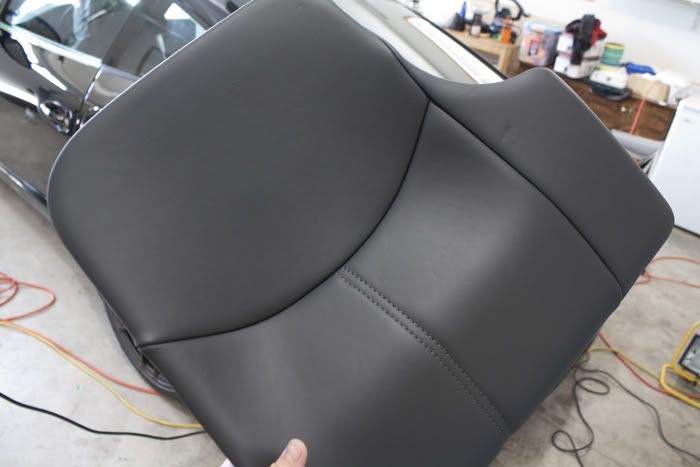
The next day I finished the Leatherique treatment with Prestine Clean and agitation with a Swissvax Upholstery Brush:
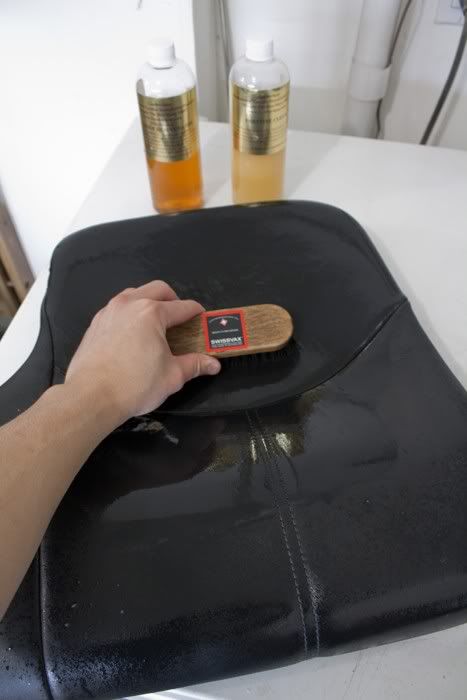
After the leatherique treatment, the matte black texture of the leather was restored:
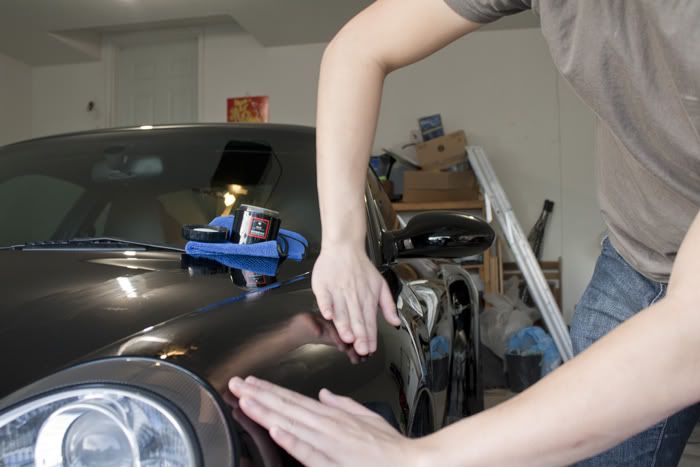
With the paint correction completed, we took the vehicle out for a final foaming and wash:
Without a LSP, the paint was already looking fantastic:
Swissvax Onyx was used as a LSP:
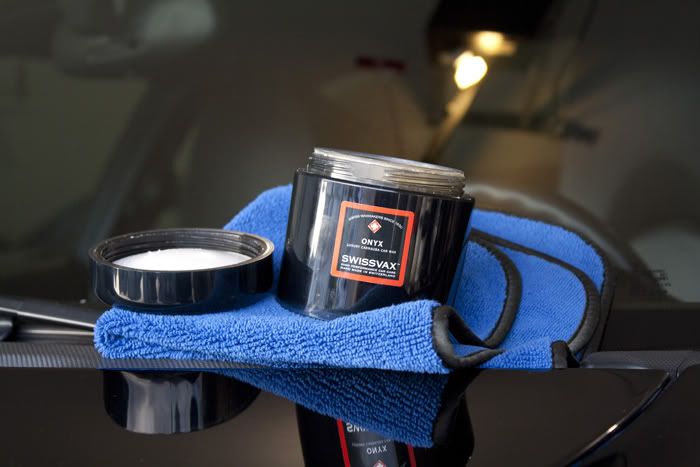
I applied the product via (bare) hand:
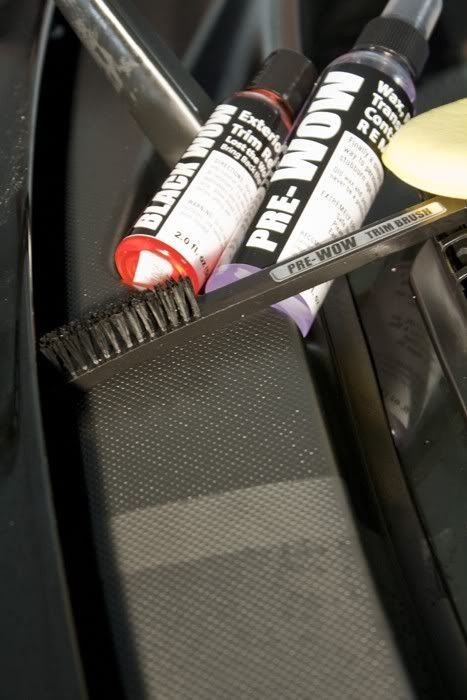
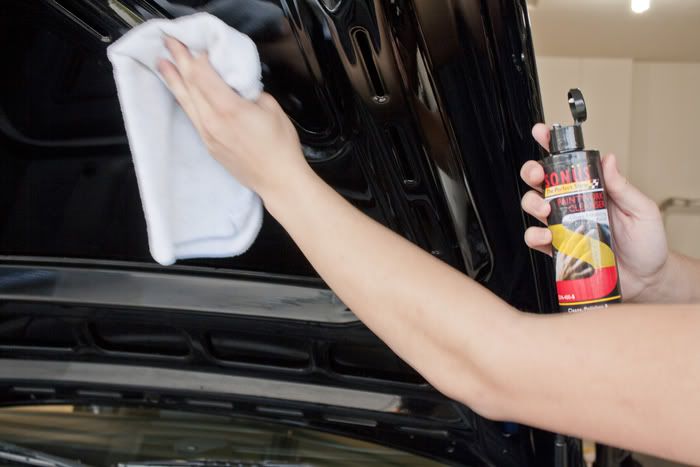
Vince treated the dull trim with BlackWow, here is a 50/50:
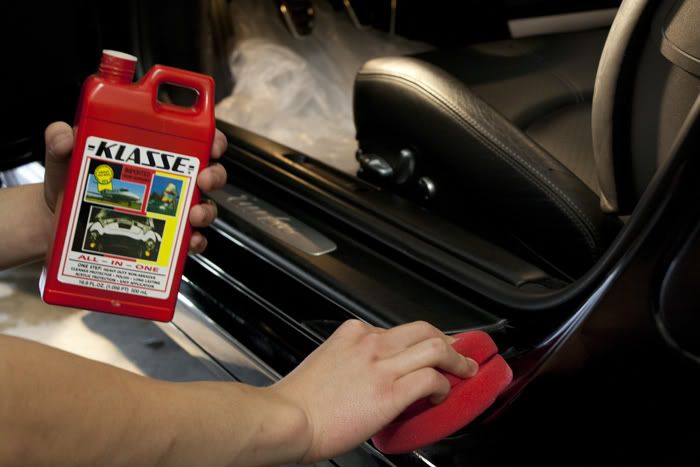
Klasse All in One was used on the door jams:
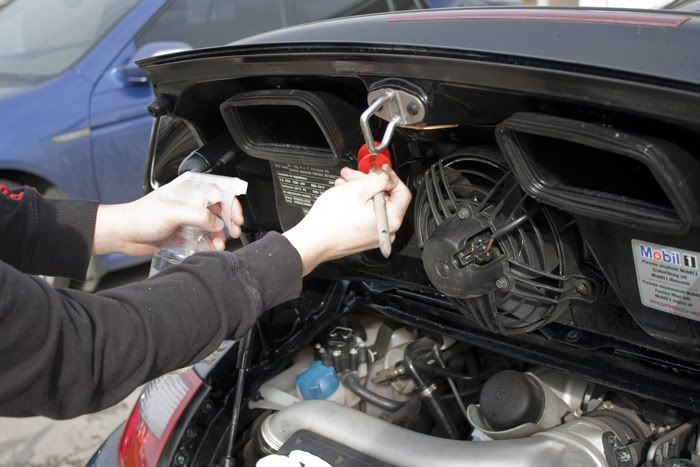
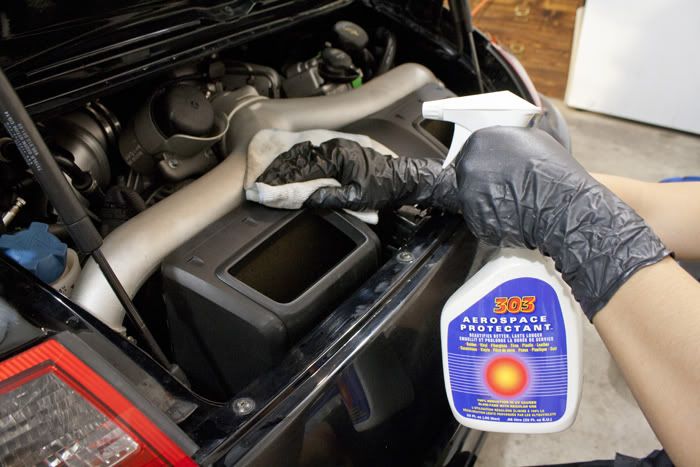
Vince dressed the engine bay with Aerospace 303:
The trunk lid required some TLC so I used Sonus Paintwork Cleanser (I regret not taking a before/after):
With sunset approaching we buffed off the wax and took the car out for a final photoshoot:


Thanks again for reading guys!
Hello again! So after our last detail Vince and I were going to call it a season for detailing as the days are getting shorter and it's getting closer to single digit temperatures here in Edmonton. However an individual contacted me just a couple of days ago who just purchased a 2007 Black 911 Turbo which required some work. Obviously this was too good an offer to pass up, so we spend two days breathing some life back into this beauty.
The Subject:
Total time: 21 Hours over 2 days
This vehicle was a tricky one to work on. As I will later discuss, the original paint is Porsche's medium hardness single stage black, however a few panels were repainted with rock hard clear coat that proved to be difficult to say the least.
A quick look:
Deep marring:
Holograms:
The majority of the panels contained heavy holograms indicating a past improper detail.
Seats were oily and will be treated with Leatherique:
Engine bay was so-so:
Lets begin:
The wheels were coated and as a result, we opted for the gentle Griot's Wheel cleaner:
No aggressive brushes here, a set of these 20' HRE wheels are worth almost double my daily driven vehicle, so you bet we used extreme care.
EZ Detailing brush was used for the inner barrels:
Swissvax brush was used for the face of the wheels:
Can't forget about those calipers, Meguiars D103 was used:
Vince used 0000 steel wool and CG Grime Reaper at 5:1 for the exhaust tips:
Before:
After:
Einzett Blitz was used for misc cleaning:
I cleaned the engine bay with Meguiars D103:
Trunk trim was cleaned with D103:
Next the vehicle was foamed using straight CG Citrus Wash n Gloss:
Washed using the 2 bucket method and CG Citrus W.G:
Next we moved onto the interior:
Pedals, floor matts, carpets were steamed and cleaned with Meguiar's D103:
Sonus Cockpit Cleaner was used for the interior wipedown:
I used a raceglaze brush to clean the air vents and all crevices:
I then began on the leatherique treatment for the leather, beginning with the application of Leatherique Rejuvenator Oil on the seats:
Rear seats removed for treatment:
Can't forget about the steering wheel:
I wrapped the seats in a plastic bag and applied the halogen lamp's heat whenever possible to create a "steaming" effect since Leatherique works best with heat:
Vince began claying the vehicle, which proved to be relatively contaminant free:
All taped up:
The Test:
As I mentioned earlier, this vehicle is easily one of the trickiest corrections we have done yet. The factory's single stage black was extremely difficult to finish down (in addition, some panels were RID infested), and 4 major panels have been repainted with 2 stage paint whose clear coat was rock hard. As a result, Surbuf and M105 was used on the repainted panels and finished with M205 on LC White pads. The factory paint saw a mix of GTechniq P1 on LC Orange or Surbuf and M105 for the compounding stage, and was refined by M205 on LC White, and finished off with LC Black on Menzerna's P085RD.
50/50 of the hood:
Rear quarter panel 50/50:
Front quarter panel before:
After:
Driver's door before:
After:
Passenger door before:
After:
Before:
After:
Lower quarter panels before (here is an example were only a maximum of 70% correction was possible):
After:
Roof before:
After:
Spoiler before:
After:
Before:
After:
A lot of spot polishing was required for this vehicle:
And hand polishing:
Tailights needed some work:
Before:
After:
The next day I finished the Leatherique treatment with Prestine Clean and agitation with a Swissvax Upholstery Brush:
After the leatherique treatment, the matte black texture of the leather was restored:
With the paint correction completed, we took the vehicle out for a final foaming and wash:
Without a LSP, the paint was already looking fantastic:
Swissvax Onyx was used as a LSP:
I applied the product via (bare) hand:
Vince treated the dull trim with BlackWow, here is a 50/50:
Klasse All in One was used on the door jams:
Vince dressed the engine bay with Aerospace 303:
The trunk lid required some TLC so I used Sonus Paintwork Cleanser (I regret not taking a before/after):
With sunset approaching we buffed off the wax and took the car out for a final photoshoot:
Thanks again for reading guys!


 10-11-2011, 06:22 PM
#5
Team Owner
iTrader: (2)
Join Date: Jan 2008
Location: Kansas City, MO (Overland Park, KS)
Posts: 36,545
Received 6,470 Likes
on
5,162 Posts
Wow, that looks fantastic. I still amazes me how people who buy expensive cars like this neglect them so badly.


Trending Topics
10-12-2011, 09:06 PM
#9
Pro
Thread Starter
Thanks for all the compliments guys!
I'm not sure if there is anything against posting outside links on this forum, but I'll post it anyway and if I'm stepping on anyone's toes I'll gladly remove it. This is a link to a detailed how to on the Leatherique twins that my buddy wrote.
http://forums.780tuners.com/showthre...cation-How-To.
http://forums.780tuners.com/showthre...cation-How-To.
 10-13-2011, 10:36 AM
#11
takin care of Business in
iTrader: (5)
Join Date: Jan 2008
Location: Kansas City, MO
Age: 40
Posts: 30,994
Received 4,732 Likes
on
4,064 Posts
damn great turnout.....how do people mess up their cars so bad 
10-14-2011, 01:17 AM
#12
Pro
Thread Starter
The washing media used for this detail was a Zymol sponge. I like using it very much, even more so over my sheepskin mitts. I presoak it in water for a few hours and it's very soft to the touch. Definitely easier to use than a mitt IMO 
Thank you sir!
It looks like a previous "detailer" had a go at the car. There were holograms on every single panel. Rotary and wool pad gone wild? To the owner's defense he had just purchased the vehicle a few days ago so at least he knew to get the paint corrected and looking it's best.
Thank you sir!
It looks like a previous "detailer" had a go at the car. There were holograms on every single panel. Rotary and wool pad gone wild? To the owner's defense he had just purchased the vehicle a few days ago so at least he knew to get the paint corrected and looking it's best.
10-14-2011, 11:15 AM
#15
takin care of Business in
iTrader: (5)
Join Date: Jan 2008
Location: Kansas City, MO
Age: 40
Posts: 30,994
Received 4,732 Likes
on
4,064 Posts
why does all the great skill be across the border ??? I was thinking of getting my car detailed by you 
10-14-2011, 08:21 PM
#18
Moderator
iTrader: (3)
Oh my goodness 

Thread
Thread Starter
Forum
Replies
Last Post
detailersdomain
Wash & Wax
3
10-09-2015 10:13 PM