2007 Acura TL-S KBP, Detail + Correction
 07-29-2011, 01:19 AM
#1
Pro
Thread Starter
2007 Acura TL-S KBP, Detail + Correction
Hi everyone,
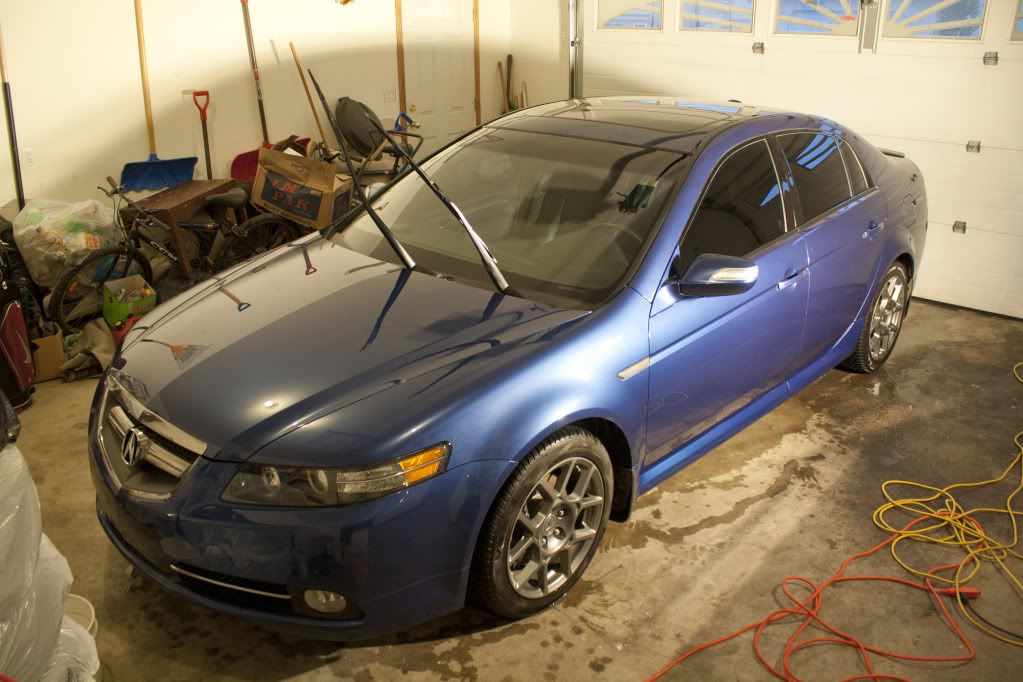
This is my first write-up as xbr50 is the one usually taking care of the write-ups. This particular one is an exception since it is my personal vehicle. The subject is a 2007 Acura TL Type S in Kinetic Blue Pearl (KBP). I purchased this car at the end of August 2010 but it has never received a proper paint correction ever since it has been in my possession. A few days after I bought it, I did an amateur detail on it with basic OTC products that brought back some gloss and clarity to the paint but did next to nothing about the swirls. I wasn�t too concerned as winter was coming right around the corner and Edmonton is usually blanketed in snow for well over half the year. However, in the past few weeks I�ve made the time to do a proper detail on my car. It received lots of TLC on the exterior & interior. The majority of the work was performed by me while Adam dropped by to help wet sand and polish out my headlights.
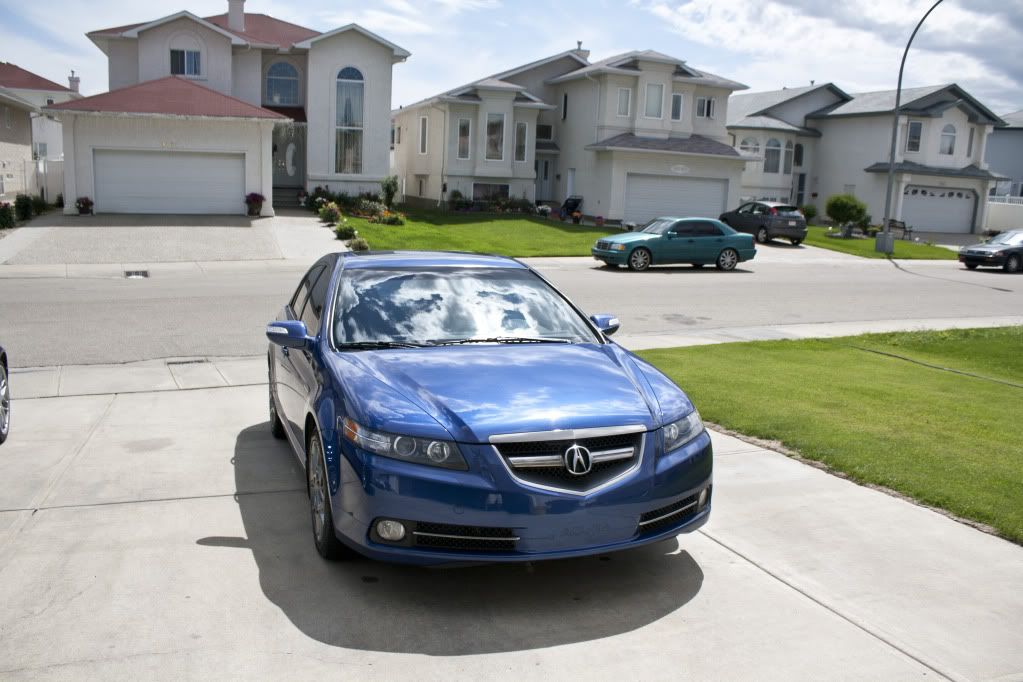
The subject:
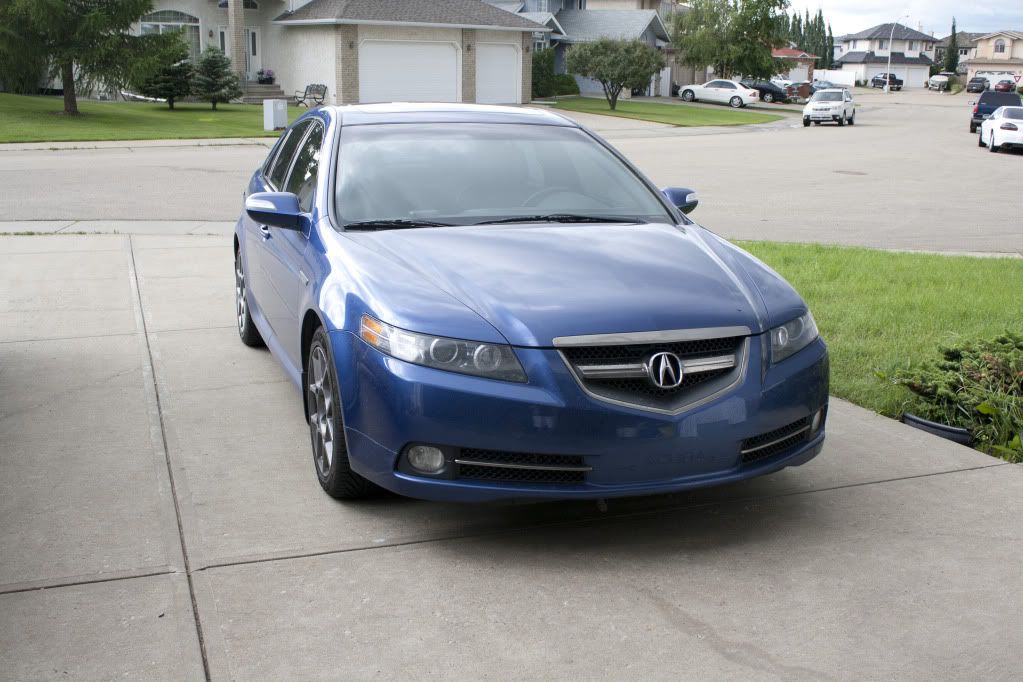
In total, the detail took about 28 hours over the course of nearly 2 weeks. I�m sure it wouldn�t have taken so long if it were completed fully on a weekend but weekends are the only time I can detail customer�s cars. I would work on my car here and there on days where I had spare time. All the paint correction was completed in one day while everything else was spaced out accordingly.
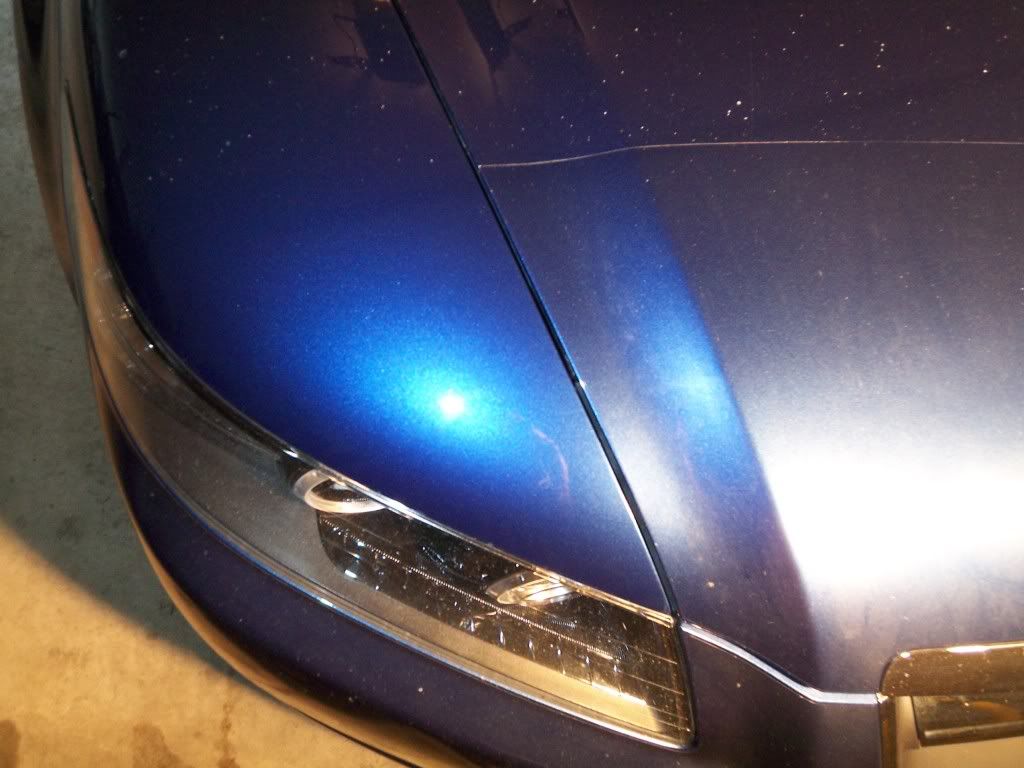
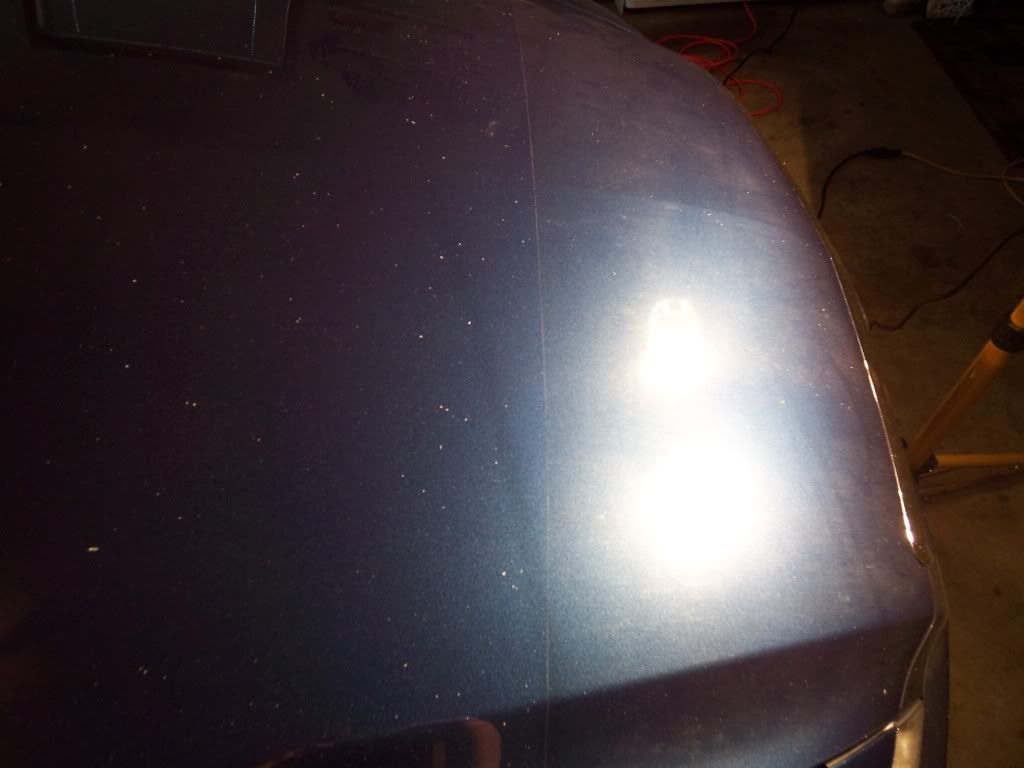
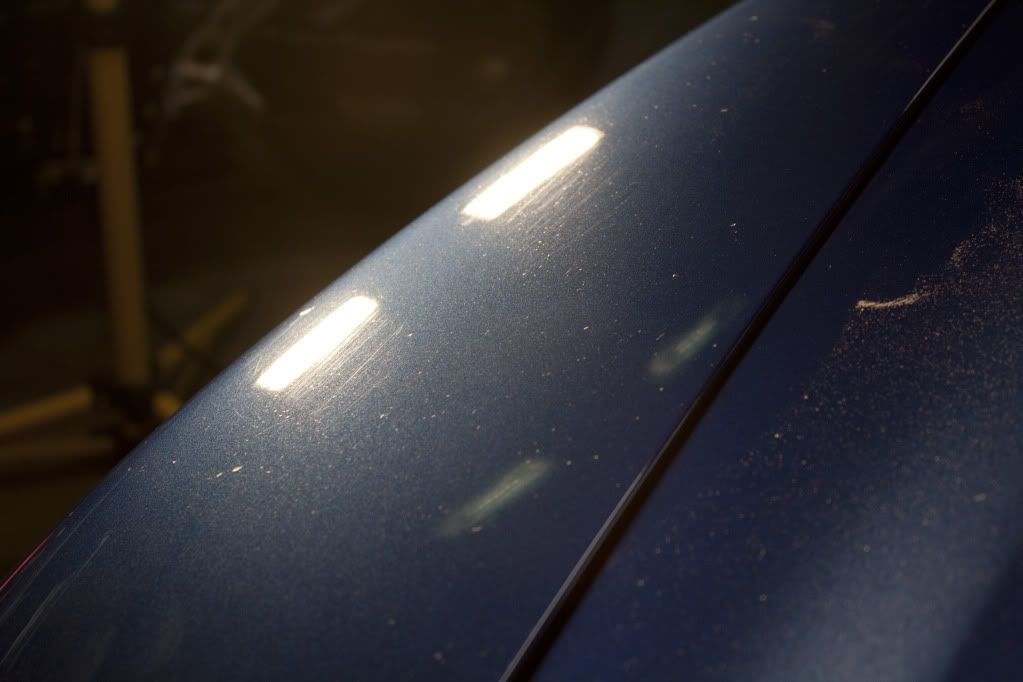
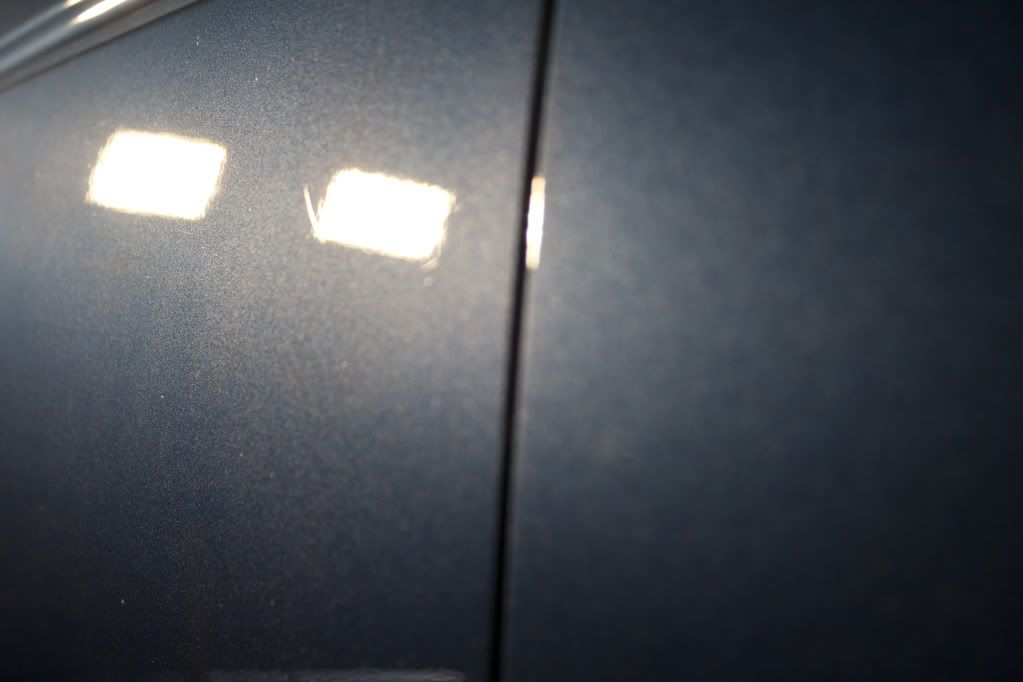
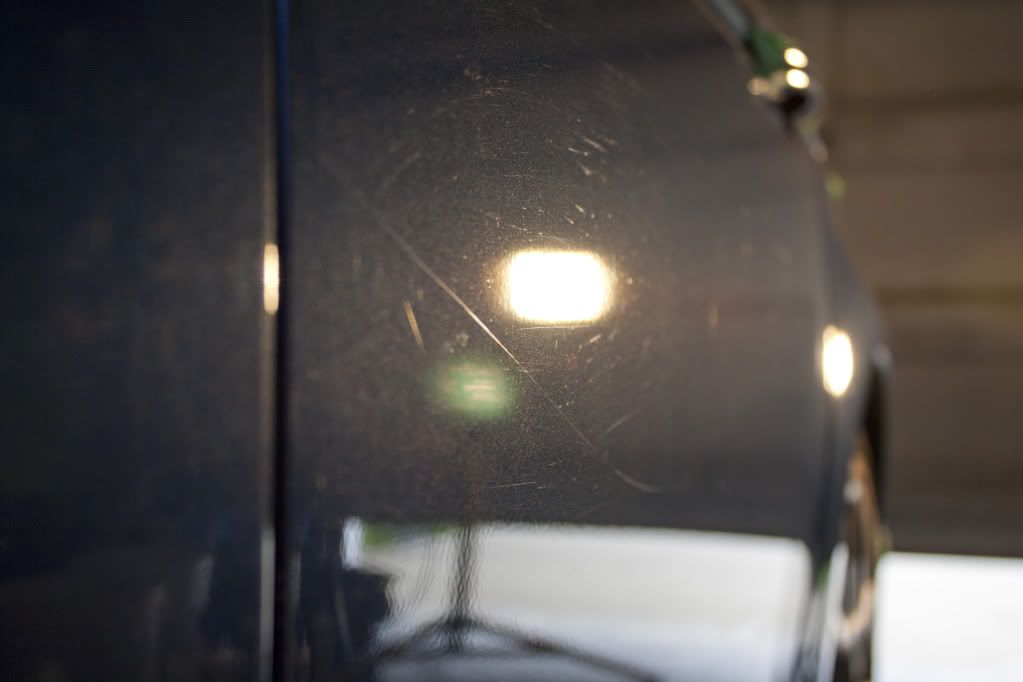
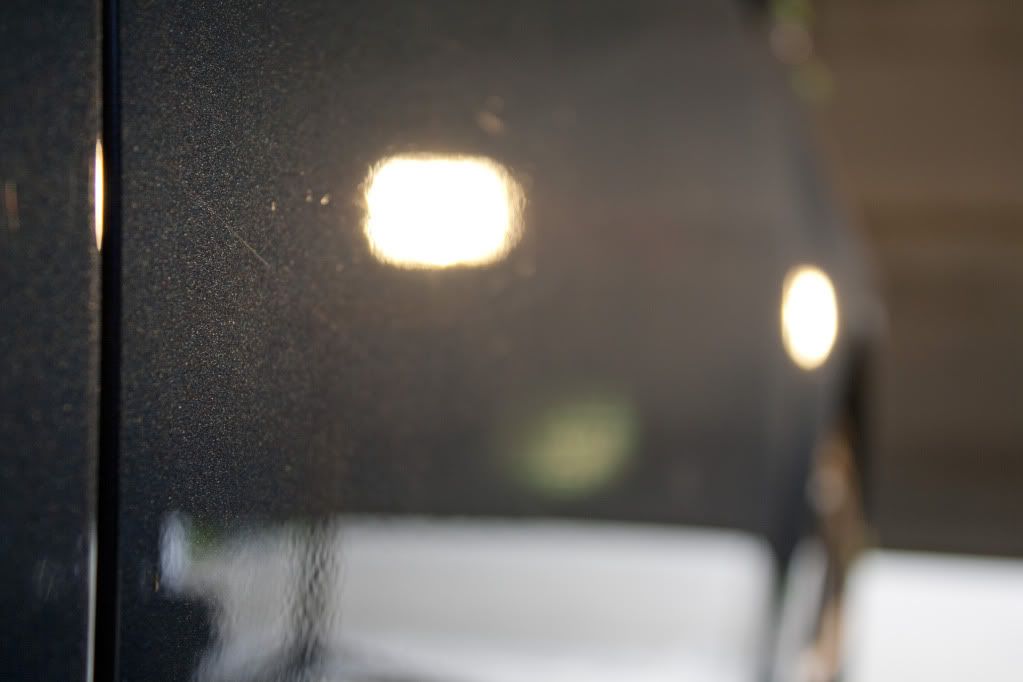
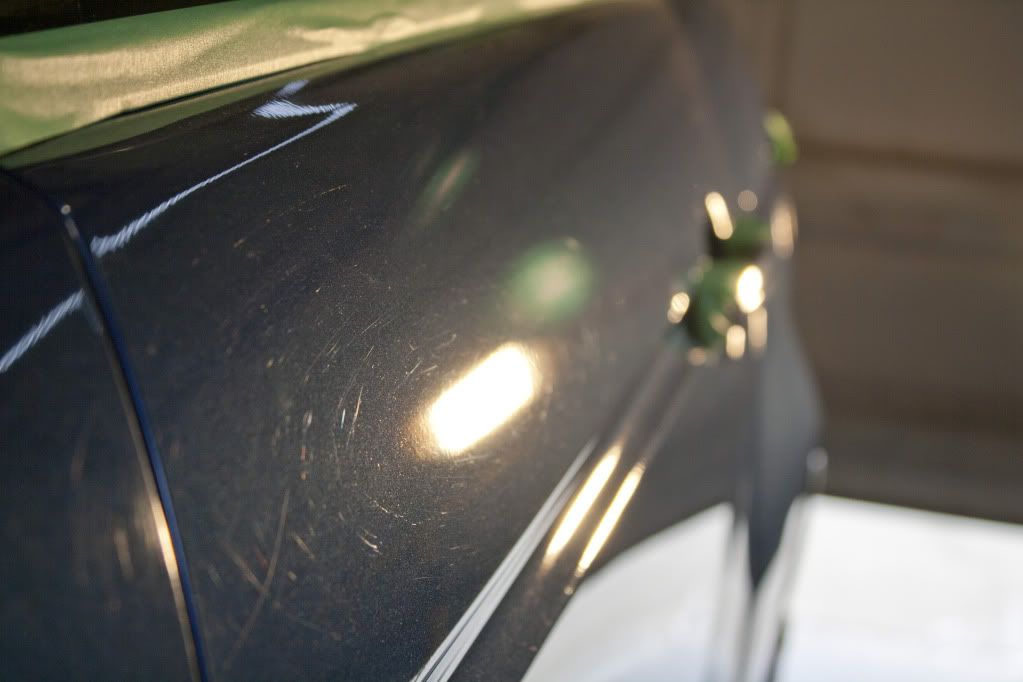
Initial condition
This car is lacking in the gloss department
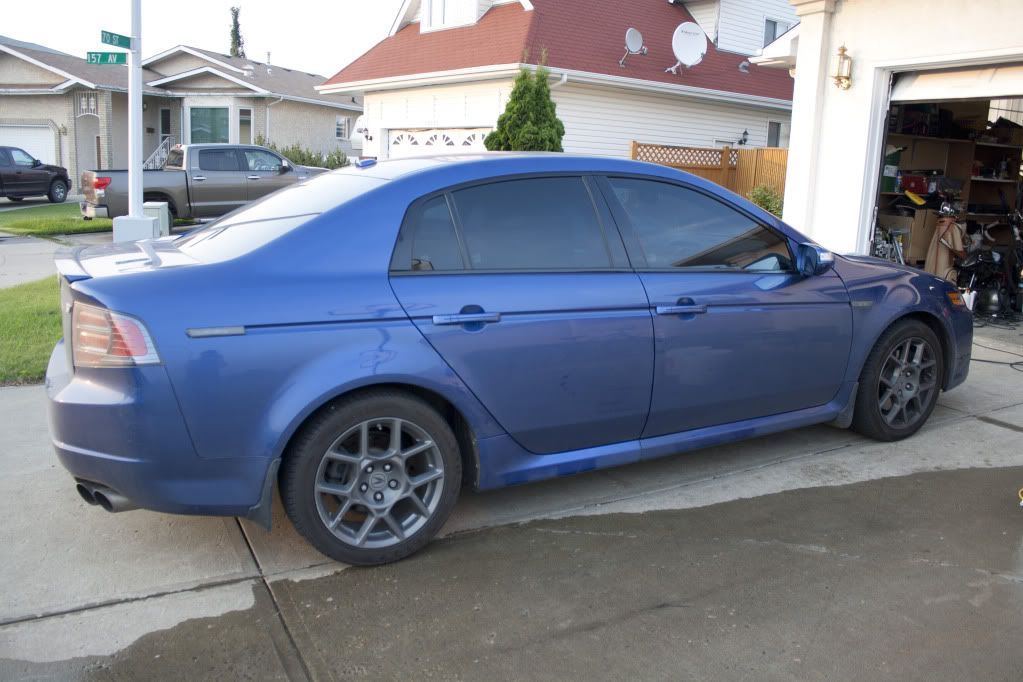
Wheels covered in brake dust

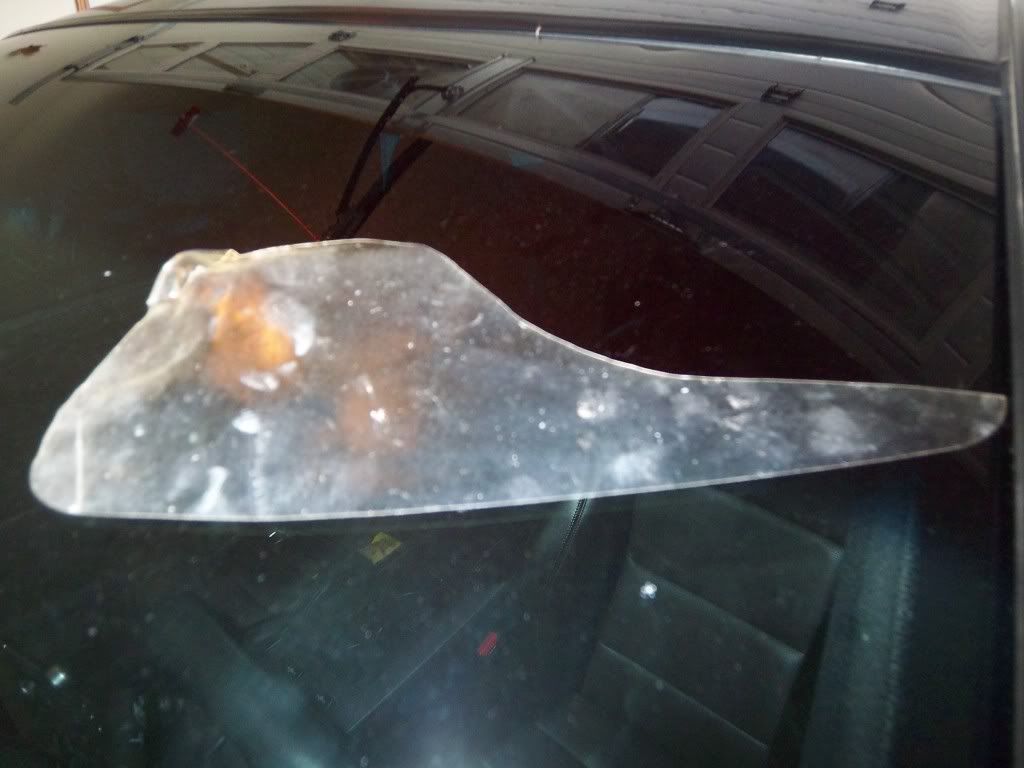
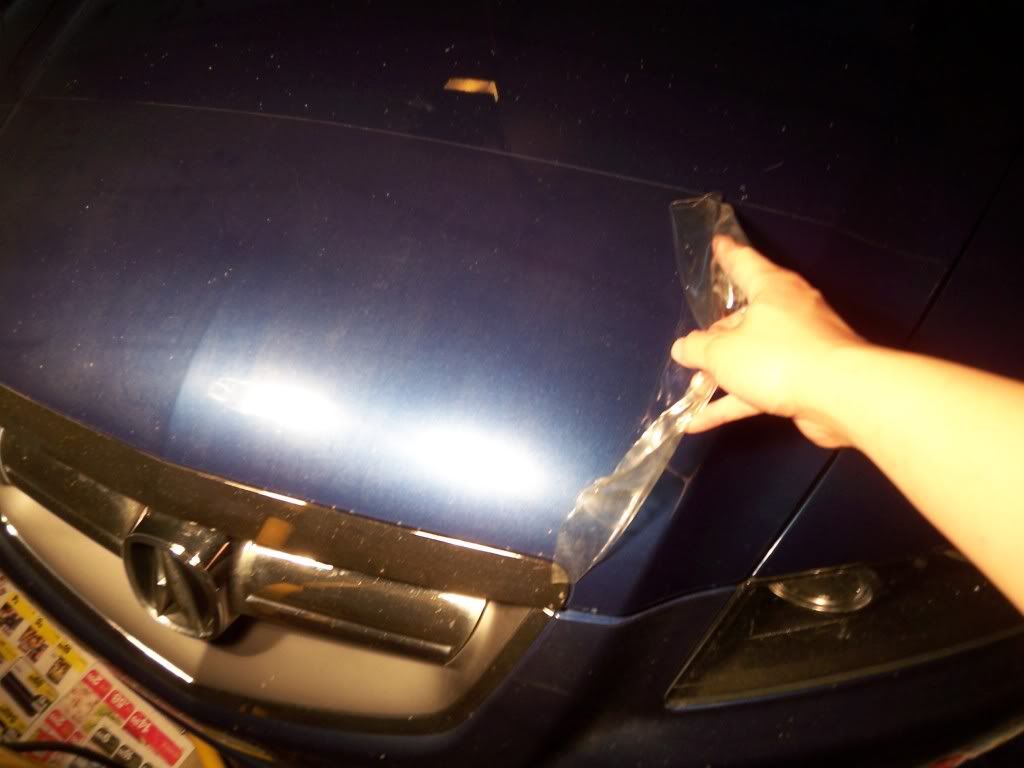
Clear bra removal
A clear bra had been applied by the previous owner to a portion of the hood, front bumper, side mirrors, fenders, and a small portion below the quarter panels. All pieces were removed as they have yellowed significantly and look battered
Heating up the clear bra to make removal easier
Side mirror clear bra peeled off
Fender portion gone
As you can see, it appears very aged
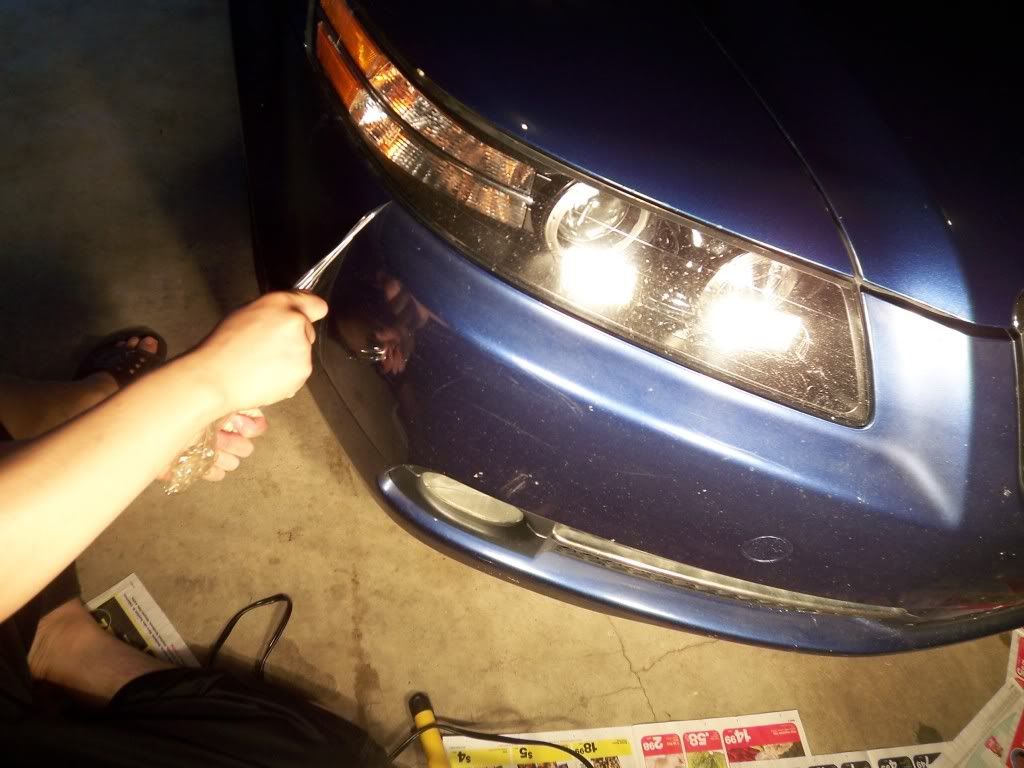
Removal
Working on the front bumper
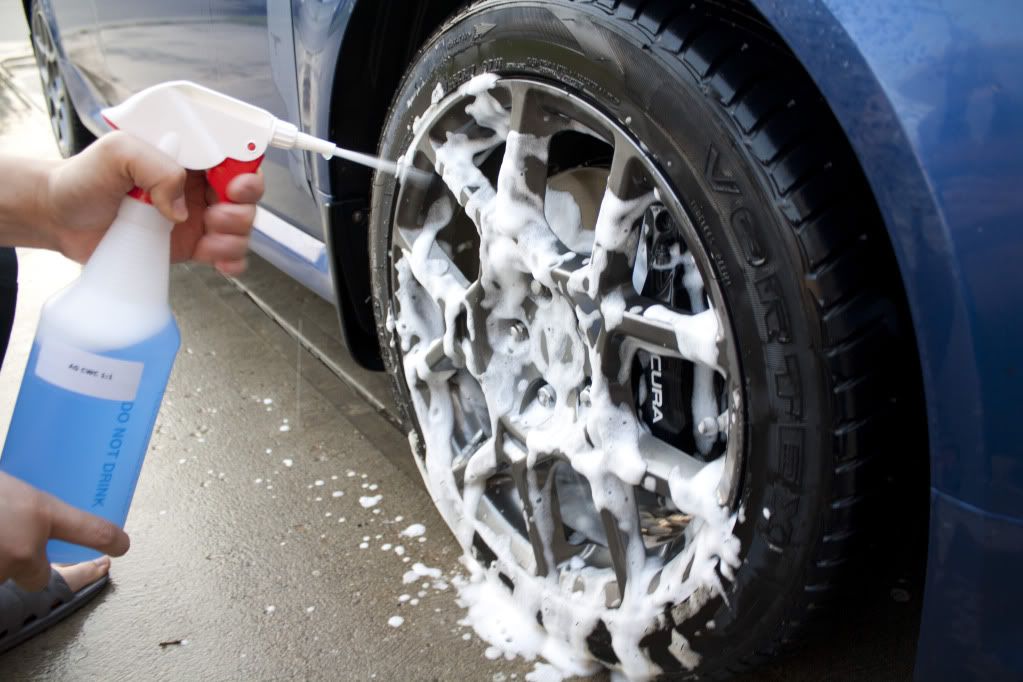
Wash
Wheels & tires were hit with AG CWC diluted 1:1 with a Griot�s foaming sprayer
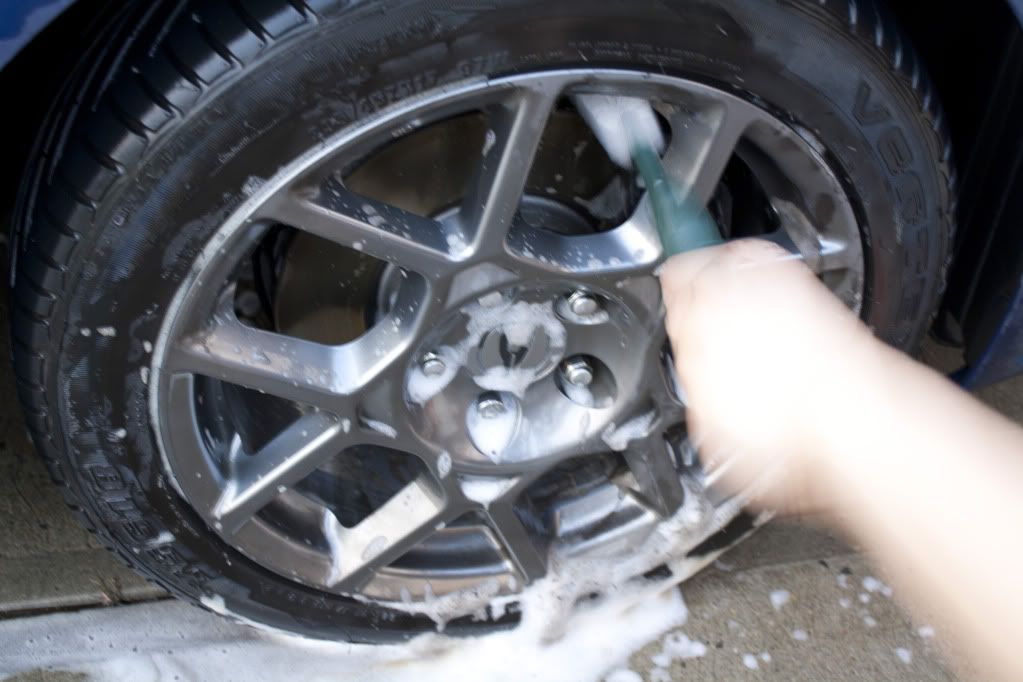
Using a RG XL Wheel Brush to get in between and deep into the spokes
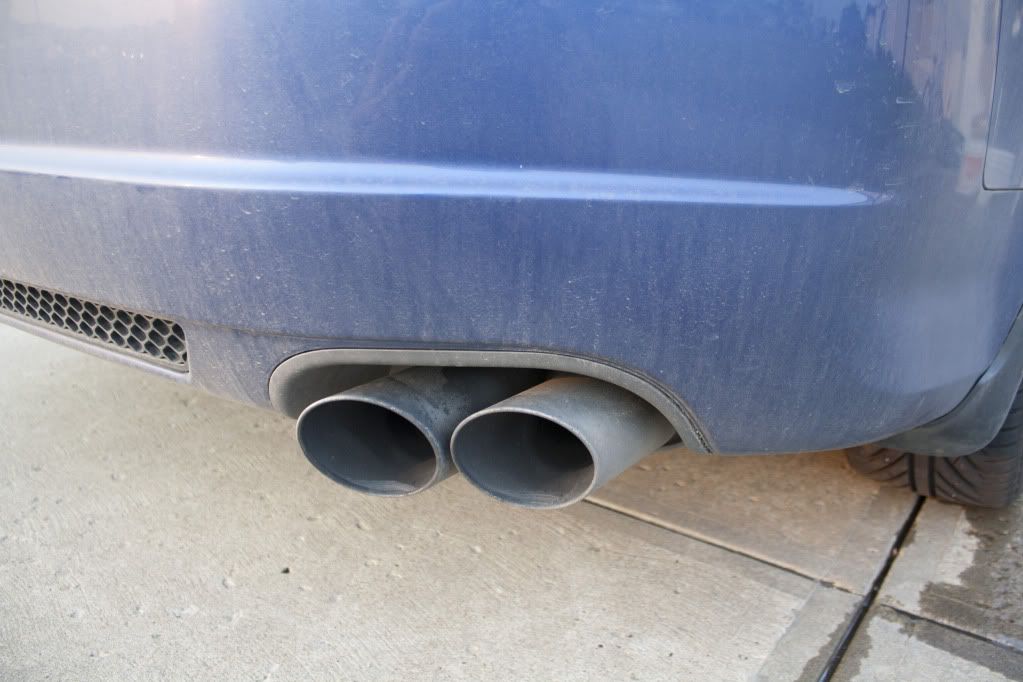
Exhaust tips before
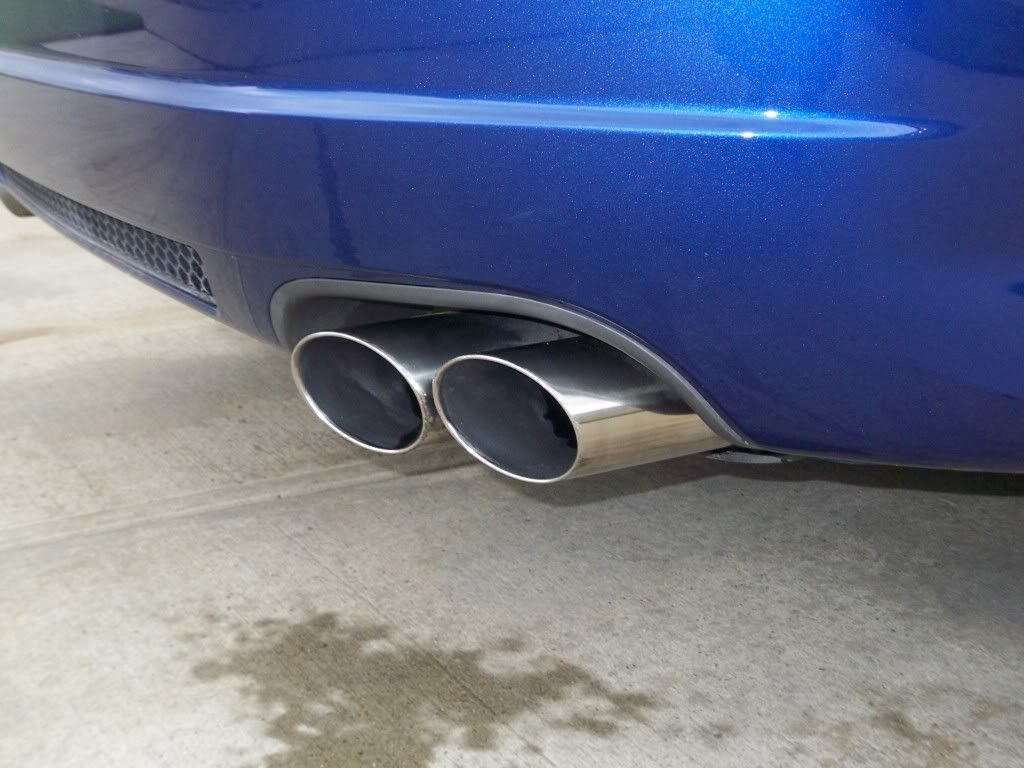
Exhaust tips after - steel wool #0000, CG GR, Mini EZ Detail Brush & P21S Polishing Soap
Note � inside of tips are treated so only outside was polished
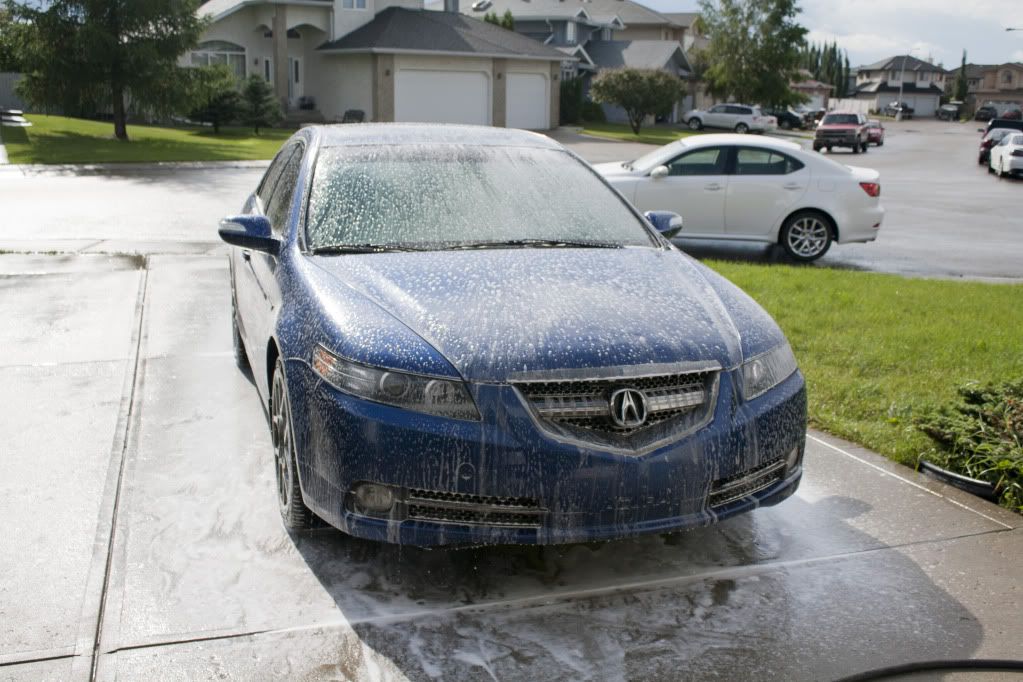
Car is foamed with 2 ounces of CG CW&G & filtered water
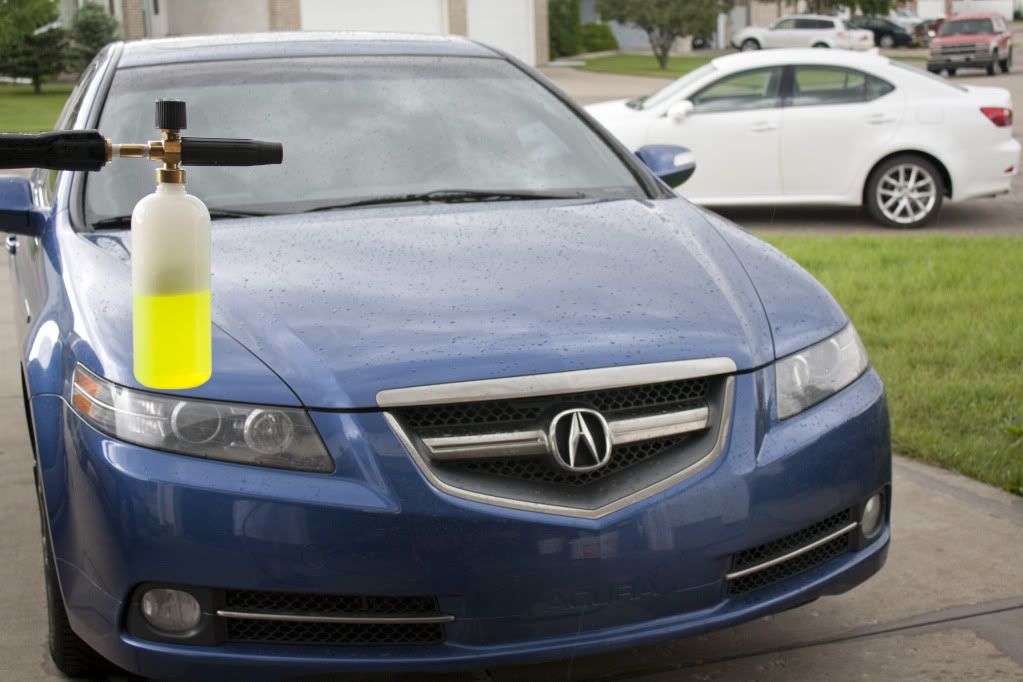
I almost forgot to take a picture of the car snow foamed. This shot captures what it looked like after an approximate 3 minute dwell time
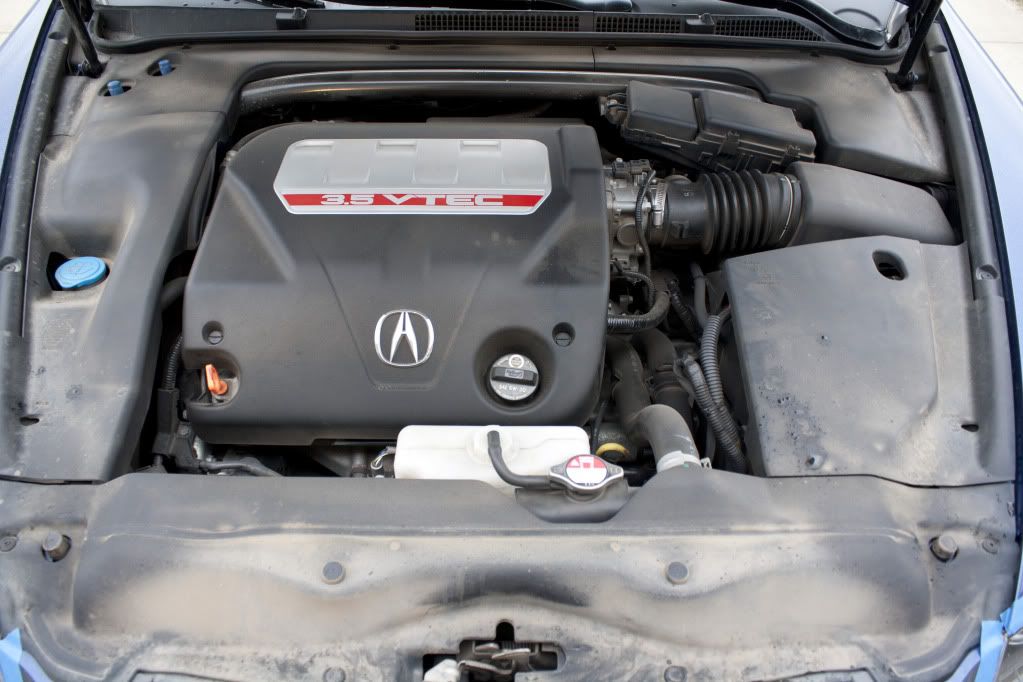
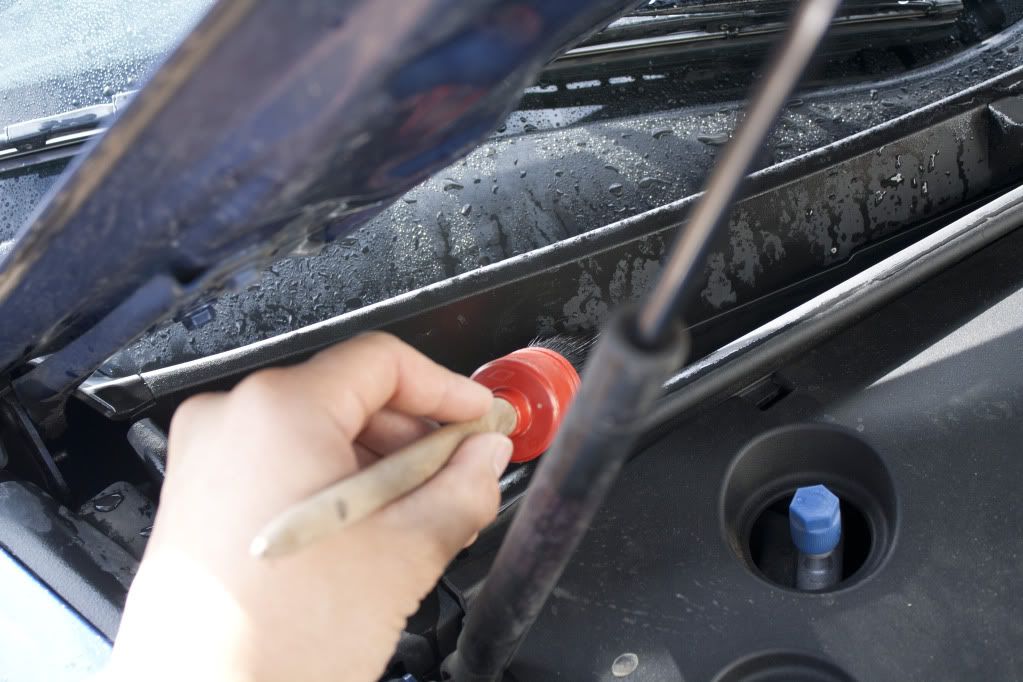
Engine bay before
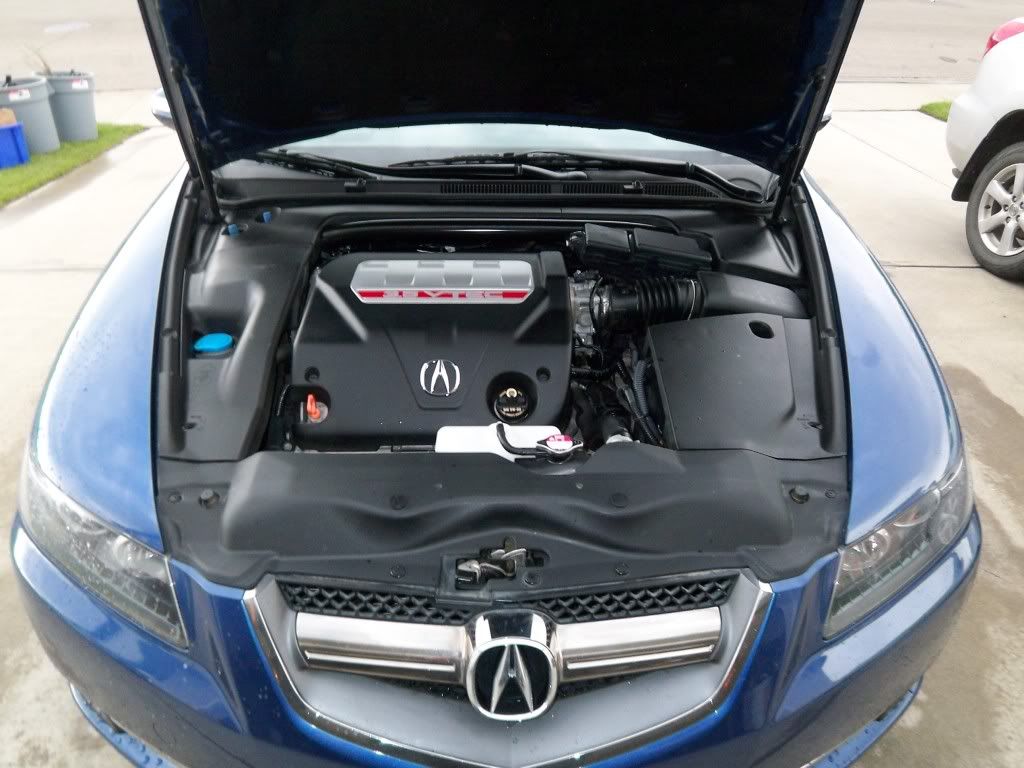
Engine bay after � CG GR, Large & Mini EZ Detail Brushes, Meguiar�s #40
It started to drizzle outside as I took the shot, a few water spots can be seen
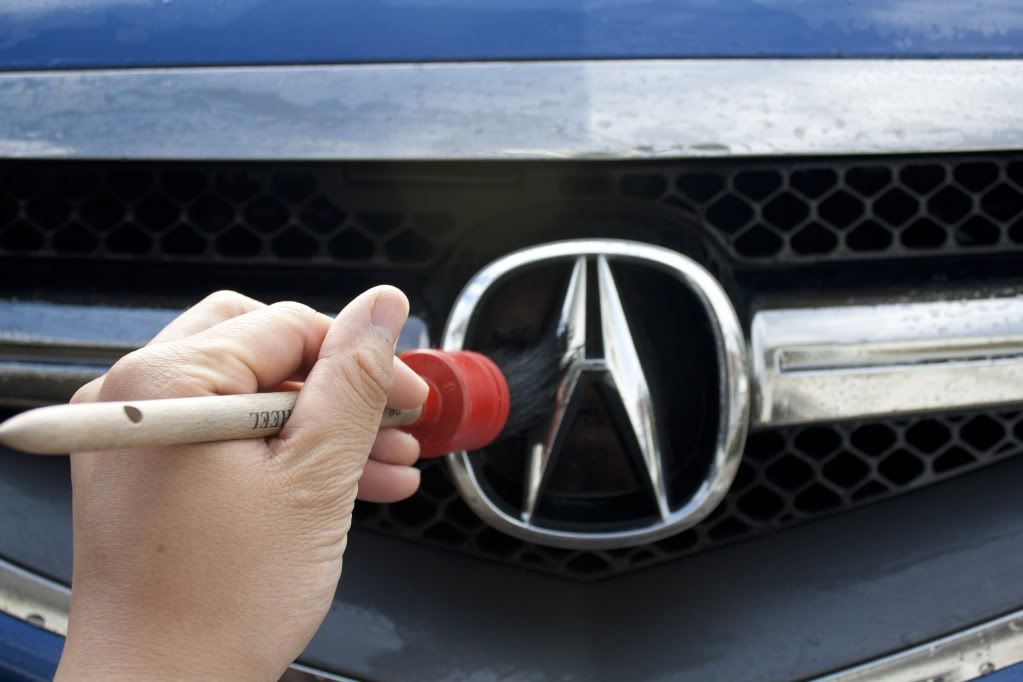
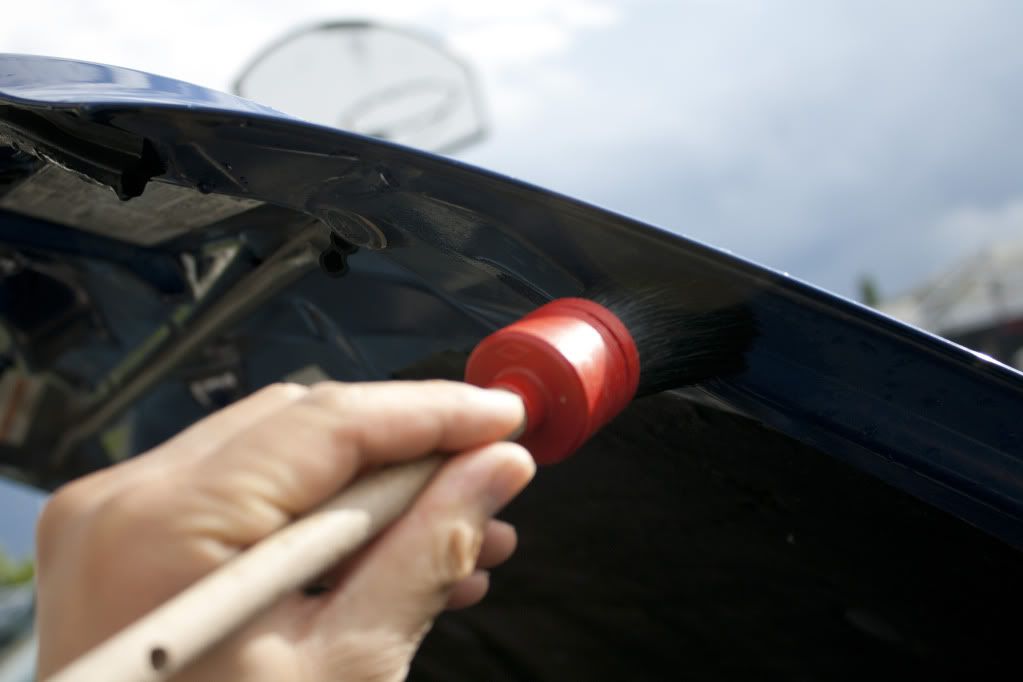
Looking after the smaller details using a Swissvax Wheel Brush

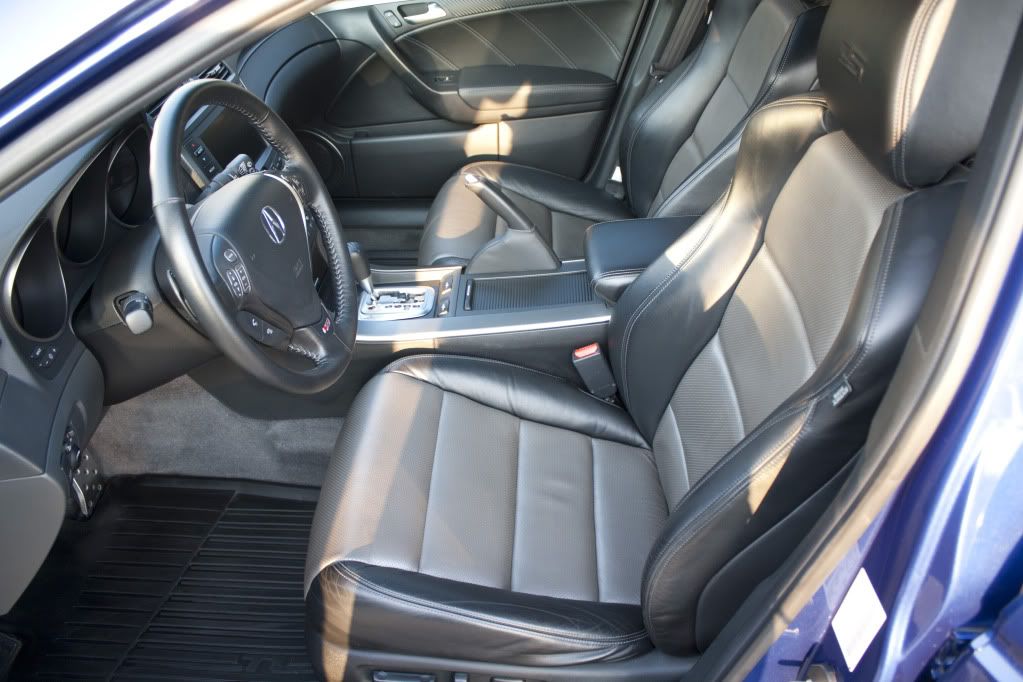
Interior
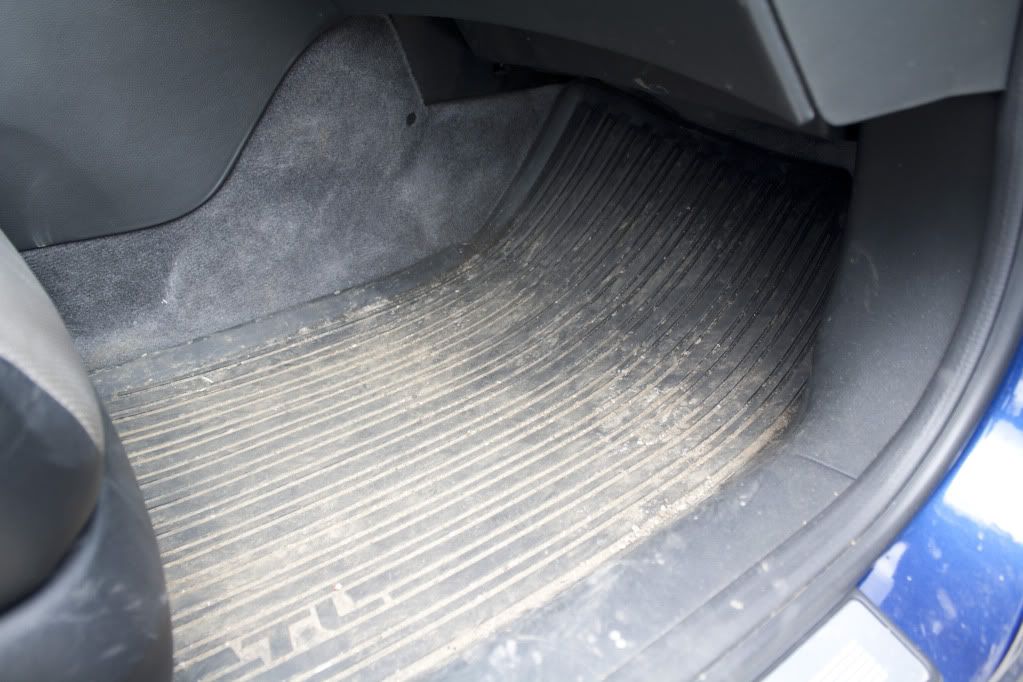
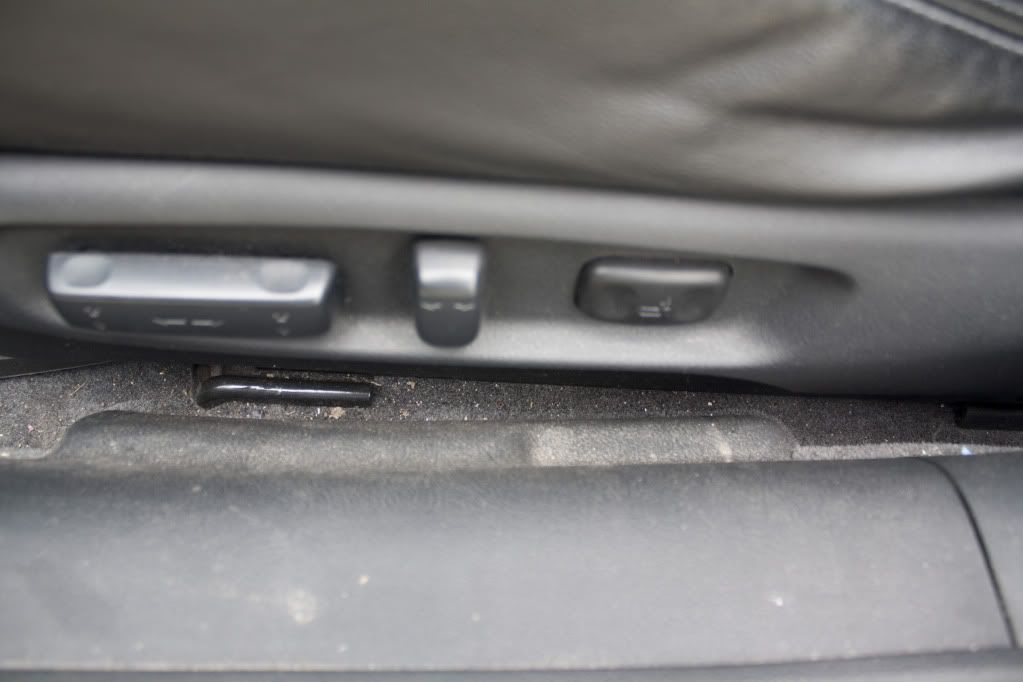
Driver�s side before � Yes I know this is terrible for someone who calls himself a detailer. In my defense, the winters over here are terrible and when it�s so cold outside, I could really care less about how clean the interior looks. I just want to get inside my house to be warm and away from the -40 bone chill temperatures
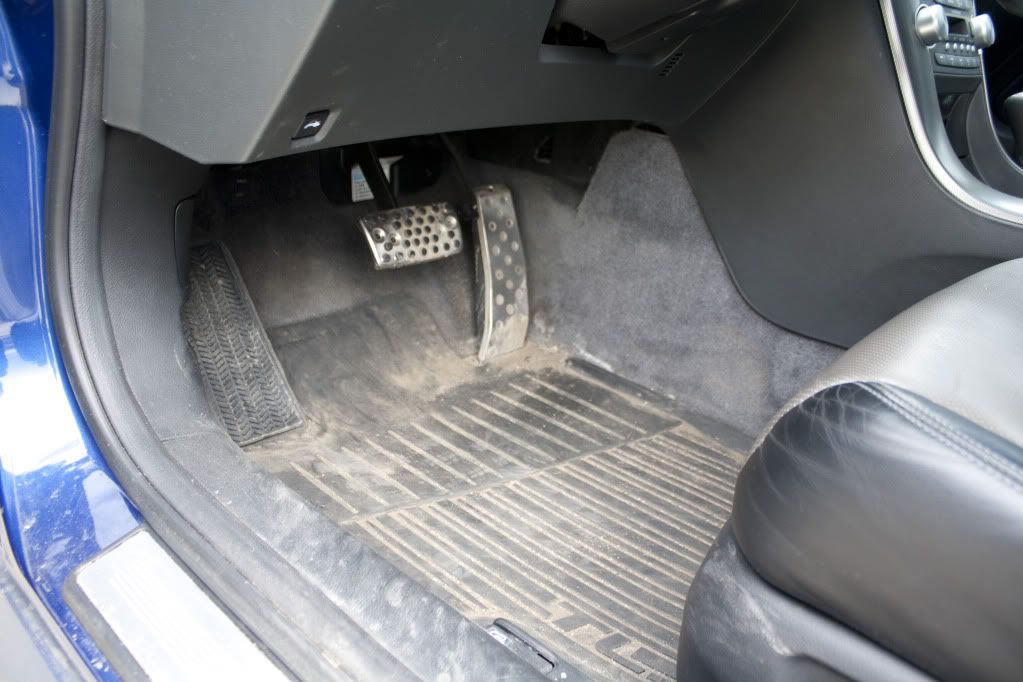
Closer up
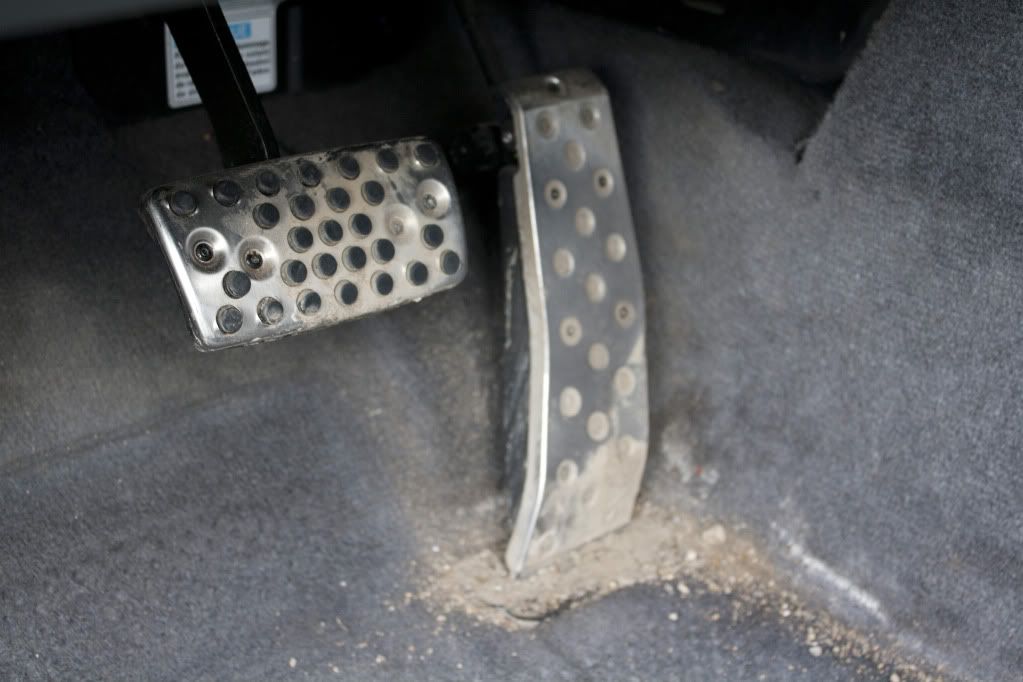
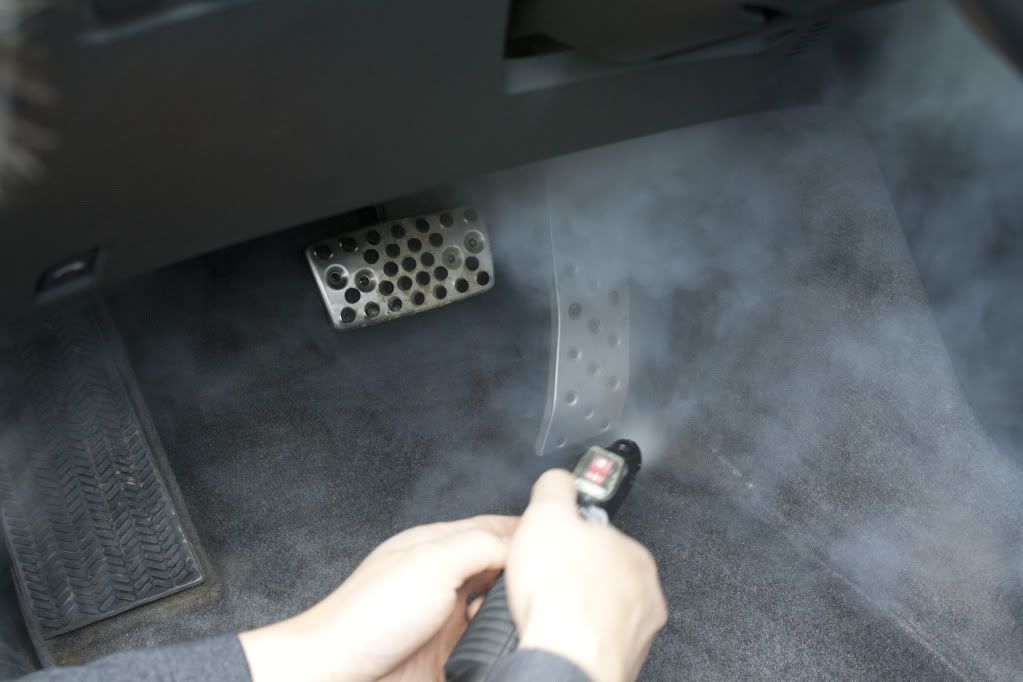
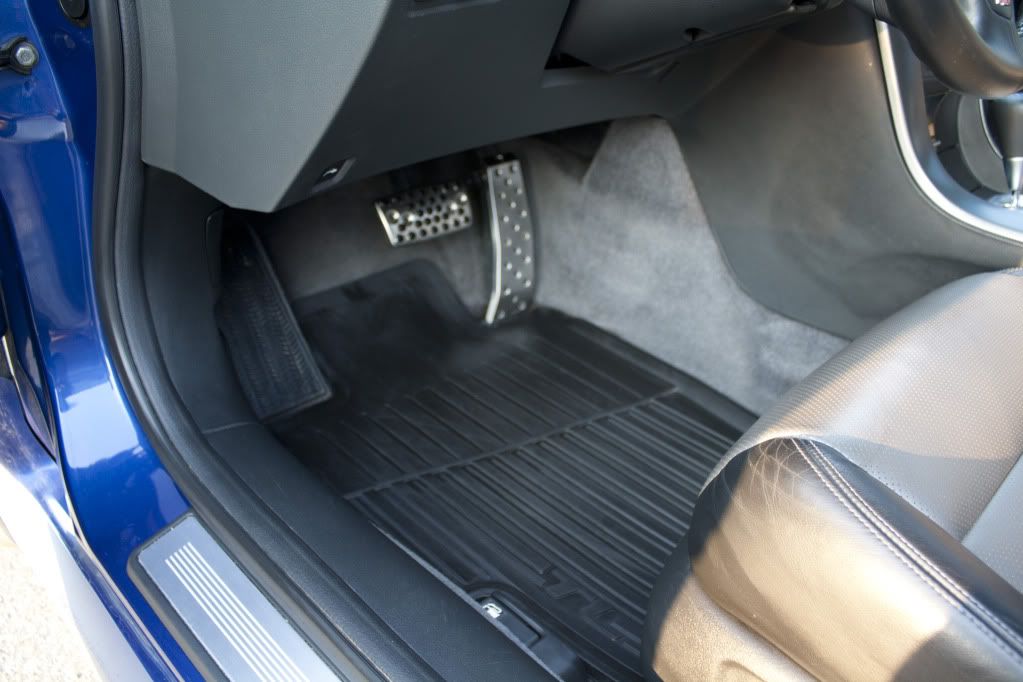
I hit the pedals with a combination of steam, Meguiar�s D103 Plus & a stiff carpet brush
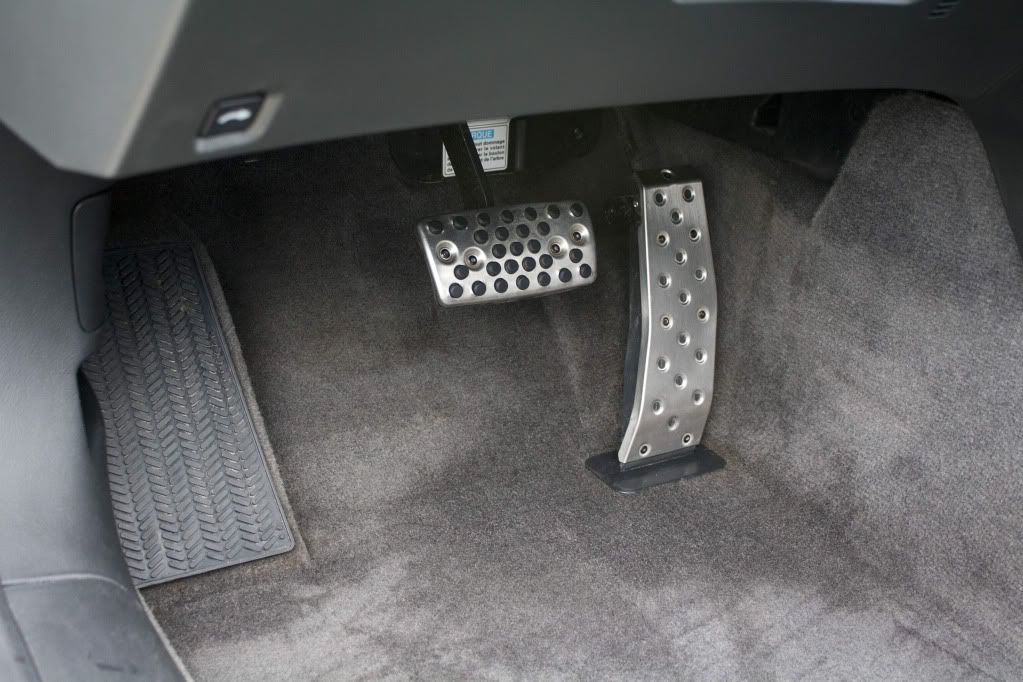
After
Passenger side floor mat before
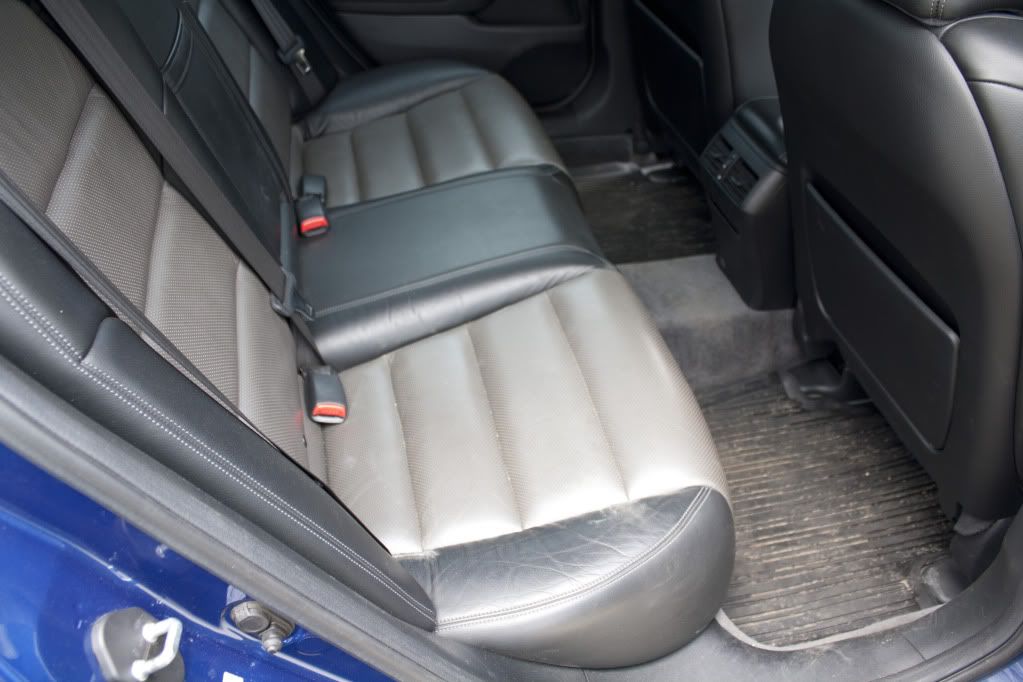
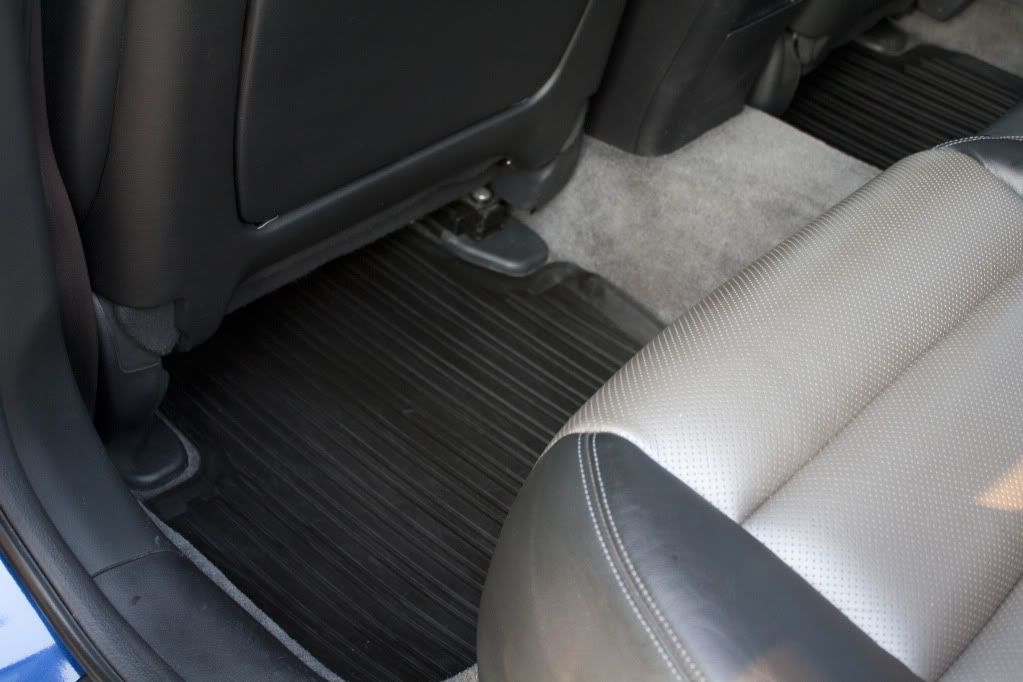
Rear floor mats before
Took the floor mats out to receive the same treatment as the pedals
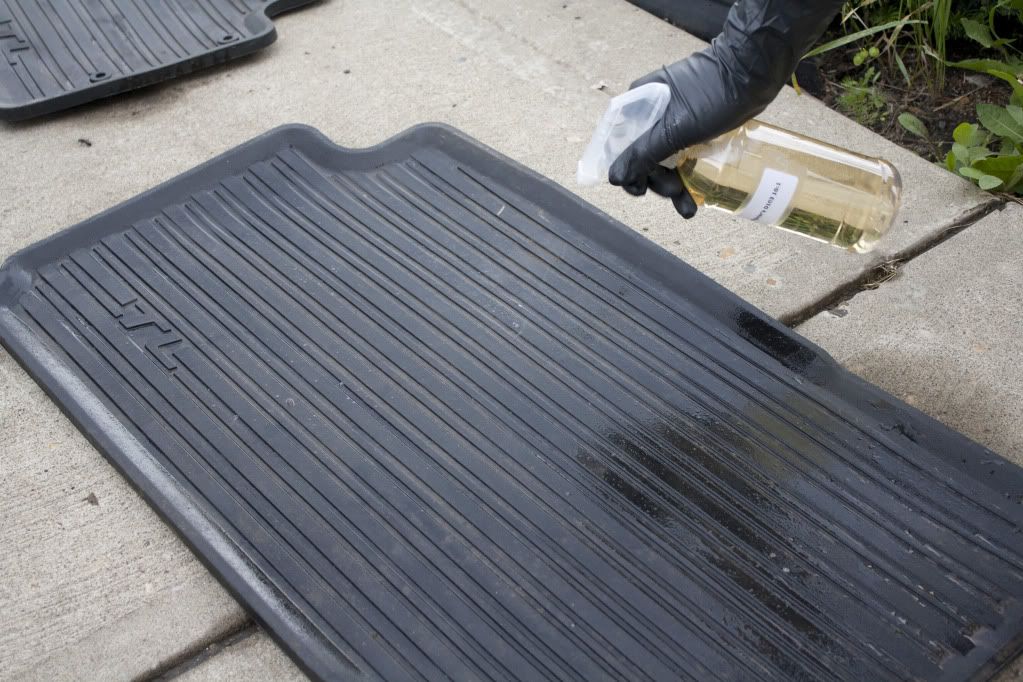
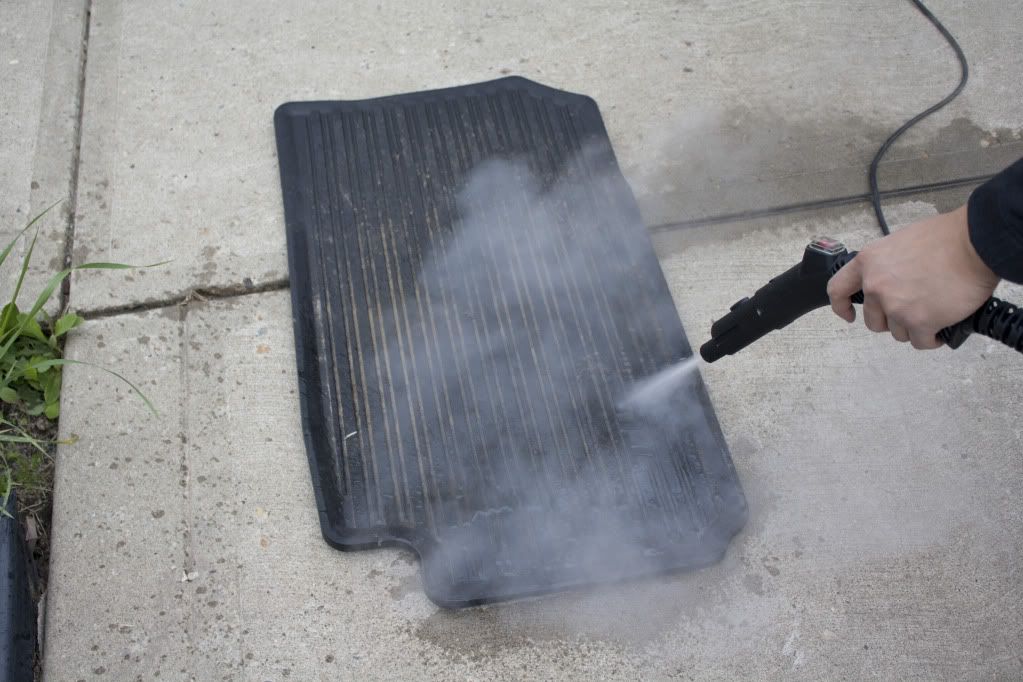
Steam power is awesome
Rear floor mats after
Driver side after
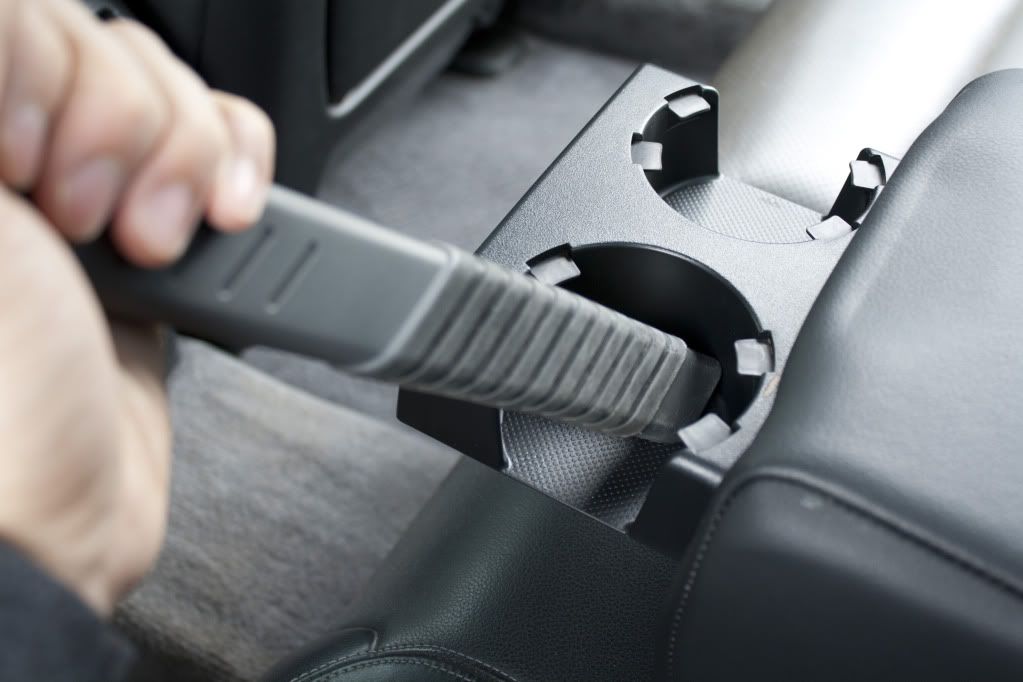
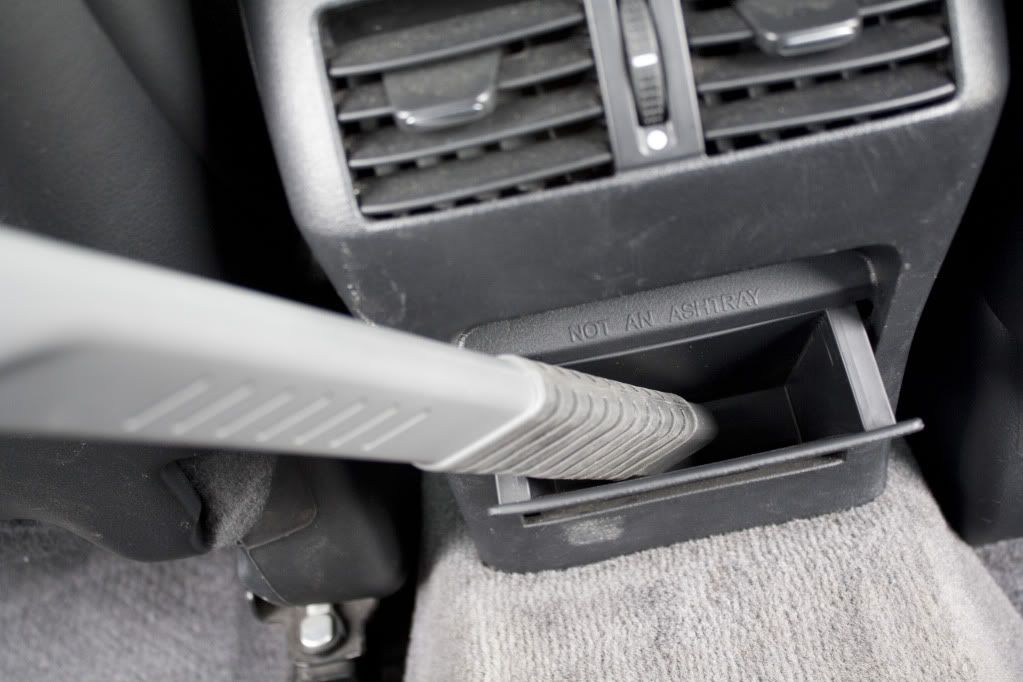
The entire interior received a thorough vacuum and dusting prior to using cleaners
Before & Durings
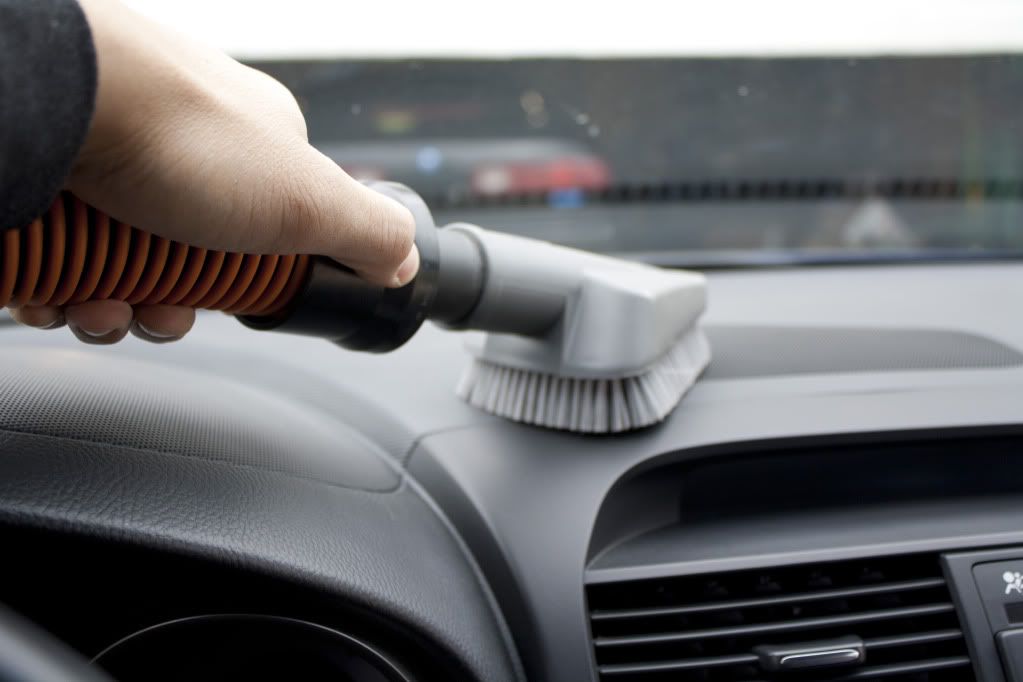
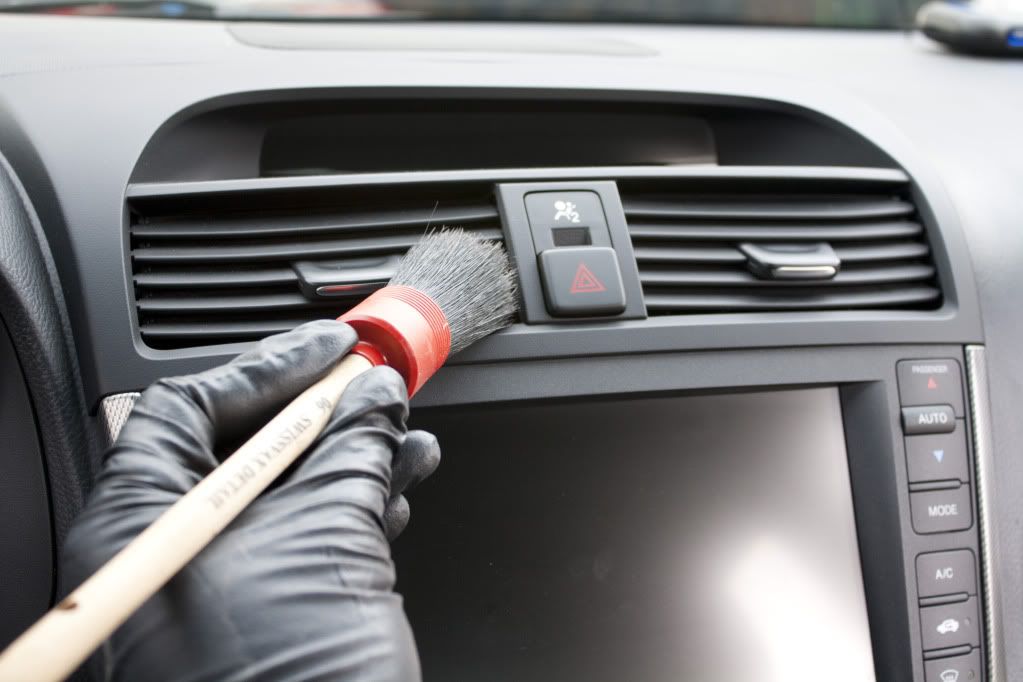
Dusting with a Swissvax Detail Brush
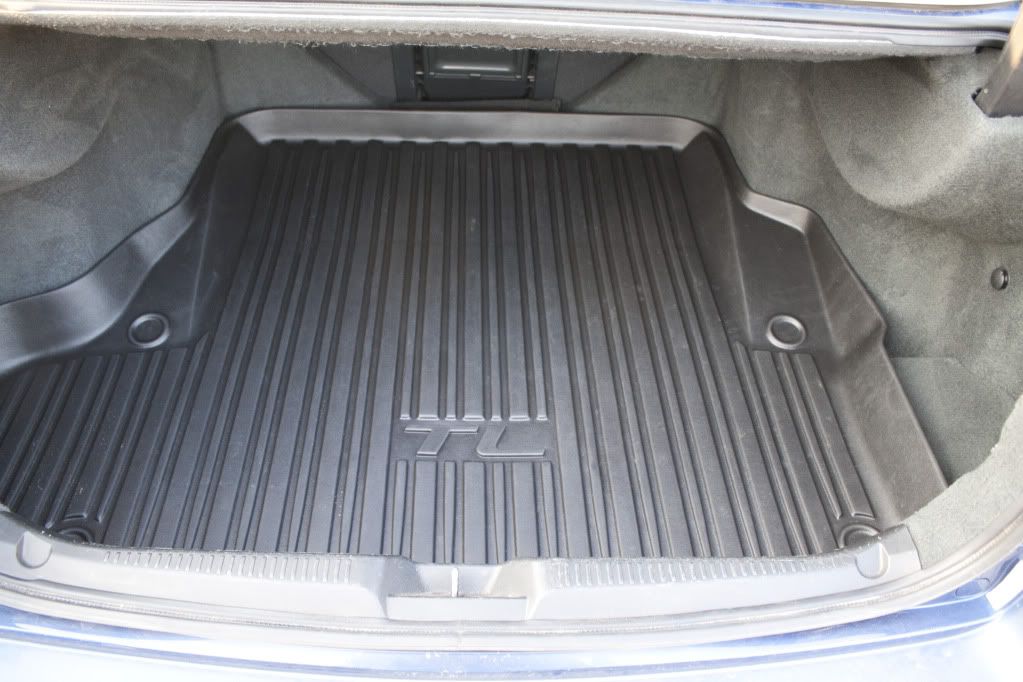
Trunk before
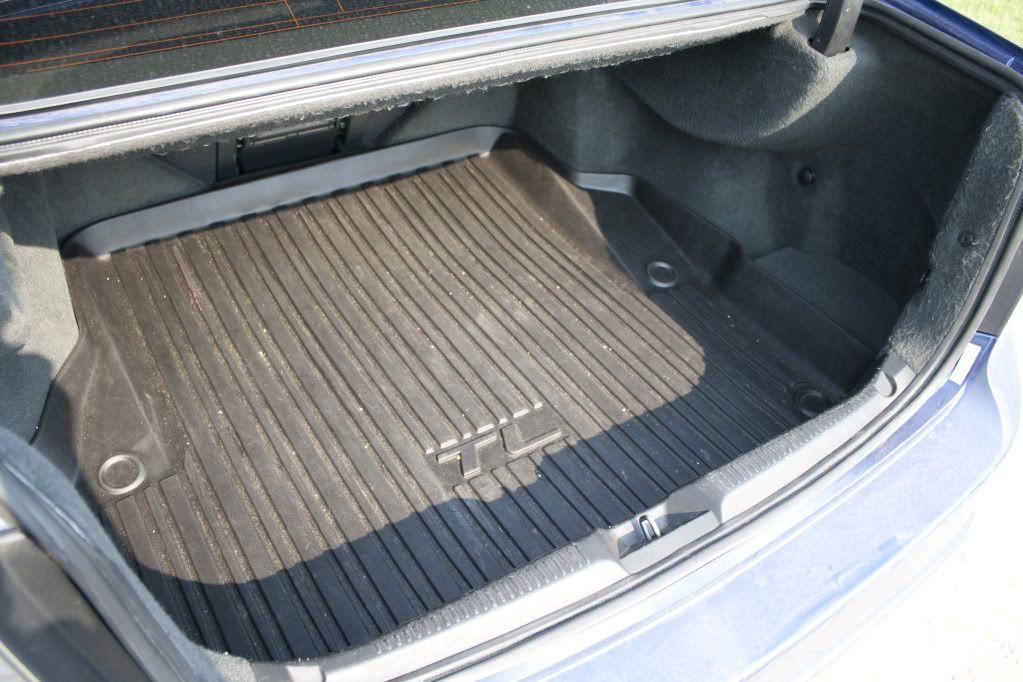
Trunk after
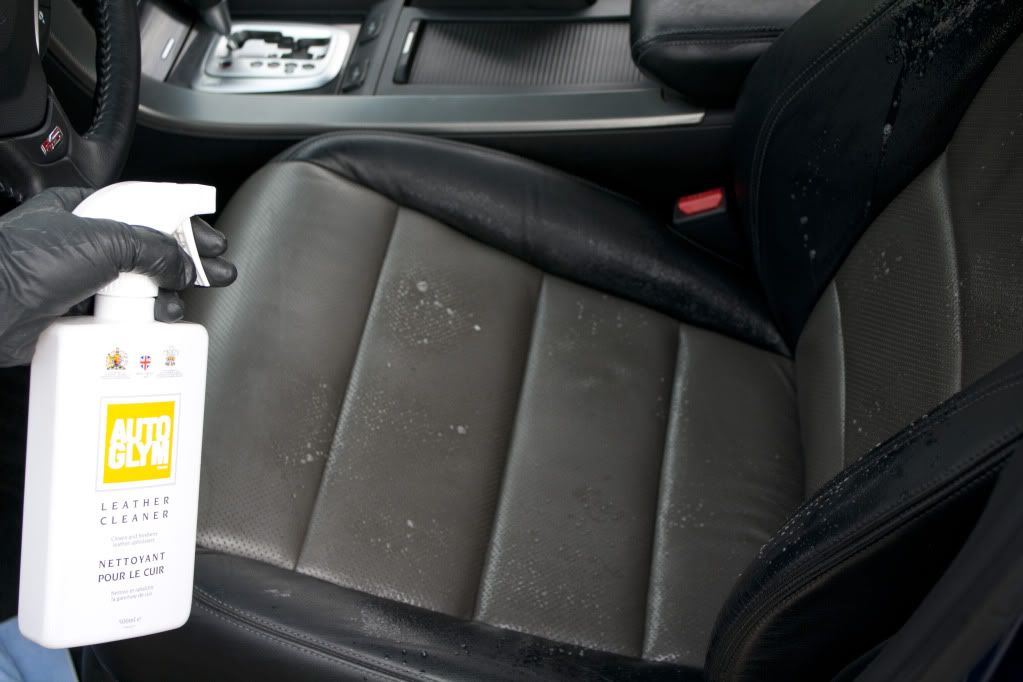
Leather seats before
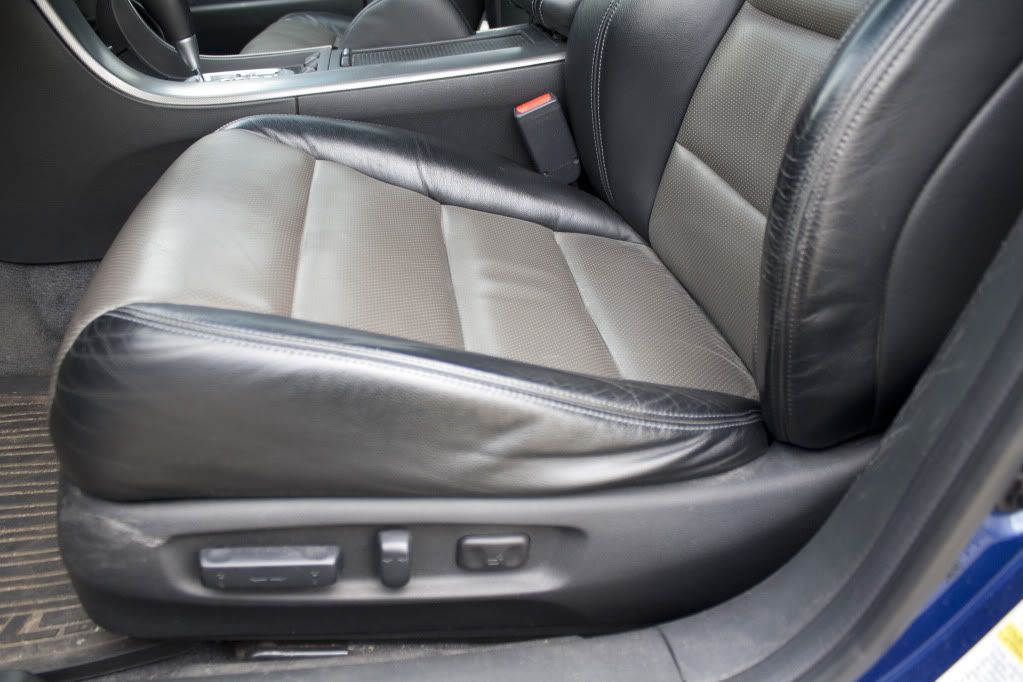
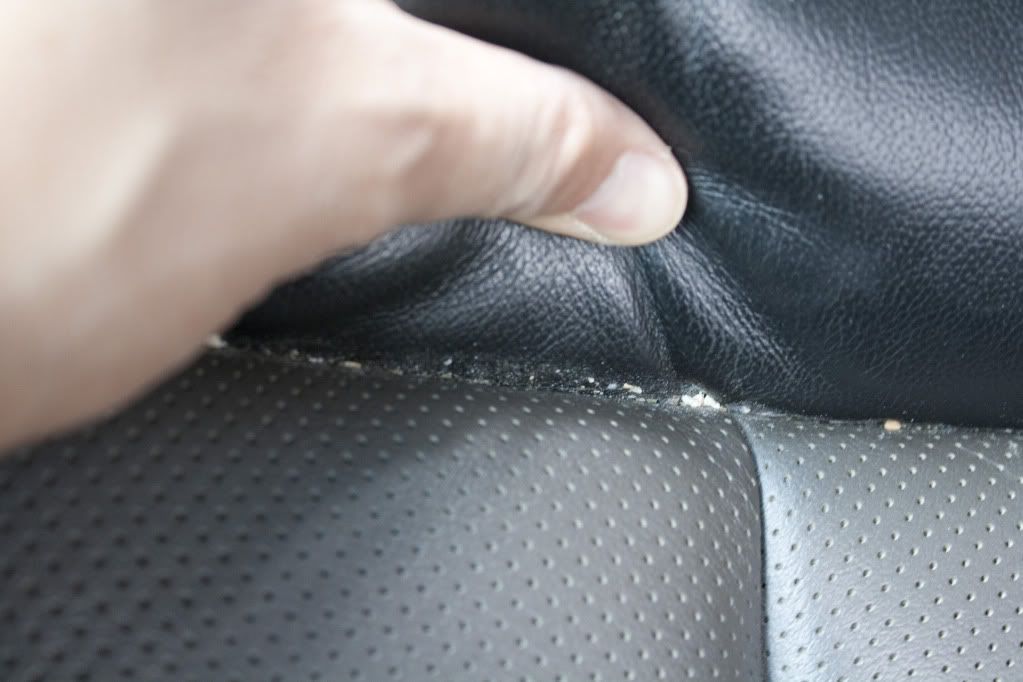
A lot of dirt was trapped between the seams
Every seat was steamed
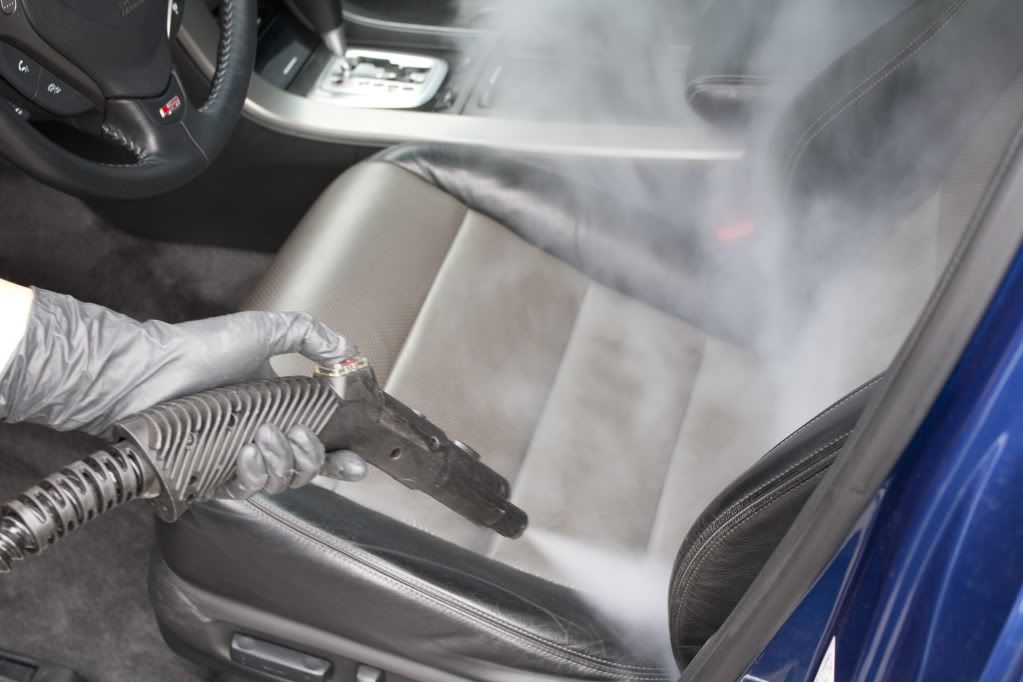
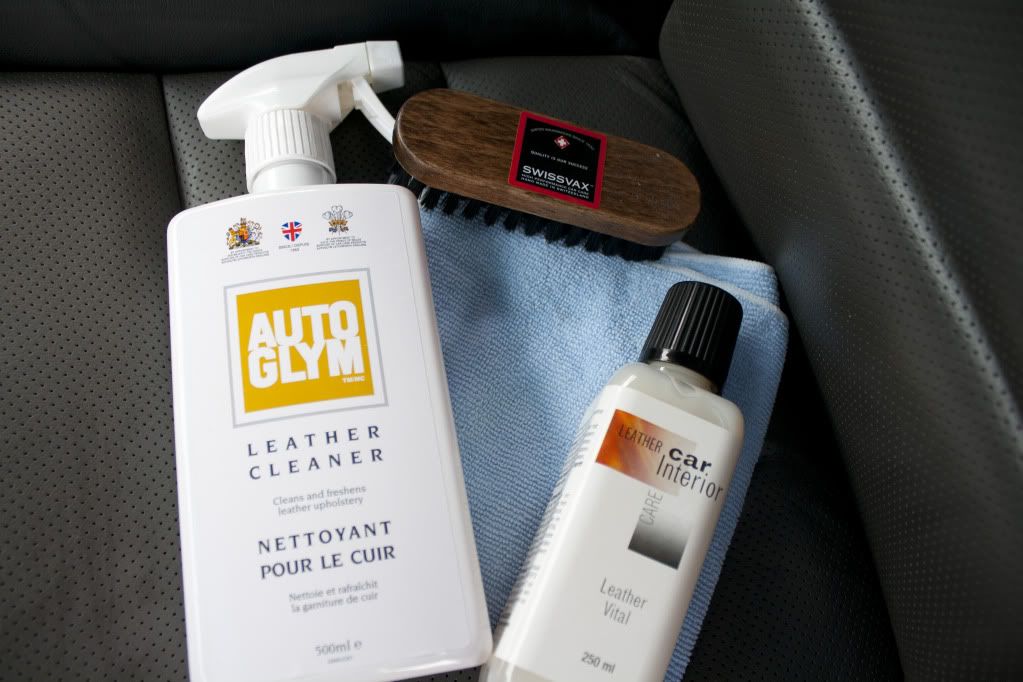
After steaming, I prepared some items for cleaning up the seats
Sprayed some AG LC
Agitating with a Swissvax Leather Brush
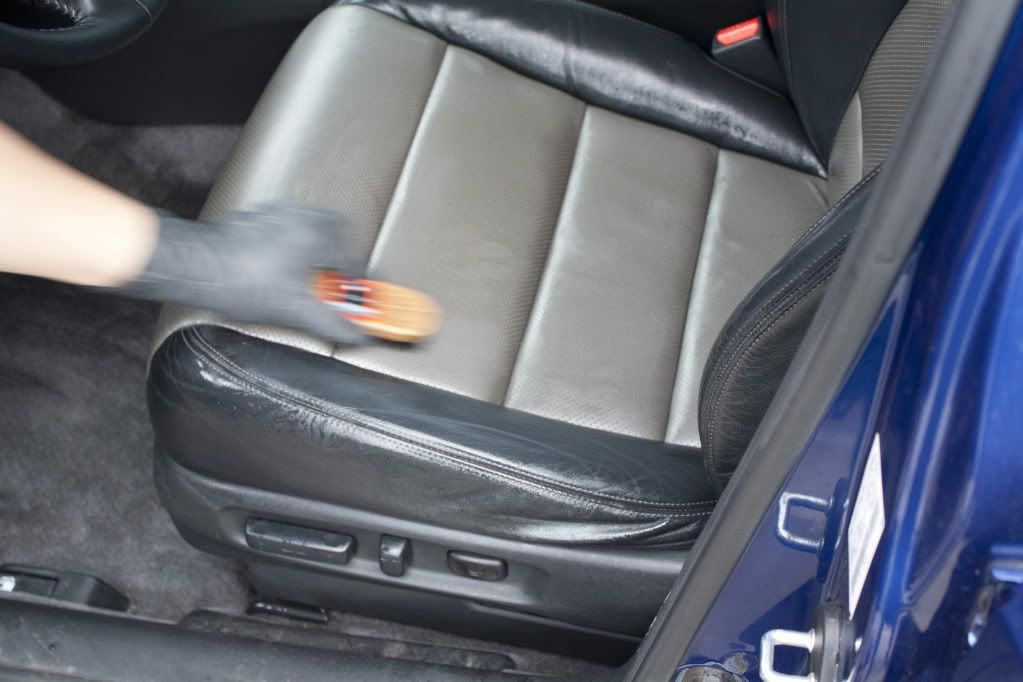
This is only the lower portion of the driver�s seat
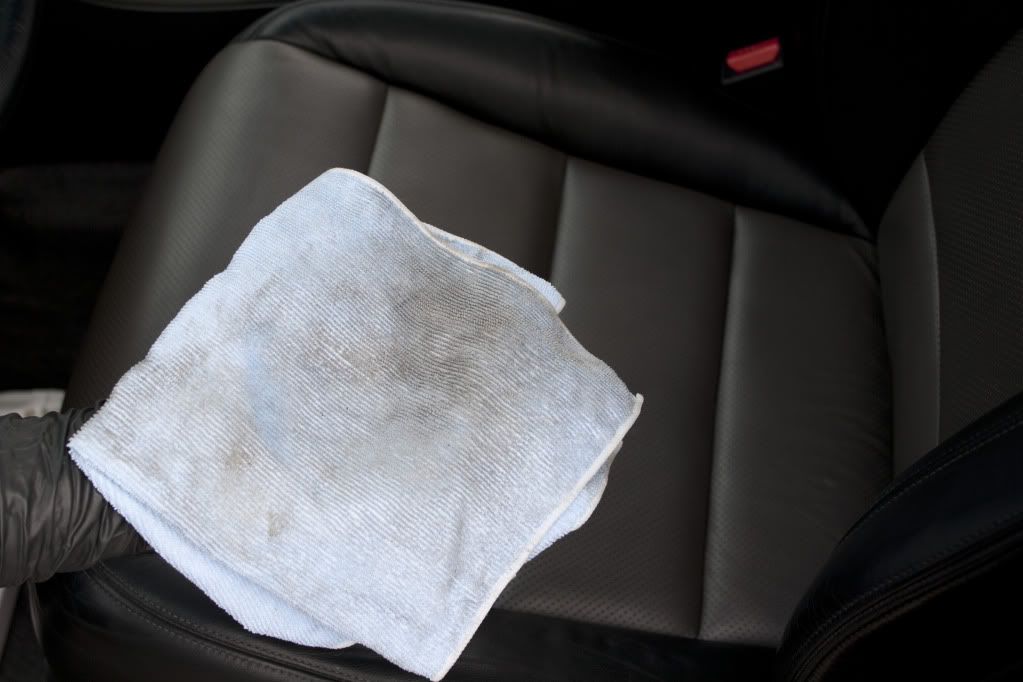
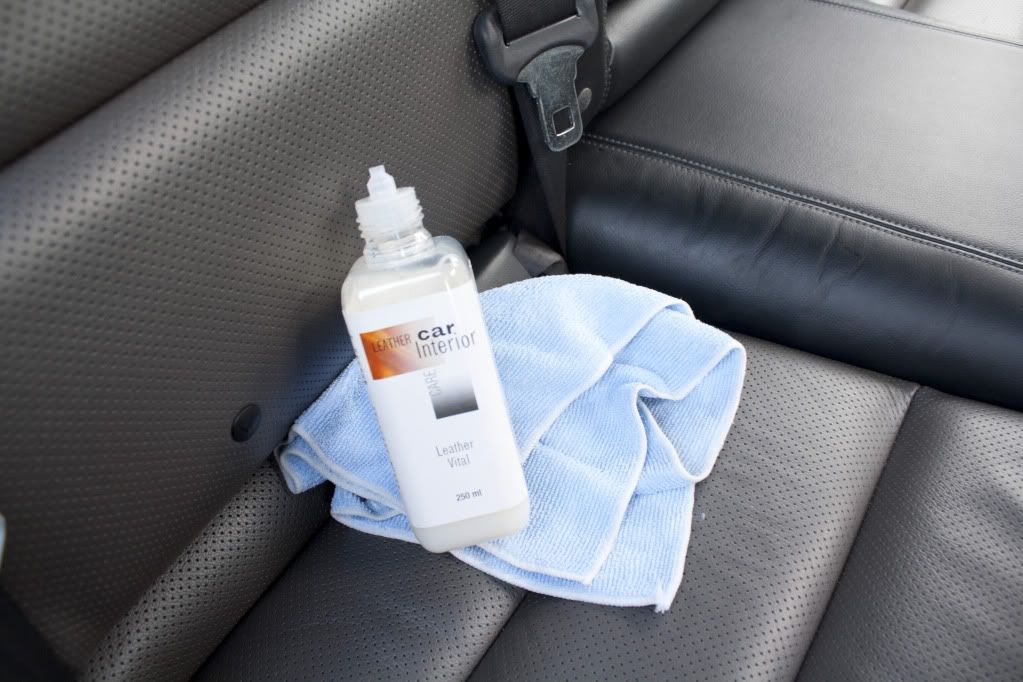
Seats received a layer of LM Leather Vital to finish off
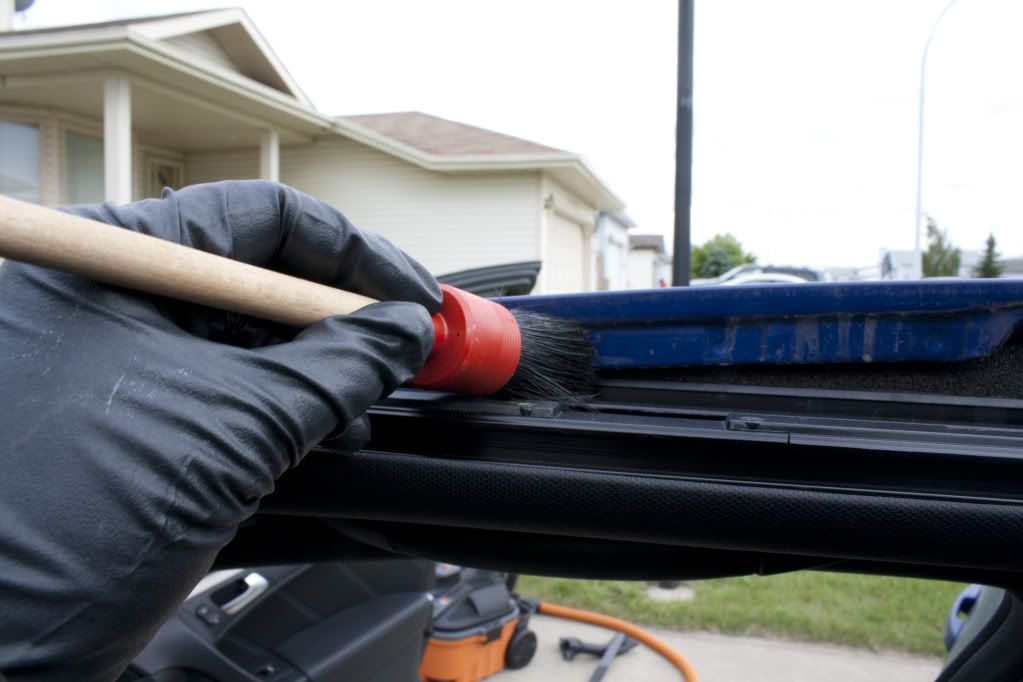
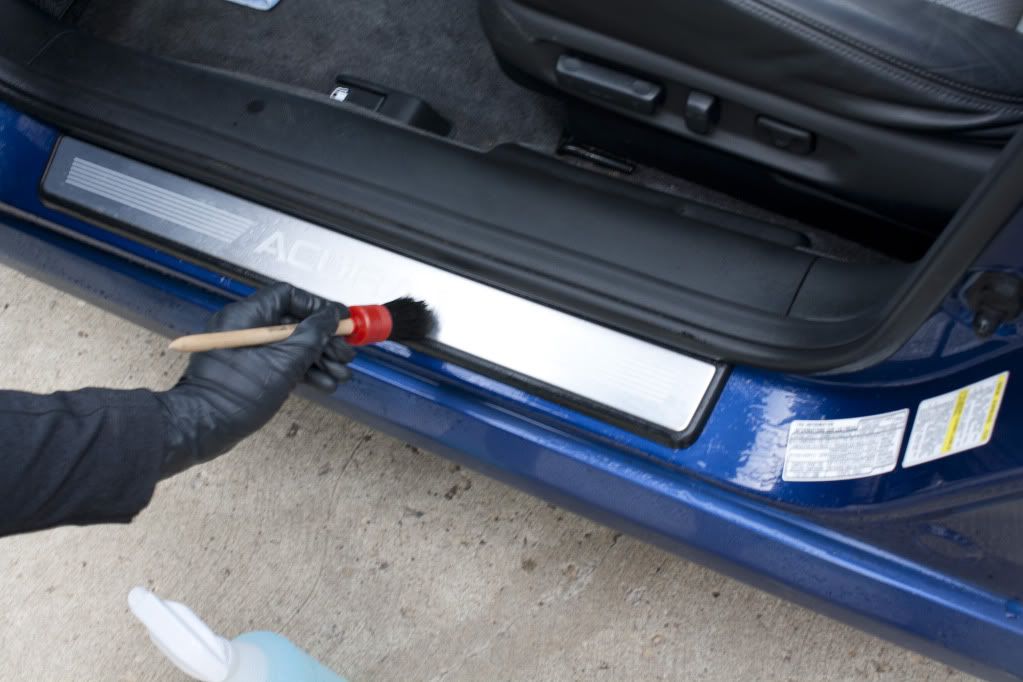
Cleaned door jambs with Einszett Blitz APC & Swissvax Detail Brush
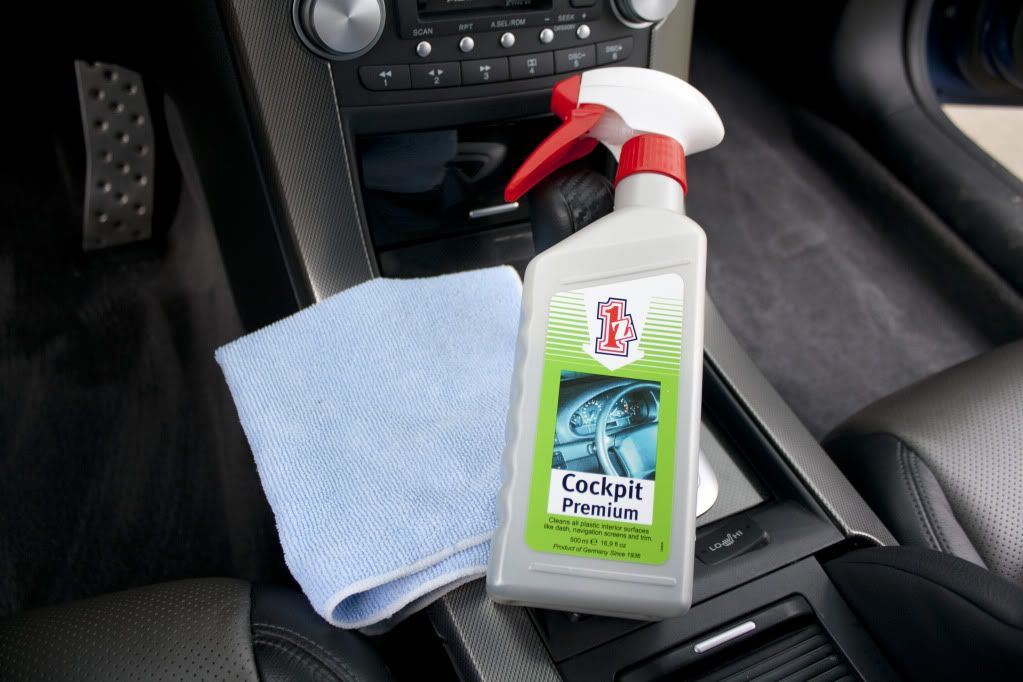
Einszett Cockpit Premium was applied to all surfaces to leave a matte finish
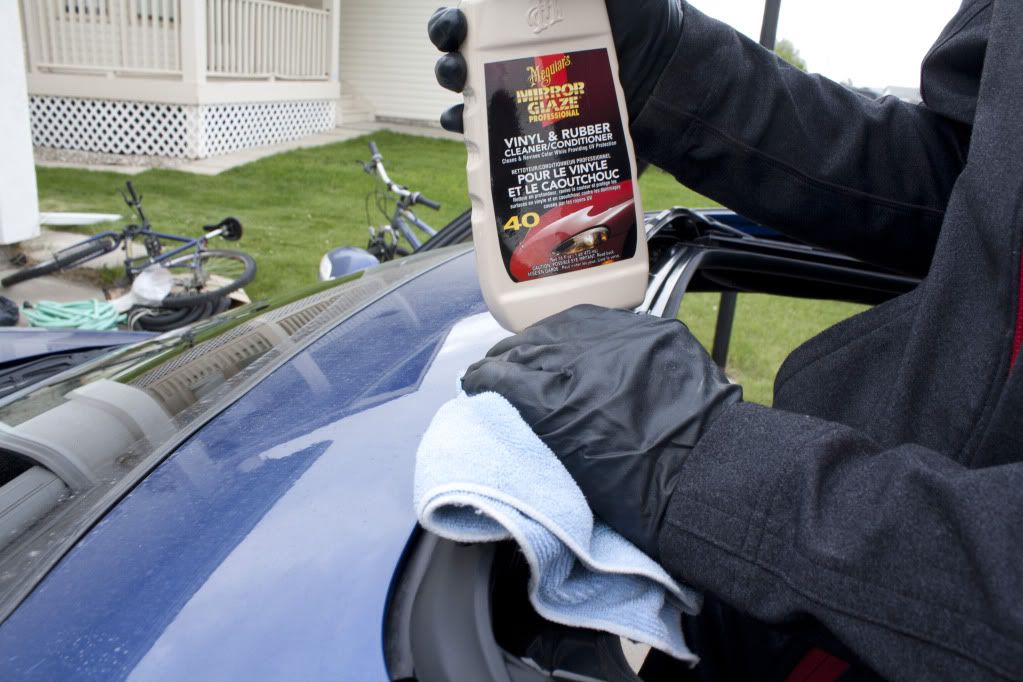
The rubber trim at the moon roof received Meguiar�s #40 for a more glossy finish
Applied Einszett Gummi Pflege Stift to all rubber seals

Rear after
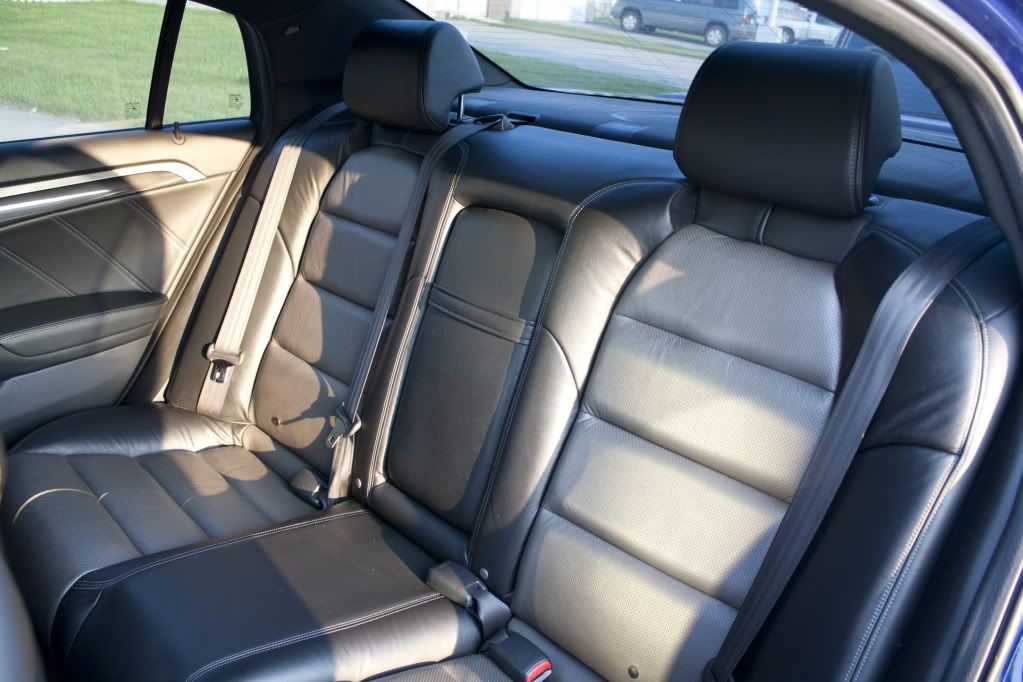
Front after
Although the seats don�t look too visibly different, they certainly felt much softer and didn�t have a slippery feel to them anymore.
Exterior
Moving onto the paint, it wasn�t too contaminated as I had previously clayed and waxed it a few months ago
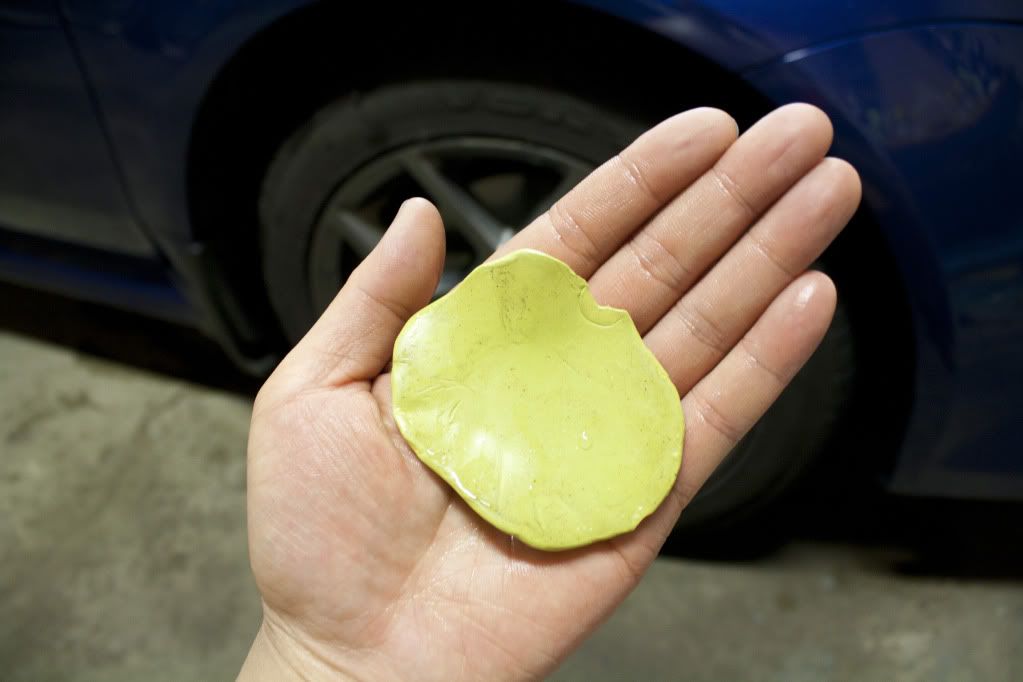
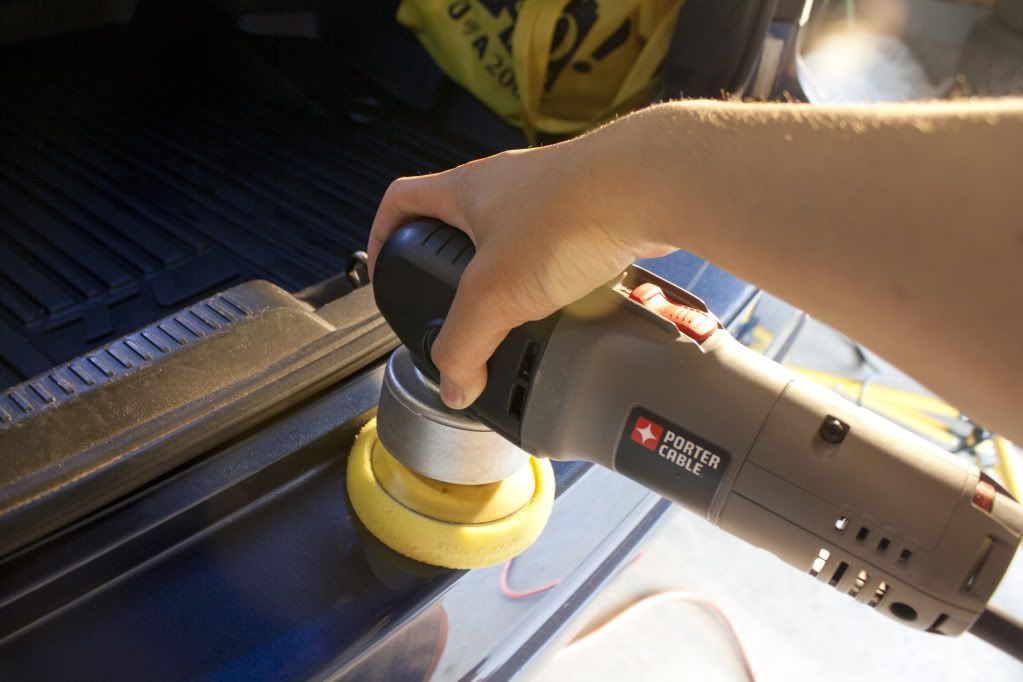
After a few test panels, the combo I decided on was Menzerna Power Finish P203 with a yellow B&S pad for cutting and Menzerna Micro Polish PO85RD on a blue pad for jewelling the paint.
Fender before
Fender after
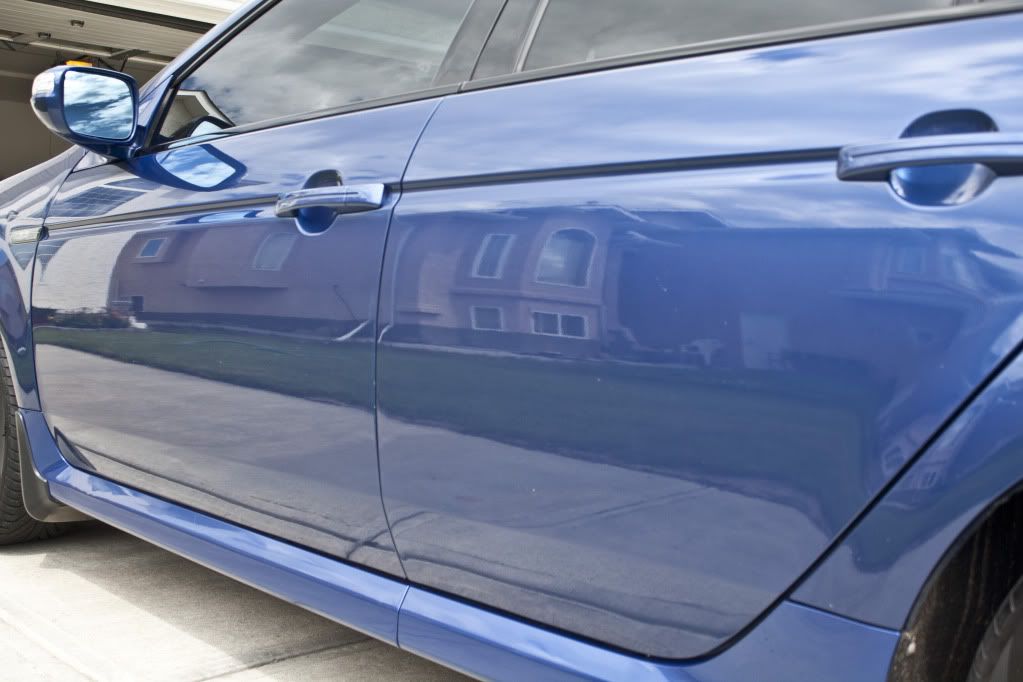
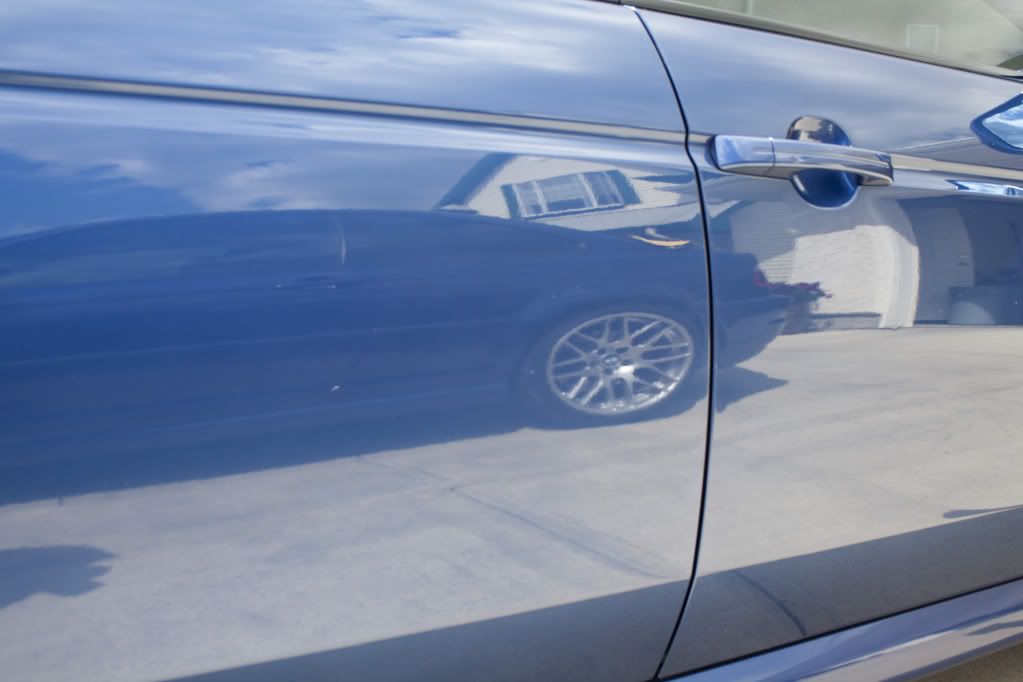
Passenger door before
Passenger door after
Driver door had been keyed
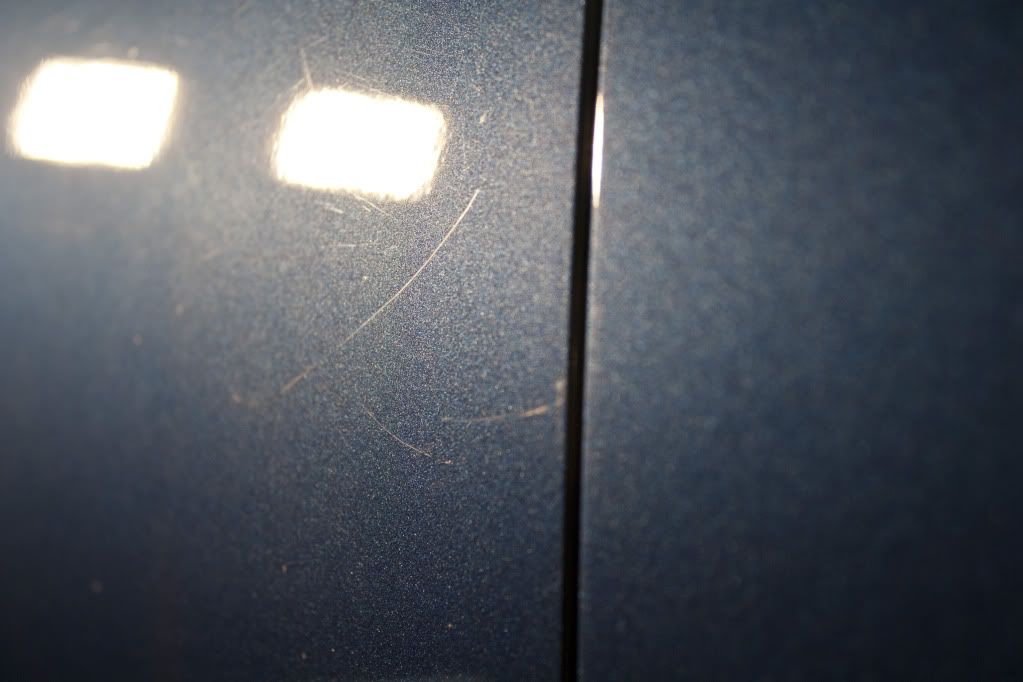
Driver door after
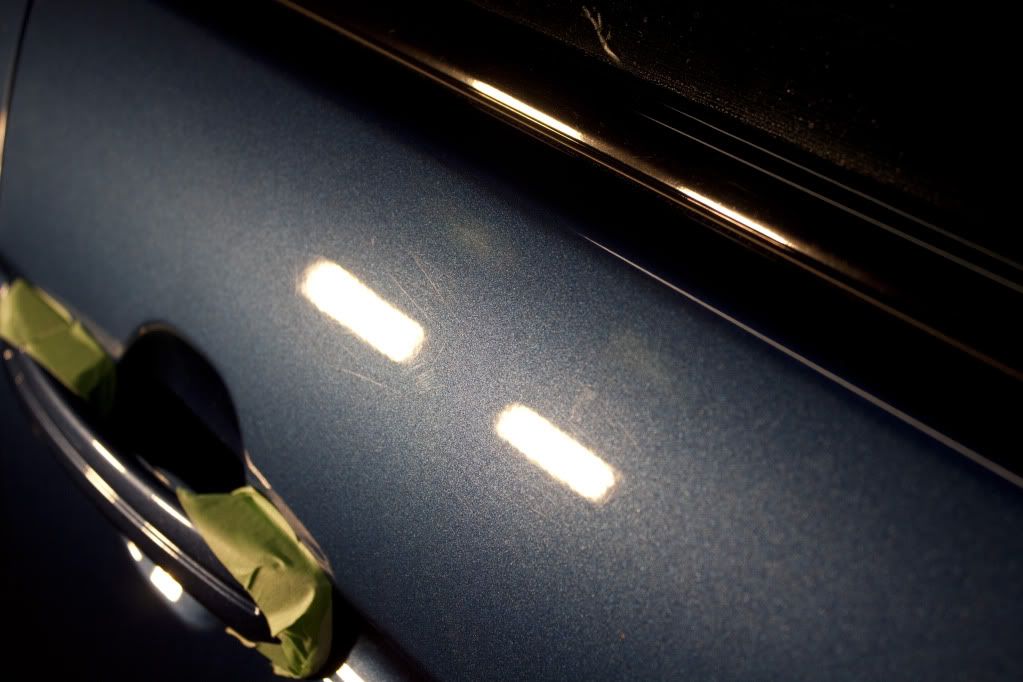
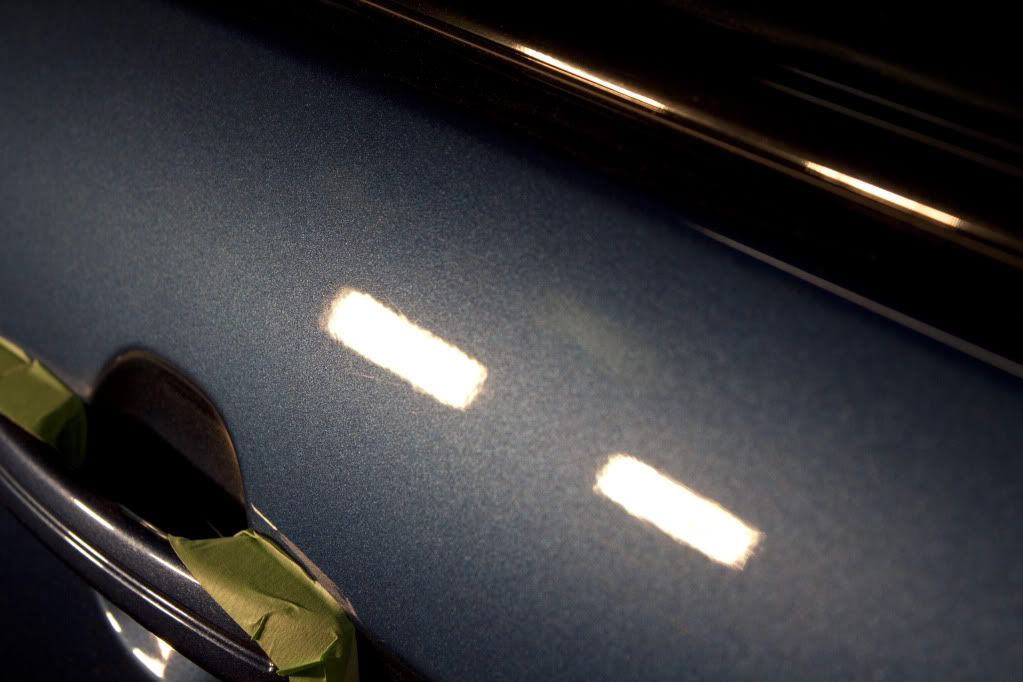
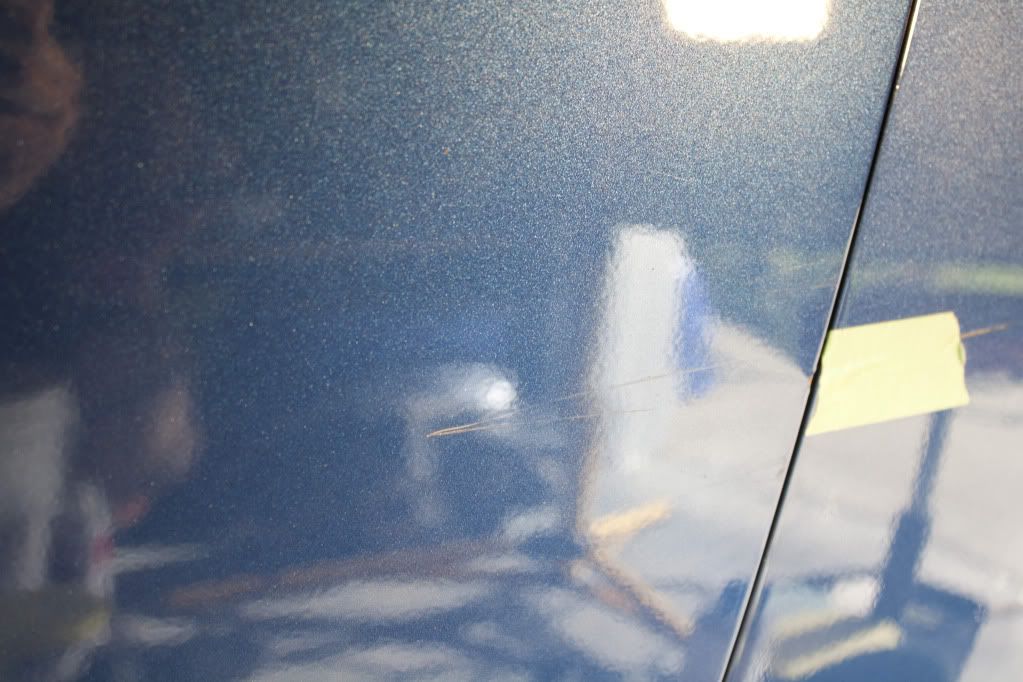
Rear driver side door had also been keyed
Rear driver side door after � A faint mark still remains but is only visible at certain angles
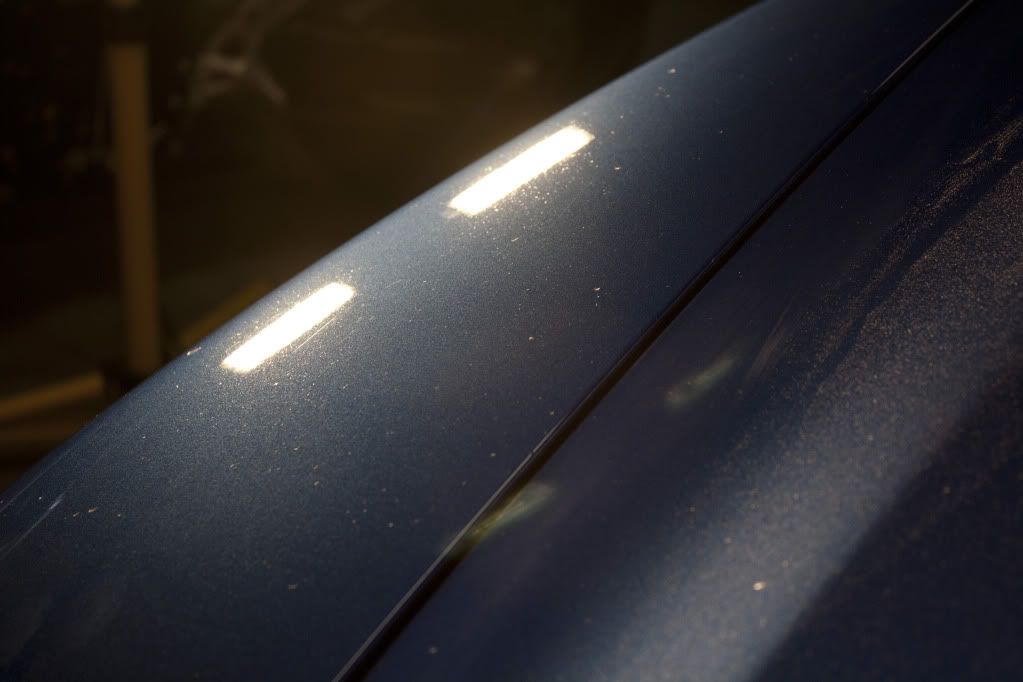
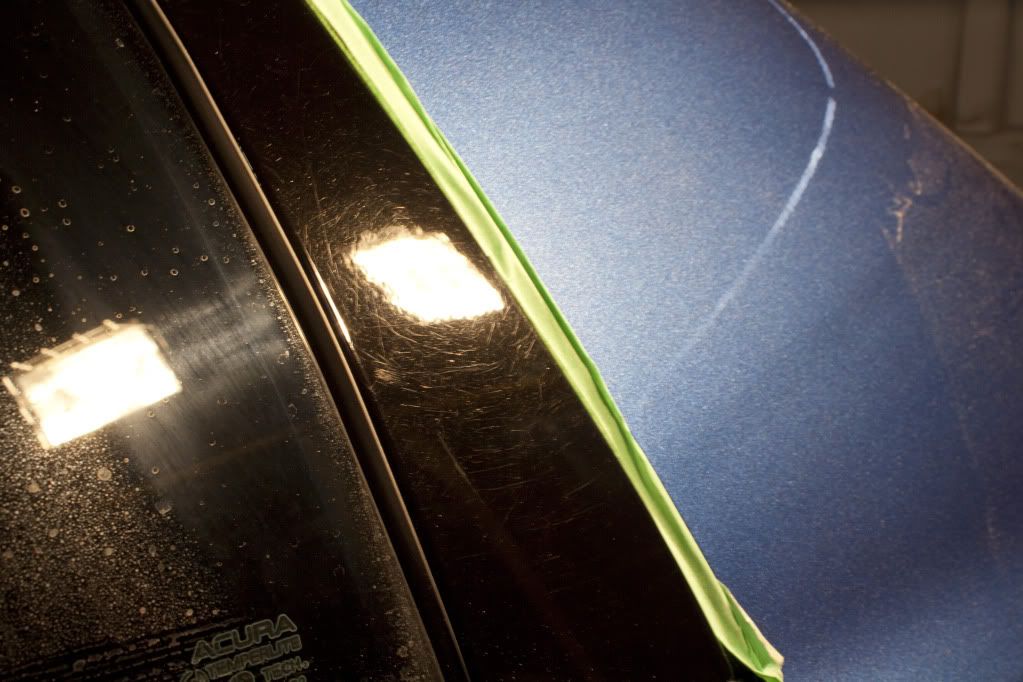
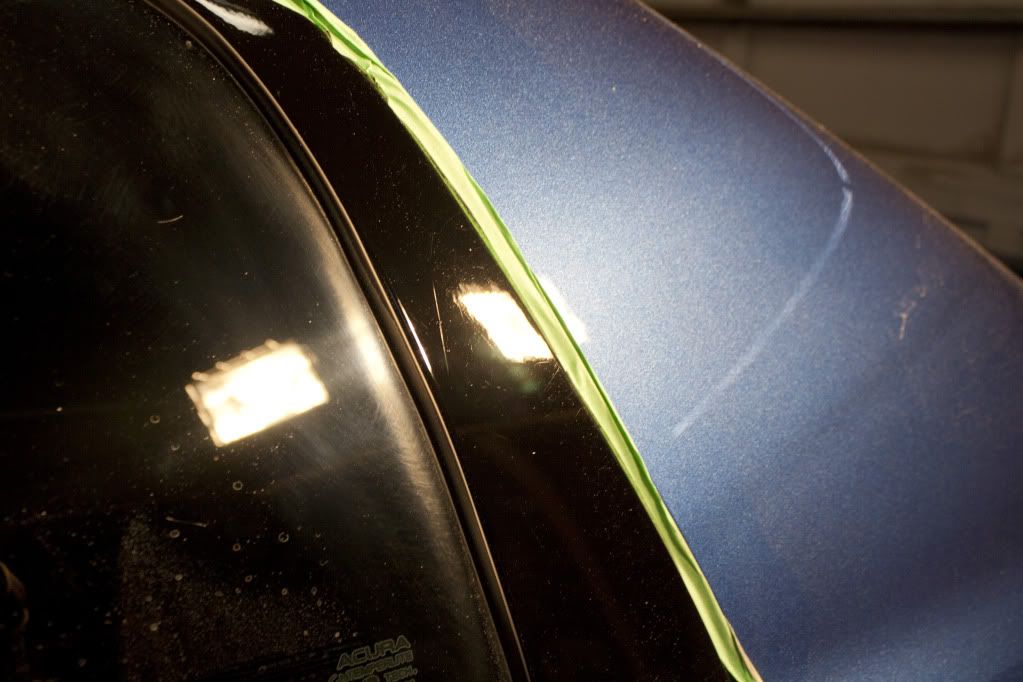
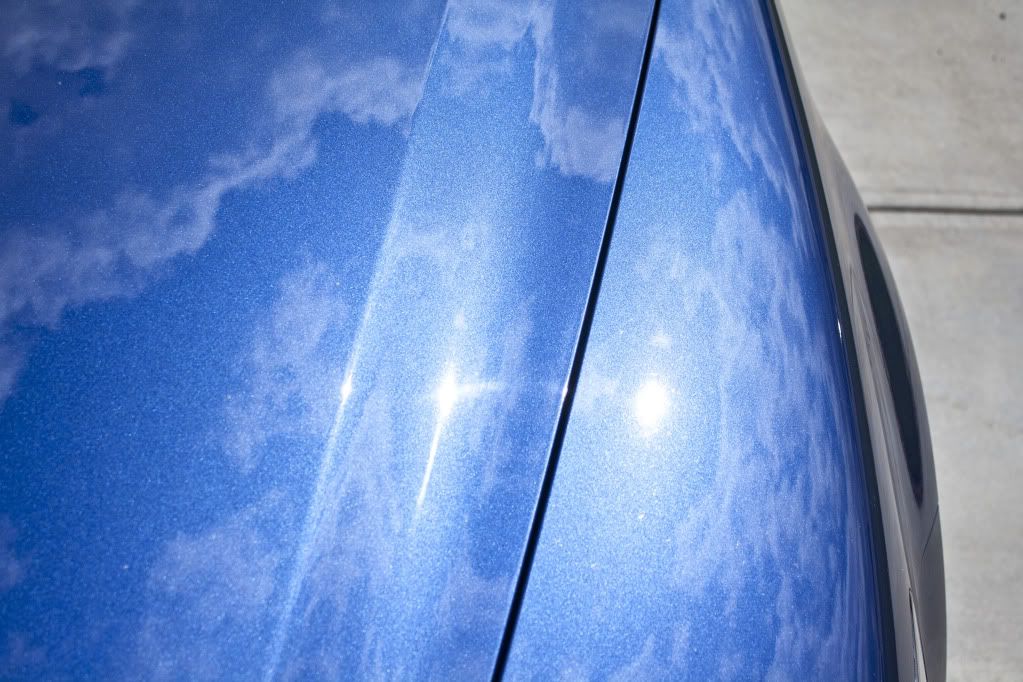
Top of rear driver side door before
Top of rear driver side door after
Left quarter panel before
Left quarter panel after � The smudges are polish residue, tsk tsk on me
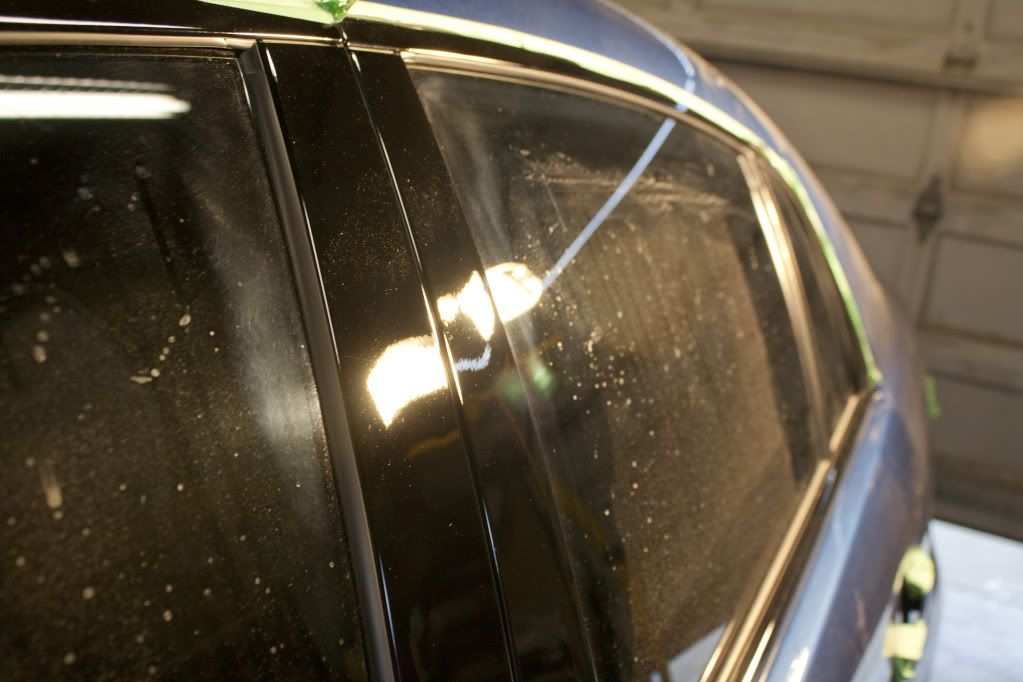
Trashed pillars before
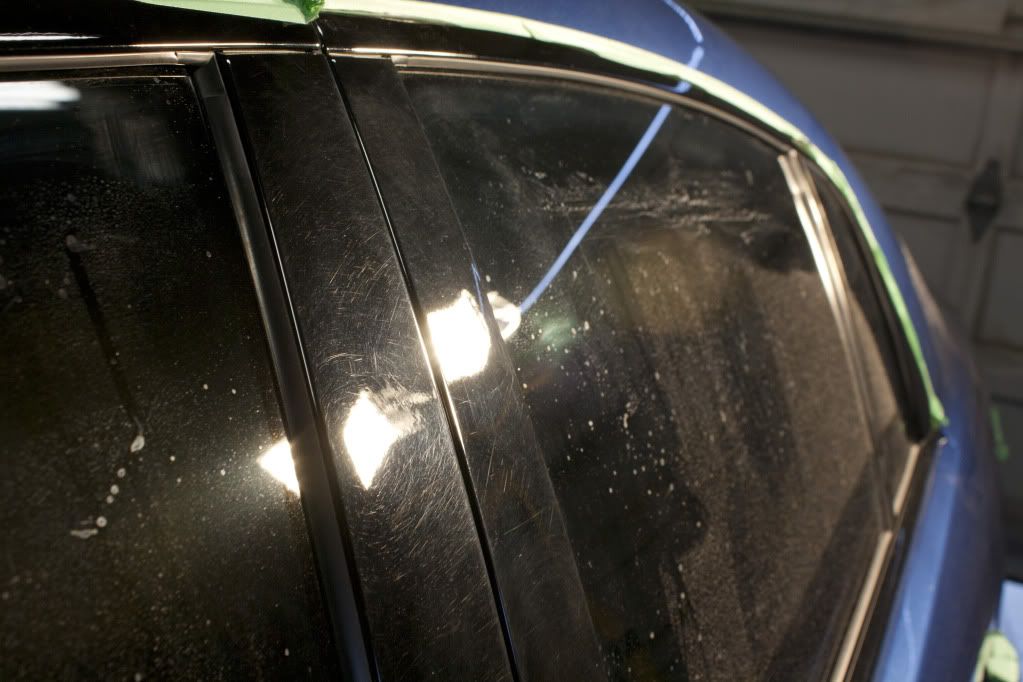
Pillars after
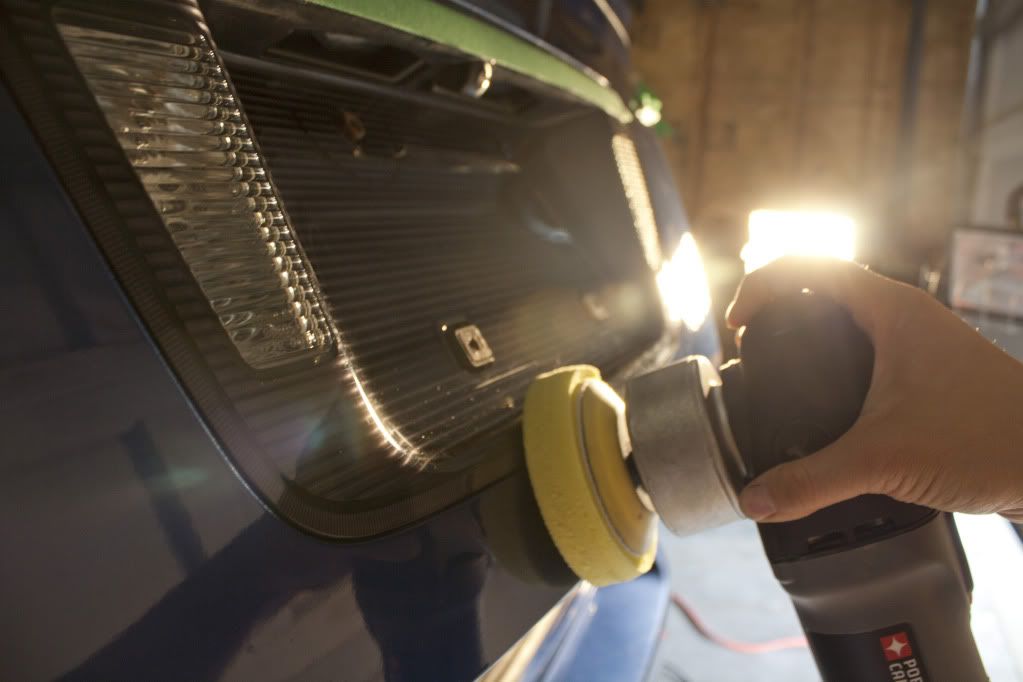
Before using a 4� spot pad
After
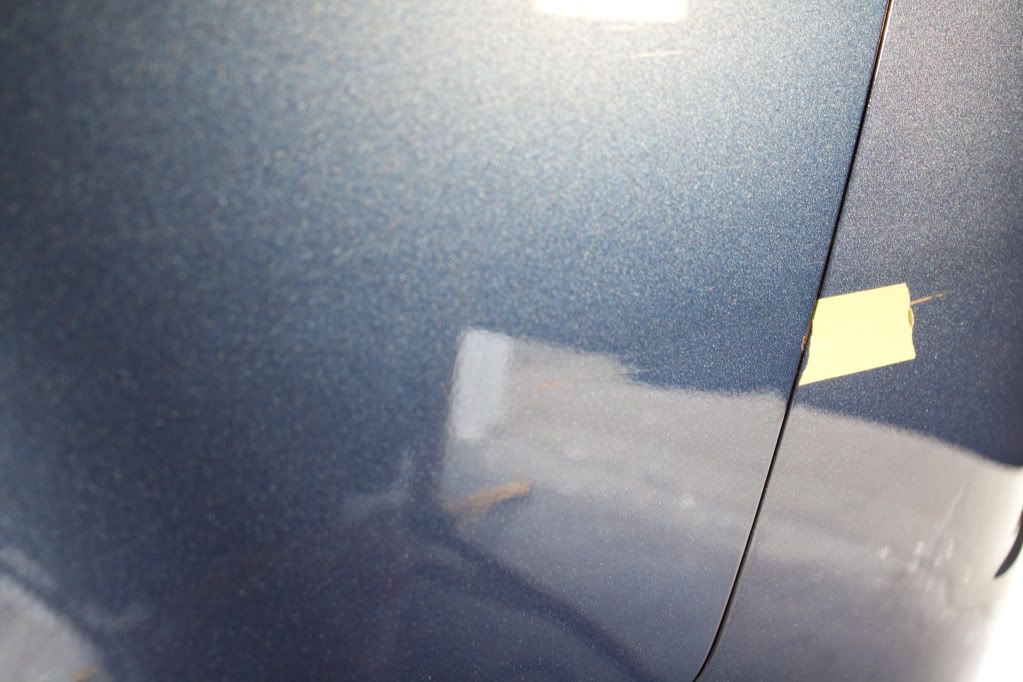
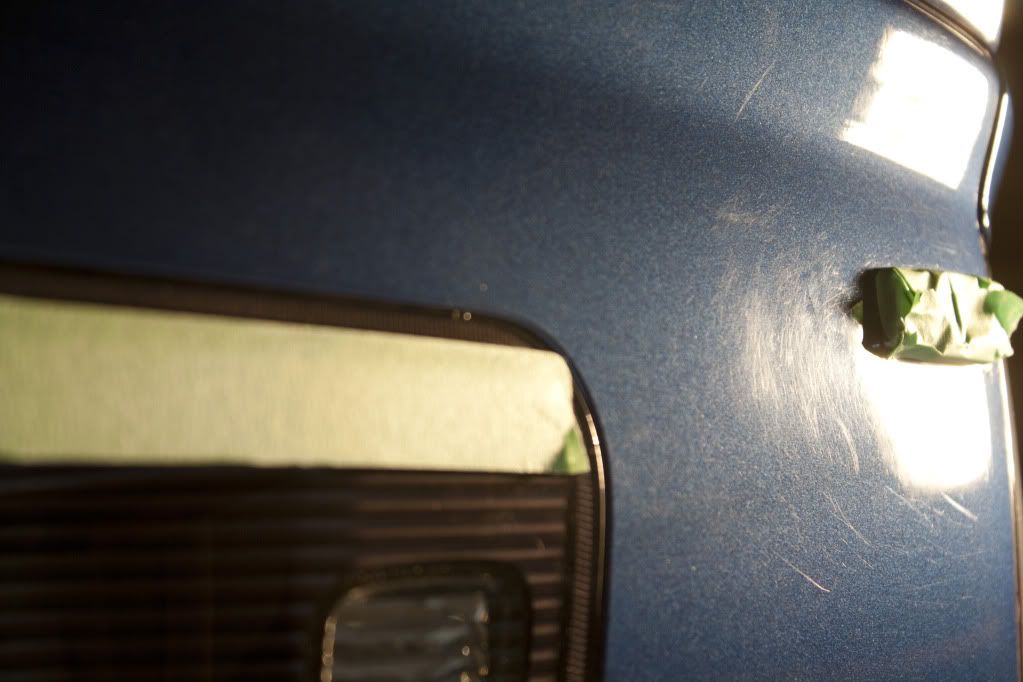
Damaged lower quarter panel before
After � A faint mark remains since it is down to primer but appears greatly improved
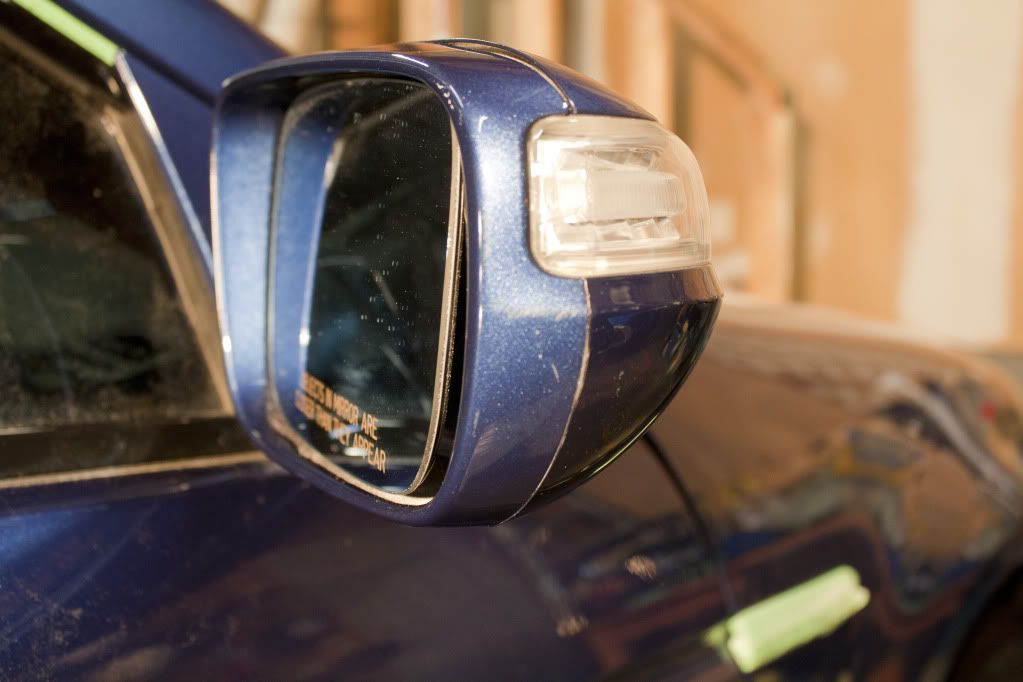
Right mirror before
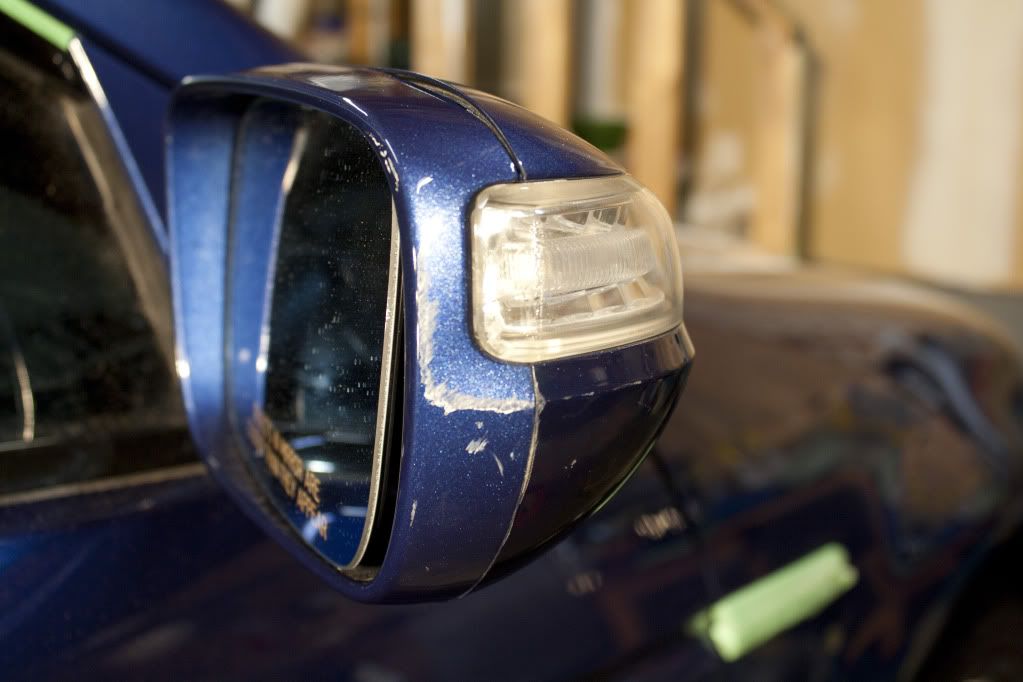
Right mirror after
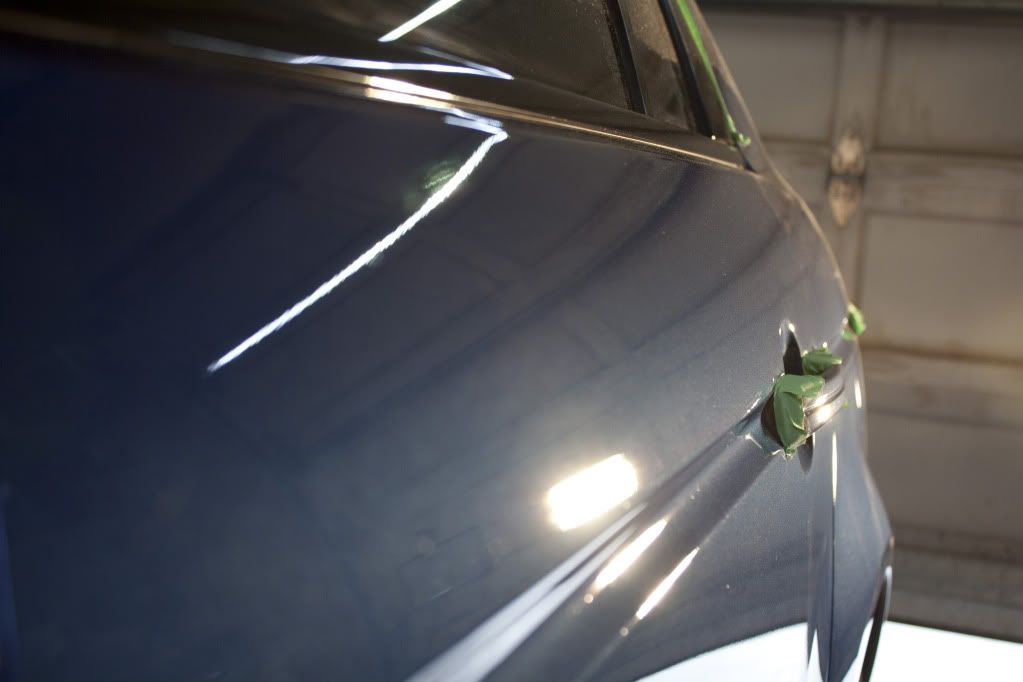
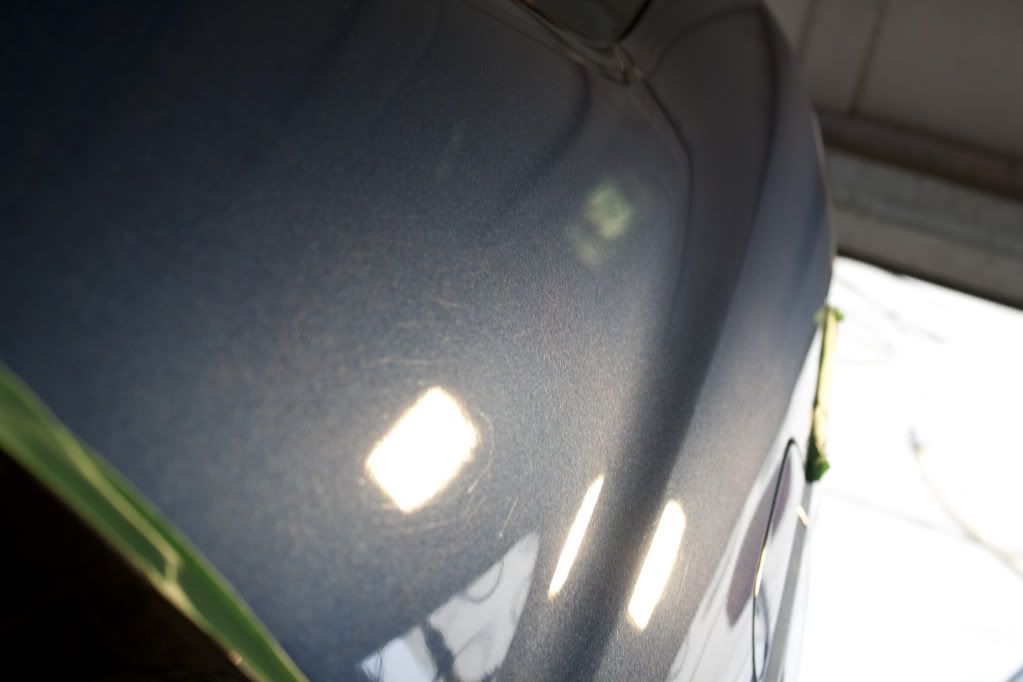
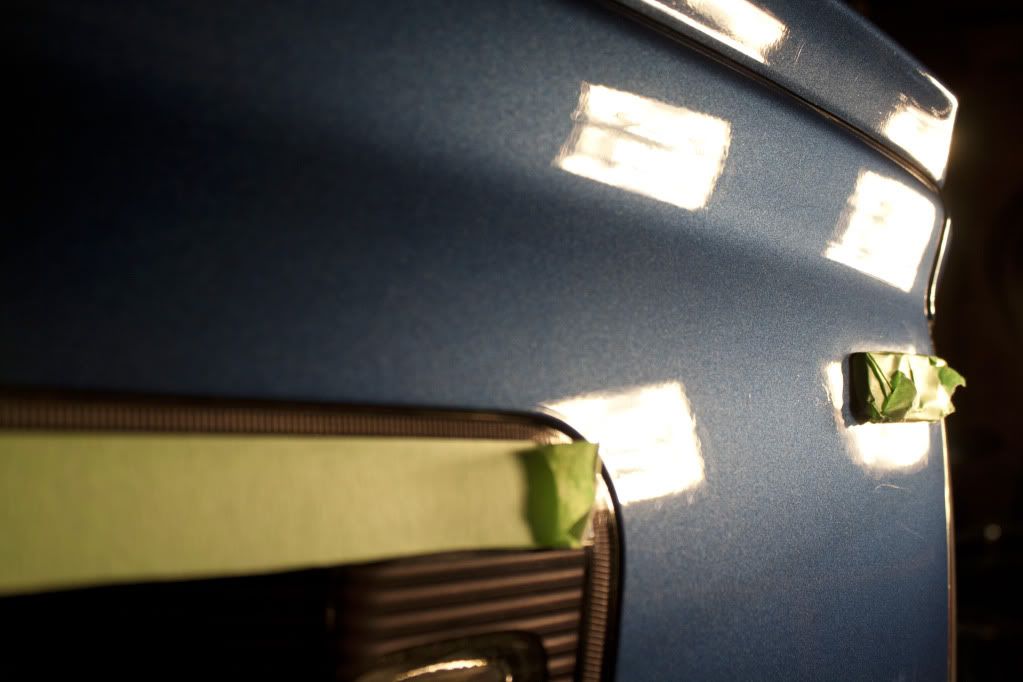
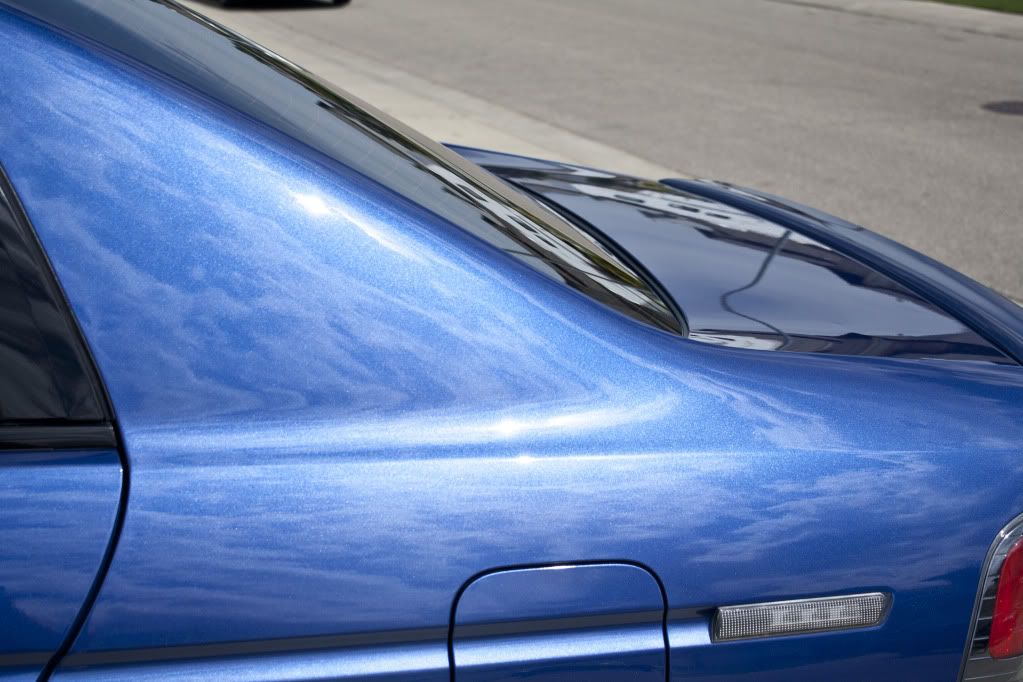
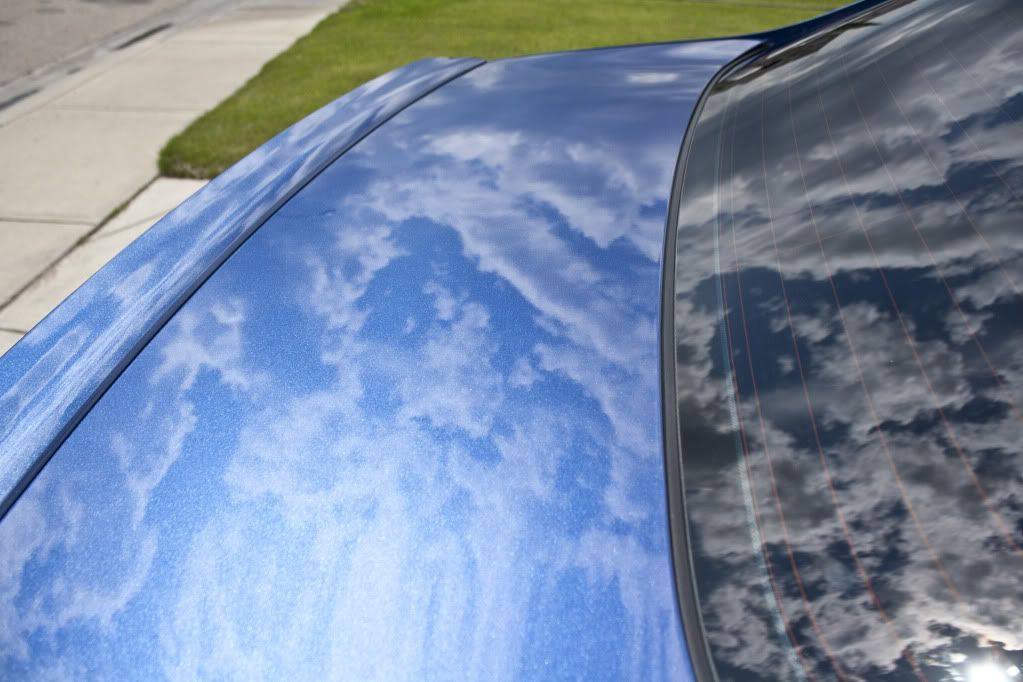
Top of trunk before
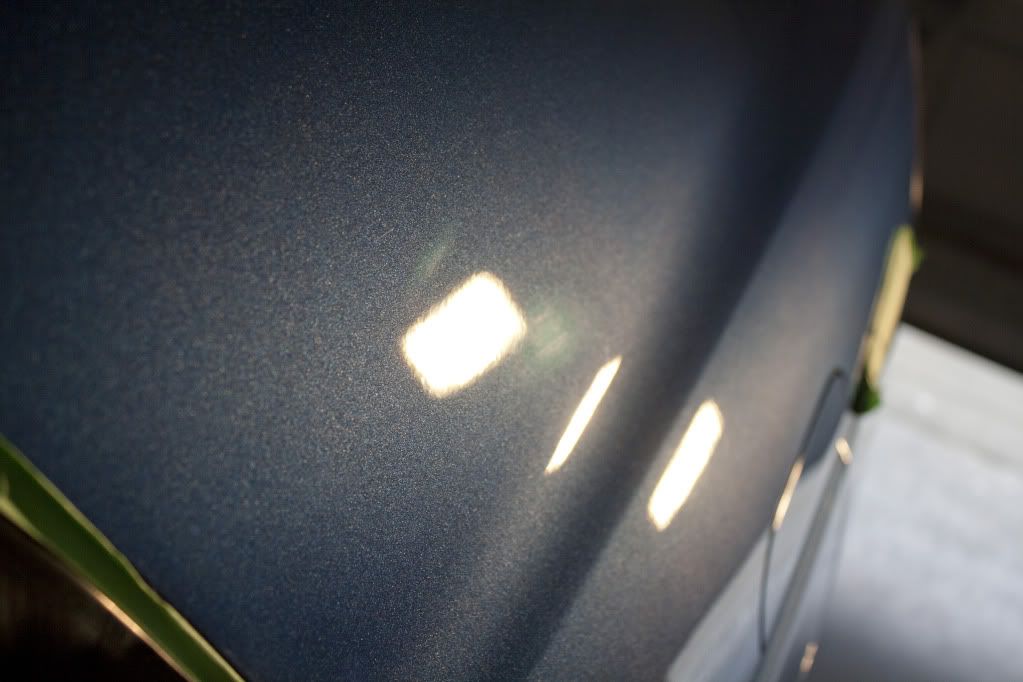
Top of trunk after
Using a 4� spot pad to get at the smaller spaces of the trunk
Trunk before
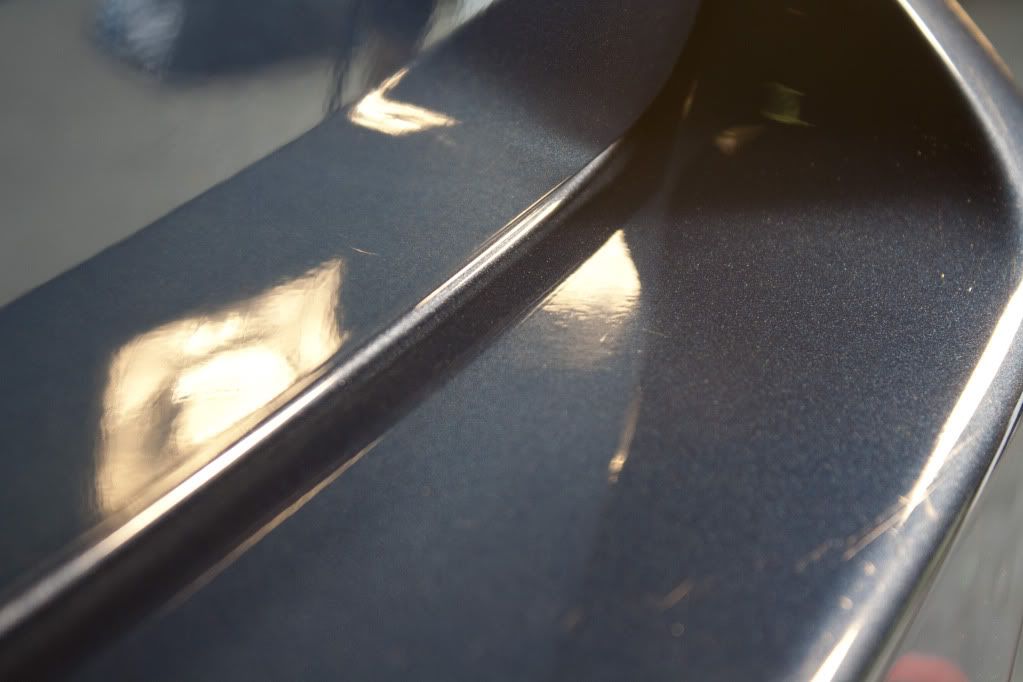
Trunk after
Caused by things always going in & out of the trunk
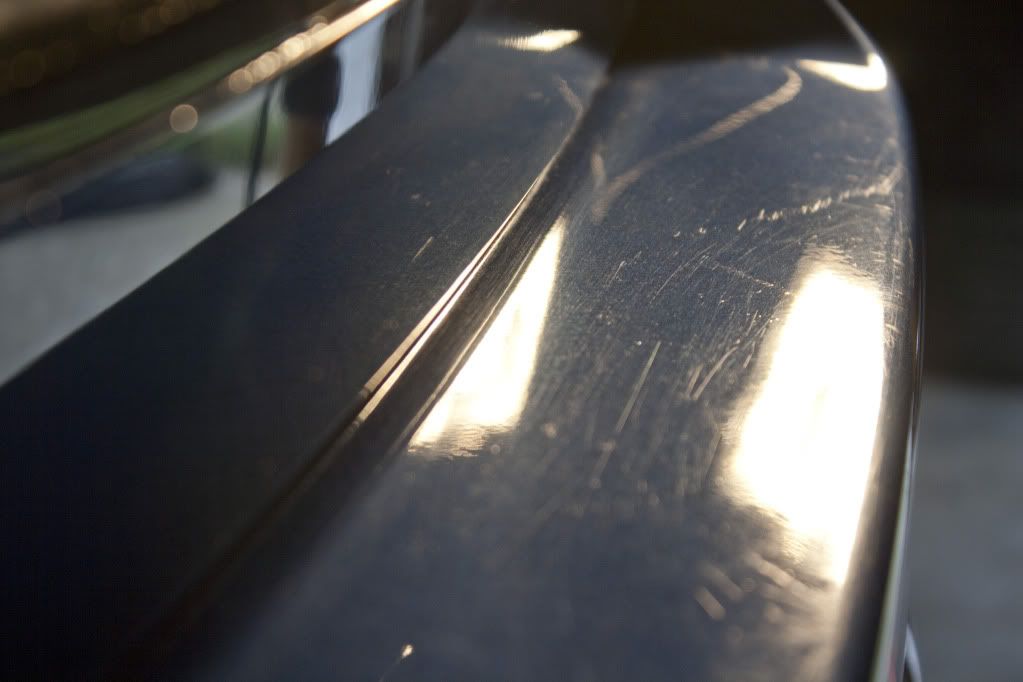
A few RIDS remain but significant improvement
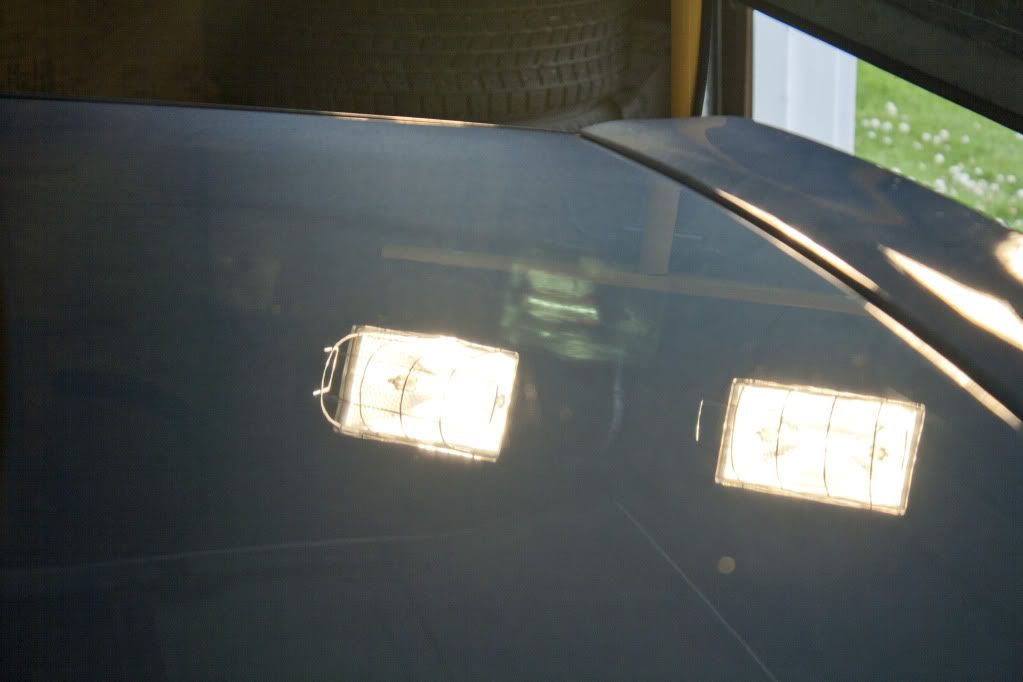
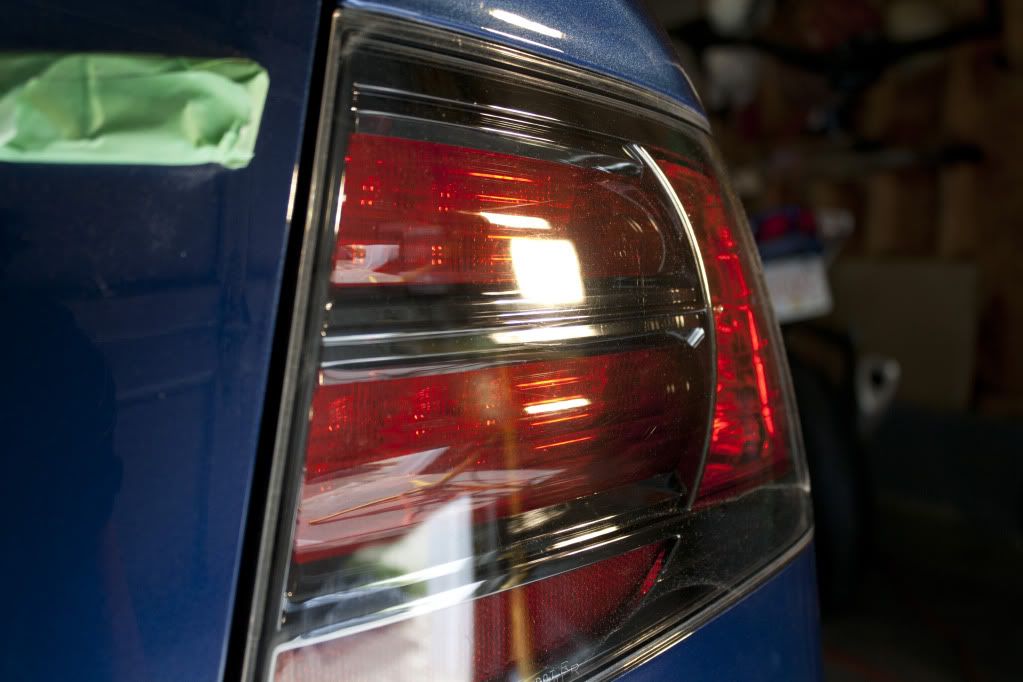
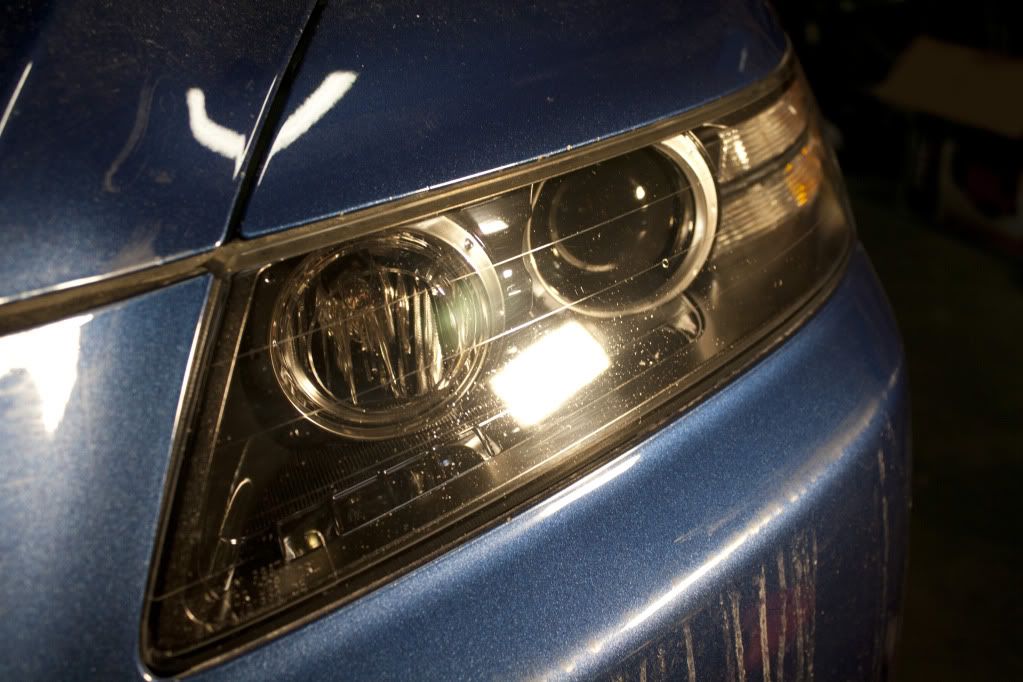
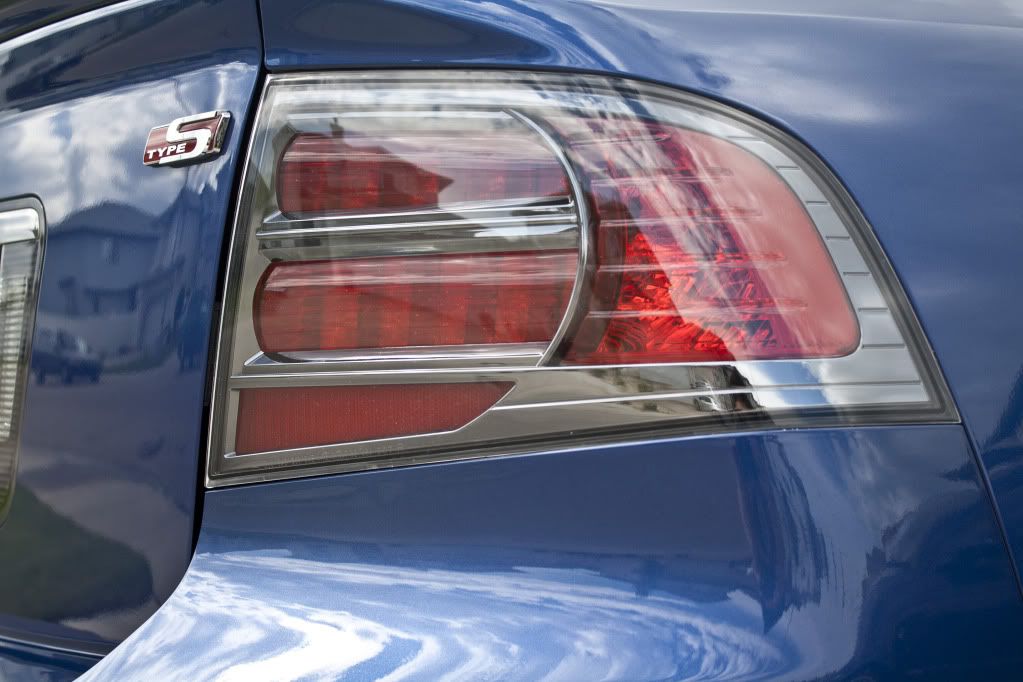
Taillight before

Taillight after
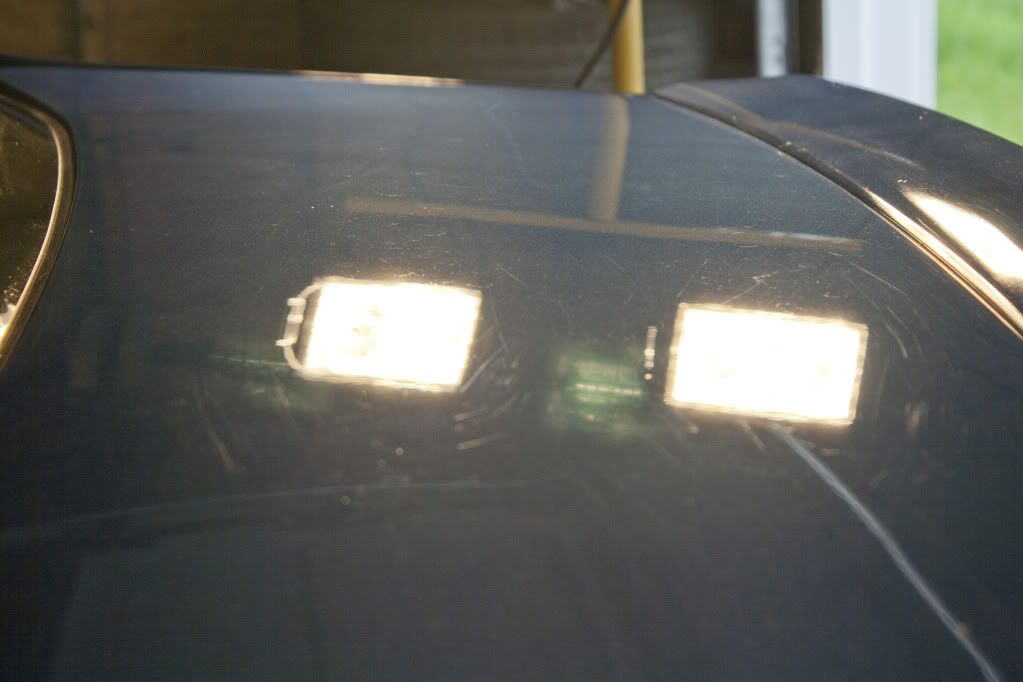
During one of the days, Adam came by and assisted with restoring my headlights. He wet sanded using 1000, 1500, 2000, 2500, and finally 3000 grit. After removing most of the pits, he polished them with a 4� Surbuf using M105 & finished down with a 4� B&S green on M205.
Befores
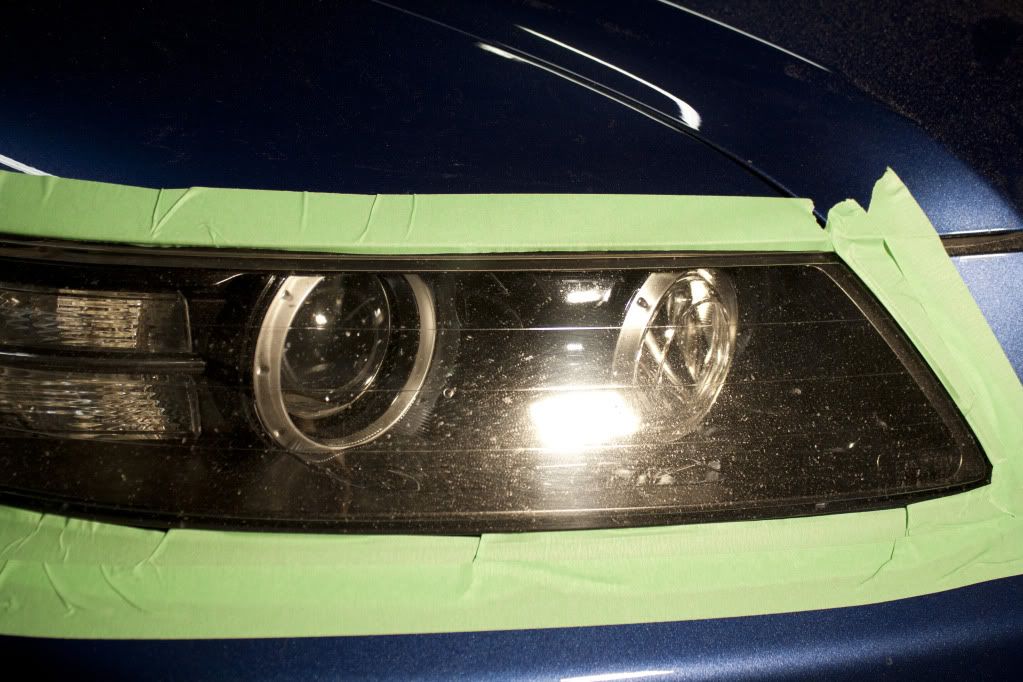
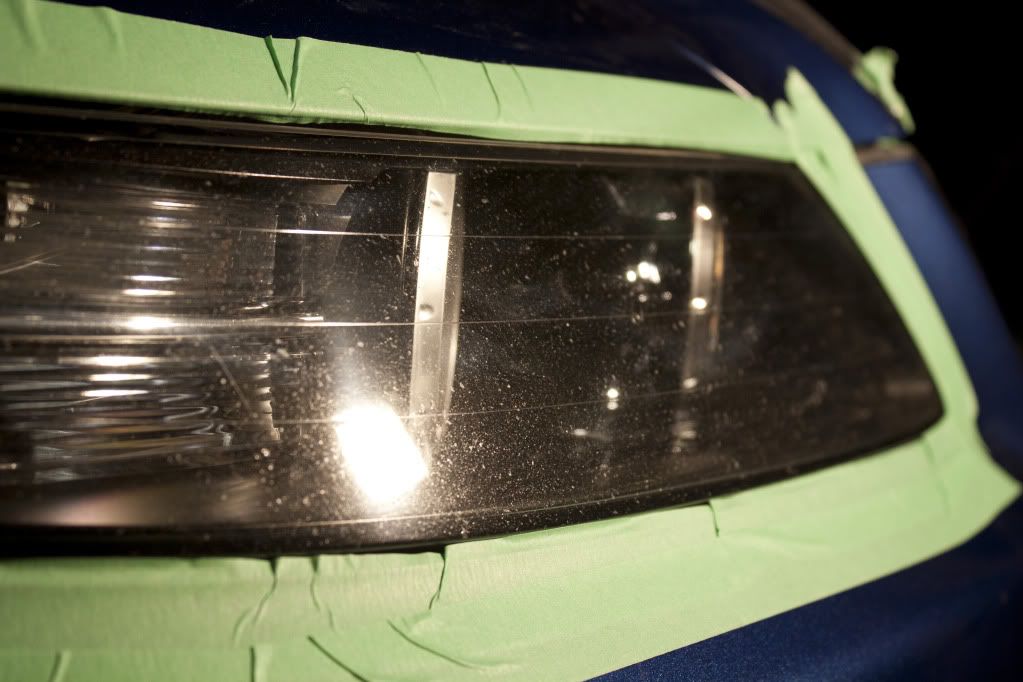
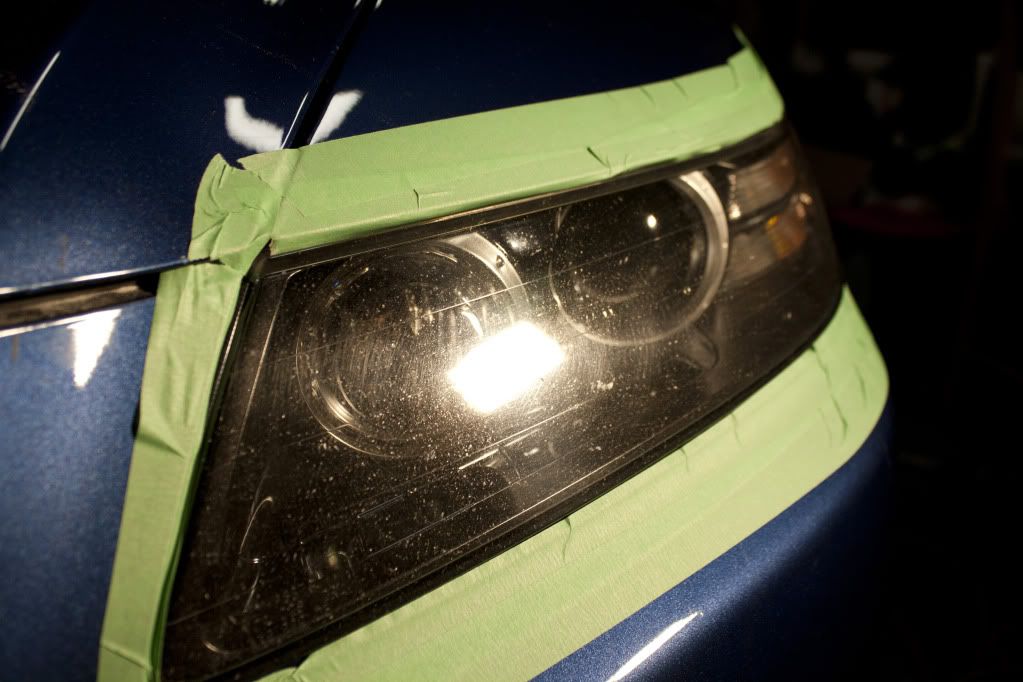
After wet sanding with 5 different grits

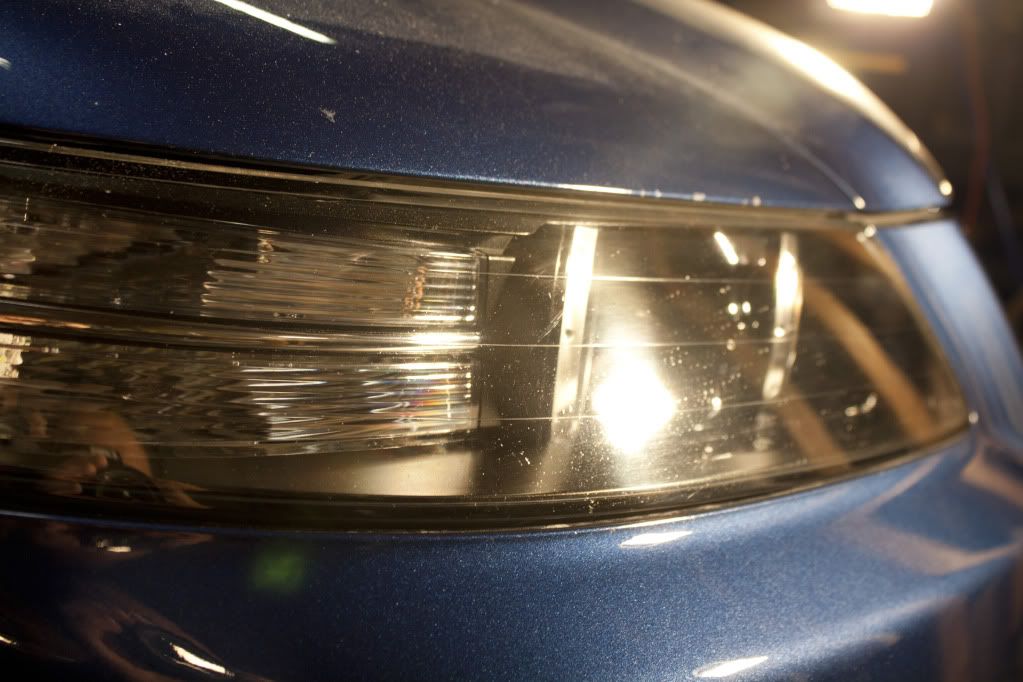
Afters
Brought into the garage to receive LSP & finishing touches
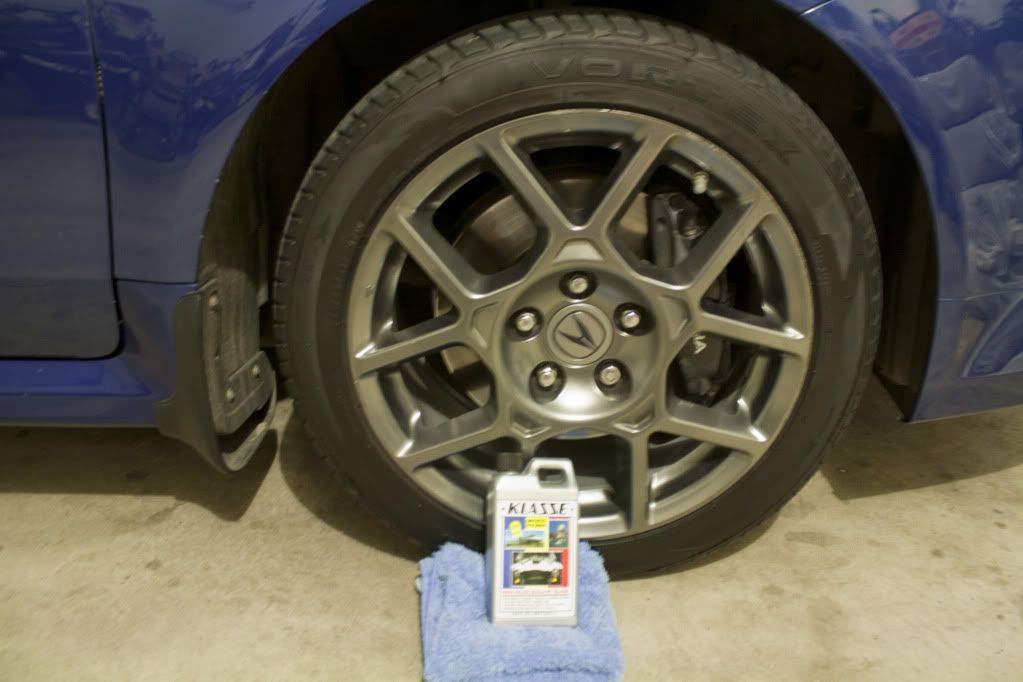
Wheels were sealed with KSG
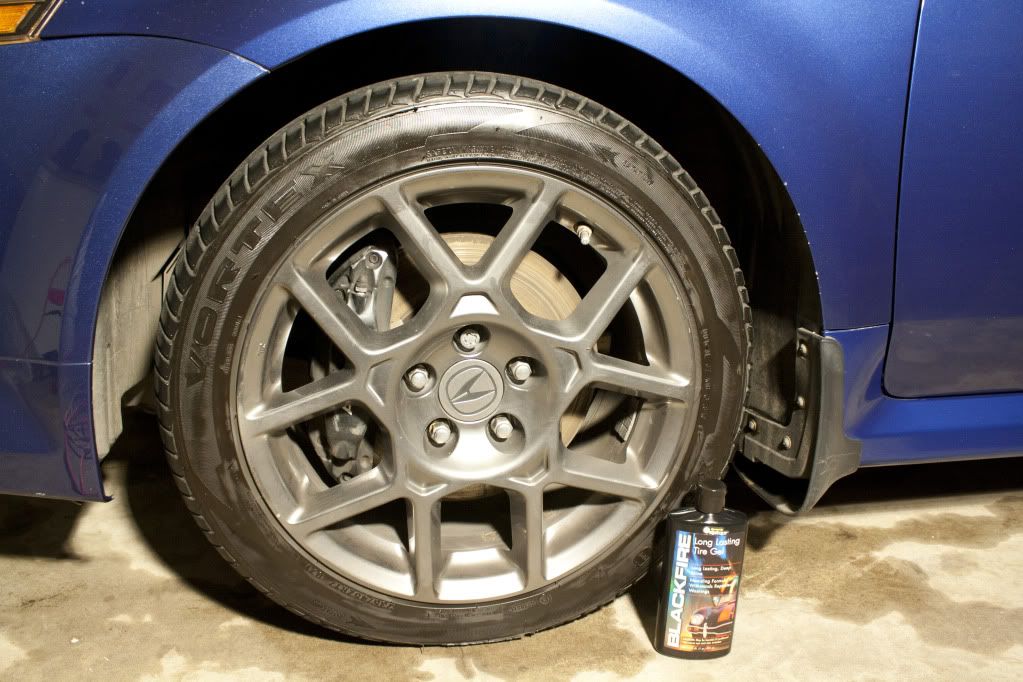
Tires dressed with BF Long Lasting Tire Gel
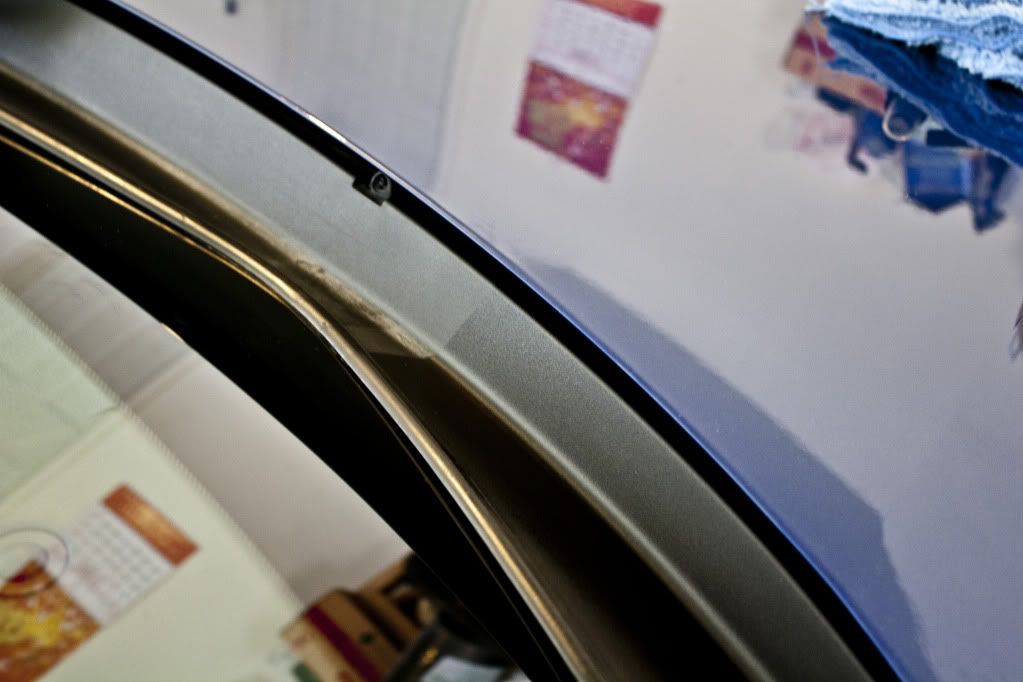
Trim pieces received a Pre-Wow & Black-Wow treatment. Quite the difference I must say!
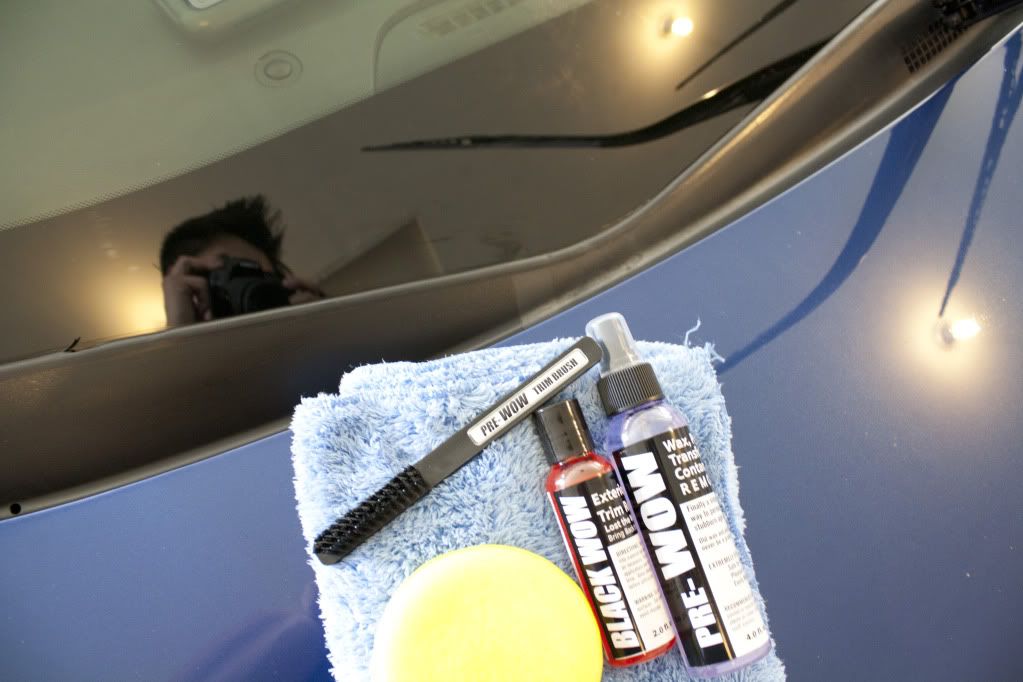
Left side untreated, right side treated
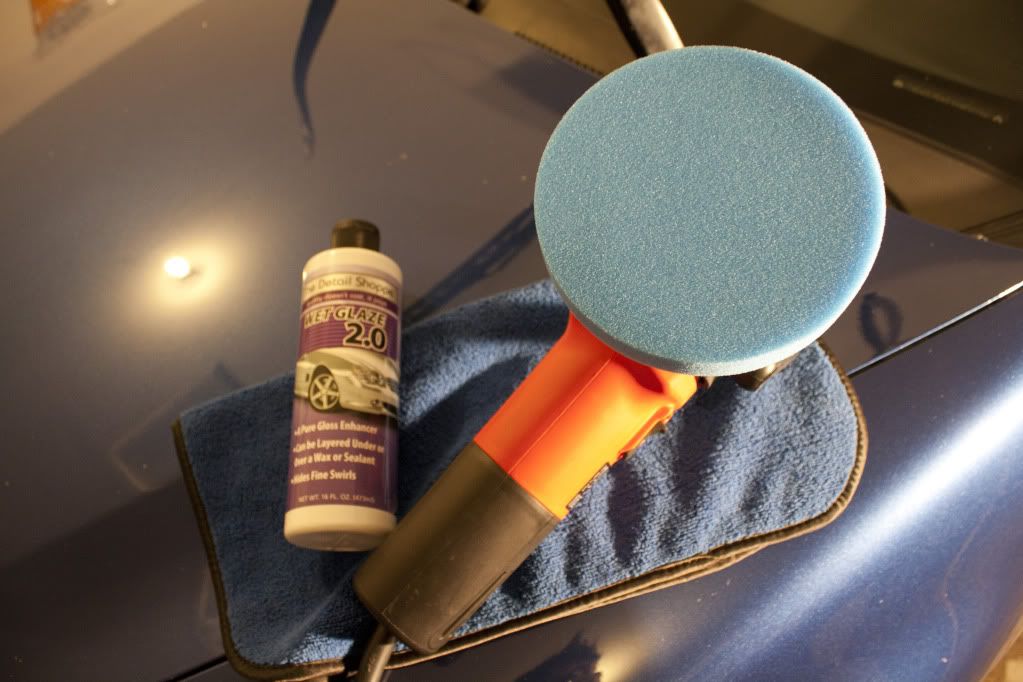
After all the paint correction, the car was rewashed and brought in to have a glaze applied. Glaze of choice was The Detail Shoppe Wet Glaze 2.0
After working the glaze into the paint & buffing off, BFWD was immediately applied for a wet, dripping looking finish.
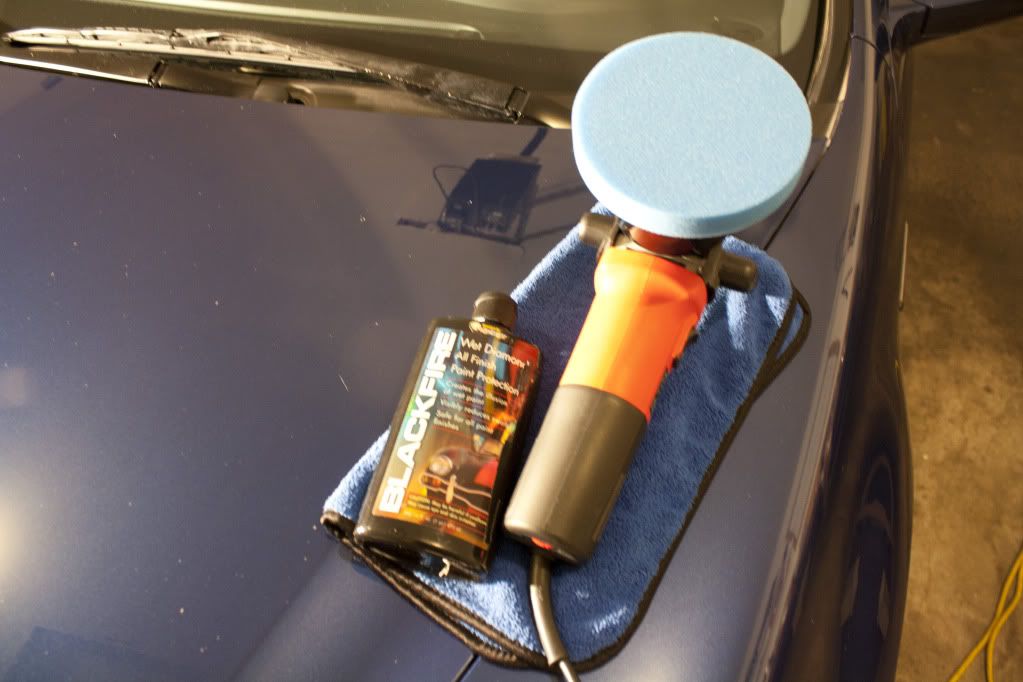
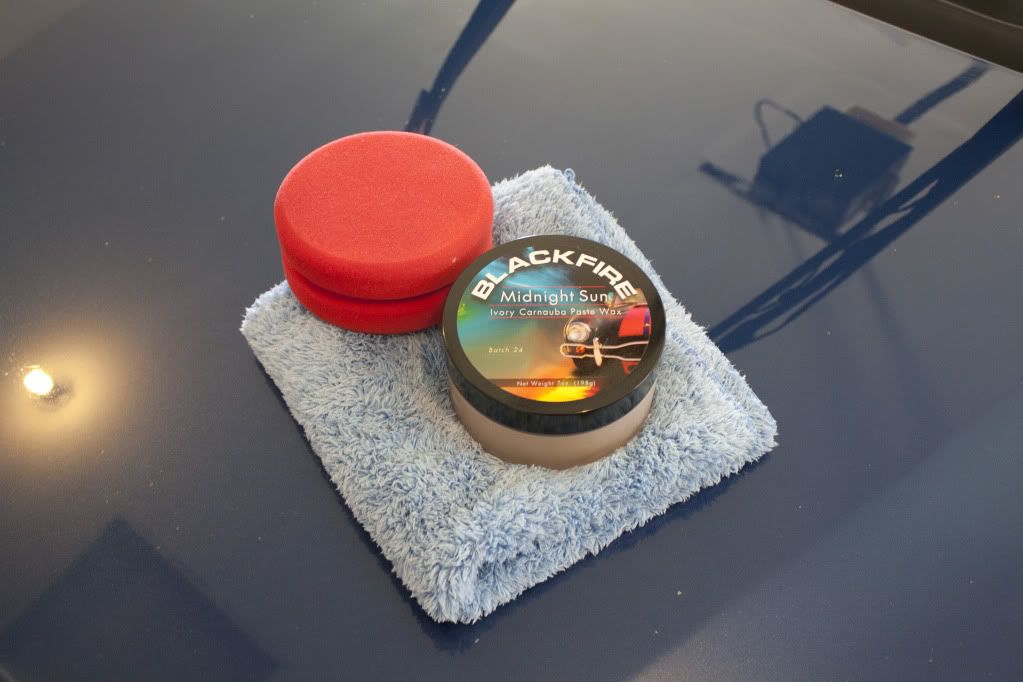
I waited 2 days and rewashed the car in preparation for wax application. I decided to top BFWD with Blackfire Midnight Sun Wax. It added a warm glow to the paint.
Finished Pictures
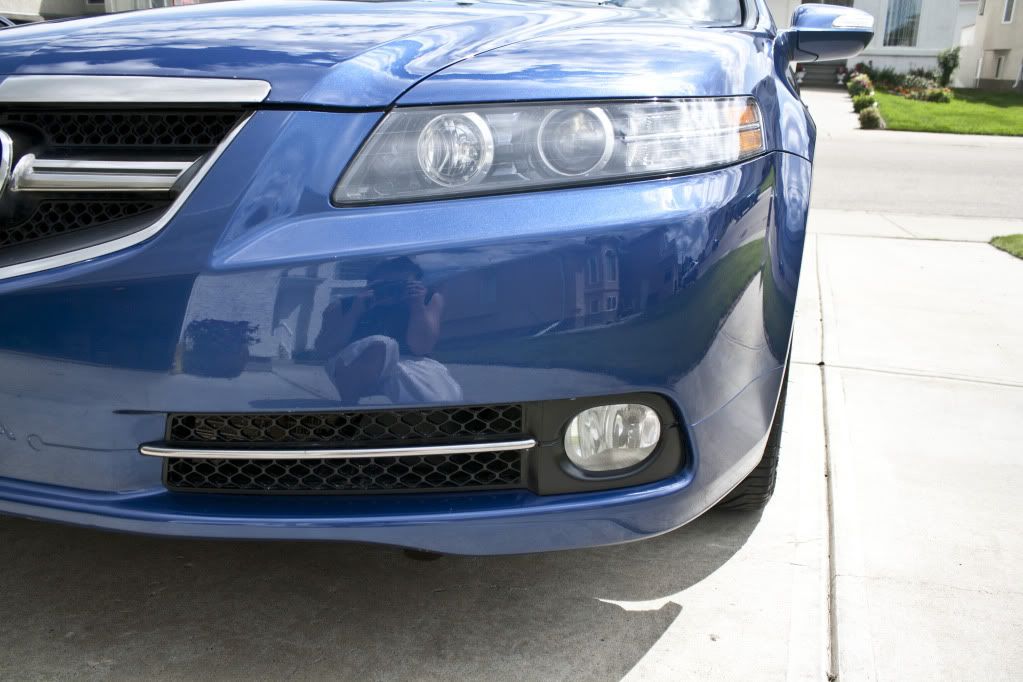
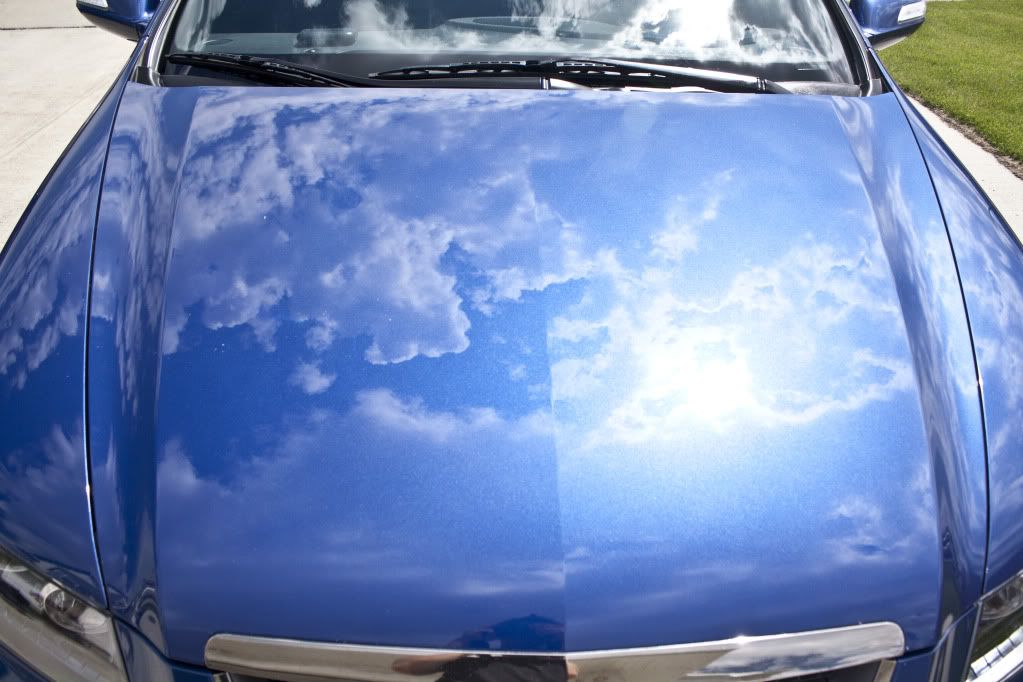
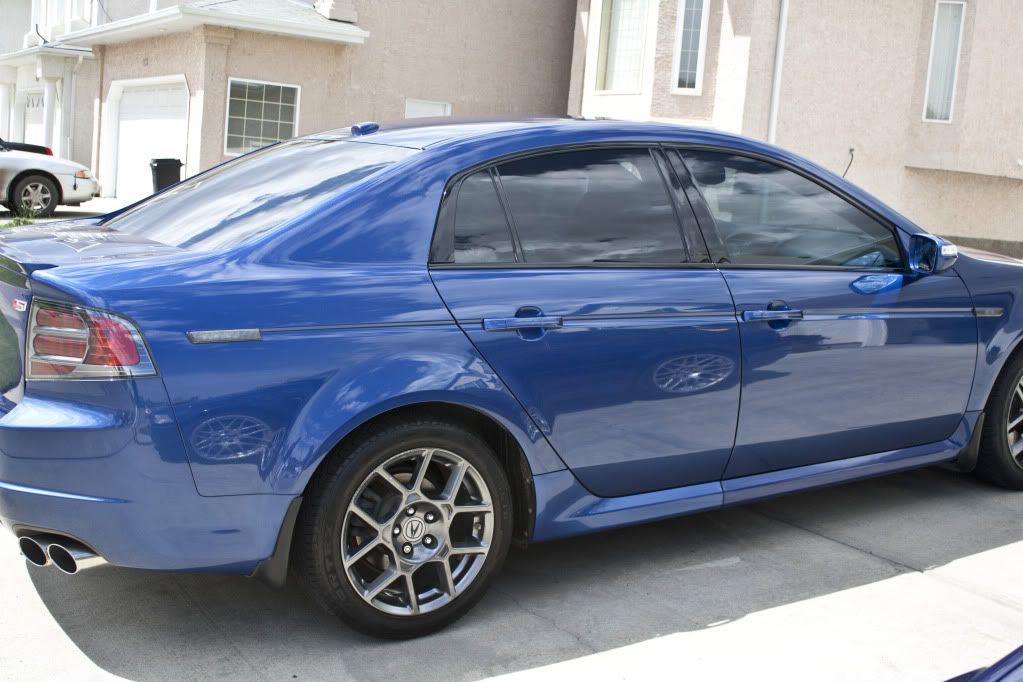
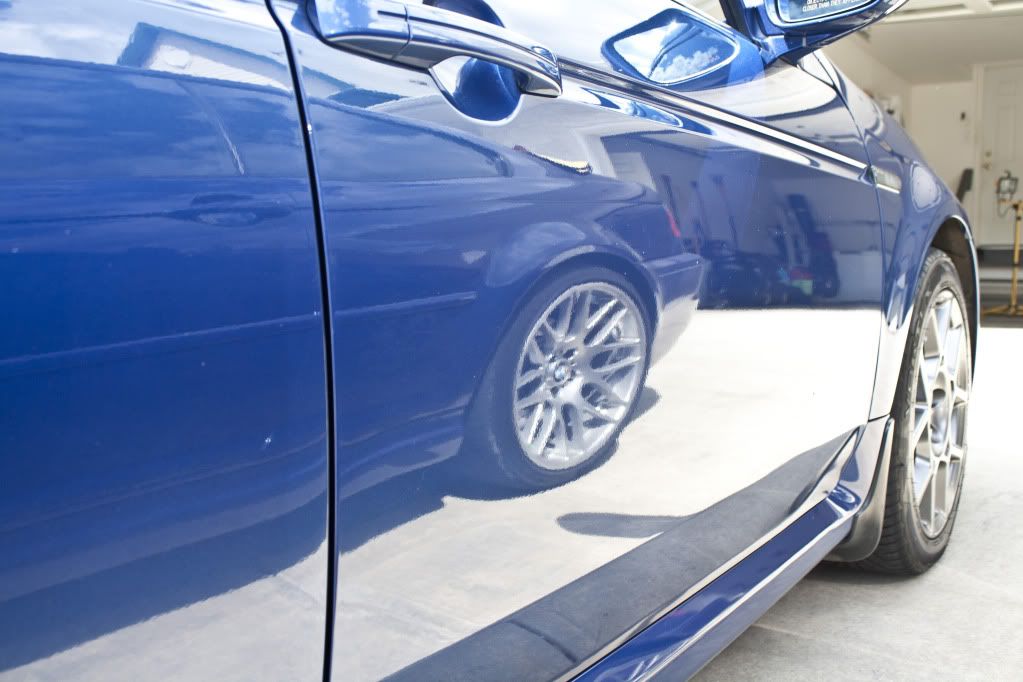
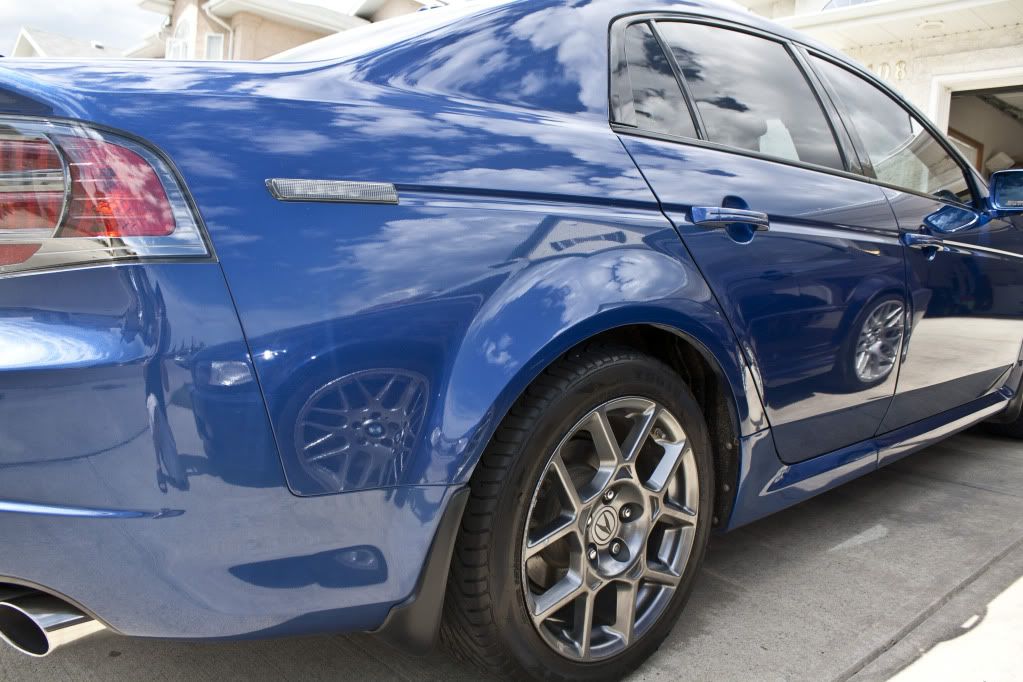
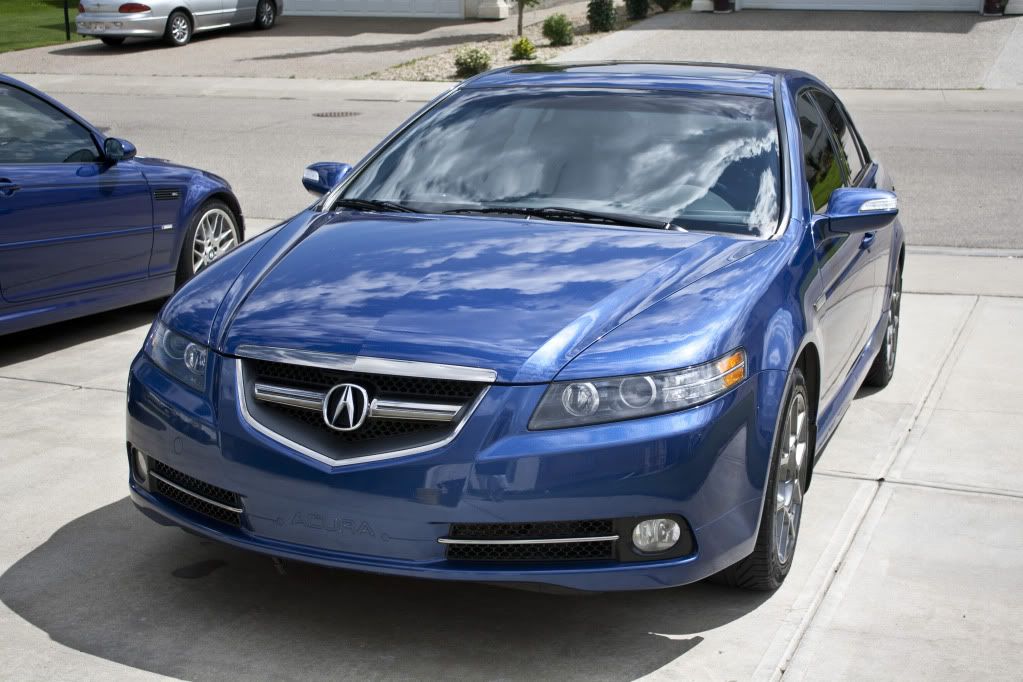
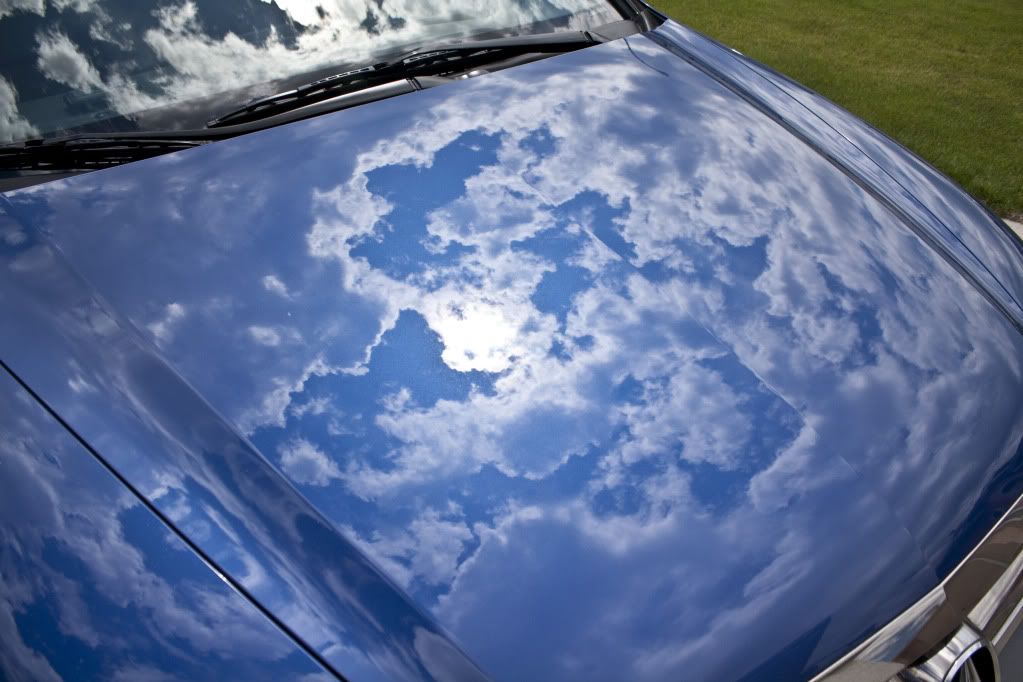
Thank you everyone for taking the time to read this write-up. I know it seems like I have more pictures of what I did to the interior than the exterior. It seems I forgot to go picture happy while doing the paint correction but did so for the interior instead. But as you can see, I didn�t forget about the exterior in the final shots. Please feel free to comment or ask questions.
This is my first write-up as xbr50 is the one usually taking care of the write-ups. This particular one is an exception since it is my personal vehicle. The subject is a 2007 Acura TL Type S in Kinetic Blue Pearl (KBP). I purchased this car at the end of August 2010 but it has never received a proper paint correction ever since it has been in my possession. A few days after I bought it, I did an amateur detail on it with basic OTC products that brought back some gloss and clarity to the paint but did next to nothing about the swirls. I wasn�t too concerned as winter was coming right around the corner and Edmonton is usually blanketed in snow for well over half the year. However, in the past few weeks I�ve made the time to do a proper detail on my car. It received lots of TLC on the exterior & interior. The majority of the work was performed by me while Adam dropped by to help wet sand and polish out my headlights.
The subject:
In total, the detail took about 28 hours over the course of nearly 2 weeks. I�m sure it wouldn�t have taken so long if it were completed fully on a weekend but weekends are the only time I can detail customer�s cars. I would work on my car here and there on days where I had spare time. All the paint correction was completed in one day while everything else was spaced out accordingly.
Initial condition
This car is lacking in the gloss department
Wheels covered in brake dust
Clear bra removal
A clear bra had been applied by the previous owner to a portion of the hood, front bumper, side mirrors, fenders, and a small portion below the quarter panels. All pieces were removed as they have yellowed significantly and look battered
Heating up the clear bra to make removal easier
Side mirror clear bra peeled off
Fender portion gone
As you can see, it appears very aged
Removal
Working on the front bumper
Wash
Wheels & tires were hit with AG CWC diluted 1:1 with a Griot�s foaming sprayer
Using a RG XL Wheel Brush to get in between and deep into the spokes
Exhaust tips before
Exhaust tips after - steel wool #0000, CG GR, Mini EZ Detail Brush & P21S Polishing Soap
Note � inside of tips are treated so only outside was polished
Car is foamed with 2 ounces of CG CW&G & filtered water
I almost forgot to take a picture of the car snow foamed. This shot captures what it looked like after an approximate 3 minute dwell time
Engine bay before
Engine bay after � CG GR, Large & Mini EZ Detail Brushes, Meguiar�s #40
It started to drizzle outside as I took the shot, a few water spots can be seen
Looking after the smaller details using a Swissvax Wheel Brush
Interior
Driver�s side before � Yes I know this is terrible for someone who calls himself a detailer. In my defense, the winters over here are terrible and when it�s so cold outside, I could really care less about how clean the interior looks. I just want to get inside my house to be warm and away from the -40 bone chill temperatures
Closer up
I hit the pedals with a combination of steam, Meguiar�s D103 Plus & a stiff carpet brush
After
Passenger side floor mat before
Rear floor mats before
Took the floor mats out to receive the same treatment as the pedals
Steam power is awesome
Rear floor mats after
Driver side after
The entire interior received a thorough vacuum and dusting prior to using cleaners
Before & Durings
Dusting with a Swissvax Detail Brush
Trunk before
Trunk after
Leather seats before
A lot of dirt was trapped between the seams
Every seat was steamed
After steaming, I prepared some items for cleaning up the seats
Sprayed some AG LC
Agitating with a Swissvax Leather Brush
This is only the lower portion of the driver�s seat
Seats received a layer of LM Leather Vital to finish off
Cleaned door jambs with Einszett Blitz APC & Swissvax Detail Brush
Einszett Cockpit Premium was applied to all surfaces to leave a matte finish
The rubber trim at the moon roof received Meguiar�s #40 for a more glossy finish
Applied Einszett Gummi Pflege Stift to all rubber seals
Rear after
Front after
Although the seats don�t look too visibly different, they certainly felt much softer and didn�t have a slippery feel to them anymore.
Exterior
Moving onto the paint, it wasn�t too contaminated as I had previously clayed and waxed it a few months ago
After a few test panels, the combo I decided on was Menzerna Power Finish P203 with a yellow B&S pad for cutting and Menzerna Micro Polish PO85RD on a blue pad for jewelling the paint.
Fender before
Fender after
Passenger door before
Passenger door after
Driver door had been keyed
Driver door after
Rear driver side door had also been keyed
Rear driver side door after � A faint mark still remains but is only visible at certain angles
Top of rear driver side door before
Top of rear driver side door after
Left quarter panel before
Left quarter panel after � The smudges are polish residue, tsk tsk on me
Trashed pillars before
Pillars after
Before using a 4� spot pad
After
Damaged lower quarter panel before
After � A faint mark remains since it is down to primer but appears greatly improved
Right mirror before
Right mirror after
Top of trunk before
Top of trunk after
Using a 4� spot pad to get at the smaller spaces of the trunk
Trunk before
Trunk after
Caused by things always going in & out of the trunk
A few RIDS remain but significant improvement
Taillight before
Taillight after
During one of the days, Adam came by and assisted with restoring my headlights. He wet sanded using 1000, 1500, 2000, 2500, and finally 3000 grit. After removing most of the pits, he polished them with a 4� Surbuf using M105 & finished down with a 4� B&S green on M205.
Befores
After wet sanding with 5 different grits
Afters
Brought into the garage to receive LSP & finishing touches
Wheels were sealed with KSG
Tires dressed with BF Long Lasting Tire Gel
Trim pieces received a Pre-Wow & Black-Wow treatment. Quite the difference I must say!
Left side untreated, right side treated
After all the paint correction, the car was rewashed and brought in to have a glaze applied. Glaze of choice was The Detail Shoppe Wet Glaze 2.0
After working the glaze into the paint & buffing off, BFWD was immediately applied for a wet, dripping looking finish.
I waited 2 days and rewashed the car in preparation for wax application. I decided to top BFWD with Blackfire Midnight Sun Wax. It added a warm glow to the paint.
Finished Pictures
Thank you everyone for taking the time to read this write-up. I know it seems like I have more pictures of what I did to the interior than the exterior. It seems I forgot to go picture happy while doing the paint correction but did so for the interior instead. But as you can see, I didn�t forget about the exterior in the final shots. Please feel free to comment or ask questions.


 07-30-2011, 05:03 PM
#7
Moderator
iTrader: (3)
Damn I love KBP! Great work sir 
Trending Topics
07-31-2011, 04:01 PM
#8
Pro
Thread Starter
Thanks for all the compliments everyone!
Lmao I know.. They used to have a mustang before. I much prefer seeing a mustang everyday instead of that green thing.
Lmao I know.. They used to have a mustang before. I much prefer seeing a mustang everyday instead of that green thing.
07-31-2011, 08:05 PM
#9
takin care of Business in
iTrader: (5)
Join Date: Jan 2008
Location: Kansas City, MO
Age: 40
Posts: 30,994
Received 4,732 Likes
on
4,064 Posts
WOW the KBP was pretty messed up....
the before and after pix really make a big difference....killer good job....
and plz dont let the KBP get so dirty again, its my fav color...
the before and after pix really make a big difference....killer good job....
and plz dont let the KBP get so dirty again, its my fav color...
08-02-2011, 06:47 PM
#10
Team Owner
iTrader: (2)
Join Date: Jan 2008
Location: Kansas City, MO (Overland Park, KS)
Posts: 36,545
Received 6,470 Likes
on
5,162 Posts
Pretty damn incredible.....
08-10-2011, 01:51 AM
#12
Pro
Thread Starter
Sorry about the pictures. My buddy forgot to renew his photobucket account that the pictures are hosted on to pro and he left for vacation. He's on a cruise right now so no way to reach him until he gets back this weekend. Hang on tight they'll be up and running soon!

 08-16-2011, 11:00 PM
#18
I'm a thrill seeker in my
Looks fantastic Vince Great attention to detail and excellent results.
It's a damn shame our summer has been such crap hey? It's been tough to find the desire to wash the car when it's going to rain the same day or the next. July was just brutal. My baby needs a bit of cleaning love.
Great attention to detail and excellent results. It's a damn shame our summer has been such crap hey? It's been tough to find the desire to wash the car when it's going to rain the same day or the next. July was just brutal. My baby needs a bit of cleaning love.
08-18-2011, 01:37 PM
#20
Pro
Thread Starter
Thanks for all the compliments guys.
Ryan - Yeah man our weather has been such a pita. There are so many days where I want to wash the car but I check the weather and it ALWAYS says it's going to rain at night or the next day. It looks like our summer is already winding down. This sucks!
Ryan - Yeah man our weather has been such a pita. There are so many days where I want to wash the car but I check the weather and it ALWAYS says it's going to rain at night or the next day. It looks like our summer is already winding down. This sucks!
08-20-2011, 08:04 PM
#21
Your Friendly Canadian
Join Date: Dec 2007
Location: Toronto, Ontario
Age: 31
Posts: 17,431
Received 1,485 Likes
on
1,049 Posts
Great work! Bringing back that passenger mirror was unbelievable.
How did you like AG's leather cleaner?
How did you like AG's leather cleaner?
08-21-2011, 01:45 AM
#22
Pro
Thread Starter
The AG leather cleaner worked well. I can't compare it to any other leather specific cleaners since this is the only one I've used. Usually I just use a damp MF with warm water or a diluted APC.
08-29-2011, 01:29 PM
#25
Pro
Thread Starter
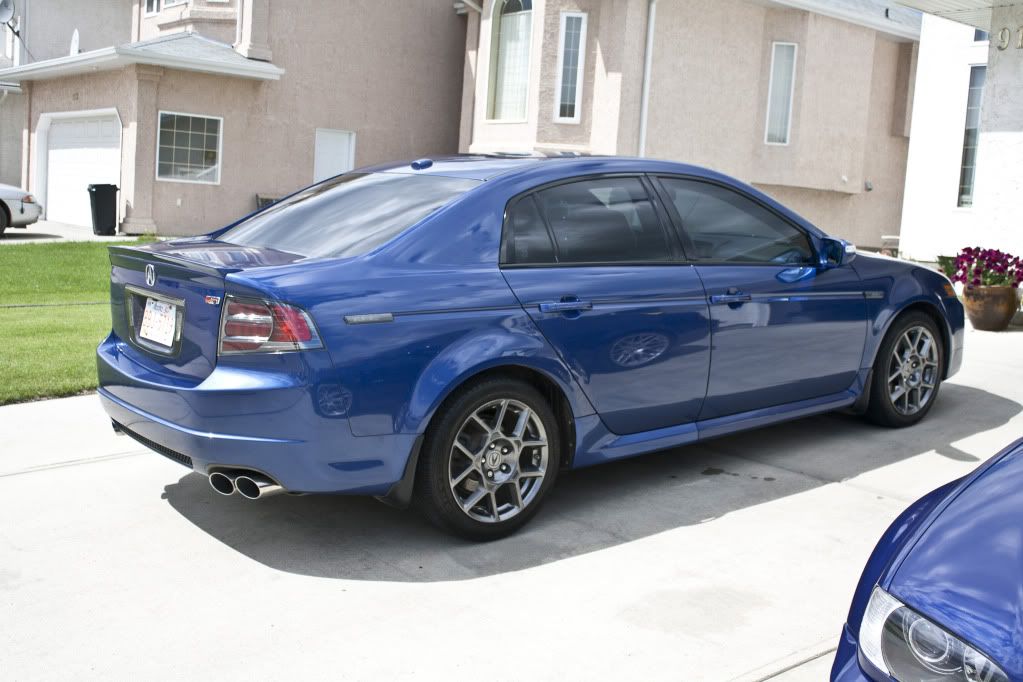
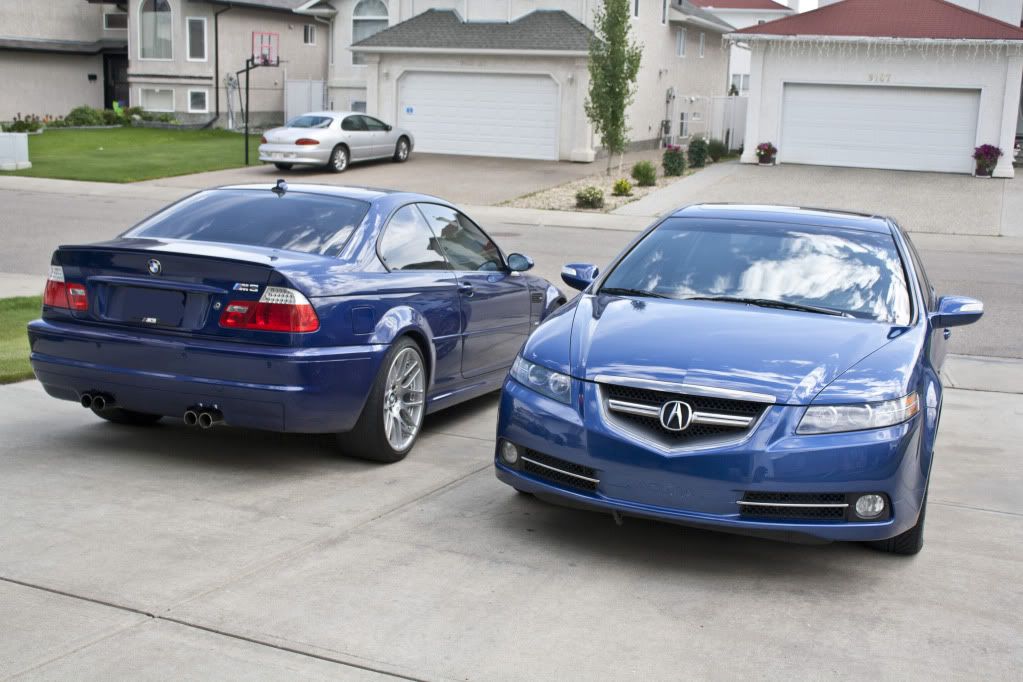
This past weekend I had the pleasure of working on another KBP TL-S. The detail wasn't documented as me and my buddy were already crunched for time. The customer wanted a full correction and interior work done as well. We had our work cut out for us but we managed to finish in a day. Here are just 2 pictures of the KBP's.

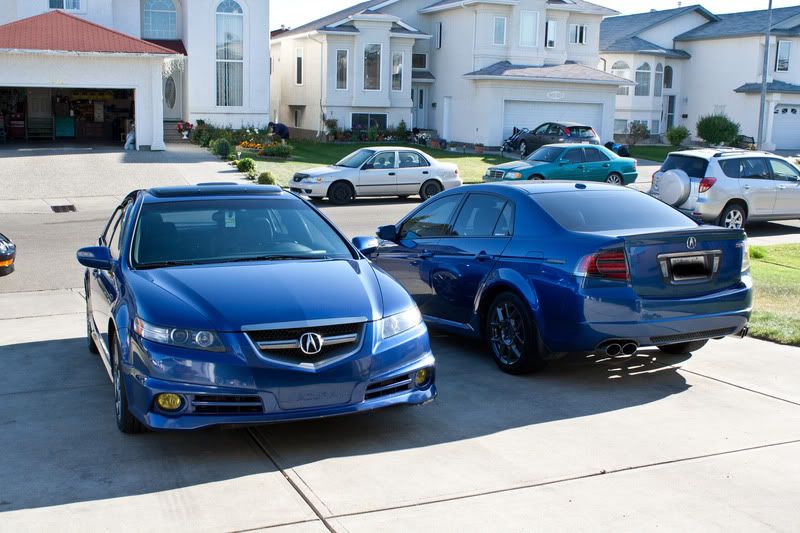
Btw the customer's car has already been corrected. It was brought outside to be rewashed and later have interior work done.
Btw the customer's car has already been corrected. It was brought outside to be rewashed and later have interior work done.
08-29-2011, 09:00 PM
#26
KBPftmfw
Twins (almost)!
I like how you staged these pictures as they give a great compare and contrast to A-Spec vs. Non A-Spec. I'm on the fence with the Type-S A-Spec myself so seeing these pictures helps with the decision.
I like how you staged these pictures as they give a great compare and contrast to A-Spec vs. Non A-Spec. I'm on the fence with the Type-S A-Spec myself so seeing these pictures helps with the decision.


Thread
Thread Starter
Forum
Replies
Last Post
Oakes
Wash & Wax
10
10-12-2015 11:17 AM
asahrts
Member Cars for Sale
0
09-04-2015 05:55 PM