1998 Acura Integra GSR, Detail + Correction
 06-28-2011, 03:00 PM
#1
Pro
Thread Starter
1998 Acura Integra GSR, Detail + Correction
Here's another writeup done by my buddy. Actually the detail was done by him as well but I figure it would be nice to post it here, the car is an Acura after all 
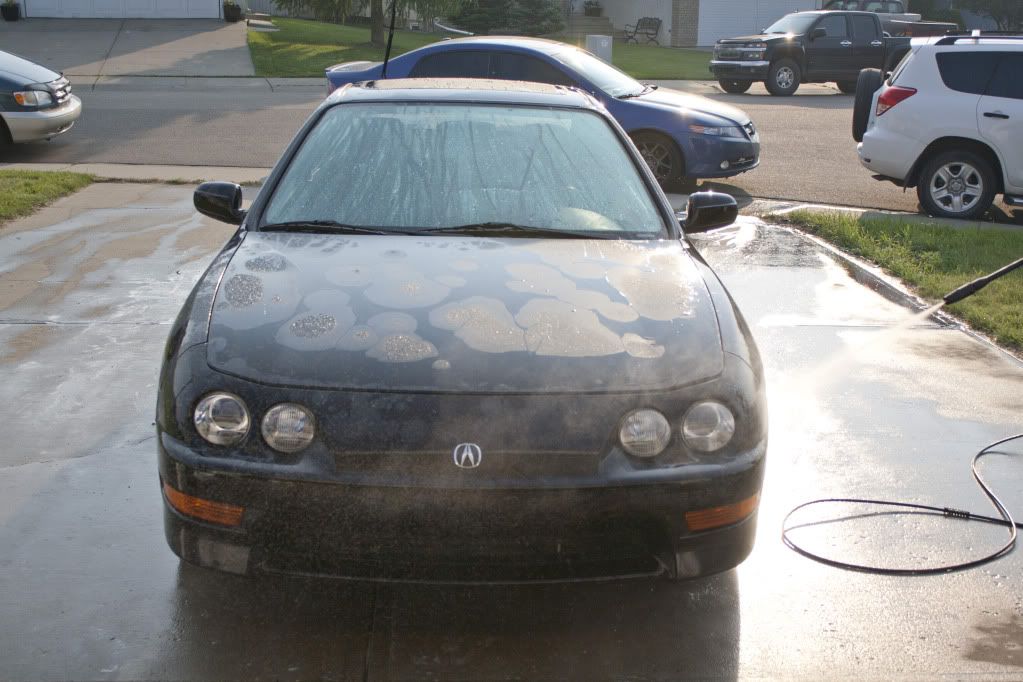
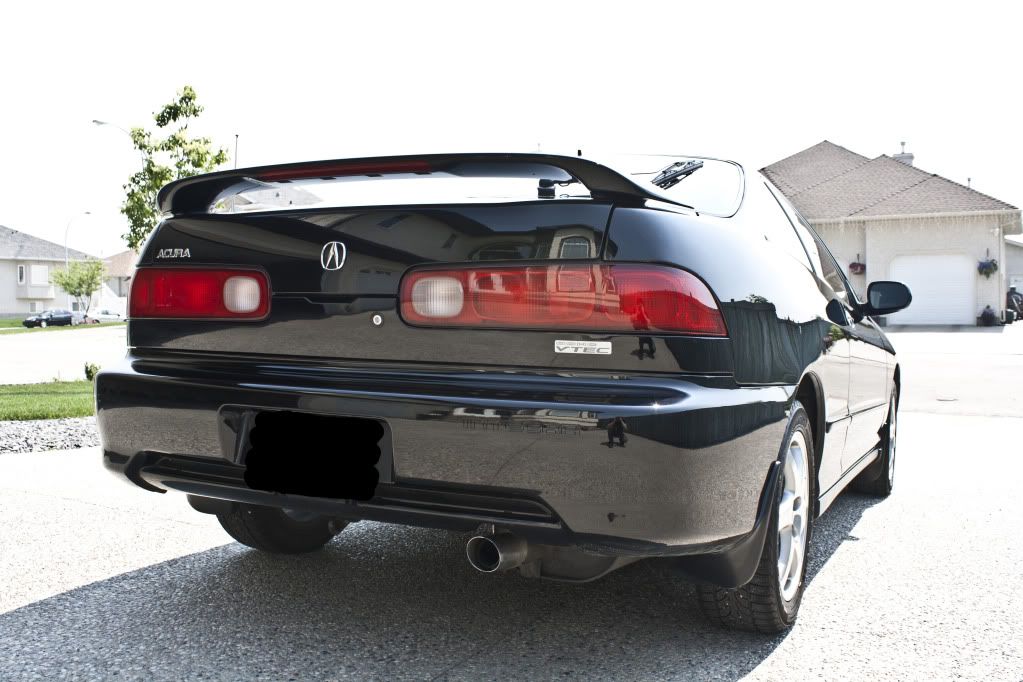
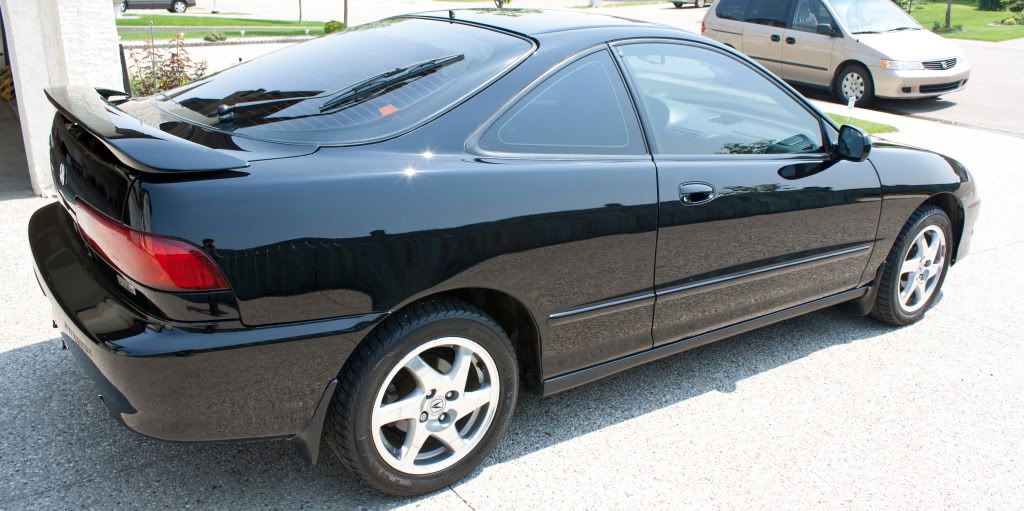
Hello again! I decided to do a write up of detailing my own vehicle, a 1998 Integra GSR in Starlight Black Pearl. v|nsan|ty had commitments for the entire weekend so this was a solo project, this reflects the length of the detail. Not to mention I had to take care of orange peel on the paint which was extremely time consuming.
The subject:
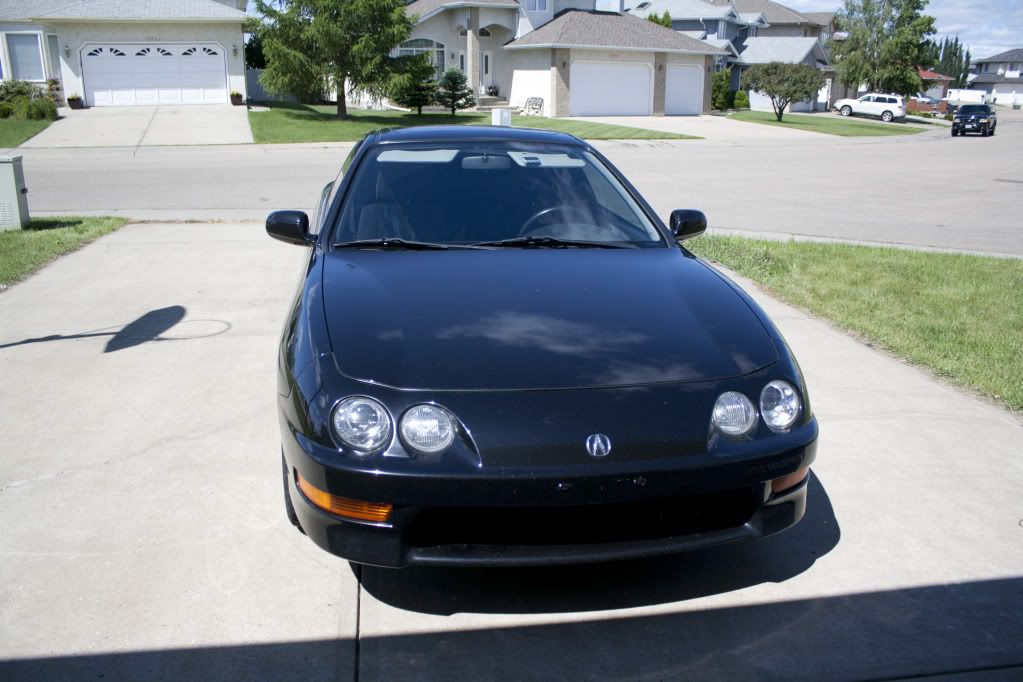
Total time: 26 Hours over three days.
A little history:
I purchased this vehicle less than 2 years ago from the original owner who owned the car since he purchased it back in 1998. It has been his toy ever since, until a growing family and his wife forced him to sell the vehicle.
Since I purchased this vehicle I have yet to do a complete detail and paint correction on the car. I spent all of last summer doing preventative maintenance on the vehicle. To give you an idea, I replaced: Spark plugs/Wires/Distributor cap+Rotor, Fuel filter, air filter, PCV Valve, Clutch Master Cylinder, All fluids. And cleaned the Throttle Body and Idle Air Control Valve. More involved work was done at the dealership such as water pump, drive belt and timing belt. With all the mechanical work out of the way I was finally able to take care of the car's appearance this summer.
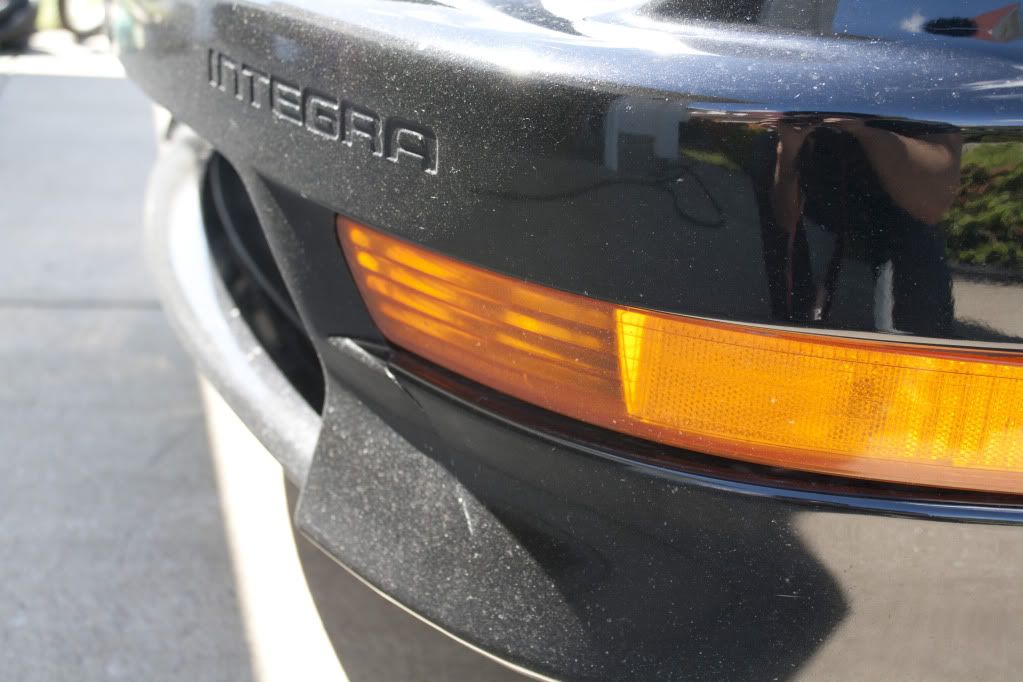
A quick look:
Hazy indicator lights require wet sanding and polishing:
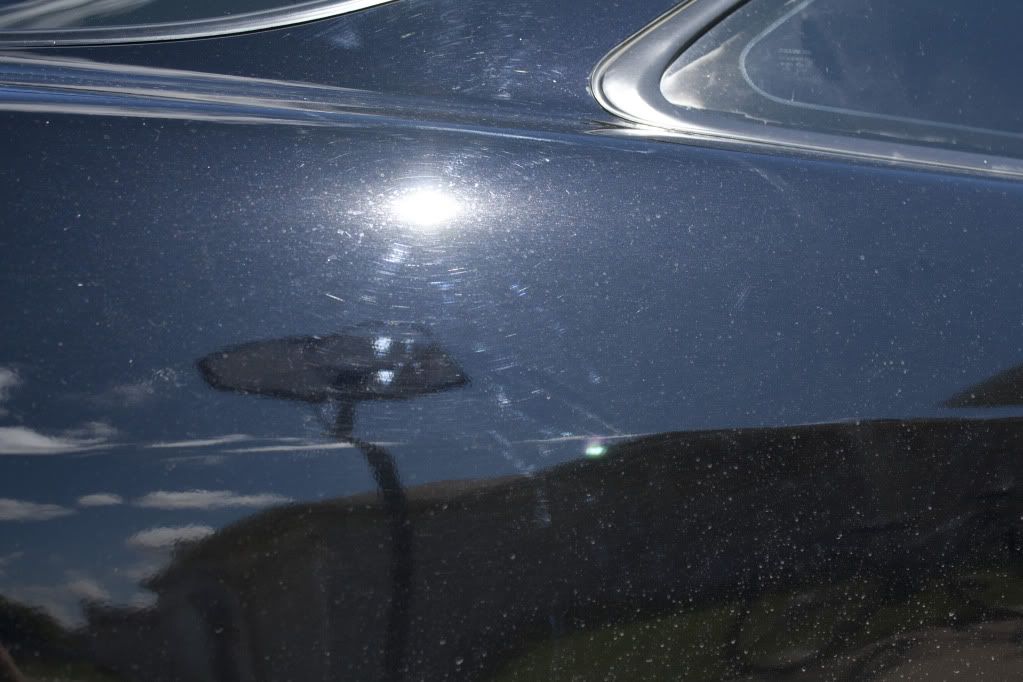
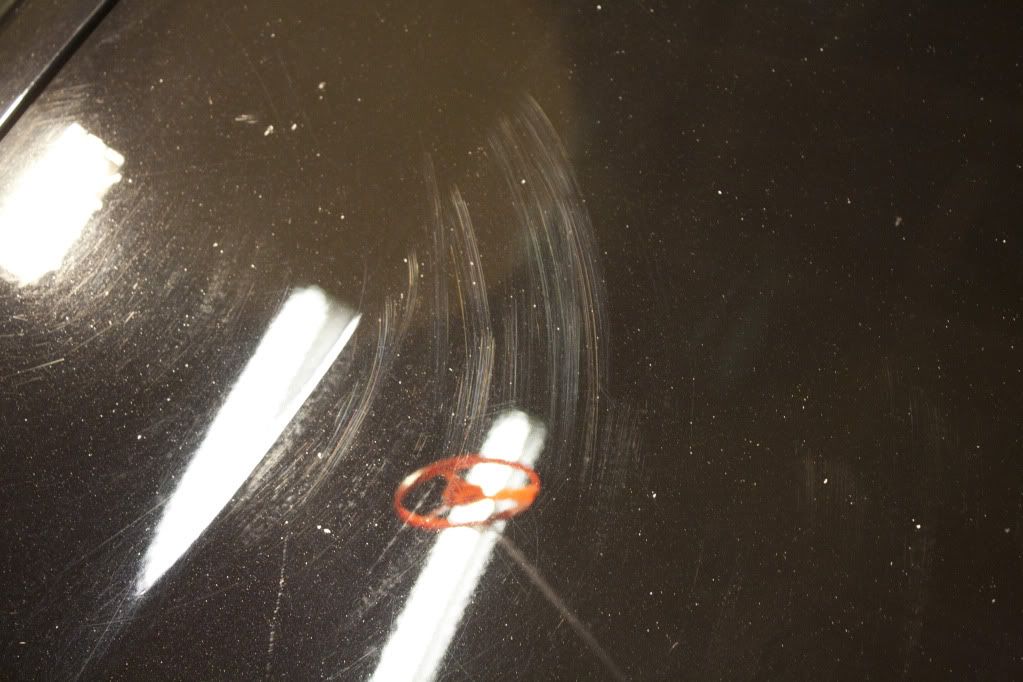
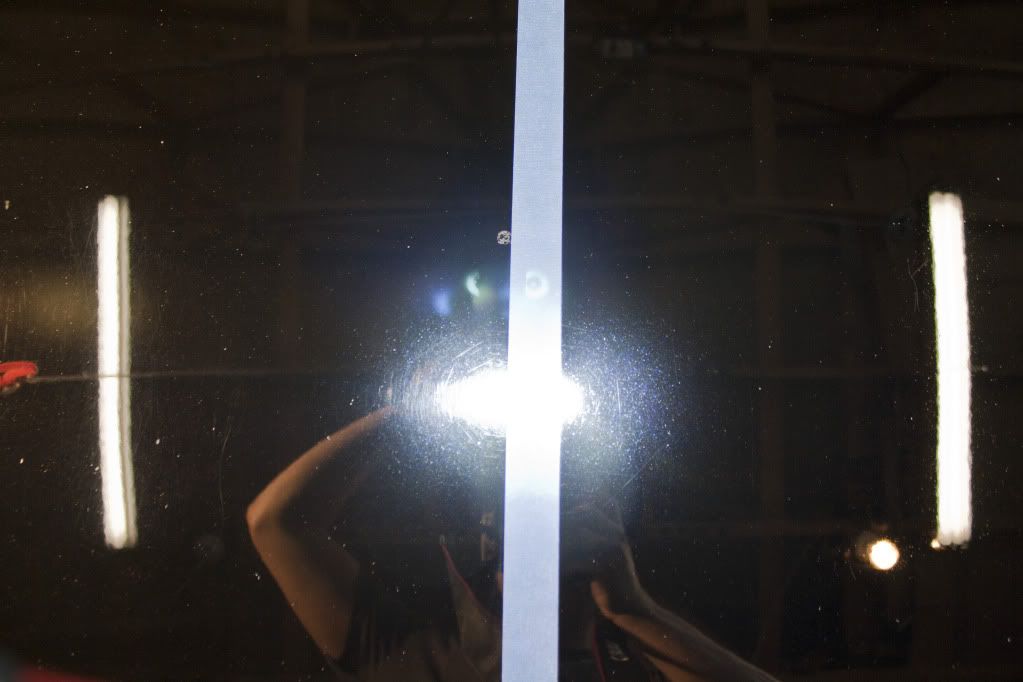
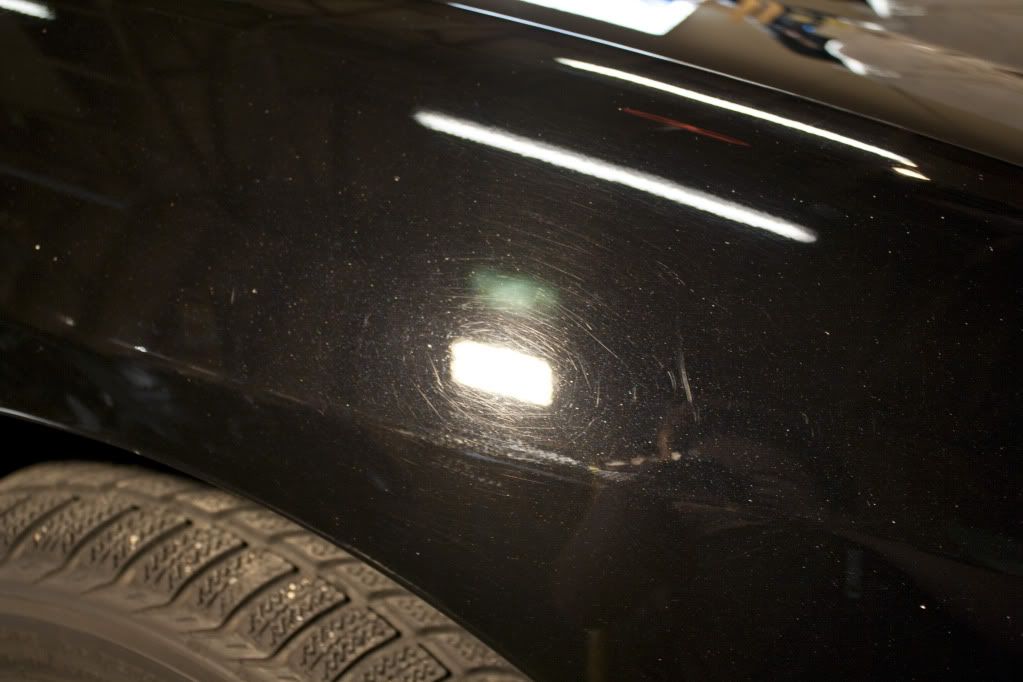
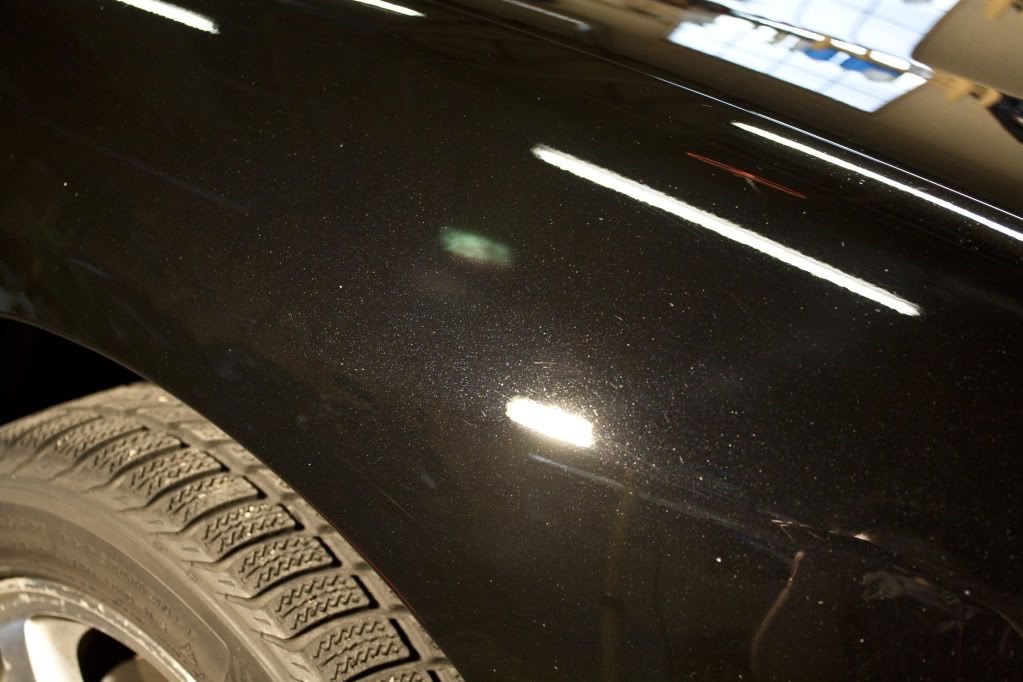
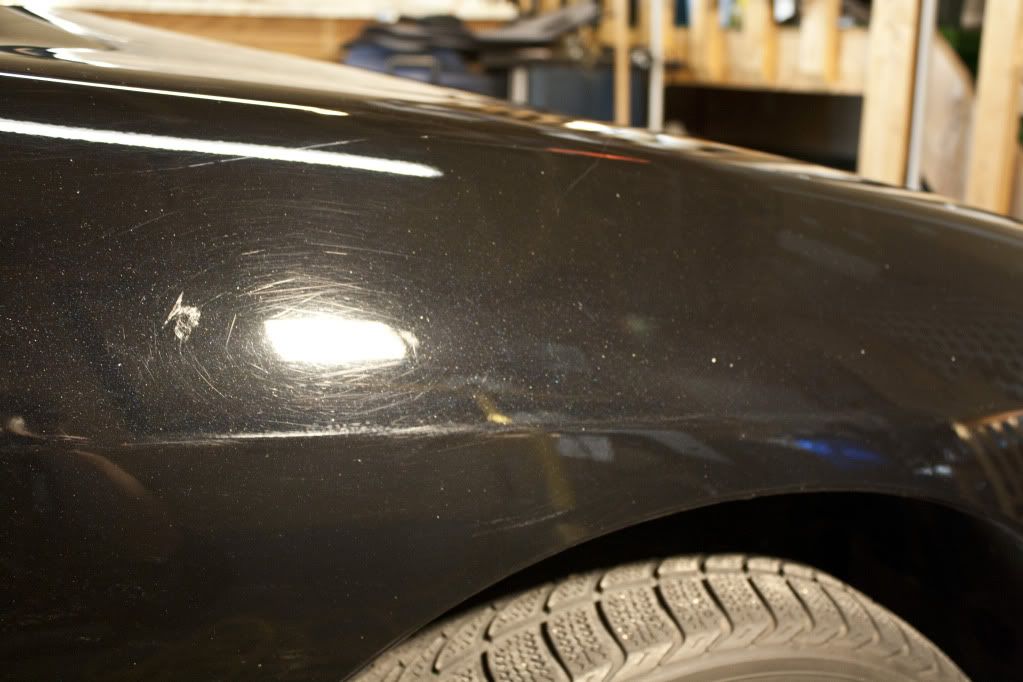
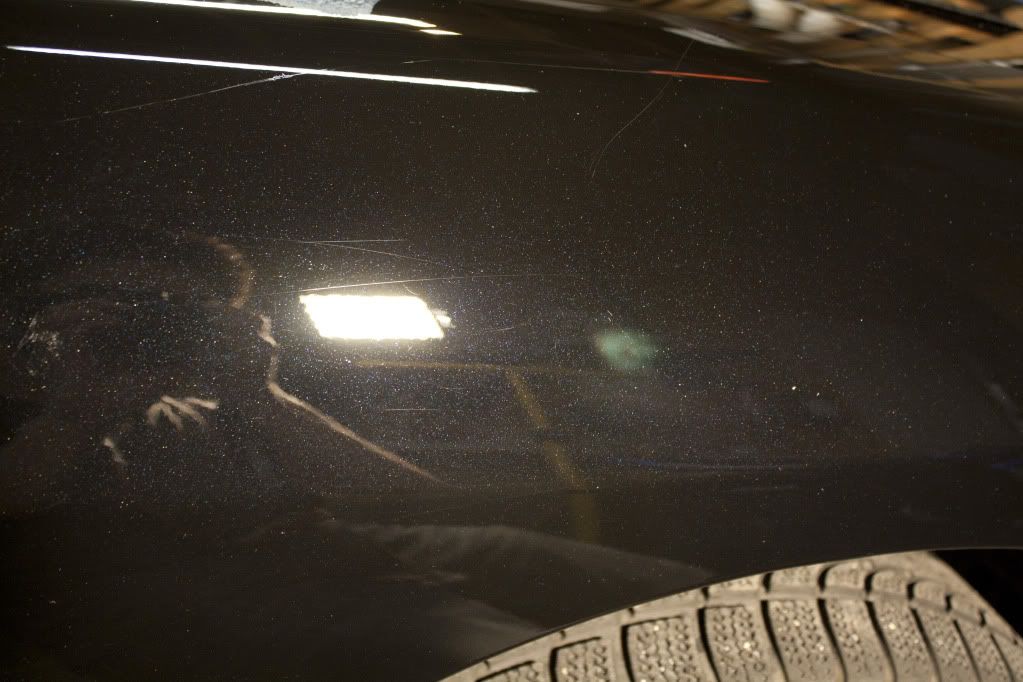
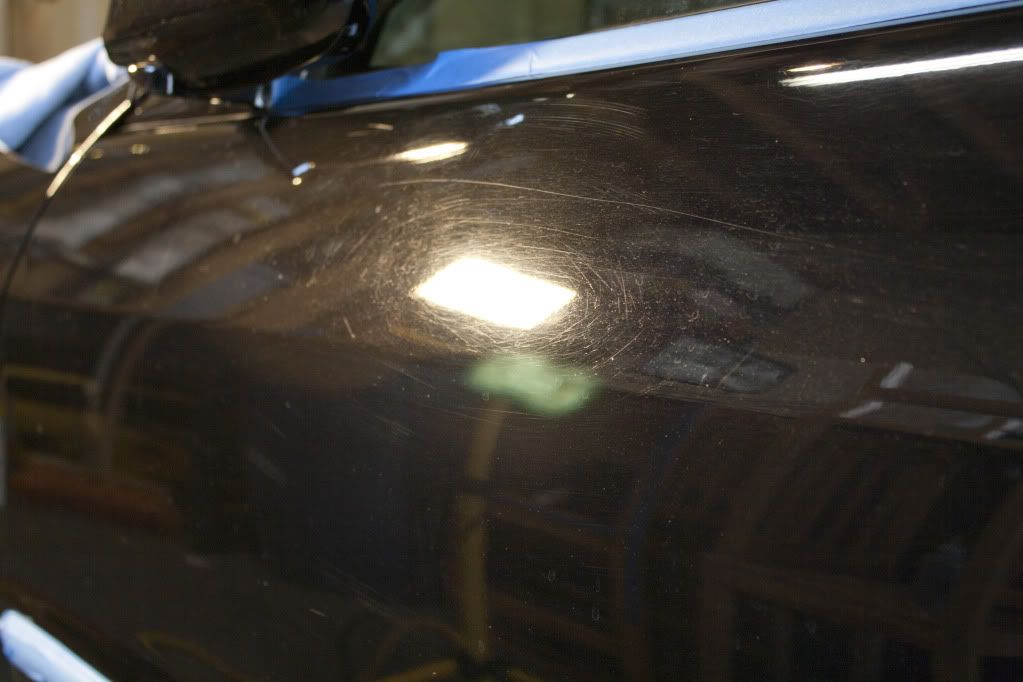
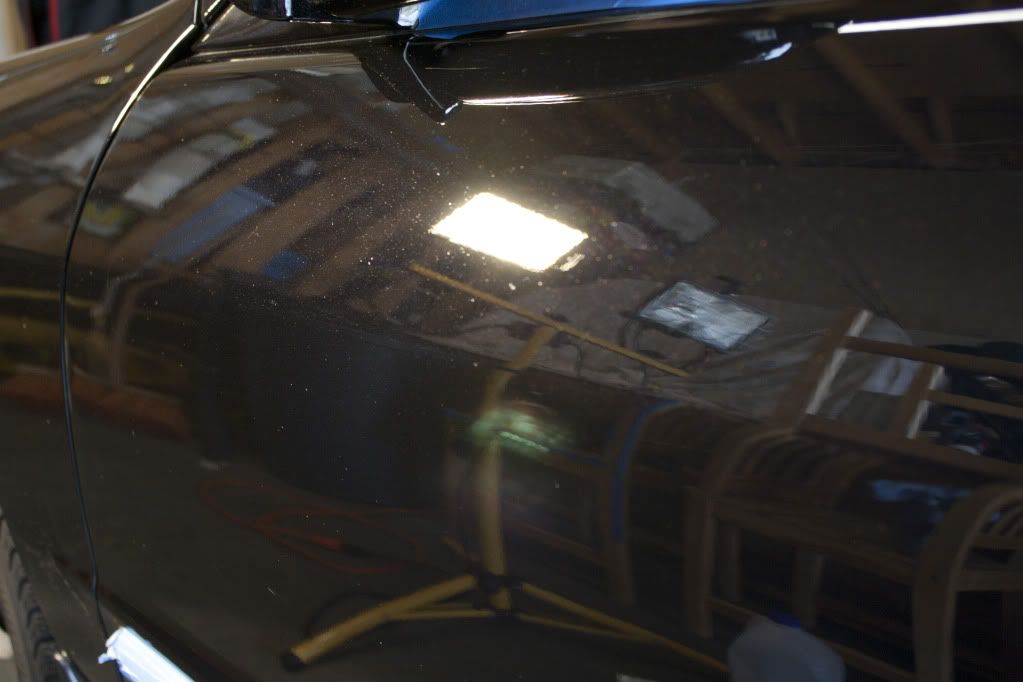
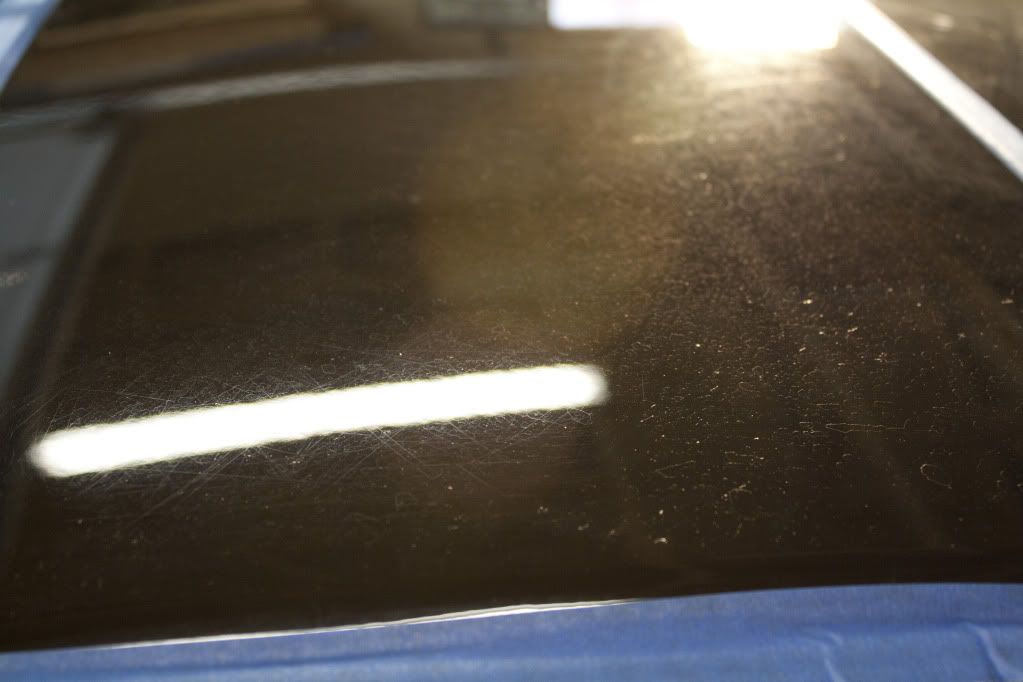
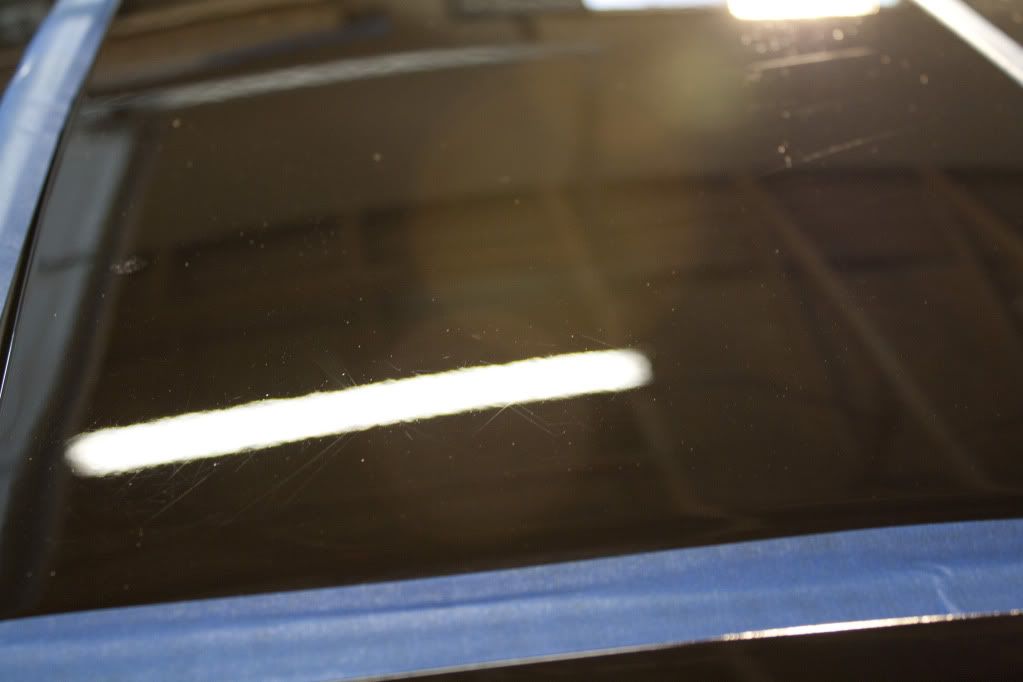
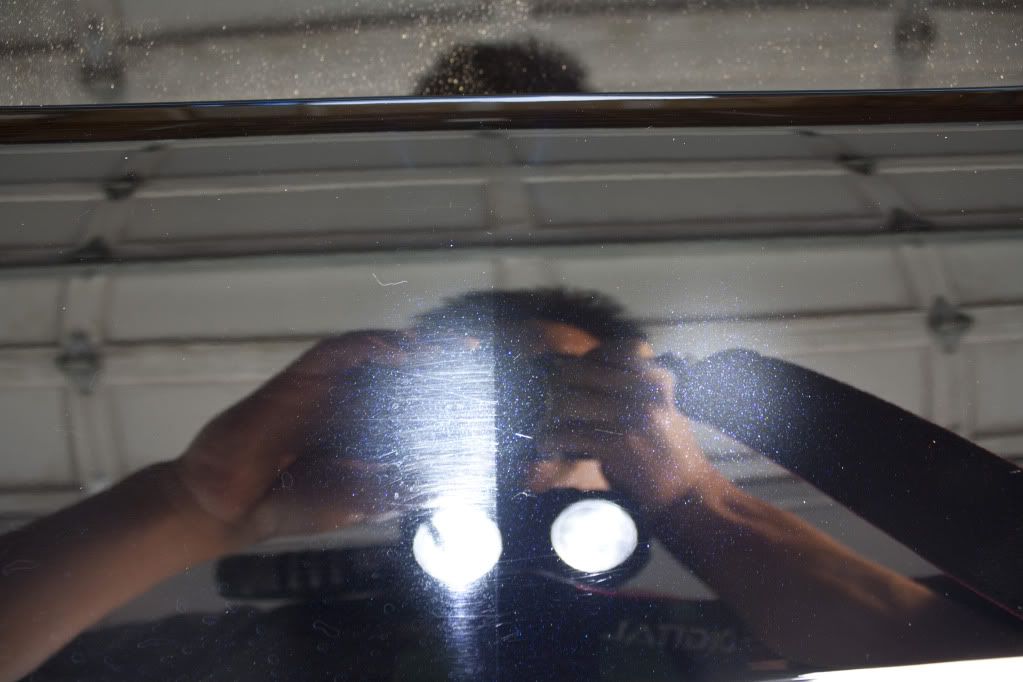
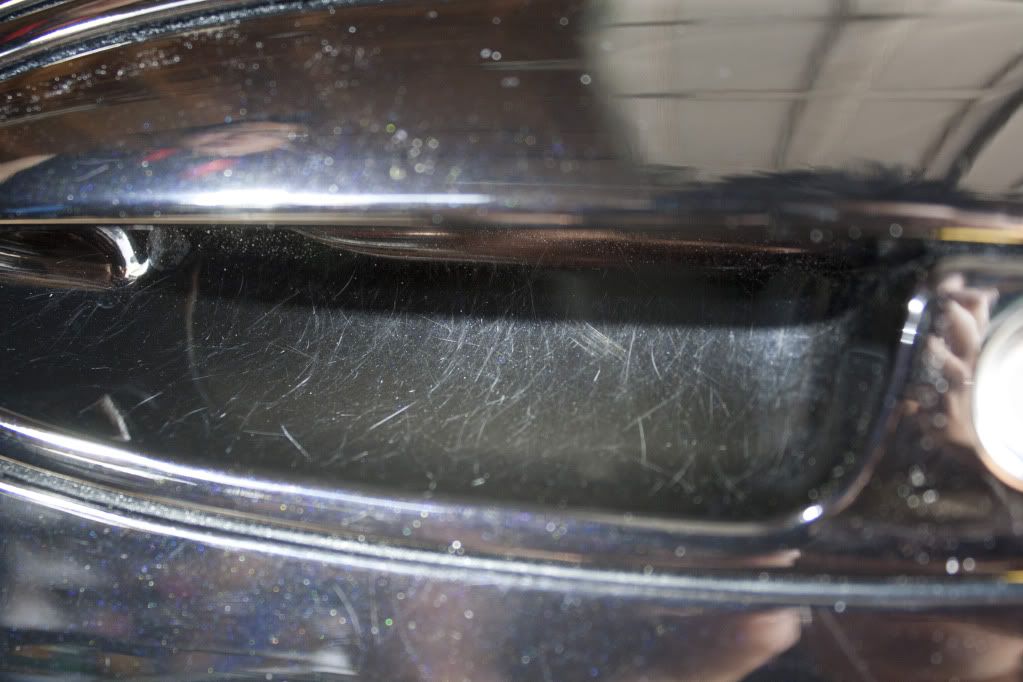
Heavy swirling throughout the car:
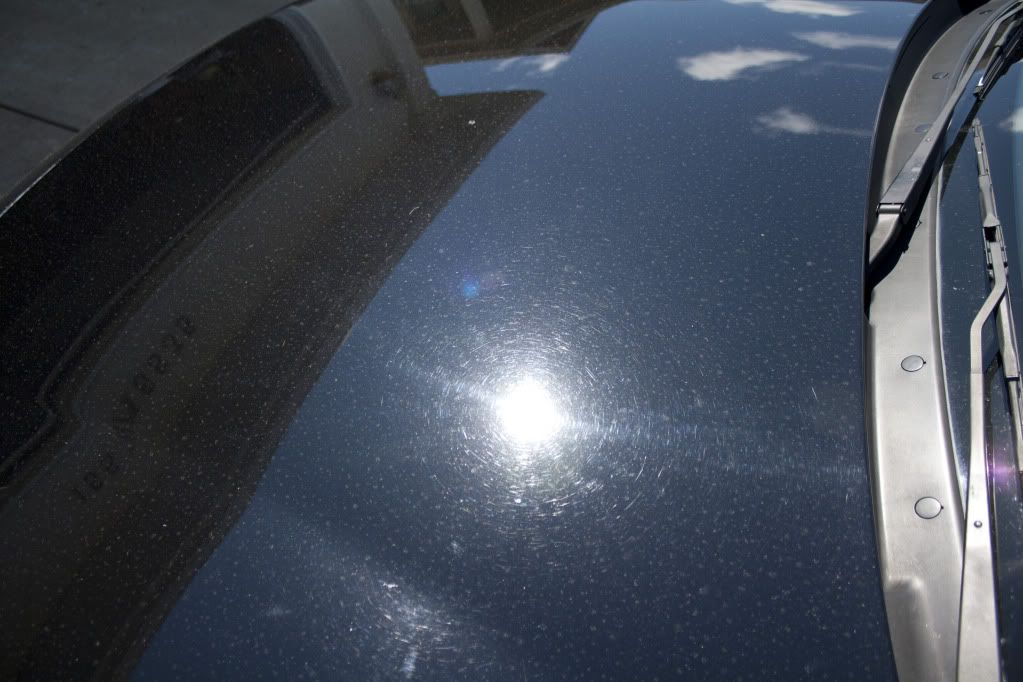
VERY deep!
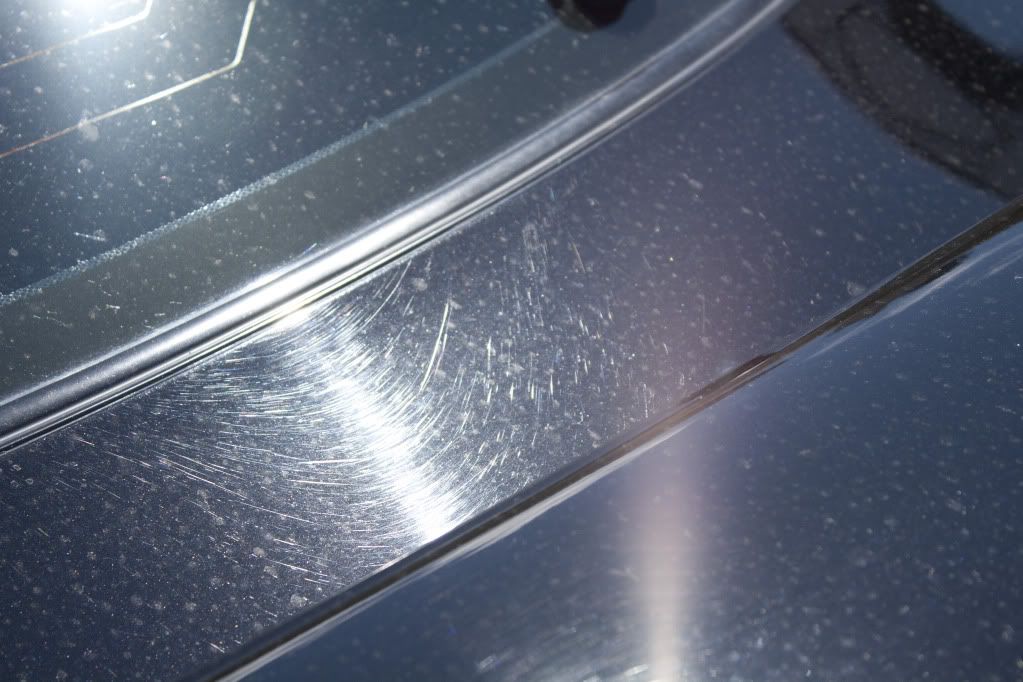
Holograms and orange peel that required wet sanding (More on this later):
Shameful for a detailer:
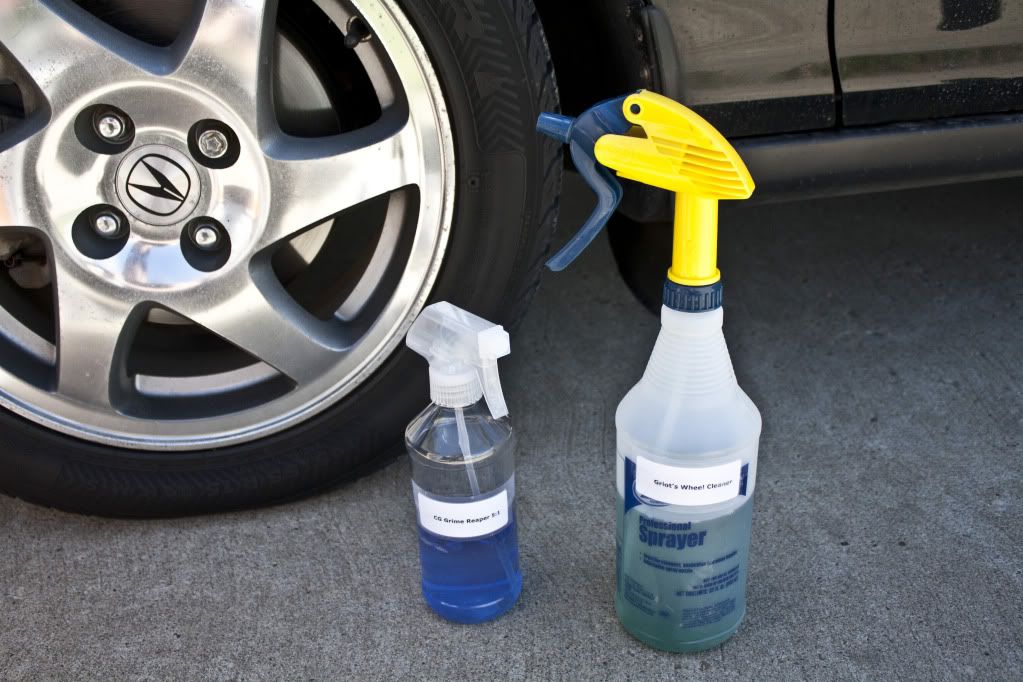
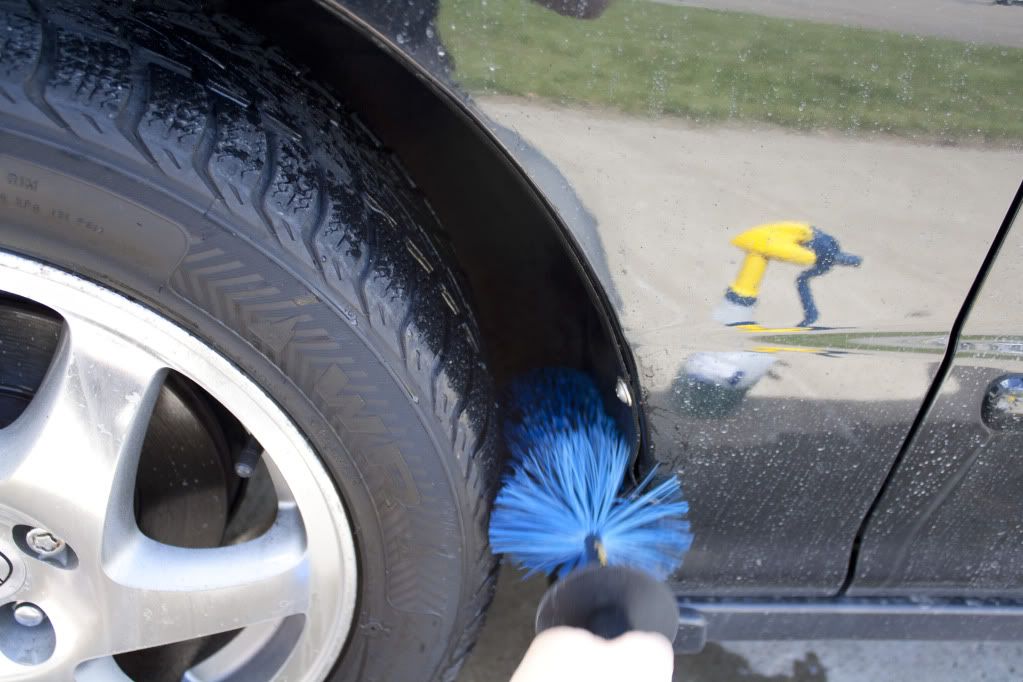
I started on the wheels using Griot's Wheel Cleaner and CG Grime Reaper at 5:1 dilution for the wheel wells:
Everyone should own a Raceglaze Wheel Brush:

EZ Detail brush for the wheel wells:
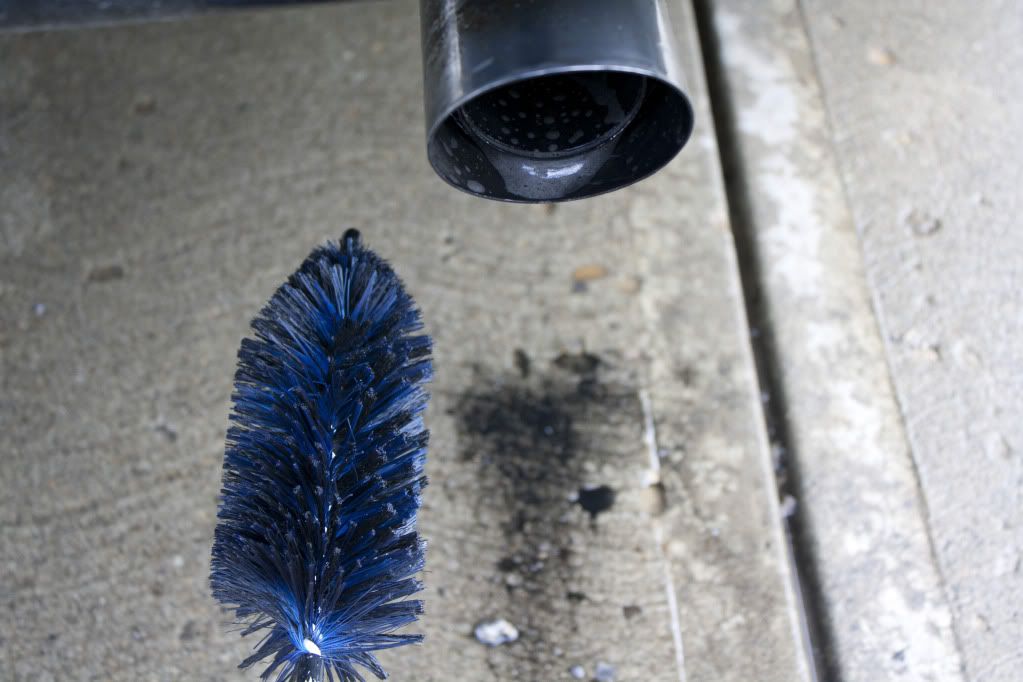
I moved on to the exhaust tips using GC Grime Reaper, Mini Ez detail brush and detailing steel wool. The B series VTEC engines are known to consume oil and this GSR is no exception. This consumption of oil is reflected in the following pictures:
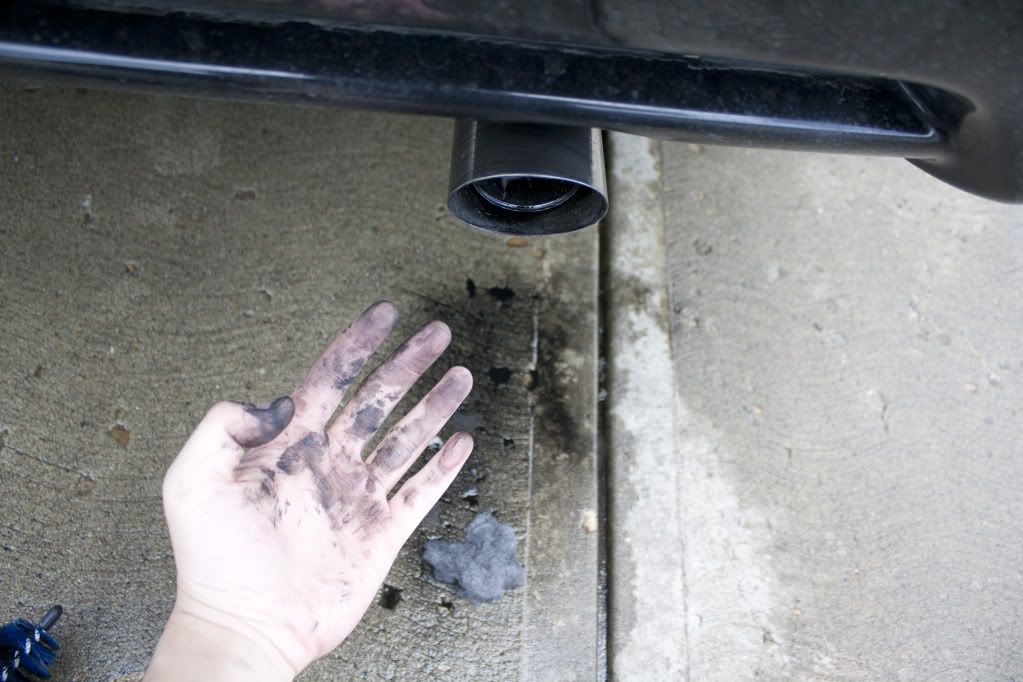
After 10 minutes of scrubbing using the detailing steel wool I admitted defeat:
I used straight CG Citrus wash n gloss for the foaming and wash process:
Can't forget to clean the fuel door:
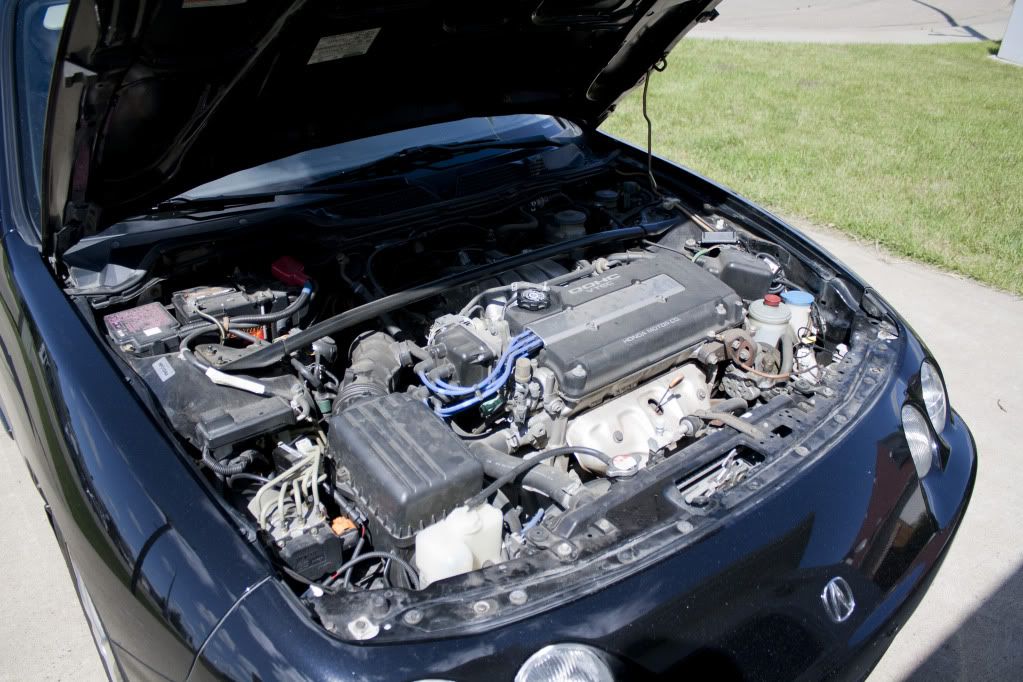
Next cleaned the engine bay with Meguiar's All Purpose Cleaner Plus:
Mini EZ Detail brush came in handy:
Cleaned:
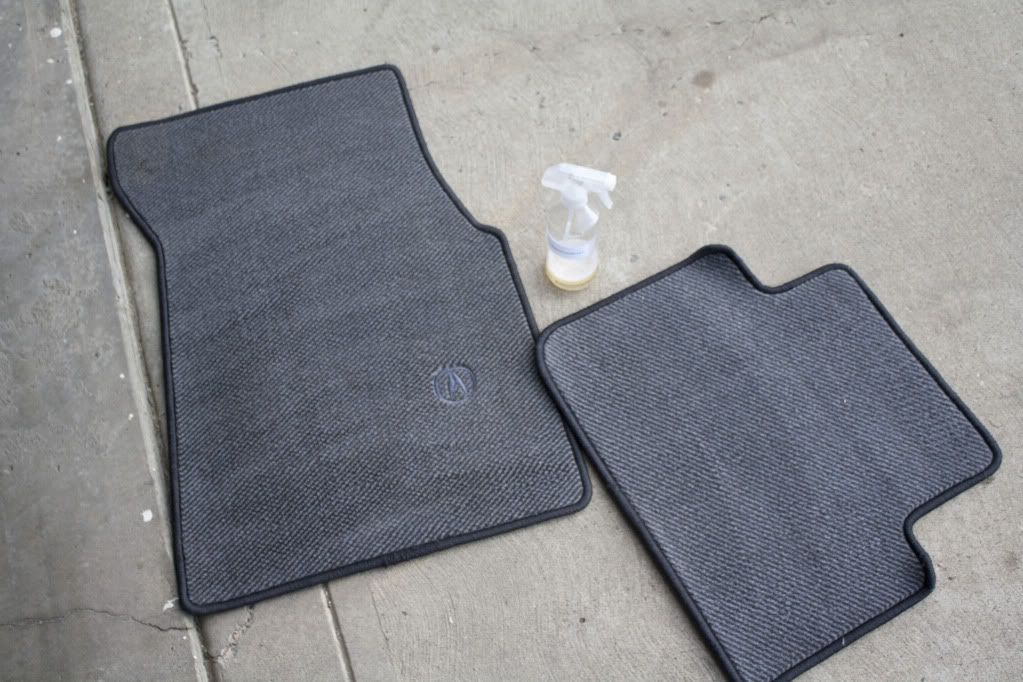
Floor mats were vacuumed and steam cleaned with the help of Meguiar's APC+:
Cleaned:
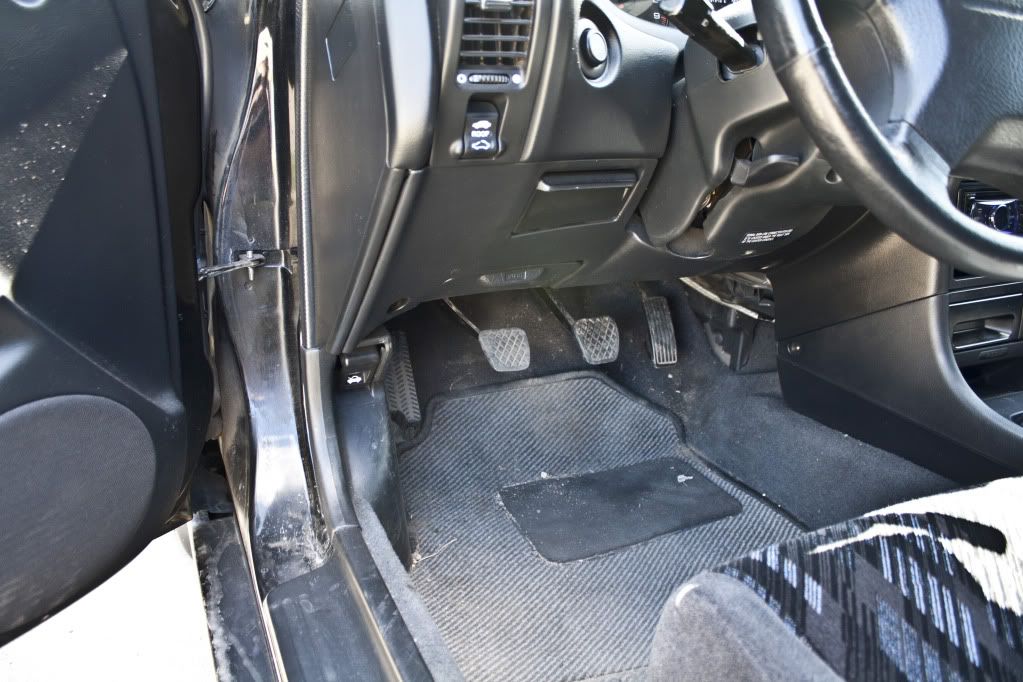
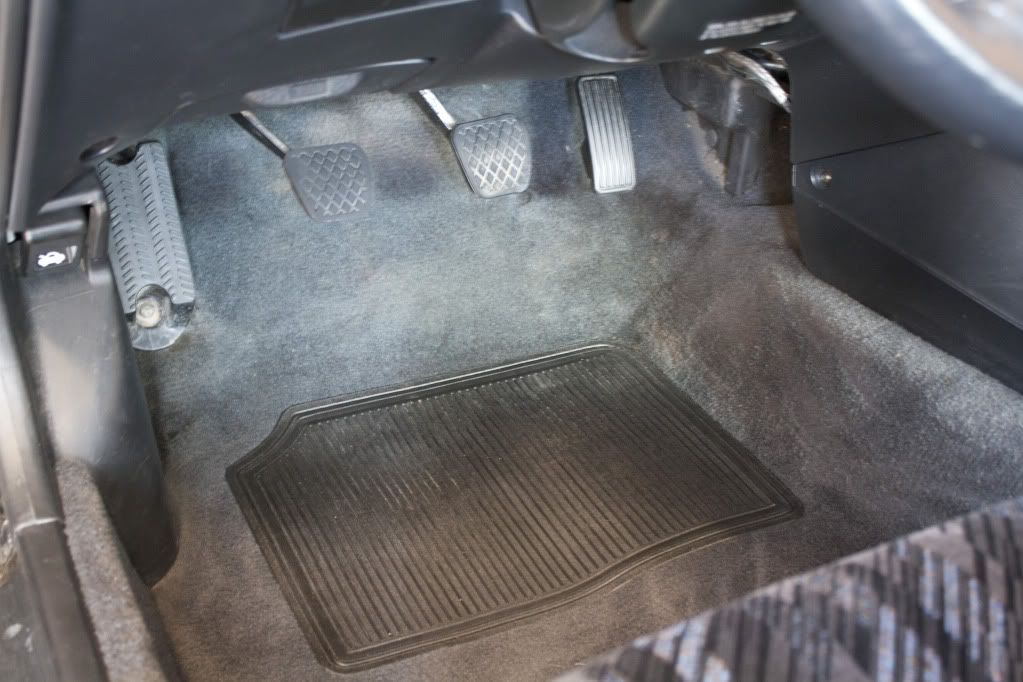
Pedals/carpet before:
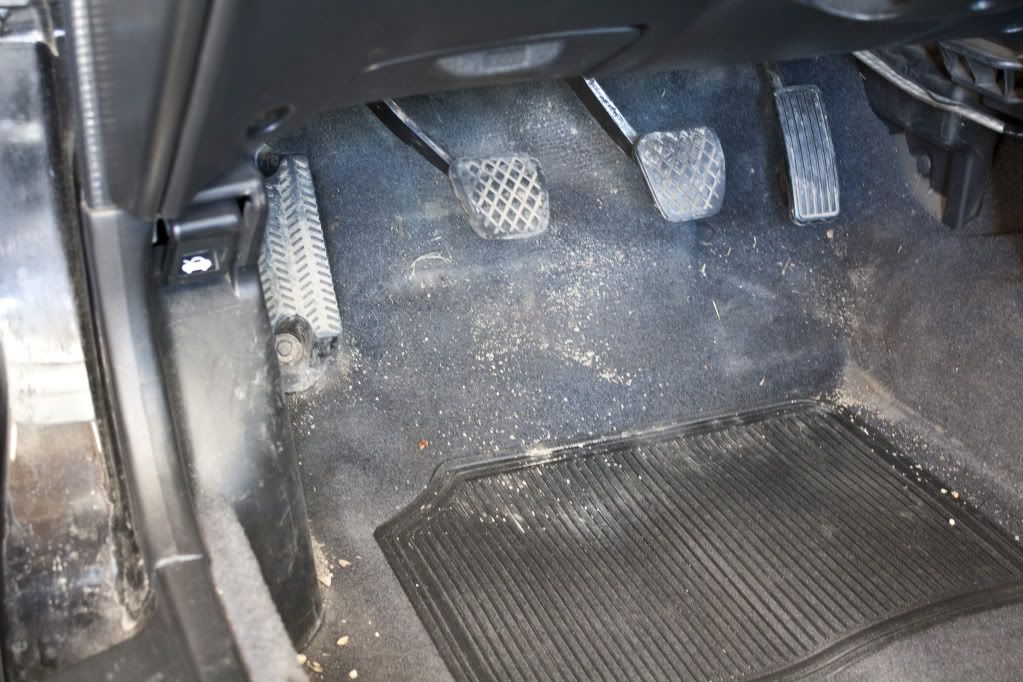
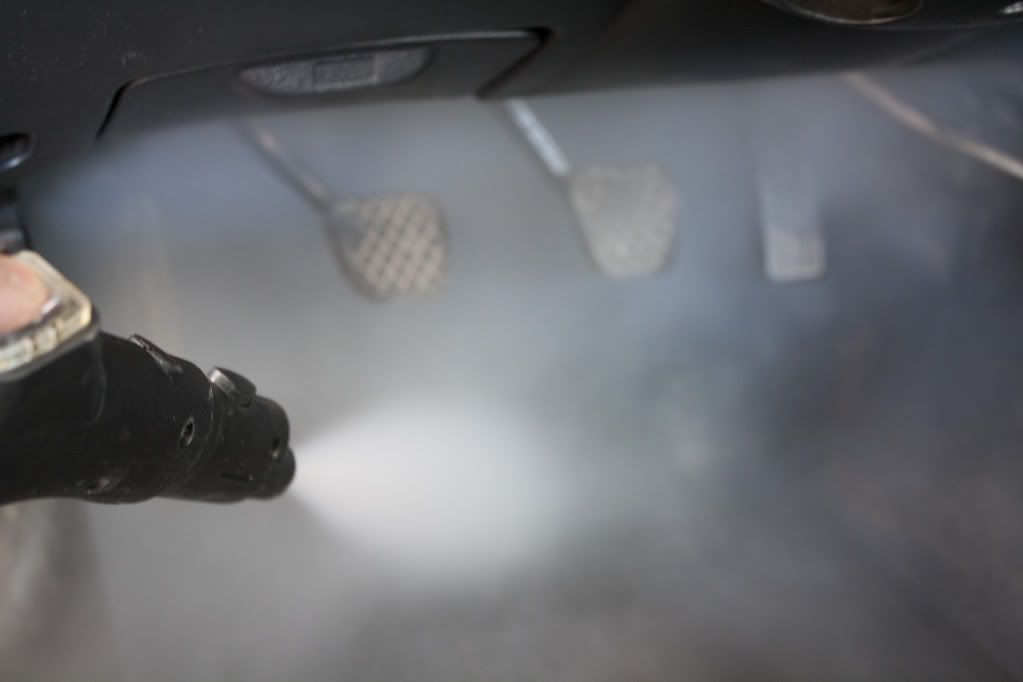
Being vacuumed, steamed, scrubbed with Meg's APC+:
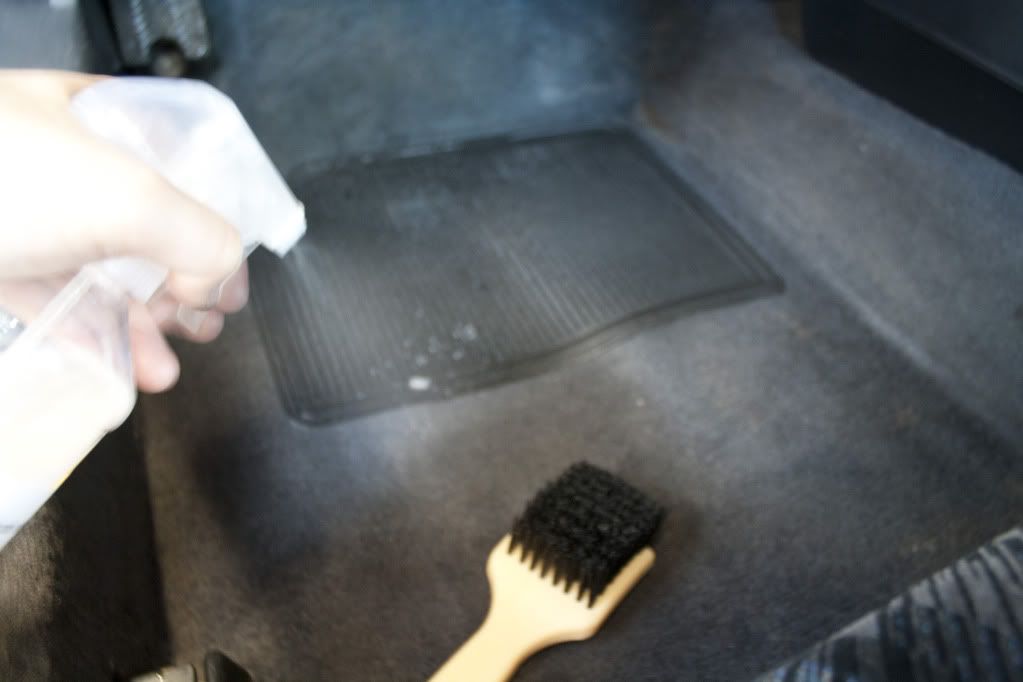
After:
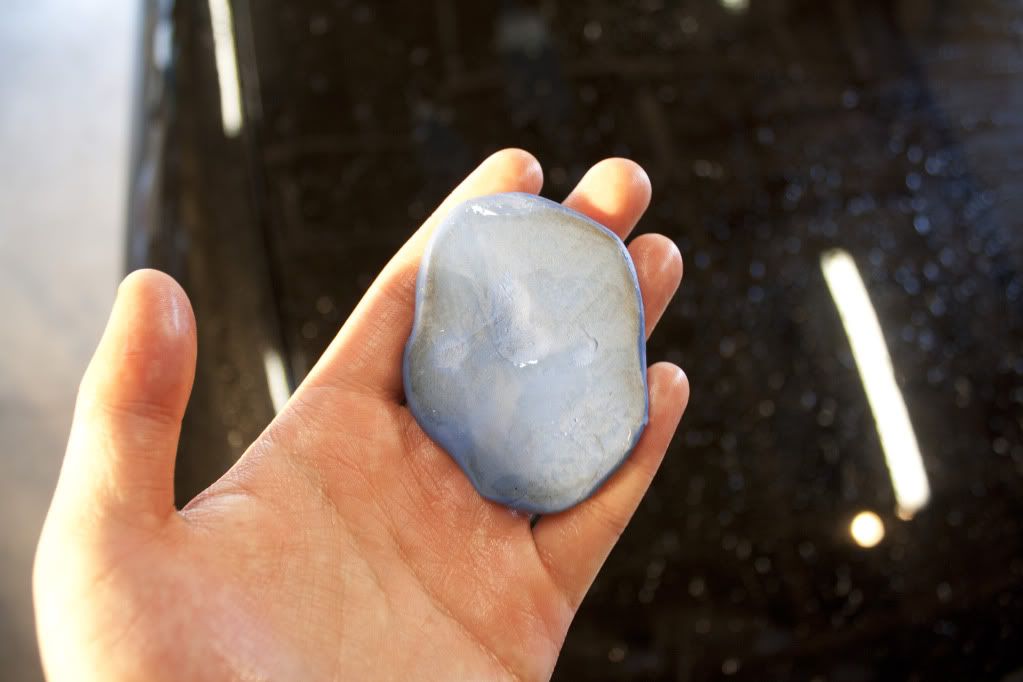
I then began on the paint starting with the claying process, the paint proved to be relatively free of contaminants:
All taped up:
Initial paint inspection:
The paint was in VERY bad shape, haze and heavy swirls resulted in lack of clarity and prevented the blue pearls of the Starlight Black paint to show. In the end some RID's where just too deep to remove as you will later see.

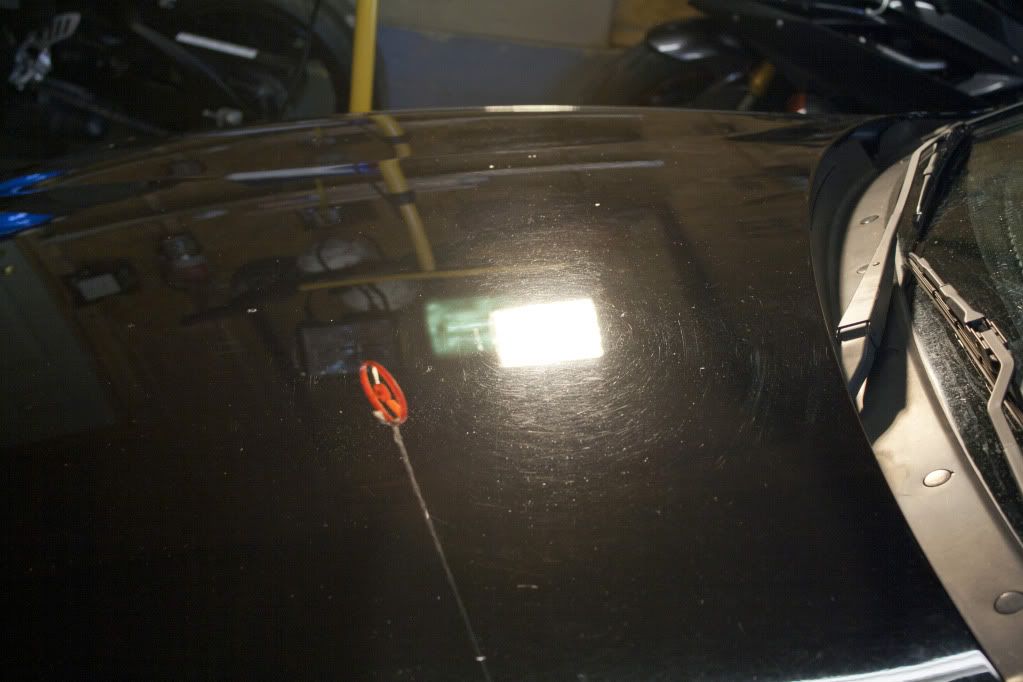
Deep imperfections:
The Test:
Honda/Acura are known to have soft paint, I began with Menzerna's Power Finish on a orange pad and Menzerna's Micro Finish on a white pad which yielded satisfactory results, however required many passes to achieve the desired level of cut for such deep imperfections. Instead I opted for Meguiar's M105 on a LC Orange (yellow for those panels in terrible shape) and M205 on a white pad to finish.
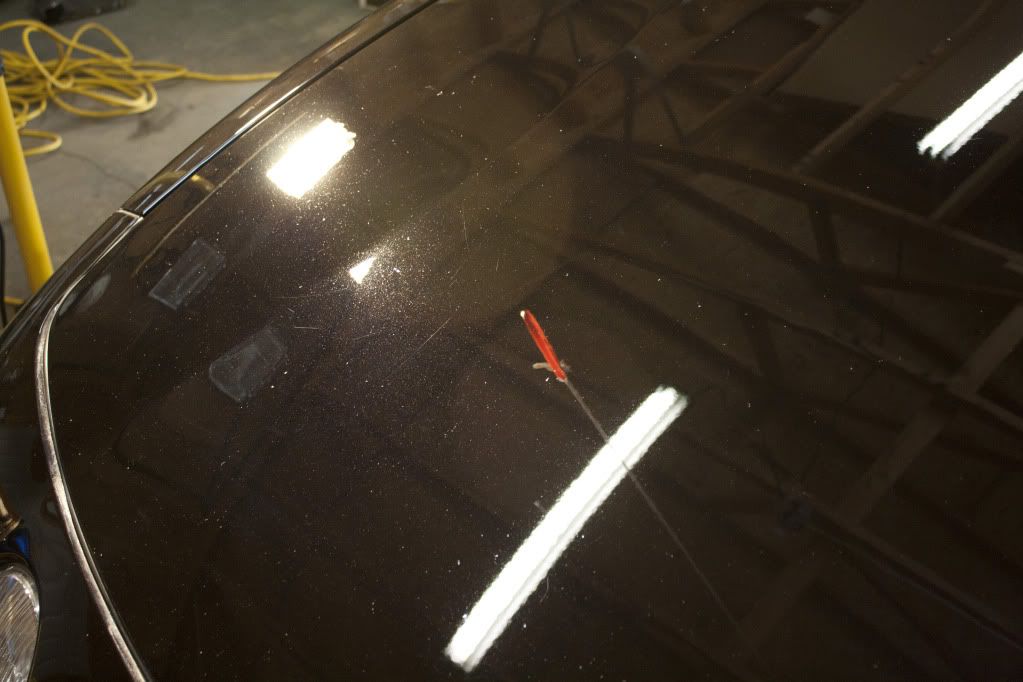
Hood before:
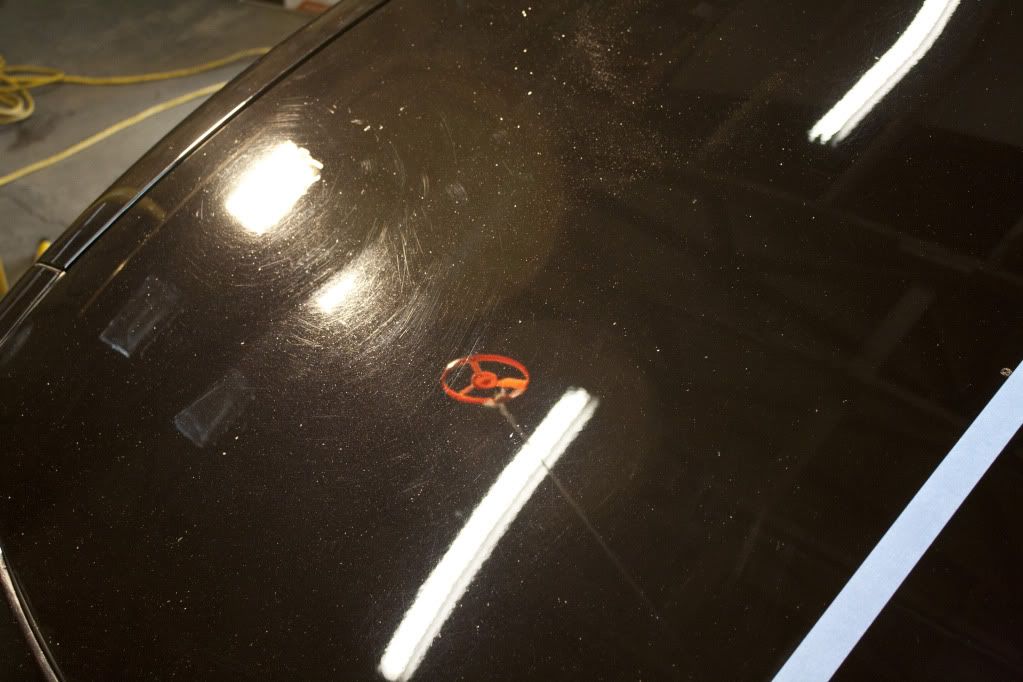
After:
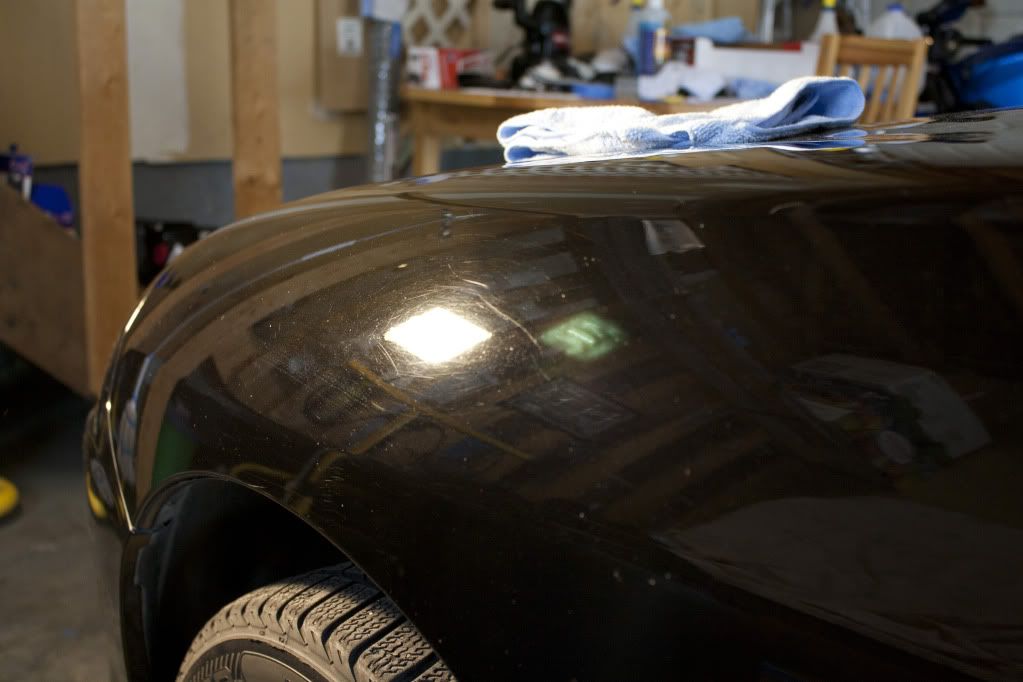
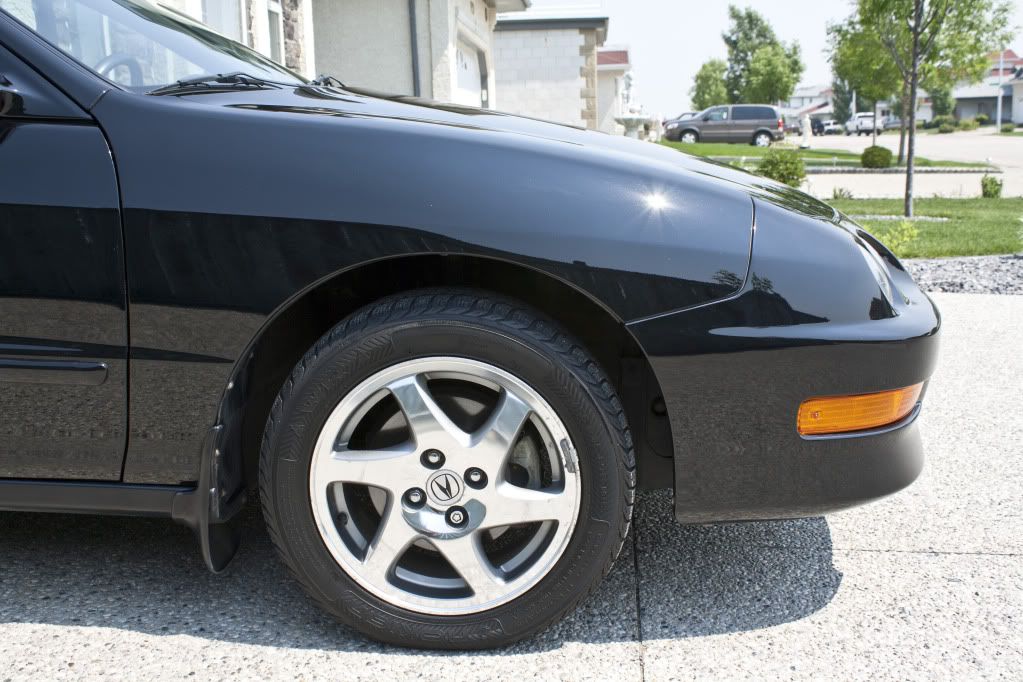
Passenger front quarter panel before:
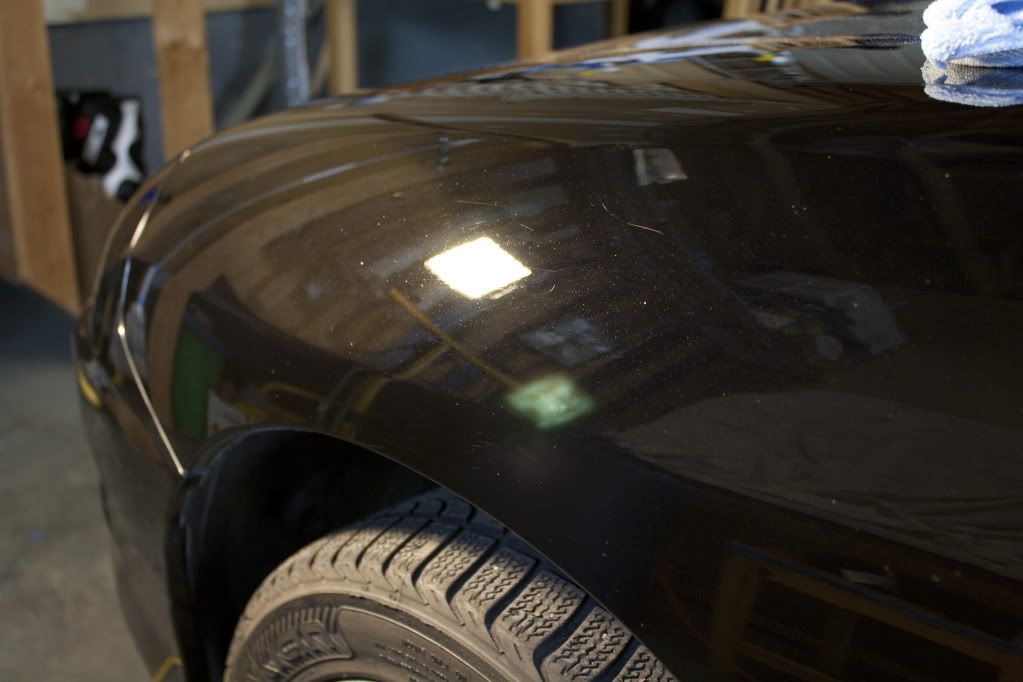
After:
Before:
After:
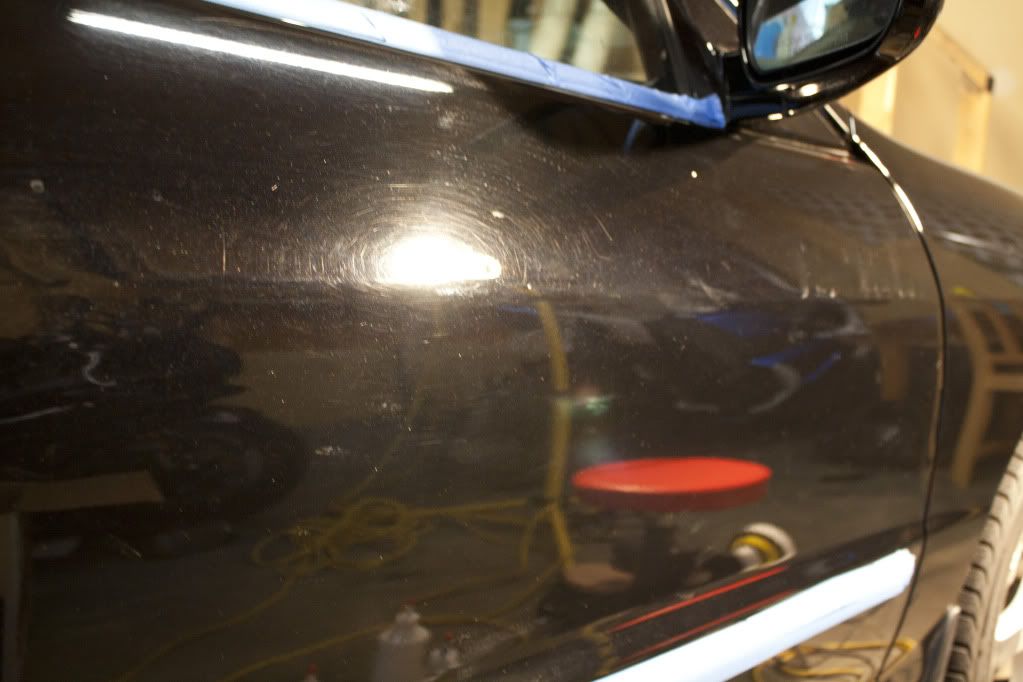
Passenger side door before:
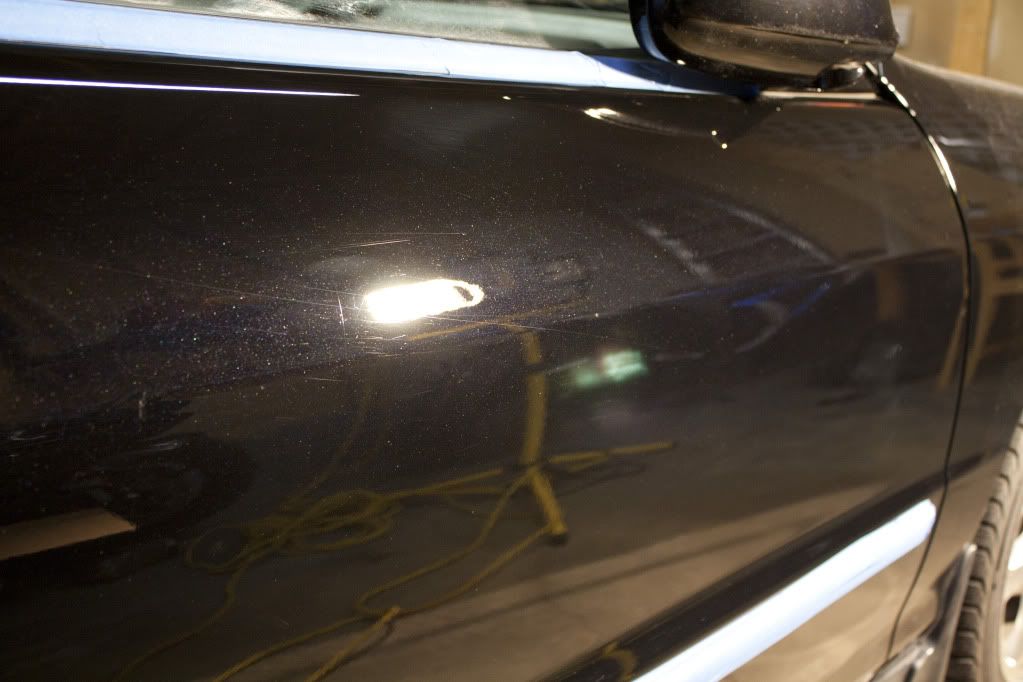
After:
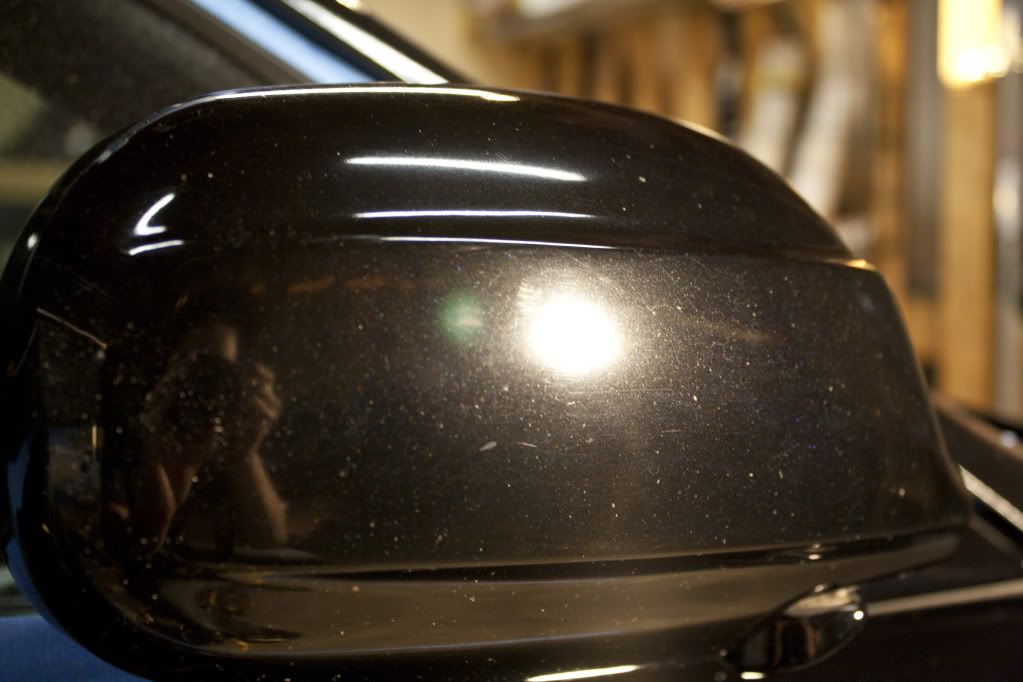
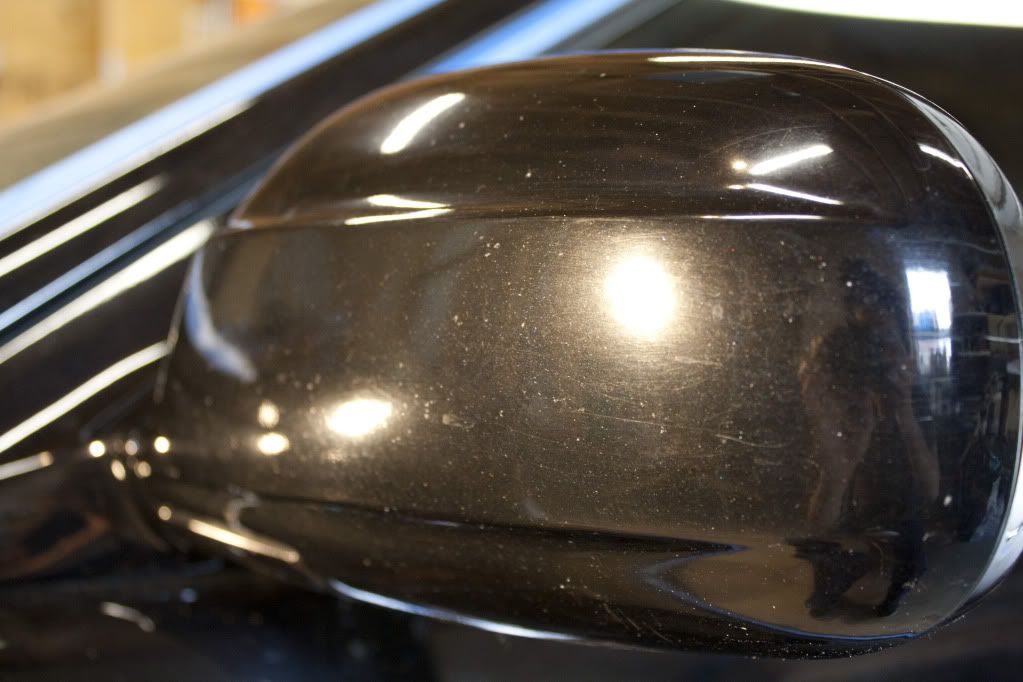
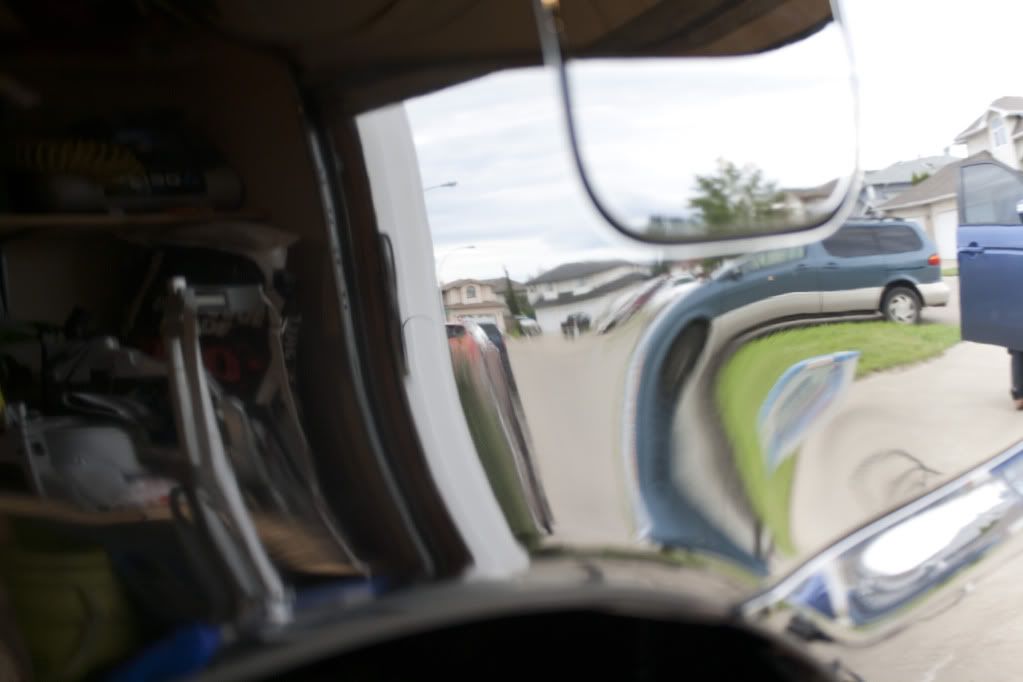
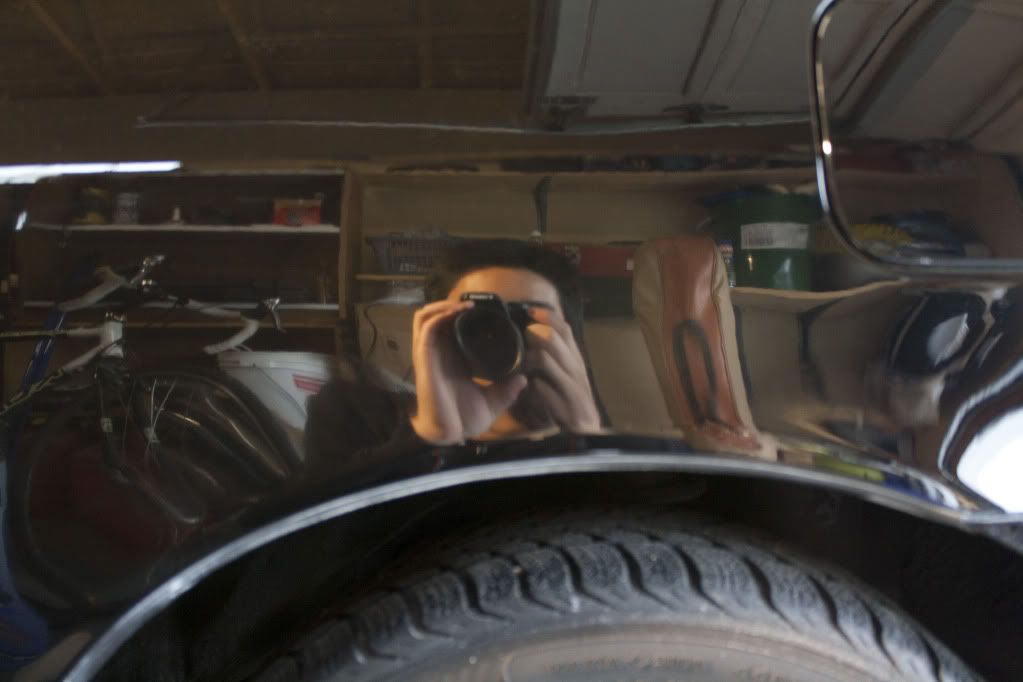
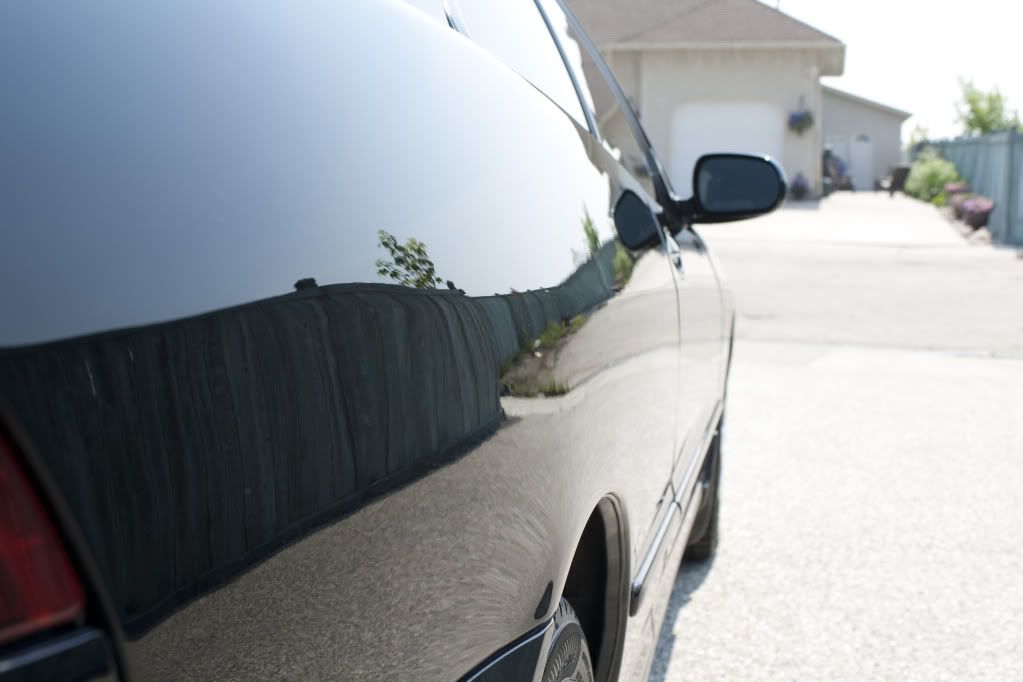
Side-view mirrors before:
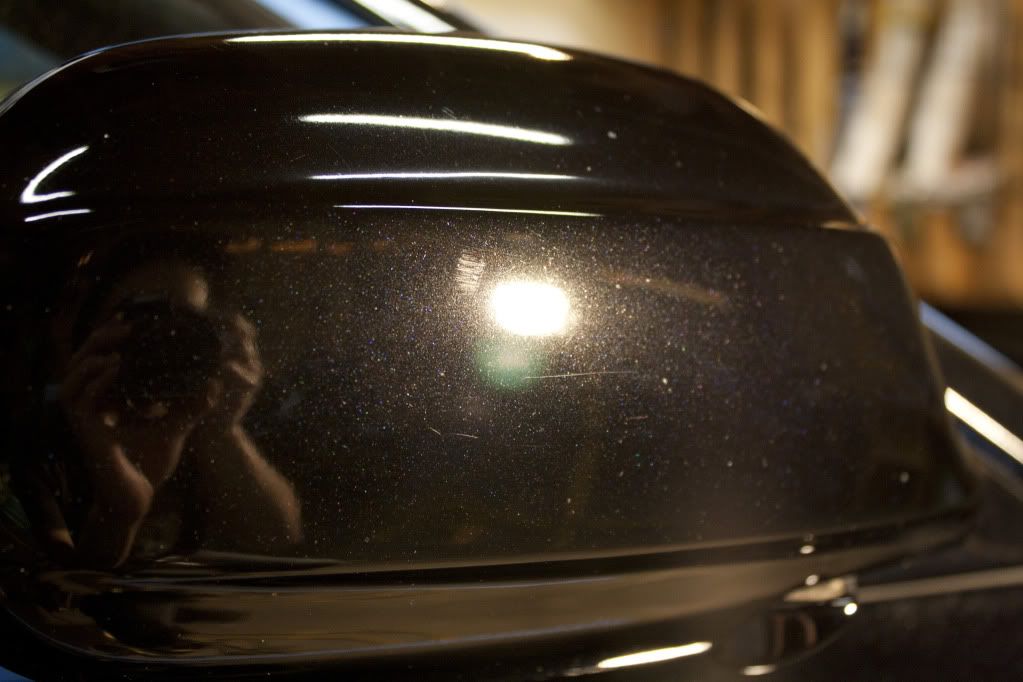
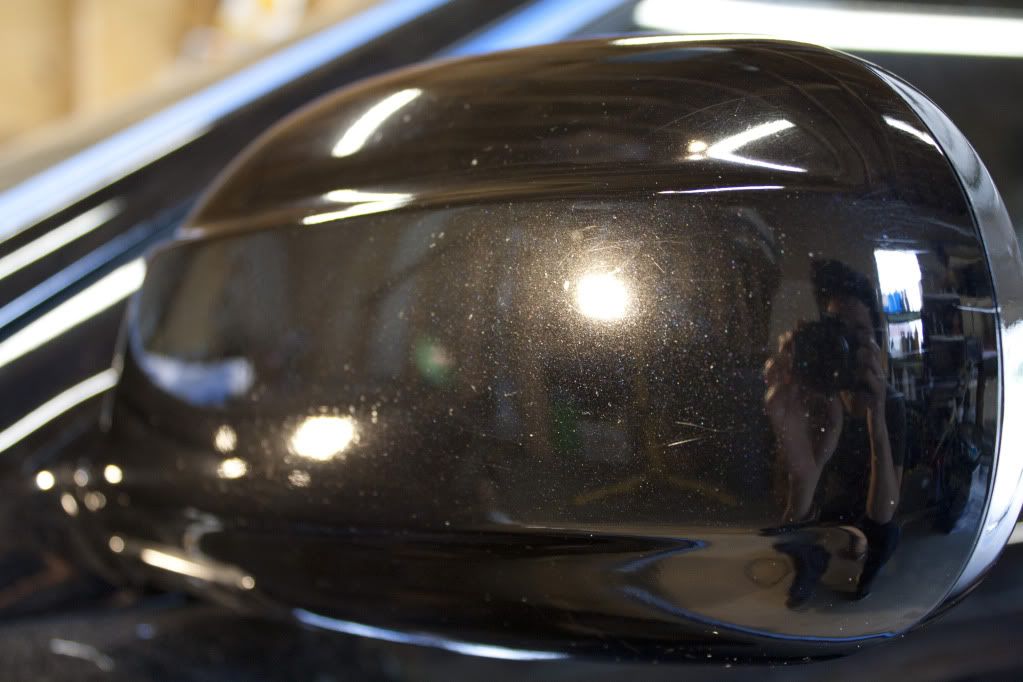
After (Notice the clarity and the pearls are now visible):
Before:
After:
Driver side quarter panel before:
After:
Driver side door before:
After:
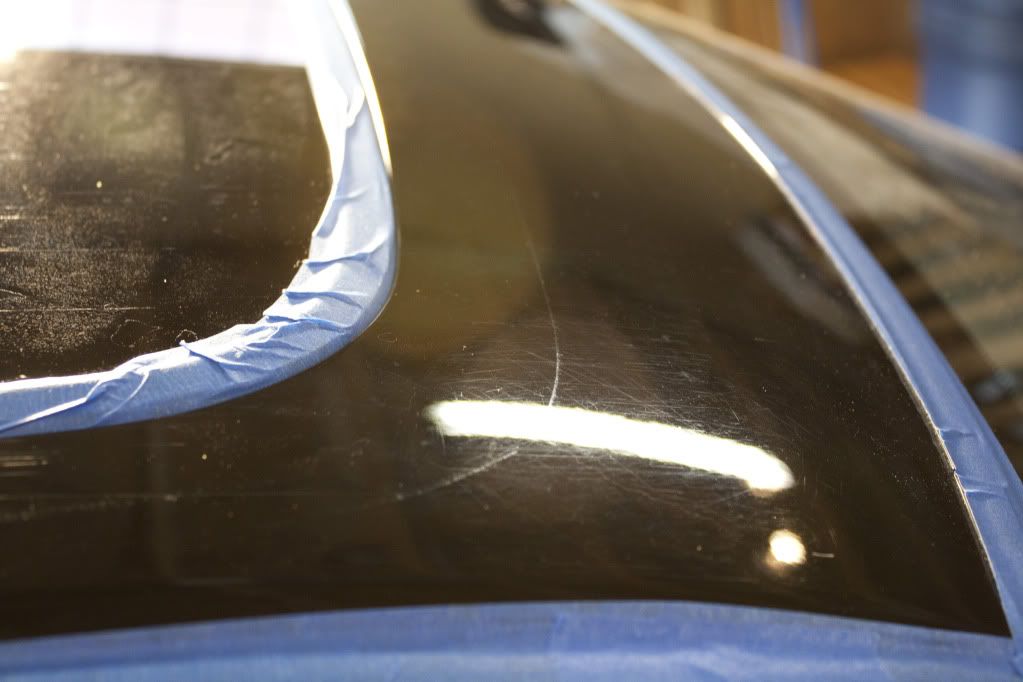
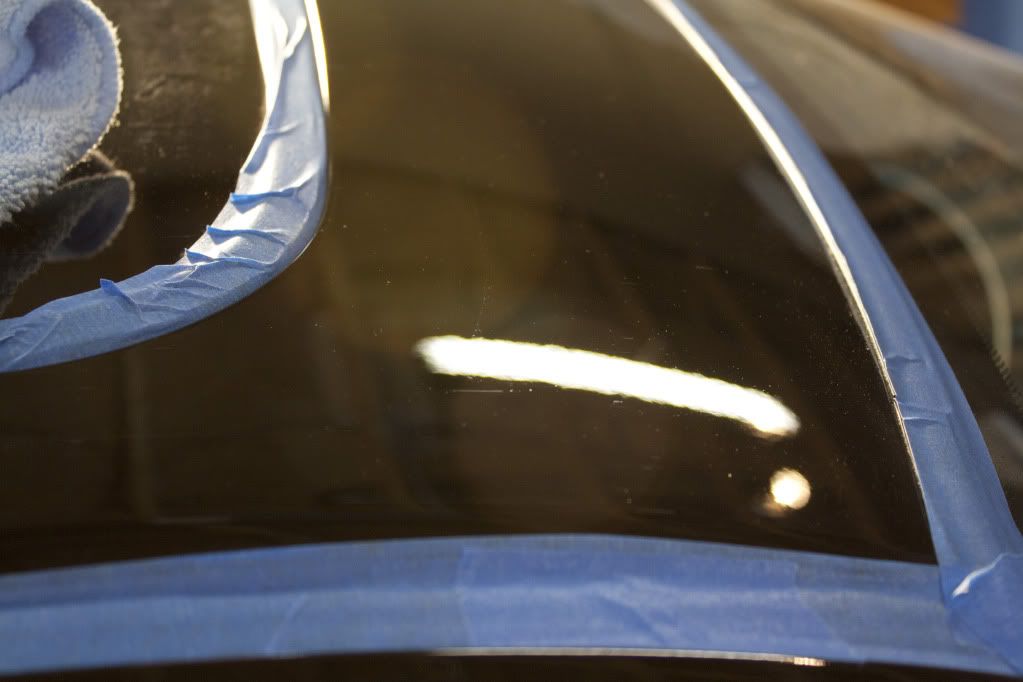
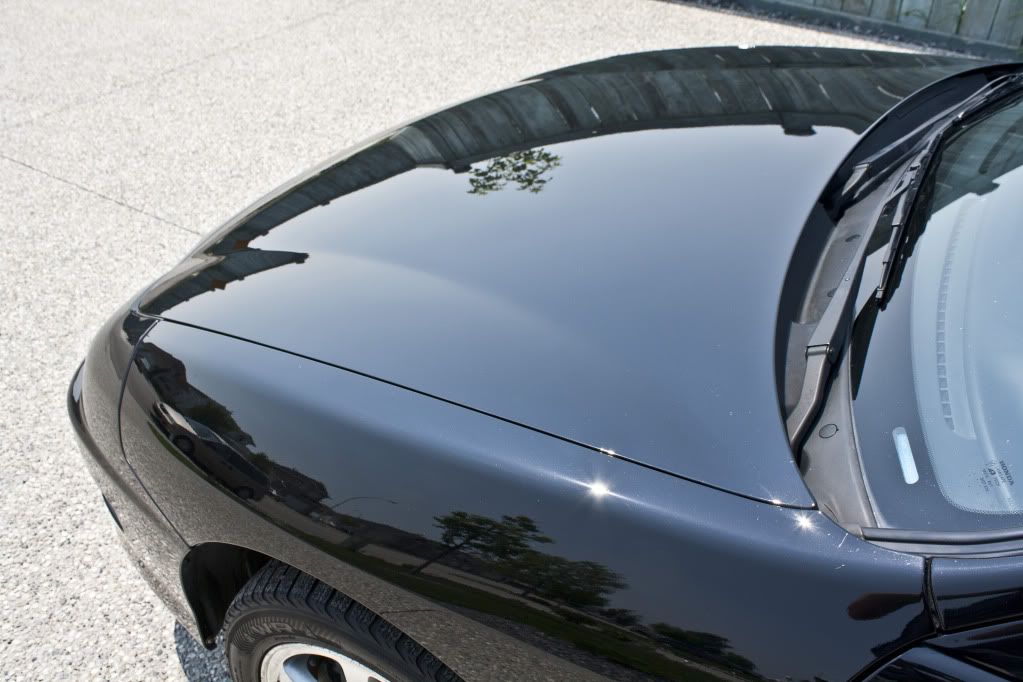
Roof before (notice the water stains):
After:
Before:
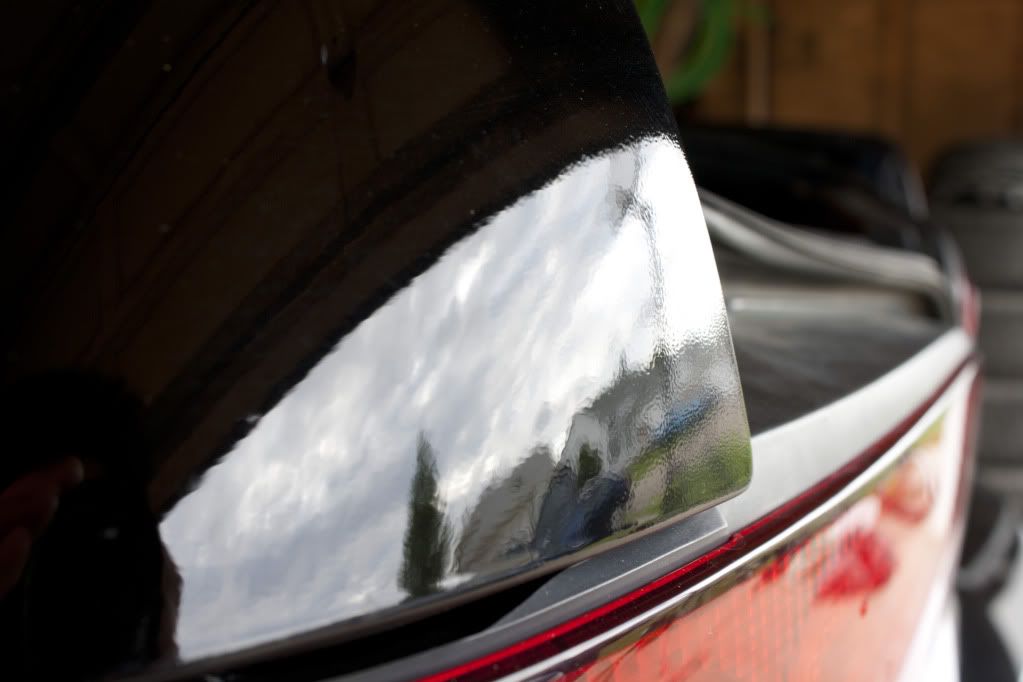
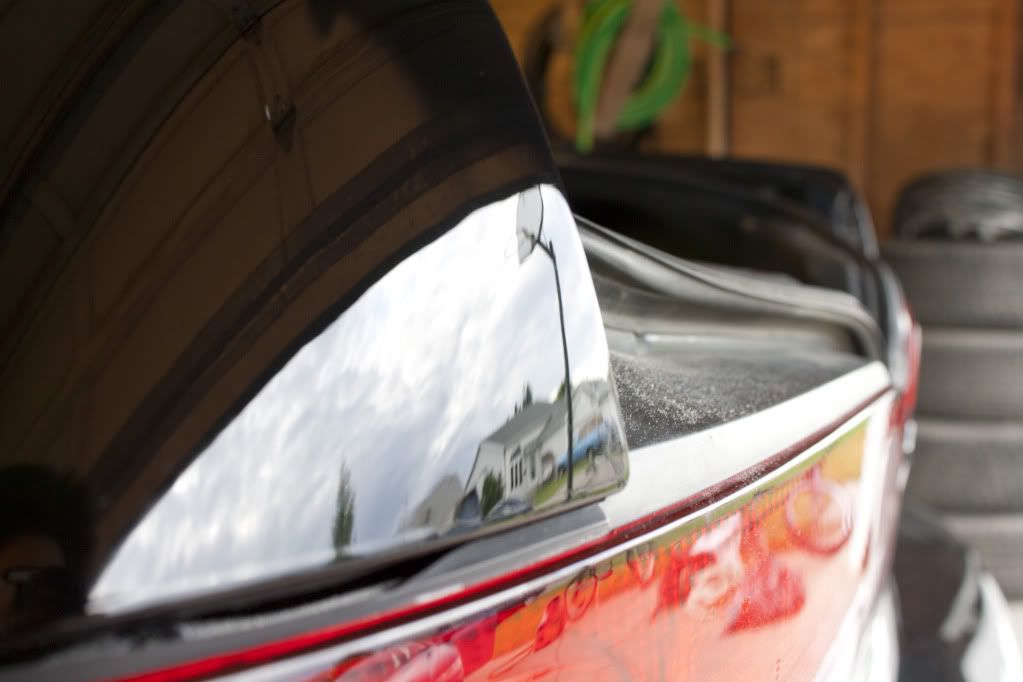
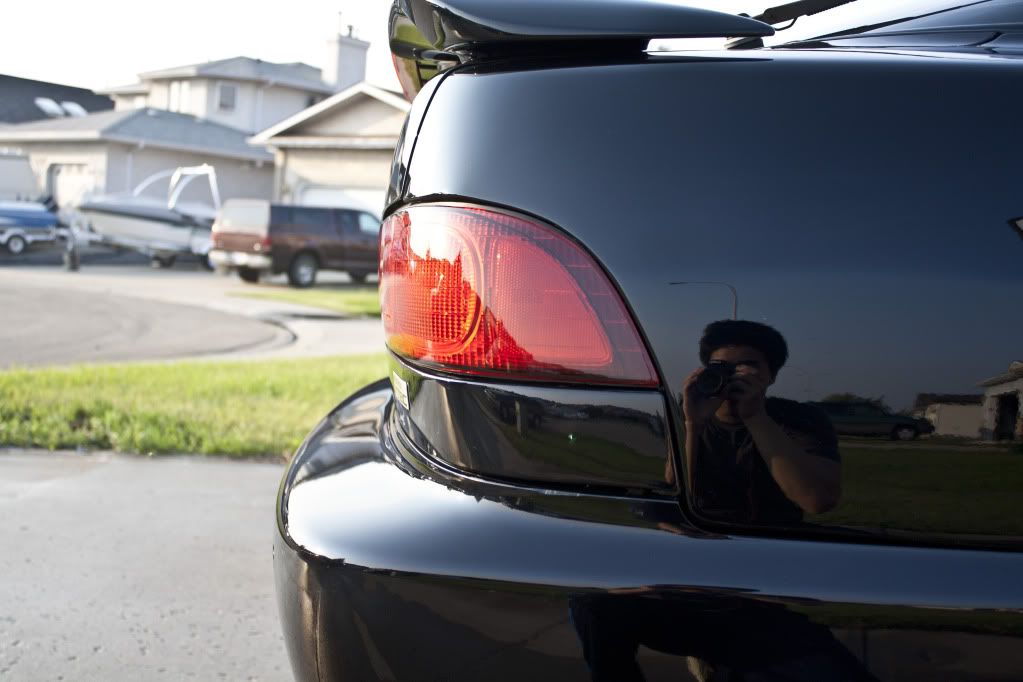
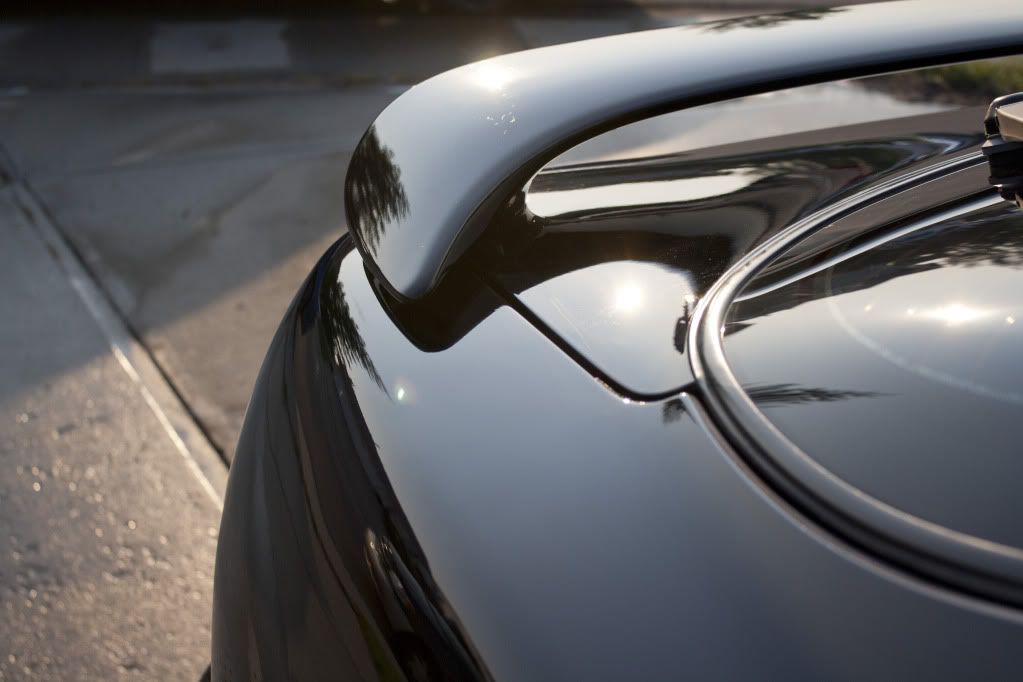
50/50 Shots of the spoiler and trunk lid:

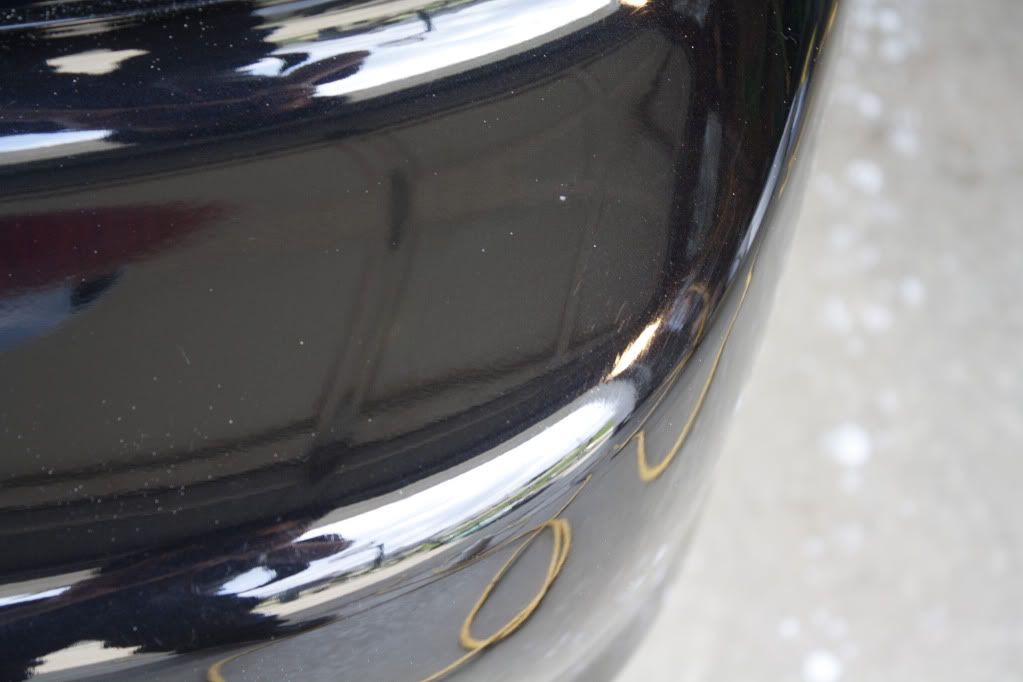
Nasty scuff on the rear bumper:
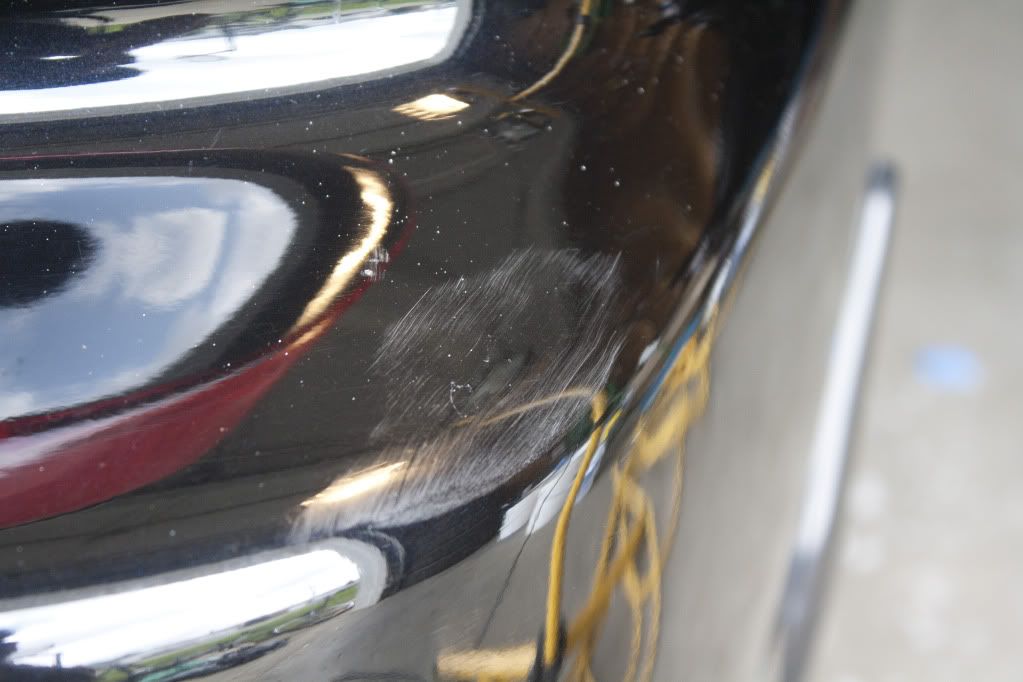
After some heavy correction:
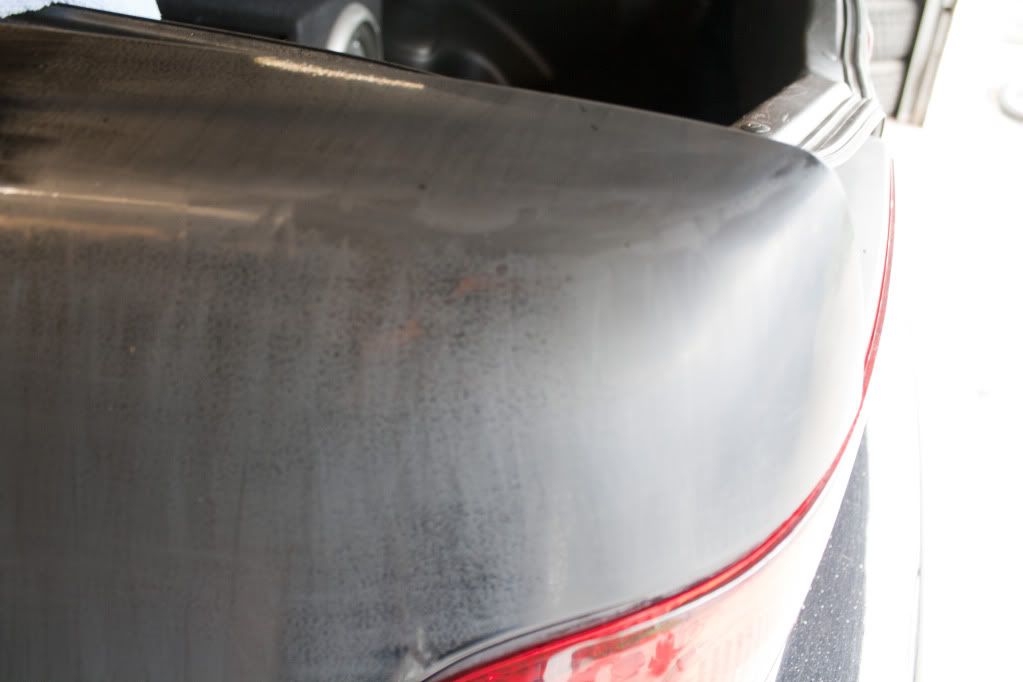
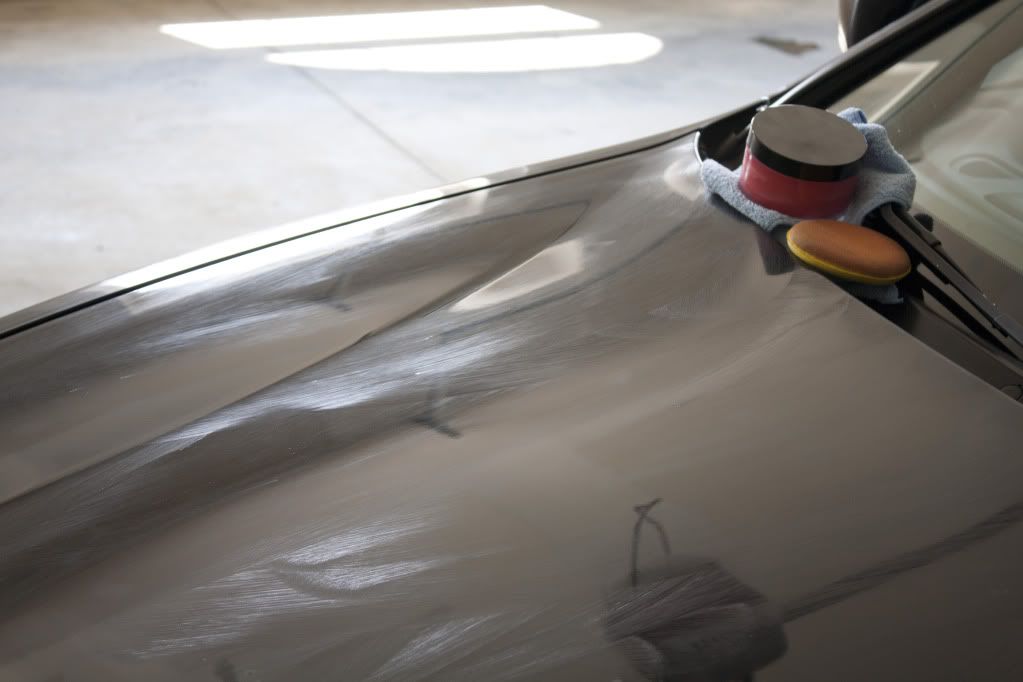
The Orange Peel:
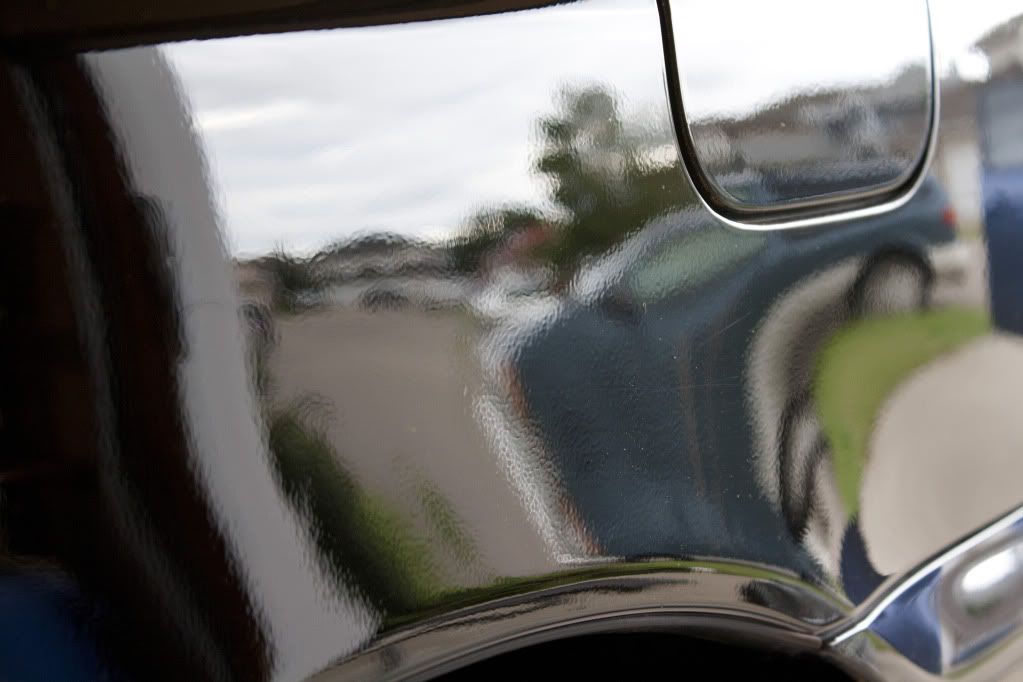
This car was involved in a minor accident that resulted in the repainting of the rear quarter panels to match the paint. The body shop did an excellent job in matching the metallic black paint, however the clear coat was not properly leveled in some areas which resulted in the clear coat having the texture of an orange peel.
As a result, I wet-sanded the clear coat using Meguiar's Unigrit papers starting with 2500 grit and finished with 3000. After went sanding I performed heavy compounding with M105 on a Surbuf pad, refined with M205 on a LC Green pad, and finished with Menzerna P085RD on a LC White Pad The goal of this correction was not to completely remove the orange peel, but reduce it to match the level or orange peel present in the factory paint.
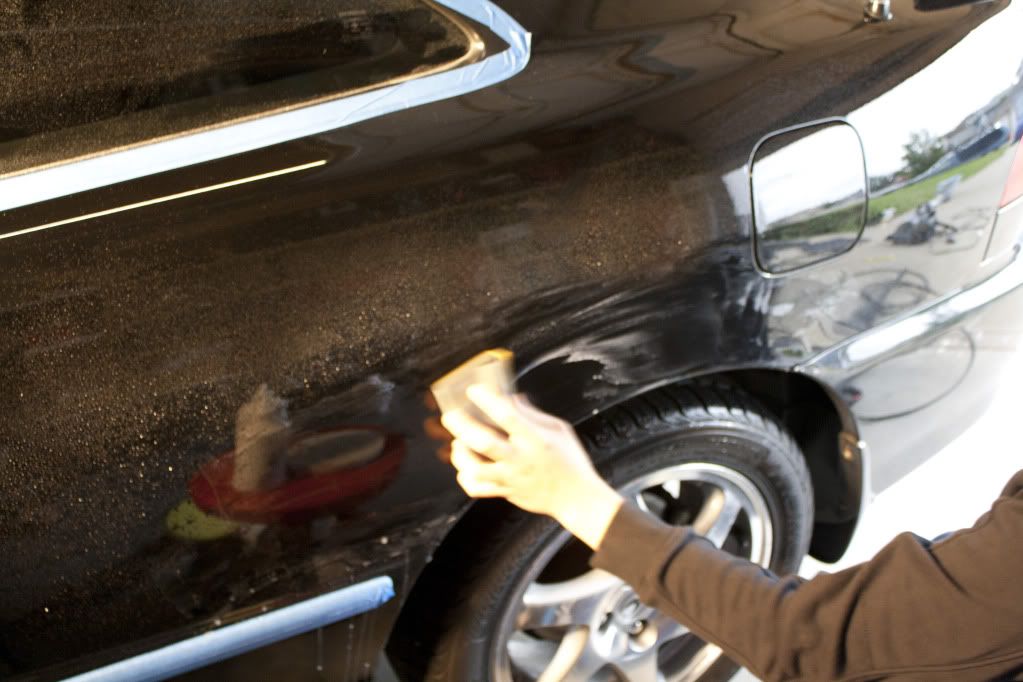
Back to the drive side rear quarter panel:
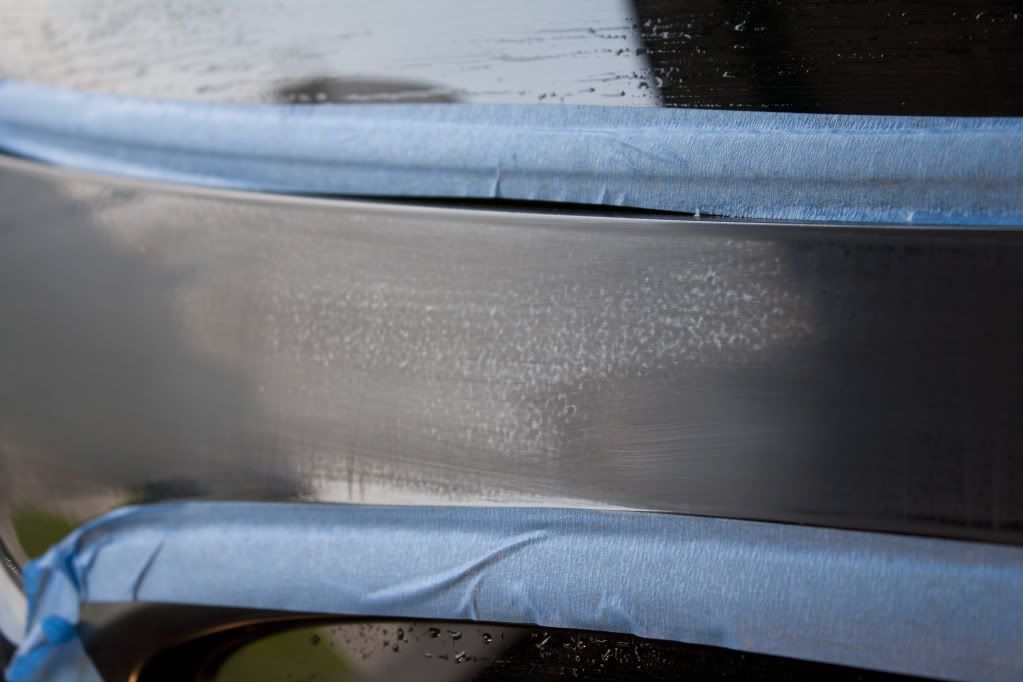
Wet sanding:
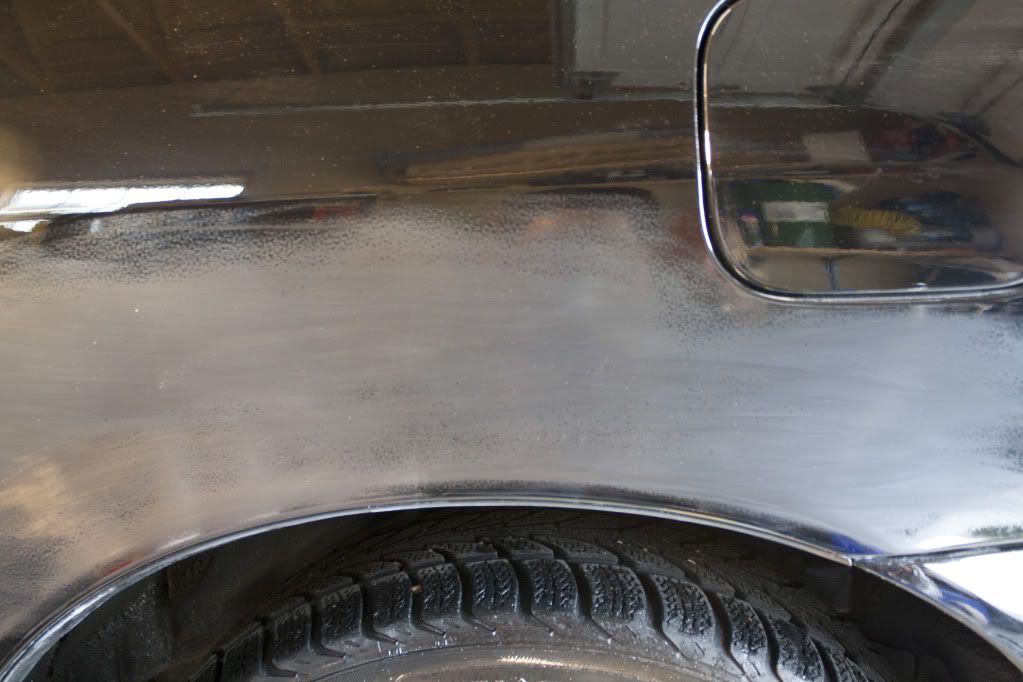
This is how it looked after wet sanding, scary isn't it?
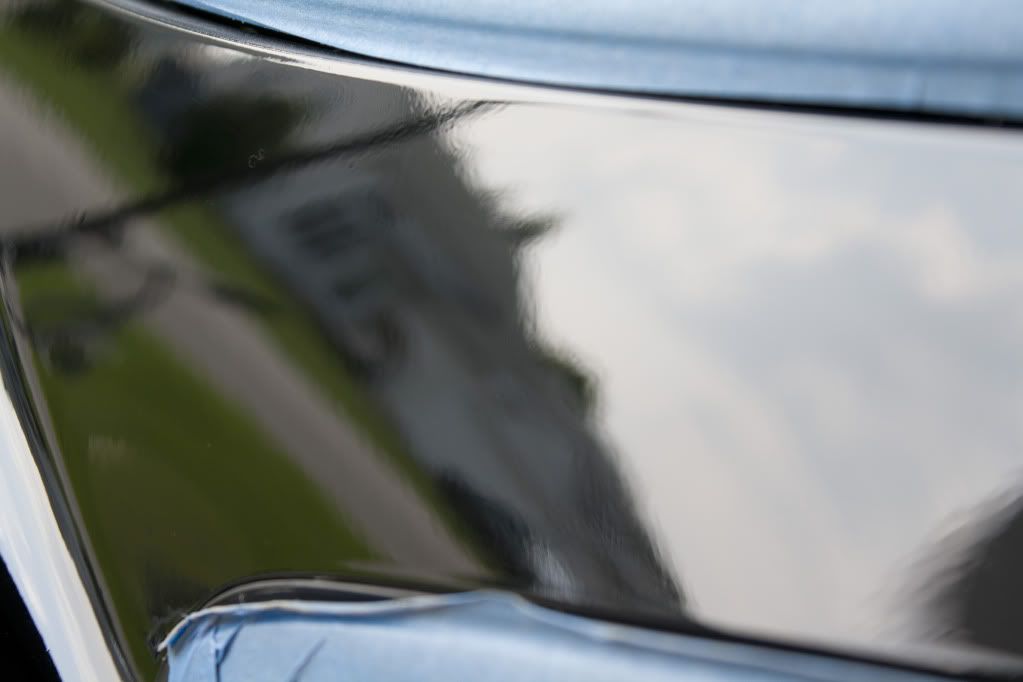
After heavy compounding with M105 on a Surbuf pad, refined with M205 on a LC Green pad, and finished with Menzerna P085RD on a LC White Pad. Orange peel is greatly reduced:
Very nasty orange peel here:
After wet sanding:
After heavy correction:
More heavy orange peel on the b-pillars:

Wet-sanded:
Finished, orange peel greatly reduced:
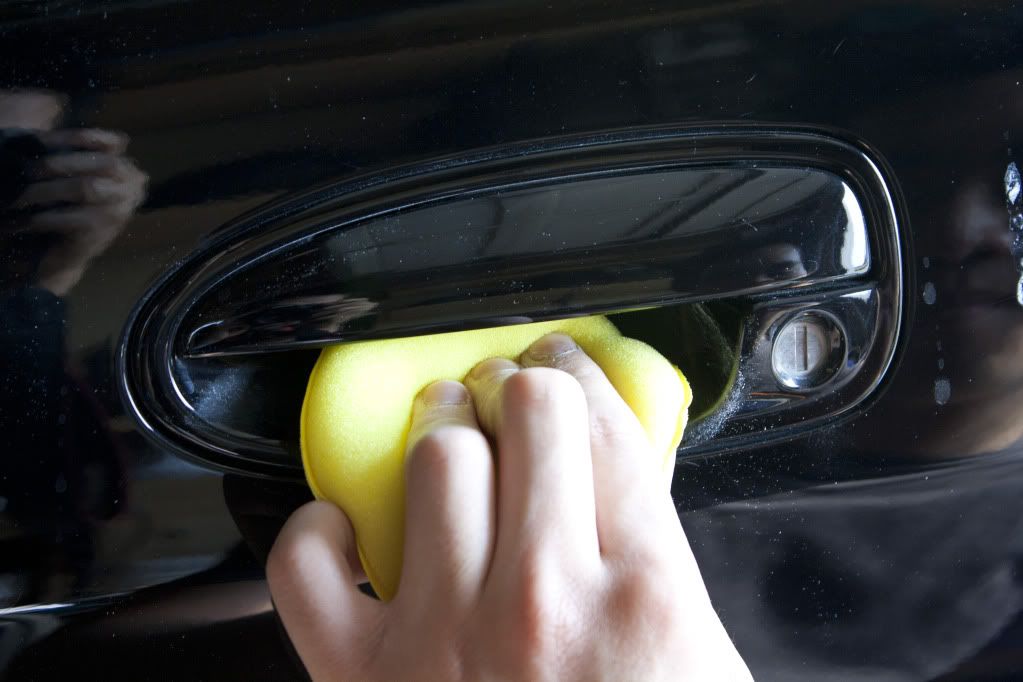
After I have taken care of all the orange peel, I moved onto the door handles:
I used M105 on a yellow applicator pad:
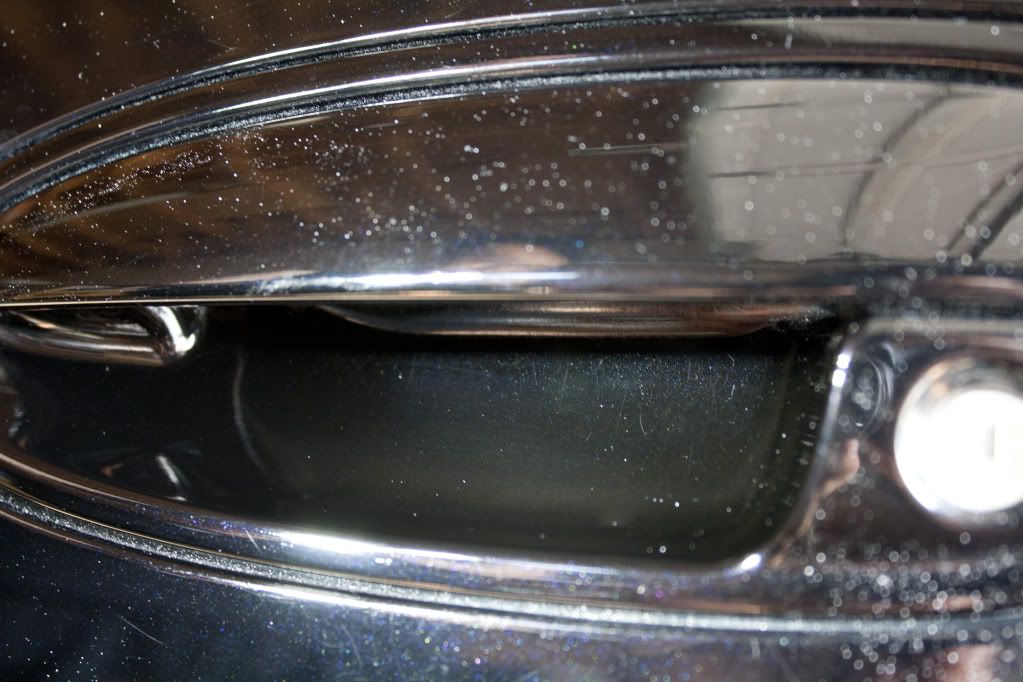
After:
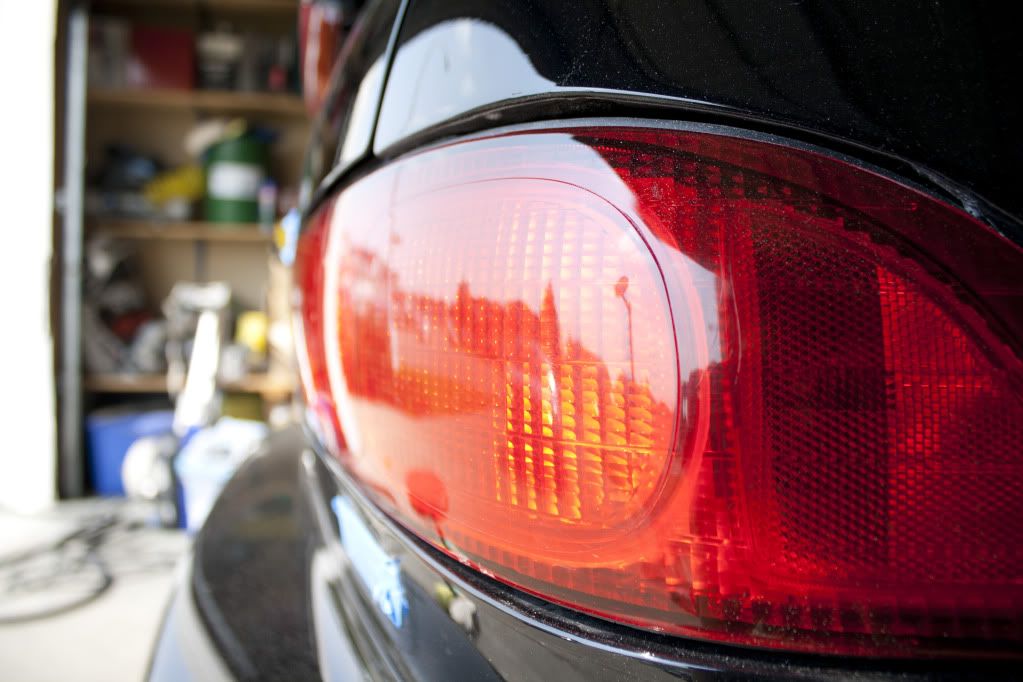
Next I moved onto the plastics, the tail light had some haziness that needed to be taken care of:
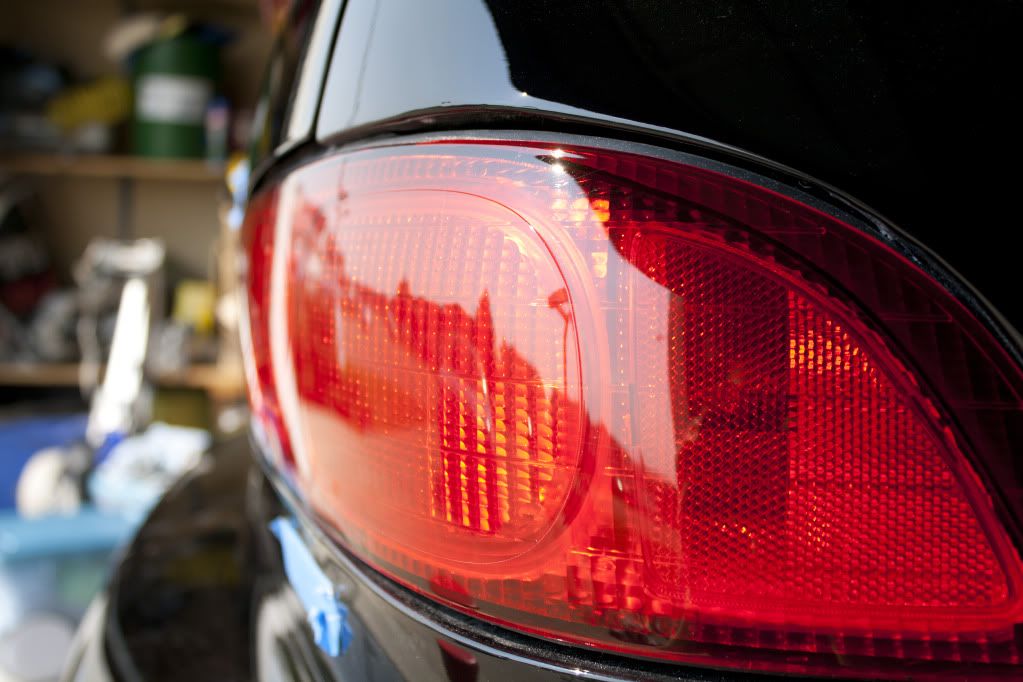
After some Menzerna Power Finish on a LC Orange Pad:
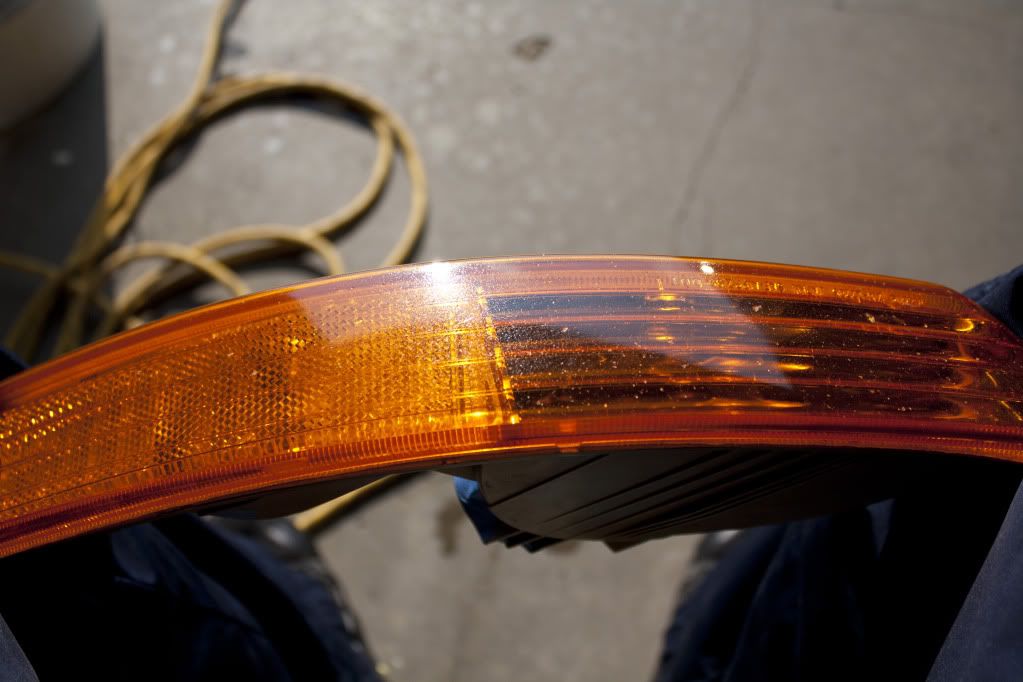
The front indicator lights were extremely hazy and pitted so I wet sanded with Meg's Unigrit papers starting at 1500 grit, moving up to 2000, 2500 and 3000. Compounded with M105 on a LC Orange pad:
Before:
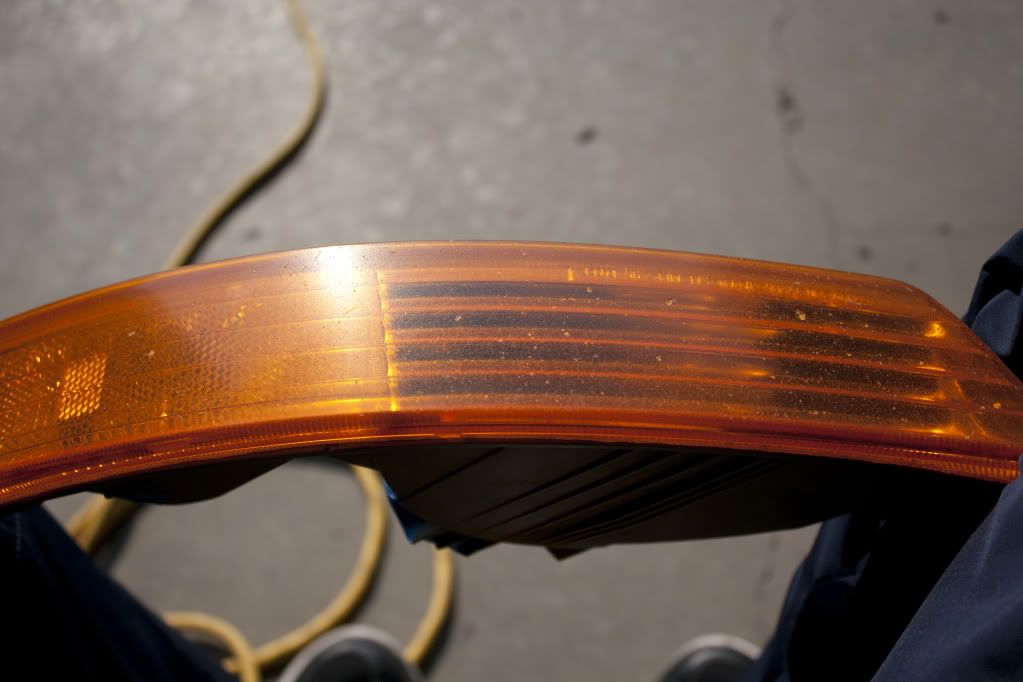
After (unfortunately plenty of deep pits remain thanks to the City of Edmonton's love of using rocks for winter ice):
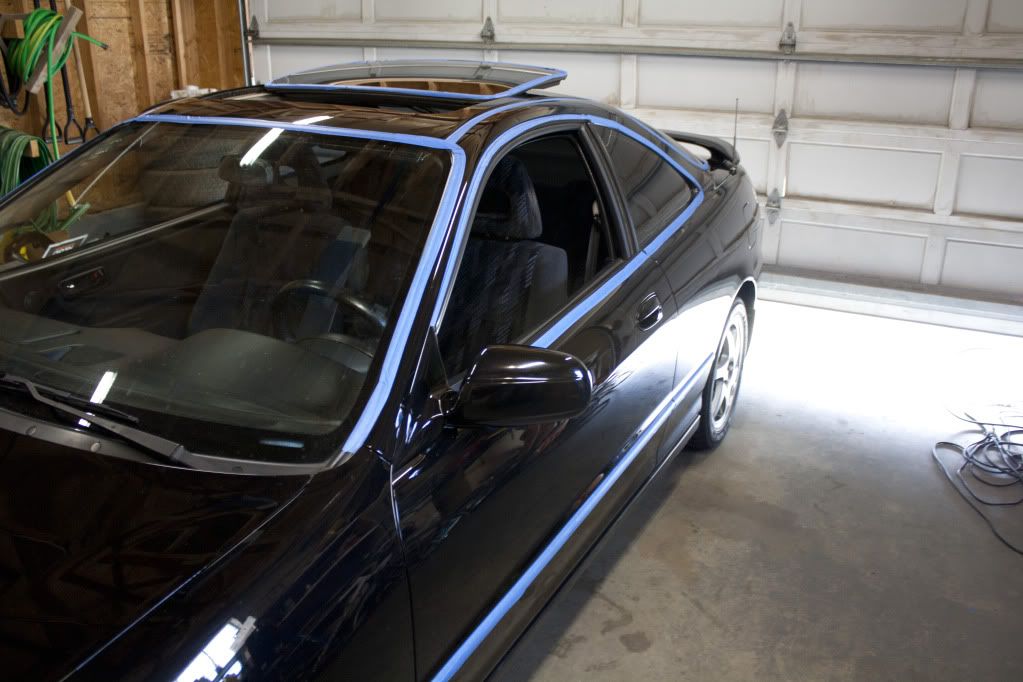
After the correction process I brought the car out for a final wash:
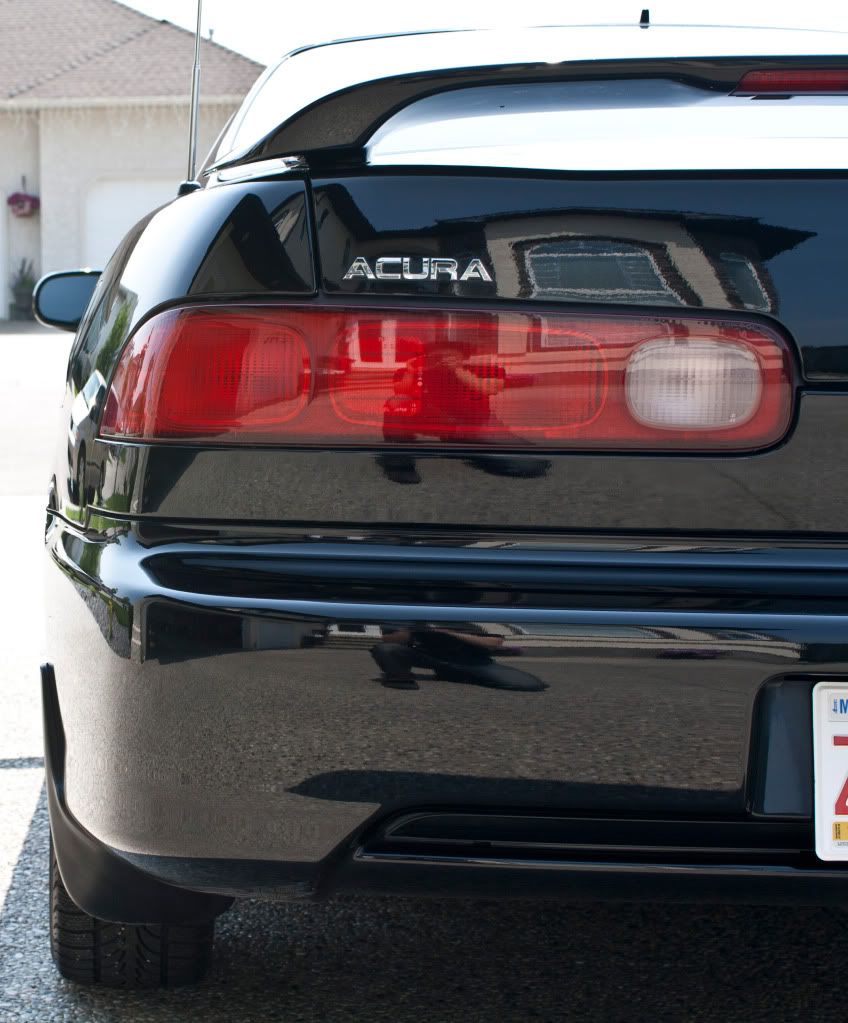
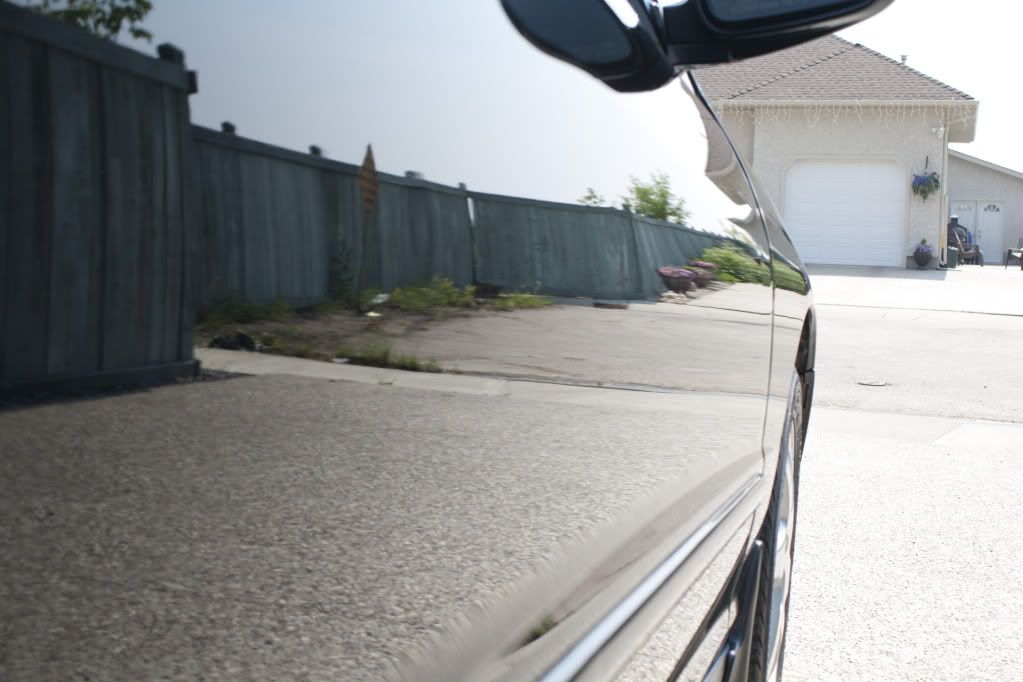
The paint was looking fantastic:
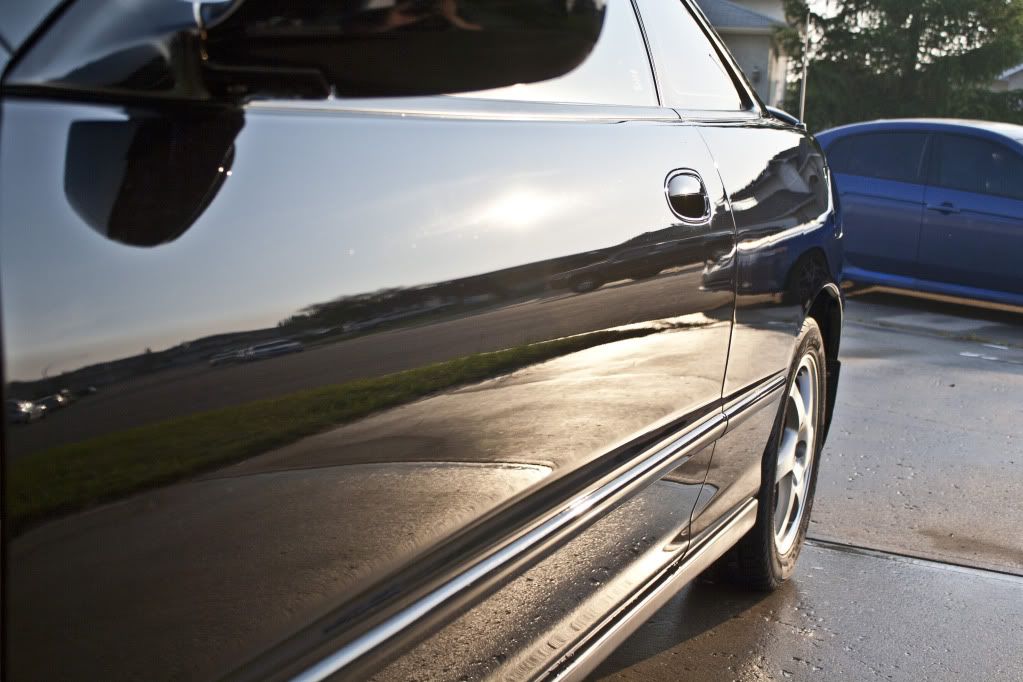
Look at that reflection!

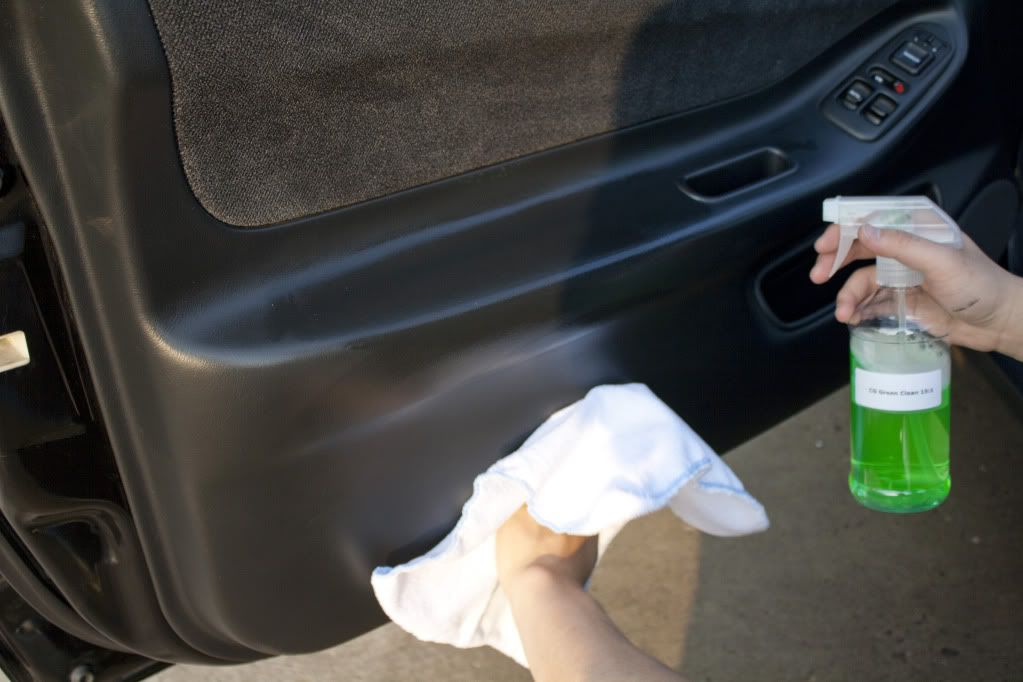
I used CG Green clean to remove the greasy dressing on the interior's vinyl put on by the previous owner:
Autoglym's Leather Cleaner was used on the leather wrapped steering wheel:

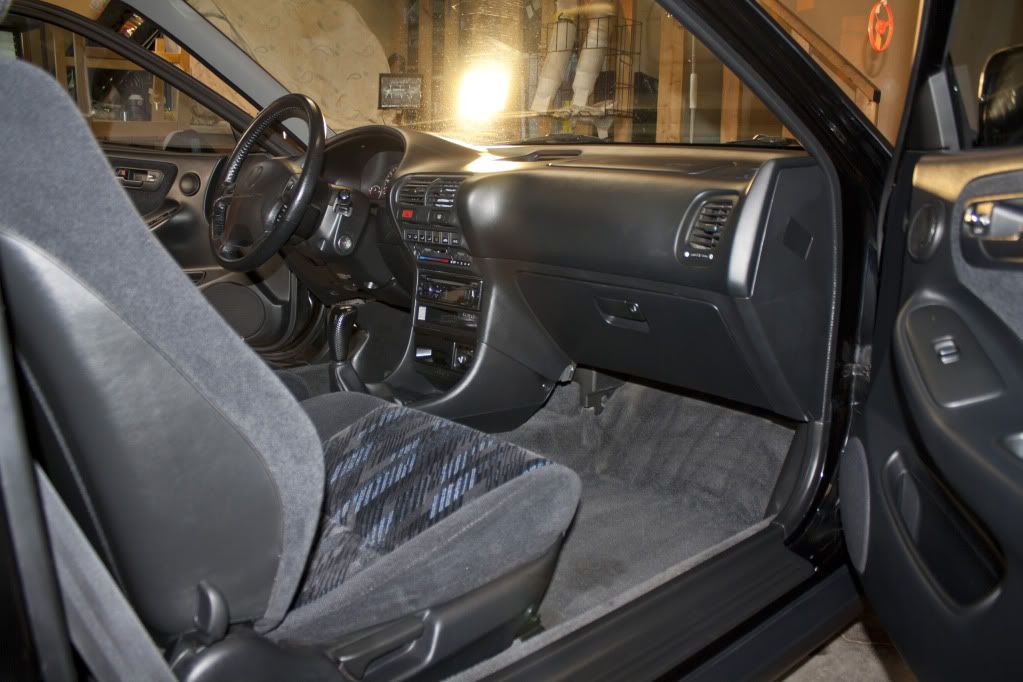
Interior 100% Completed:
Engine bay dressed with Aerospace 303:
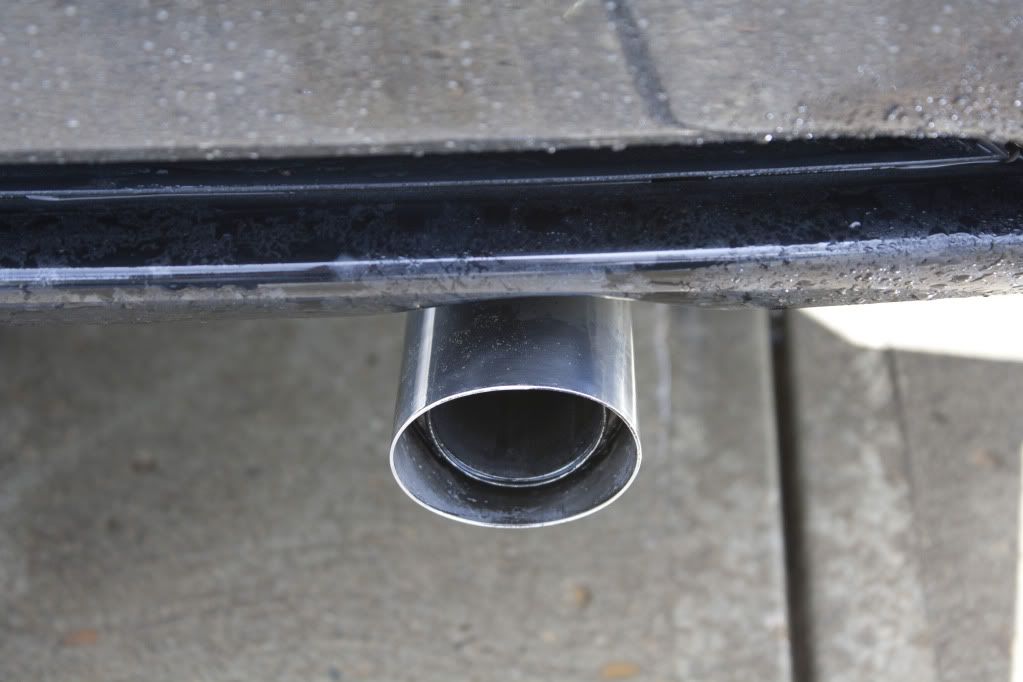
I used P21s polishing soap on the exhaust tips:
Autogylm's Tire Dressing was used on the tires:
Autogylm's Super Polish resin was used to restore shine on the wheels:

Blackfire Wet Diamond was used as a sealant:
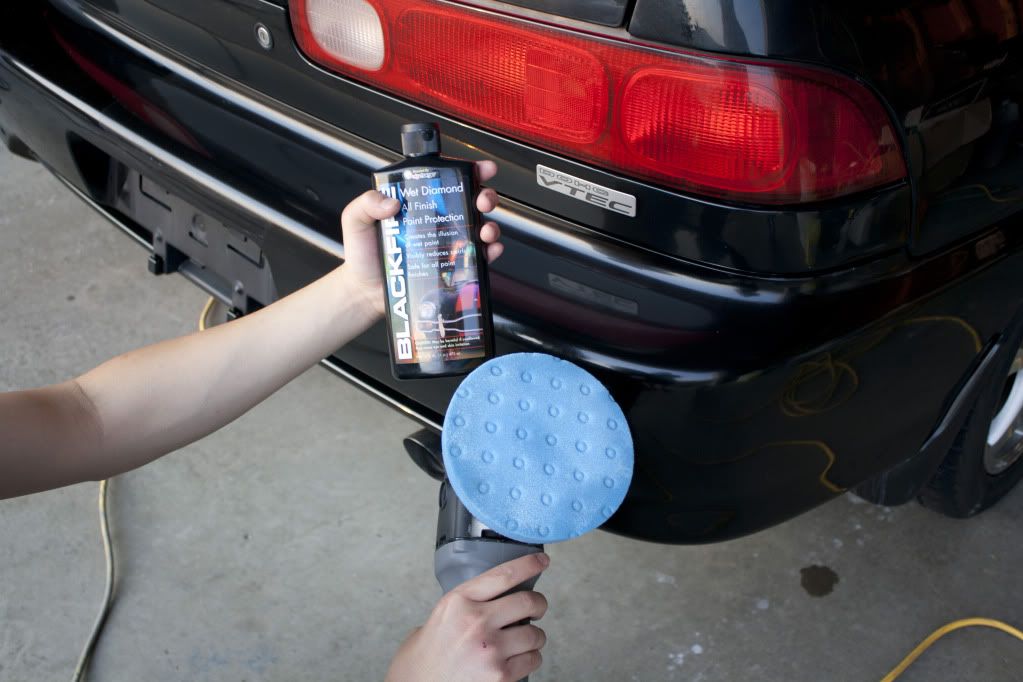
Unfortunately midnight approached and I wiped off the Blackfire Wet Diamond and took the car home, allowing the Sealant to cure overnight....
The next morning I decided to top up the sealant with Victoria Wax's Concours Carnauba Wax as a LSP:
I buffed it off and took it out for a final photo shoot:
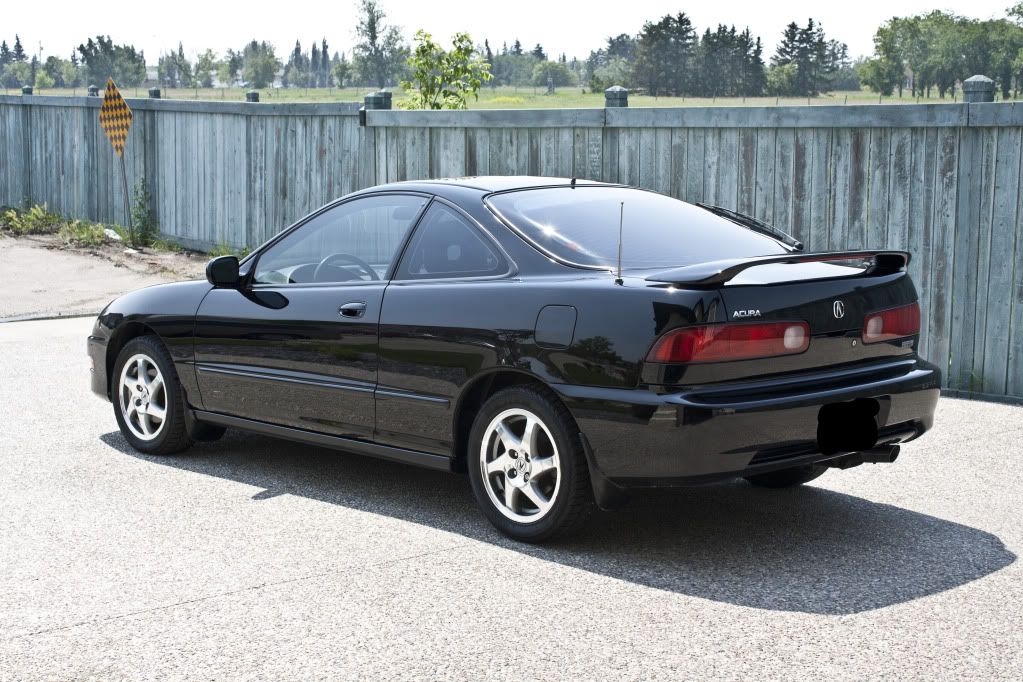

Thanks for reading everyone!
Hello again! I decided to do a write up of detailing my own vehicle, a 1998 Integra GSR in Starlight Black Pearl. v|nsan|ty had commitments for the entire weekend so this was a solo project, this reflects the length of the detail. Not to mention I had to take care of orange peel on the paint which was extremely time consuming.
The subject:
Total time: 26 Hours over three days.
A little history:
I purchased this vehicle less than 2 years ago from the original owner who owned the car since he purchased it back in 1998. It has been his toy ever since, until a growing family and his wife forced him to sell the vehicle.
Since I purchased this vehicle I have yet to do a complete detail and paint correction on the car. I spent all of last summer doing preventative maintenance on the vehicle. To give you an idea, I replaced: Spark plugs/Wires/Distributor cap+Rotor, Fuel filter, air filter, PCV Valve, Clutch Master Cylinder, All fluids. And cleaned the Throttle Body and Idle Air Control Valve. More involved work was done at the dealership such as water pump, drive belt and timing belt. With all the mechanical work out of the way I was finally able to take care of the car's appearance this summer.
A quick look:
Hazy indicator lights require wet sanding and polishing:
Heavy swirling throughout the car:
VERY deep!
Holograms and orange peel that required wet sanding (More on this later):
Shameful for a detailer:
I started on the wheels using Griot's Wheel Cleaner and CG Grime Reaper at 5:1 dilution for the wheel wells:
Everyone should own a Raceglaze Wheel Brush:
EZ Detail brush for the wheel wells:
I moved on to the exhaust tips using GC Grime Reaper, Mini Ez detail brush and detailing steel wool. The B series VTEC engines are known to consume oil and this GSR is no exception. This consumption of oil is reflected in the following pictures:
After 10 minutes of scrubbing using the detailing steel wool I admitted defeat:
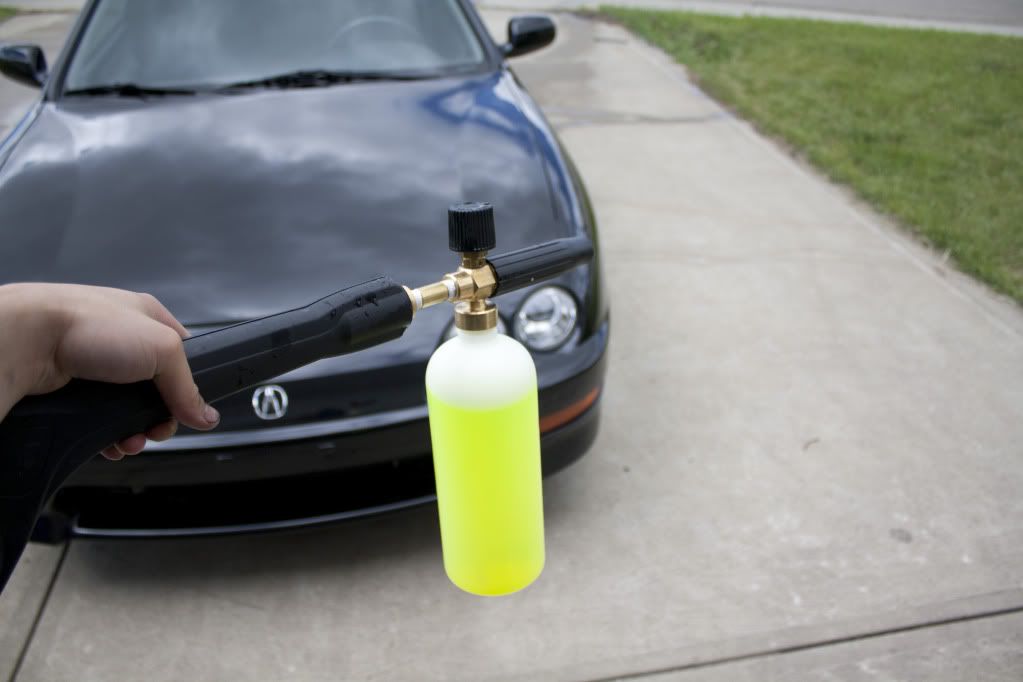
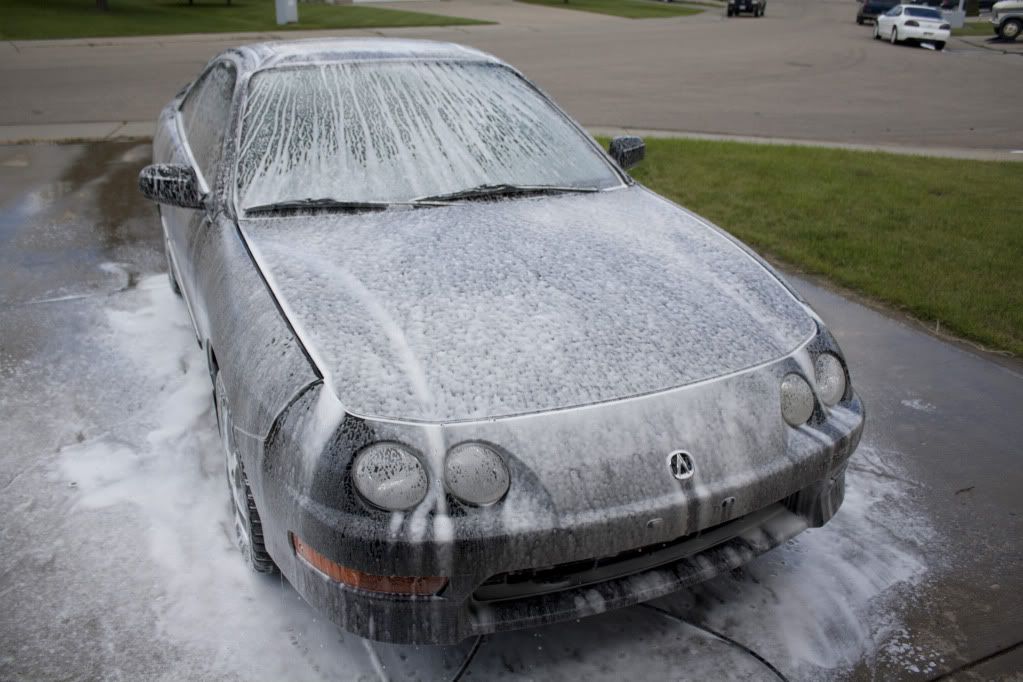
I used straight CG Citrus wash n gloss for the foaming and wash process:
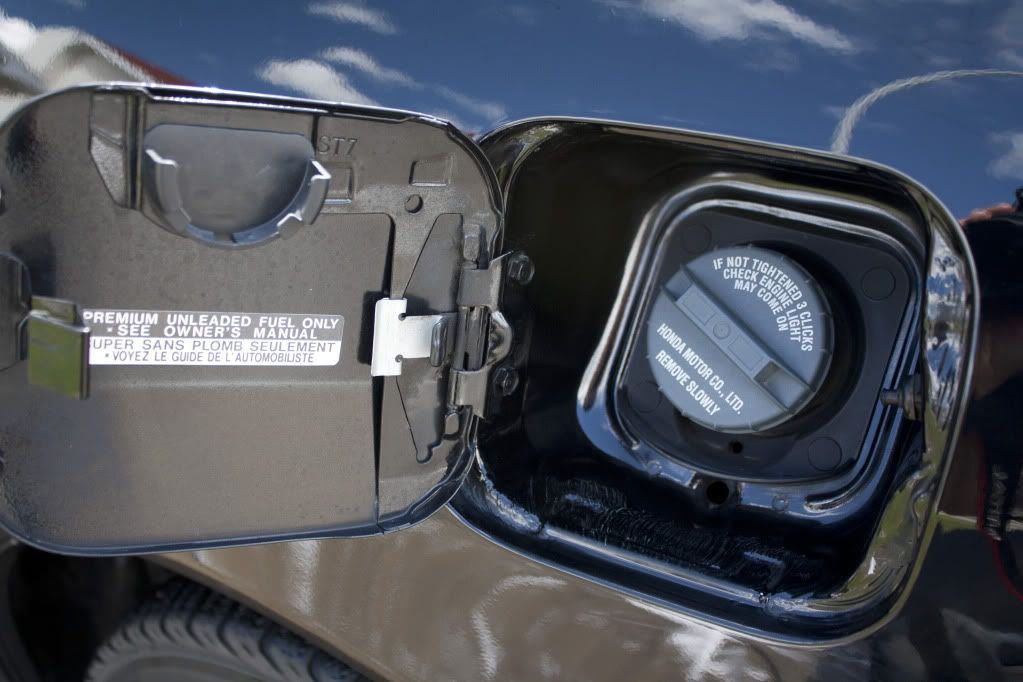
Can't forget to clean the fuel door:
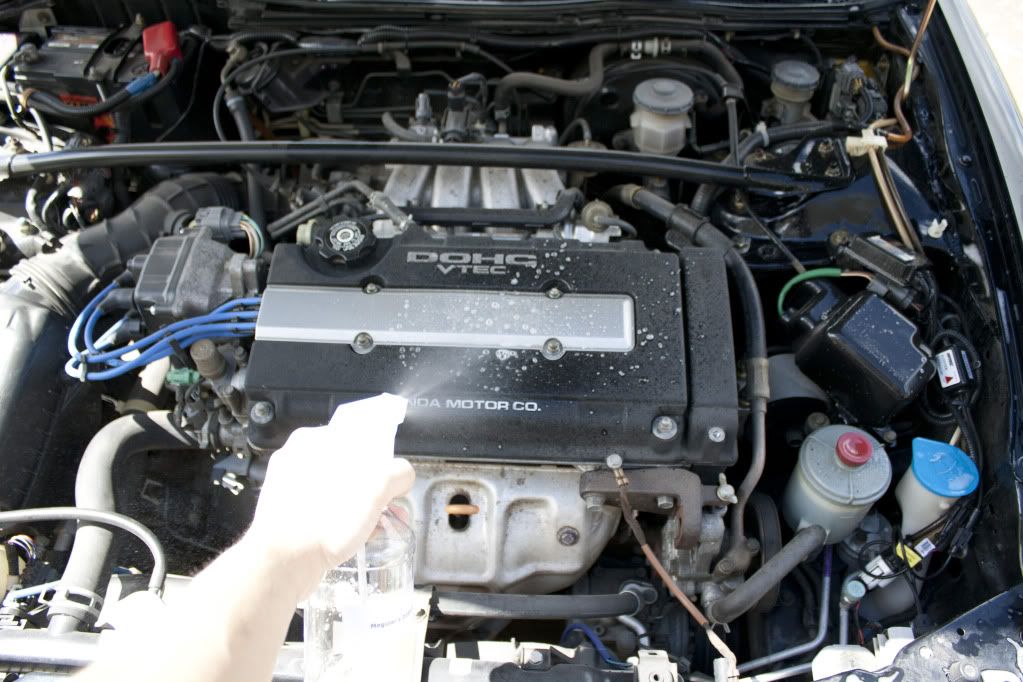
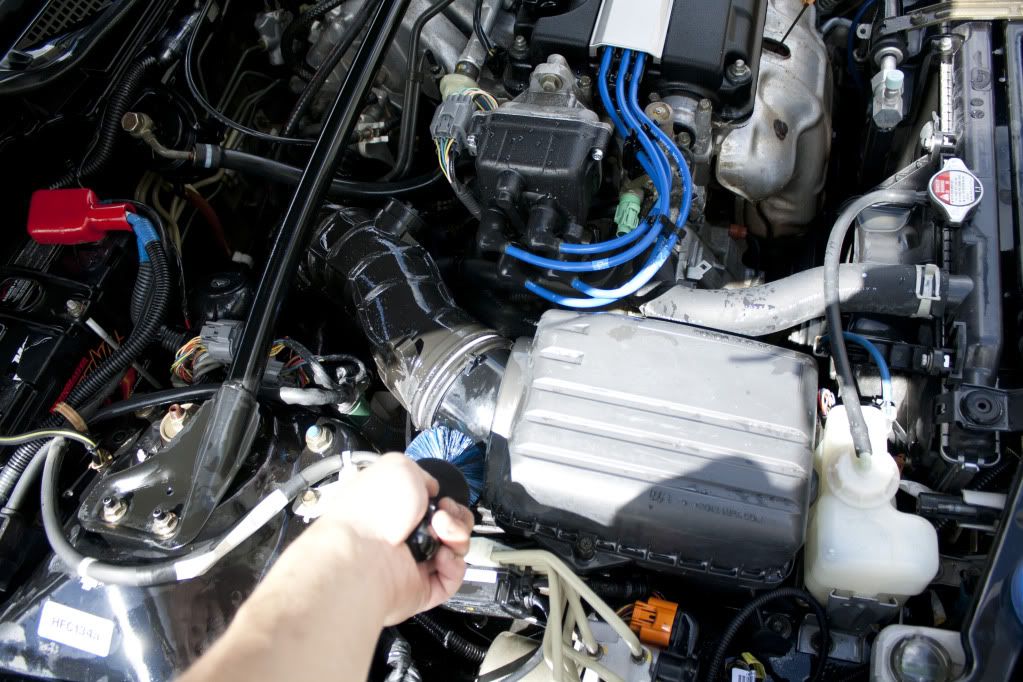
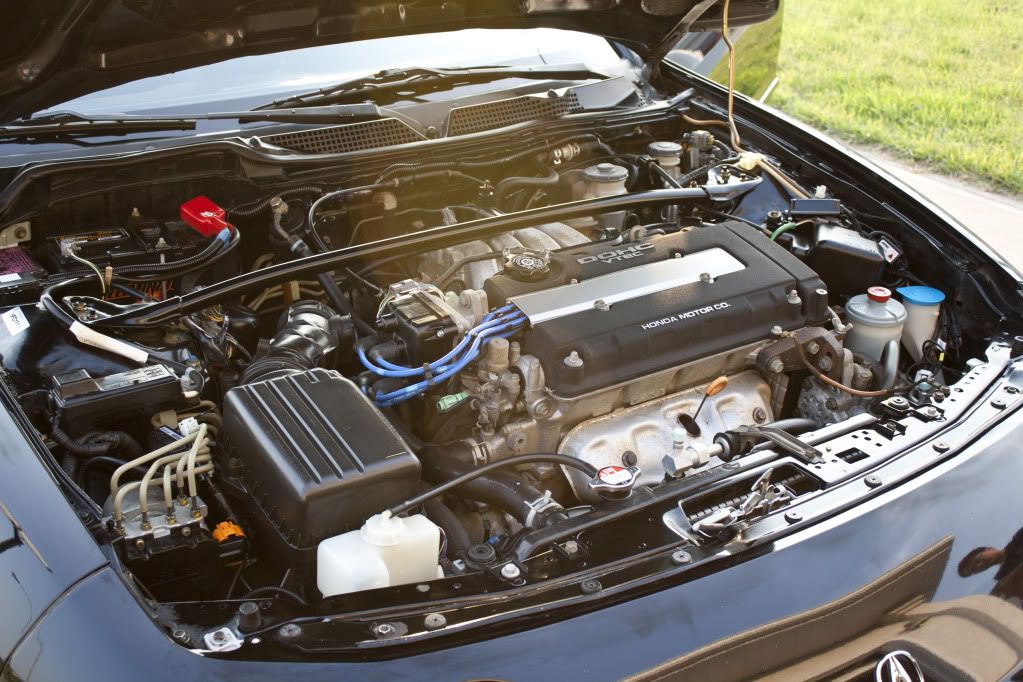
Next cleaned the engine bay with Meguiar's All Purpose Cleaner Plus:
Mini EZ Detail brush came in handy:
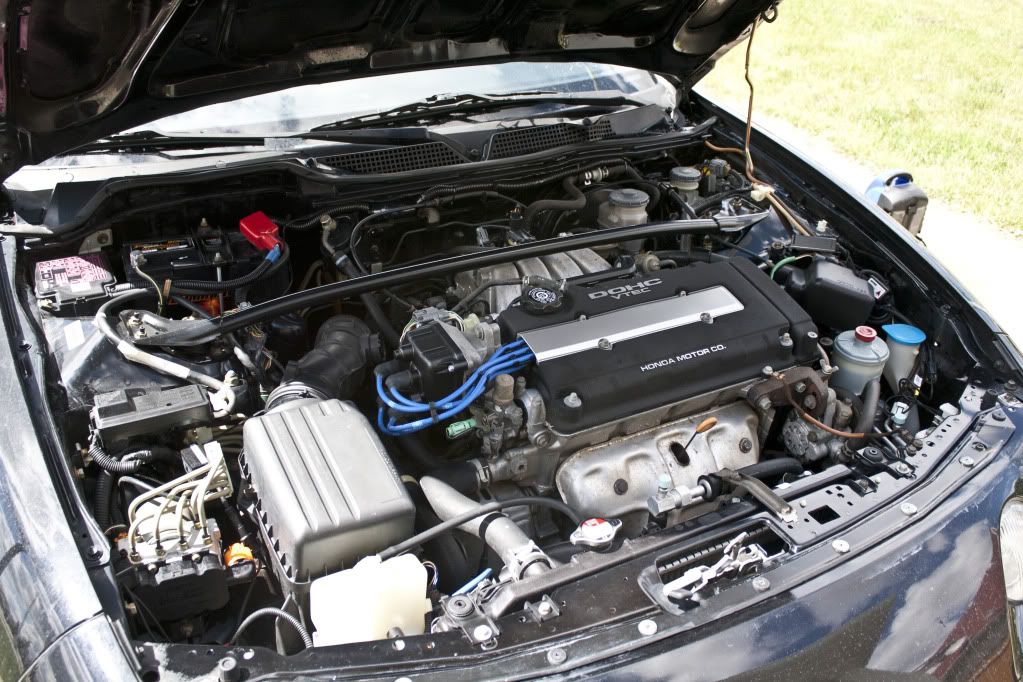
Cleaned:
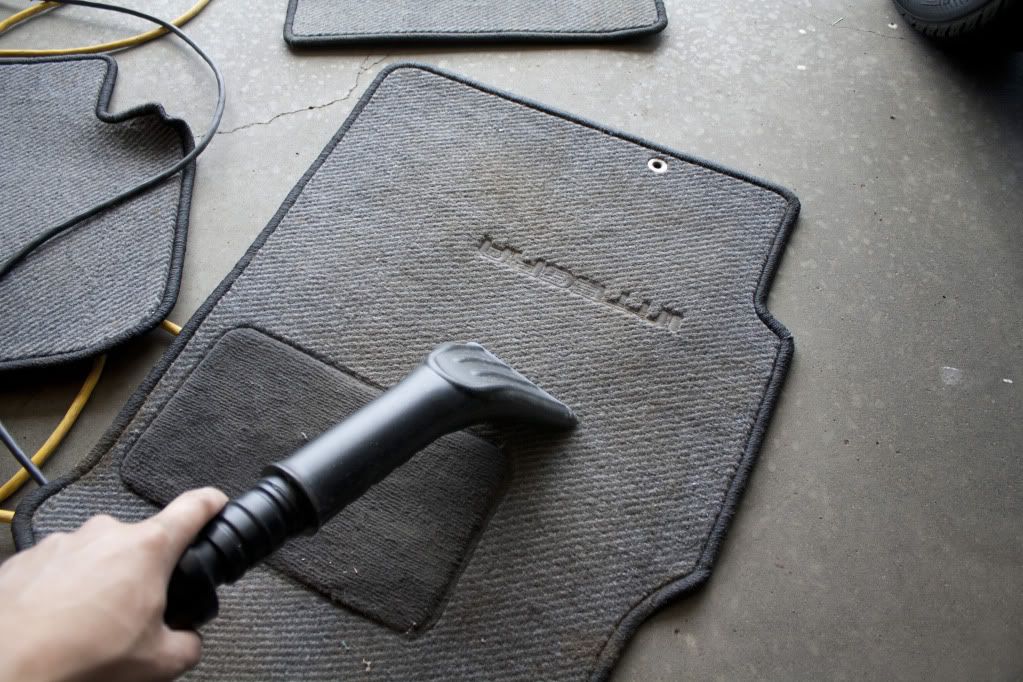
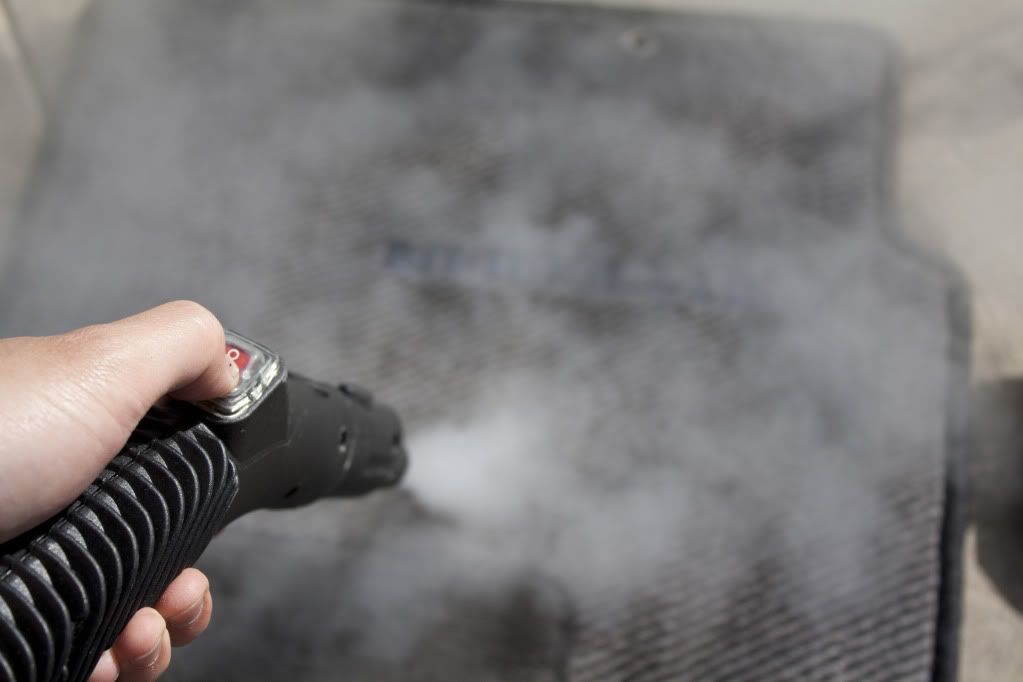
Floor mats were vacuumed and steam cleaned with the help of Meguiar's APC+:
Cleaned:
Pedals/carpet before:
Being vacuumed, steamed, scrubbed with Meg's APC+:
After:
I then began on the paint starting with the claying process, the paint proved to be relatively free of contaminants:
All taped up:
Initial paint inspection:
The paint was in VERY bad shape, haze and heavy swirls resulted in lack of clarity and prevented the blue pearls of the Starlight Black paint to show. In the end some RID's where just too deep to remove as you will later see.
Deep imperfections:
The Test:
Honda/Acura are known to have soft paint, I began with Menzerna's Power Finish on a orange pad and Menzerna's Micro Finish on a white pad which yielded satisfactory results, however required many passes to achieve the desired level of cut for such deep imperfections. Instead I opted for Meguiar's M105 on a LC Orange (yellow for those panels in terrible shape) and M205 on a white pad to finish.
Hood before:
After:
Passenger front quarter panel before:
After:
Before:
After:
Passenger side door before:
After:
Side-view mirrors before:
After (Notice the clarity and the pearls are now visible):
Before:
After:
Driver side quarter panel before:
After:
Driver side door before:
After:
Roof before (notice the water stains):
After:
Before:
50/50 Shots of the spoiler and trunk lid:
Nasty scuff on the rear bumper:
After some heavy correction:
The Orange Peel:
This car was involved in a minor accident that resulted in the repainting of the rear quarter panels to match the paint. The body shop did an excellent job in matching the metallic black paint, however the clear coat was not properly leveled in some areas which resulted in the clear coat having the texture of an orange peel.
As a result, I wet-sanded the clear coat using Meguiar's Unigrit papers starting with 2500 grit and finished with 3000. After went sanding I performed heavy compounding with M105 on a Surbuf pad, refined with M205 on a LC Green pad, and finished with Menzerna P085RD on a LC White Pad The goal of this correction was not to completely remove the orange peel, but reduce it to match the level or orange peel present in the factory paint.
Back to the drive side rear quarter panel:
Wet sanding:
This is how it looked after wet sanding, scary isn't it?
After heavy compounding with M105 on a Surbuf pad, refined with M205 on a LC Green pad, and finished with Menzerna P085RD on a LC White Pad. Orange peel is greatly reduced:
Very nasty orange peel here:
After wet sanding:
After heavy correction:
More heavy orange peel on the b-pillars:
Wet-sanded:
Finished, orange peel greatly reduced:
After I have taken care of all the orange peel, I moved onto the door handles:
I used M105 on a yellow applicator pad:
After:
Next I moved onto the plastics, the tail light had some haziness that needed to be taken care of:
After some Menzerna Power Finish on a LC Orange Pad:
The front indicator lights were extremely hazy and pitted so I wet sanded with Meg's Unigrit papers starting at 1500 grit, moving up to 2000, 2500 and 3000. Compounded with M105 on a LC Orange pad:
Before:
After (unfortunately plenty of deep pits remain thanks to the City of Edmonton's love of using rocks for winter ice):
After the correction process I brought the car out for a final wash:
The paint was looking fantastic:
Look at that reflection!
I used CG Green clean to remove the greasy dressing on the interior's vinyl put on by the previous owner:
Autoglym's Leather Cleaner was used on the leather wrapped steering wheel:
Interior 100% Completed:
Engine bay dressed with Aerospace 303:
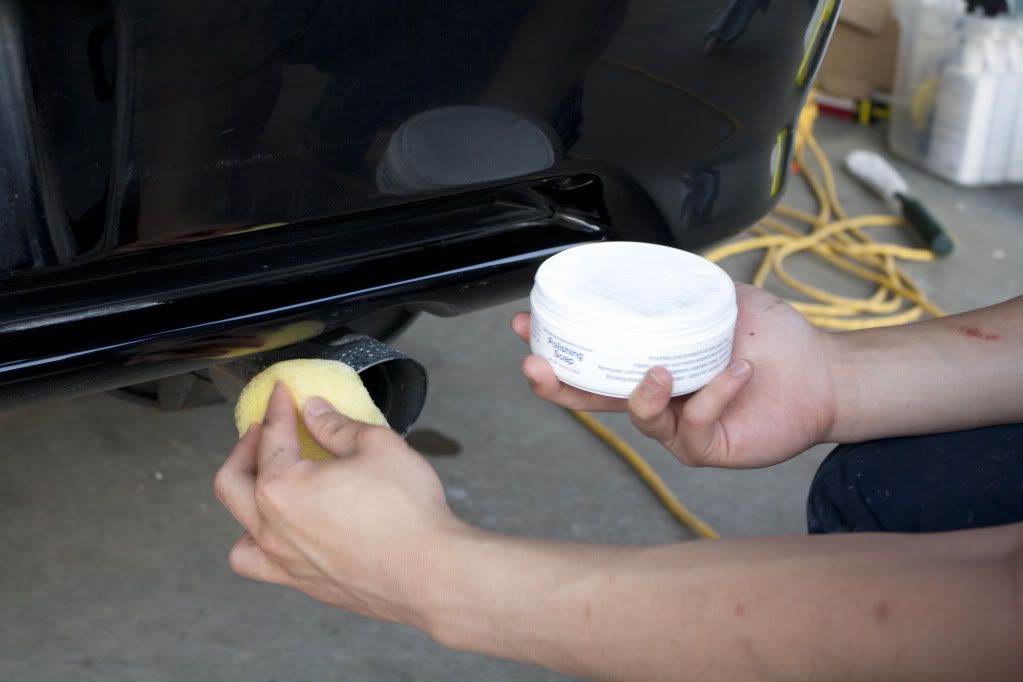
I used P21s polishing soap on the exhaust tips:
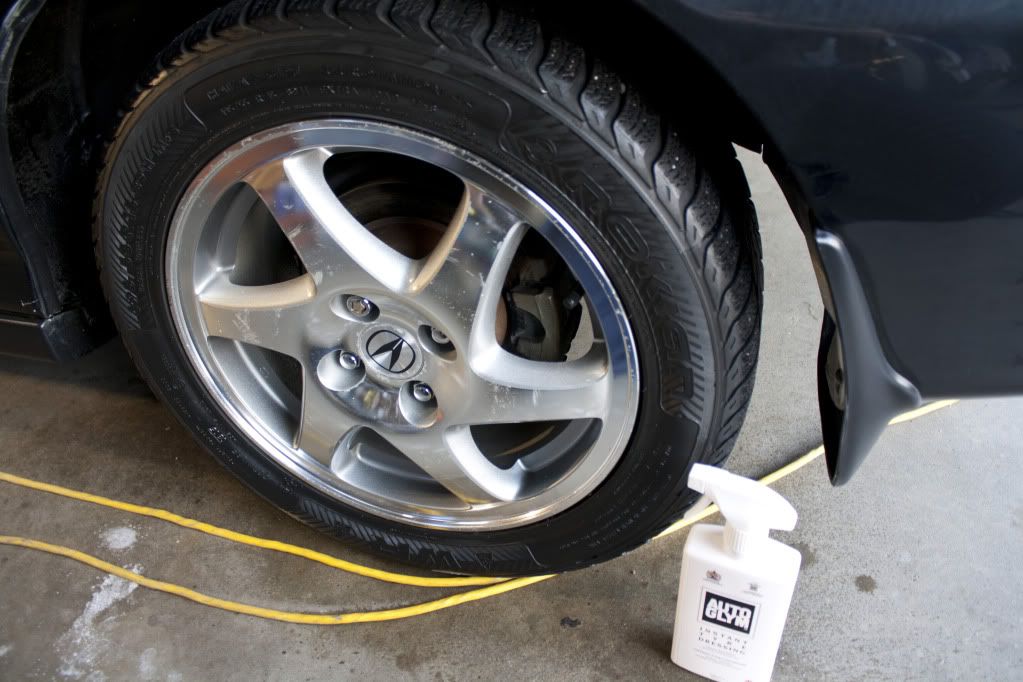
Autogylm's Tire Dressing was used on the tires:
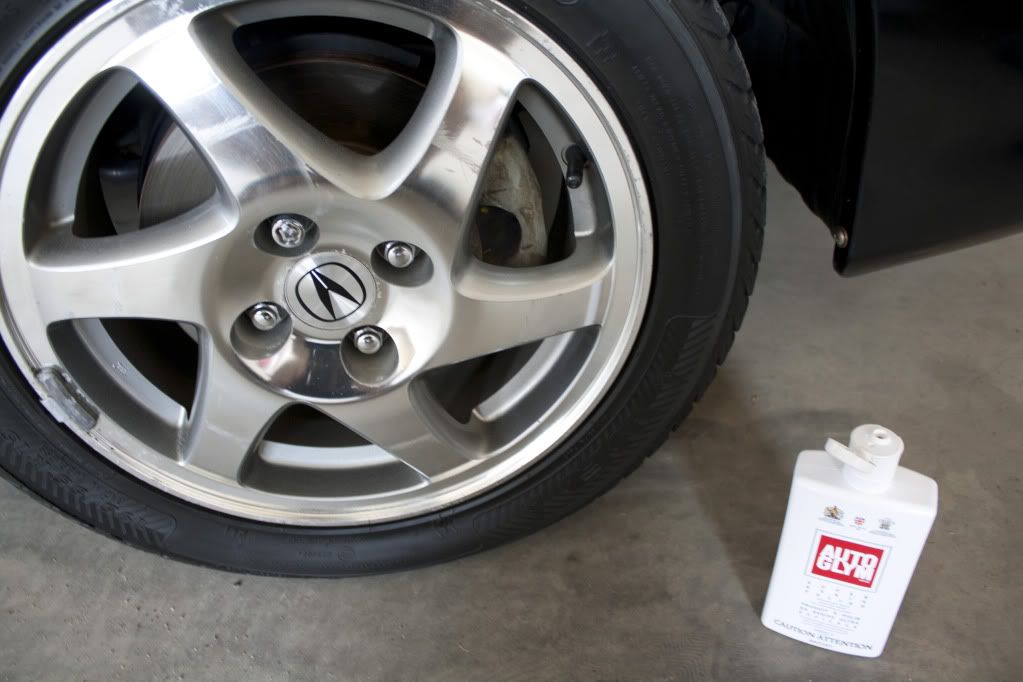
Autogylm's Super Polish resin was used to restore shine on the wheels:
Blackfire Wet Diamond was used as a sealant:
Unfortunately midnight approached and I wiped off the Blackfire Wet Diamond and took the car home, allowing the Sealant to cure overnight....
The next morning I decided to top up the sealant with Victoria Wax's Concours Carnauba Wax as a LSP:
I buffed it off and took it out for a final photo shoot:
Thanks for reading everyone!
 06-28-2011, 03:14 PM
#2
Your Friendly Canadian
Join Date: Dec 2007
Location: Toronto, Ontario
Age: 31
Posts: 17,431
Received 1,485 Likes
on
1,049 Posts
Great work, as usual. It's nice to see an older car being brought back to life. And nothing beats the reflection off freshly detailed black paint.
How did you like AG's Leather Cleaner? Thinking about trying it out once I run out of Lexol.
Looks like there is still a little bit of orange peel on the left side of the trunklid, above the taillight. Maybe the trunk was blended in?
It's nice to see an older car being brought back to life. And nothing beats the reflection off freshly detailed black paint.How did you like AG's Leather Cleaner? Thinking about trying it out once I run out of Lexol.
Looks like there is still a little bit of orange peel on the left side of the trunklid, above the taillight. Maybe the trunk was blended in?
06-28-2011, 07:08 PM
#4
Turd Polisher
iTrader: (1)
Watch out for thieves! They will be all over that car  .
.
Looks amazing though!
.Looks amazing though!
06-28-2011, 09:48 PM
#5
My first Avatar....
Looks awesome.
I would have crapped myself after the wet sanding. You really brought it together.
I would have crapped myself after the wet sanding.
You really brought it together.
06-29-2011, 01:15 AM
#6
Pro
Thread Starter
Thanks for the compliments everyone
Personally I think the AG Leather Cleaner isn't bad. It is key to have a brush to agitate the leather since it will help loosen the really stubborn dirt that normally wouldn't come off with a spray on, wipe off method. However, you would be surprised how much dirt you can pull out simply with a MF and some warm water.
As for the orange peel you spotted, that would be from the factory. All factory OEM paint has orange peel to it, some cars are worse off than others. I remember seeing a write-up somewhere that featured a brand new Ferrari that had ridiculous amounts of orange peel. If I remember correctly, most if not all panels were wet sanded to restore clarity to brand new paint. I know for certain the trunk was not blended in from the previous bodywork. My buddy did the wet sanding since he wanted to match the orange peel all around the car. As you can see from the pictures, the repainted panel had quite a bit more orange peel in comparison to stock parts.
Great work, as usual. It's nice to see an older car being brought back to life. And nothing beats the reflection off freshly detailed black paint.
How did you like AG's Leather Cleaner? Thinking about trying it out once I run out of Lexol.
Looks like there is still a little bit of orange peel on the left side of the trunklid, above the taillight. Maybe the trunk was blended in?
It's nice to see an older car being brought back to life. And nothing beats the reflection off freshly detailed black paint.How did you like AG's Leather Cleaner? Thinking about trying it out once I run out of Lexol.
Looks like there is still a little bit of orange peel on the left side of the trunklid, above the taillight. Maybe the trunk was blended in?
As for the orange peel you spotted, that would be from the factory. All factory OEM paint has orange peel to it, some cars are worse off than others. I remember seeing a write-up somewhere that featured a brand new Ferrari that had ridiculous amounts of orange peel. If I remember correctly, most if not all panels were wet sanded to restore clarity to brand new paint. I know for certain the trunk was not blended in from the previous bodywork. My buddy did the wet sanding since he wanted to match the orange peel all around the car. As you can see from the pictures, the repainted panel had quite a bit more orange peel in comparison to stock parts.

Trending Topics
 07-17-2011, 05:21 PM
#10
US Navy Seabees
damn clean Teg
08-02-2011, 08:05 AM
#12
2nd Gear

Join Date: Aug 2011
Posts: 2
Likes: 0
Received 0 Likes
on
0 Posts
I just got a 1995 Integra GSR in black. It needs a bit of work, so your article is exactly what I need to get started to make her shine. I would really appreciate a list of all the products you used for your project. Your car is beautiful, and I can't wait to do the same!!! Thank you very much for sharing. The pics are fantastic as well!
08-04-2011, 12:01 AM
#15
Pro
Thread Starter
I just got a 1995 Integra GSR in black. It needs a bit of work, so your article is exactly what I need to get started to make her shine. I would really appreciate a list of all the products you used for your project. Your car is beautiful, and I can't wait to do the same!!! Thank you very much for sharing. The pics are fantastic as well!
As for the item list, as you go through the entire write-up you will see each and every item that was used for its intended purpose. I find it's better to see why each product is used in conjunction with a picture of it in action. This way it isn't just a long list of items under headings.
Good luck with your detail

Thread
Thread Starter
Forum
Replies
Last Post
Oakes
Wash & Wax
10
10-12-2015 11:17 AM
asahrts
Member Cars for Sale
0
09-04-2015 05:55 PM
detailersdomain
Wash & Wax
0
09-03-2015 10:56 PM