
Painting Engine Covers


Instructor
Joined: Jan 2011
Posts: 143
Likes: 11
From: Columbus ohio
Front plastic near front grill
Anybody have trouble with the front plastic near the grill? I have an 08 tls. Pretty sure it's the same. Looks like plastic pieces wedged between the front bumper and head lights.
Three Wheelin'
Joined: Aug 2004
Posts: 1,670
Likes: 53
From: North Bergen, NJ
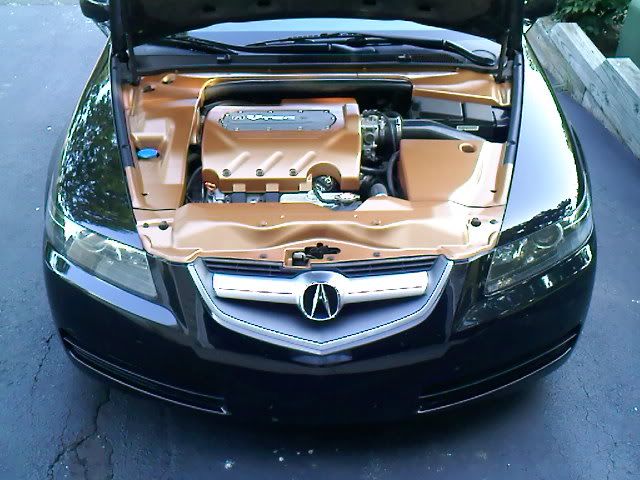
I rather avoid heat soak so no covers for me  . In my oppinion if you do keep the covers on i prefer black then anything else, that bronze is way out of place but great work none the less....
. In my oppinion if you do keep the covers on i prefer black then anything else, that bronze is way out of place but great work none the less....
Instructor
Joined: Apr 2015
Posts: 133
Likes: 5
From: Birmingham, AL
Didn't happen to see a DIY on how to paint engine covers, so I thought I'd make one to help out anyone who wanted to do the same thing.
Disclaimer: mod at your own risk. I am not responsible for any messed up engine covers.
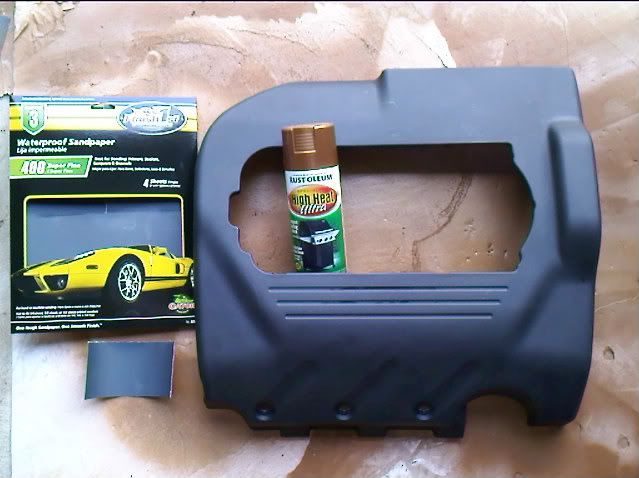
Step 1: Go to your local Home Depot, Lowe's, Pepboys, etc and pick up 300-500 grit sand paper and 1-2 cans of high temp paint spray (# of cans is dependent on how many pieces you're going to be painting).
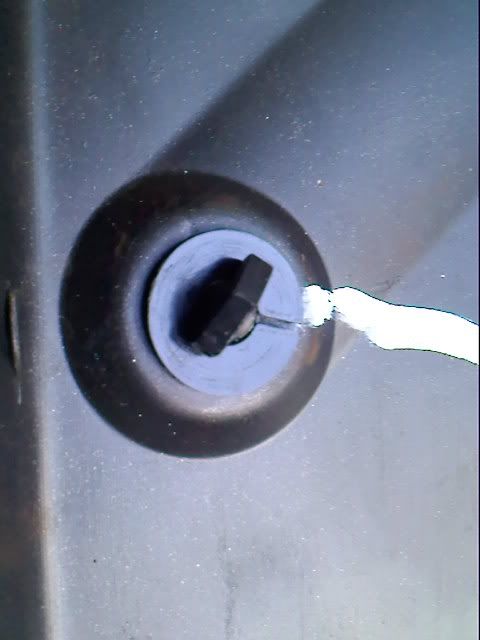
Step 2a: Take off the covers that you want to paint. The cover that sits right on top of the engine has little plastic pins that have clips behind them. I chose not the paint those, so I took them off. Just remove the clips, and the pins come right out.
Step 2b: Wash them down. I just used soap, water, a large brush, and a toothbrush for the small "nooks." Hose them down and dry them off.
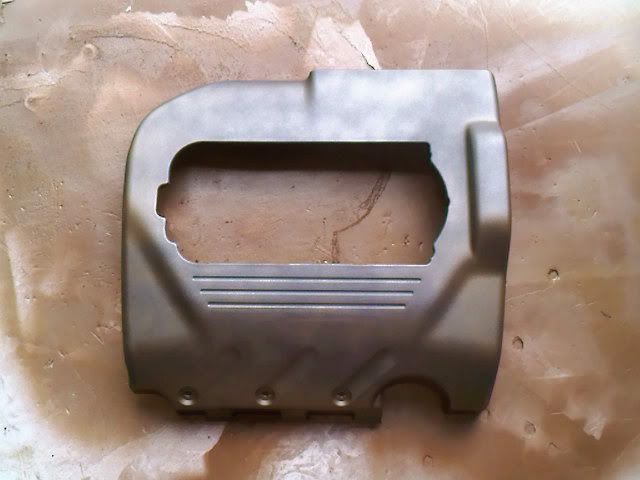
Step 3: Take the sandpaper and start sanding down the covers. You don't need to put a lot of pressure when sanding. Just a light scuffing will do. The point of lightly scuffing the covers is to give it a better texture for the paint to bind to.
1/2 sanded: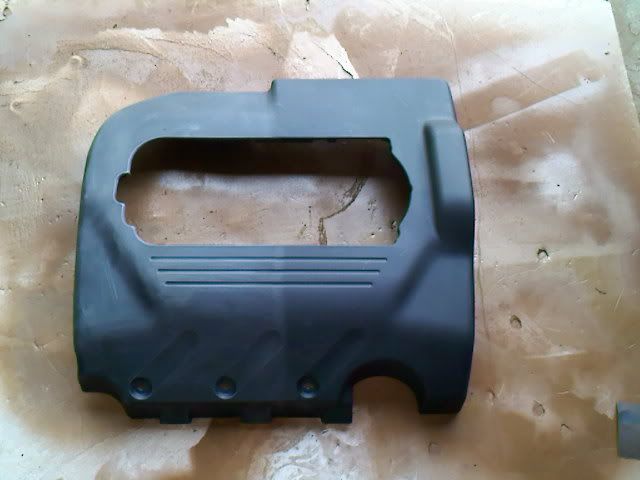
fully sanded: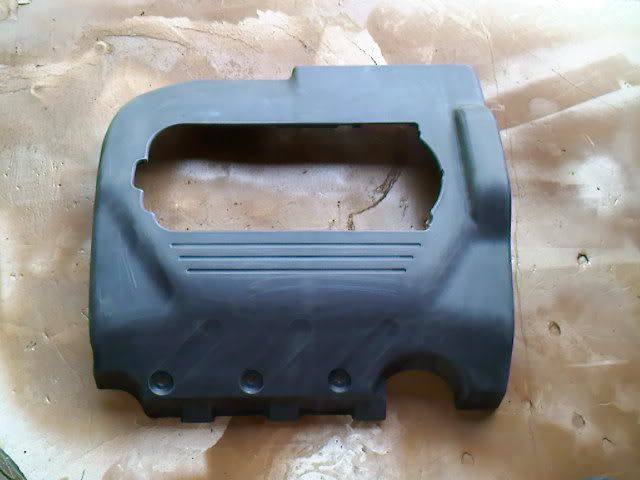
Step 4: Wipe down the covers with a wet towel, degreaser, or alcohol. I chose alcohol because it dried much faster.
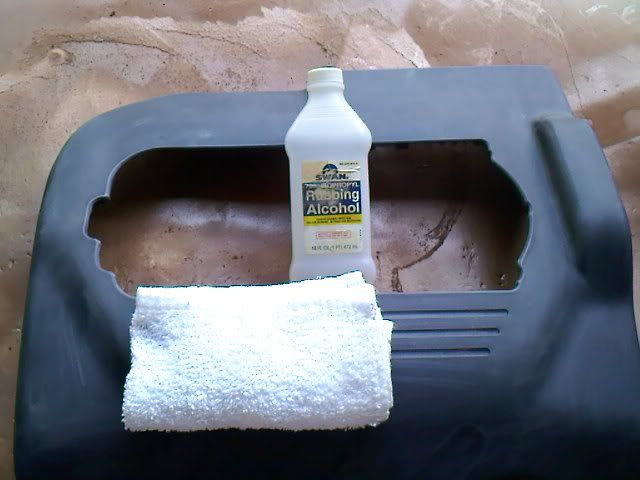
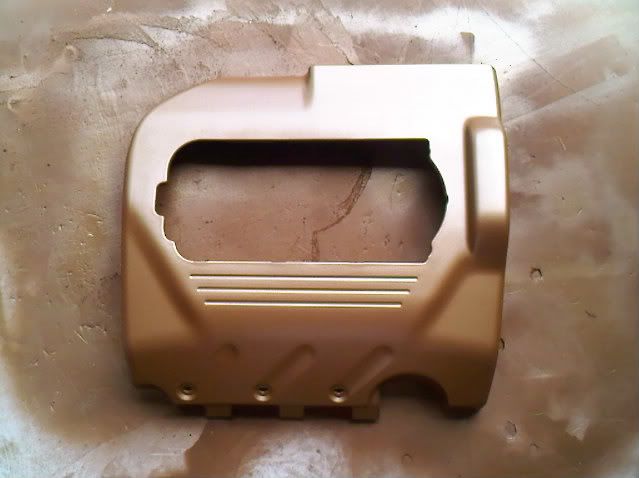
Step 5: Shake up your paint can and start spraying! Stay about 5-8" away from the covers and give it a light coat. You should still see some black after the 1st coat.
Step 6: Give the 1st coat a few minutes to dry before putting on the next few layers. I gave it about 3-4 coats before leaving the covers to dry for 24 hours. If you wish to stop here, I would add 2-3 more coats to give it a deeper gloss/look, then skip to Step 10
Steps 7-9 are not necessary, but in my opinion, give the paint a much nicer finish.
Step 7: Take your newly painted covers and resand them! I used the same 400 grit paper just to give the paint a light very light scuff.
Step 8: Wipe down the covers again using water or rubbing alcohol. (I left out degreaser here b/c I wasn't sure if it would strip the paint).
Step 9: Respray the covers again. I put a good 3-5 coats this time around. Let dry as per directed on the spray can. My directions said 1 hour, but I let it dry for another 24 hours. I also left the covers in the sun to let the paint cure faster.
Step 10: Snap the engine covers back on, and admire your work.
Hope this helps!
Disclaimer: mod at your own risk. I am not responsible for any messed up engine covers.
Step 1: Go to your local Home Depot, Lowe's, Pepboys, etc and pick up 300-500 grit sand paper and 1-2 cans of high temp paint spray (# of cans is dependent on how many pieces you're going to be painting).
Step 2a: Take off the covers that you want to paint. The cover that sits right on top of the engine has little plastic pins that have clips behind them. I chose not the paint those, so I took them off. Just remove the clips, and the pins come right out.
Step 2b: Wash them down. I just used soap, water, a large brush, and a toothbrush for the small "nooks." Hose them down and dry them off.
Step 3: Take the sandpaper and start sanding down the covers. You don't need to put a lot of pressure when sanding. Just a light scuffing will do. The point of lightly scuffing the covers is to give it a better texture for the paint to bind to.
1/2 sanded:
fully sanded:
Step 4: Wipe down the covers with a wet towel, degreaser, or alcohol. I chose alcohol because it dried much faster.
Step 5: Shake up your paint can and start spraying! Stay about 5-8" away from the covers and give it a light coat. You should still see some black after the 1st coat.
Step 6: Give the 1st coat a few minutes to dry before putting on the next few layers. I gave it about 3-4 coats before leaving the covers to dry for 24 hours. If you wish to stop here, I would add 2-3 more coats to give it a deeper gloss/look, then skip to Step 10
Steps 7-9 are not necessary, but in my opinion, give the paint a much nicer finish.
Step 7: Take your newly painted covers and resand them! I used the same 400 grit paper just to give the paint a light very light scuff.
Step 8: Wipe down the covers again using water or rubbing alcohol. (I left out degreaser here b/c I wasn't sure if it would strip the paint).
Step 9: Respray the covers again. I put a good 3-5 coats this time around. Let dry as per directed on the spray can. My directions said 1 hour, but I let it dry for another 24 hours. I also left the covers in the sun to let the paint cure faster.
Step 10: Snap the engine covers back on, and admire your work.
Hope this helps!


Thread
Thread Starter
Forum
Replies
Last Post
sockr1
Car Parts for Sale
22
Oct 1, 2015 01:31 AM
wusty23jd
3G TL Audio, Bluetooth, Electronics & Navigation
4
Sep 24, 2015 11:41 AM