When you click on links to various merchants on this site and make a purchase, this can result in this site earning a commission. Affiliate programs and affiliations include, but are not limited to, the eBay Partner Network.
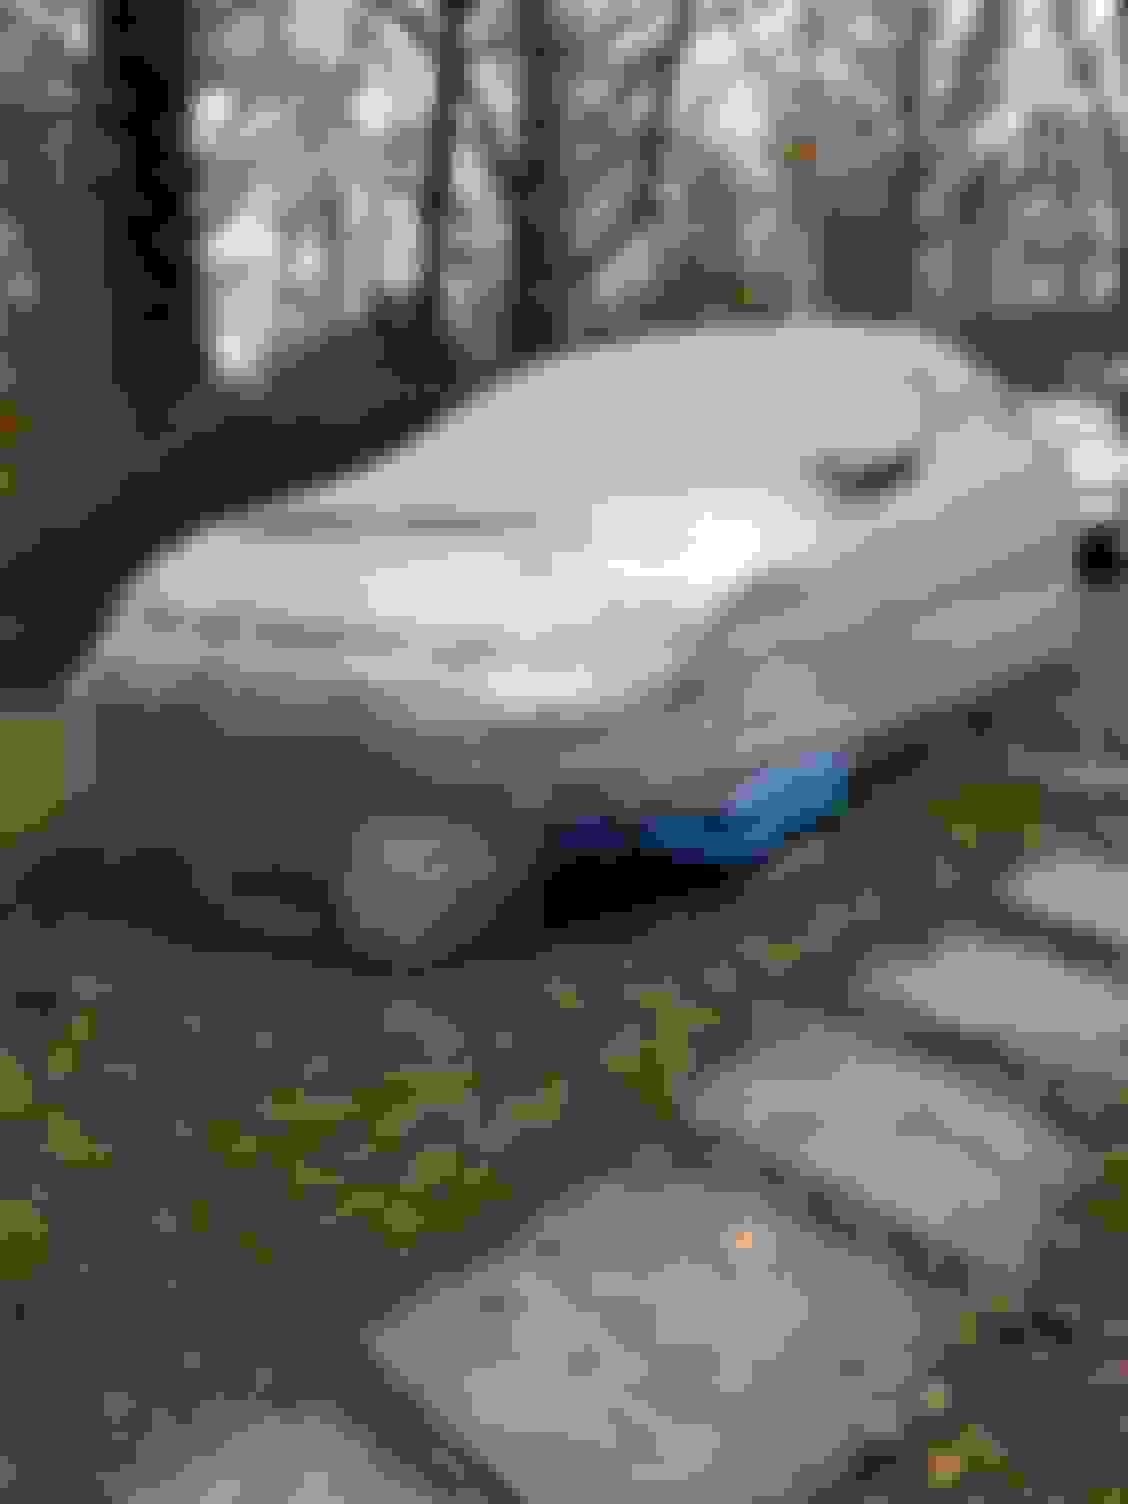
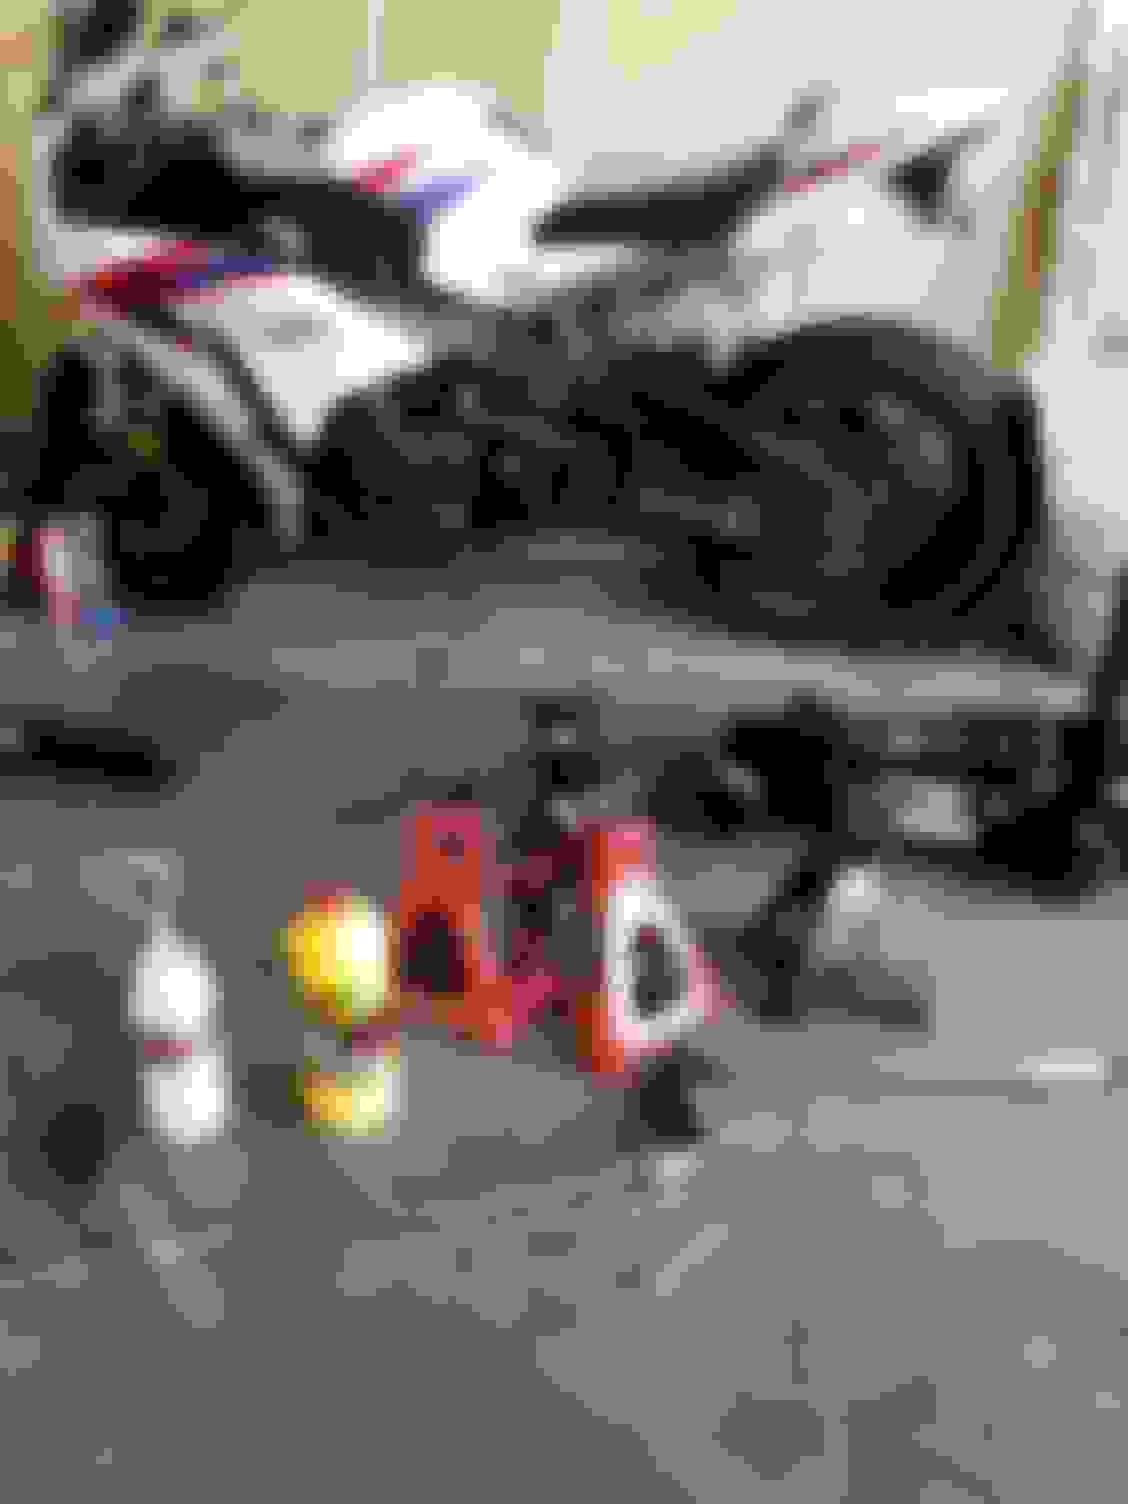
Then I took out the battery and wrapped it up for the winter season since I have a Jeep to use in the snow. I had to get creative since this car cover doesn't fit over the Mugen kit. Last winter during a storm the cover ended up down the street...
Exciting times for me because the next time I take it out of the driveway will be to ship it to my new home in Austin TX this upcoming Spring.
Put LED fogs in tonight, these are the Cree V2's from OPT 7, only costed $40. They are definitely brighter than the stock ones but not obnoxious, they also match the color of the headlights pretty closely. Putting the passenger side in was easy, but the drivers side was a HUGE pain, no clearance with the intake tube in the way
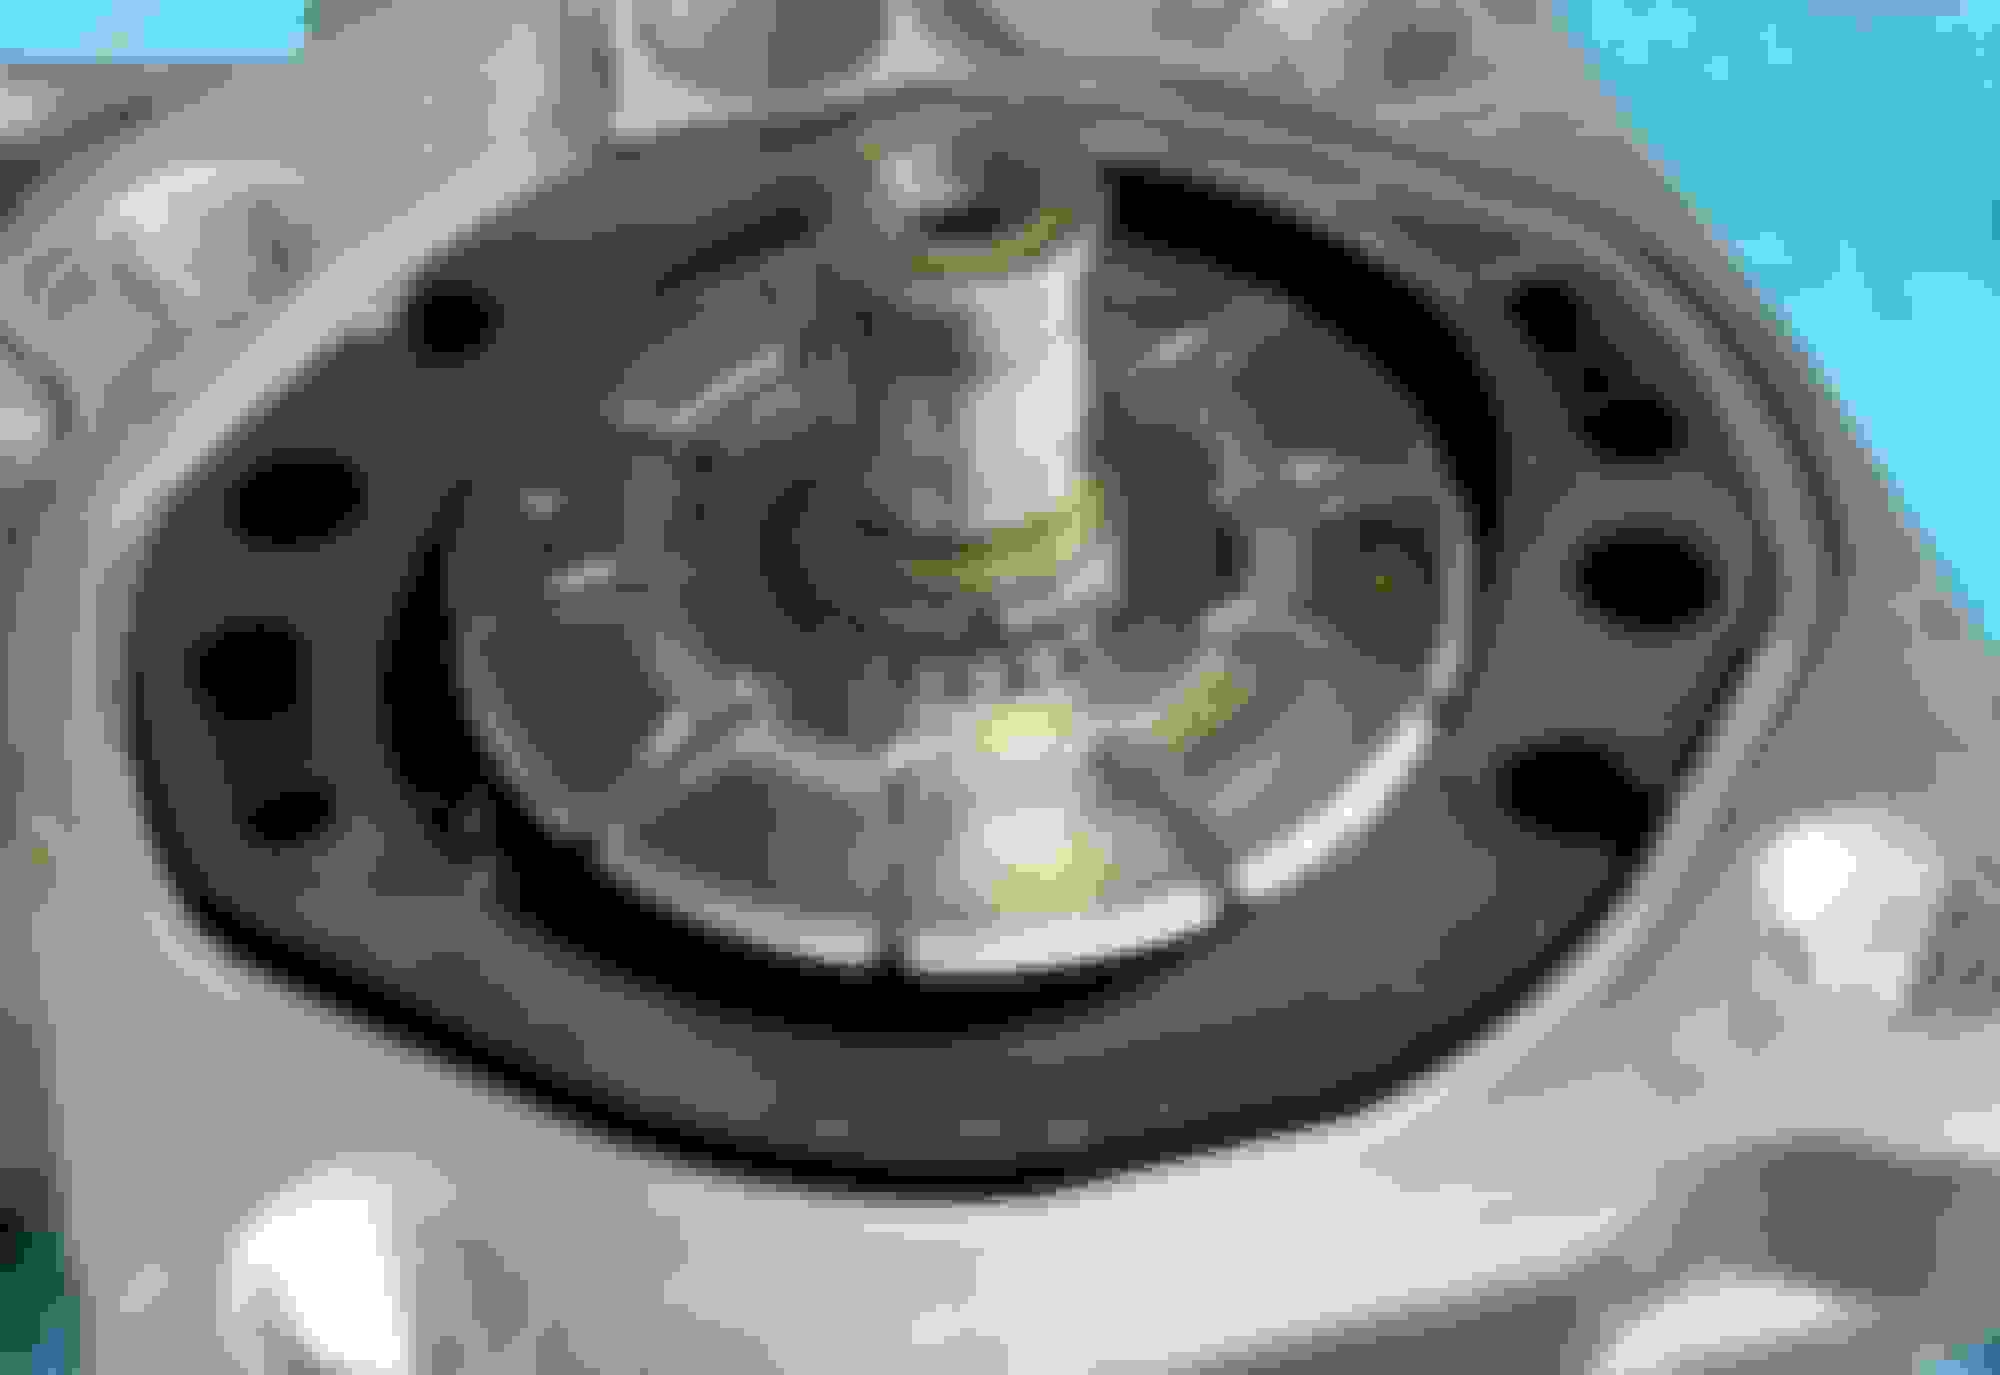
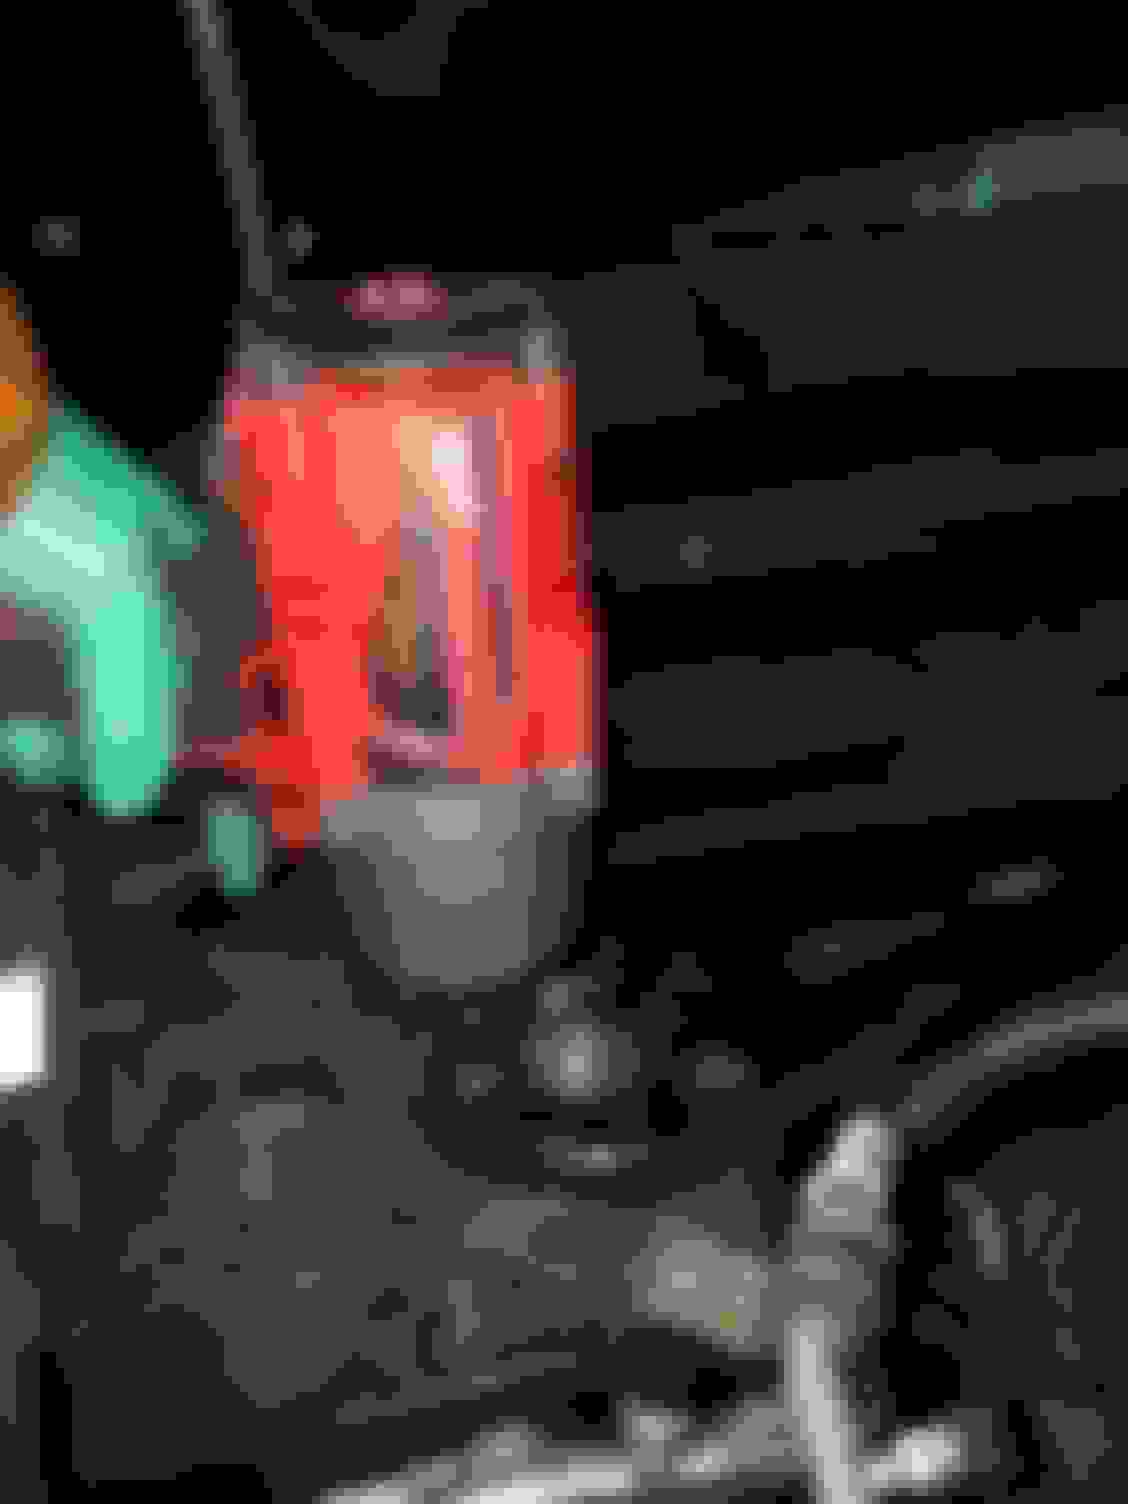
Re-built leaky power steering pump using oem seal kit.
Seems to have fixed the issue. Only tricky part was to get the tiny metal circlip off of shaft... Just use tiny screw driver to do it and make sure to wear eye protection. The old one flew off at high velocity!
Then I took out the battery and wrapped it up for the winter season since I have a Jeep to use in the snow. I had to get creative since this car cover doesn't fit over the Mugen kit. Last winter during a storm the cover ended up down the street...
Exciting times for me because the next time I take it out of the driveway will be to ship it to my new home in Austin TX this upcoming Spring.
I think my car has just fell victim to the infamous propeller shaft whine, I believe I heard it 3-4 times this morning when I was running errands, it kept happening randomly and each time I was at a speed below 40 and at lowish RPM's. Heard this is a very expensive fix so glad I bought it with an extended warranty, made an appointment online for the dealer first thing tomorrow morning.
Last edited by LS1SSChris; 12-31-2017 at 09:53 AM.
steps:
1. Break lug nuts on all four wheels
2. Jack car up and place jack stands under four corners
3. Remove wheels
4. Open hood and place a towel around the brake fluid reservoir to ensure no spillage
5. Use turkey baster to remove some old fluid from reservoir into the Bleeder bottle. Ensure to not completely all the fluid or else you will introduce air into the system.
6. Pour new brake fluid into the max level and close lid
7. Navigate to the passenger rear and remove the bleeder rubber cap on the caliper.
8. Place the tube from the bleeder bottle on the bleeder valve and then hang the bottle somewhere. You want the bottle to be parrallel or higher so air can escape to the top.
9. Use 8mm wrench and open the bleeder valve until you see brake fluid comes out. about a half turn should be good.
10. Go back into car and press down the brake pedal and slowly depress. Repeat this 7-8 times. Go check to ensure fluid is coming out correctly. Then pour new fluid into reservoir to max.
11. Repeat step 10 until you see new fluid coming out of the bleeder tube. New fluid should be a lot lighter in color. Once you see new fluid, ensure no air in the tube and then use the 8mm wrench to tighten the bleeder valve. clean area and put back rubber nipple.
12. Repeat steps 9-11 for driver side rear, then passenger front, and finally driver front. Keep in mind that most of the old fluid has been flushed after the first time, so the process is shortened for the remaining corners.
13. Pour new fluid to max level of reservoir and close cap.
14. Put back wheels and lower car.
15. Torque lug nuts to 94 lb using the 1/2 drive torque wrench and 22mm socket.
Timing belt, water pump, struts, alignment, leak repair
Earlier this week, my 93K mile 2006 RL had the timing belt, drive belts, tensioner, and water pump replaced. In addition, the car desperately needed new struts and had a leaking seal that made sense to do while they were in there, along with an oil change. They could not diagnose the flickering headlights, which will be subject of my next "what did you do to your RL today"
With the new struts, the car rides much better -- no banging over every bump, no hobby-horsing like a low rider on dips in the road.
With this investment, I'm reaffirming the decision to keep this car running for the long term.
Today I replaced the headlight bulbs in the hopes of getting rid of the intermittent flickering. I researched the heck out of the options from going in from above (per the carcarekiosk instructions) or removing the bumper. Start to finish, it took about 3.5 hours. I went in with confidence because with similar research I've replaced door panel arm rests, the CD changer (twice), the entire glovebox assembly, and various lesser items.
My plan was to try the hood-wise method with the bumper removal as a backup plan, so I removed the passenger side plastics from underhood and went and bought replacement bumper clips to support the backup plan of bumper removal. I also pulled the battery to avoid potential shock.
Clips in hand, I went ahead and removed the bumper using the Acura A-Spec instructions before fully starting this project, because a couple of test runs working the housing cover and electrical connector on the passenger side had me concerned about access to the bulb. Having read that the driver's side was the difficult side I tried to pull the driver's headlamp assembly, but could not remove it. I gather there are 4 bolts, and I could only find 3. (I'm a visual person, and could not find pictures -- goodness knows I tried, looking at pictures of headlamp assemblies on ebay to get the lay of the land, but to no avail).
So took the plunge on the passenger side with the underhood method, removing the plastic cover and the electrical connector. The clips that hold the bulb in place were a bear to remove without a visual, so I took pictures with my phone and finally got them undone and removed the bulb. After a practice run, I put in the new bulb and sealed the headlamp.
The driver's side proved much more challenging. Even with the battery out, access was hampered by the air filter box. So I pulled off the driver's side plastic underhood trim and removed the cleaner lid (a real challenge in itself). That didn't provide enough room so I pulled the entire air cleaner box. And even with that removed the space was super small.
I finally worked the back cover off, removed the electrical connector, unsnapped the clips and pulled the bulb. I thought I'd do a test run with the old bulb to see how to maneuver, and while seating it in the opening it escaped my grasp and disappeared. No matter where I looked or shined a light, the fallen bulb could not be seen. I took pictures to see where it might have gone, but the space was too limited to get more than one angle. (Here's where I wish I had an endoscopic camera). I finally figured it could only be in one place -- out of view into the inboard side of the low beam housing. So I twisted around like a pretzel and managed to fish it out.
Again, I carefully tried some test fitment and managed to get the bulb into the housing, snap the clips and reassemble the lamp. I reinstalled the air cleaner lower and upper housing and put the battery in place before reinstalling the bumper, and returning all the plastic bits underhood.
Miraculously, no parts were left over, and no connectors left undone. I started the car and turned on the headlights, and they functioned. I have not had a chance to see if the flickering went away, but by this time I was happy that the car started -- the new bulbs turning on were gravy.
I told my office mate that I have a job, in part, so I can pay someone to do their job (like the other work I just posted about) - but I can't resist a project so I went for it. I could not stomach paying the dealer for new bulbs only to find out that the problem was still there and the ballast would need replacement, so I went this route as a first step.
f there's a lesson in here, I would not recommend removing the bumper - that was pretty much a waste of time. For this job, I'd recommend removing the battery and the air cleaner to get to the driver's side. Take your time - taking pictures with the phone really helped.
Time will tell if the flickering was fixed -- well, nighttime will tell.
I had to look at ebay headlamp assembly pictures again, and found the 4th bolt for the headlight assembly removal. It's behind the lamp in the engine compartment connected to a bracket. Given the lack of space, I could not tell that the bracket and bolt were a headlight mount -- I thought it was holding the fender in place.
So, the four bolts are the one underhood. There's one under the inboard portion of the headlamp that needs a long socket to get to. There's one on the front support beam (where the hood latch sits) - visible after you remove the plastic bits that need to come off when you remove the bumper. And one on the side of the car (near 2 other bolts just ahead of the wheelwell area).
Live and learn. Knowing this would certainly have saved my hands some scrapes, and made the whole endeavor more rapid with less contortioning. Now I'm 50-50 on bumper removal.
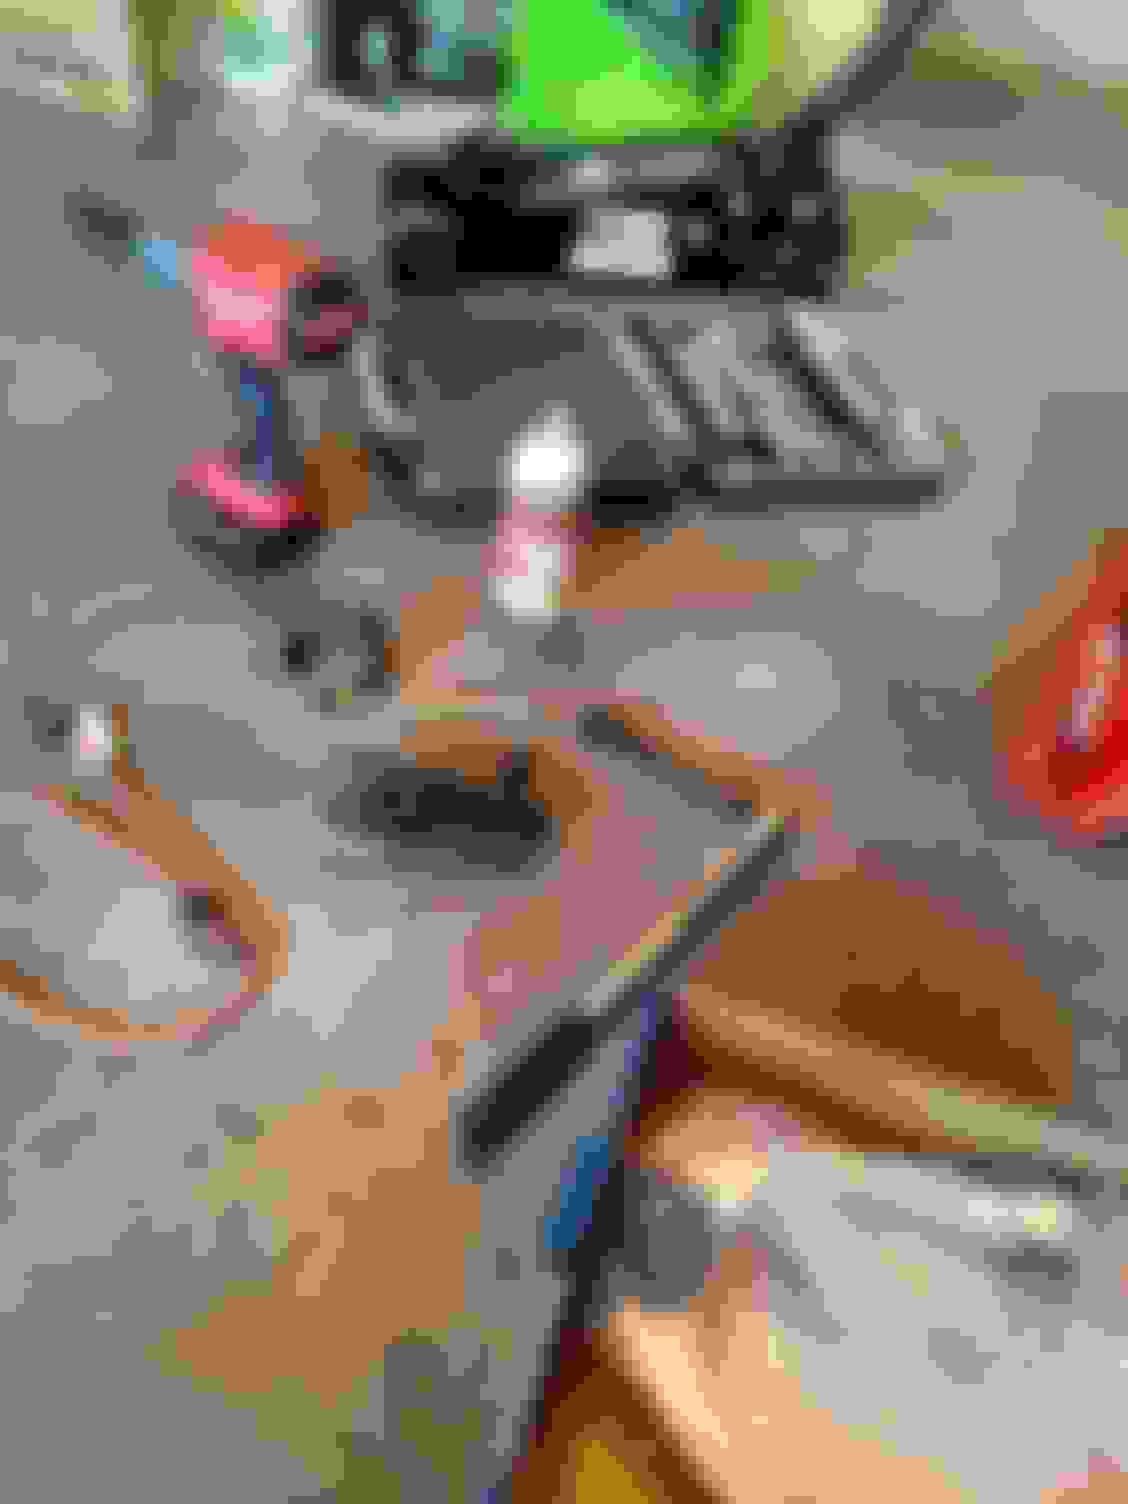
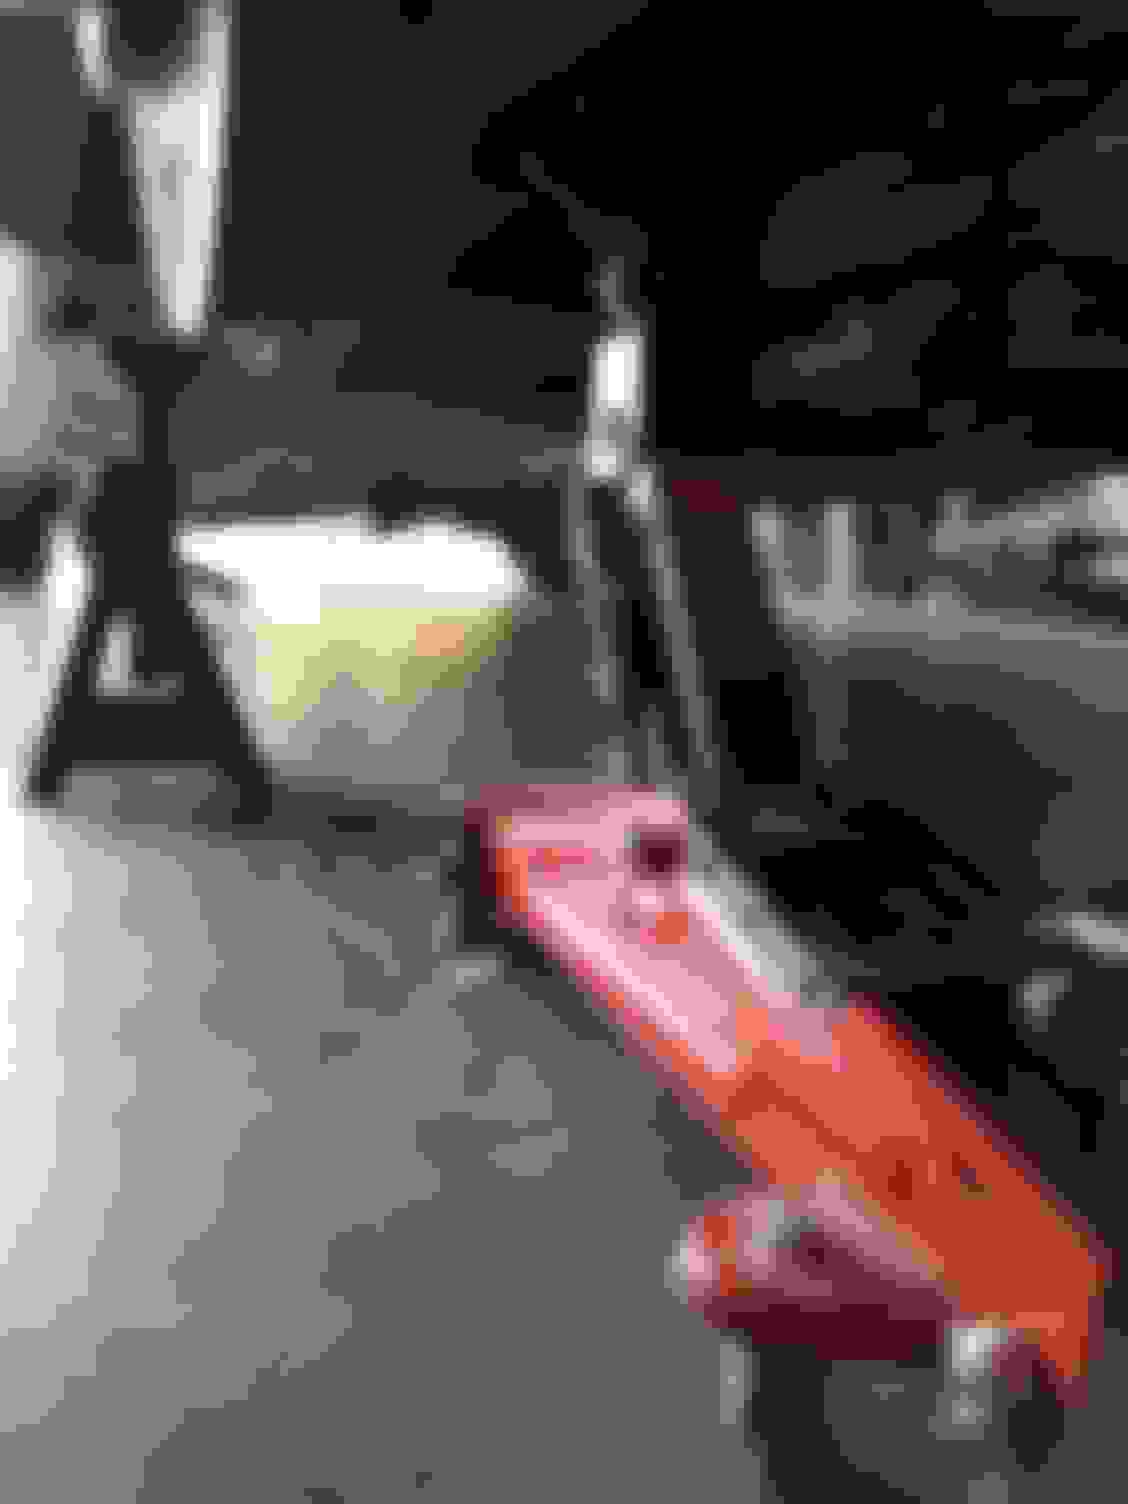
Just replaced the upper control arm with Beck Arnley. I am tackling the lower control arm tomorrow. You guys interested in a DIY write up? Learn from my mistake...take off or loosen the strut, it would make the job so much easier..and buy a ball joint separator.
Below is the old and new. The old has a little bit of play..not bad..I probably could go another 20k on it..oh well..If there is interest I'll write the DIY for the job.
Paintless ding repair...... The result of assuming that the Visitor spot I was next to would go unused, or be used by an actual visitor who would be inclined to park carefully given the spot faces a window.
Instead, a resident of the building who comes and goes frequently in a land barge SUV managed to park right up close and fling the door into my car, leaving a pretty clear dimple on my driver's-side passenger door.
Oh well. Back to the far reaches of the lot for me. 11+ years of care & luck finally ran out. Fortunately, PDR exists!
HDNBenjamin -- Write a DIY for that control arm! Anything that educates us on the mechanics of the car is a great benefit.
So I attempted to do the lower control arms today and failed miserably. I was able to unbolt and disconnect everything except for the lower ball joint. Come to find out after a couple of hours of trying, the ball joint separator I used to separate the upper control arm ball joint is too small. The gap is not large/wide enough to fit it around the ball joint. So, I tried hammering it, but after a few swings, I missed and ended up hitting my leg, so I decided to delay this installation until I find a ball joint separator large enough to fit. Anyhow, onto the upper control arm DIY.
I drove the car today and I definitely feel the RL drives smoother. Going over bumps and potholes, it seems like the RL can absorb the road better, and it's tighter as it should be. For reference, the old ball joint could be moved with my hand, but I cannot move the new ball joint even with two hands. Less play = better handling.
Parts used: Beck Arnley from RockAuto.
$85 Upper Left 1027605
$85 Upper Right 1027605
Tools used: 14mm, 17mm, 19, 22mm sockets, 14mm combination flex head wrench, penetrating fluid, jack and jack stands, 3/8 torque wrench, 1/2 and 3/8 drives, 1/2 torque wrench, flat head screwdriver, 1/2 drive break bar if you do not have power tool.
Procedure:
1. Ensure car is parked on a flat surface, apply e-brake, and jack car up from the front. If you do not have power tools, then you'd need to break the lug nuts on the car prior to jacking the car up. Once car is high enough, place the jack stands on the passenger and driver side jacking points. Lower jack to allow the car to sit on the jack stands. Once on jack, I used my impact and 22mm deep socket to remove the lug nuts.
2. Remove the wheel sensor bracket by using a flat head screw driver to pry it open. Be careful not to break the plastic tabs.
3. Remove cotter pin from the castle nut of the ball joint
4. Then I used my 1/2 impact driver w/ 19mm socket to remove the castle nut from ball joint, but you could use a breaker bar and 1/2 ratchet to achieve the same result. Once removed, flip the castle nut and install it backward until the washer end is horizontal with the ball joint bolt. Then use the ball joint separator to pop open the ball joint from knuckle.
5. Now we need to remove the 14mm bolts on the side each side of the control arm, but we need to lower the strut in order to have the space.
6. Remove the nuts (there are 6) with a 14mm socket and ratchet on the top of the damper by opening up the hood and remove the plastic cover.
7. Now navigate to the bottom of the damper and remove the damper mounting nut and bolt that connects it to the lower control arm. Use a 17mm wrench to hold one end from spinning and another 17mm socket and ratchet to unbolt it from the opposite end.
8. Now that the damper is loosened, push the damper down to make space or you could remove it out of sight. Up to you, but I choose to keep it there.
9. Now w/ clearance, use a 14mm combination wrench to remove the upper arm mounting bolts and nuts.
10. Remove the upper control arm
11. Reverse order for installation. However, in order for you to get the ball joint into the knuckle, you will need to use a jack to jack up the knuckle. Lastly, do not remove the jack once the ball joint bolt is in the knuckle hole, as you want to load up the suspension before you torque everything down to spec listed below.
Notes: Be sure to remove the dust cap from the ball joint of the new upper control arm prior to installing.
Torque specs: upper arm mounting bolts are 23 ft lb but it is not possible to use a torque wrench. Tighten it down snug should be good. Castle nut should be torqued to 43-51 ft lb. Damper fork nut of the strut is 47 ft lb. and the upper strut nuts is 25 ft lb.
Last edited by HDNBenjamin; 02-19-2018 at 09:17 PM.
Replaced my front brake pads. Easy as hell. If you are paying to get this done you or either rich, have ZERO time, or just a sucker. Painless and I did not realize how much braking power I was missing out on. Hit me up with ANY questions on this.
I used the old brake pad and a c clamp to get the pistons almost all the way down then used a screwdriver wrapped in a towel to get them flush with the caliper. Open brake fluid cap before pressing them back in.....
It handles very well. Best handling car I've owned. very responsive. However, the RL is also great for a luxury car. I would never own the s2000 if it was my only car. Glad the RL is my daily.
It handles very well. Best handling car I've owned. very responsive. However, the RL is also great for a luxury car. I would never own the s2000 if it was my only car. Glad the RL is my daily.
I drove couple AP1 and AP2 and I know why its isn't mean a DD. AP2 hand down better than AP1 for street duty as I don't have to live near the redline lol.
Last weekend I replaced the brakes on all 4 corners. I used drilled/slotted rotors front and back. While doing the brakes I did notice that the front lower control arms both are showing some wear in the rubber. I'll be thinking about replacing them soon, maybe upper as well just to get it done and over with.
The stopping power with the new rotors and pads is awesome. I bought the Power Stop Z23 kit from RockAuto.
Put LED fogs in tonight, these are the Cree V2's from OPT 7, only costed $40. They are definitely brighter than the stock ones but not obnoxious, they also match the color of the headlights pretty closely. Putting the passenger side in was easy, but the drivers side was a HUGE pain, no clearance with the intake tube in the way
The fog lights, did you just replace the bulbs or did you install new fog lights? If you got new fog lights can you tell me what you got and from where? I've been looking for fog lights since mine have a crack in the lens. Ah dang... just read it again and see that you got Cree V2 replacement bulbs and not the whole assembly.
Thanks!
Last edited by H8PVMT; 04-24-2018 at 09:25 PM.
Reason: realized an error...
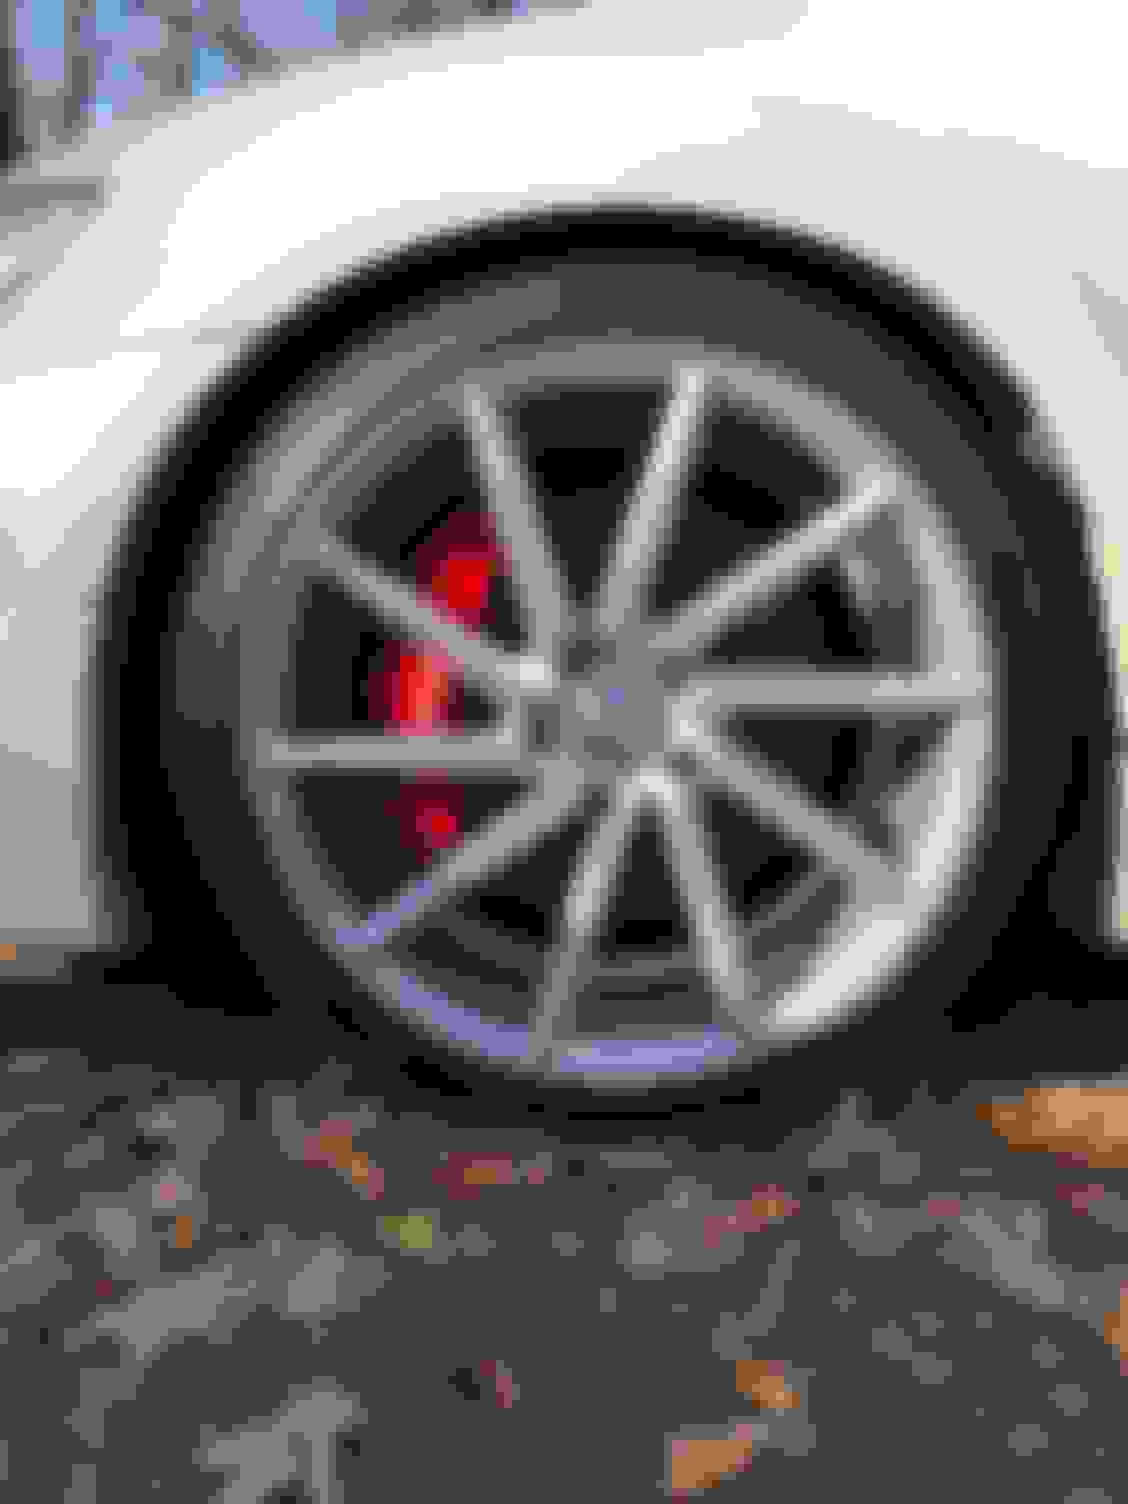
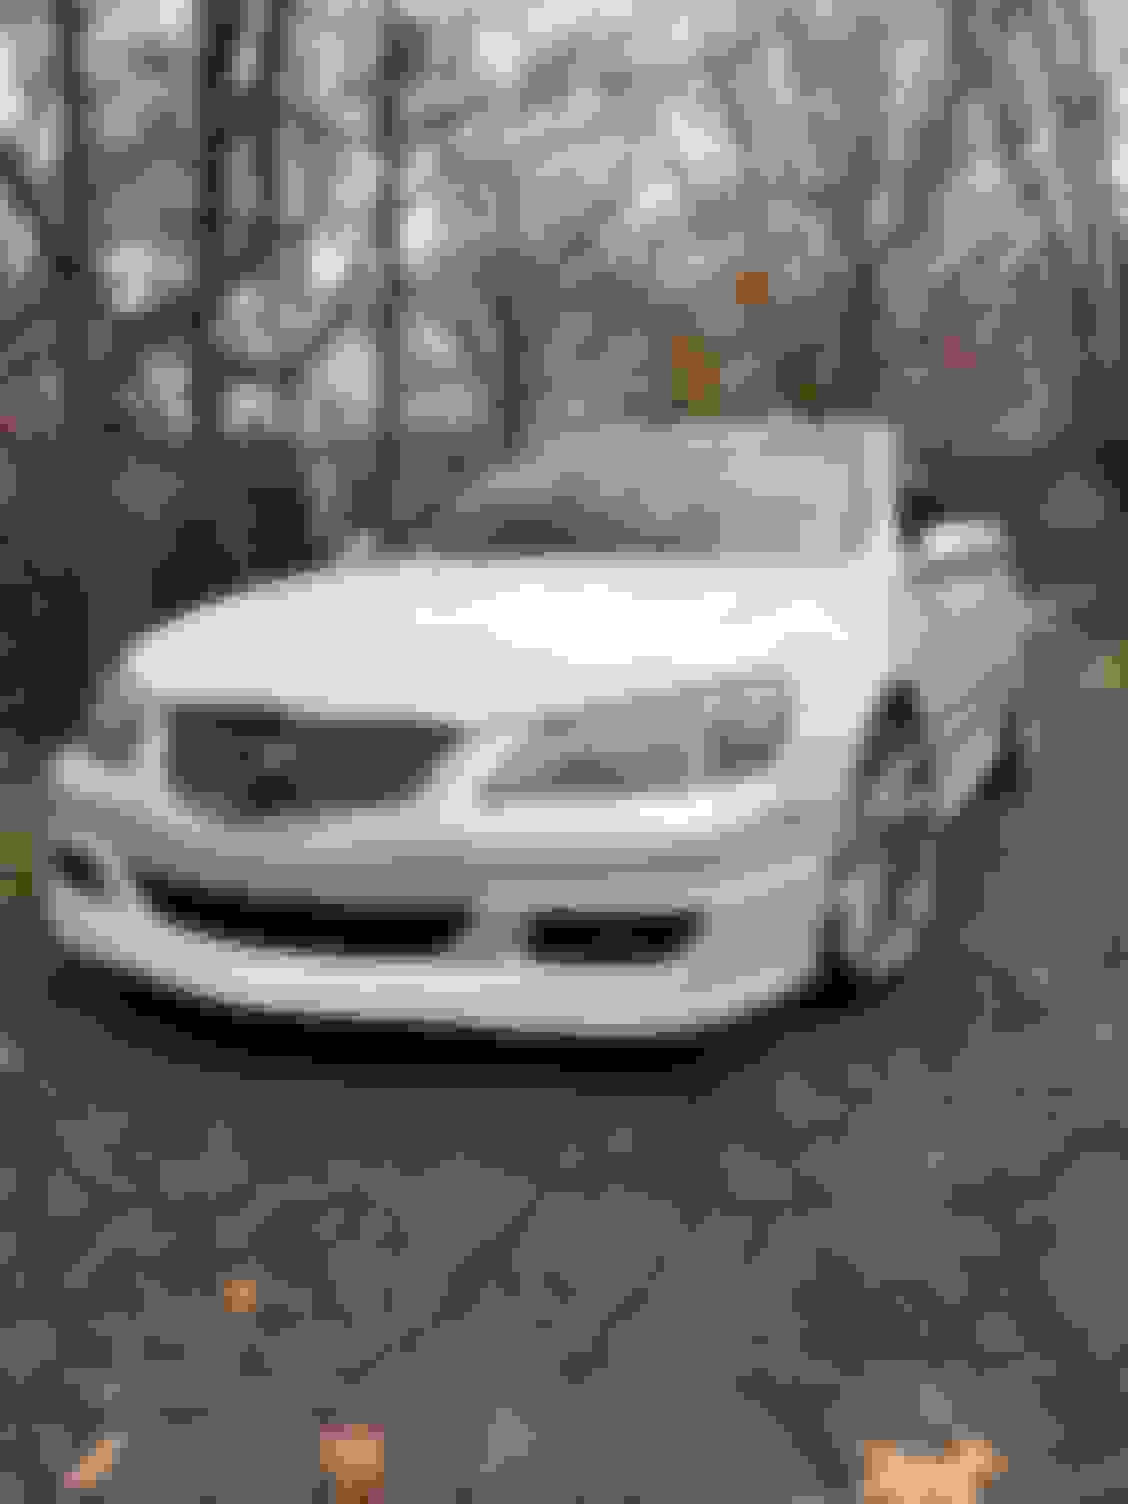
Just bought her a couple weeks ago. She no gem, def needs some love, I figured new Rims and Tires were a start ha. Can't expect much for a $5500 car, but so far it drives and runs excellent . Perfect Oil Rig car lol.
I am not strange to JDM and EDM legend lol. Back in 93 the legend already came with power folding mirror, TPMS and digital kms. Alpha Touring is the highest trim for the legend. What else is different beside option I spotted? thanks
IDK why but USDM car always come with less option being sold over sea market.
New front axles for my 2006 RL (95700 miles). Fixes an unpleasant wobbling under acceleration. Fingers crossed that there's nothing new on the horizon repair-wise.
New front axles for my 2006 RL (95700 miles). Fixes an unpleasant wobbling under acceleration. Fingers crossed that there's nothing new on the horizon repair-wise.
did you go with OEM or aftermarket? if aftermarket then what brand?

 11-14-2017 | 03:53 PM