When you click on links to various merchants on this site and make a purchase, this can result in this site earning a commission. Affiliate programs and affiliations include, but are not limited to, the eBay Partner Network.
as well that helped me visualize what I'll be doing before actually doing. The steps were very simple as well, in case anyone is on the fence about doing this.
Make sure headlight is clean and tape off paint.
Spray on the surface activator and let sit, it apparently removes the old clear coat and junk.
Clean with water and start wet sanding with 400 grit until white and hazy.
Keep cleaning with water throughout and repeat wet sanding with 1000 grit and 2000 grit sandpaper.
Clean with water again and rub the clarifying compound onto the headlight while wet as if you're waxing a car.
Clean with water and then spray the surface activator thing again and let it sit.
Remove tape, water it down good, and dry very very good.
Finish by applying the new clear coat sealant on in continuous strokes. Overlapping is fine if done quickly, but after a minute DO NOT TRY TO ADD A SECOND COAT OF SEALANT. (I didn't listen to instructions and now part of the light has dried streaks)
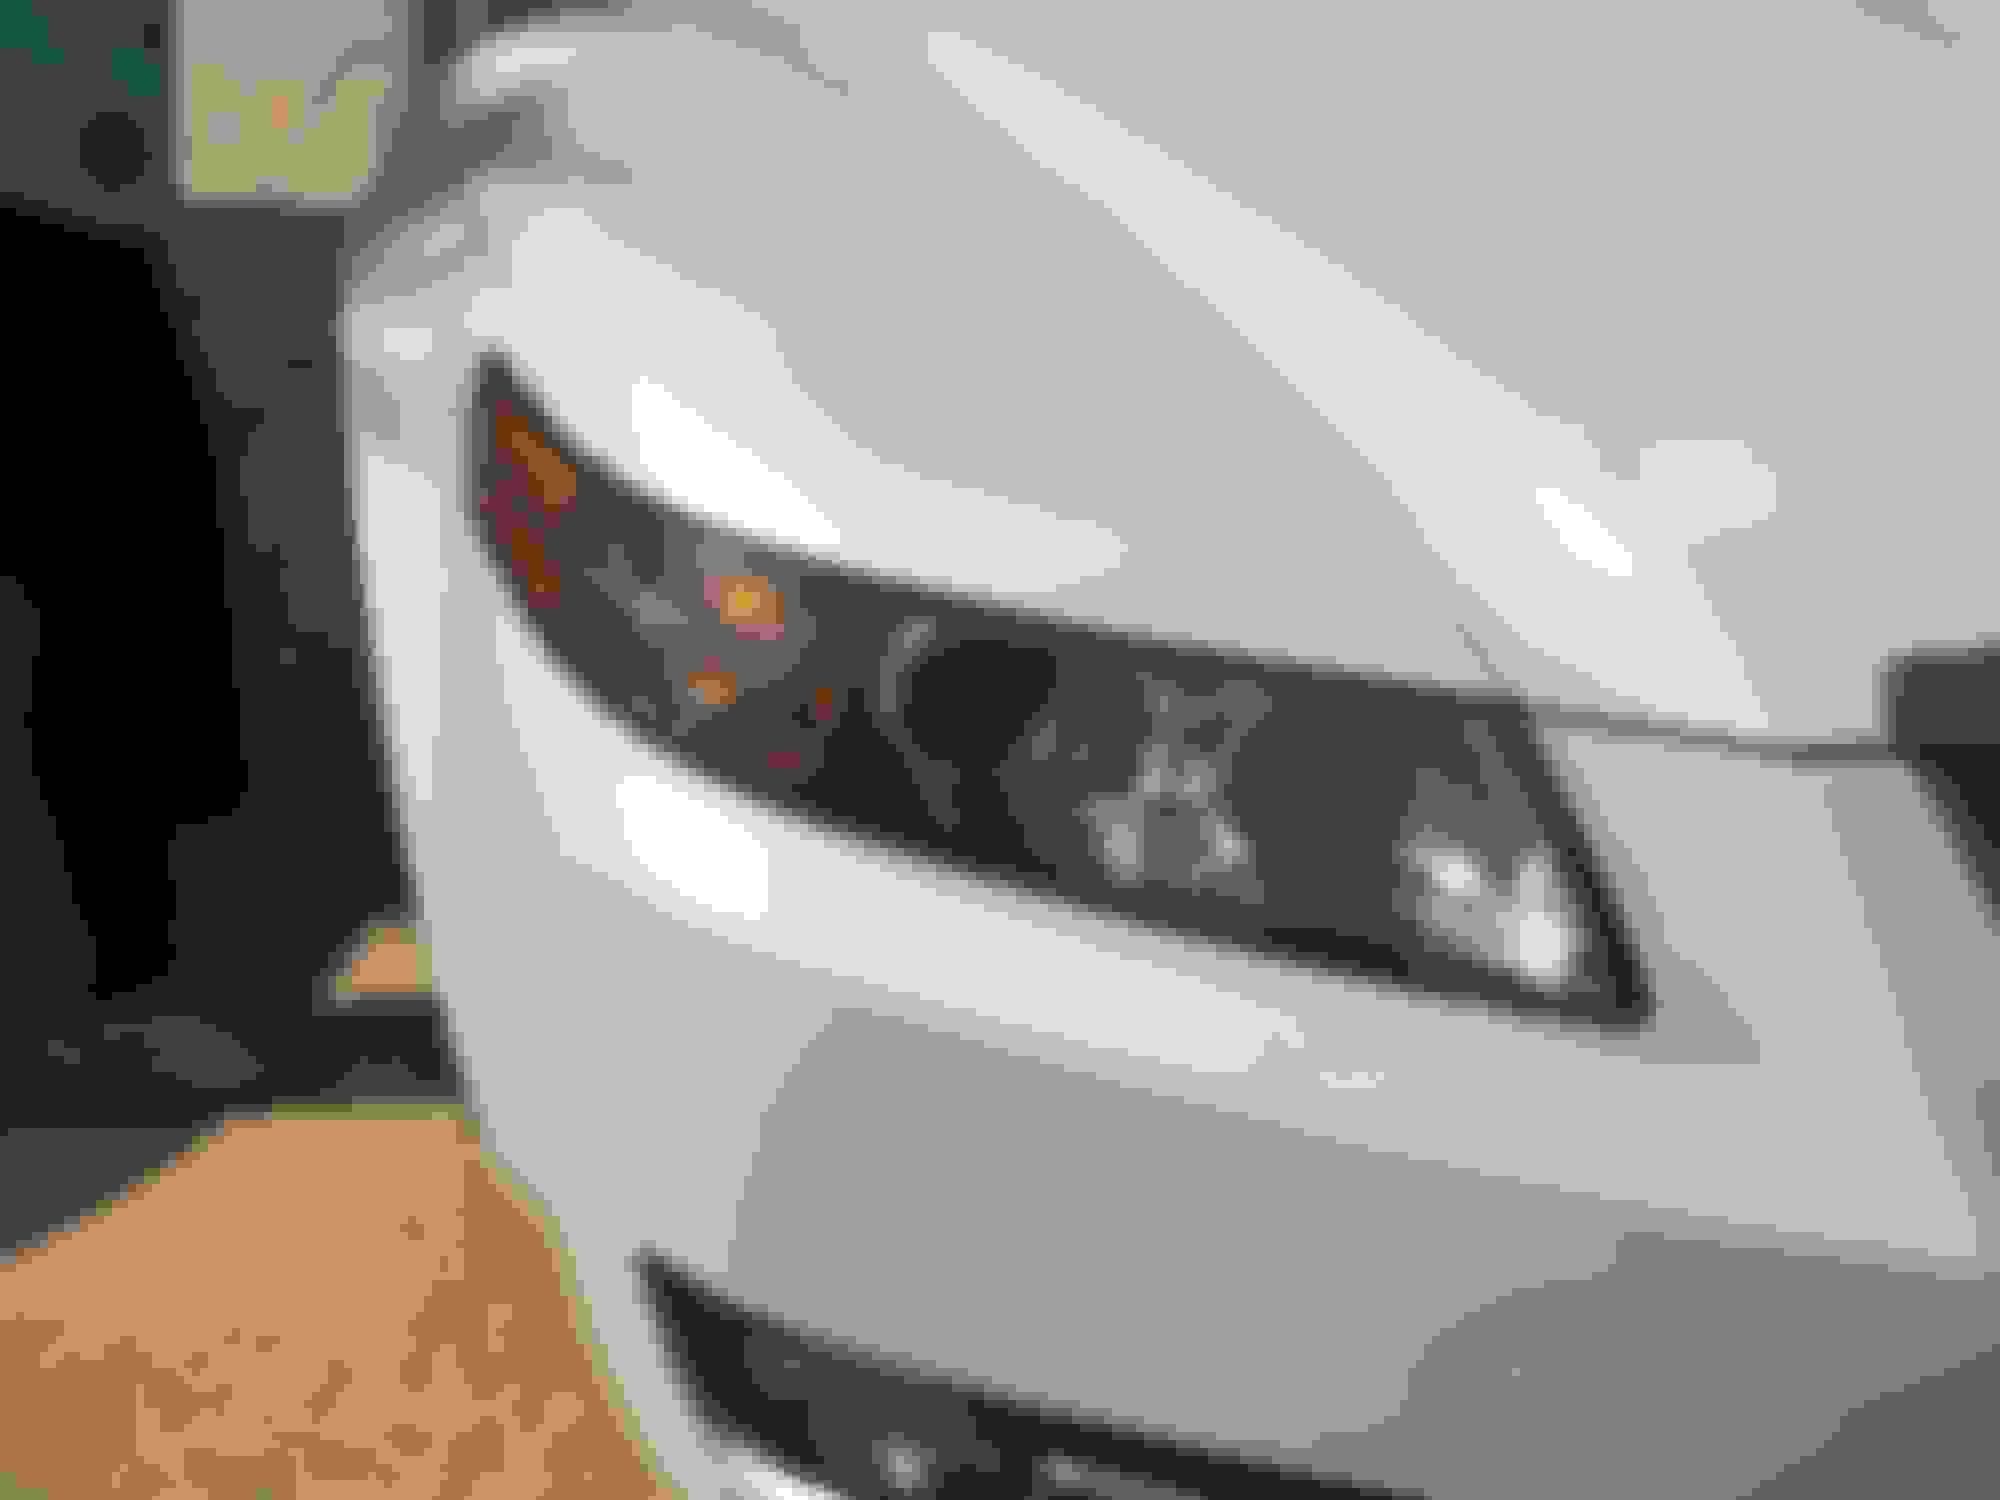
DONE! and it was only $20. Will try to get up close pics later on after I let the lights dry about 6 hours. Kit says 1 hour should be dry but recommends 4-6 for best results.
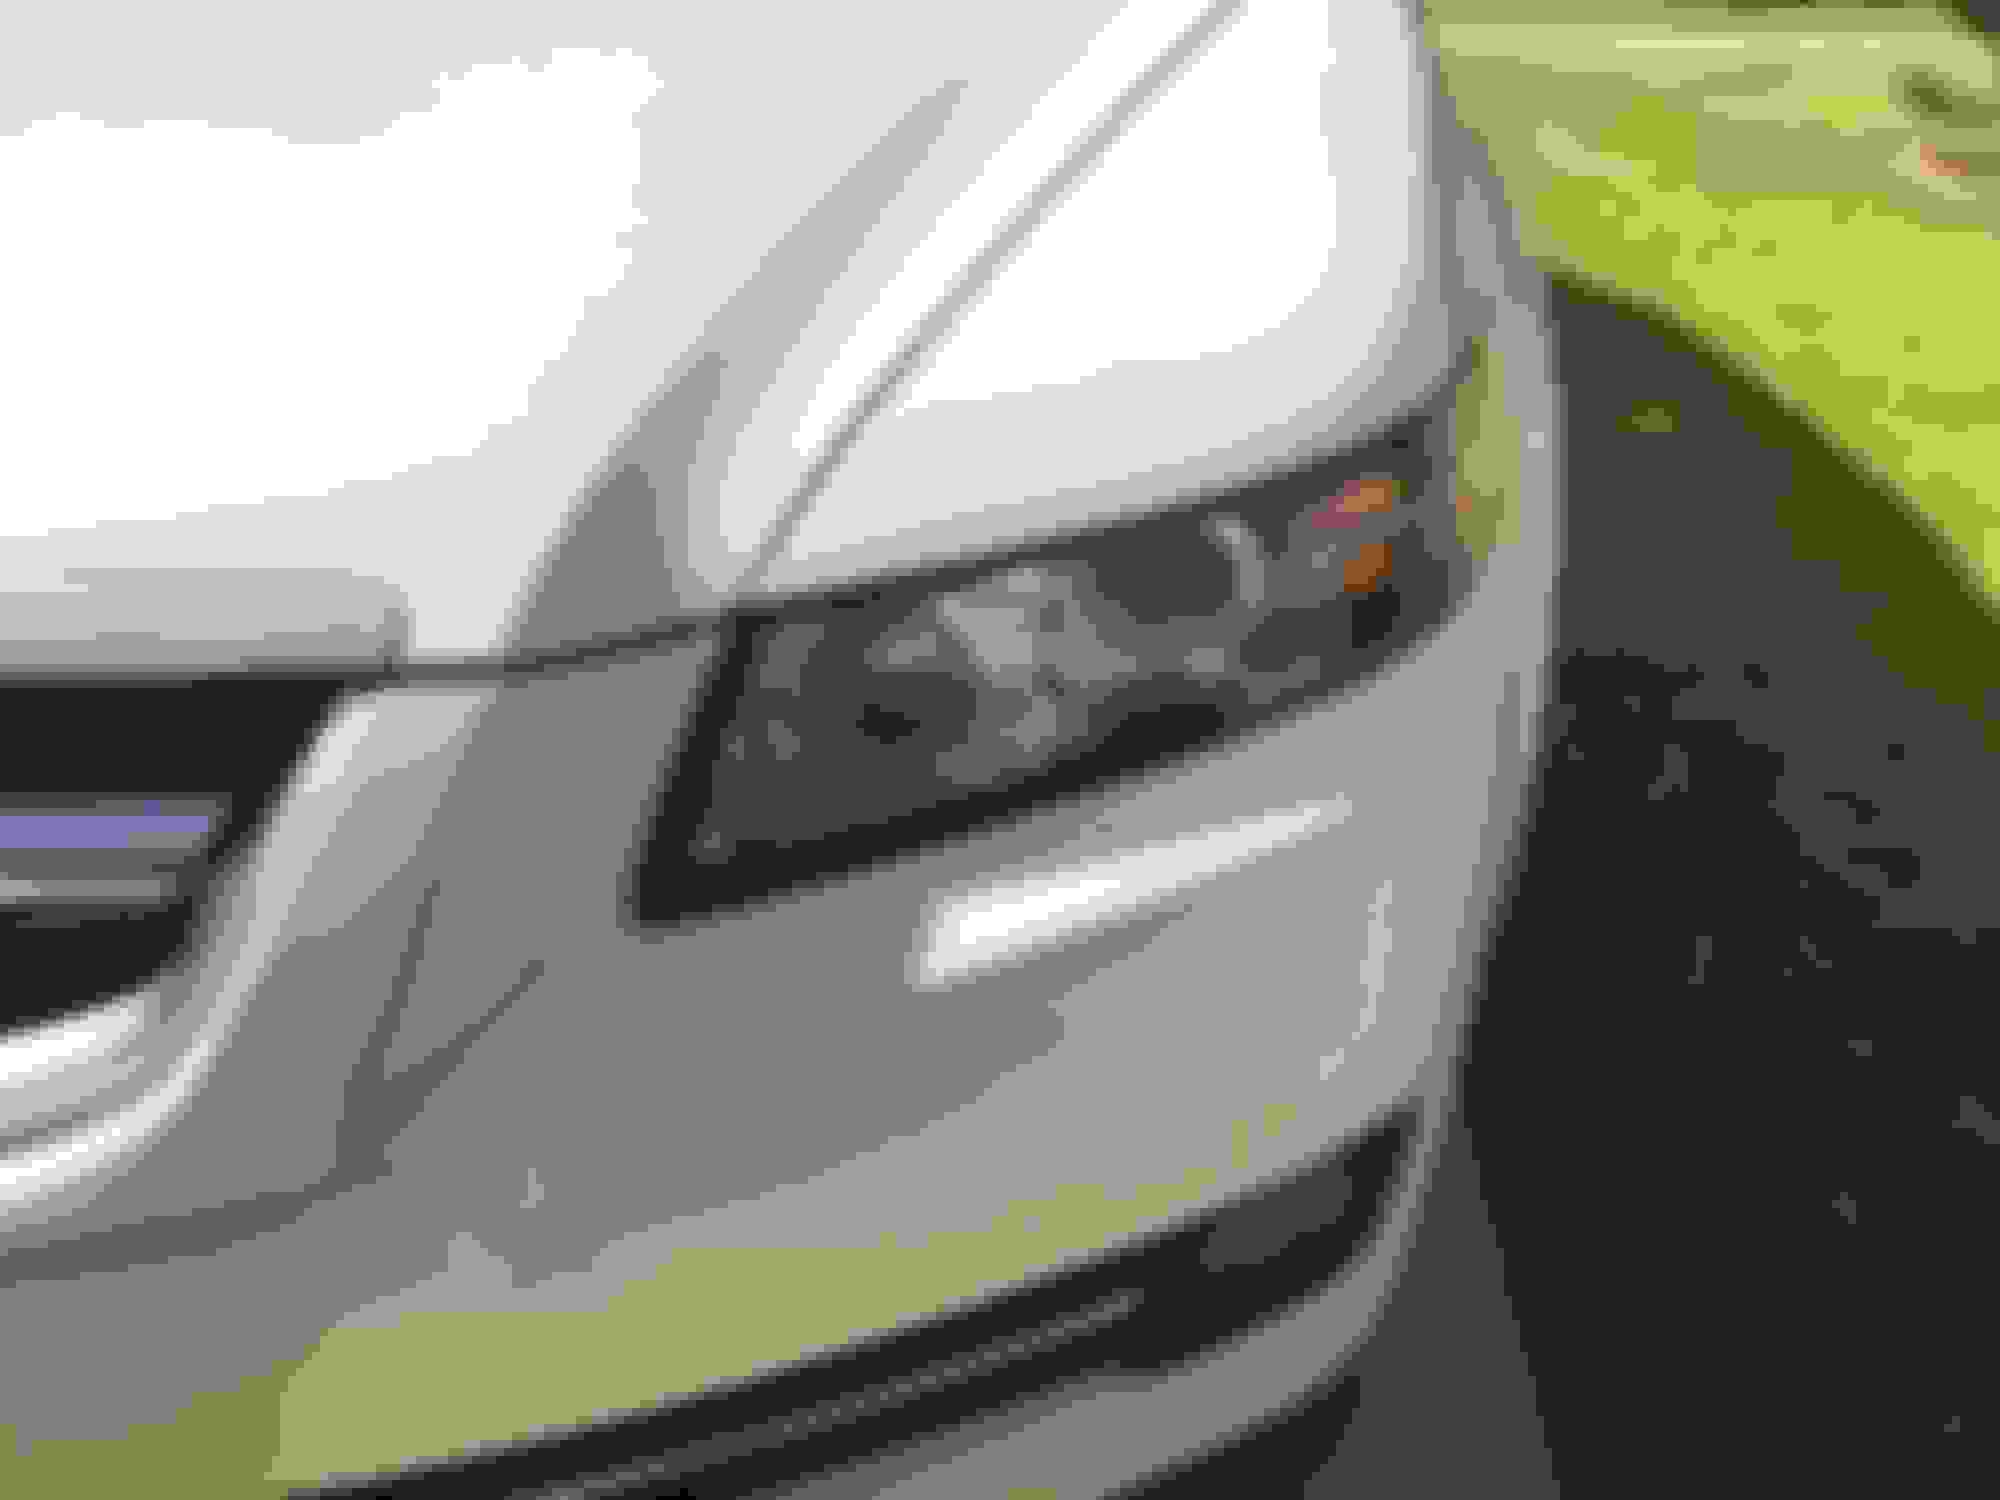
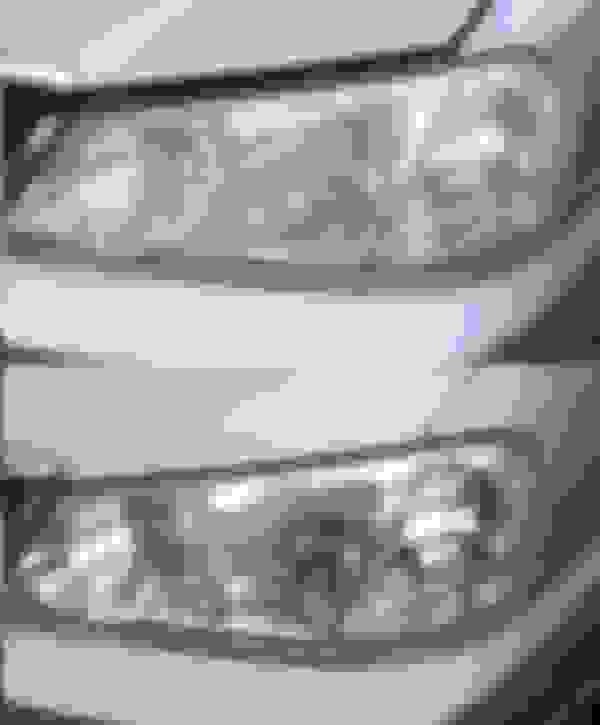
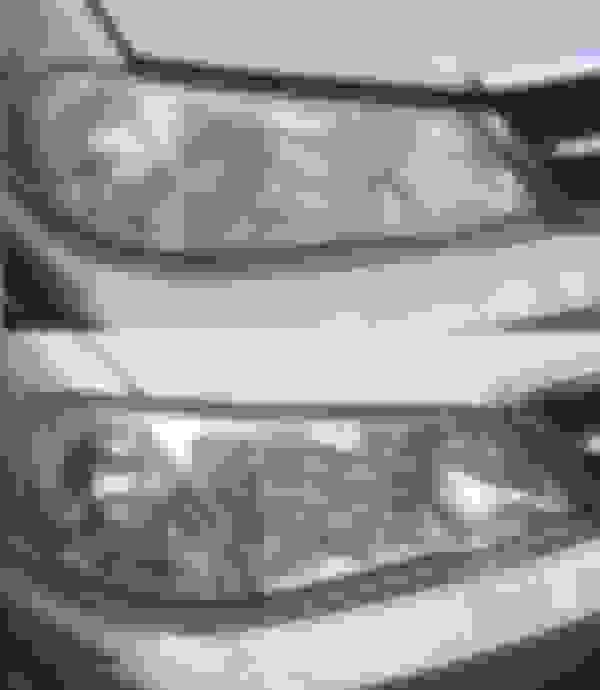
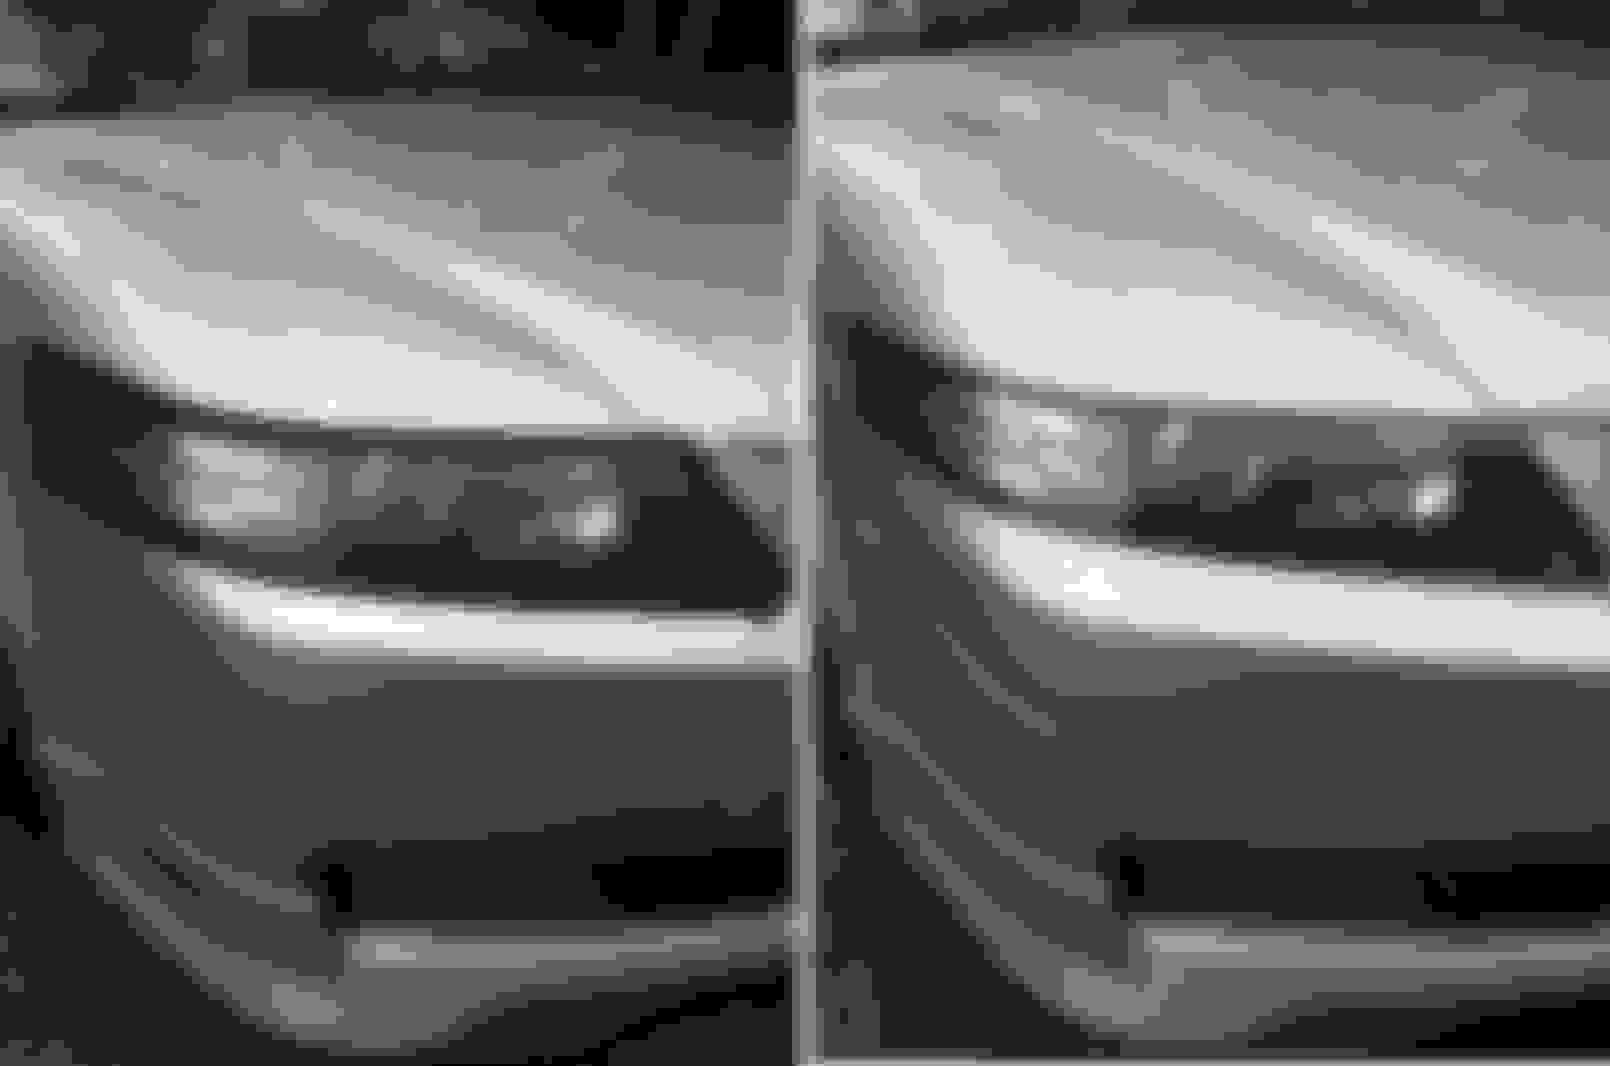
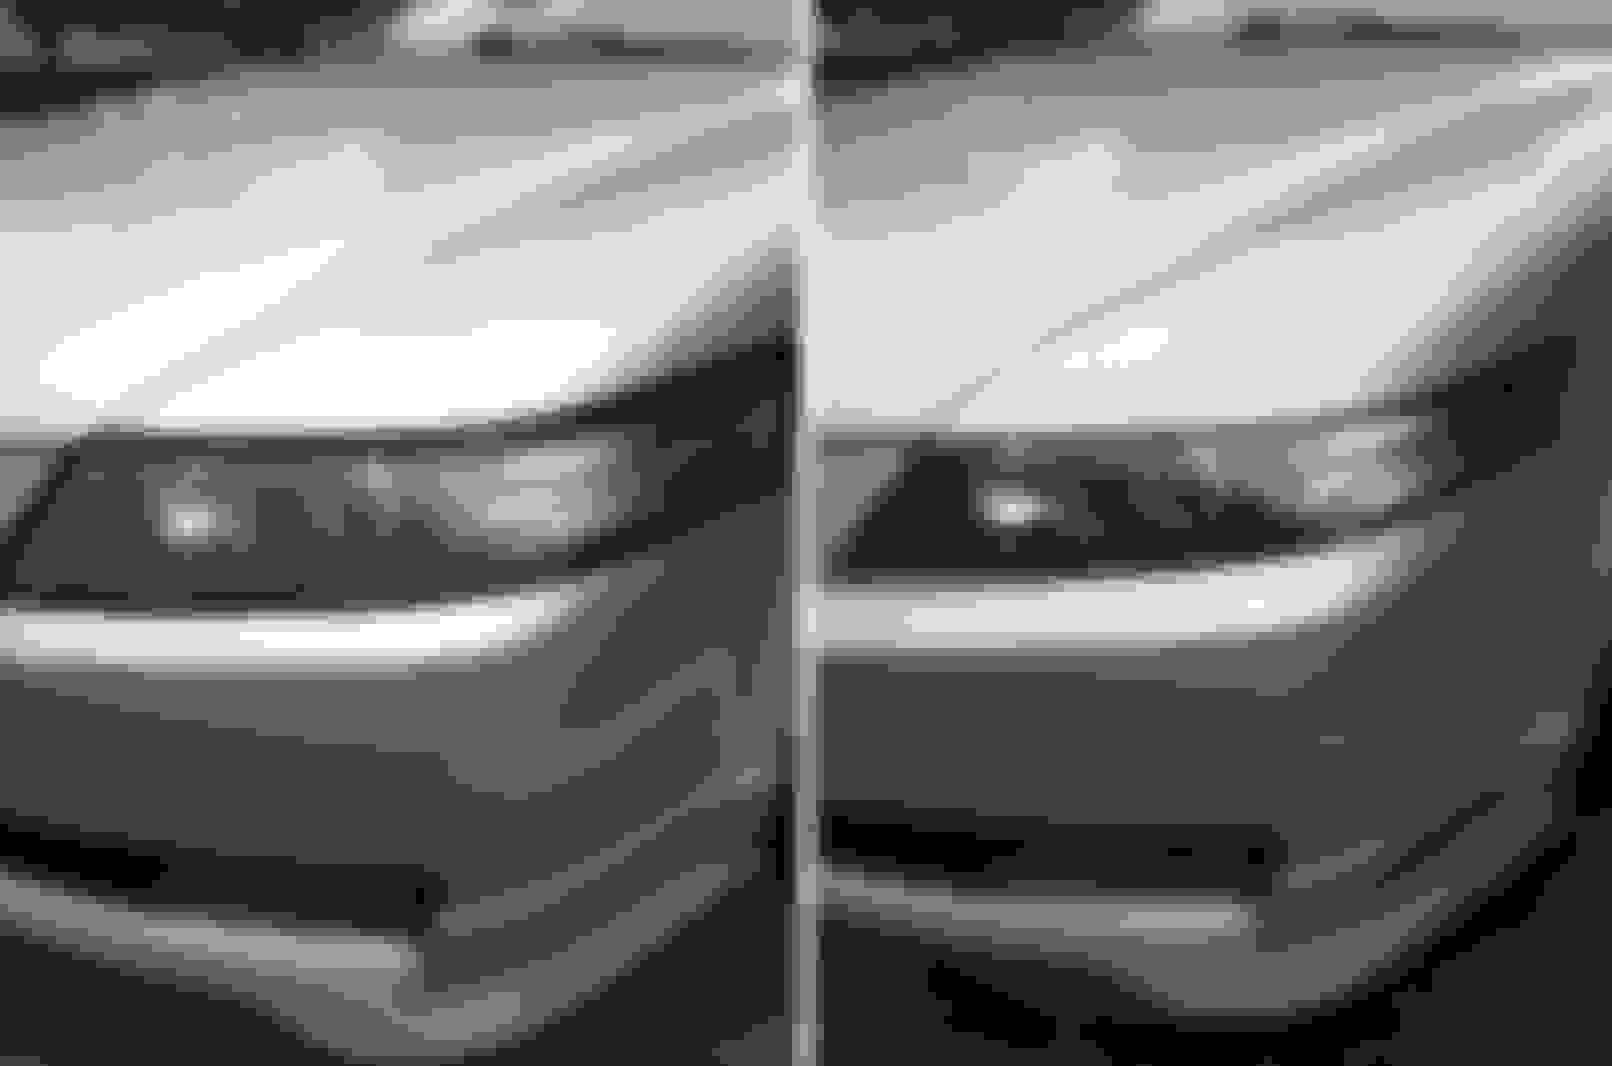
Pictures below are before and after. Before pics had the included tape applied to paint already and is what they looked like PRE-SANDED. Before pics don't show how milky/hazy the lights get while you're sanding. I had gloves on and phone screen wouldn't work so didn't include those pics. Hopefully this lasts at least a year.
Excellent results. Please update this thread in 6 months and a year for us to see how well it's holding up. One of the main reasons I am putting off doing this is learning that it may haze up faster after removing factory clear coat. This kit seems to come with the necessary clear coat however.
any one can do polishing, its what you use to protect it from going yellow again. I seal the headlight with Opti coat and see how it held up in the TX sun.
Excellent results. Please update this thread in 6 months and a year for us to see how well it's holding up. One of the main reasons I am putting off doing this is learning that it may haze up faster after removing factory clear coat. This kit seems to come with the necessary clear coat however.
Same, i have the 3m kit but have not gotten around to it for that reason (clear-coat and re-fading after X amount of time). I also recently purchased the sylvania clear coat that comes with the kit separately on amazon to try out since i've heard good things about that coat...
Originally Posted by truonghthe
any one can do polishing, its what you use to protect it from going yellow again. I seal the headlight with Opti coat and see how it held up in the TX sun.
How long have you had it on? Held up fine so far? If it works in TX sun then may be worth while purchase depending on how long it lasts..
Same, i have the 3m kit but have not gotten around to it for that reason (clear-coat and re-fading after X amount of time). I also recently purchased the sylvania clear coat that comes with the kit separately on amazon to try out since i've heard good things about that coat...
How long have you had it on? Held up fine so far? If it works in TX sun then may be worth while purchase depending on how long it lasts..
I will take a pics tomorrow from the white TL that I restore from March 2017. They actually did a great job.
Excellent results. Please update this thread in 6 months and a year for us to see how well it's holding up. One of the main reasons I am putting off doing this is learning that it may haze up faster after removing factory clear coat. This kit seems to come with the necessary clear coat however.
Will definitely update in a few months, hopefully with good results. Though because of the 1 hour process and the $20 price tag, I honestly wouldn't mind doing this again if in 6 months it starts fading.
Unfortunately, now that lights are nice and clear again...I can see all the dust built up inside I didn't completely clean when I baked them last year It really bothers me that the projectors are dusty and I can't wipe them AHHH
Restored mine with a Meguiar's kit with similar results. Haze came back in 12-15 months, even with sealants and care. Restored again with a 3M kit, similarly clear results and put clear vinyl on them (similar film to phone screen protectors) and it's lasted close to three years now with little or no change in clarity. I recommend doing a UV-protecting clear vinyl film... inexpensive in a bulk roll (so it's cheap to cut a new piece if you mess up. The pre-cut ones are easier to work with, but just hope you get it right the first time.
Restored mine with a Meguiar's kit with similar results. Haze came back in 12-15 months, even with sealants and care. Restored again with a 3M kit, similarly clear results and put clear vinyl on them (similar film to phone screen protectors) and it's lasted close to three years now with little or no change in clarity. I recommend doing a UV-protecting clear vinyl film... inexpensive in a bulk roll (so it's cheap to cut a new piece if you mess up. The pre-cut ones are easier to work with, but just hope you get it right the first time.
Just MO... YMMV
disconcerting to hear that in 12 months I'll possibly have hazing on these but at $20/kit and less than an hour labor, I really don't mind doing again.
The thing with the vinyl films is I wonder how it'll look. I have the 3M clear protective on hood, fenders, and bumper and REALLY don't like the way it looks.
I had some of the materials in the kit left over so decided to clean up my 2G TL. I'm actually surprised it came out decent since the left over sandpaper was practically worn and I had pretty much zero of the kit fluids left.
Thank you for all of the info. I may have to pick up this kit from Advance Auto today. It's $19.99 over there and they have a 35% coupon right now. Coupon: WDE367
I hope you guy know that any 1500-3000 grid sand paper will work right? just make sure the surface wet all the time during sanding process and for polishing I used M105 to get the gloss finish. Then wipe the entire lens down with 90% IPA and apply protect coating of your choice =).
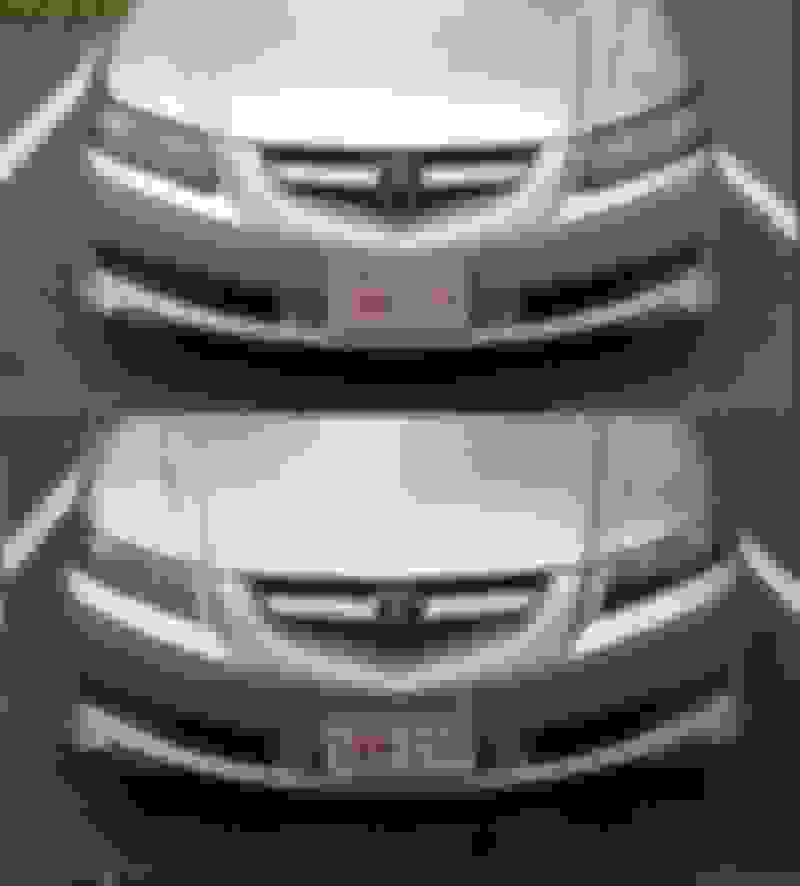
Here is what mine looks like after being polished.
I hope you guy know that any 1500-3000 grid sand paper will work right? just make sure the surface wet all the time during sanding process and for polishing I used M105 to get the gloss finish. Then wipe the entire lens down with 90% IPA and apply protect coating of your choice =).
Here is what mine looks like after being polished.
wet sand
then mix mineral spirits with Helmsman Gloss Spar Urethane clear to thin it out in a small cup and wipe it on your headlights.
been doing this since the late 90s and never had a problem. you will have alot left over for other cars.
Next time around I will switch and try opti-coat. Like guitarplayer16 mentioned, I will try the opti-lens version. That's next summer though and I will update the durability of sylvania uv coat.
If you living on mid to northern states chance headlight going yellow about 5 years. I had tried polish and not apply sealant and the headlight got yellow about 5 months later.
I ended up finding a bottle of the stuff that comes in the Meguires kit... Headlight protectant. Headlights look so much better.... Not perfect but night and day difference.... It is more a light output thing than a vanity thing for me so good enough.
btw, I used 320 1000 and 3000 grit paper to wet sand first... Lastly wax.
You want to First Tape up the area around the headlight. Then you want to have three different grades of sandpaper first 1500 Second 2500 and last 3,500. Use them in that order from most abrasive to least abrasive this will remove the factory UV protectant which deteriorates and causes the yellow fogginess. Afterwards you want to get a medium compound polish and polish to a clear scratch free shine and for better results finish with one lighter polish or compound. Then apply wax every 3 months for protection and you should be good
Same principle as sanding the headlights, with the exception of scratches. Polish them afterwards.
The problem with your suggestion is not sealing and protecting them from the elements again. That's why your procedure will quicken the yellowing process the second time around.
You've sanded or rubbed off all the clear coat and left bare plastic which is even more vulnerable to UV
The problem with your suggestion is not sealing and protecting them from the elements again. That's why your procedure will quicken the yellowing process the second time around.
You've sanded or rubbed off all the clear coat and left bare plastic which is even more vulnerable to UV
There is a thin plastic film (possibly some sort of clear coat) that protects the headlights. Sanding it down will remove it, it will not be removed with rubbing compound.
Last edited by CenturionTL; 09-08-2017 at 10:27 PM.


 08-18-2017, 10:59 AM


 It really bothers me that the projectors are dusty and I can't wipe them AHHH