When you click on links to various merchants on this site and make a purchase, this can result in this site earning a commission. Affiliate programs and affiliations include, but are not limited to, the eBay Partner Network.
I have been asked about this process at least half a dozen times, and although I do not have this car any longer I still want to help out my ex-Acura brethren!
Warning�.!!! This will take a couple hours of work, so set some time aside. I did this entirely by myself and can be done with one person, but the more the merrier and should be quicker with more hands helping out.
Ok, I will firstly apologize if I forget something as I did this a couple years ago and like my rear taillight conversion I did not take many pictures, hence this will not be a step by step walkthrough and will hopefully just help guide you through it.
COSTS = Very low but you should consider the following:
- Clip puller/removal tool ($10 or less from an automotive store), looks like a flat 2 prong fork. This will help you not destroy your stock clips that can be expensive to replace and there are a lot of them.
- Epoxy (if you want to be compliant and keep the front inner orange reflector (in Canada and the USA you need this in the front of your vehicle)
- Headlight Resealing Butyl (I purchased some afterwards thinking I may need to redo it but actually did not need it) it is a good idea to have some as there is some work to remove the bumper and you will not want to have to redo it if you have some moisture in your headlight assembly.
TOOLS: Small flat head screw driver or preferably a Clip puller; 10mm socket set; long extension for your socket set; Philips screwdriver small and regular; knife or prying tool.
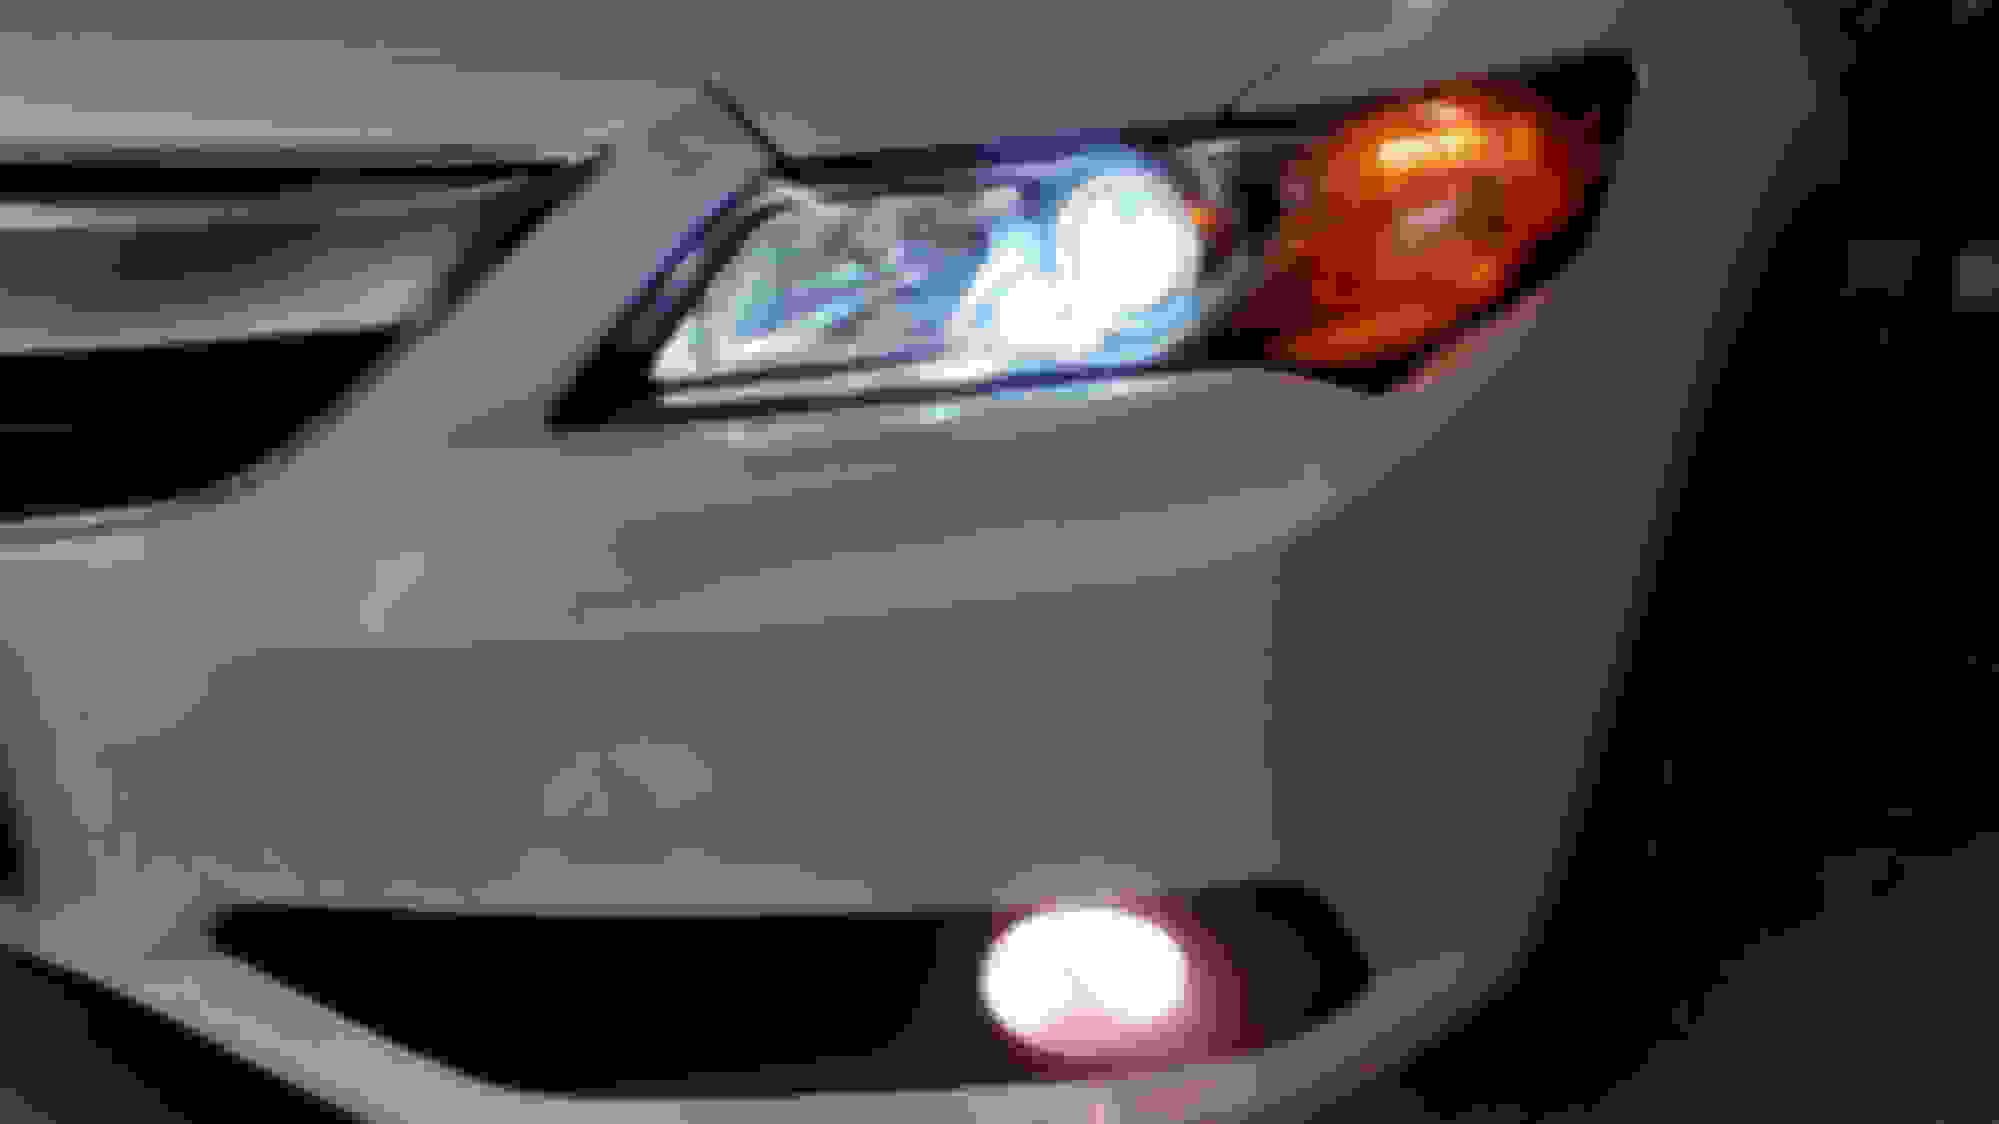
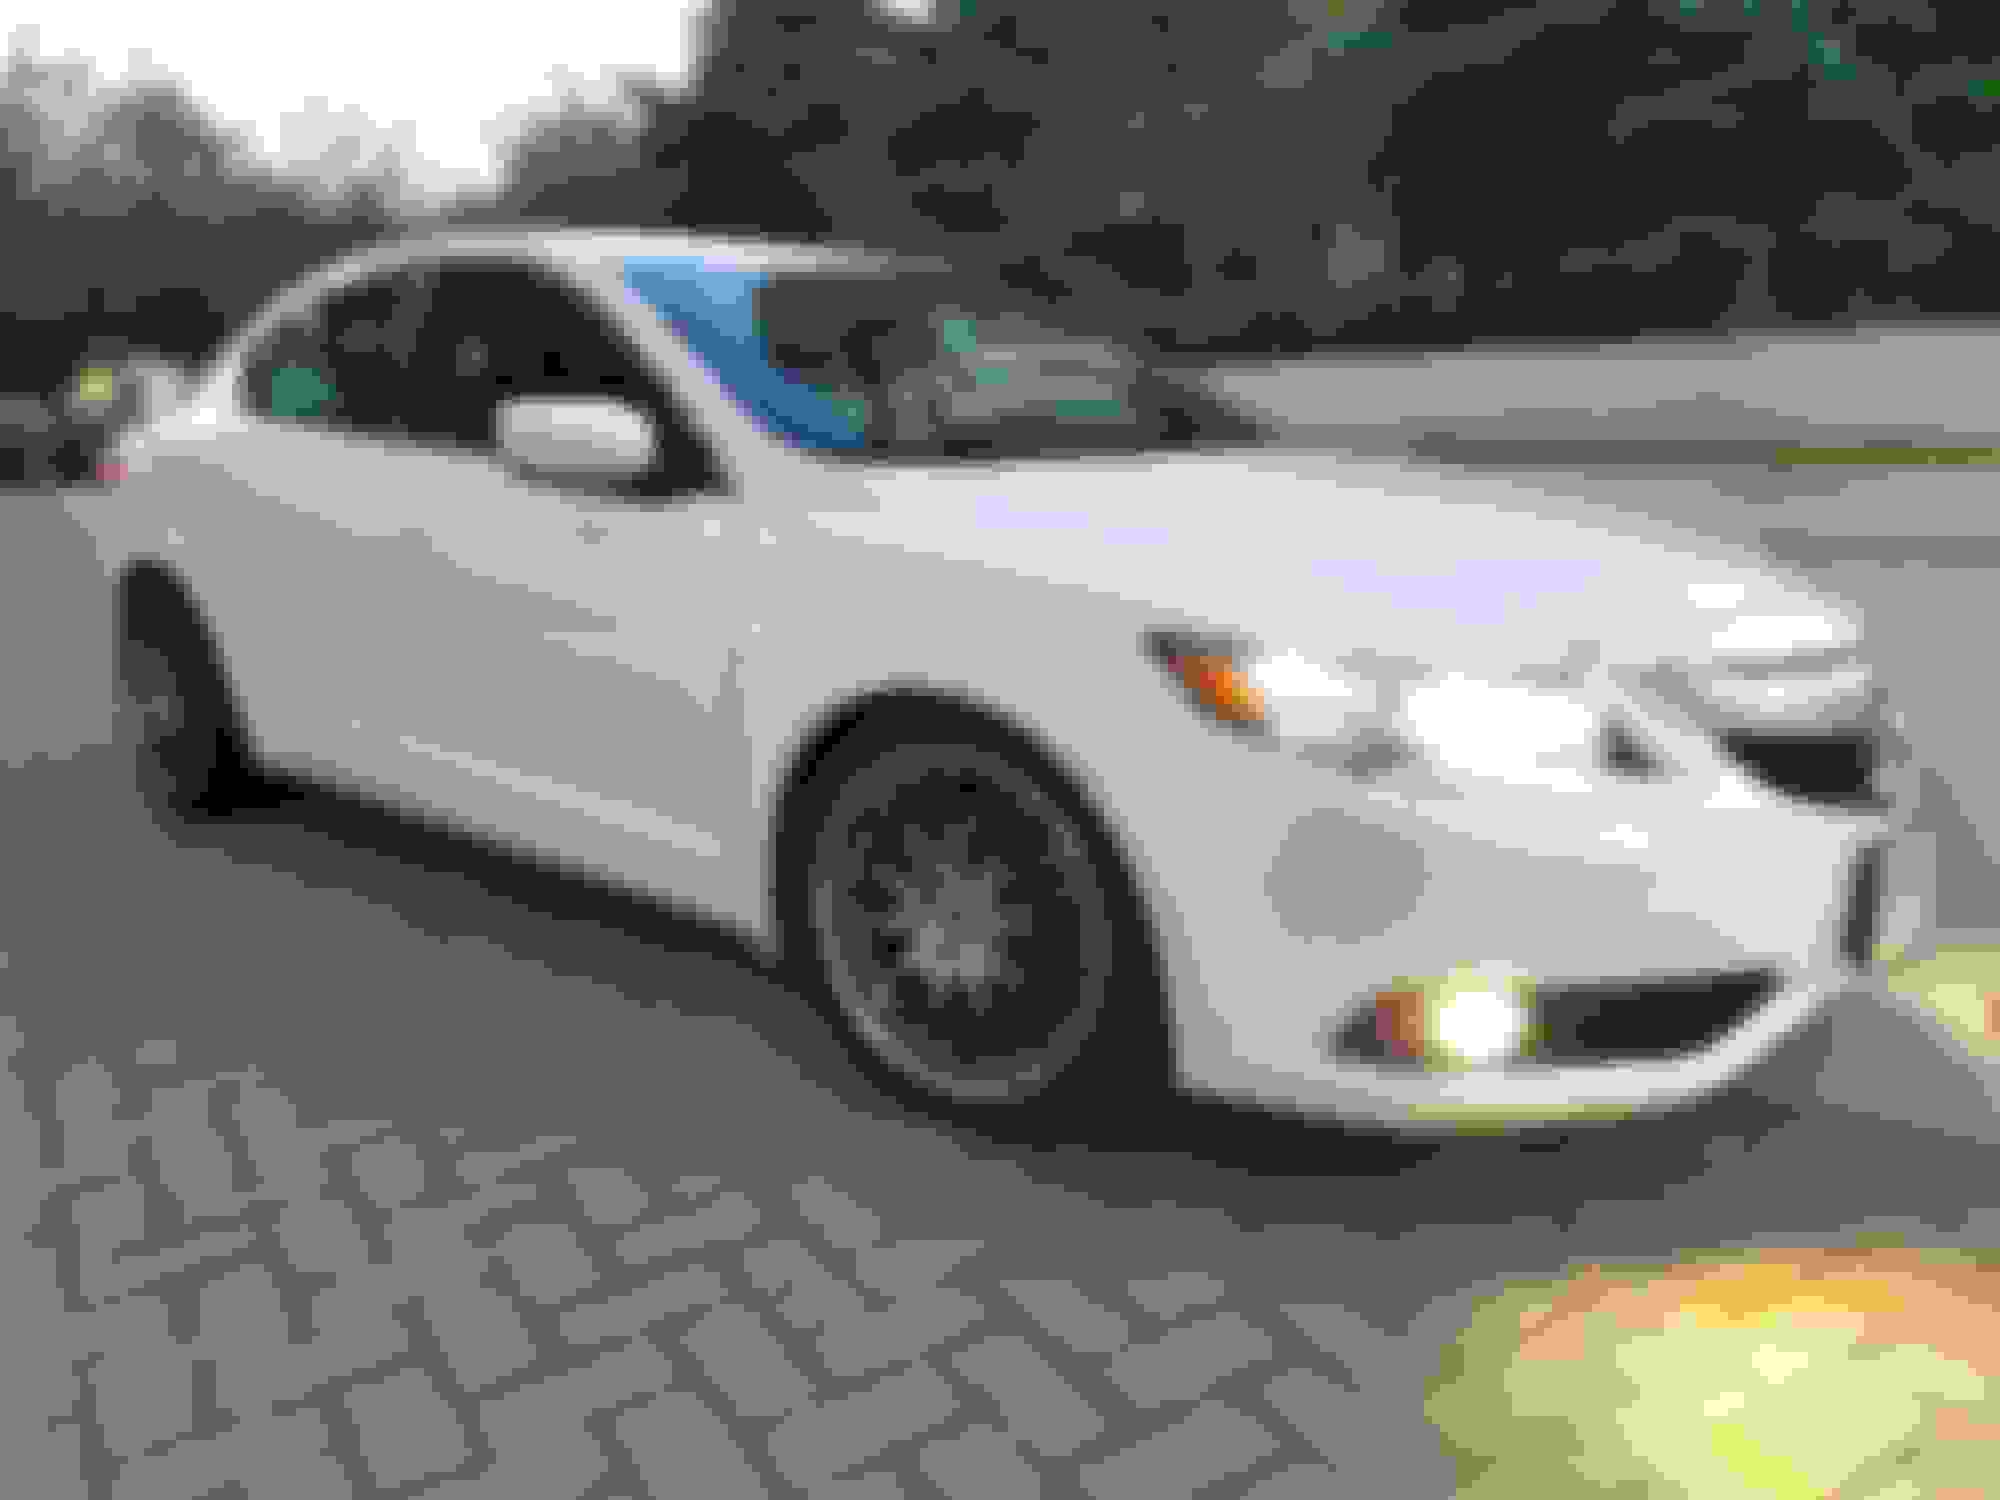
HOW TO GET FROM THIS:
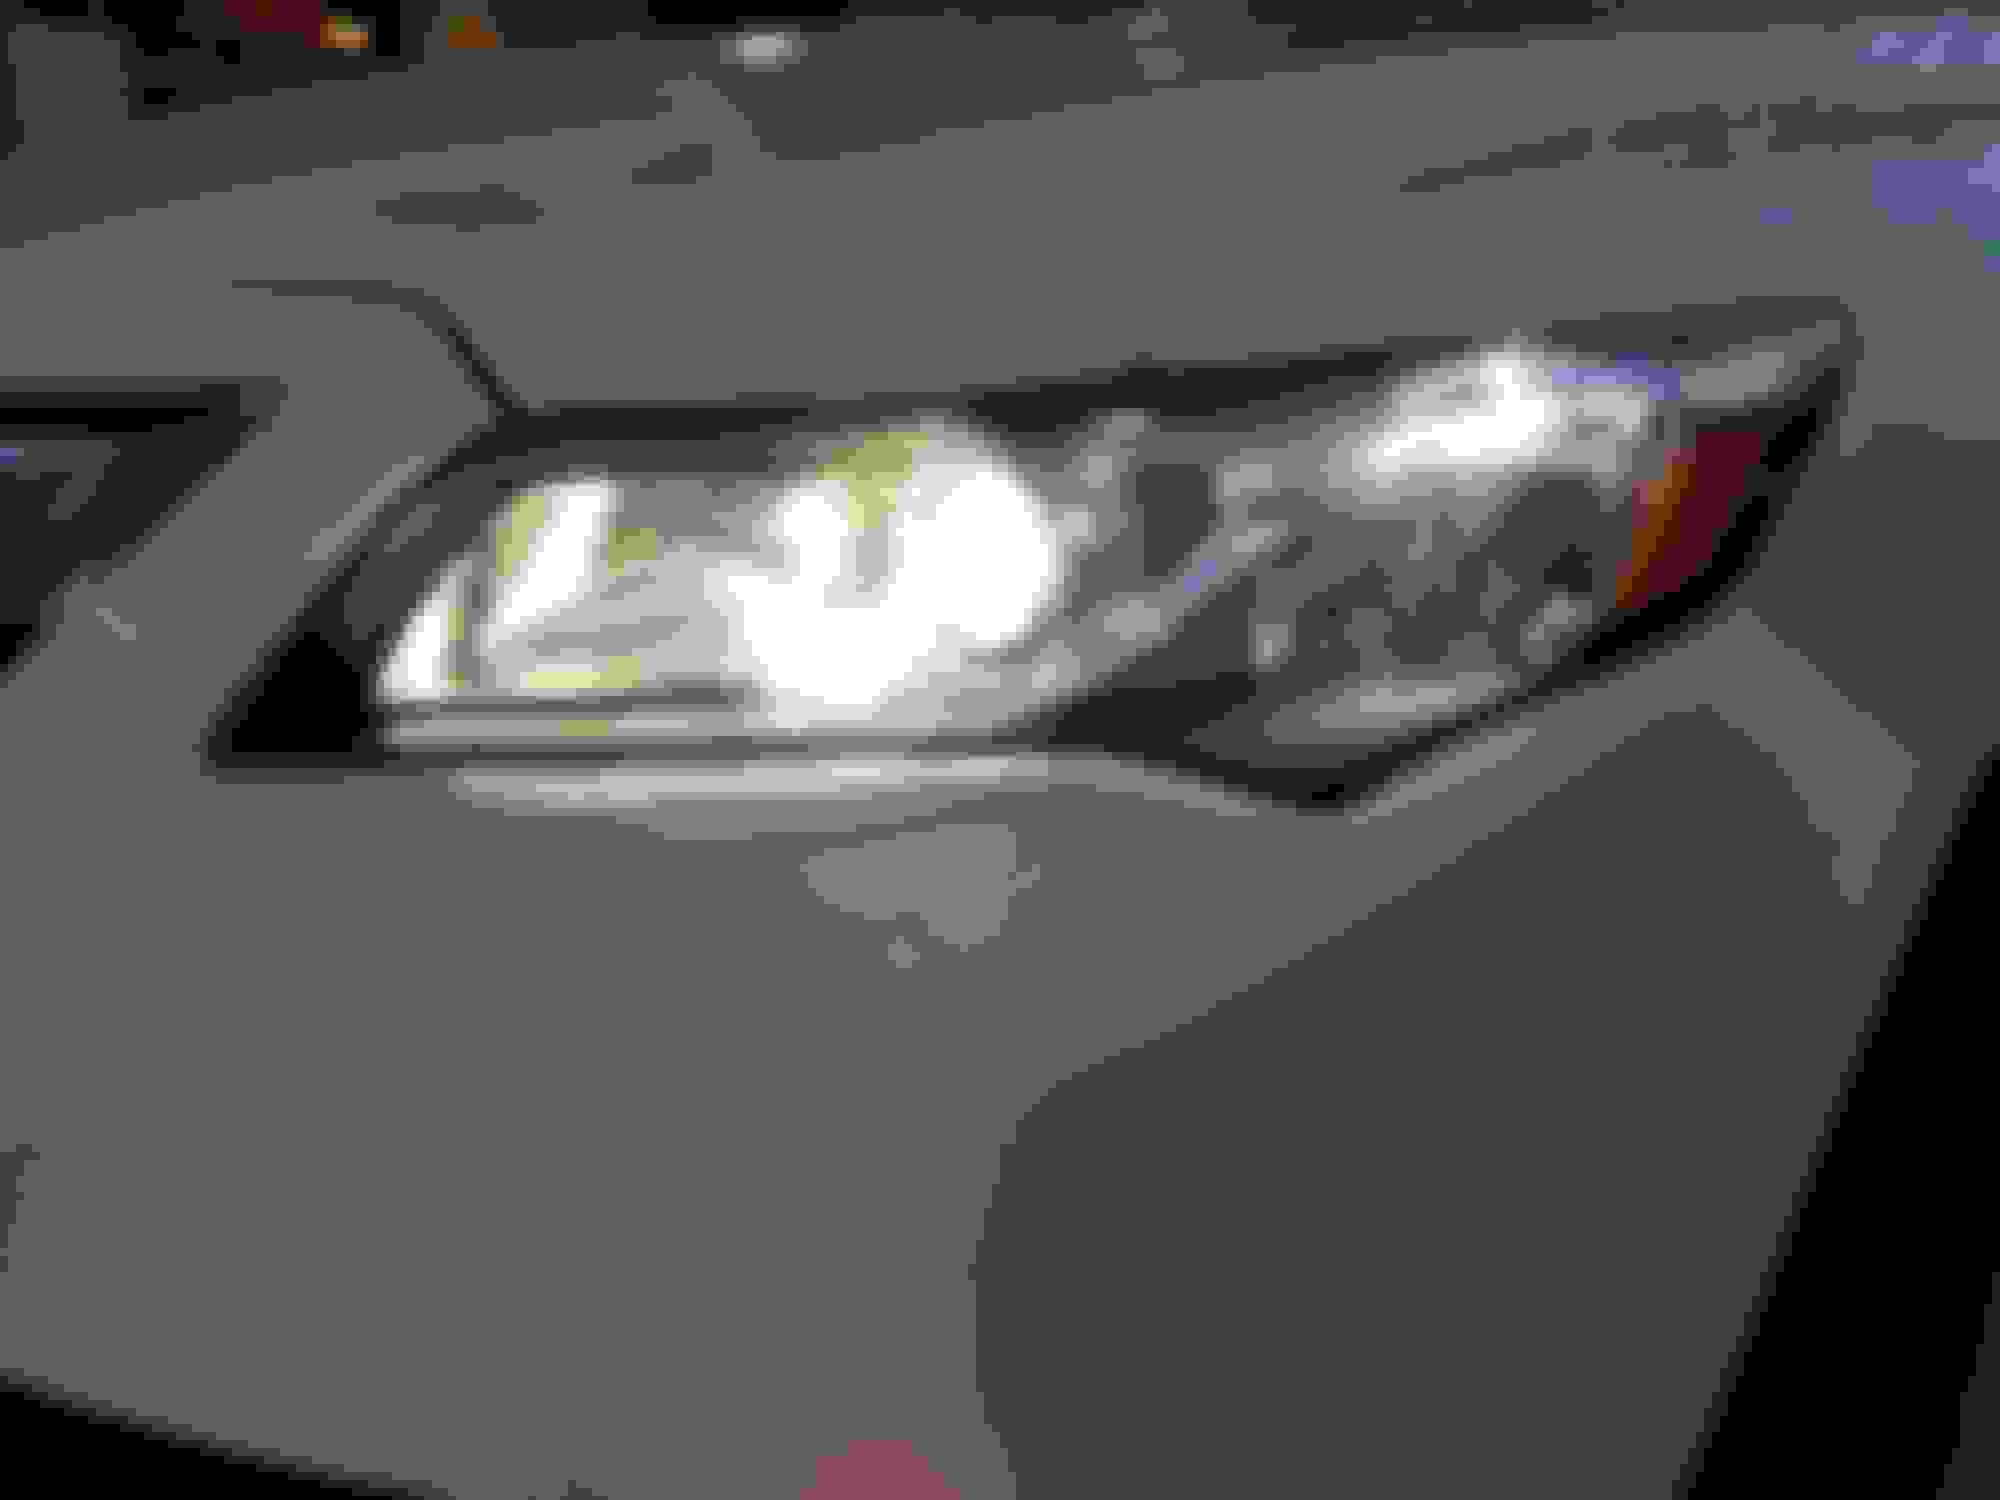
TO THIS:
Here goes nuthn��
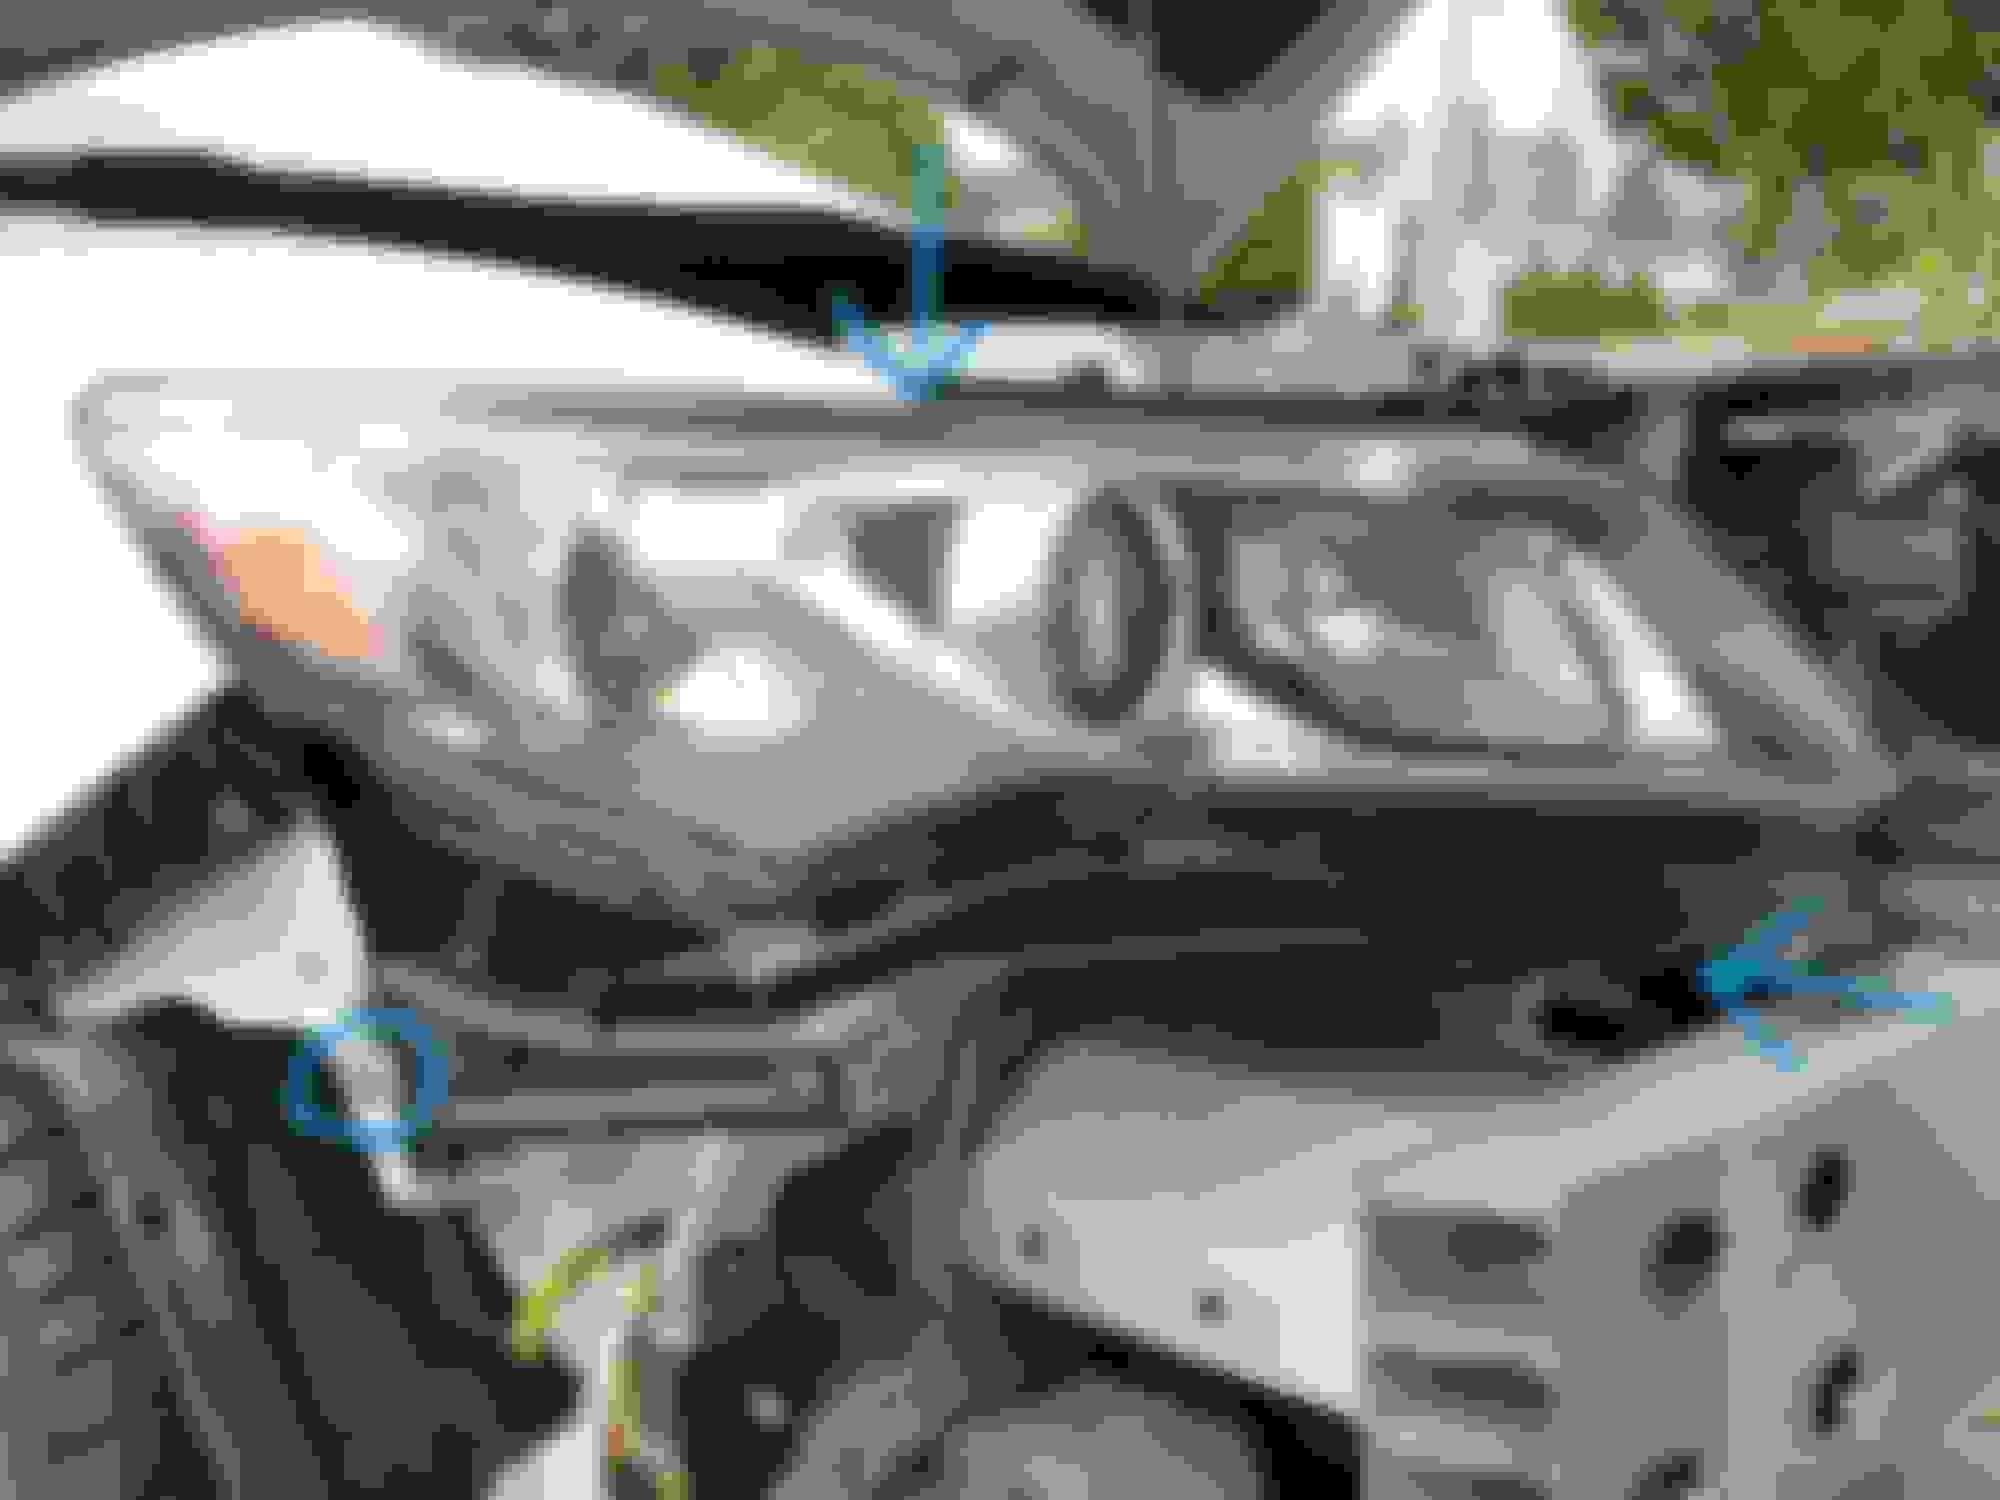
Pop open your hood and remove the black plastic cover along the front of the vehicle. To do this you need to remove the clips and there are 2 different types of clips. There is ones that you push in the middle/centre which pop in and then you pull the clip out, and there are the ones that you use either a flat head screw driver and �very carefully� lift from the inner lip to pull the inner clip up and then use the clip removal tool to pull the clip out by sliding the tool straight in and lift out once you have pulled the clip out to make room for the tool. Remember these are plastic clips with some metal components that are older and can be brittle � So please be careful or you will break them!
Remove the 10mm bolts
Next (or first step either can be interchangeable) � Remove the multiple clips underneath the vehicle holding the bumper in place (sorry I do not recall how many clips, and I do not have a picture � But there are approximately 10 or so), there are only really one style of clips here which are the ones you need to pull up and use the clip removal tool. I believe there are also 2, 10mm bolts that need to be removed, one on each side.
Next remove the clips (2 or 3) that are located in each wheel well, there is also a single Philips screw located as indicated below. It�s tight because I lowered the car just over an inch, try turning that wheel, ahh there is space to work!
At this point the bumper should be ready to be removed, unless you have fog lights � Then as you carefully remove the bumper by carefully pulling straight out and away from the front of the vehicle, be sure to unclip the fog lights. Place the bumper aside along with the black Styrofoam.
Removal of the Headlights:
Unclip all of the harnesses from the vehicle
Remove the 10mm bolts (I believe there are 3), one on the side, top, and one is located in the front and below a bracket. This last one is the one you probably need a long extension to reach.
Pull the headlight assembly out.
Remove the metal bracket. There are a couple bolts that hold this in place.
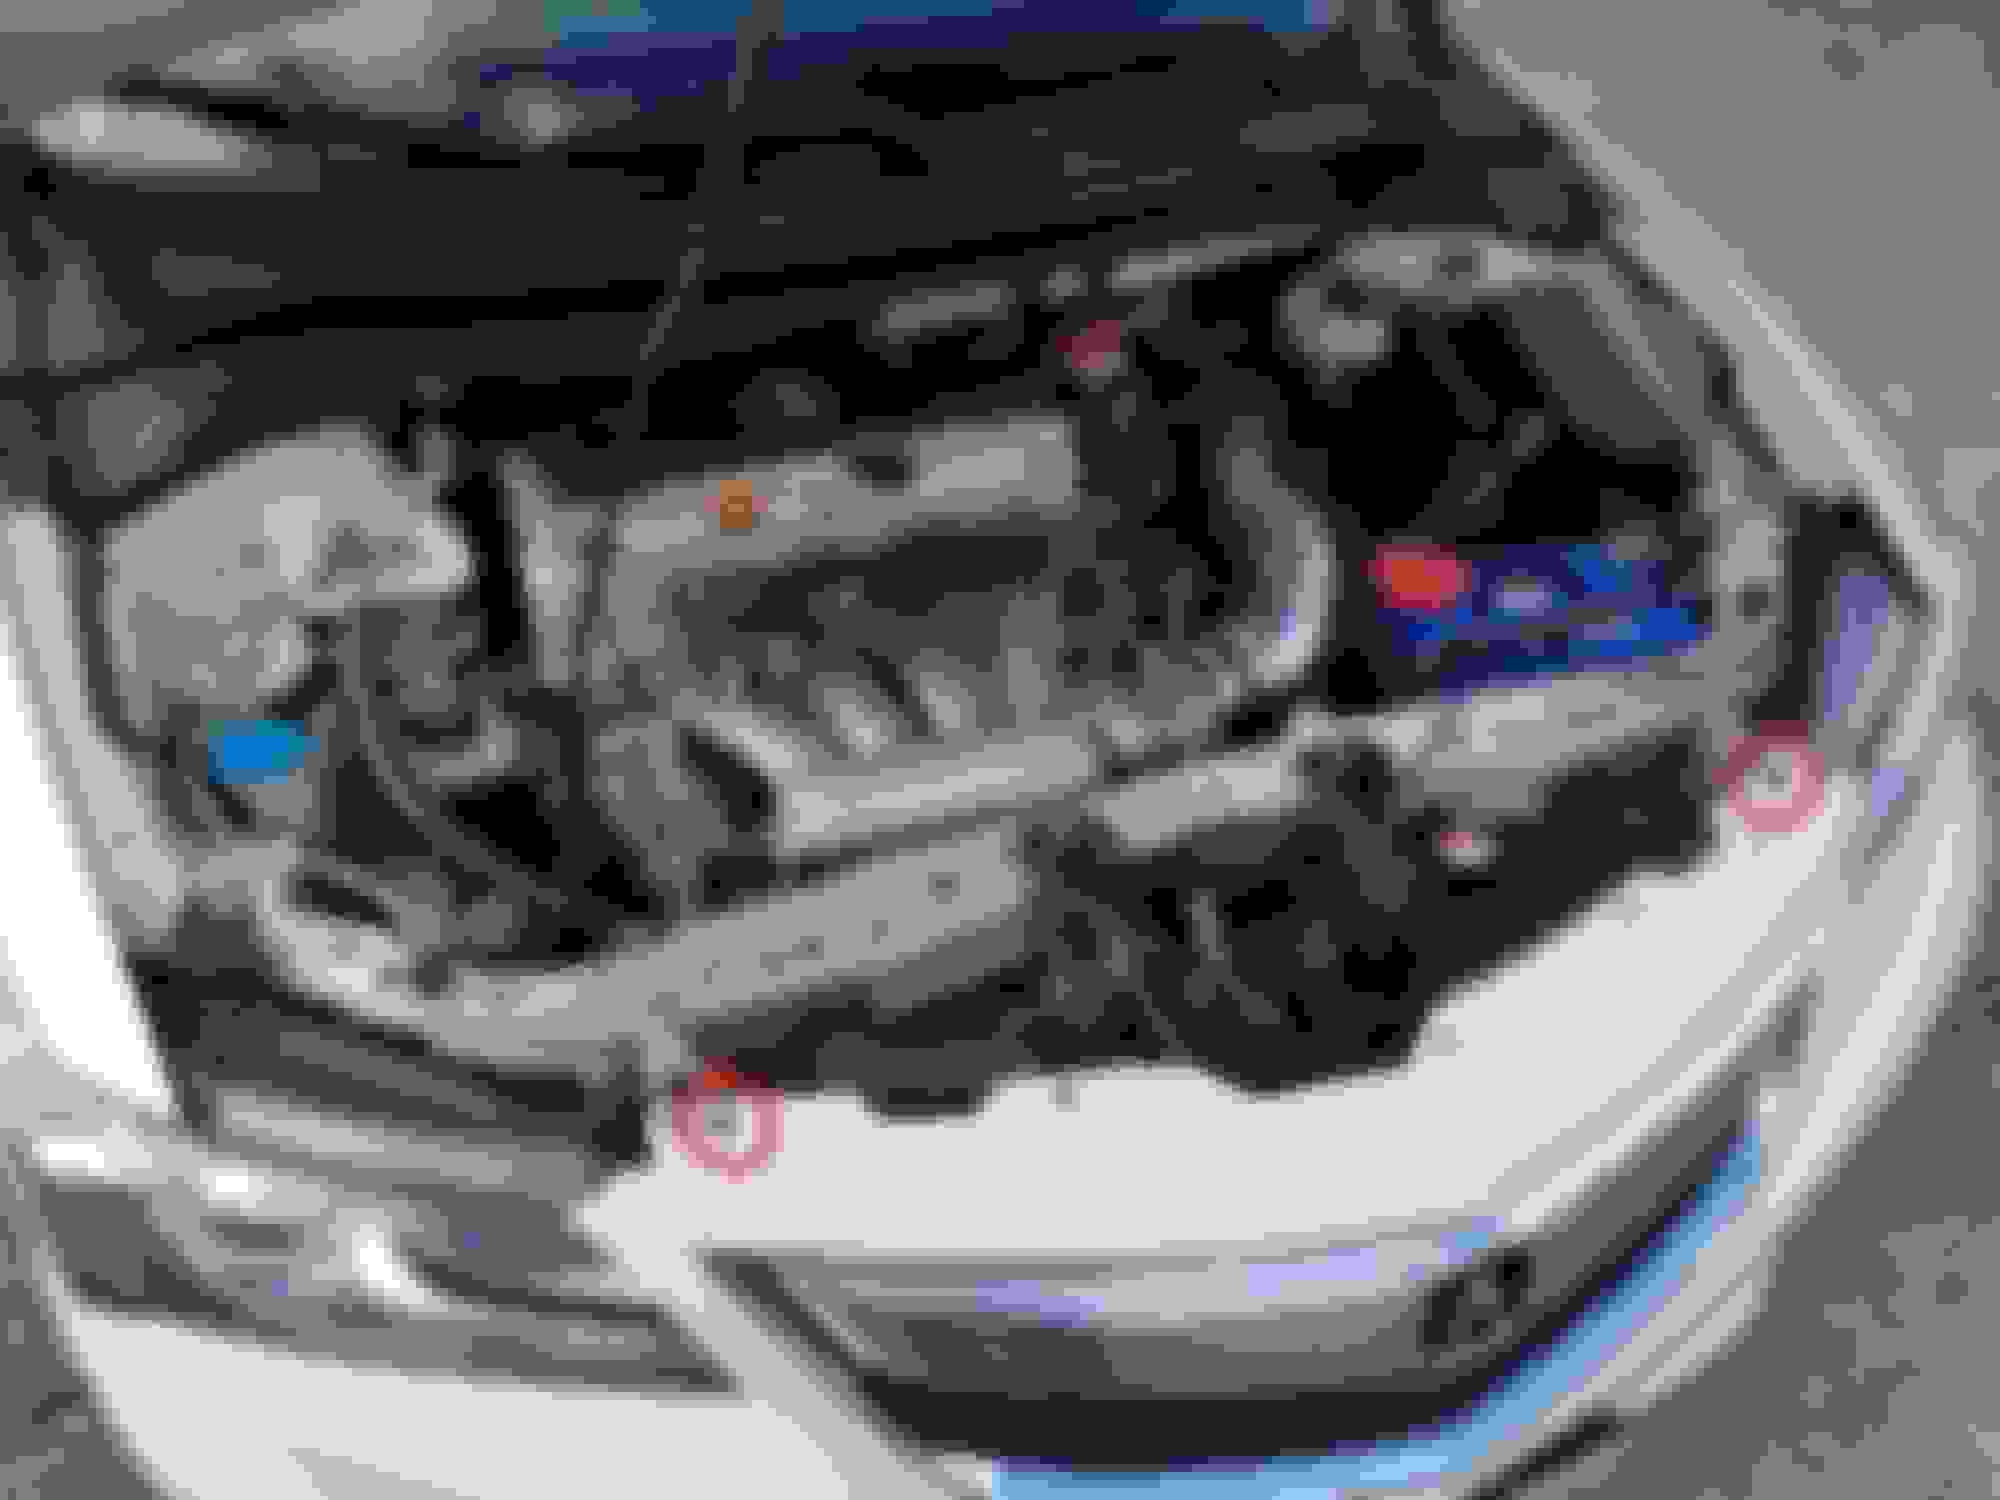
After admiring your headlight assembly�. Remove as much of the metal and plastic pieces (inclusive of the HID ballast, all bulbs, and screws) as possible.
Red are the screws
Blue are the bulbs and HID ballast (the light grey circular can be unscrewed to be removed)
Orange are the mounting bracket.
Do you like baking goodies, because next you need to put the headlight assembly in the oven. Now I am �NOT� going to tell you how to do this part as there are many videos online (Youtube) with different opinions on how long and at what temperature to use, however I would recommend that you try lower temperatures first and do not be surprised that you may only get part of the removal done as the butyl is cooling so you have to put it back into the oven for a couple more minutes.
I would recommend you use a towel or something to place the headlight assembly on the floor or work area so that you do not scratch the headlight assembly plastic lens
There are multiple plastic tabs that should be moved back before pulling the headlight assembly apart
This part is very sticky (use gloves) and you may want to use a butter knife or similar tool to help cut away at some of the butyl as you pull it apart. Be careful that you do not get the sticky butyl in the inside of the lens/headlight assembly.
Once it is apart and cooled you may remove the inner metallic silver/grey plastic portion, I believe there are 3 more small Philips screws needed to be removed. Once this portion has been removed you may pull out the ugly orange plastic.
*** There is an angled rectangular reflective piece that comes out and can be used to be attached inside the headlight assembly � Do not use double sided tape. I initially used some really strong tape and it still came out/slid � Use epoxy and it will hold.
Now you have an opportunity for a little more customization here.
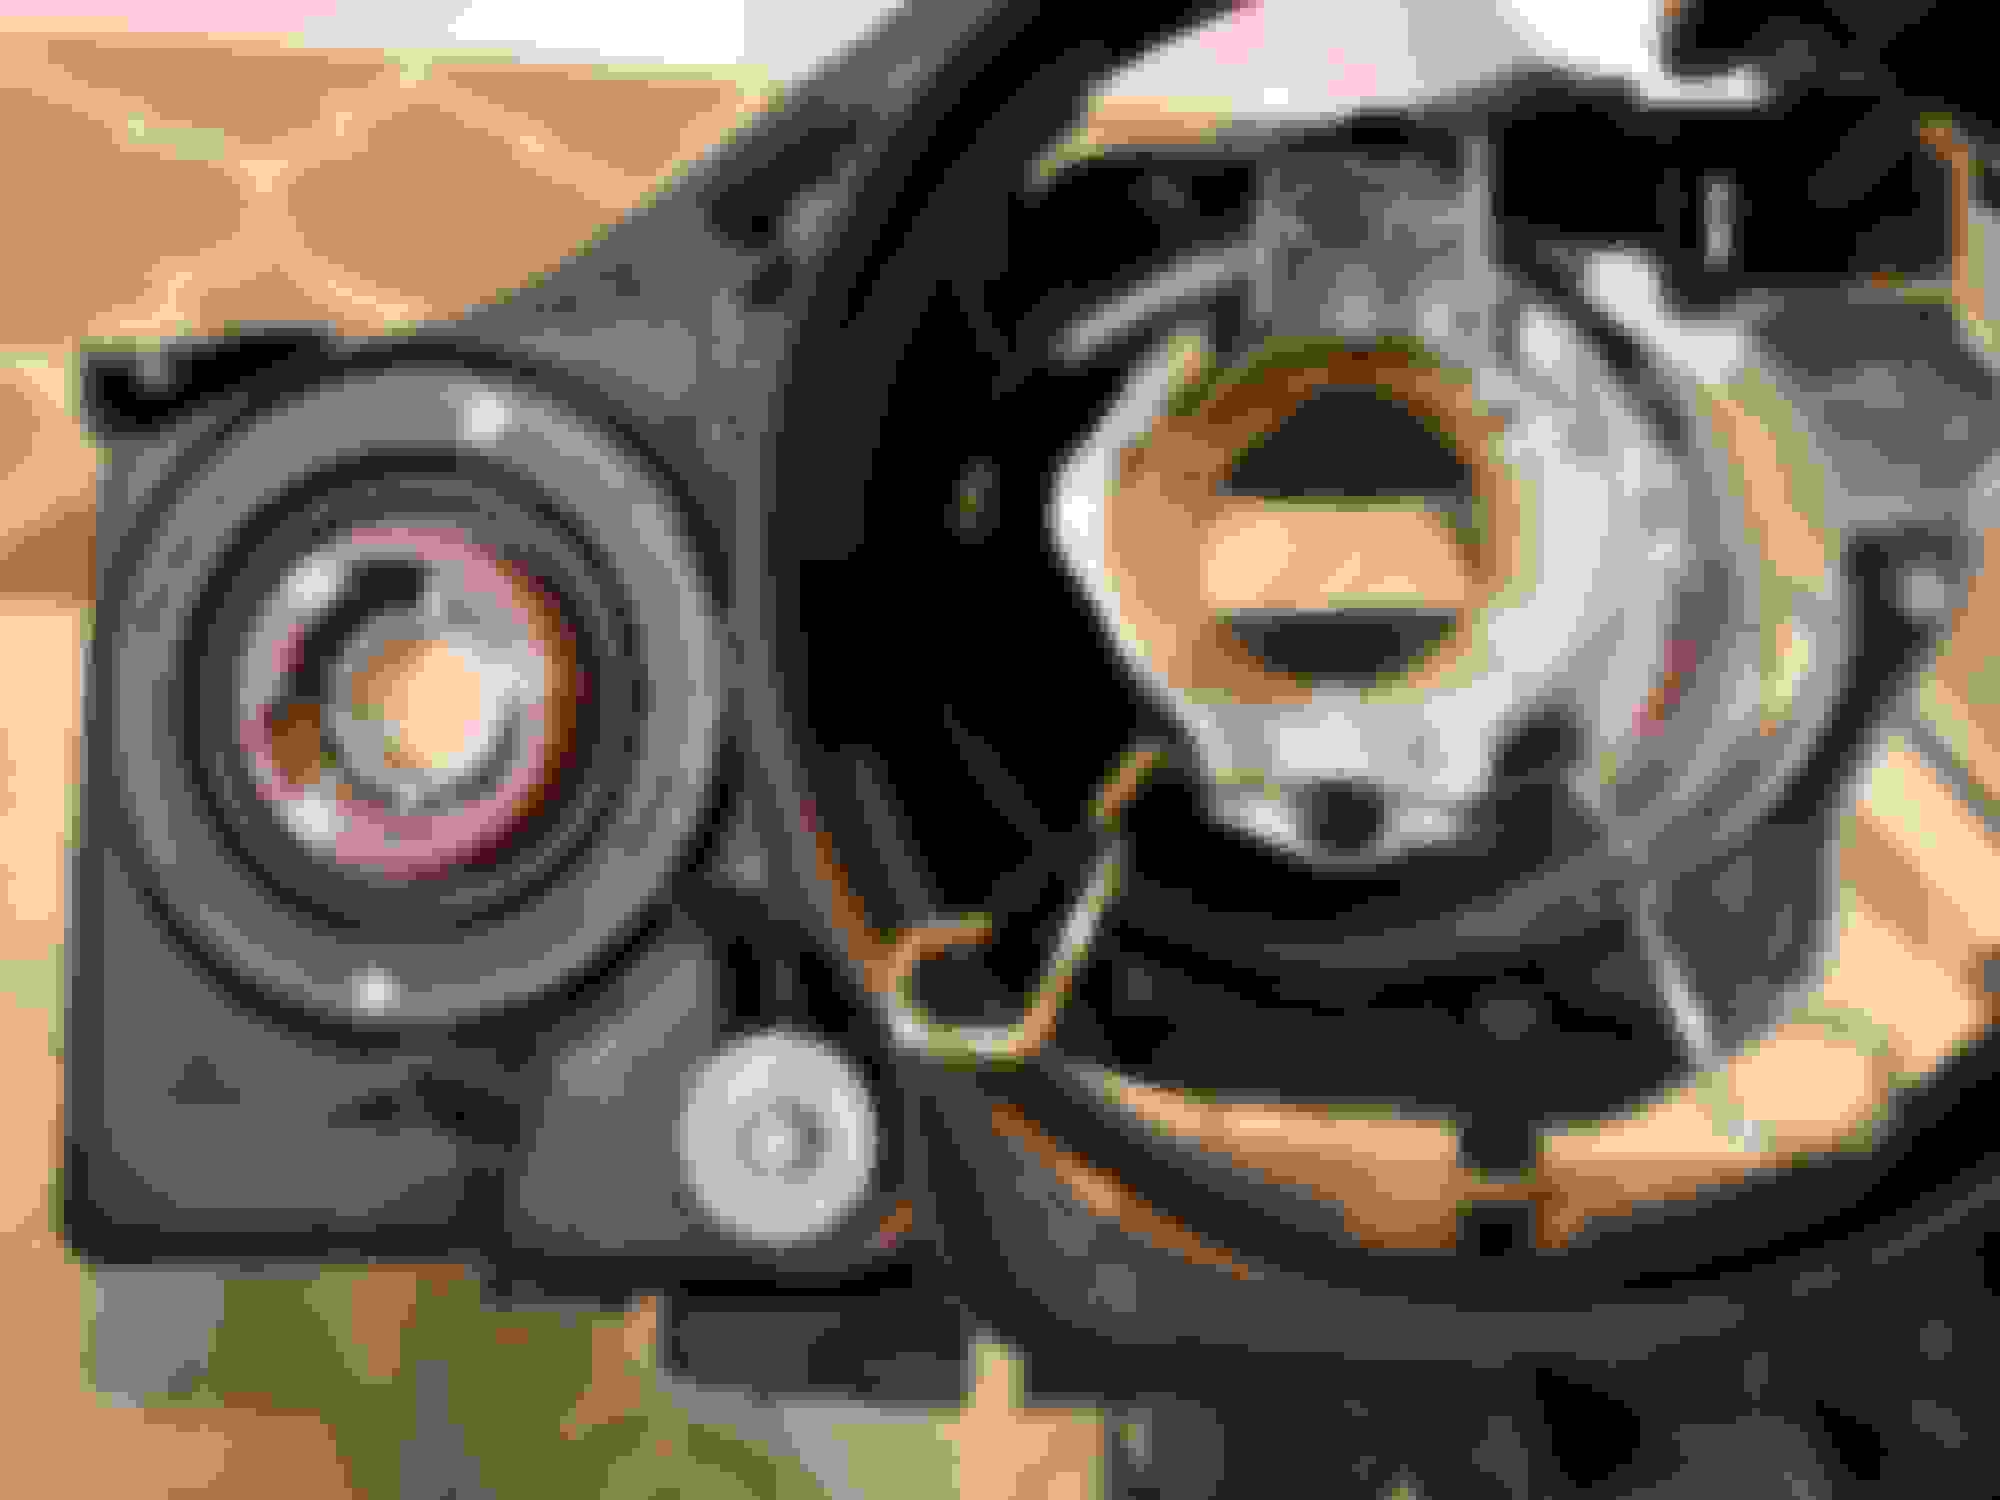
Some people like to paint the inner cut shield wall bright red (use a paint that is a somewhat heat resistant) to give the so called �Demon Eye� look. If done correctly when the headlights are off you can see a red projector lens when looking straight onto your headlights, however when the HID lights are on this should not be visible. I did not do this, but hey fill your boots as this is your opportunity.
Some people prefer more of a black headlight assembly look, and may paint the inner silver/grey metallic plastic black. Again here�s your opportunity (you won�t need heat resistant paint for this part tho).
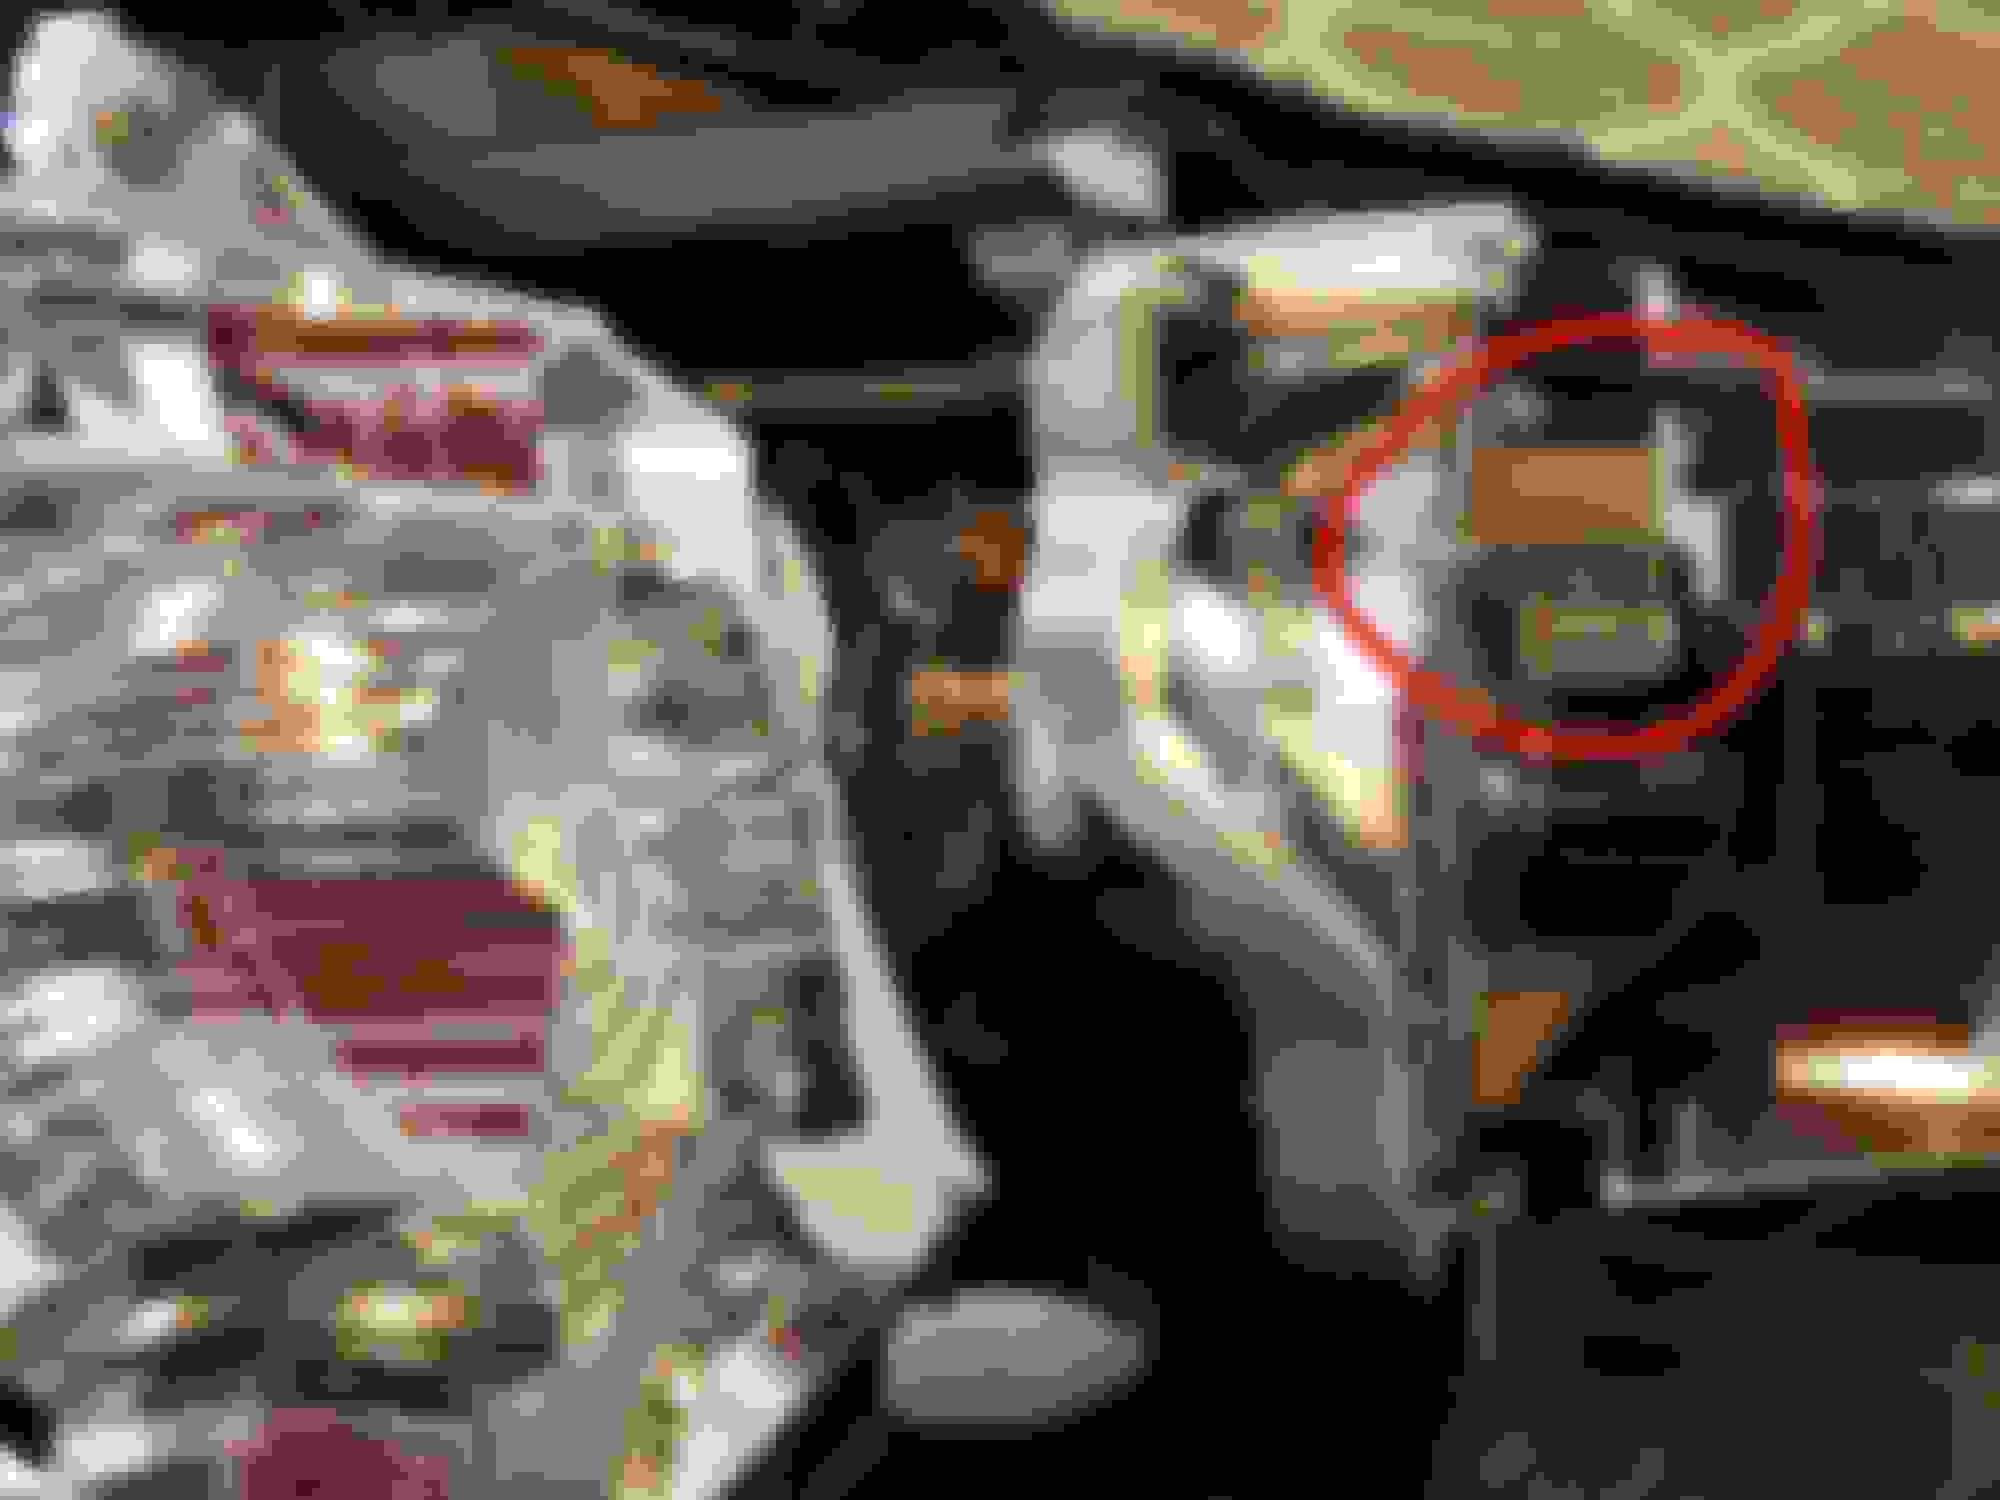
This one I did do: There is a metal extended blocking shield that actually blocks out some of the forward projected light. I can not seem to think of a logical reason to keep this here and firmly believe that this metal extension is just to help eliminate HID spill onto the ground and into the fog light beam pattern. As the fog light incandescent bulbs are pretty weak. However your HID�s are much brighter and (IMO) should be used, so I snipped this off.
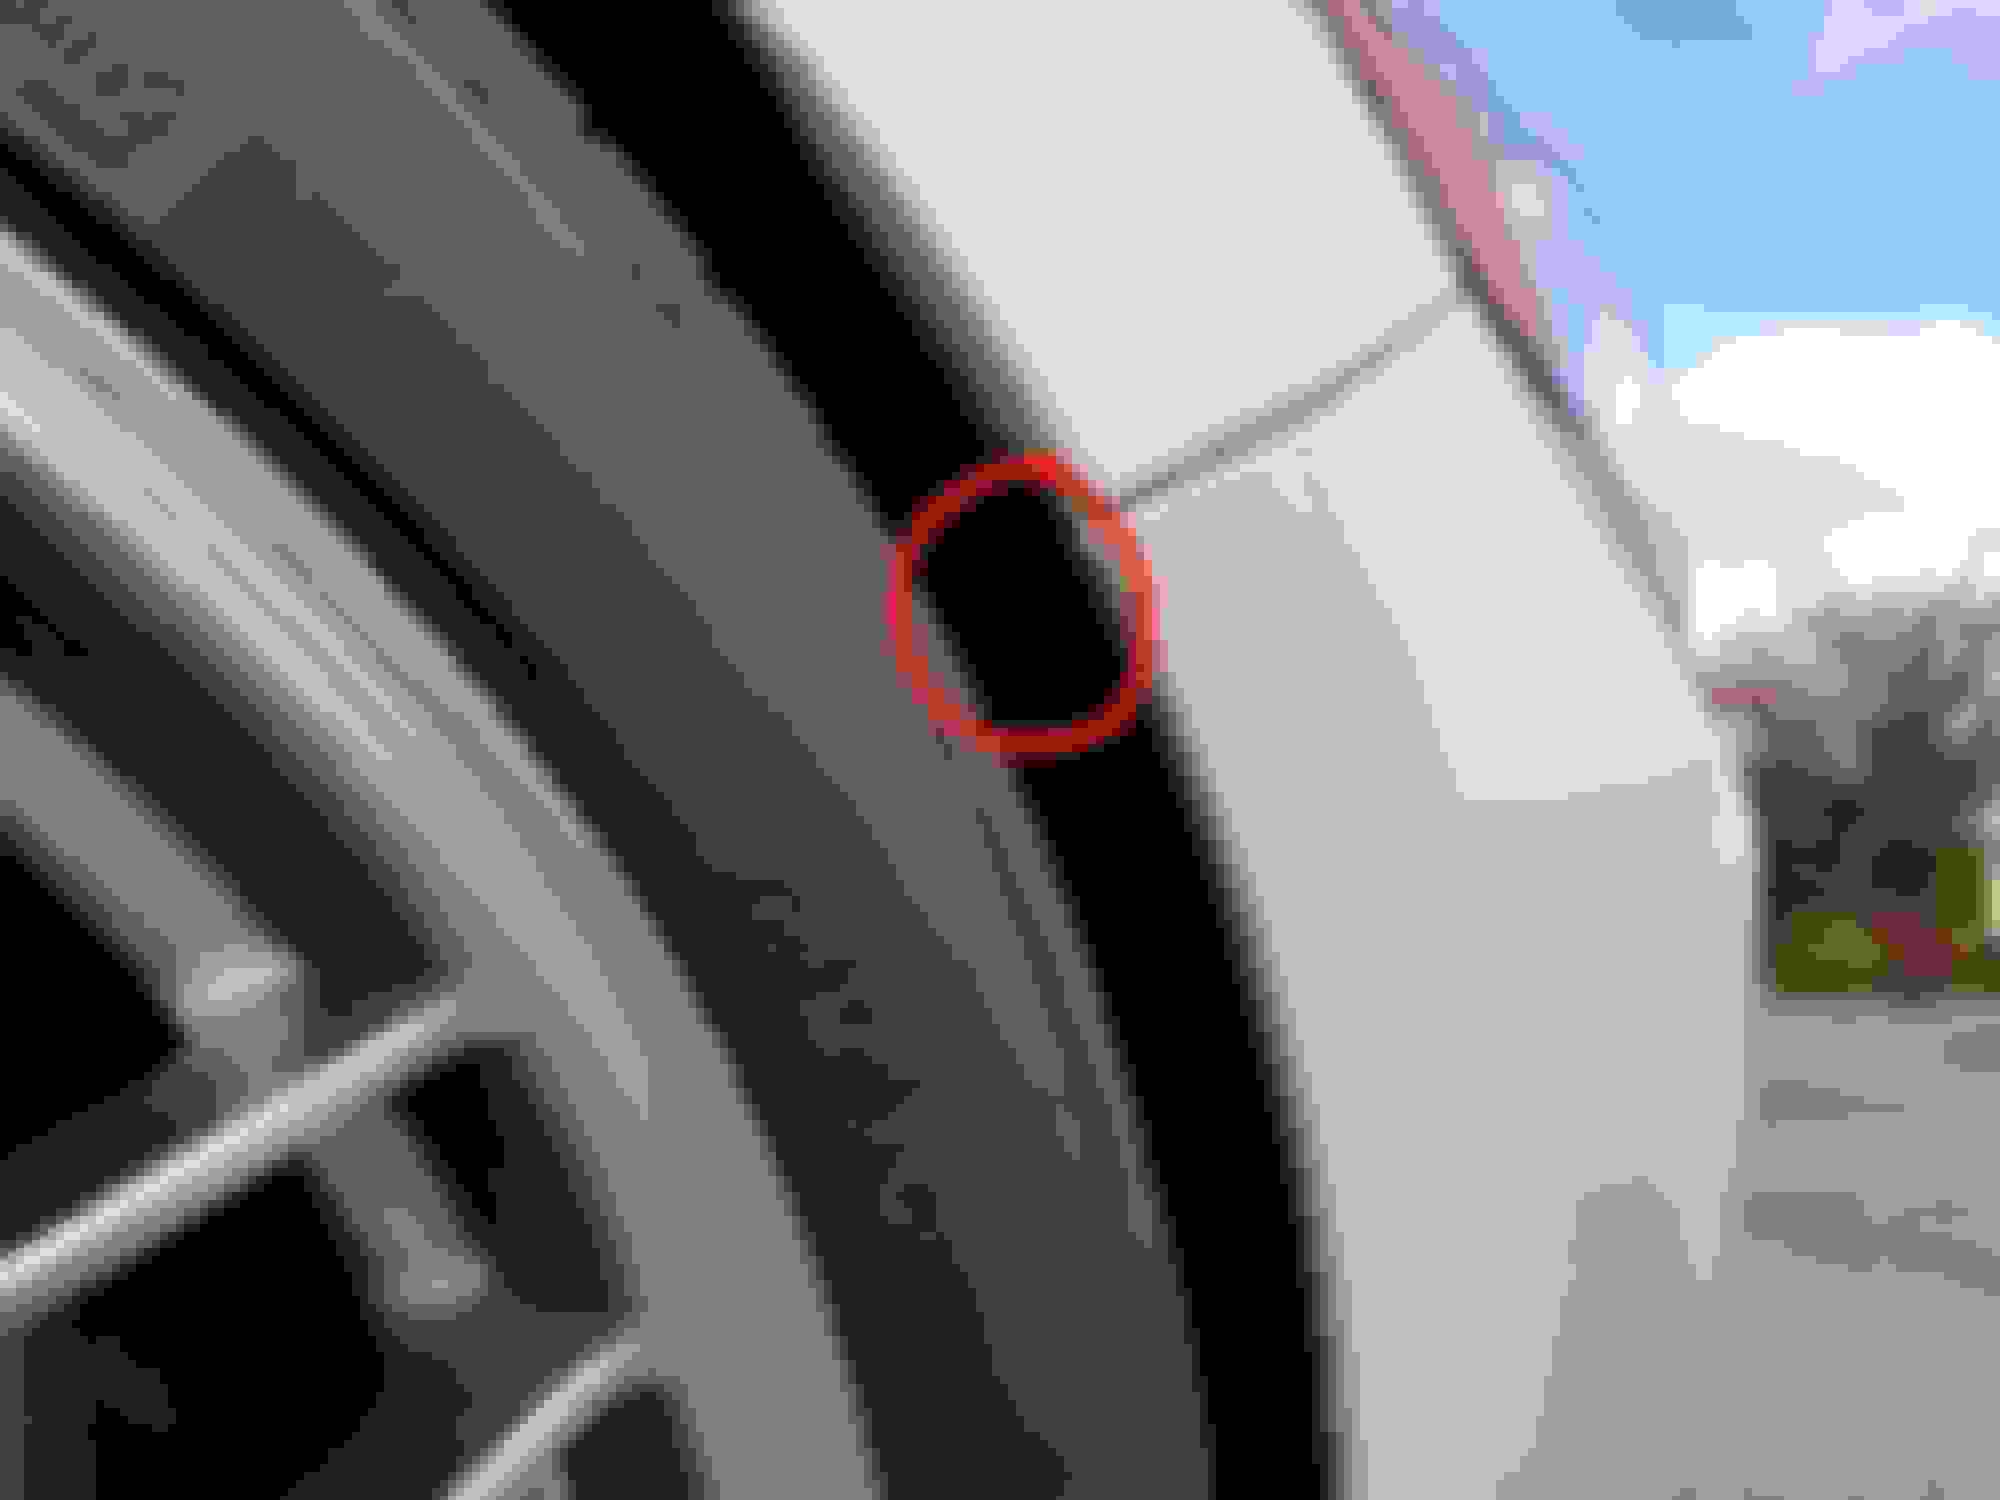
Your projector headlight lens works like your eyes, and reverses the image upside down. The lower line (metal wall) that zigs in a bend upward is your cut shield and this blocks light so that your HID beam does not blind on coming traffic at night. Paint the other side of this wall if you want those �demon eyes�. Now the upper metal bracket is what I removed as this is blocking light emitting downward (red circled area).
Maybe I am an idiot but, this sure looks like much more light will go through and should be a better spill pattern. Without a doubt I did notice a difference and I even converted my fog lights to amber HID�s. Still there was a marked increase in forward light output. But hey, who am I to argue with Acura/Honda engineers?
Once that is all taken care of and you have opted to modify your headlights however you decided. Reinstall the plastic metallic silver piece (or newly painted black) and the 3 screws. Now you can either try to sandwich the assembly back together as best as you can and then place it in the oven to reheat up the butyl, or remove most of the original butyl (as much as you can) and replace it with new butyl before placing it back in the oven. For me this process took 2 turns in the oven, I needed to heat up the butyl squish it back in place as best as I could until it cooled a little, then back into the oven again and out to seal it all up.
Once it is nicely sealed (again ensure you did not get any of that sticky butyl inside the headlight assembly or on the front lens) then reaffix all of the tabs, hardware, bulbs, ballasts, screws, etc.
*** Again another opportunity to modify the look of your vehicle here by replacing bulbs with LED lights, you will have to (or at least should to remain compliant) replace the corner marker bulbs with incandescent or LED �amber� bulbs.
Now follow the process from the beginning of this post to reinstall the metal brackets, headlight assembly, bumper, and engine bay black plastic cover � There is no rocket science just reverse the process.
And that is about it�.
As always enjoy I hope it works out for you, and I am sorry if I missed something (again I did this quite a while ago, this is entirely from memory).
Oops I am sorry for the change in fonts throughout the thread. I initially typed this out in word and then cut and pasted it in here. Didn't mean to confuse or annoy anyone.
DUDE!
Was just changing out the little parking corner light and lost the bulb in the headlight, SMH. Now im gonna have to take the front bumper off to get the fucker out. lol Super pissed.
Think this is the only "How to" on the whole web. Appreciate it. Looks like its exactly how my old 2007 si front bumper removal.
That sux, sorry to hear you gotta do all that work now. It doesn't surprise me there is not a "How To* for the front bumper on the web, most ILX owners don't Mod their car.
I used to have a 2008 white 4 door SI and removed the front bumper there to replace the headlight assembly. The bumper removal is very similar, except u need a long extension to get at one of the 10mm bolts underneath the ILX headlight assembly.
Here is your chance to remove that ugly arse cheap orange plastic!
Ya that makes sense why there isnt a youtube video. Ive had mine almost 5 years now and pretty much have never seen another modded ILX driving around. Maybe one time a few years back. Ill let you know how it goes. lol
pain in the ass, lol, theres like 15 clips on the bottom. So stupid, non of them wanted to come out nicely either. I somehow managed to not break any using just a flathead and small pliers. Highly recommend getting a clip puller if possible. Im sure that will help. And not a big deal but I had 4 screws in each headlight. But you will need a good foot extension for the bottom screw of the headlight, I did not have a long of one, had like two small extensions and was able to get it but a long ass one would help. I have foglights and they are just attached to the bumper but there is one plug you must attach to fully get your bumper out of the way.
Sorry hands were so dirty and sweaty, didnt take any pics.
Also im not sure if its mentioned up top but you will have to be a bit aggressive with pulling the bumper out on the sides and front of the headlights as they are snapped in. Don't worry though it should snap back in place when your putting it back on.
Glad you were able to get it done without destroying any clips - Great job! Yes it is possible there were 4 bolts to remove the actual headlight assembly, I wrote this up on memory only. Also the 10mm socket extension for the bolt under the headlight would need to be at least 12" long.
Finally, good point about the actual removal of the bumper requiring a little force (not too much tho) to have it pull out from the vehicle. The bumper is light but is large and a little awkward. The removal would be a little easier with two people, however can still be done with one.
Did you do any other mods to the headlights after you had them out?
Nah, just got the damn led bulb out and put the amber leds in the corners.
I actually dont mind the amber reflectors. It looks good with the amber leds behind them.
I was curious on changing the low beam bulbs cause I have two pair of d2s bulbs from when I retro fitted my 07' Si.
But to my surprise they are actually PHILIPS 85122 already, one of my pairs I was thinking of switching to. lol
My other is a 5k morimoto and remember I didnt love them on my civic.
So just left them.