
My Weekend Project - Hearth Teardown
 10-14-2009, 11:41 AM
#41
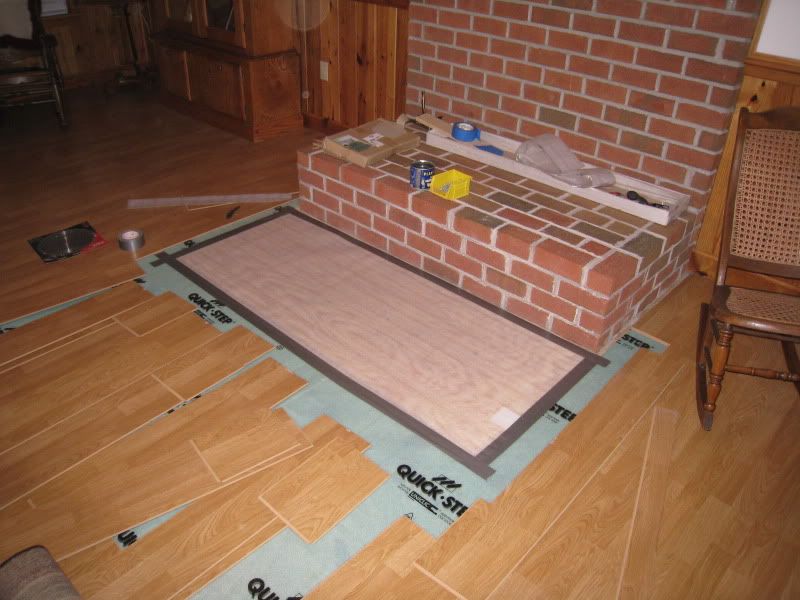
My neighbor i was talking about is coming over tonight to check it out and hopefully we are going to come up with a solution. I've got all the floor down right now except the last two pieces, one being the piece i have to glue in. I'm waiting on it to see if he can help me with that too.
 10-14-2009, 03:43 PM
#42
It does have a smell to it, my grandparents also used coal in theirs. The wood and coal and the cold winter mornings, man those are some great memories.
10-19-2009, 09:05 AM
#44
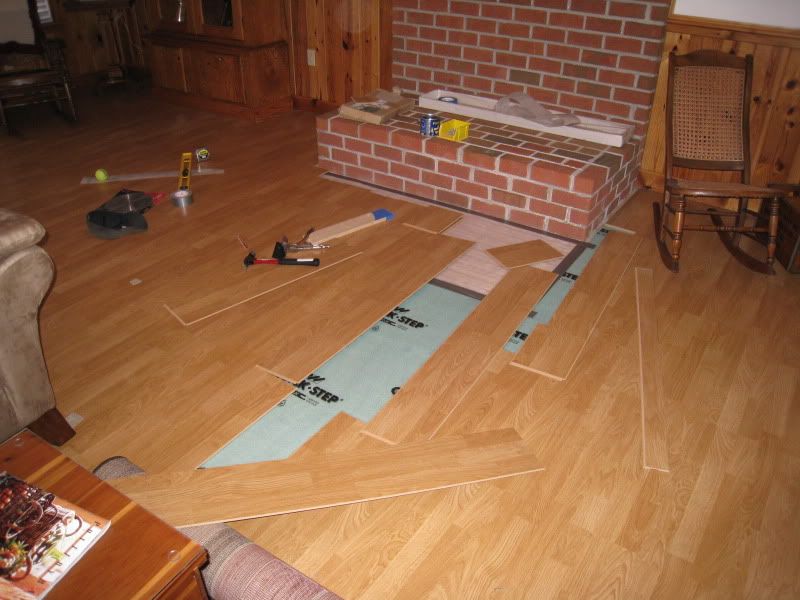
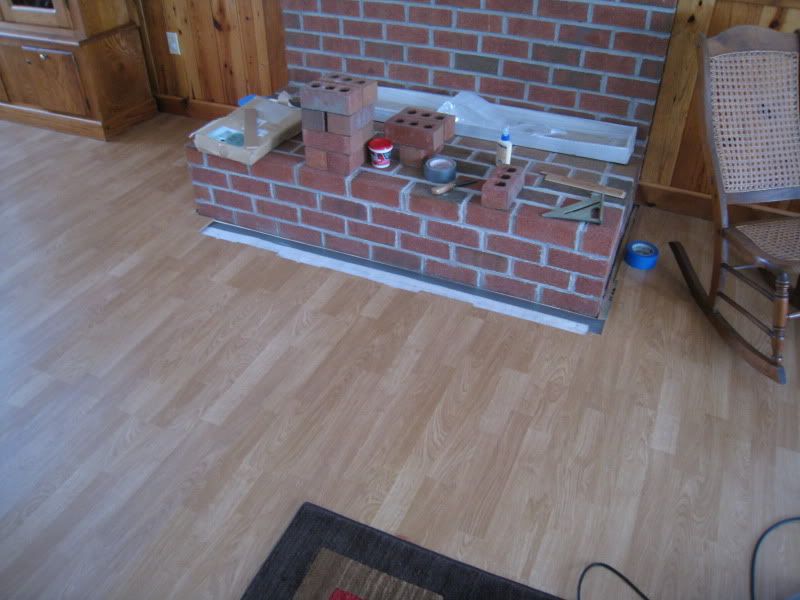
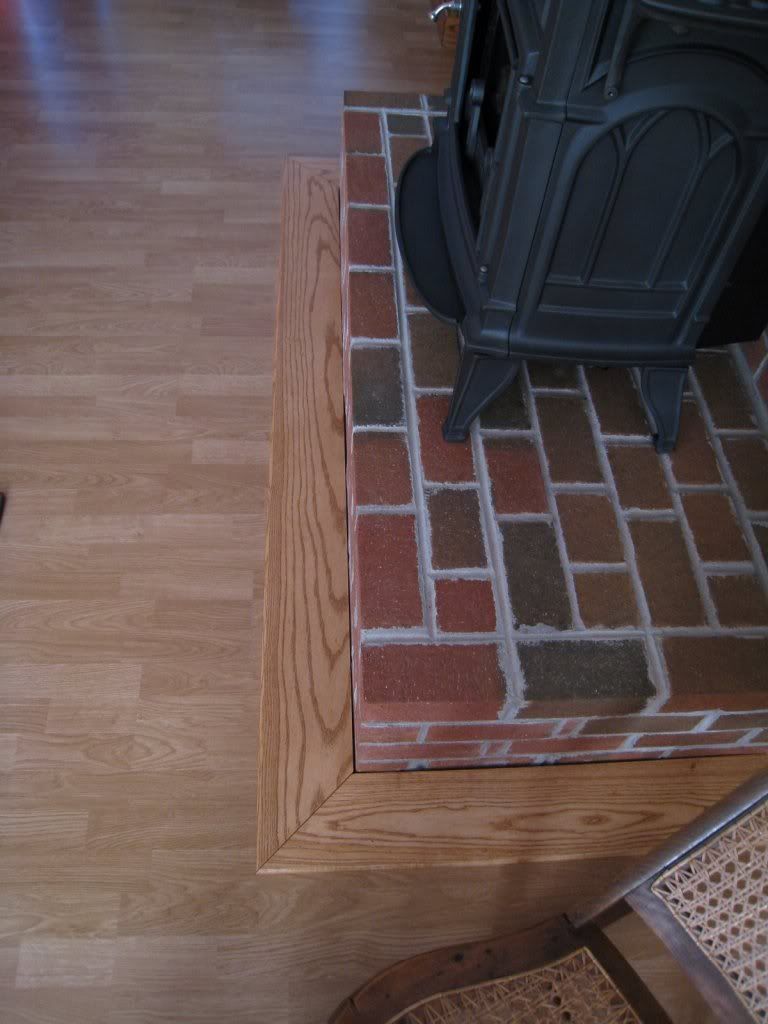
Got all the flooring back down and ended up about a 6" gap rather than 7" 
Pics and explanation tonight.
Neighbor is starting off by making one 6" trim piece about 1/2" thick with a bevel. We are going to just set it down and look at it, then see what else we need to add.
Pics and explanation tonight.
Neighbor is starting off by making one 6" trim piece about 1/2" thick with a bevel. We are going to just set it down and look at it, then see what else we need to add.
10-19-2009, 08:23 PM
#45
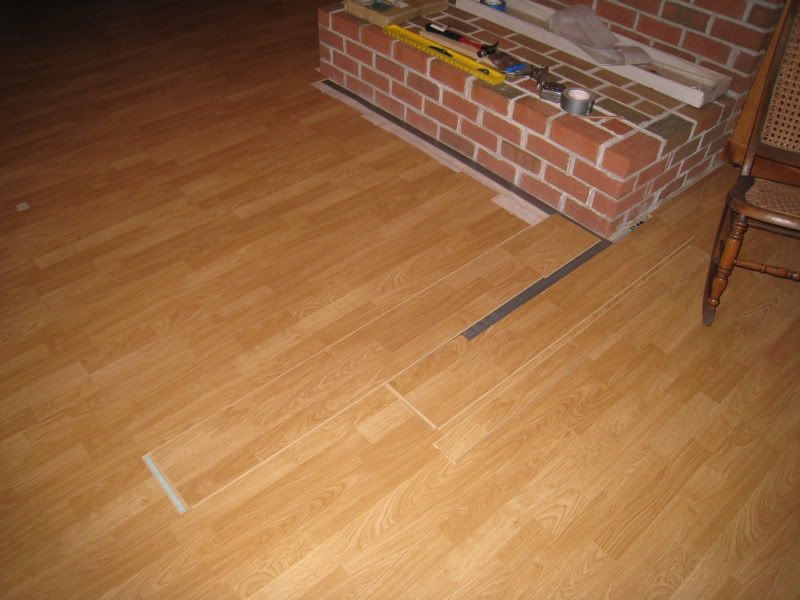
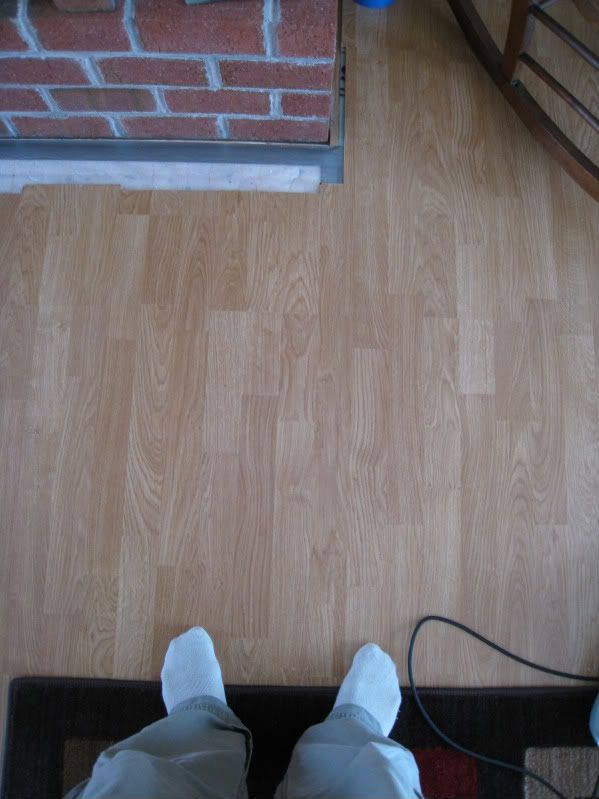
Basically, cut off the end of the one piece of laminate and glued it to another to extend the shortest piece, which made the overall gap 6" instead of 7". then glued in the final small strip.
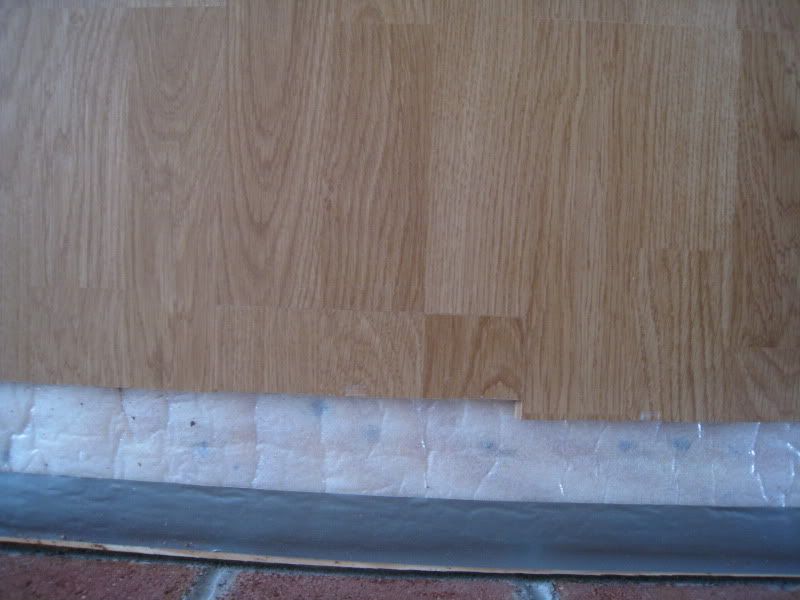
Here the padding is down and edges taped. ready for laminate to go back in.
Almost done.
the long piece that almost touches the hearth is the one i cut some off and glued to the one on the left which was the shortest piece. Well,actually my neighbor cut it and glued it. You can also see the narrow strip that was the last piece to go in with glue.
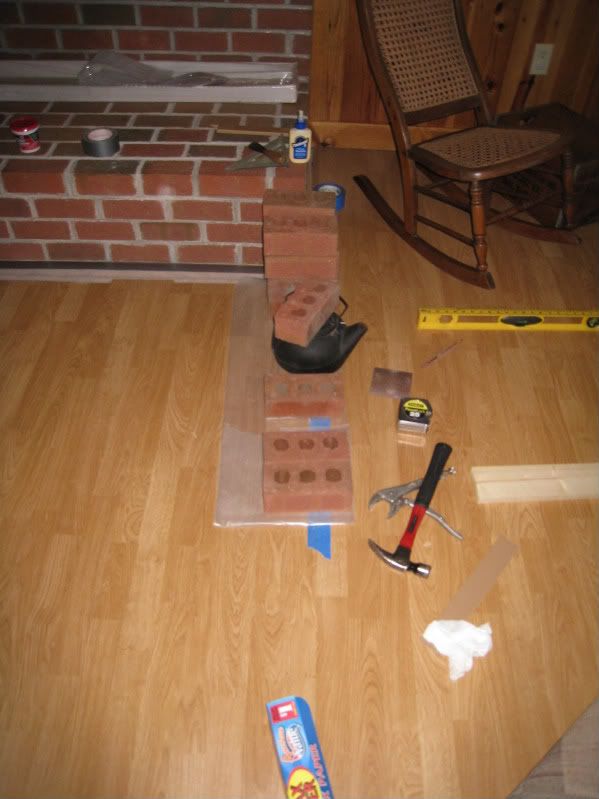
Last piece being glued in and pressed with bricks.
All done!
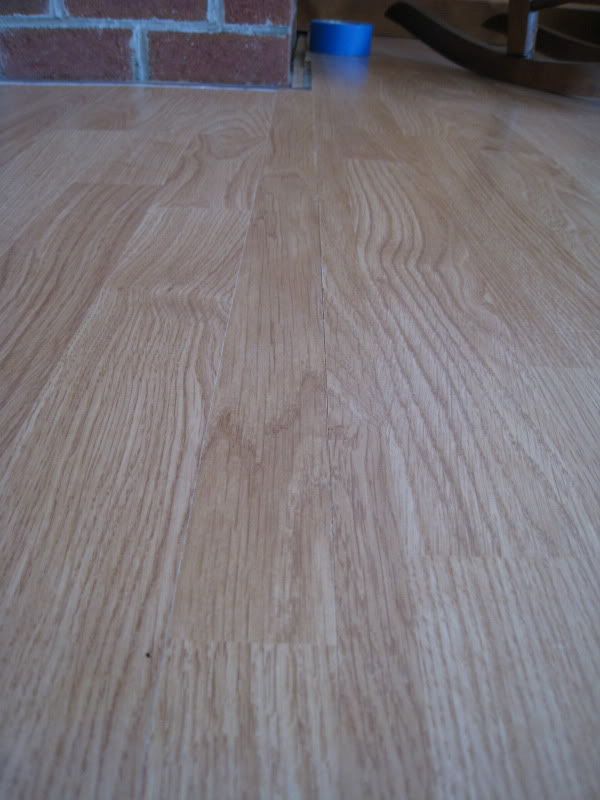
The tiny piece is one of the glued pieces, it came out perfect.
The strip i had to glue and pressed with bricks. If your standing, you don't see it but a closer look reveals its not perfect. In hindsite, I should have flipped a piece of laminate upside down and placed it over the two pieces then applied pressure. I used wax paper to prevent things sticking to the glue.
Now I'm waiting for him to bring me the trim piece for testing. Not sure when he'll be doing it, hopefully this week.
Here the padding is down and edges taped. ready for laminate to go back in.
Almost done.
the long piece that almost touches the hearth is the one i cut some off and glued to the one on the left which was the shortest piece. Well,actually my neighbor cut it and glued it. You can also see the narrow strip that was the last piece to go in with glue.
Last piece being glued in and pressed with bricks.
All done!
The tiny piece is one of the glued pieces, it came out perfect.
The strip i had to glue and pressed with bricks. If your standing, you don't see it but a closer look reveals its not perfect. In hindsite, I should have flipped a piece of laminate upside down and placed it over the two pieces then applied pressure. I used wax paper to prevent things sticking to the glue.
Now I'm waiting for him to bring me the trim piece for testing. Not sure when he'll be doing it, hopefully this week.
 10-22-2009, 12:38 PM
#48
Team Owner
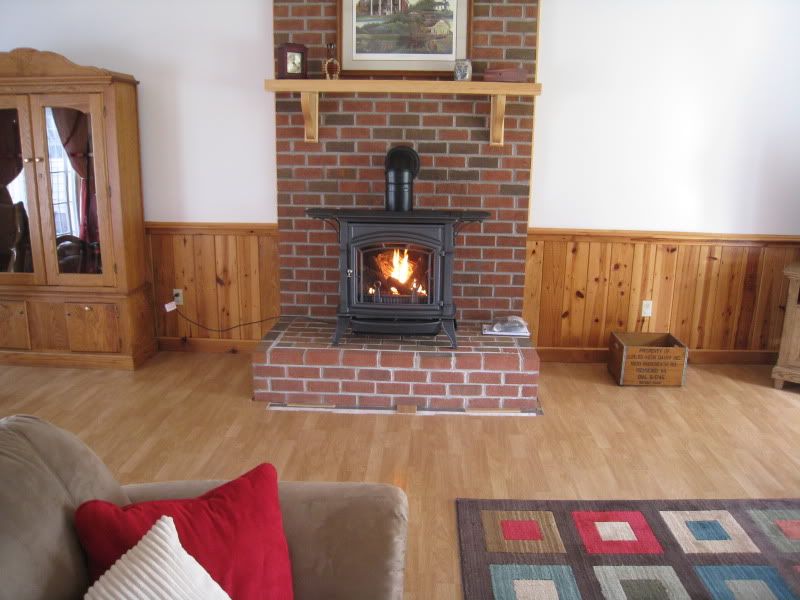
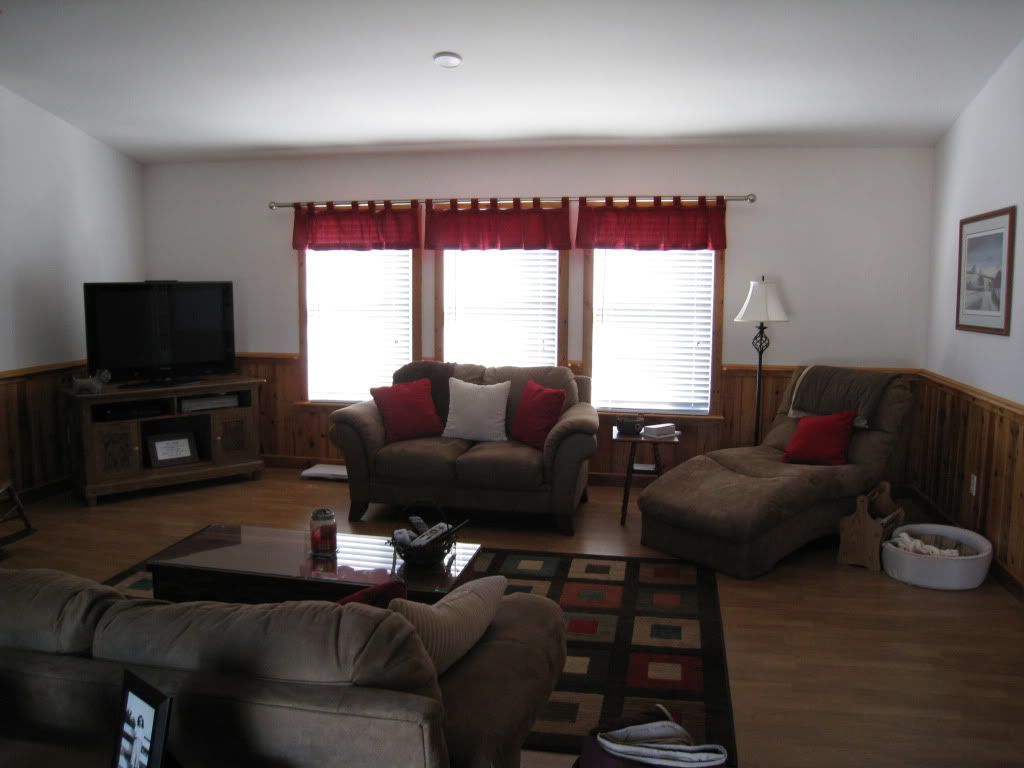
Like the new stove much better. I take it there's no way to easily hide the cord?
10-23-2009, 10:46 AM
#51
Team Anthracite Member
Join Date: Apr 2004
Location: NJ
Posts: 2,366
Likes: 0
Received 0 Likes
on
0 Posts
Is it something that stays plugged in all the time - or is that how you turn it on and off? If always plugged in, then could you run the cord through the wall and directly wire it to the outlet?
Stove looks real nice btw.
Stove looks real nice btw.
10-23-2009, 10:57 AM
#52
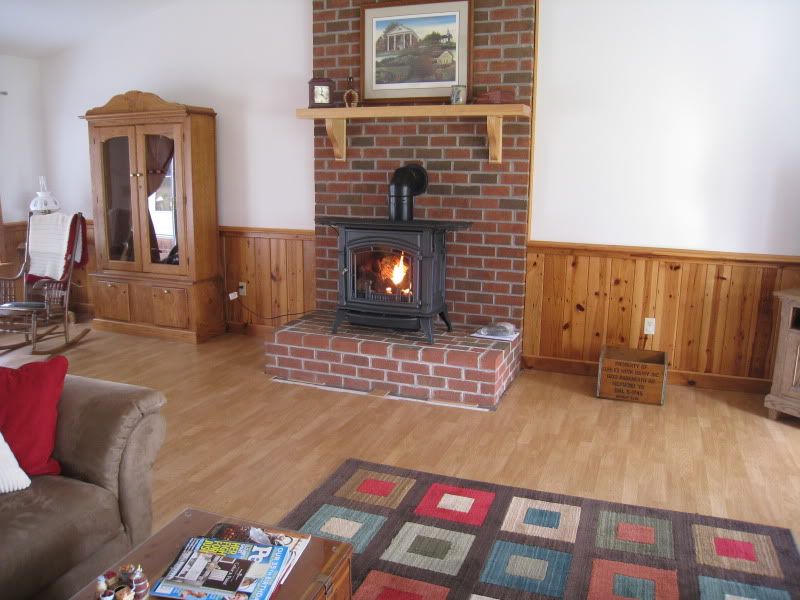
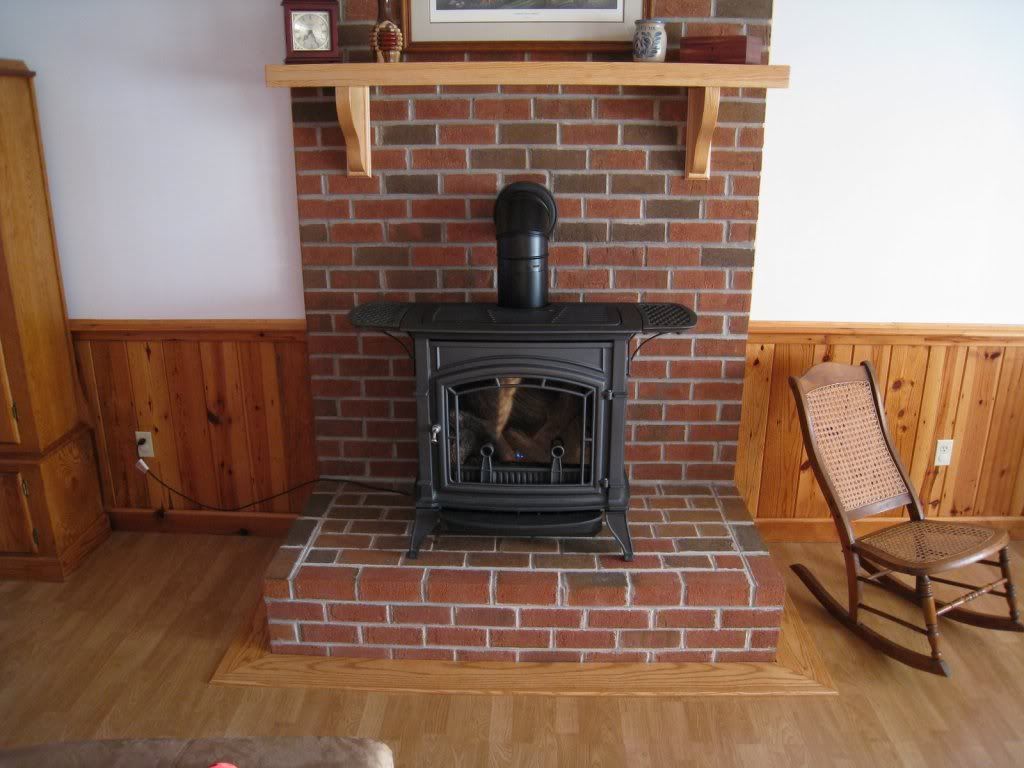
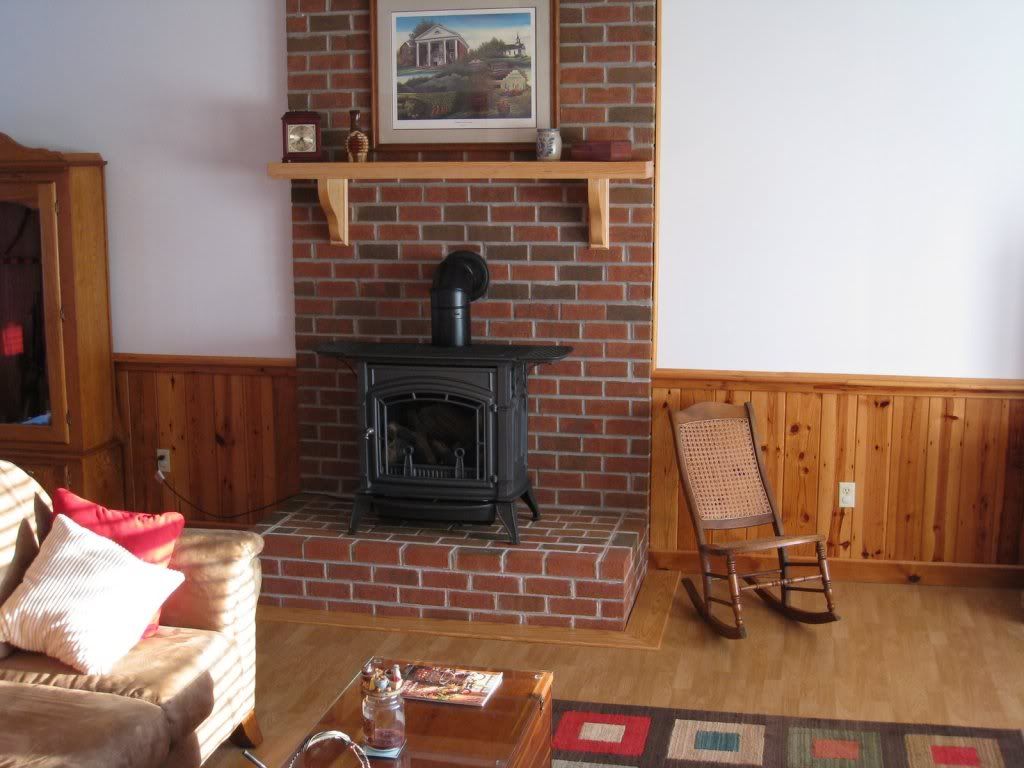
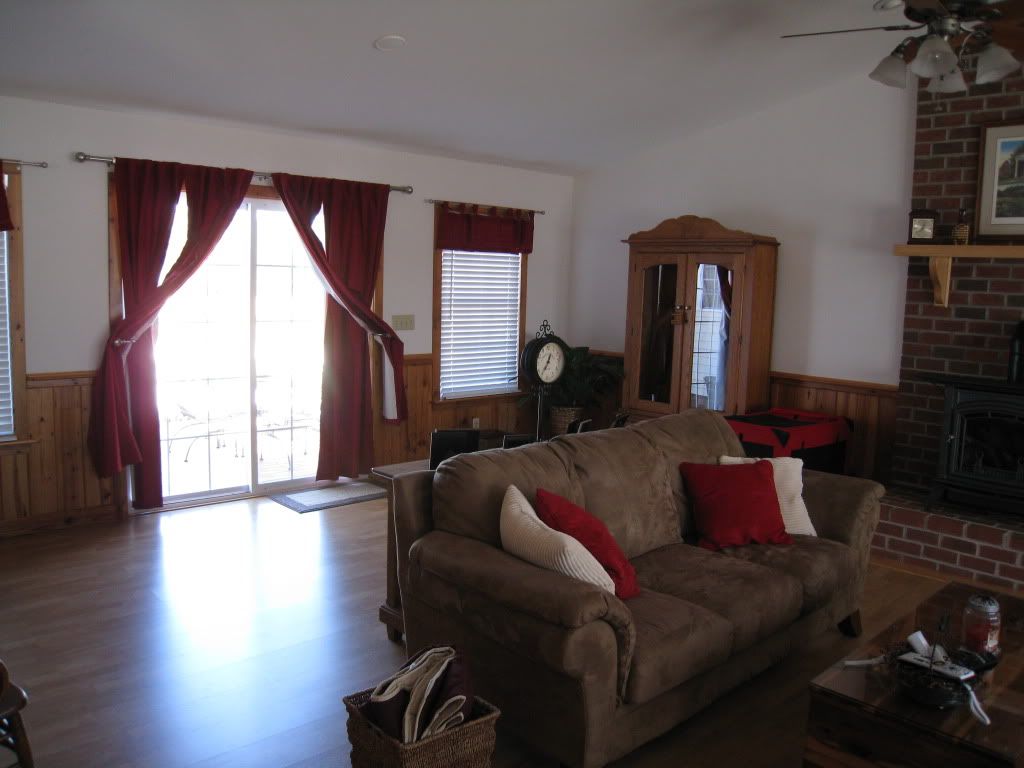
^^ Thanks  We are really happy with the finish and overall look, we were concerned the graphite color wasn't going to be what we wanted. The only thing we wish was the hearth wasn't so tall. It really sits up quite a bit but we agreed it still looks alot better than the old hearth/stove!
It would stay plugged in all the time. I toyed with the notion of hard wiring it, might be the way to go if i can come up with something that looks good.
We are really happy with the finish and overall look, we were concerned the graphite color wasn't going to be what we wanted. The only thing we wish was the hearth wasn't so tall. It really sits up quite a bit but we agreed it still looks alot better than the old hearth/stove!It would stay plugged in all the time. I toyed with the notion of hard wiring it, might be the way to go if i can come up with something that looks good.
 11-05-2009, 09:59 AM
#54
Got the molding down last week. I put two coats of ipswitch pine stain and two coats of poly. When I was doing it, it looked very much like a close match in the grain. Not quite what i was hoping for but didn't turn out too bad 
Still need to get a longer cord for the blower too.
Still need to get a longer cord for the blower too.
 11-05-2009, 10:41 AM
#56
Team Owner
That'll get ya by. I'd have done pine so it didn't introduce yet another grain pattern, but I doubt anyone but you will notice.
Congrats on getting it done!
Congrats on getting it done!
11-05-2009, 10:47 AM
#57
Thanks, the project definitely took alot longer than I imagined!
On a side note, I secured it with a battery powered dewalt nail gun that my neighbor had. He warned me about it jamming and sure enough the thing jammed about every 5th nail! Convenient yes but I was not impressed.
On a side note, I secured it with a battery powered dewalt nail gun that my neighbor had. He warned me about it jamming and sure enough the thing jammed about every 5th nail! Convenient yes but I was not impressed.


 03-11-2010, 02:53 PM
#62
Team Owner
Looks good!
03-11-2010, 03:04 PM
#63
Oh I forgot the best part.....
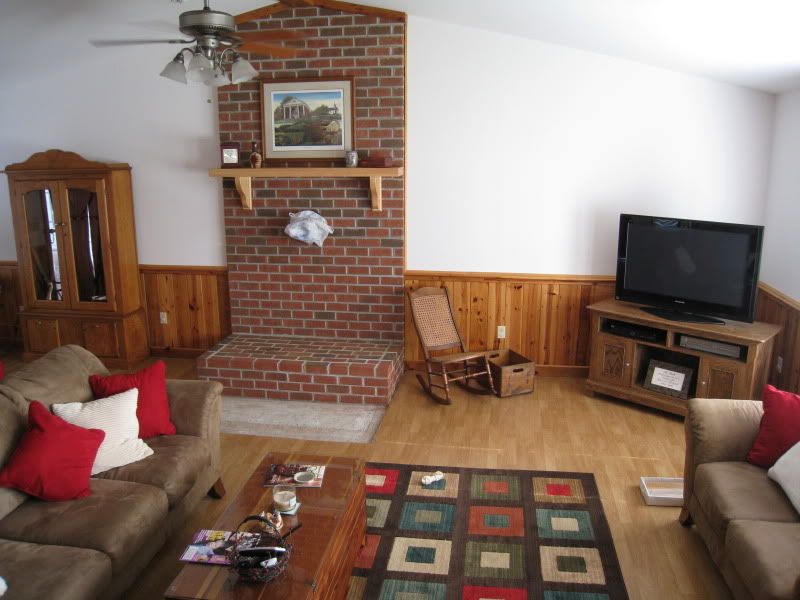
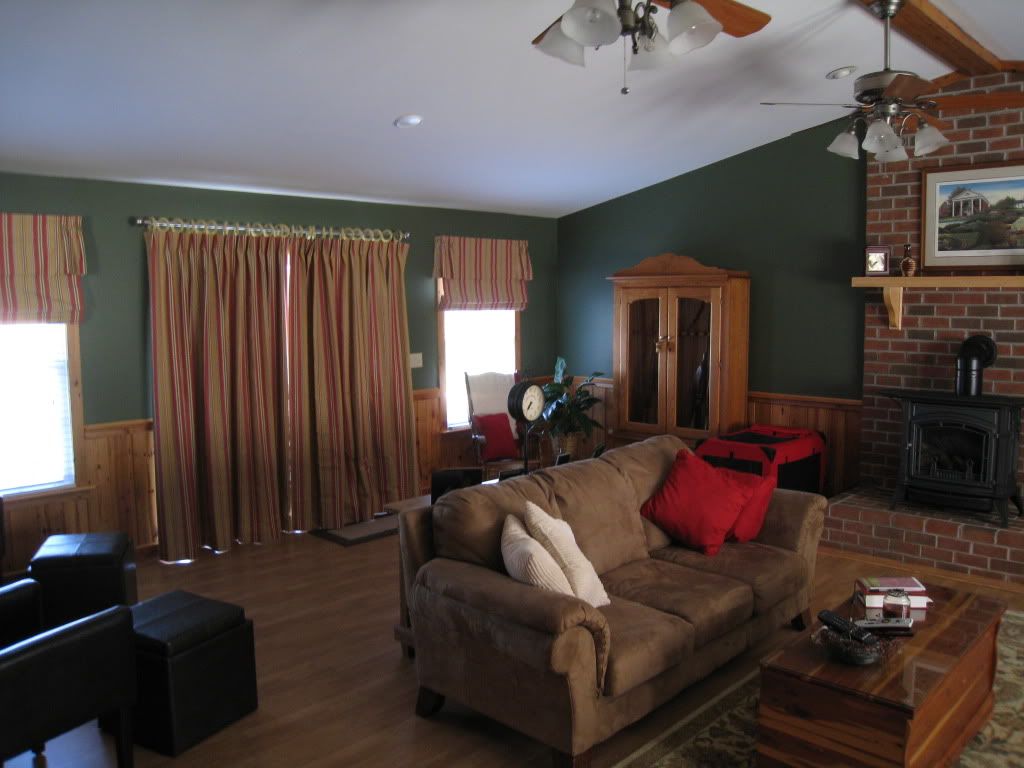
It would have been done sooner except I had a "little mishap". Ok, so we told our painter what we wanted and he told us it would be a week or two before he could come. That time frame came and went so we decided to tackle it ourselves. Everything was going great, I had taped everything, cut in was done and I was rolling the first coat when it happened. I told my wife to go get me the ladder and you know what happens next. The paint can was up on the ladder. DOWN IT GOES. Half a bucket of paint is on the floor, on the wall, ON A GOOD PORTION THE HEARTH, on the heater, on the gun cabinet, on the old rug, on the sofa and on the window. EVERYWHERE BASICALLY. Thankfully, it was latex paint so we immediately went into cleanup mode. About 2.5 hours later we had 95% of it up. Luckily on a few small places got on the couch and they came out for the most part. Likewise for the rug. The only thing left was the hearth. I had pretty much decided we were going to have it redone but we scrubbed the S#%* out of it with soap,water and my tire cleaning brush. Then after that, we used to Muriatic acid to try and bring some luster back as all the scrubbing and dark paint had dulled it up pretty good. So after scrubbing, scrubbing and scrubbing some more, it ycame out prett decent. You really can't tell from the pic. It was the biggest mess I've ever had to clean up in my life. Thankfully, it was my wife it who spilled it and not me! I'd still be hearing about it!
It would have been done sooner except I had a "little mishap". Ok, so we told our painter what we wanted and he told us it would be a week or two before he could come. That time frame came and went so we decided to tackle it ourselves. Everything was going great, I had taped everything, cut in was done and I was rolling the first coat when it happened. I told my wife to go get me the ladder and you know what happens next. The paint can was up on the ladder. DOWN IT GOES. Half a bucket of paint is on the floor, on the wall, ON A GOOD PORTION THE HEARTH, on the heater, on the gun cabinet, on the old rug, on the sofa and on the window. EVERYWHERE BASICALLY. Thankfully, it was latex paint so we immediately went into cleanup mode. About 2.5 hours later we had 95% of it up. Luckily on a few small places got on the couch and they came out for the most part. Likewise for the rug. The only thing left was the hearth. I had pretty much decided we were going to have it redone but we scrubbed the S#%* out of it with soap,water and my tire cleaning brush. Then after that, we used to Muriatic acid to try and bring some luster back as all the scrubbing and dark paint had dulled it up pretty good. So after scrubbing, scrubbing and scrubbing some more, it ycame out prett decent. You really can't tell from the pic. It was the biggest mess I've ever had to clean up in my life. Thankfully, it was my wife it who spilled it and not me! I'd still be hearing about it!
03-11-2010, 03:30 PM
#64
Team Owner
 That sucks.
Does the room feel warmer and homier now?
03-23-2010, 01:11 PM
#66
Senior Moderator
Regional Coordinator
(Mid-Atlantic)
Regional Coordinator
(Mid-Atlantic)
iTrader: (6)
Wow, that's some dark paint to spill all over, glad you were able to clean it up. Holy cow I'm sure that was a stressful time. Just read through your whole thread, I really like how everything turned out, and I enjoyed reading through your experience. Thanks for sharing.
 04-15-2010, 03:16 PM
#68
Team Owner
Nice improvement!

Thread
Thread Starter
Forum
Replies
Last Post