When you click on links to various merchants on this site and make a purchase, this can result in this site earning a commission. Affiliate programs and affiliations include, but are not limited to, the eBay Partner Network.
I’m looking to get my 2009 headlights done black housing and smoked amber lense and also my tails smoked out with the black housing, are these still a thing? There used to be acouple guys on here who were doing it. Not that I can’t do it I’ve done it in the past vehicles I’ve owned but I just don’t have the patience anymore lol but I am tempt to just crack these open and do them myself but wondering if anyone is still doing this and pricing
He did my headlights and taillights a couple years ago.
I tried clicking his name to message him on here but there was no message button so I was unsuccessful but I did go on endless rpm and contacted him thru that way. Waiting patiently for a reply
So for anyone wondering I heard back from EndLessRPM (Bruce, AckTL) and they are no longer doing headlights and tail lights. I might give this a try myself. Anyone ever take apart there tail lights??
Mainly because I want to paint the bezel and outline on the inside of the tail light from the oem silver color to a satin black or gloss black and then tint them, I just like that look better imo, especially for the look I’m looking for. ACKTL style I like how those turn out.
I’m just trying to figure out now if the tail lights come apart with some heat like the headlights or do you have to cut with a dremel to get the lense off of them (I heard this was a thing)
“TRbelo” , I did the Mod you are looking for on the Rear Tail lights. I can send you details later Tonight or look through my build Thread if you need the info right away.
“TRbelo” , I did the Mod you are looking for on the Rear Tail lights. I can send you details later Tonight or look through my build Thread if you need the info right away.
That would be great if you can send me some details and tips later on. I’ll look thru your build thread also when I get some down time at work today. I appreciate it
Oh really that is pretty cool. But then why is my 2012 chrome? Was it an option? How did that
work.
Yes, officially it is a Red Chrome Trim and sometimes referred to as “Rose Gold”. It has a tendency to fade over time to more of a Pinkish hue, hence the term Rose Gold.
The 2009 to 2011 has a Silver Painted inner Bezel and is not as shiny as the 2012 /14.
“TRebelo” the info you are looking for starts at Post #691 on Page 18 of my build Thread.
Let me know if you need more info.
I actually went thru this morning and found it but during the process checked out the whole build all 24 pages. I must add incredible build and beautiful TL and best of luck with the Vette another beautiful car and I bet another great build.
So my only question is how did you rejoin the lense to the housing once you cut it and separated it with the dremel and what did you use to glue it or seal it back together.
I used Permatex Black RTV Silicone Adhesive Sealant.
Just an assumption, Probably a different bonding method.
On the headlights you can use a Butyl Windscreen Sealant which stays pliable and softens when heated.
I used Permatex Black RTV Silicone Adhesive Sealant.
Just an assumption, Probably a different bonding method.
On the headlights you can use a Butyl Windscreen Sealant which stays pliable and softens when heated.
Thank You, I’ll be stopping and grabbing these on my way home from work today, I appreciate all the insight and help you were able to provided, Thank you again very much KarKraze. Now I got my weekend project
Thank You, I’ll be stopping and grabbing these on my way home from work today, I appreciate all the insight and help you were able to provided, Thank you again very much KarKraze. Now I got my weekend project
You are welcome. Once separated, be careful with the inside of the Clear Outer Plastic housing.
There is a Clear Protective Coating (UV) on the inside so do not get any Rubbing Alcohol on it,If you do, you have to remove all the Coating, it also scratches easily. You will also have to re coat it if removed.
Don't seal it up too quickly, you have to ensure the Paint is fully cured, if you Seal it before the off gassing will create a haze / fog on the inside of the Clear Outer Plastic Cover.
Purchase the thinnest Ceramic Cutting Blade for the Dremmel, make sure you use Safety Glasses and long sleeves, when cutting the debris is very hot and the Blade tends to gum up easily.
Do not cut more than 1/8" deep or you may cut in to the Bezel, especially in the area that lines up with the Trunk.
awesome I will def be taking all this info, I’ll keep you updated. I’ll post some of my pics when done
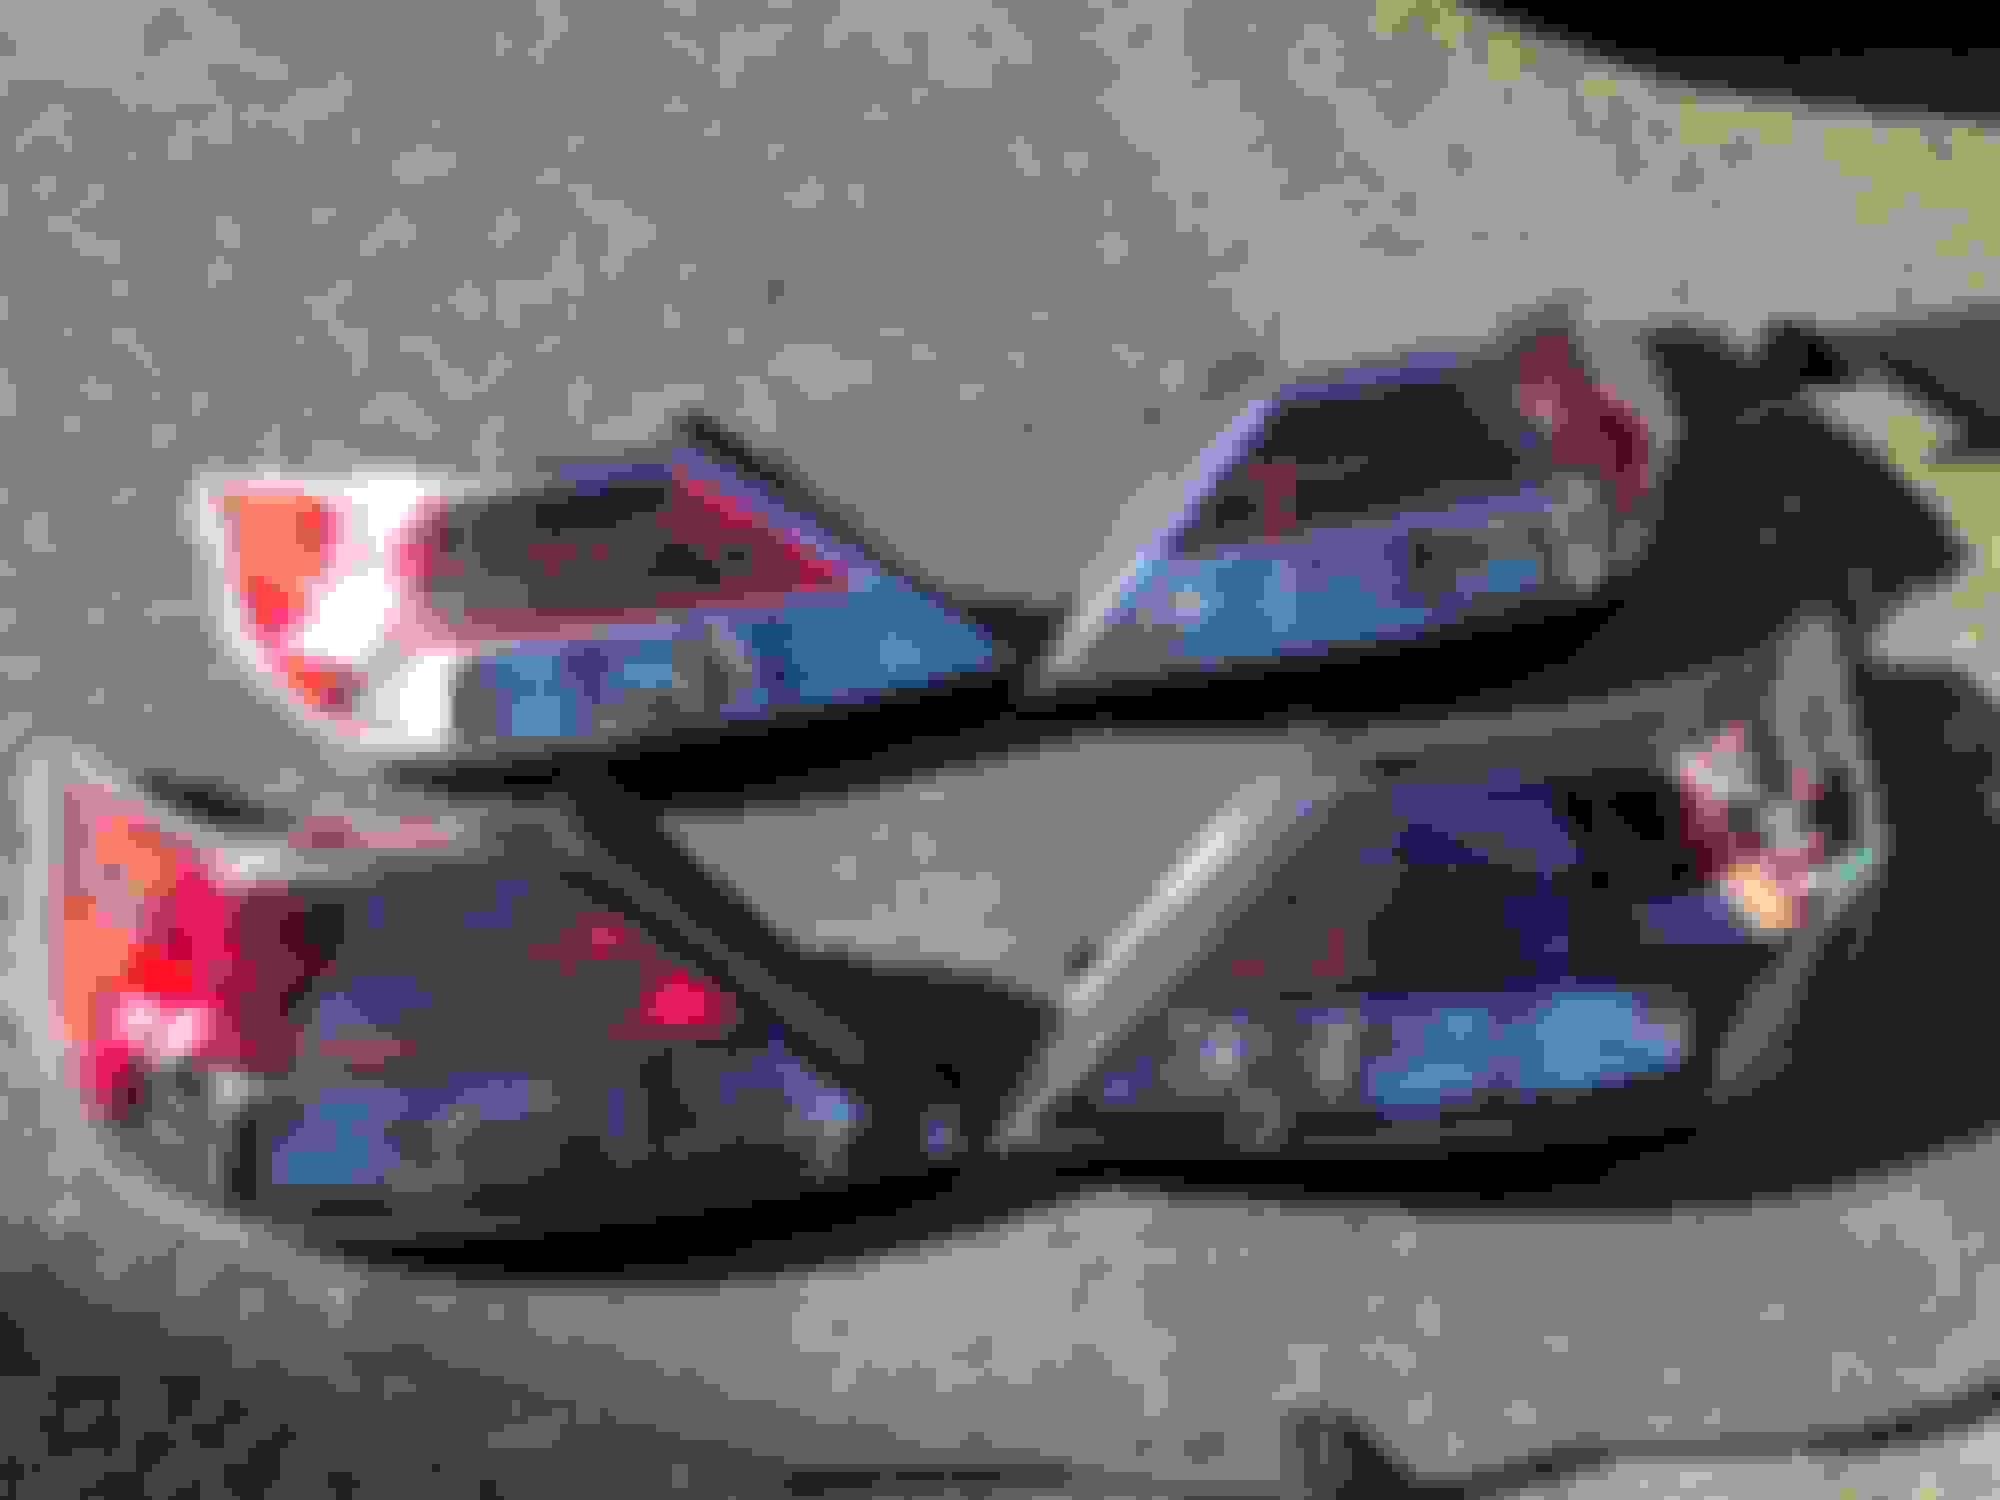
So I did a thing, I was looking for a second set of tail lights to cut open and do the black bezel with the smoked lenses and as I was searching I found some tail lights that were exactly what I wanted to do to my own ones. The Red Smoked with the Black Bezel tail lights from Depo. They were $230 on eBay so I grabbed a set because I was going to end up paying $250 for a spare set anyway to try it on so why not rock these while I do the others with time. They fit up perfectly, nice quality, and plug and play and everything lights up fine no issues no errors popping up I even did a water leak test nothing happen no condensation or anything we’ll see with time but so far so goood but I will be taking apart the oem ones still and doing them on my own but as a daily driver I needed tail lights. I’ll get pictures of them installed it was getting dark out but these are them unboxed next to the oem ones
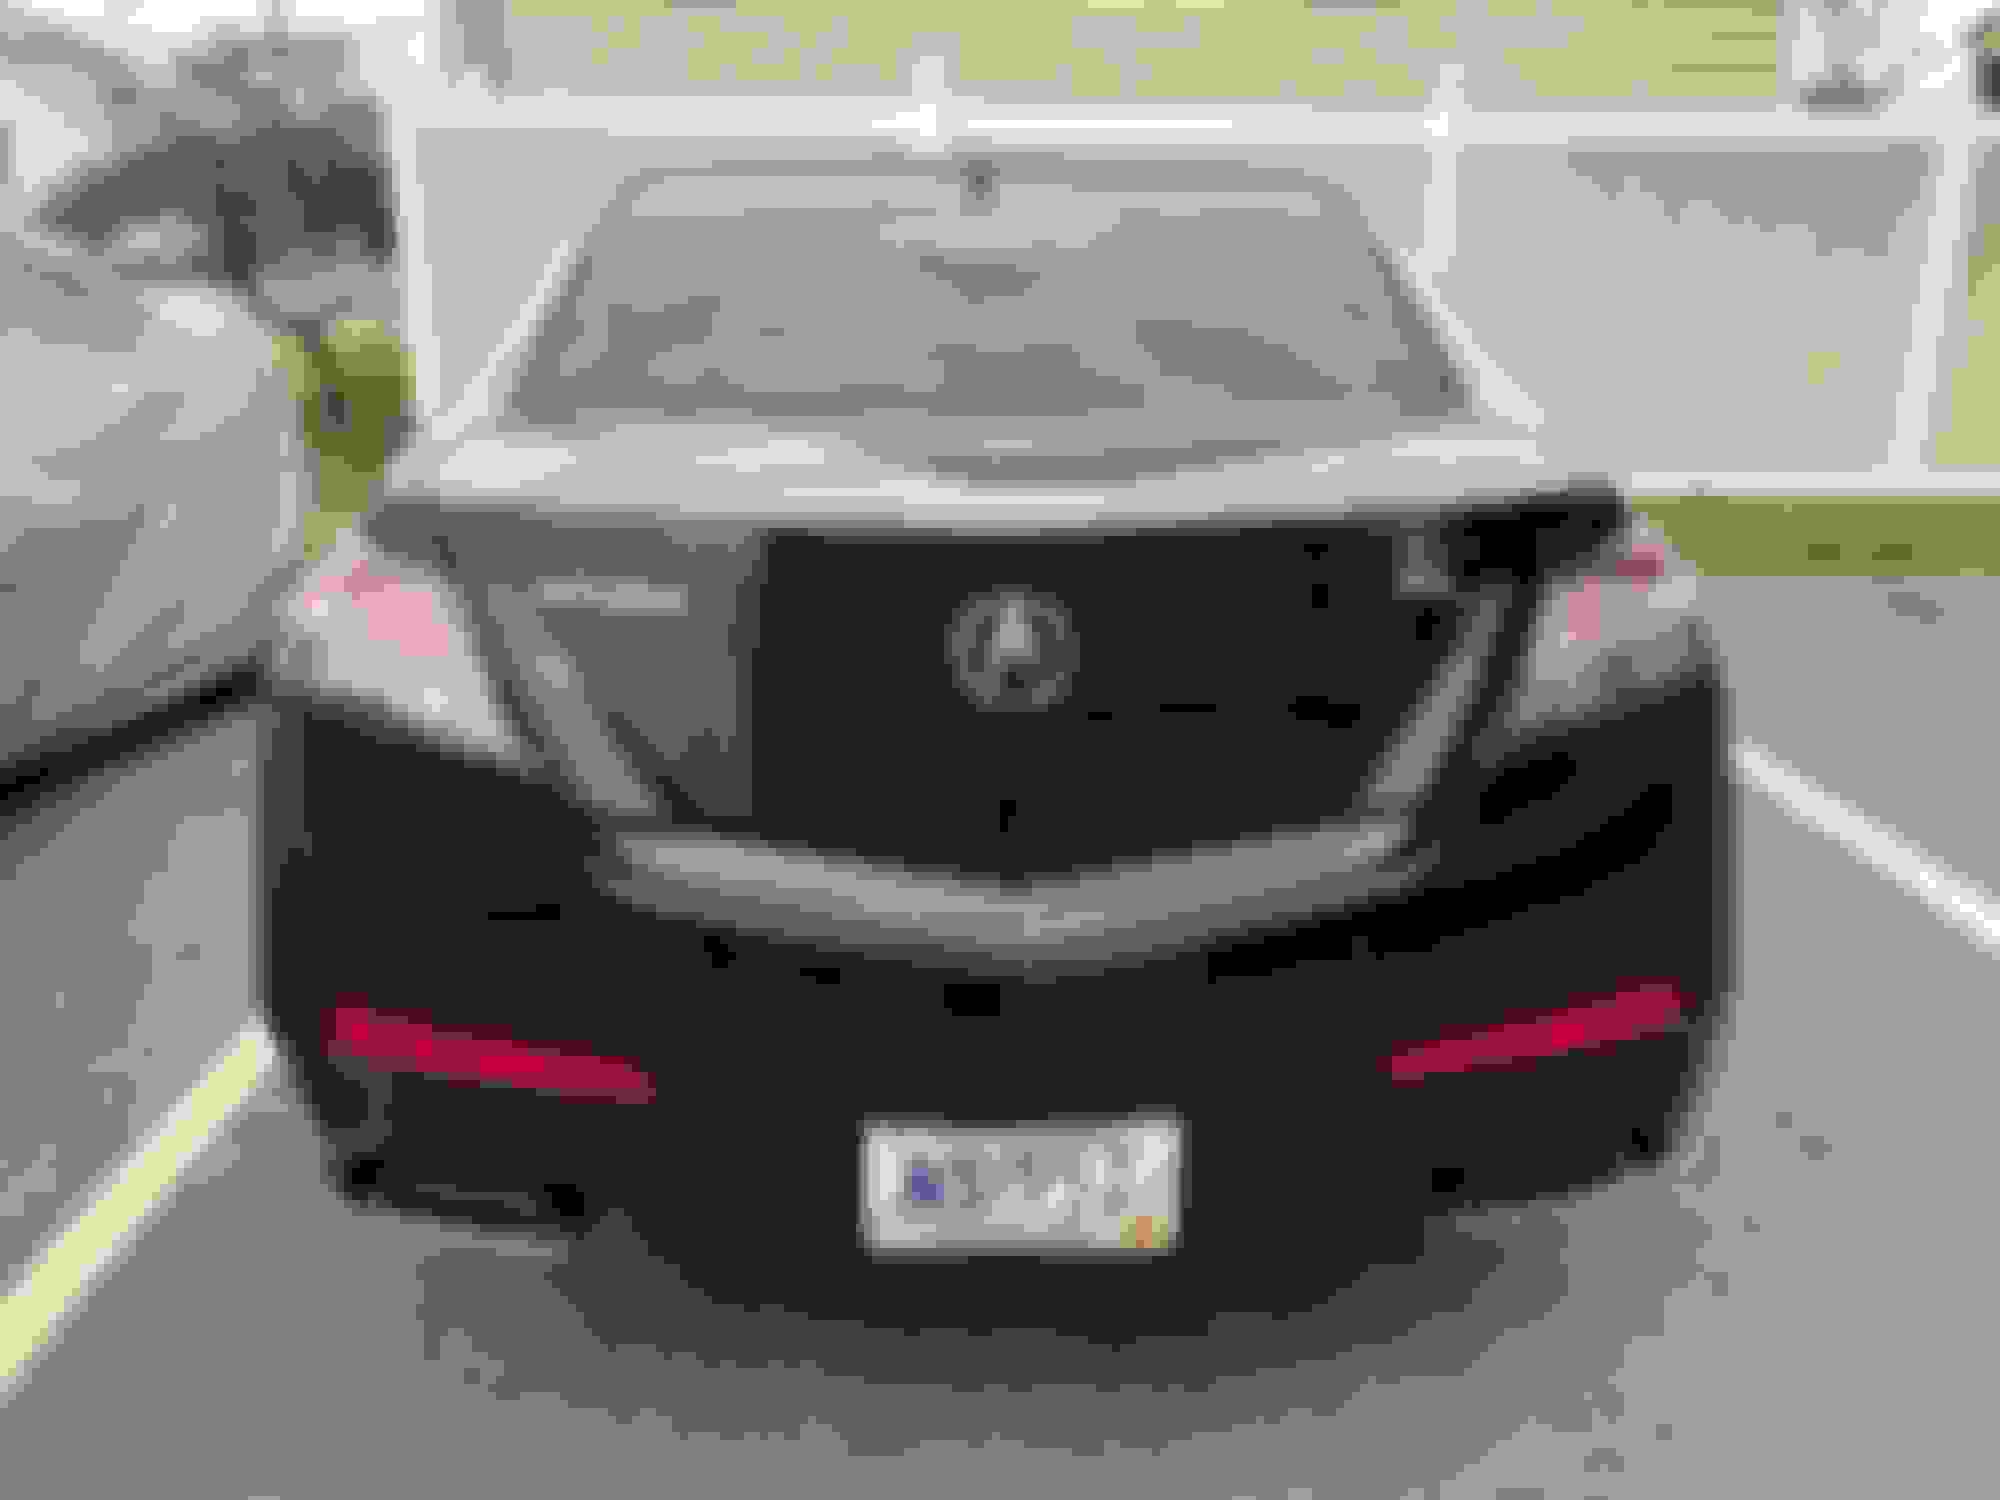
Looks great! Do you have any pictures of them on your TL?
I sure do, they look great, fit great, all plug and play and I’ve had no issues with them at all. Been thru 2-3 car washes now and it’s been raining the past week and no water issues or condensation build up. I’m very satisfied with them so far
I sure do, they look great, fit great, all plug and play and I’ve had no issues with them at all. Been thru 2-3 car washes now and it’s been raining the past week and no water issues or condensation build up. I’m very satisfied with them so far
I recently purchased a TL too. Is there anyone left who does the headlight and tail light modification?
Thanks
It's very easy, you just put your headlights into the oven at 270 degrees for 10 minutes. Remove the three screws that hold the lens to the body and then peel back the lens. After that you can access to the housing and reflector for paint.
It's very easy, you just put your headlights into the oven at 270 degrees for 10 minutes. Remove the three screws that hold the lens to the body and then peel back the lens. After that you can access to the housing and reflector for paint.
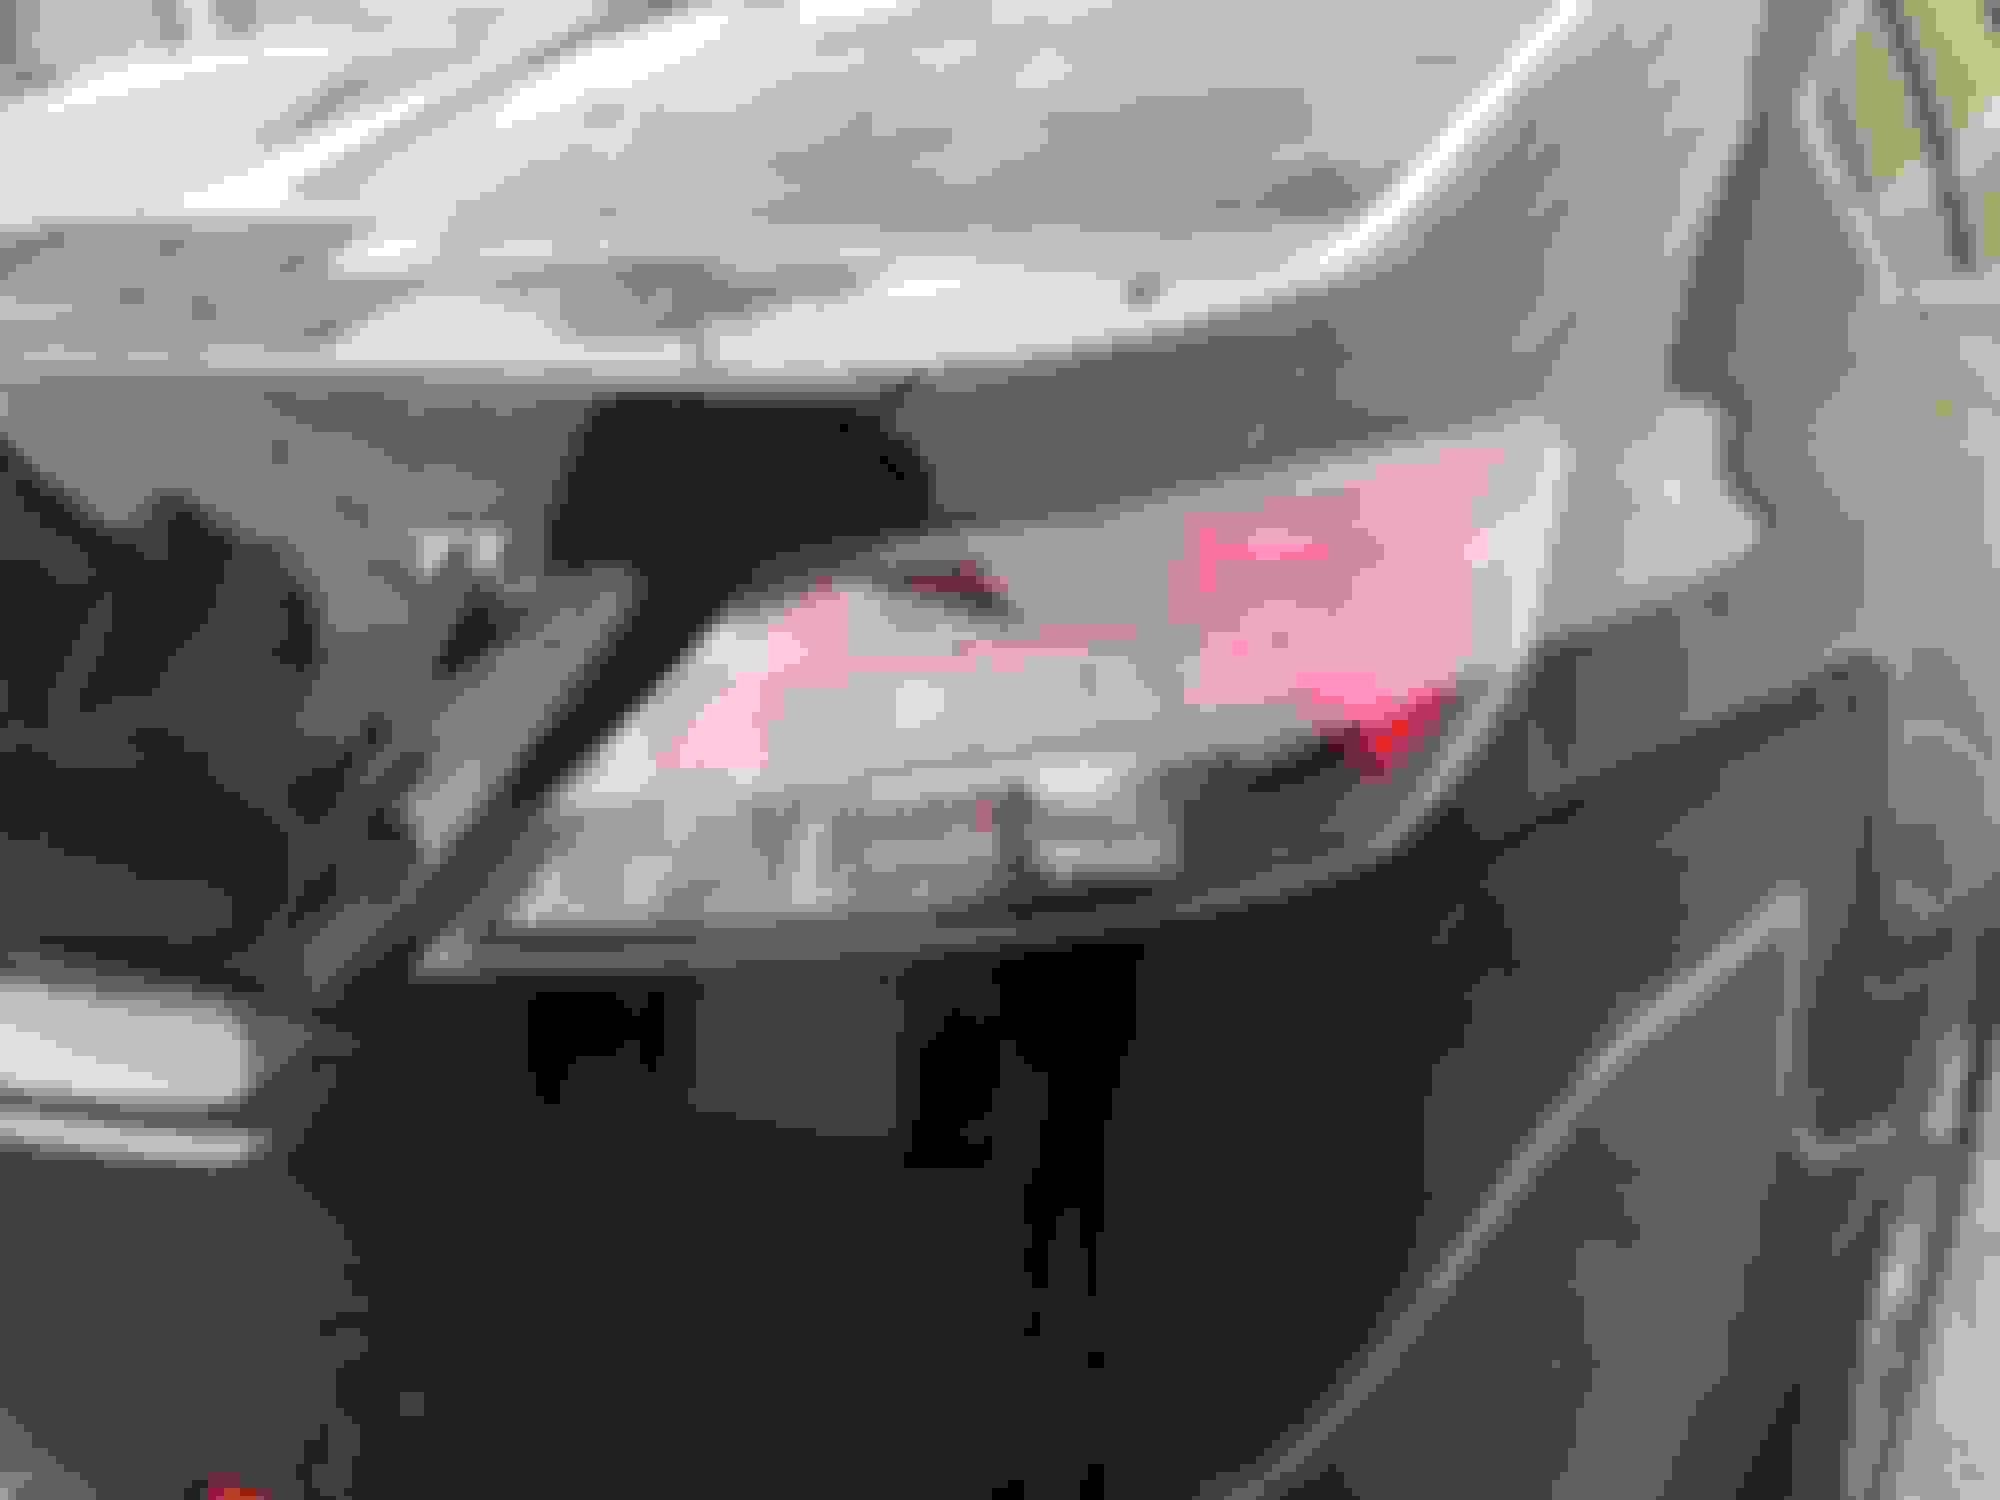
Since I can't edit posts, here is a pic. Still a work in progress just waiting on parts.
Since I can't edit posts, here is a pic. Still a work in progress just waiting on parts.
Can't wait to see it back on and finished up. I'd like to black out mine too, I've opened headlights on my previous car to install angel eyes so it should be similar. What paint did you use?
Can't wait to see it back on and finished up. I'd like to black out mine too, I've opened headlights on my previous car to install angel eyes so it should be similar. What paint did you use?
Im also installing 4GTL-R projectors and Hi-Profile LED high beams/drls. I used typical gloss black paint and a couple coats of plastic clear.
For anyone curious just an update on the tail lights, so far so good 5-6 months later with no issues or condensation. Holding up well and I recommend them and they look great.
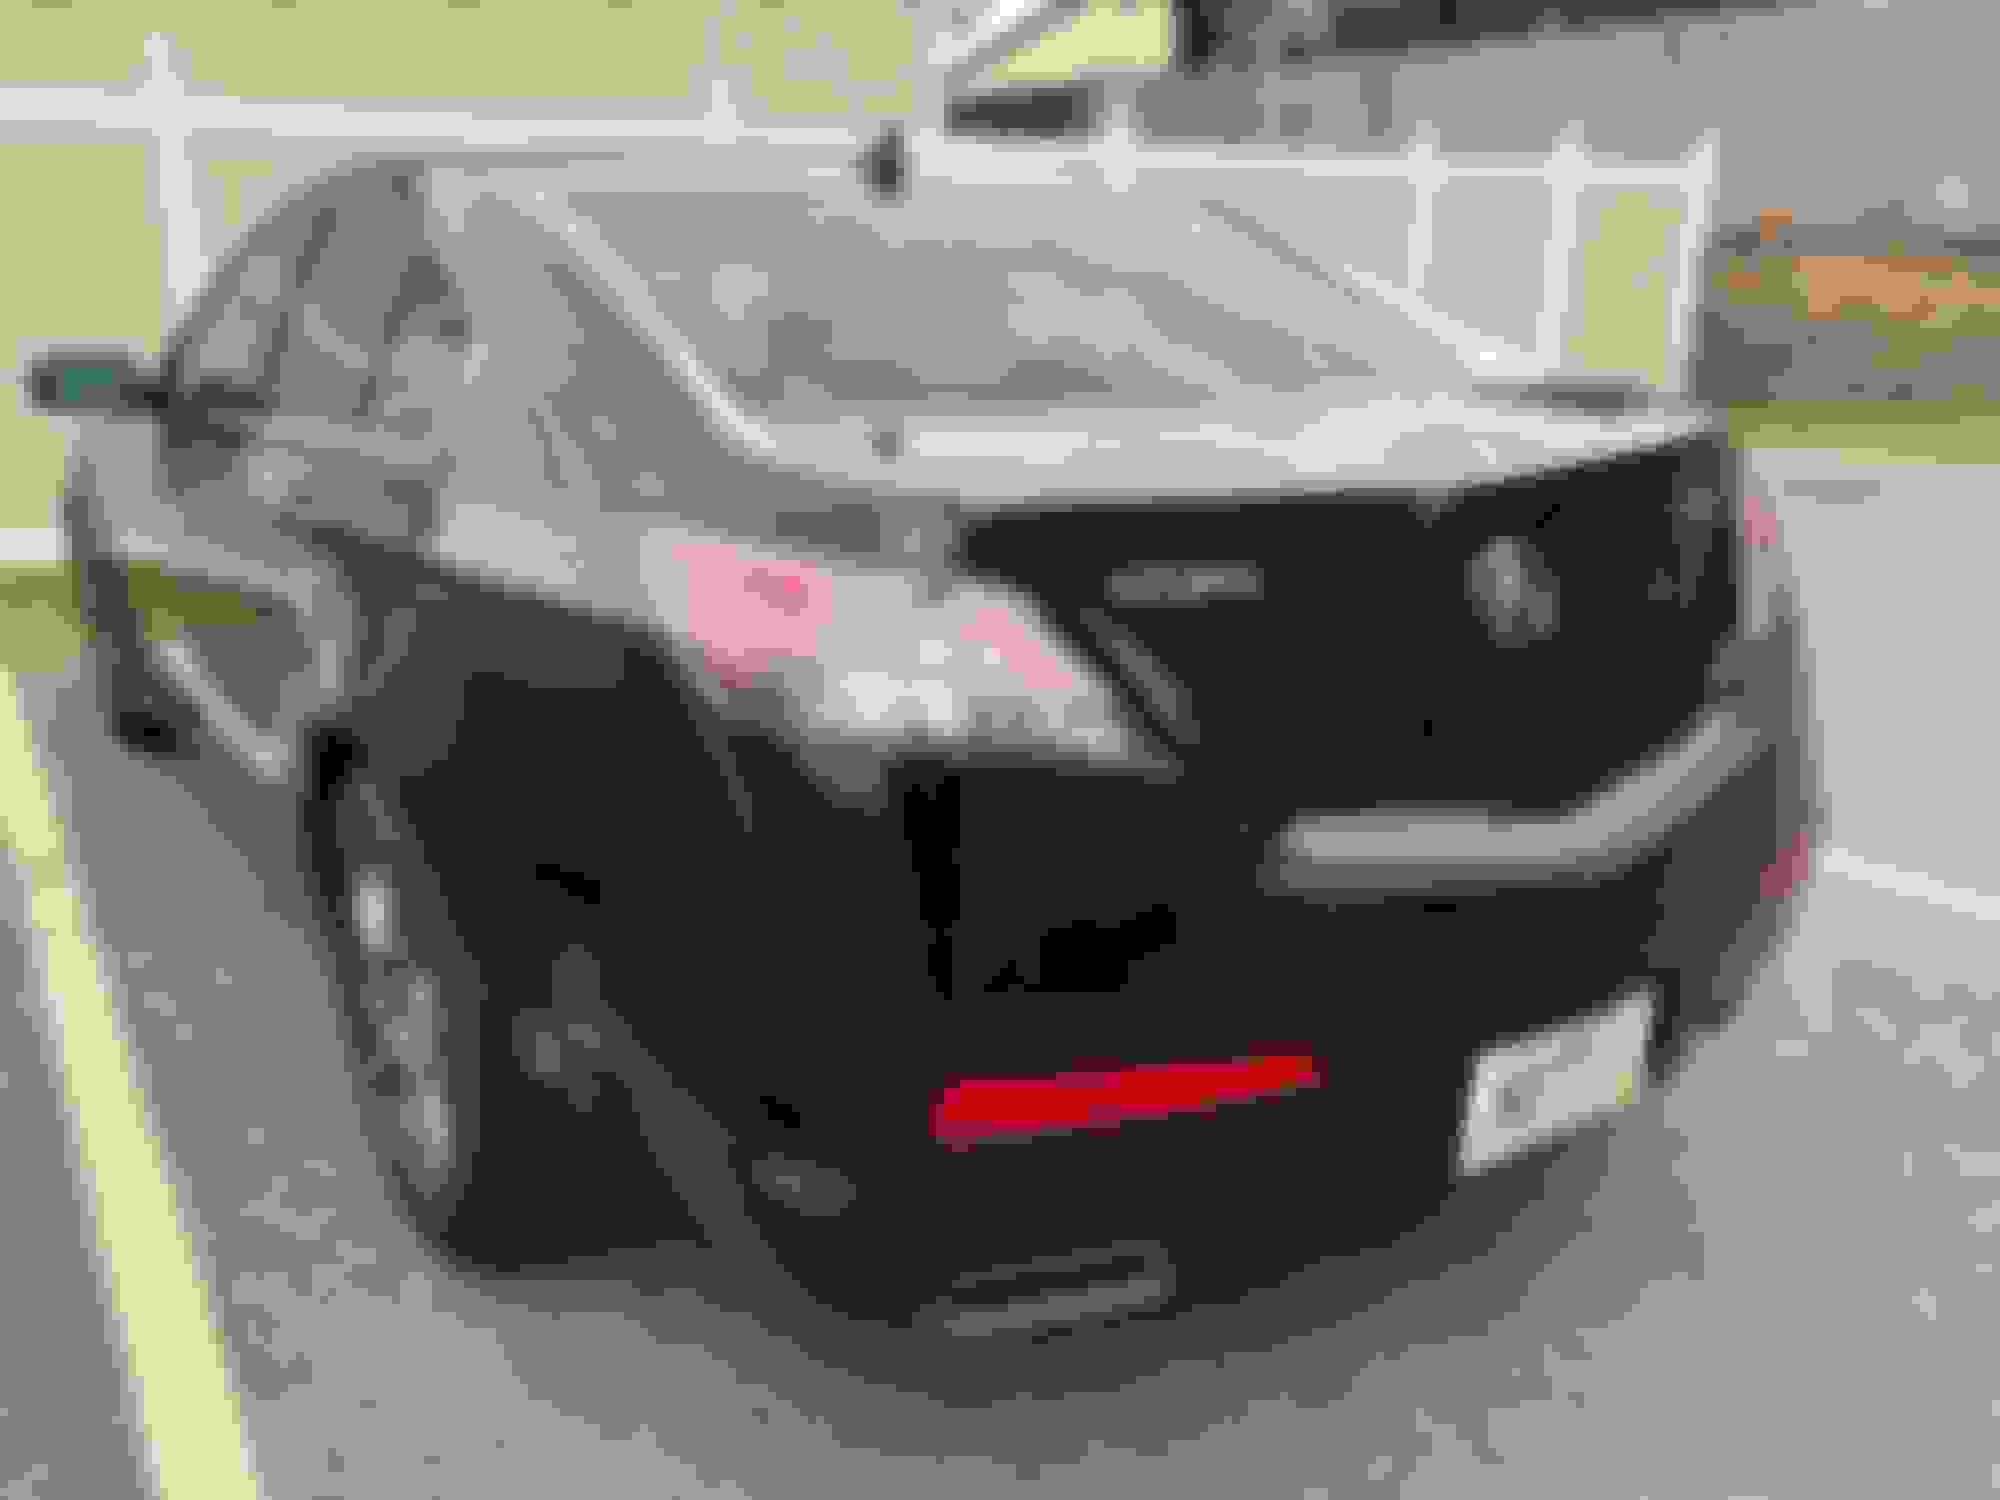
Another update I ended up doing my own black housing headlights.
So I did a thing, I was looking for a second set of tail lights to cut open and do the black bezel with the smoked lenses and as I was searching I found some tail lights that were exactly what I wanted to do to my own ones. The Red Smoked with the Black Bezel tail lights from Depo. They were $230 on eBay so I grabbed a set because I was going to end up paying $250 for a spare set anyway to try it on so why not rock these while I do the others with time. They fit up perfectly, nice quality, and plug and play and everything lights up fine no issues no errors popping up I even did a water leak test nothing happen no condensation or anything we’ll see with time but so far so goood but I will be taking apart the oem ones still and doing them on my own but as a daily driver I needed tail lights. I’ll get pictures of them installed it was getting dark out but these are them unboxed next to the oem ones
Hey I've been trying to find these. Do you have a link or what the title was? Thanks in advance.
 02-28-2020, 08:27 PM