When you click on links to various merchants on this site and make a purchase, this can result in this site earning a commission. Affiliate programs and affiliations include, but are not limited to, the eBay Partner Network.
Some real nice progress going on here. Looks good.
Is this roll bar defining the depth and width limits of your bed?
Only indirectly. The seatbelt reel position is defining the forward extent of the bed, and I'm placing the roll bar just aft of those. The wheel arches define the narrowest width. The shock tower braces could fan out some as they meet the roll bar, but I decided to keep it simple and have them run parallel to the longitudinal axis of the car.
31 hours this weekend... maybe I've overdoing it but then again I have just two more weekends before the fam is back. Plus the welding shop made like onions and gave me bad gas. So I wasted like 3 hours on Saturday and had to make up for lost time.
After welding up the rest of the lower bulkhead frame (significant work even after tube prep during the week, but really more of the same from the previous post), I started cutting out the glass... the backlite was the easy part, once I cut out and tore off the rubber gasket. Neat tool.
Glass and trunk off! The sidelites were a biatch to get off. The one left in the picture exploded on me when I tried to peel it off too early because I'd run out of effective cutting implements.
Now we're talking. Parcel shelf is out.
Before going any further, now was the time to do up the shock towers properly. First an extra plate to capture the bolts around the shock tower:
That arc was tricky with only the bandsaw, and I didn't have a spindle sander, so... don't look too closely. Looks like it was nibbled into a circle.
Moving on to the upper part of the bulkhead brace. It starts with making the brackets that will join the verticals to the B-pillar... tack welded the plates together before test fitting:
Same setup - riv nuts into the B-pillar, screwed down with an M8 screw. The bolt plate was just tacked at this point so I could still twist the vertical a little bit to align it with the lower frame.
Alignment at the bottom, pretty good. When I sighted down the entire bulkhead frame it was pretty dang straight... that laser alignment really worked well.
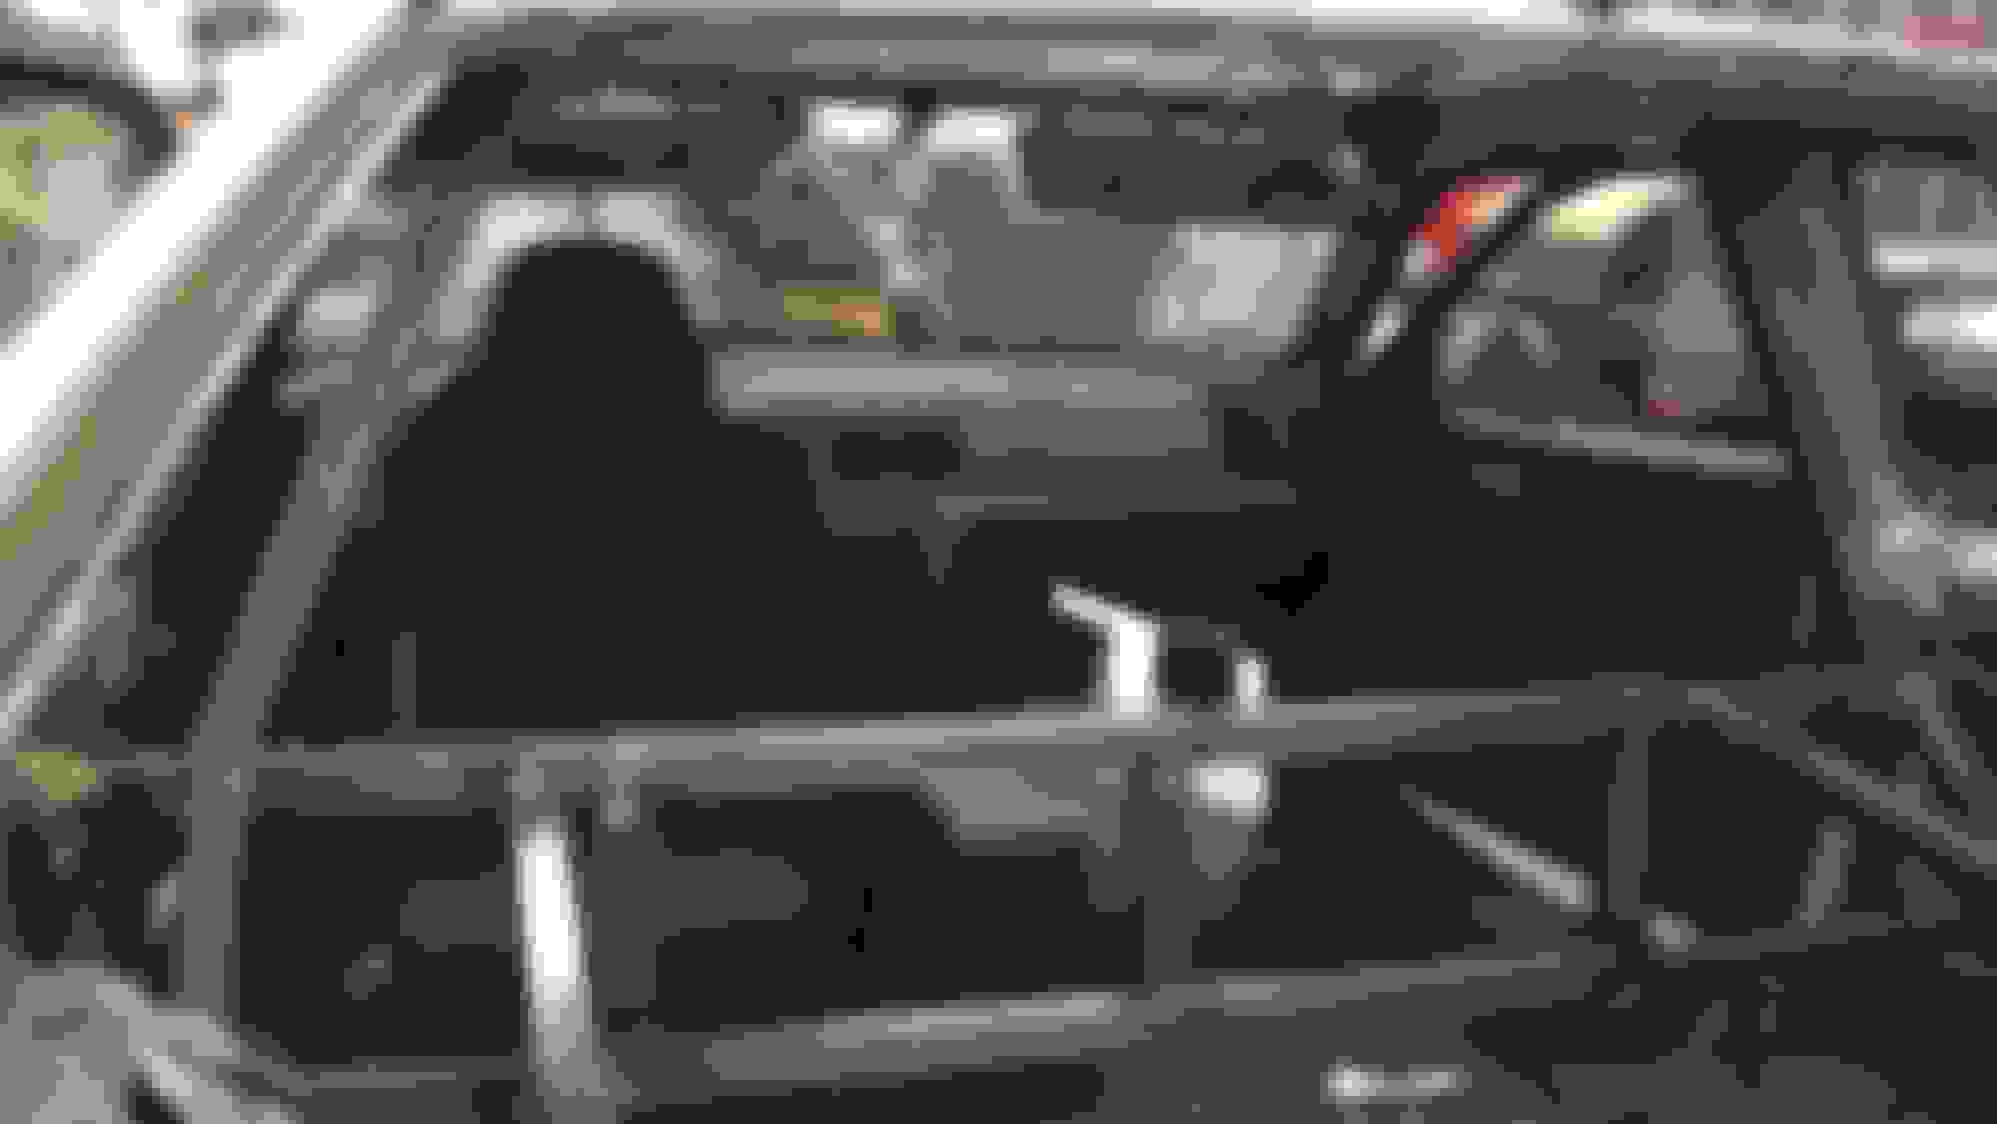
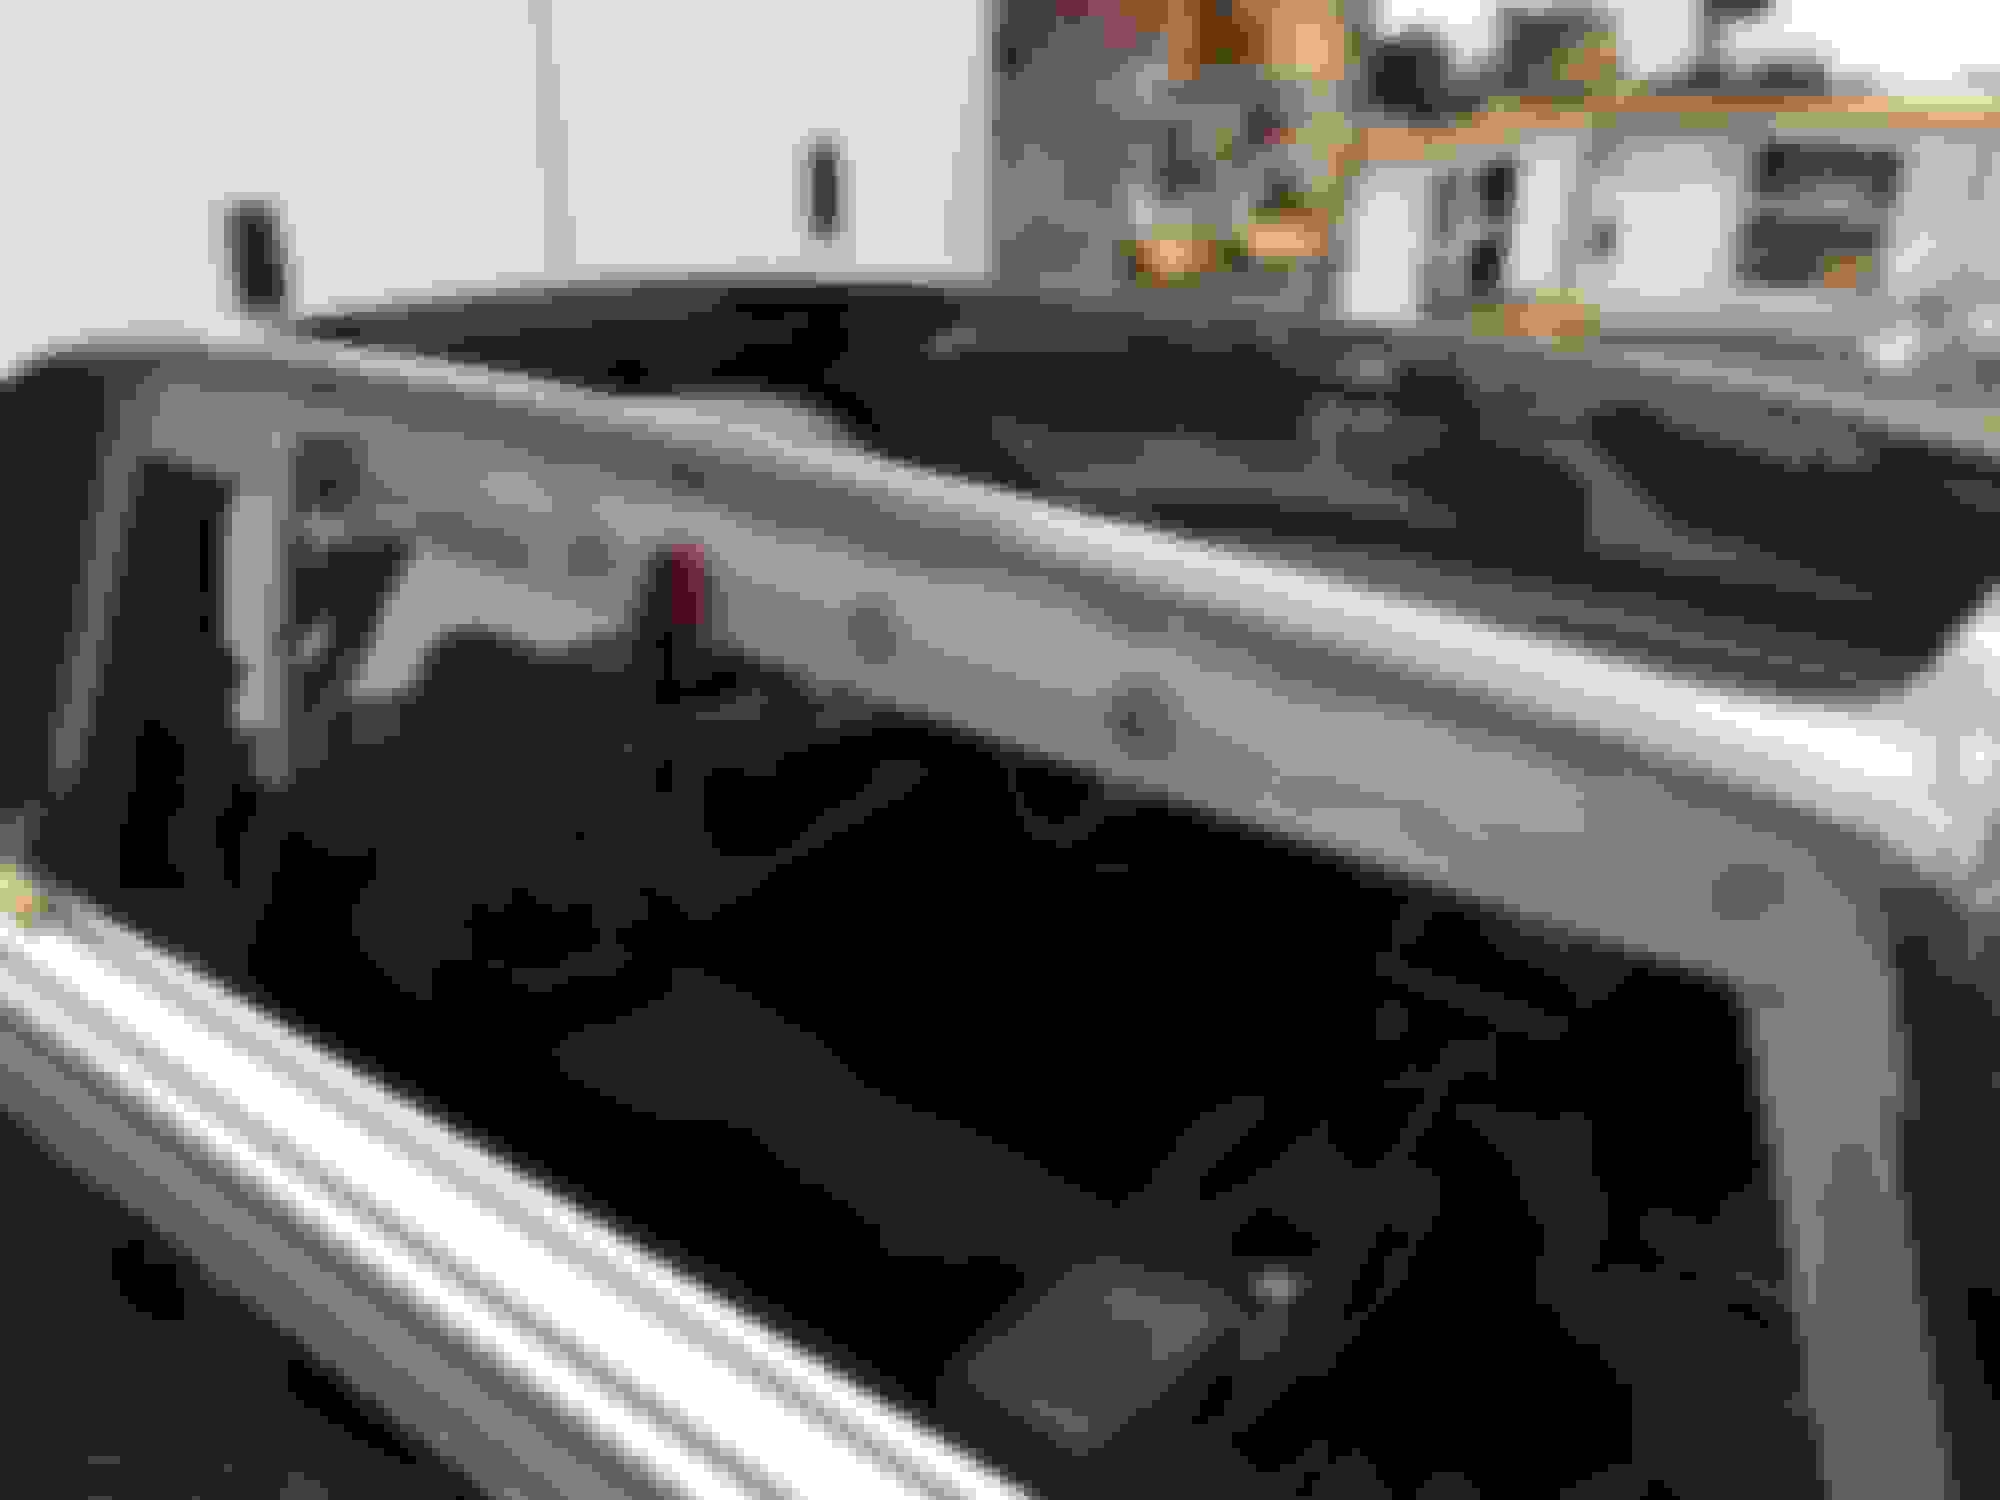
Both verticals tack welded in place, ready for the crossbeam.
Crossbeam in and welded to the verticals; went back and welded the base of the verticals; then beefed up the bolt plates with a corner brace.
There we go. The lude's first time as a pickup truck, carrying its own body parts haha. And my CHMSL / third brake light remains functional, still legal yo!
Next weekend: finish up all welding on the brace, then finally cut the C-pillars!! Actually haven't decided whether to do a diagonal brace on the upper bulkhead before cutting... structurally speaking better to do it beforehand, but I don't want to weld it in the wrong place relative to the future B pillar and mess up the side profile.
but you already knew you'd rebuild it cooler
you will end up on jalopnik and all those crazy car sites.
Great work,man...I'm seriously looking forward. (that's where God put my eyes anyway).
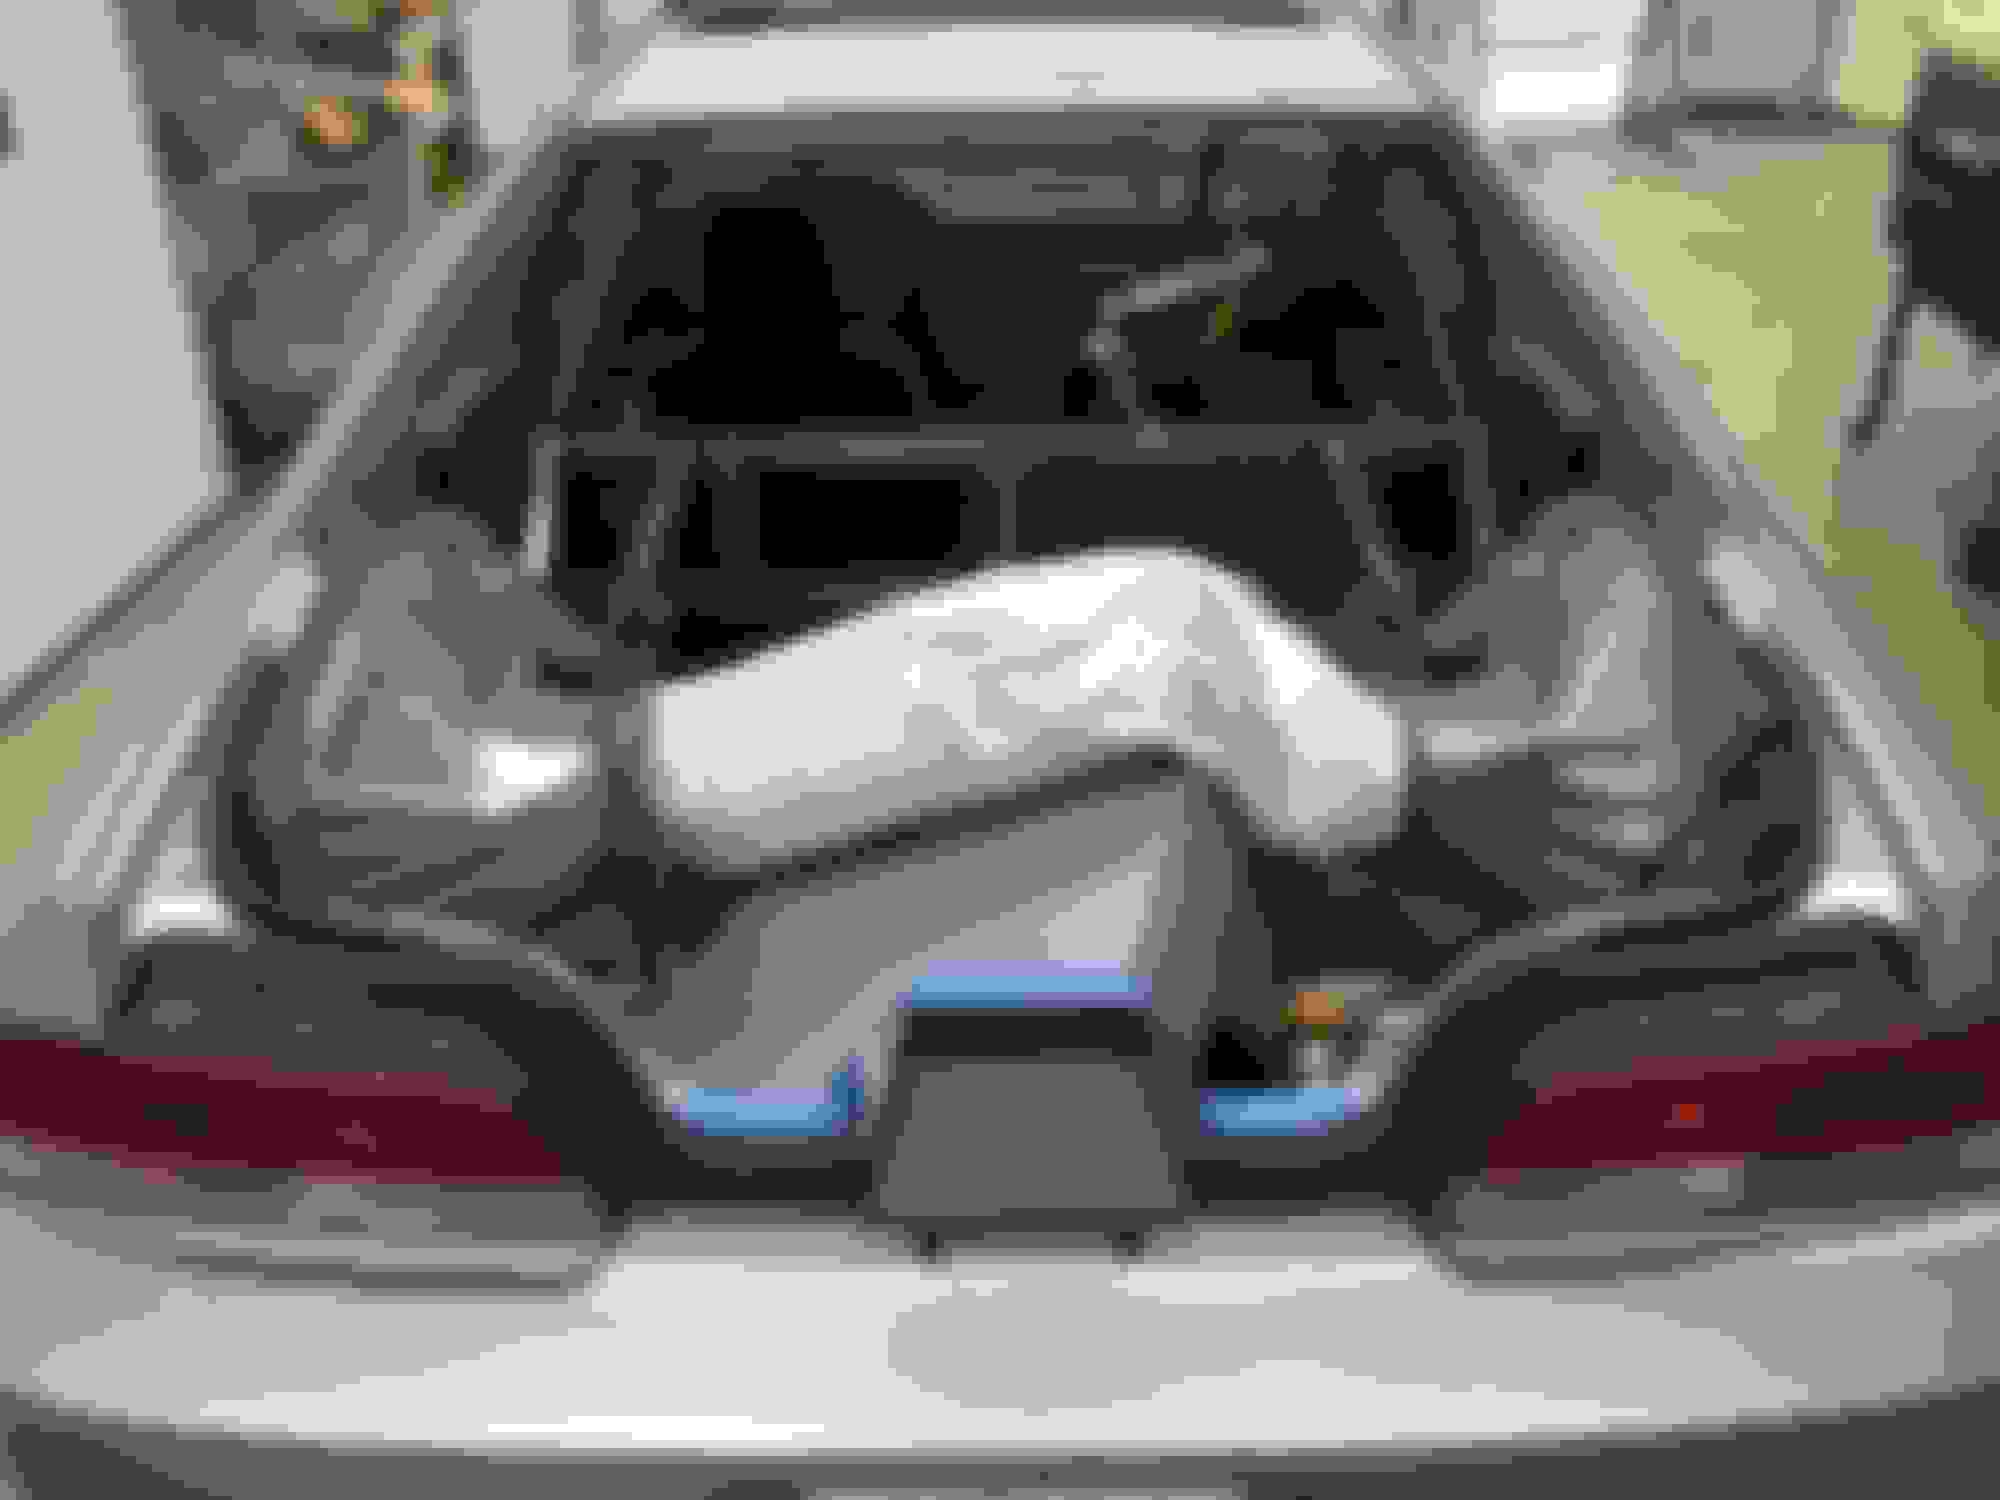
Shifted gears this weekend to do some bodywork and body lines definition... took it way slower, pays to be careful with this stuff. So a lot of conceptual and layout work, not a whole lot of photos... Missed out a bunch of photos (took videos instead) during the cutting of the c-pillars and rear roof, but here's the result:
Thankfully the car didn't sag at all during the cuts. Wasn't really expecting it to, but you never know.
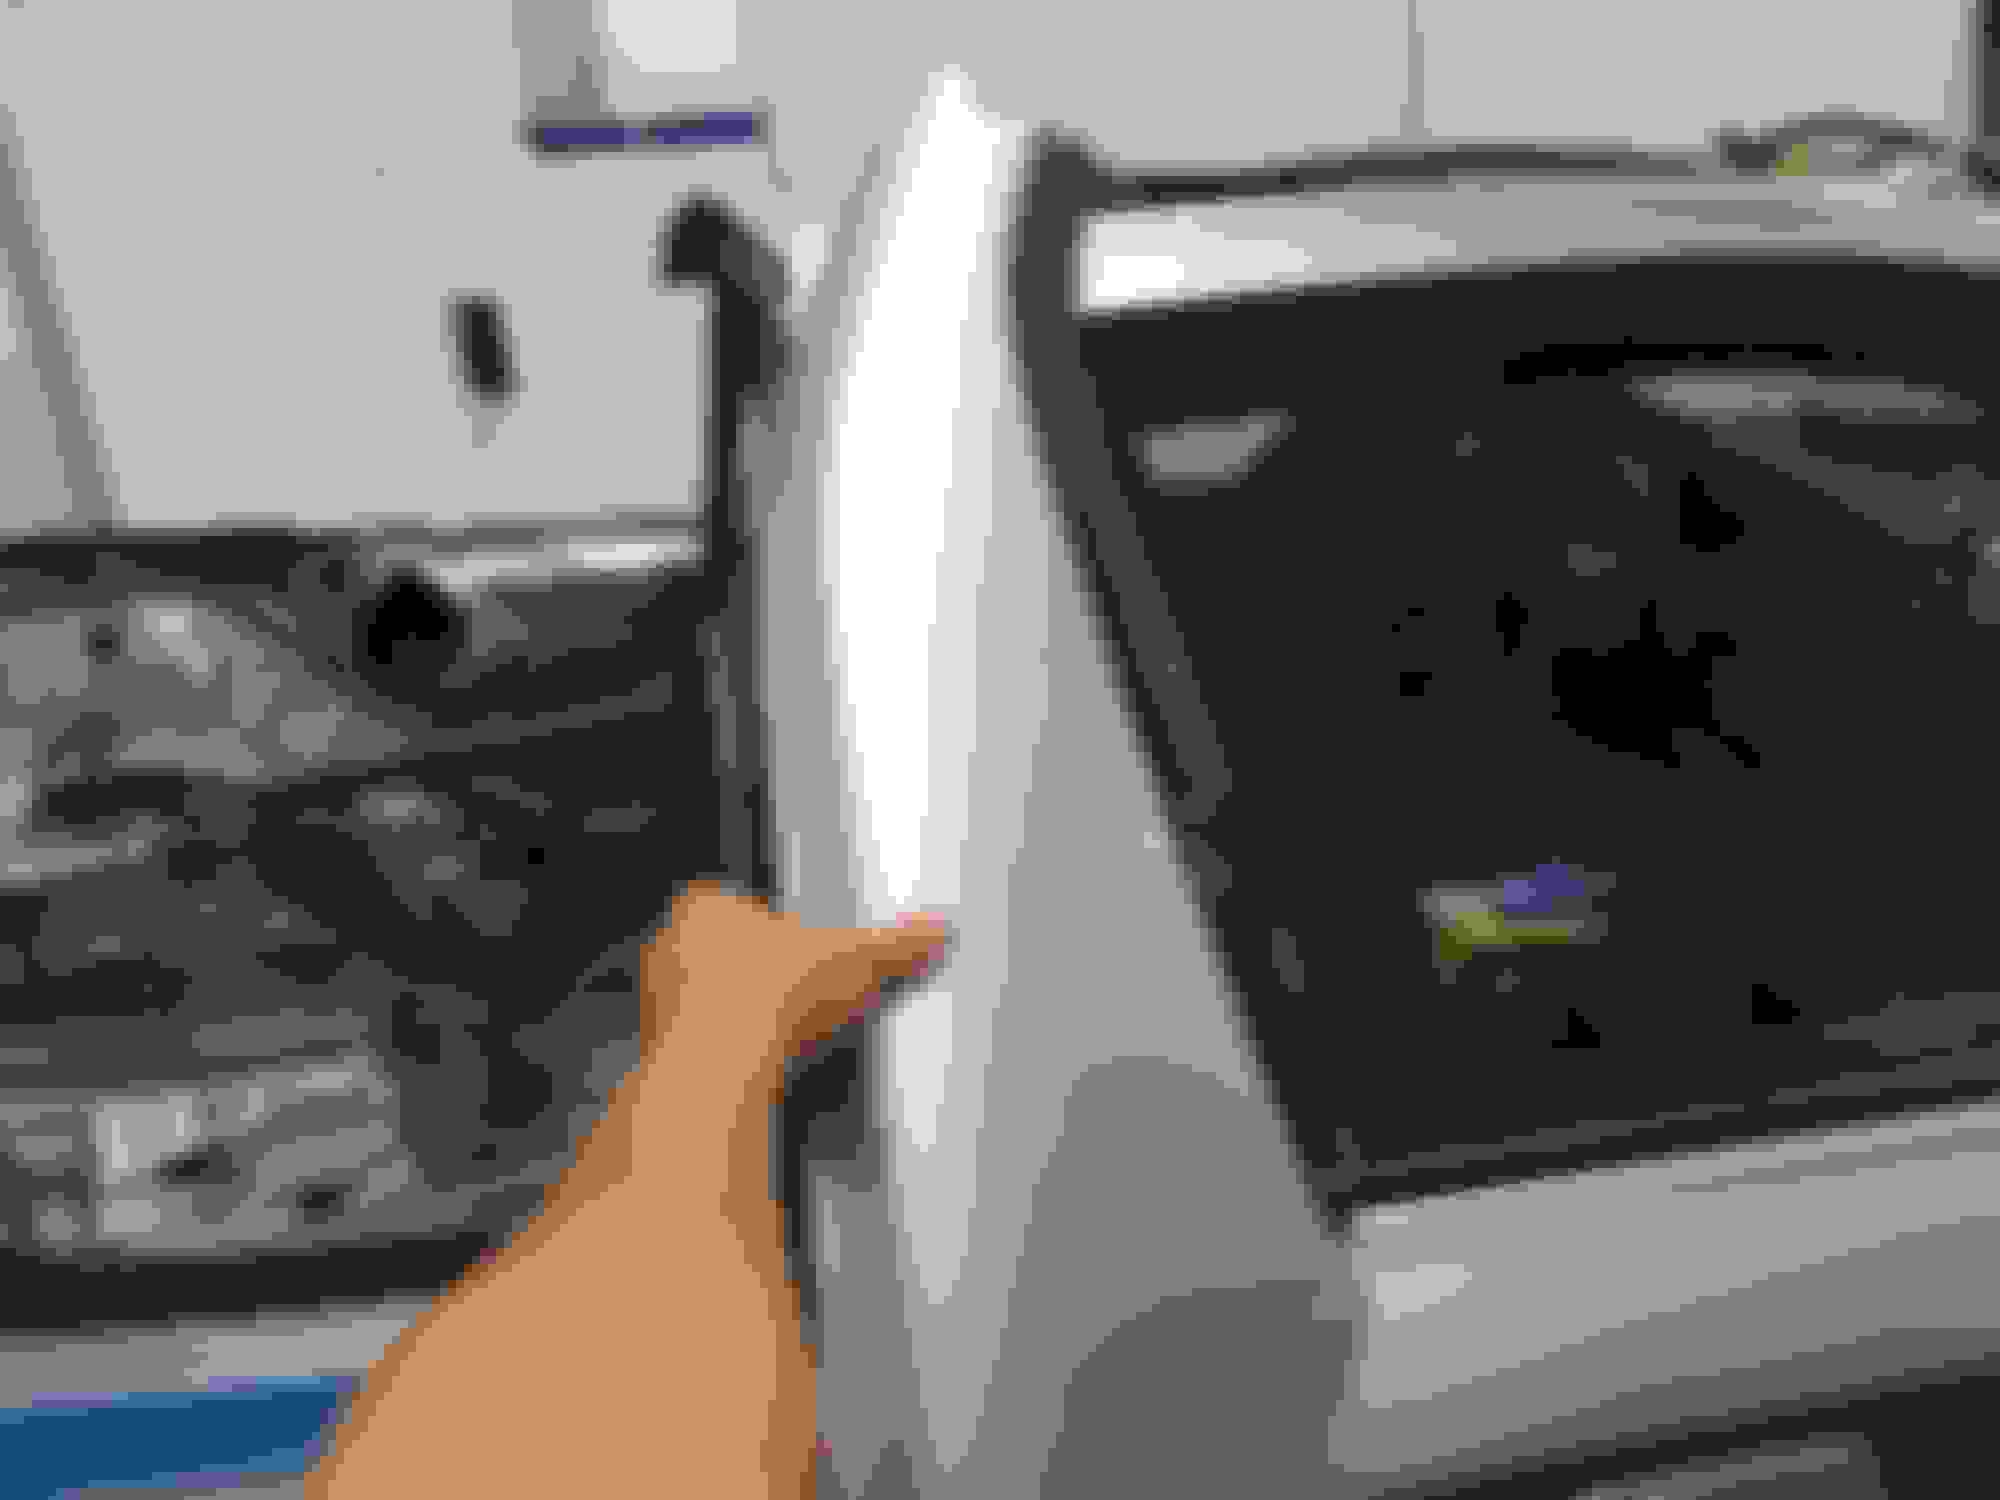
This part took a super long time for iteration, but here we have the C-pillars repurposed as B-pillars:
Close up of the Z-shaped weld seam at the top; did this so that I could blend the 'chamfered' part of the C-pillar into the 'chamfered' edge of the roof. Could have lined up the panels better, but nothing some bondo won't fix. The lower weld (not shown) was straight and much easier.
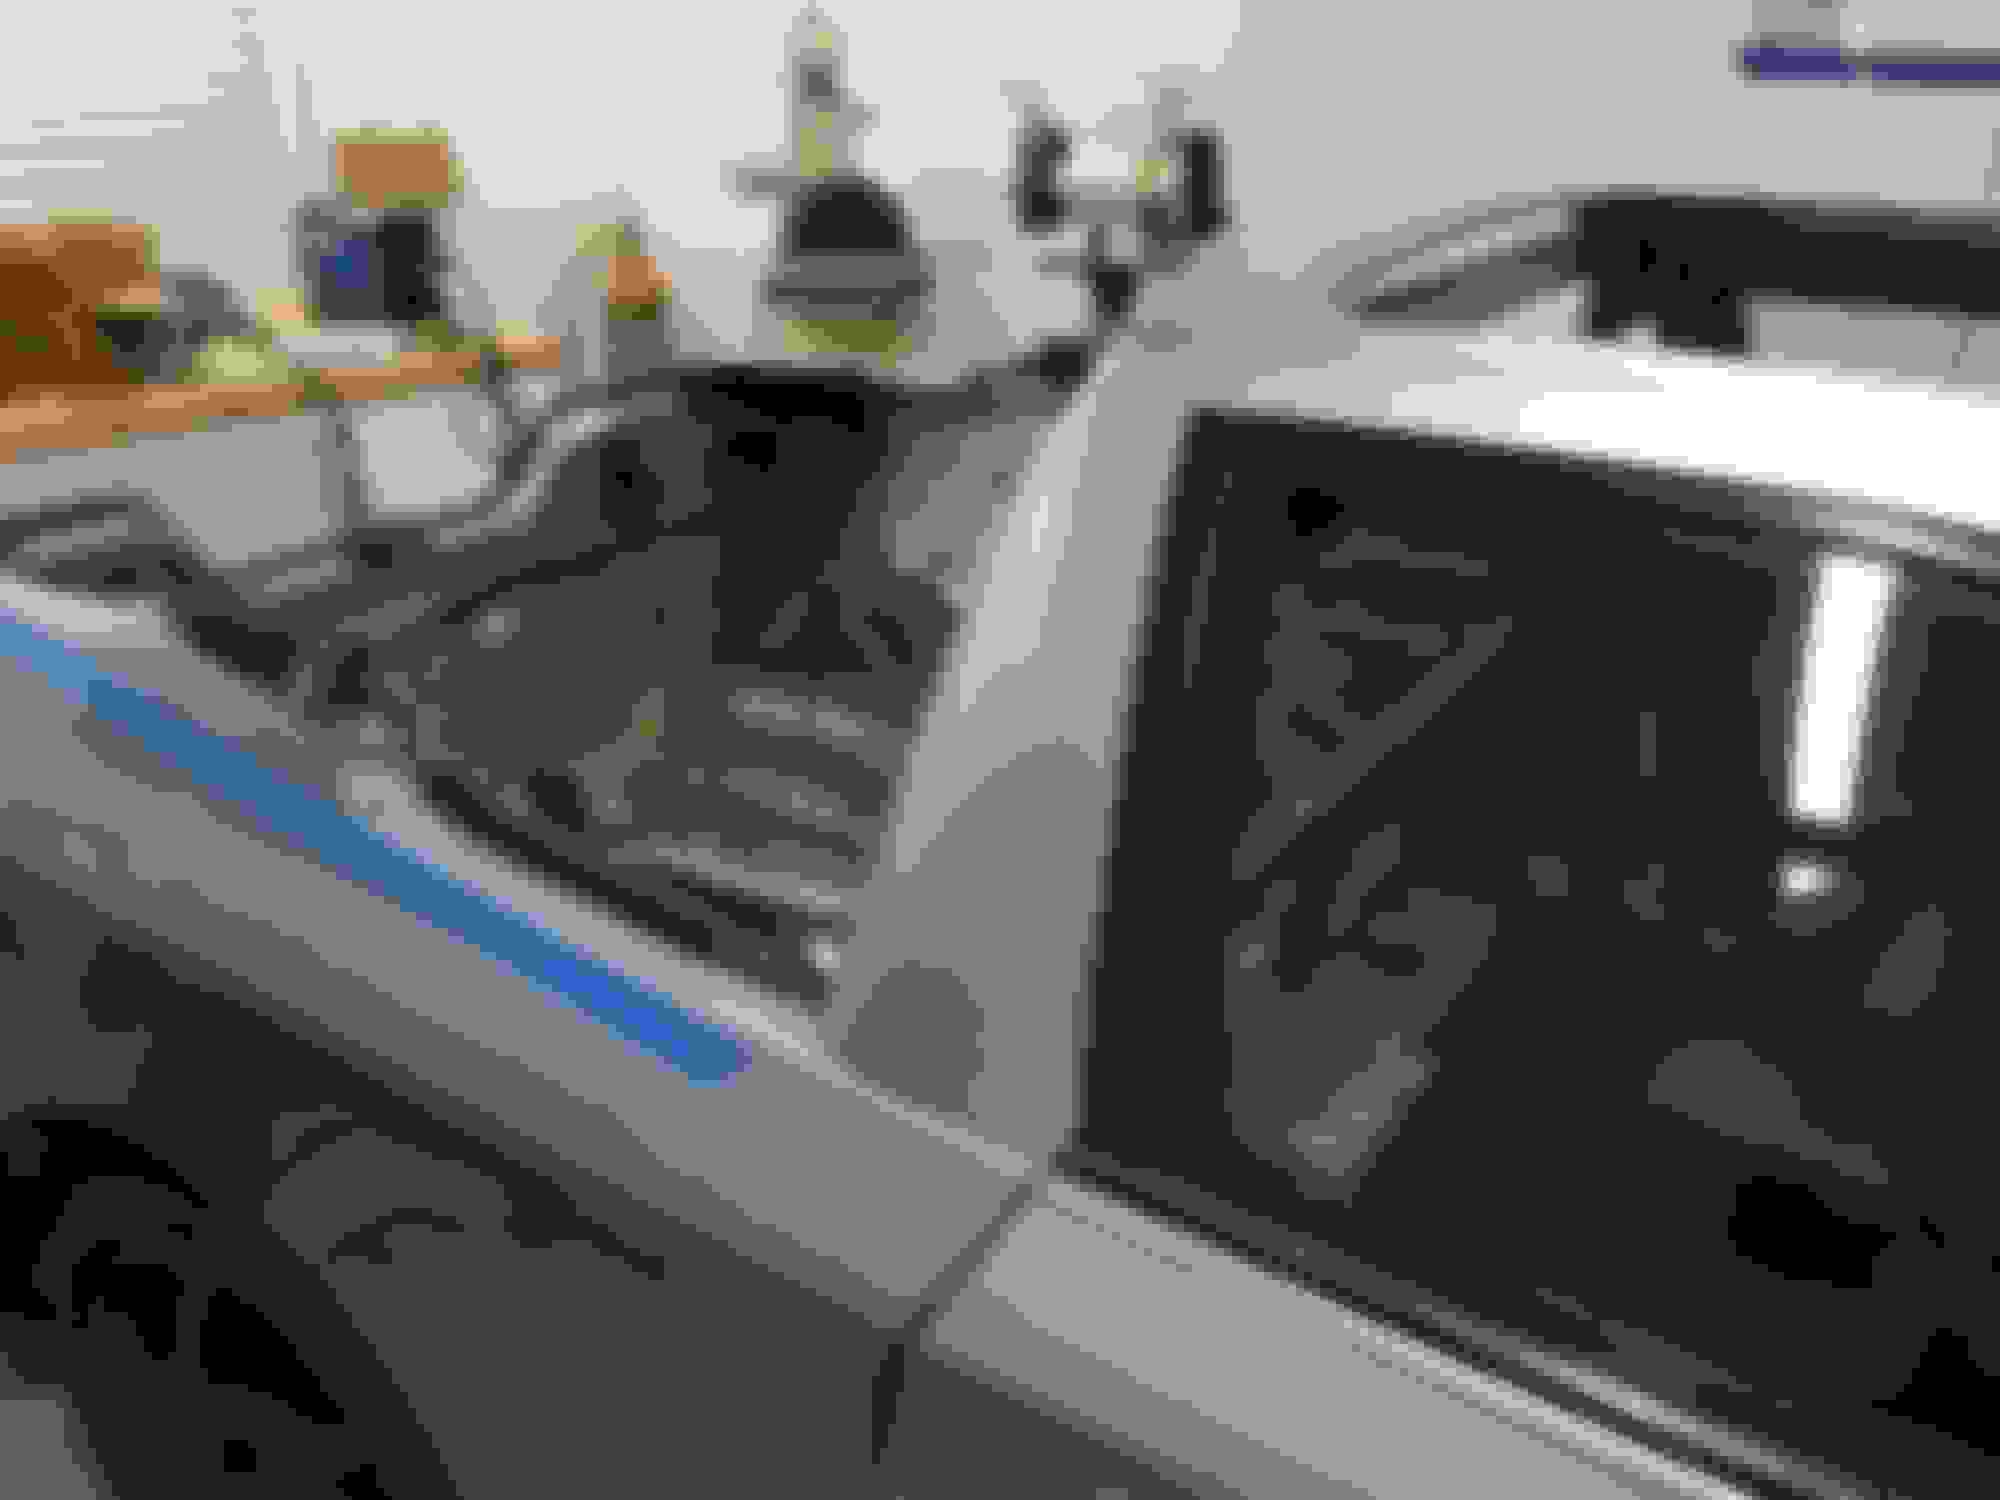
Should have taken some photos of the crucial parts of the process, but basically I used a laser level again to mark out the bed profile cut lines from the inside (to ensure symmetry). Cut the inside sheetmetal, then marked the exterior sheetmetal from the inside, drilled holes from the outside to spot the marked line, laid out tape on the outside to roughly match the inside, then cut from the outside. And the side profile is now established:
Next week: close off the gaping holes in the rear fenders, resolve the rear of the B-pillars, and join up the 'window frame' to the body. If there's time I'll put a plexiglas window in for temporary use.
Great work, man...
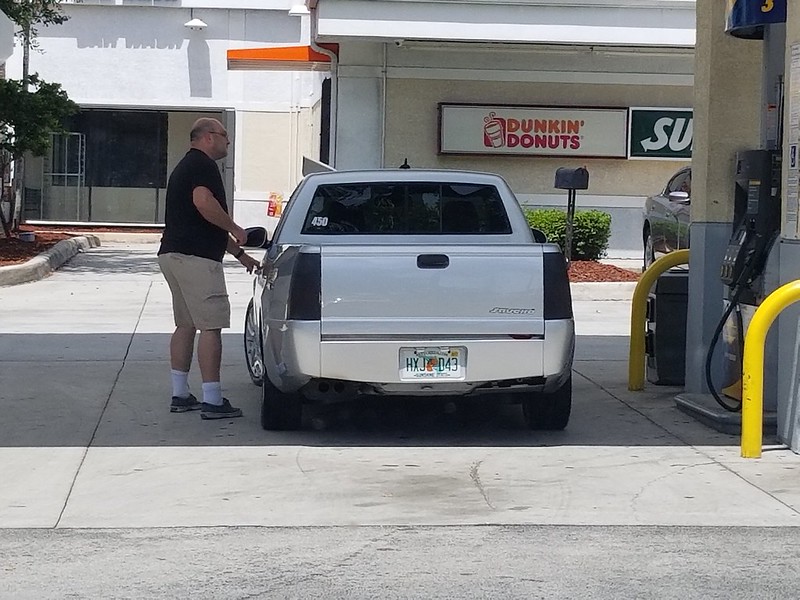
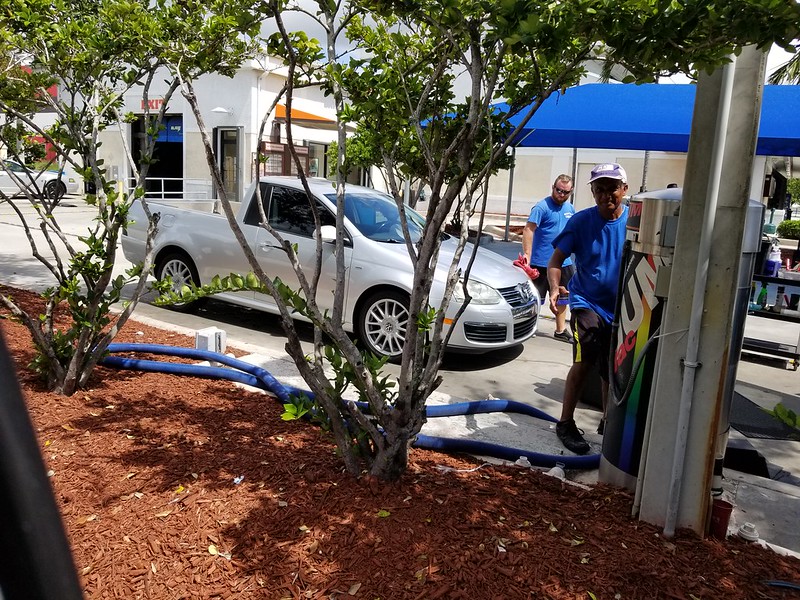
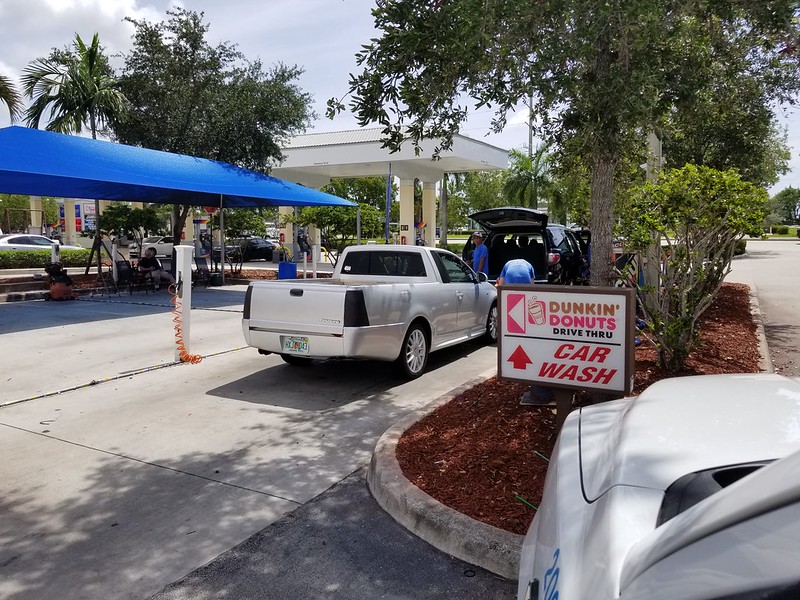
Saw this yesterday and thought of you...snapped a few pics.
Don't lose steam! Get a divorce and see your kids once a month if you need to! Prioritize!
Last big push before the fam got back, so didn't have time to take a lot of pictures...
Cut sheetmetal to fit between the bulkhead frame and the cut roof. The hard part was aligning the cut in the roof with the plane of the bulkhead... took a lot of partial cuts and iteration to get it lined up just right.
Welded up the top to the roof, picture shows tacks on the bottom before the full weld.
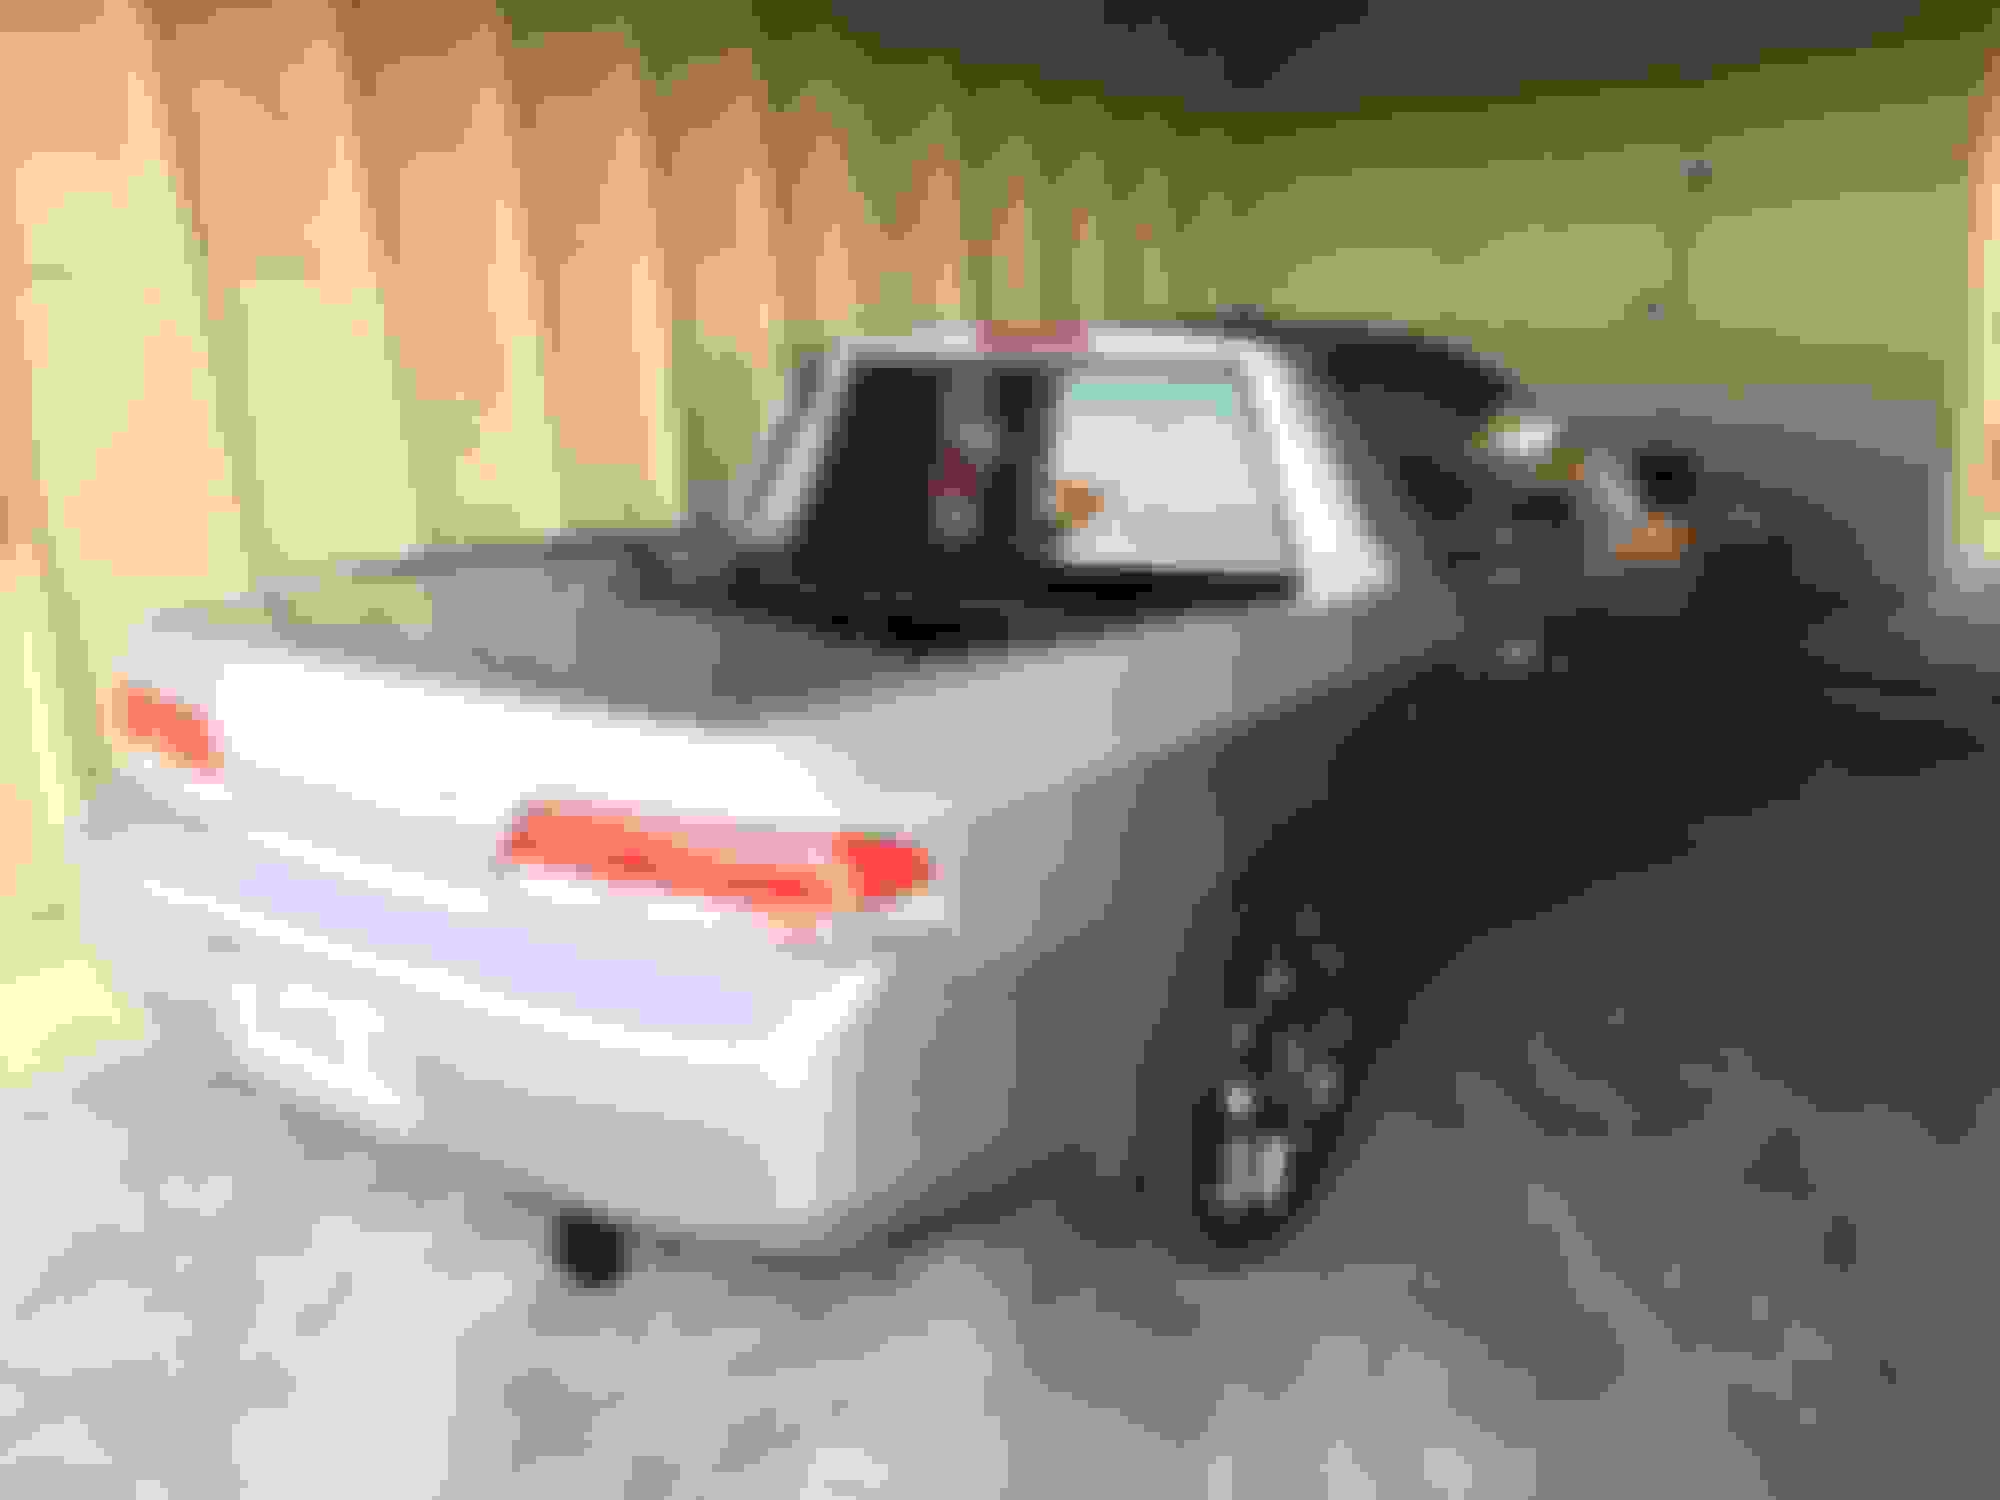
Fast forward x1000 after I fabricated and welded up the panels behind the B-pillars, and fabricated and tacked the rear fender panels, put in a laser cut acrylic temporary rear window, rolled my front fenders and got my waffles on. Left the 235/45/17s on the rear to see how they would work (too wide - they rub on tight turns), put new 215/45/17s on the fronts. But I have two more 215/45/17s waiting in the wings - couldn't pass up the good deal on four Kumho Ecstas for $250 shipped from tire rack.
Modified my interior trim panels and roof liner to fit:
Finally as a visual stopgap I put on some leftover 3M vinyls to hide the sanded paintwork and gaffer tape holding the trunk down. So at least it looks a little better from a distance, if you squint a little.
Hoping to get another semi-full weekend this month to finish up the fenders and B-pillars, perhaps another one in Sep to define the bottom of the bed and finish adapting the trunk. In between I'll have to adapt the old sunroof and sand/bondo/primer parts of the body in preparation for wrapping.
Does this change the car to a truck with registration with the state?
Does anyone force a structural integrity check before being okay in a State that does inspections?
Looks cool.
Does this change the car to a truck with registration with the state?
Does anyone force a structural integrity check before being okay in a State that does inspections?
Looks cool.
Thanks. Up to now my flippant answer to that question is 'I don't know and I don't care', but actually I do. However I won't initiate an inspection (I think it's with CHP) until it's completely finished and looks like it could have been OEM. I've got about 1.5 years before my next smog, but I'm not even sure my smog shop would care.
In the meantime I've been happily driving up and down 101 for the past week and counting
When OP first started talking about this, I thought "yeah right" but then he seemed serious. And now I check back in and see he *is* super cereal.
So I'm in 4 moor!
Great going OP!
Thanks for the support! I may be only halfway through this build, but I'm already wondering about the next one should be, even though that would be super far out. Leaning toward a two-car mashup of some kind. Feel free to suggest at any time
When OP first started talking about this, I thought "yeah right" but then he seemed serious. And now I check back in and see he *is* super cereal.
So I'm in 4 moor!
Great going OP!
Thanks for the support! I may be only halfway through this build, but I can't help thinking about the next one should be, though that would be super far out. Leaning toward a two-car mashup of some kind. Feel free to suggest at any time
Does this change the car to a truck with registration with the state?
Does anyone force a structural integrity check before being okay in a State that does inspections?
Looks cool.
I would assume, that since the VIN says it's still a Prelude, it would still be classed as a car
If you cut the roof off of a Ford Festiva, does it get classed as a Roadster?
I would assume, that since the VIN says it's still a Prelude, it would still be classed as a car
If you cut the roof off of a Ford Festiva, does it get classed as a Roadster?
Interested to hear the outcome, nice work OP!
Man, OP is in California. When he's done they're probably going to classify it as an "assault rifle" and make him move to Nevada.
They were just the ones I had lying around from my Type S. Frankly I'm not 100% sure about the aesthetic yet - might depend on the final body color - but I like the idea of using a Honda/Acura OEM wheel. Weight isn't optimal but this isn't a performance-oriented build. I think the width and offset work pretty well though.
The rear should look better once I have 215/45s on it and dial in a little bit of negative camber.
I think the wheels look really good. It also looks like it wouldn't take much to get the stance perfect. It looks pretty good as is. They make the car look a bit more modern than it actually is.
and don't start thinking about another project just yet. You still have to install a V6 up front and modify the cabin to make it RWD. Maybe the entire AWD drivetrain and powertrain from a wrecked 4G TL?
And then get your hands on that supercharger kit.
Also still, you'll need to make the OEM 3G TL Brembo brakes work up front. And some rebuilt 1G NSX rear calipers for the back.
Oh, and don't forget about the 6mt swap when you install the V6. That's a must.
Also, the entire s2000 power and drivetrain is an acceptable alternative, should you choose to remain RWD, however, a supercharger is a minimum on that option as well. A twinscroll low inertia turbo charger would be the preferred route though.
I think the wheels look really good. It also looks like it wouldn't take much to get the stance perfect. It looks pretty good as is. They make the car look a bit more modern than it actually is.
and don't start thinking about another project just yet. You still have to install a V6 up front and modify the cabin to make it RWD. Maybe the entire AWD drivetrain and powertrain from a wrecked 4G TL?
And then get your hands on that supercharger kit.
Also still, you'll need to make the OEM 3G TL Brembo brakes work up front. And some rebuilt 1G NSX rear calipers for the back.
Oh, and don't forget about the 6mt swap when you install the V6. That's a must.
Shiiiiet... you still have lots to do.
Originally Posted by TacoBello
Also, the entire s2000 power and drivetrain is an acceptable alternative, should you choose to remain RWD, however, a supercharger is a minimum on that option as well. A twinscroll low inertia turbo charger would be the preferred route though.
Hey, if they can shoehorn an LS V8 into an EK Civic hatchback, shouldn't be too have to make a RWD Lude.
I think the 3G wheels look good on there, just that the color doesn't flow with the body color.


 Seems likely.

